Category Archives: Main Course

Spicy Meatballs

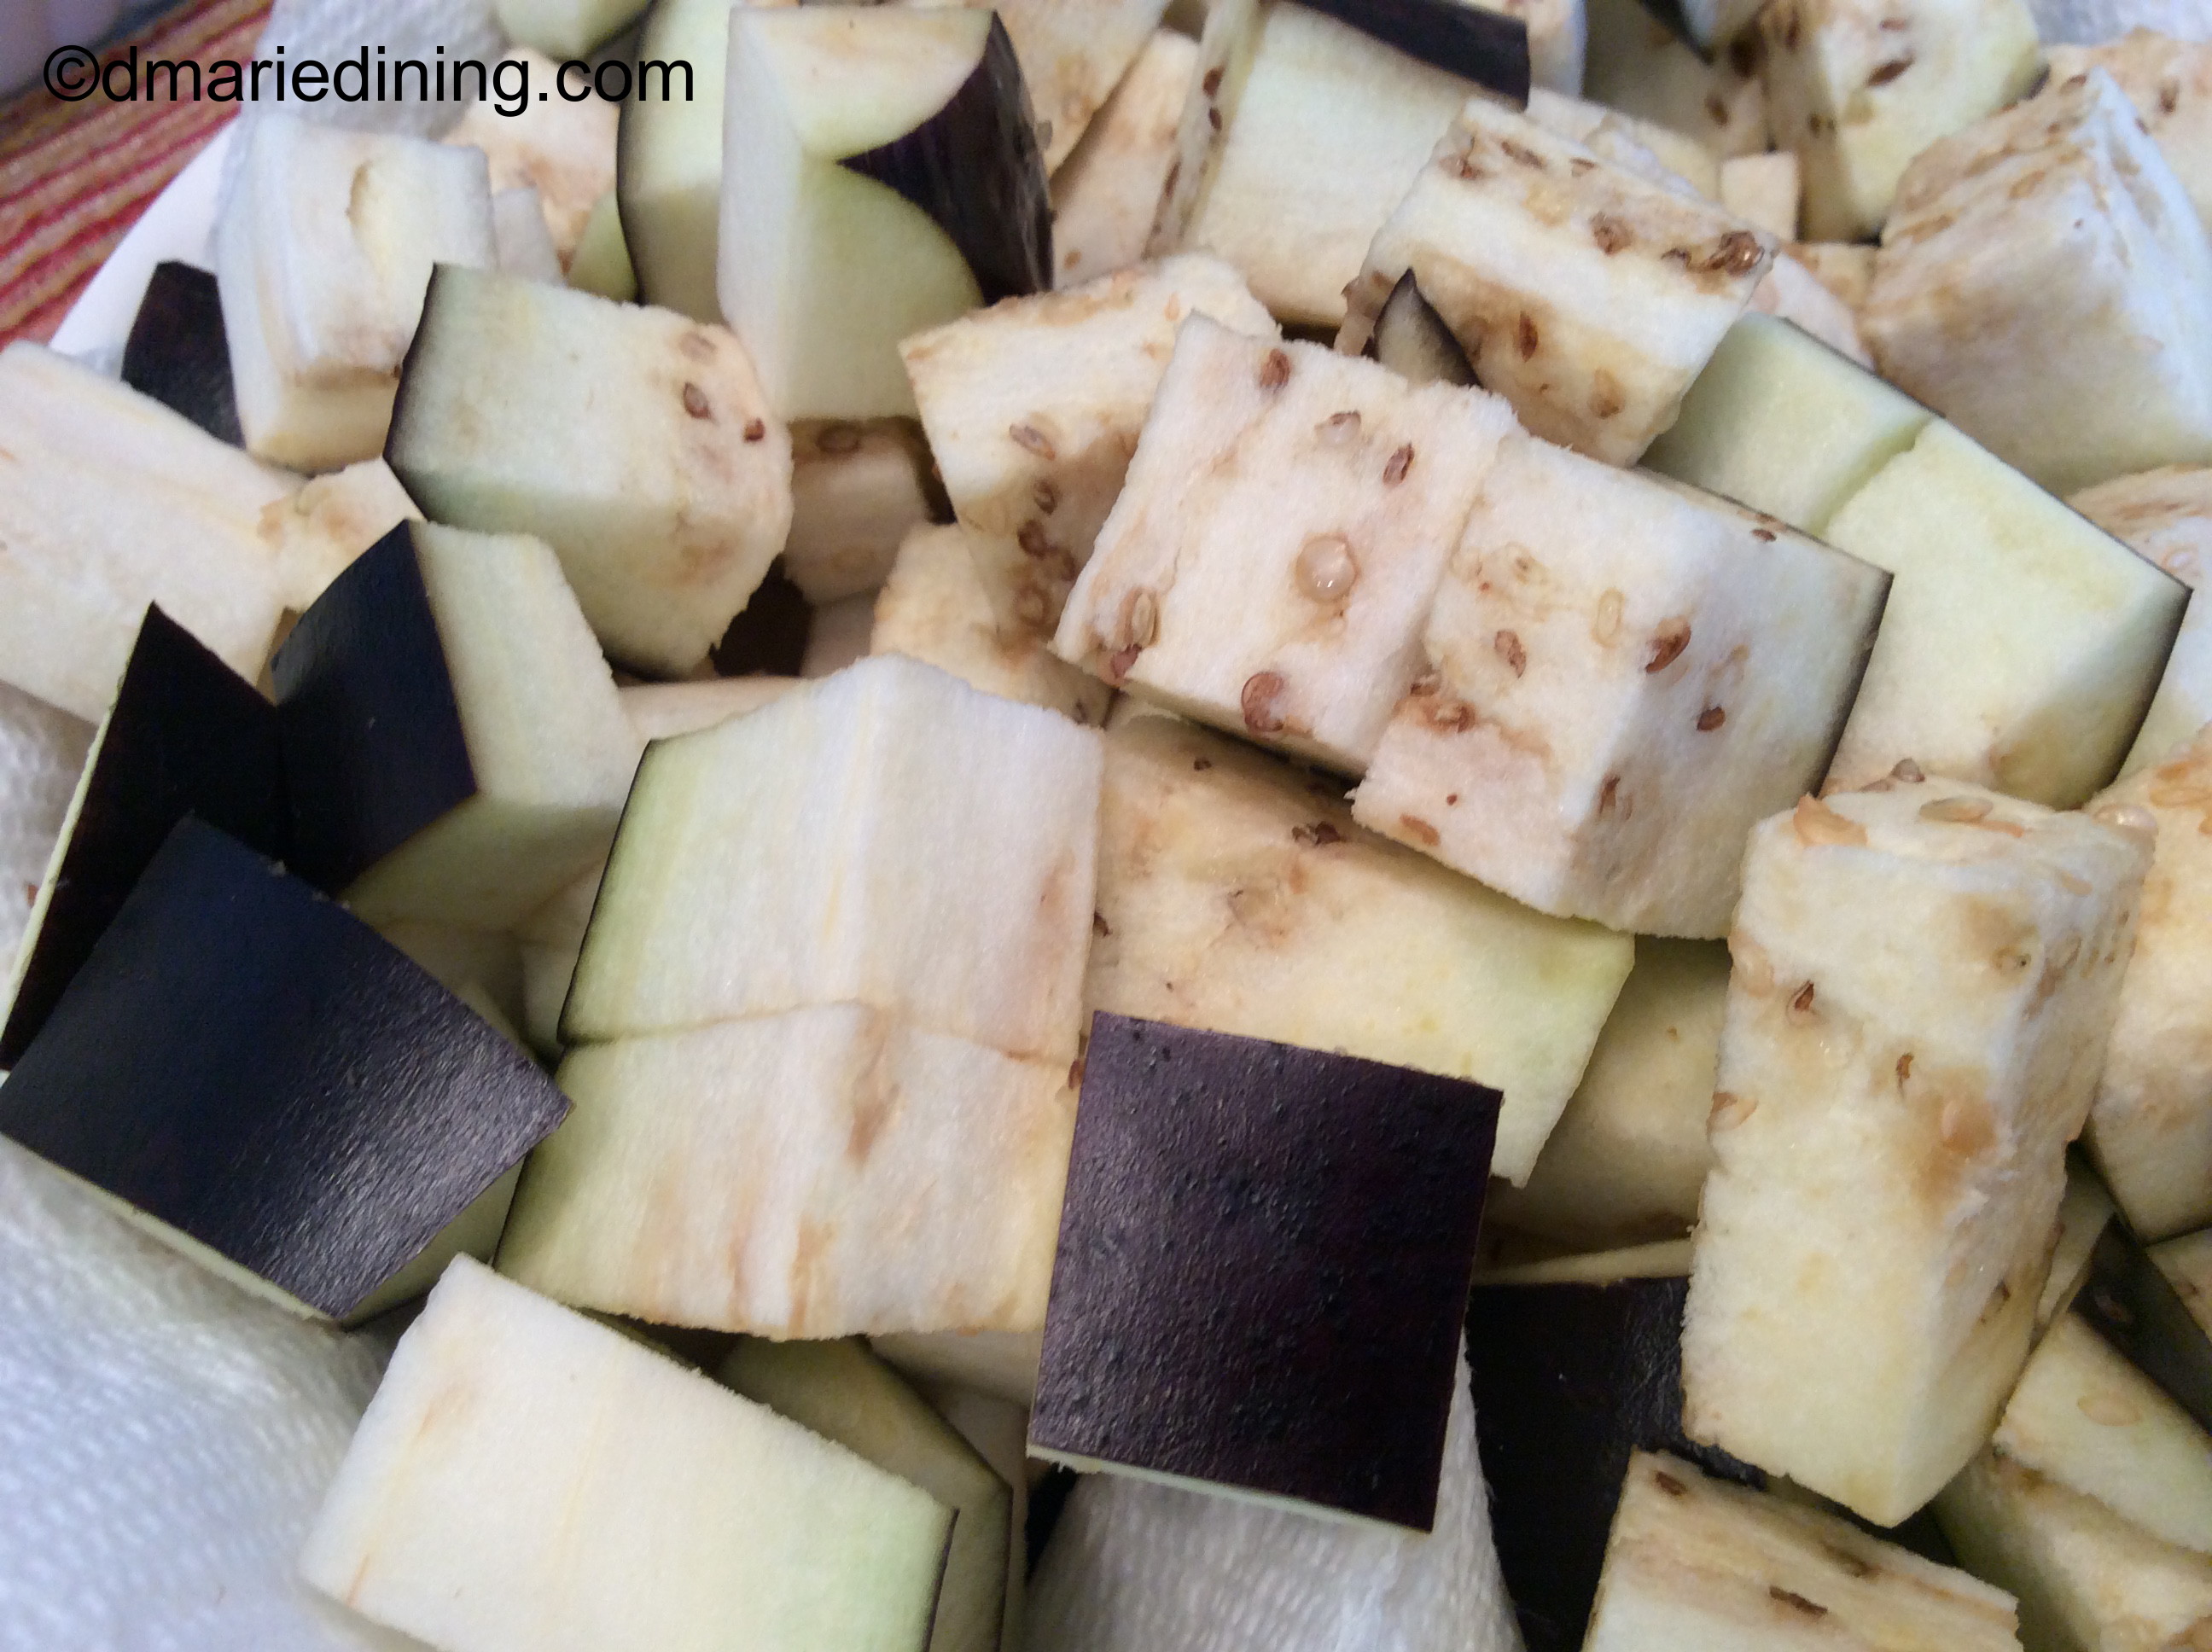
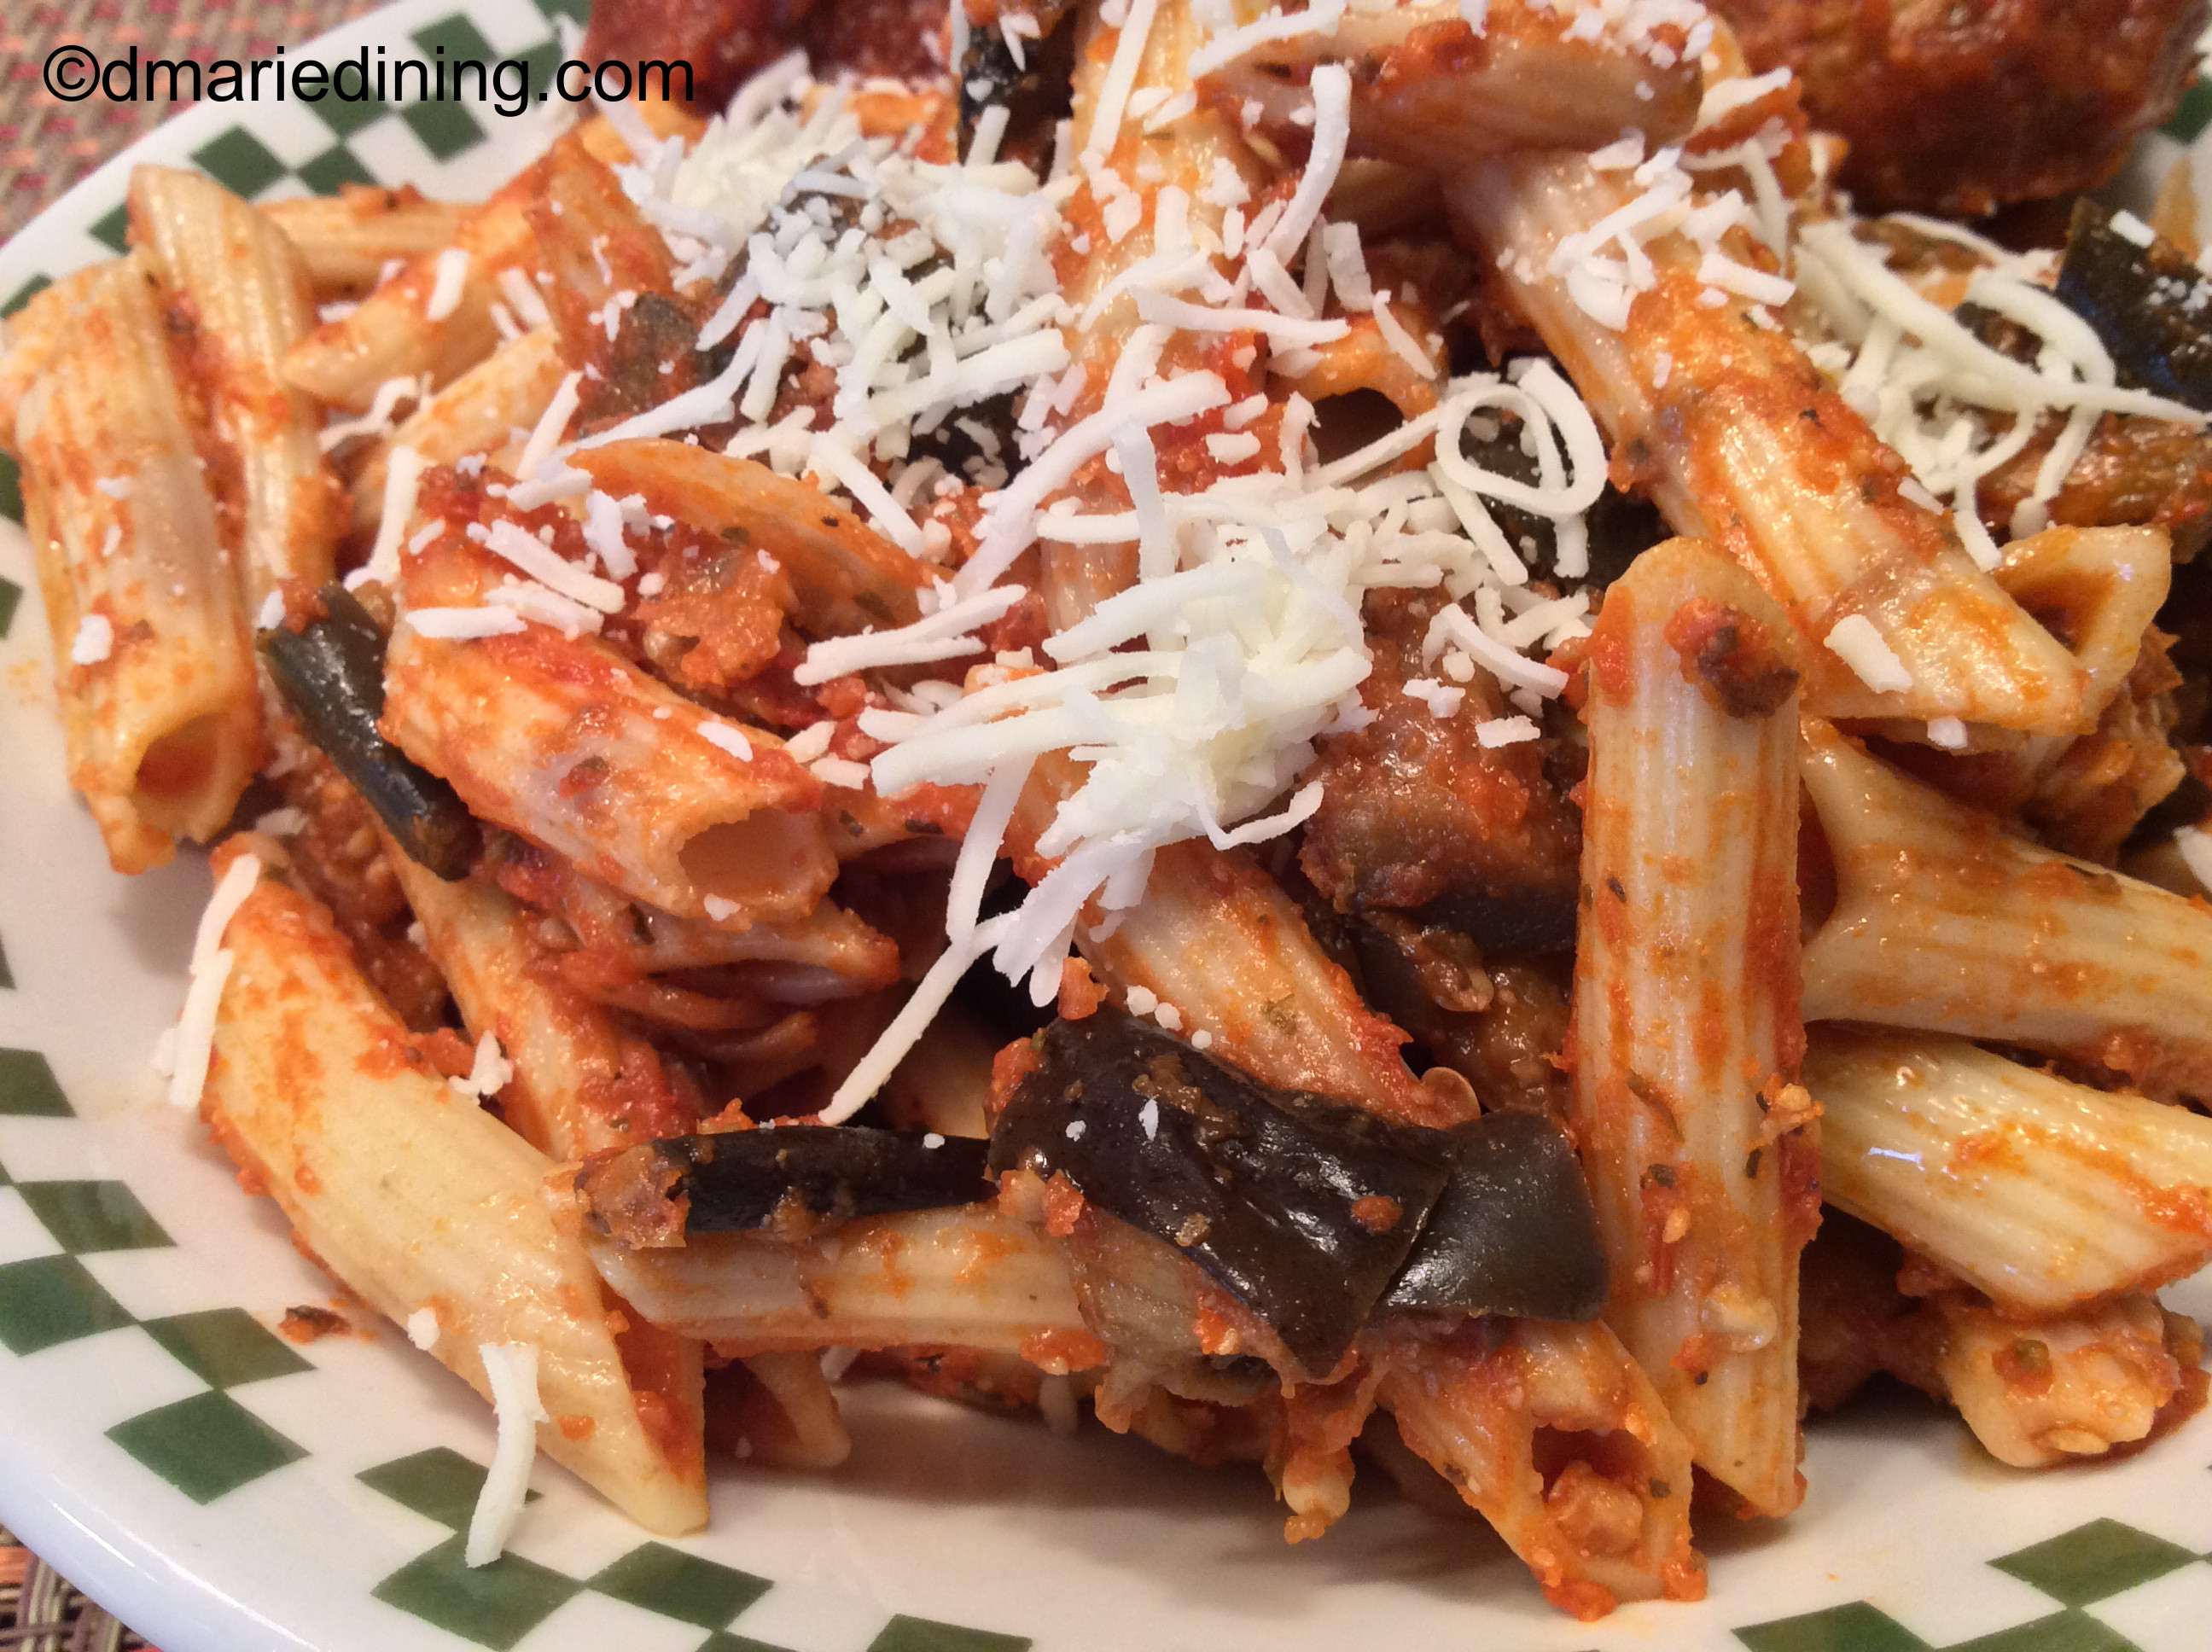
Spicy Meatballs are one of the simplest dishes I have ever made.  Most good chefs/ cooks know how to make a meatball.  Whether you are adding them to pasta or making a meatball sandwich, meatballs are pretty easy to make. The trick is to make them flavorful. This meatball recipe was created to go with my Penne Pasta and Eggplant with Spicy Meatballs on the side.

Follow the link for another delicious recipe.

Spicy Meatballs

Ingredients:

1 package fresh Italian sausage

1 package ground pork

1 package fresh hot sausage

1 egg

¼ cup Parmesan cheese

¼ cup panko bread crumbs

¼ cup milk

2 tsp salt

1 tsp ground black pepper

1 tsp dried basil

1 tsp dried oregano

½ tsp onion powder

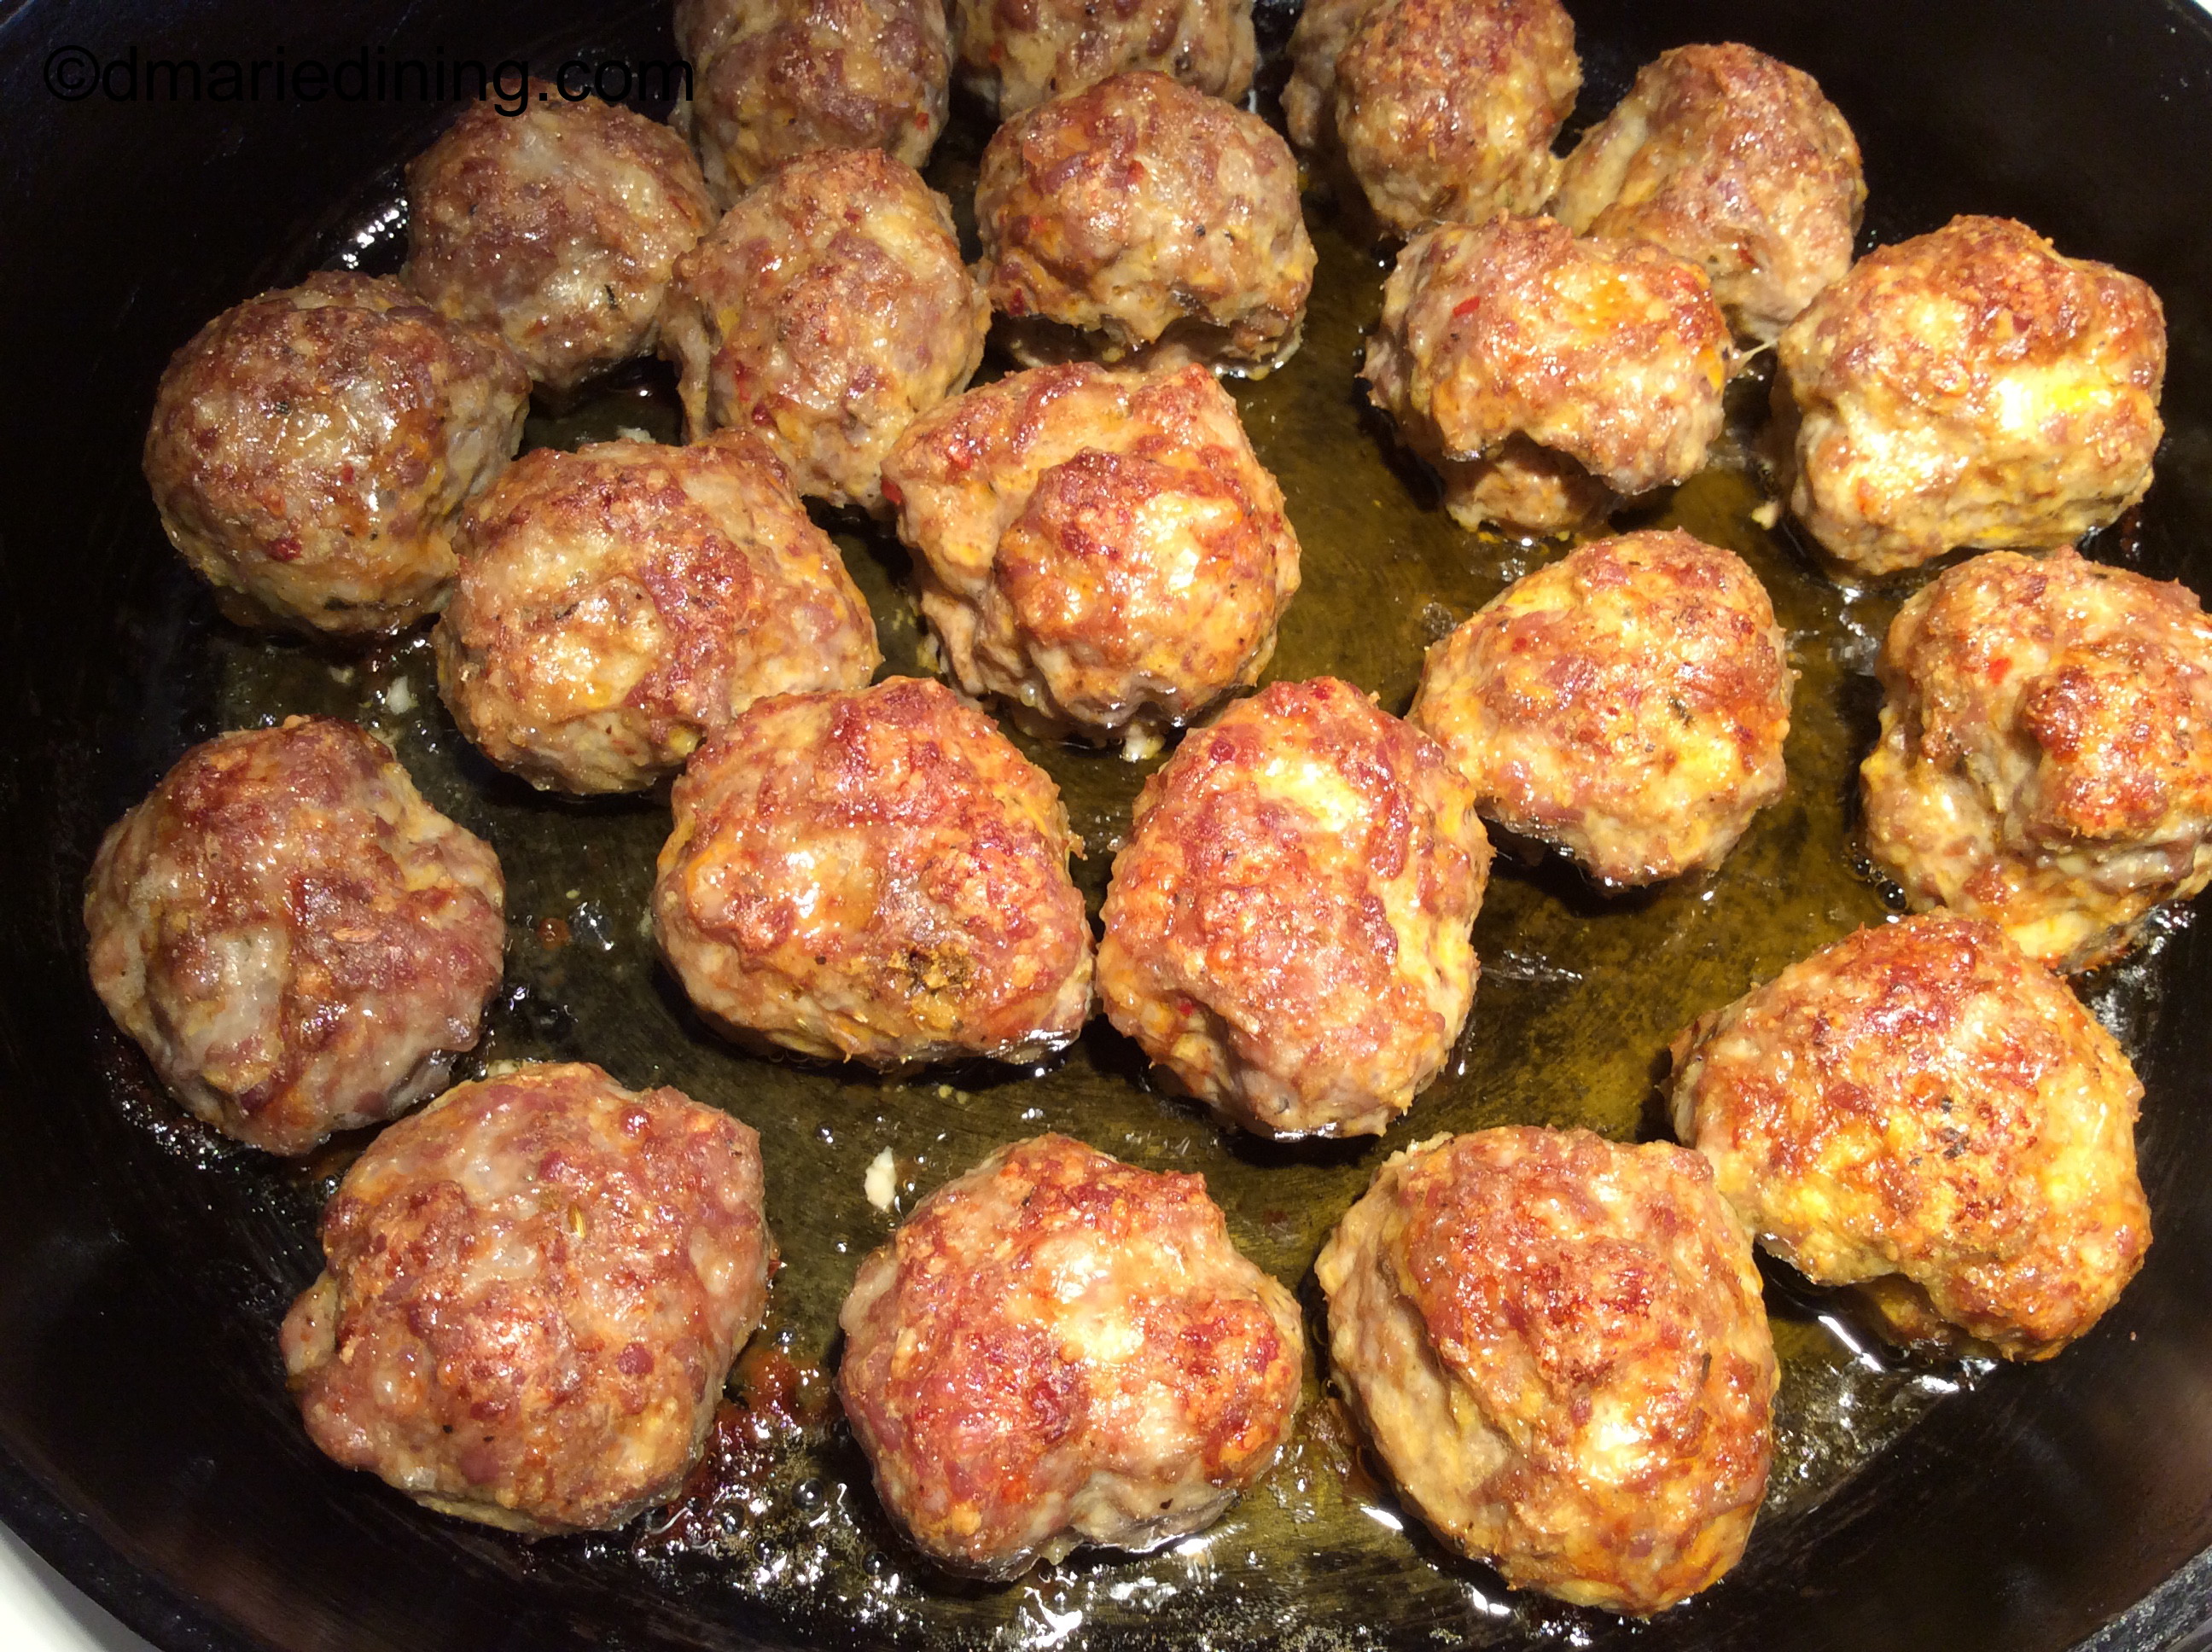
Preheat oven to low broil.

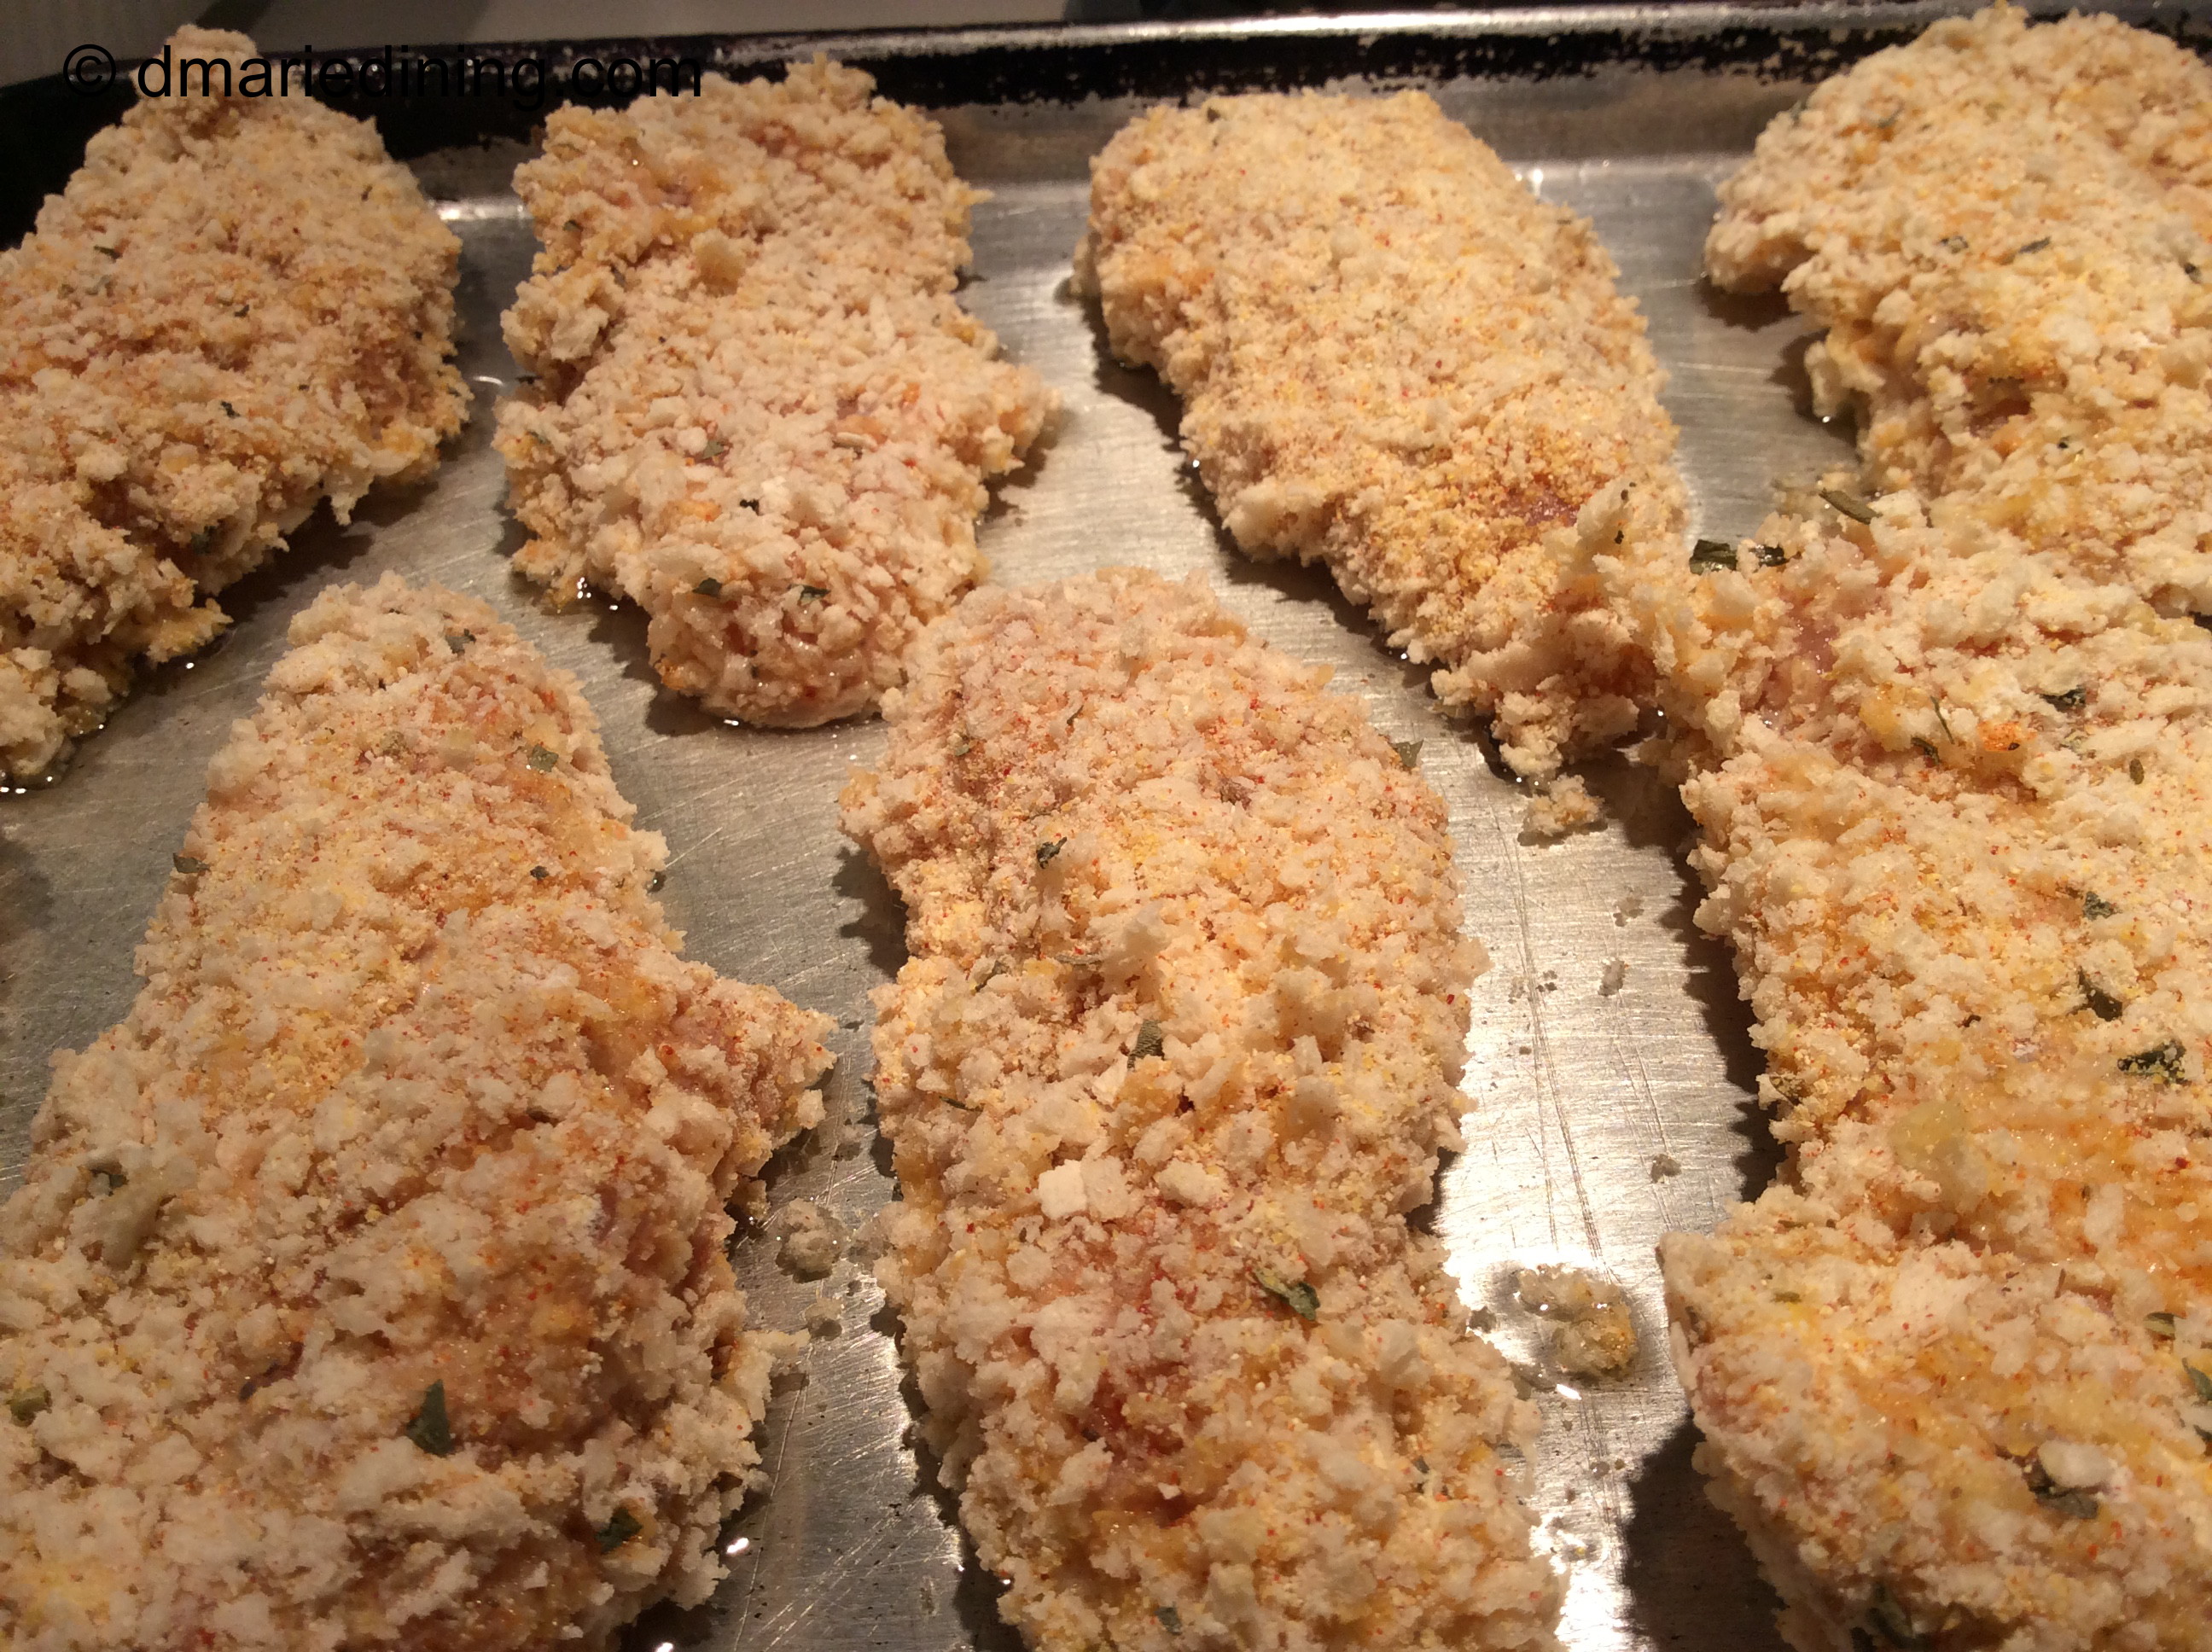
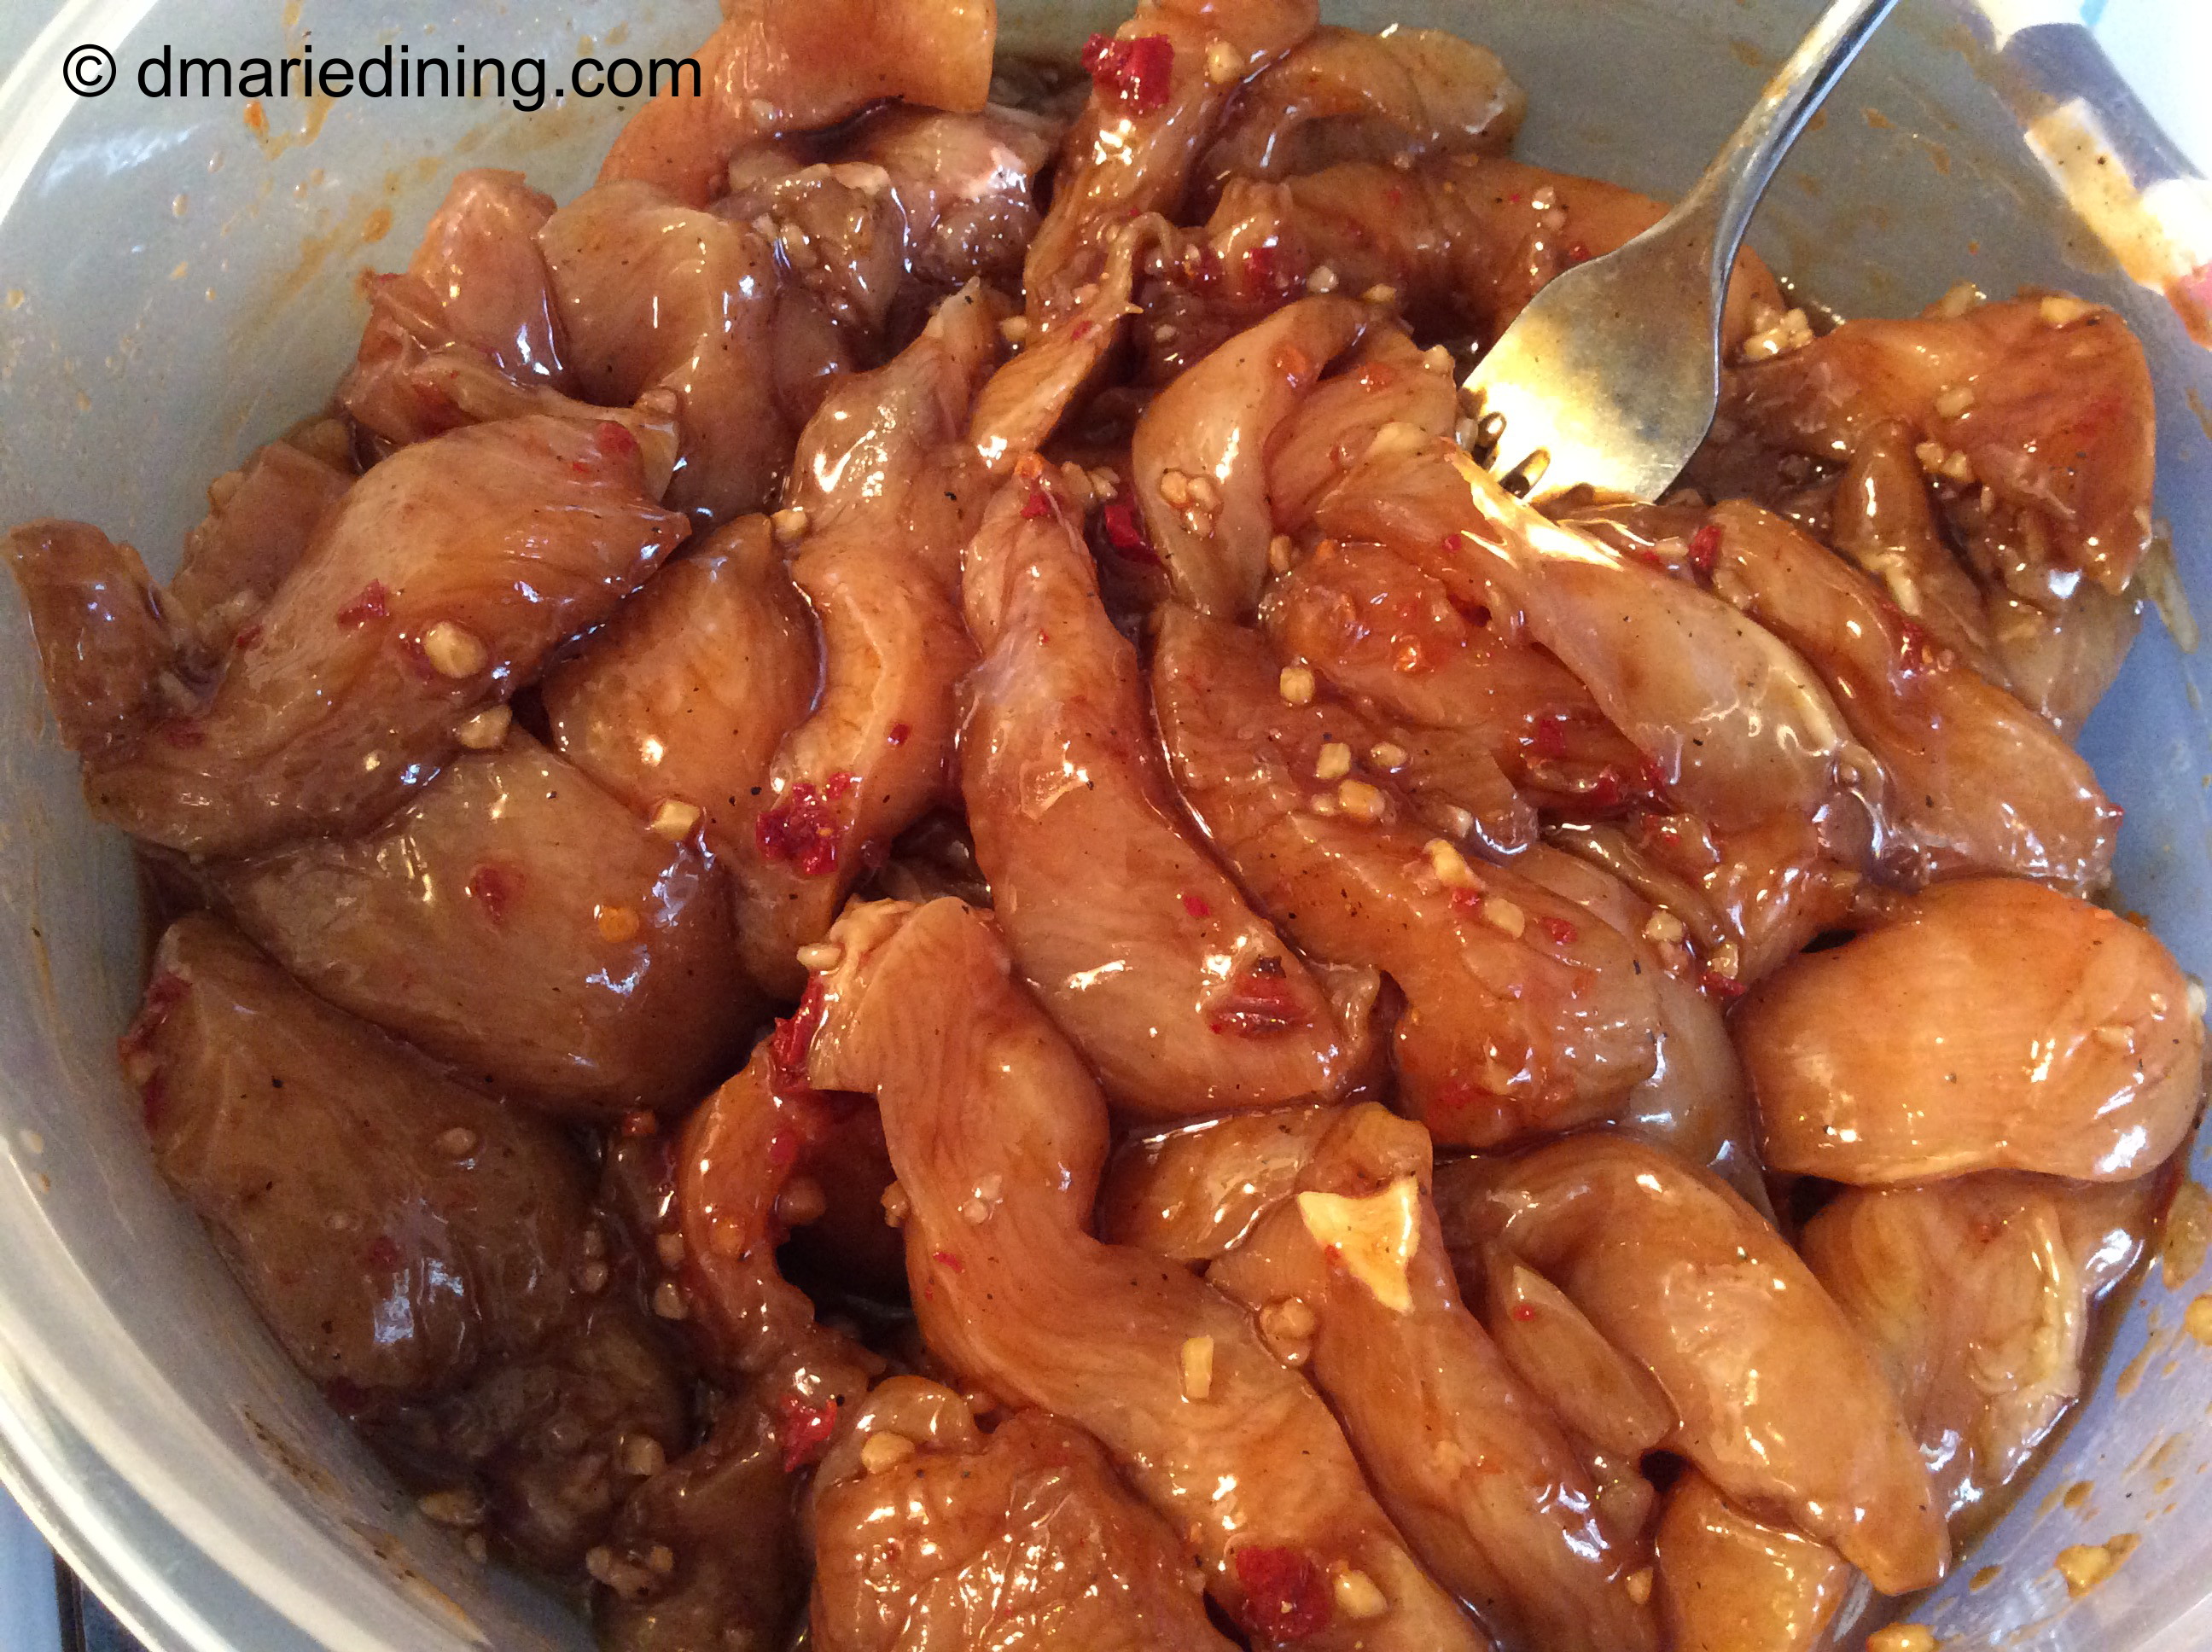
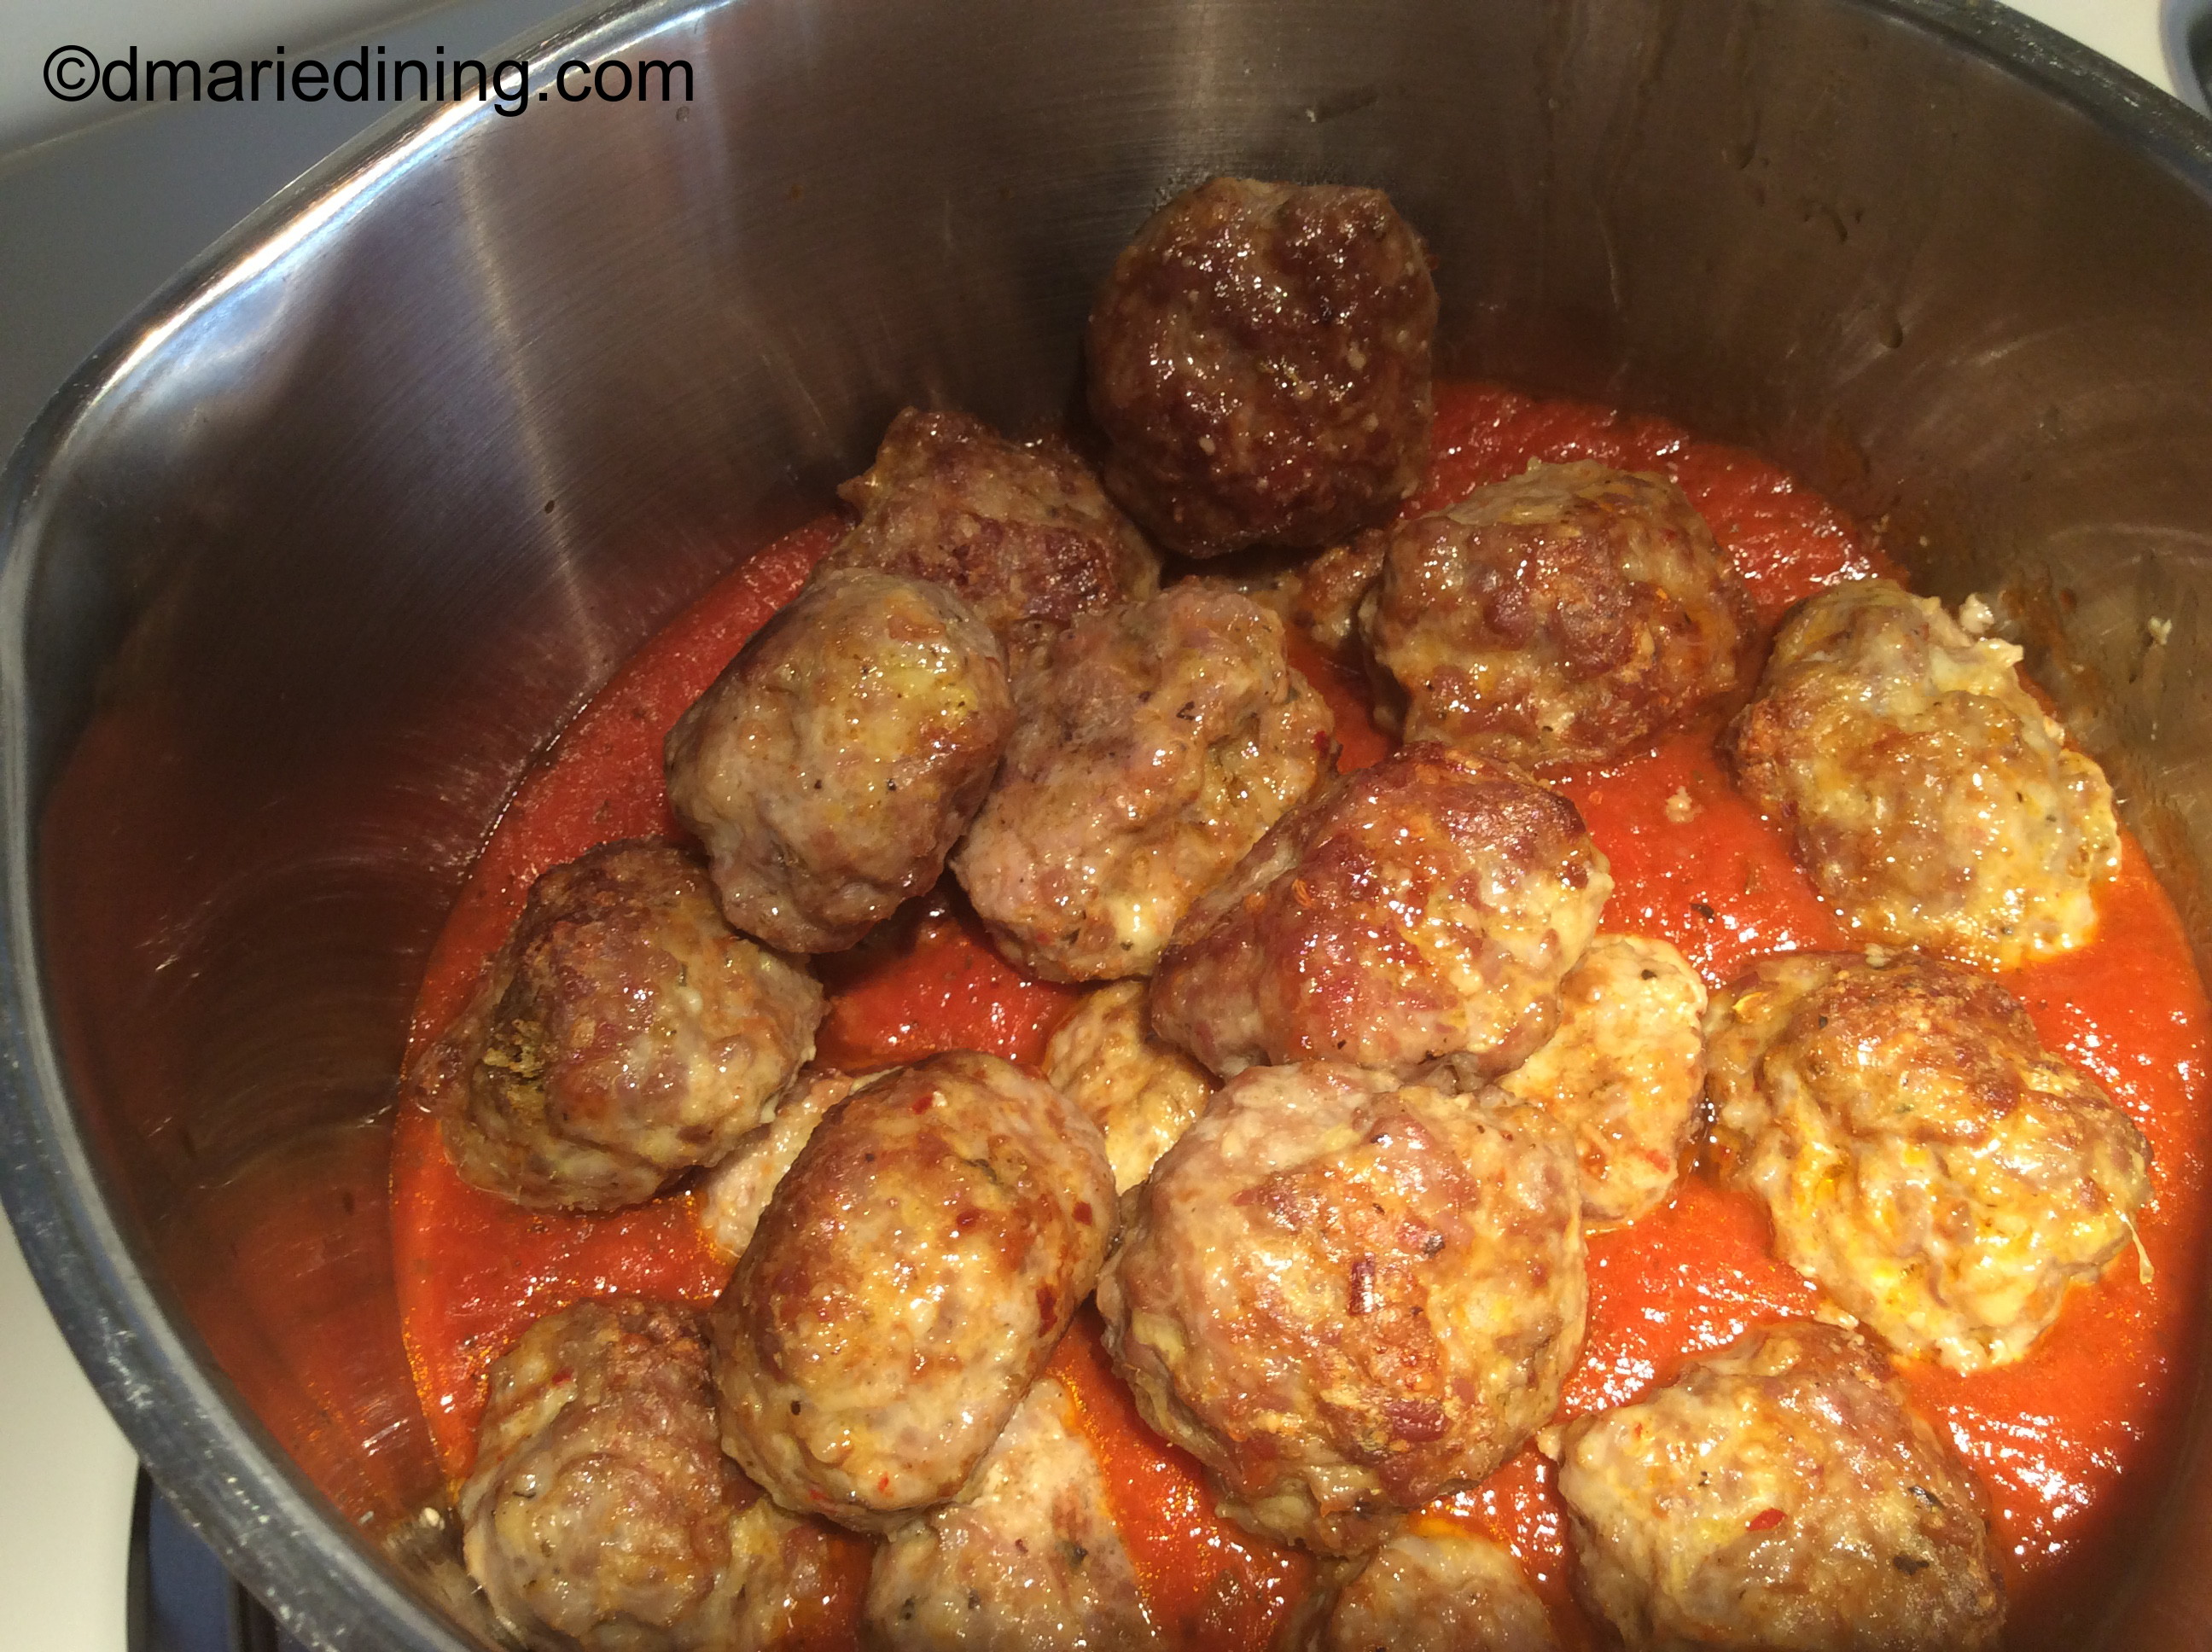
Combine Parmesan cheese, egg and milk in a small bowl. Place meats and seasonings in a large bowl along with panko bread crumbs. Add egg mixture to the meat. Mix well to combine but do not over work the meat. Form into golf ball sized balls (or whatever size you like) and place meatballs in a large iron skillet. Place in the oven and brown the meatballs for about 15 minutes.

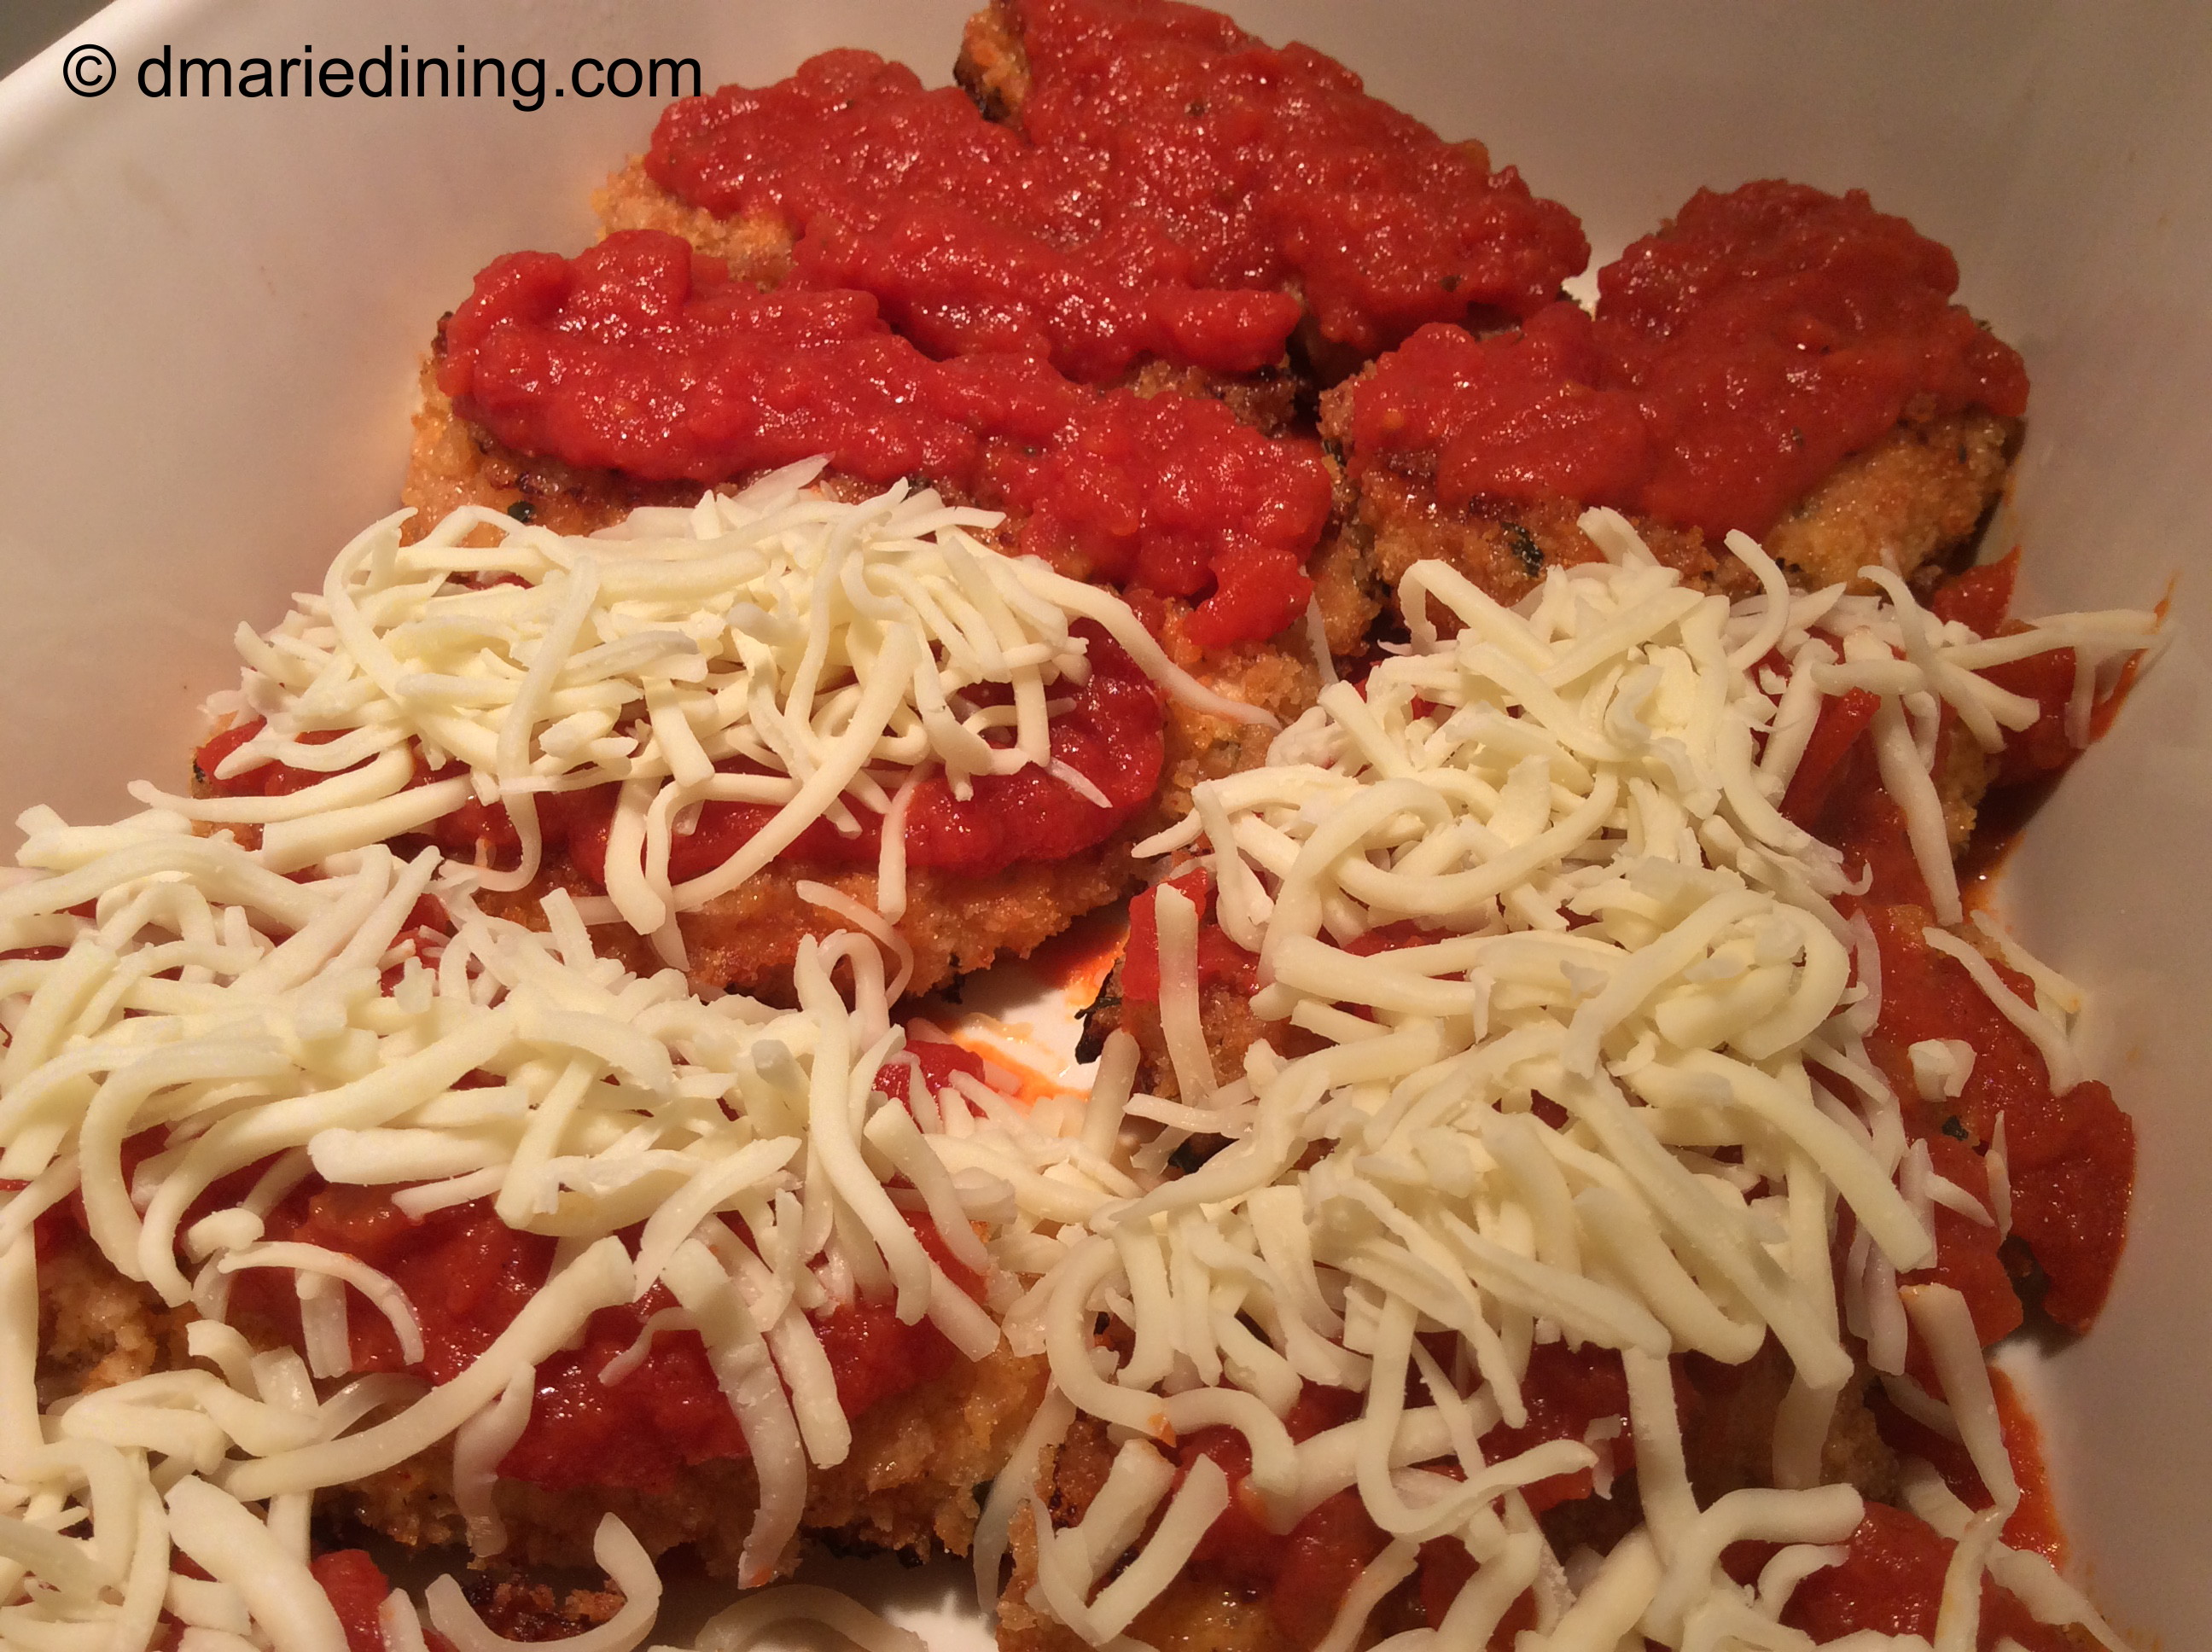
Remove the meatballs and place in a large pot with marinara sauce. Simmer over medium low heat for 30 to 40 minutes until meatballs are cooked all the way through.

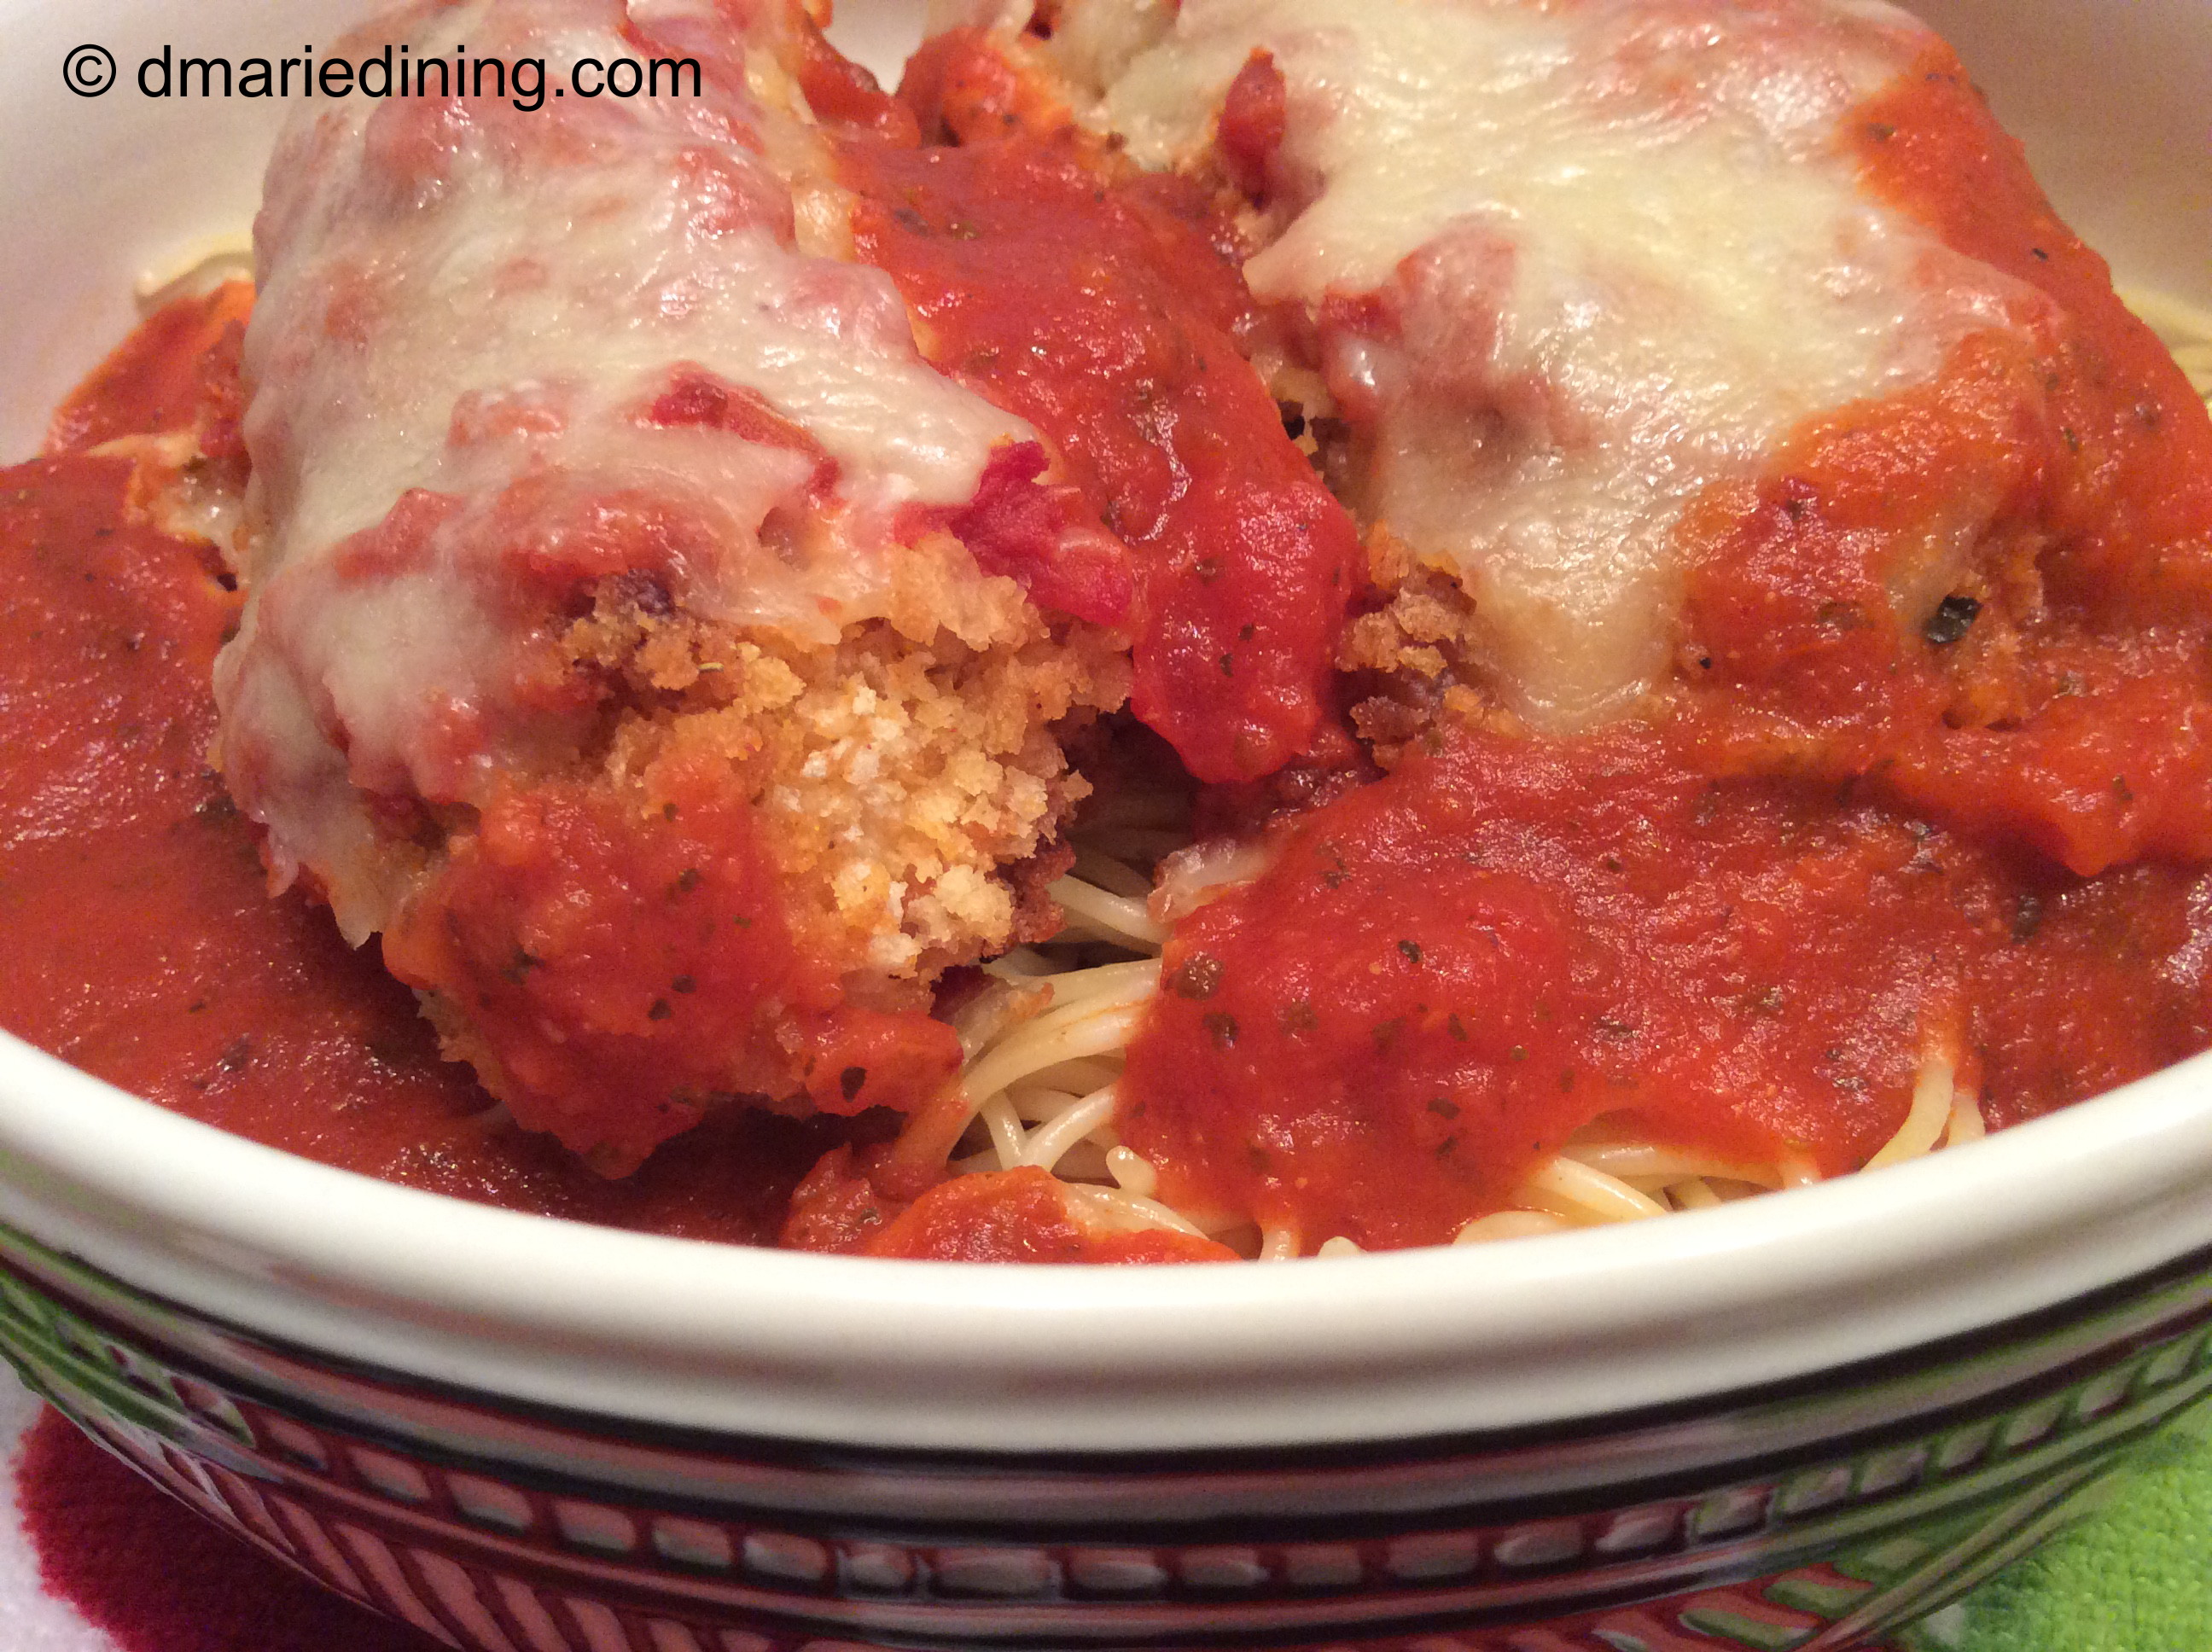
These are good for spaghetti and meatball dishes, meatball sandwiches, appetizers and of course Penne Pasta and Eggplant with Meatballs on the side.

Follow my blog with Bloglovin

Advertisement

Penne Pasta and Eggplant with Spicy Meatballs on the side

This post is dedicated to Kashana who is a foodie like me. Kashana and I met at one of my favorite places – Starbucks. We happen to strike up a conversation about food and since then she has been a visitor to my blog. It is nice when someone outside of family appreciates many of the recipe ideas I have shared over the years.

I have to admit that this recipe was adapted from another recipe I saw on a cooking show. I thought it would be a nice recipe for the days when I wanted a meatless dish that was also quite filling. Adding spicy meatballs on the side was a way for me to please others that liked a meatless dish as well as those that are true carnivores no matter what.

This recipe really came in handy recently when my sister, who is a vegetarian, and brother-in-law joined us for dinner at our house. I was surprised that night when my sister shared that she no longer eats pasta, flour, sugar, etc. Fortunately, I had also prepared blackened salmon because I knew she liked salmon which I figured would go with the pasta. So all was not lost with my dinner menu which included a delicious salad (per the family) along with steamed broccoli topped with melted cheese.

Okay, back to the Penne and Eggplant. Talk about easy. Preparing pasta is usually quick and quite easy by just following the directions on the box. I made sure the pasta was al dente so that it would not be a pile of mush after I baked it a little. Eggplant can be quite watery when you cook it. So, the trick to reducing the amount of moisture in the eggplant is to microwave the cubed eggplant for about 8 minutes on a paper towel. This method worked like a charm. I think I might try this when I make another eggplant lasagna to make it less watery too.

Spicy meatballs on the side allowed me to have a vegetarian dish and the ability to satisfy the carnivore in me and some of my family. The meatballs were also a big hit along with the Penne Pasta and Eggplant. Two for one! Man…. I’m on a roll.  Thank you Kashana for your support.

Penne Pasta with Spicy Meatballs on the side

Ingredients:

2 large eggplant cubed (do not peel)
½ small onion sliced thin

1 box Penne pasta cooked al dente according to package

1 ½ jars marinara sauce

1 cup shredded mozzarella

1 cup grated fresh Parmesan

2 tbsp olive oil

1 tsp sea salt or Kosher salt

1 tsp dried basil

1 tsp dried oregano

¼ tsp onion powder

Cooking Spray

Preheat oven to 350 degrees.

Line a large microwaveable bowl with paper towels. Place cubed eggplant in the bowl and sprinkle with sea salt. Microwave eggplant for 8 minutes. Heat olive oil in a large skillet over medium heat. Add eggplant and sprinkle with black pepper, oregano, basil and onion powder. Saute the eggplant until softened stirring constantly so that it does not burn.

Remove the eggplant from the heat. Spray the bottom of a casserole dish with cooking spray. Pour a little marinara sauce on the bottom of the dish and spread around. Add the Penne pasta to the dish and top with the eggplant, thinly sliced onions and Parmesan cheese. Pour marinara sauce over the top and gently mix to combine the eggplant, pasta and cheese. Add more sauce if the pasta seems too dry. Top with the shredded mozzarella cheese then bake for 20 to 30 minutes until the cheese has melted and pasta is heated throughout. Serve immediately with the Spicy Meatballs and a healthy salad.

Follow my blog with Bloglovin

Parmesan Chicken Fingers

One of my youngest son’s favorite meals is Parmesan chicken. He likes chicken and he loves pasta. Put the two together and he is extremely happy with dinner. I also enjoy Parmesan chicken (light on the pasta) but sometimes a big fat chicken breast is too much for me. Okay, I will admit I go for the chicken breast first when I eat fried chicken but that is a different kind of meal.

I decided to alter my recipe for Parmesan chicken by substituting chicken fingers for a full chicken breast. Thus, Parmesan Chicken Fingers was born. Using the chicken fingers allows everyone to choose exactly the right portion of meat for their appetites rather than filling their plates with a large single chicken breast.

To add an extra layer of crispiness to the chicken fingers I mixed in a little ground cornmeal with the panko bread crumbs for the coating. I wasn’t sure I could pull this one off with my taste testers but the guys loved it. Sometimes you just have to sneak in something new to a recipe and then sit back and wait for the reactions. I got the idea to add fine ground cornmeal from one of the many cooking shows I like to watch. I think the chef was making fried chicken (yeah, I went back to talking about fried chicken) and added cornmeal to the coating to add an extra layer of crunch. It looked so good on the plate I figured it would be good on my Parmesan Chicken Fingers too.

Bottom-line …. it worked! Such an easy recipe and thankfully a tasty one too.

Parmesan Chicken Fingers

Ingredients:

2 packages chicken fingers

2 eggs

1 jar spaghetti sauce

1 cup shredded mozzarella cheese

½ cup panko bread crumbs

½ cup flour + 1 tbsp

½ cup frying olive oil or vegetable oil

¼ cup finely ground cornmeal

¼ cup grated Parmesan cheese

2 tbsp milk

1 tbsp flour

1 tbsp salt

½ tbsp ground black pepper

½ tsp red pepper flakes (optional)

Preheat oven to 350 degrees.

Season chicken fingers with salt and pepper. Place ½ cup flour on a plate and set aside. Beat eggs with milk and set aside.

Mix panko bread crumbs, cornmeal, 1 tbsp flour, grated Parmesan cheese and red pepper flakes in a bowl.

Dredge chicken in flour (shake off excess) then dip in egg mixture. Roll in bread crumbs and place on a cookie sheet to rest.

Heat oil in a no stick frying pan over medium heat. Test the oil to see if it is hot by place the thick end of a chopstick in the center of the pan. It you see rapid bubbles then the oil is hot (Thanks for the tip Mama Noi). Fry the chicken in batches until lightly golden brown. Drain on a paper towel.

Place chicken in a casserole dish and drizzle with spaghetti sauce and top with mozzarella cheese. Bake for 15 – 20 minutes until cheese is melted and golden. Serve with pasta.

P.S. For the grand kids I make Parmesan Chicken Fingers with a honey mustard or BBQ dipping sauce.

Follow my blog with Bloglovin

No Bun Needed Bacon Cheese Burger

Part of my new journey and change in eating habits is to minimize the amount of carbs we eat on a daily basis. Instead of eating bread for breakfast and having a sandwich for lunch then pasta for dinner, we have fruit smoothies or oats for breakfast. Lunch may be a variety of homemade soups that are quick and easy to make. Dinner is the usual chicken or fish with beef or pork thrown in a couple of times a month to break up the monotony of eating chicken. We also changed from eating white rice to mainly eating brown rice. Brown rice can be bland but I kick up the taste with teriyaki sauce and scallions.

Okay, back to my No Bun Needed Bacon Cheese Burger. Since we are doing our best to eliminate carbs as much as possible I tossed the bun on our turkey cheese burgers ad put the burgers on a bed of mixed greens then topped them off with a fried egg. If you are like my hubby, you will enjoy a soft fried egg so that when you dig into it the yolk runs over the burger and makes the meal even more delicious.

Who needs bread when you can create a delicious No Bun Needed Burger!

No Bun Needed Bacon Cheese Burger

Ingredients:

1 lb ground turkey meat

6 slices of bacon cooked, cut in half

4 eggs (fried to your liking)

4 slices pepper jack cheese

2 plum tomatoes sliced

1 pkg mixed greens

½ small onion diced

2 tbsp olive oil

1 tbsp Worcestershire sauce

1 tsp salt

1 tsp black ground pepper

½ tsp onion powder

Saute onions in 1 tbsp olive oil over medium high heat until softened. Set aside.

Place ground turkey in a large bowl. Add onions, Worcestershire sauce and seasonings. Mix together well then form 4 turkey patties.

Add remaining olive oil to the same pan used to saute the onions and turn heat to medium high. Cook turkey patties for 2-3 minutes on each side until burgers are nicely browned and cooked all the way through. Remove from the heat and top each with a slice of pepper jack cheese. Cover the burgers then fry the eggs to your liking.

Place mixed greens into four bowls. Place a turkey burger in the middle of each bed of greens then top it with a fried egg. Add bacon and tomatoes around the bowl and dress the greens with your favorite salad dressing. I recommend Gazebo Room Greek Salad Dressing and Marinade. You cannot go wrong with this fantastic dressing.

Enjoy!

Follow my blog with Bloglovin

Chicken Stir Fry

Stir fry dishes are one of the easiest things to make for dinner on a busy night or any night. My version of Chicken Stir Fry was developed over time as I played with different flavors and levels of heat. I had to find a happy medium for the family as my taste buds like low to medium heat and the rest of the family like burn your mouth levels of heat. Since I wanted to enjoy the dish along with the family I went with medium heat with a side of hot chili oil for the everyone else to add to their bowls of stir fry.

If you don’t have a wok, I would suggest investing in one because you can make a variety of dishes in this one tool wonder. Woks are easy to clean and can take a lot of heat. Of course, if you don’t have a wok or don’t want to invest in one, you can stick to using a large skillet for creating your stir fry dishes.

The key to making a flavorful stir fry is in the marinade. The longer you marinade the chicken or any other meat, the more intense the flavor becomes. At a minimum marinade your meat for 30 minutes and if you can plan ahead, marinade it overnight. Overnight marinading also helps to tenderize the meat (just a few useful tips).

From start to finish I can have dinner ready in an hour for the hungry crew on Chicken Stir Fry night. Talk about Healthy, Quick and Easy! I love it.

Chicken Stir Fry

Ingredients:

2 – 3 chicken breasts cut into thin strips

1 package snow peas

1 small green pepper large dice

1 small broccoli crown cut into florets

1 small onion diced

1 cup shredded carrots

½ cup chicken broth

½ cup crispy chow mein noodles

1 small can water chestnuts drained

3 tbsp hoisin sauce

3 tbsp oyster sauce

2 tbsp Thai style sweet and spicy sauce

2 tbsp garlic chopped

2 tbsp soy sauce

2 tbsp olive oil

1 tbsp corn sauce

1 tsp minced ginger

1 tsp black pepper

½ tsp red chili flakes (optional)

Marinade:

Place chicken in a medium sized bowl. Mix together Thai style sweet and spicy chili sauce, 1 tbsp garlic, ginger, soy sauce and corn starch in a separate bowl. Pour mixture over chicken and massage into the meat. Cover with plastic wrap and marinade in the refrigerator for at least 30 minutes or overnight.

To cook stir fry:

Heat oil in wok or large skillet over medium high heat. Add chicken and stir until chicken is no longer pink but not totally cooked through. Remove chicken and place in a bowl. Set aside. Add a little more oil to the wok if necessary then add carrots, snow peas, onions and broccoli. Cook for 2 – 3 minutes stirring constantly until vegetables begin to soften. Add chicken broth, water chestnuts and chicken to the vegetables along with the sauces and red chili flakes. Stir and cook an additional 3 – 5 minutes until chicken is fully cooked through. Serve in bowls over rice, ramen or udon noodles. Top with crispy chow mein noodles.

Follow my blog with Bloglovin

Teriyaki Baby Back Ribs

Ribs, ribs and more ribs. Okay, so you may be wondering how many rib recipes can there possibly be in the world. Well, the short answer is a lot! Granted, my family does not eat ribs often but when we do I like to try different sauces instead of using bbq sauce all of the time.

Teriyaki Back Back Ribs are a new favorite flavor whenever we get tired of traditional bbq and don’t feel like firing up the grill. Ribs can taste great whether you char them on the grill or bake them in the oven. One is just less time consuming to prepare. Baking ribs means you can do minimal work up front then stick them in the oven to bake low and slow. After that you can move on to doing something else productive like blogging.

If you like Asian flavors, you will enjoy Teriyaki Baby Back Ribs. P. F. Chang has become my  favorite teriyaki sauce because of the subtle hint of garlic, the slight tang of ginger and the sweetness of brown sugar. I use it as a marinade, glaze for pork, chicken or salmon and for a teriyaki brown rice side dish I recently made.

Whatever brand of teriyaki sauce you decide to use you cannot go wrong making a rack of ribs with a teriyaki twist.

Teriyaki Baby Back Ribs

Ingredients:

1 rack pork baby back ribs sliced
1 bottle P.F. Chang Teriyaki sauce
1 small onion sliced
1 cup water
2 tbsp vegetable oil
1 tbsp worcestershire sauce
1 tbsp salt
1 tsp ground black pepper
1 tsp smoked paprika
1 tsp garlic powder
1 tsp onion powder

Preheat oven to 325 degrees.

Season ribs with seasonings. Heat vegetable oil over medium high heat in a non stick frying pan. Brown ribs on all sides. Place ribs and onions in dutch oven. Add water then pour teriyaki sauce over the ribs. Cover and back for 1 ½ – 2 hours until ribs are tender and cooked through.

Follow my blog with Bloglovin

Salad with Crispy Prosciutto

My hubby and I have started on a new journey to eat a little healthier than we have in recent months. Because I enjoy cooking and love to build on flavors I used butter, sugar and bacon as a great source of flavor. Fast forward to a few weeks ago which is when our journey began and that all changed.

I really wanted to lose weight and find ways of cutting out the things I knew added loads of calories but tasted so doggone good. I finally got my mind, body and spirit in sync to commit to a different lifestyle of eating. To do this I (we) had to jump in feet first and do it in “cold turkey” fashion. I did my research and found a plan that eliminated my usual fare and replaced it with other flavors that are just as tasty and still doggone good.

One substitute I made on my journey is to use prosciutto instead of bacon as a topping for salads. We eat salads year round and making a BIG SALAD for dinner is our favorite on hot summer days. Rather than crisping up a few slices of bacon and crumbling them over the salad, I now heat up a little Extra Virgin Olive Oil (my new substitute for butter) and crisp up prosciutto. Just chop up those crispy pieces then sprinkle them over a nice salad and you will be in salad heaven.

Okay, I can hear a few critics say wait a minute. Doesn’t prosciutto have more salt than bacon? The answer is yes. Prosciutto is saltier than bacon but has less calories and saturated fat. Of course, like everything else, prosciutto should be eaten in moderation. A few slices won’t hurt you and it will add a nice flavor to your salad without adding extra calories and fat like bacon.

Give it a try and see for yourself that prosciutto can be your new source of flavor.

Follow my blog with Bloglovin

Orange Cauliflower Soup

I love it when a new idea comes together on the first try and is a hit with the family. I just decided to make a cauliflower soup today because I had a head of cauliflower and I needed to make something with it before it was no longer edible. A nice soup came to mind because although we have been having nice warm weather during the day it is a little chilly at night. Besides, I can eat soup any day of the year because I just love soup!

I am calling this one Orange Cauliflower Soup because I used diced red peppers in the soup which made it turn a pale orange color. I was not sure how everyone else would react to the color but I liked it so….. Orange Cauliflower Soup was born. Just making cauliflower soup was not enough. I wanted to add a slight richness to the soup and decided what better way to make it taste rich without a ton of calories than to add a little cheese. I think I have had cheesy cauliflower soup in the past but it was a little too rich for my blood. Adding just a little cheese keeps the calories down, adds thickness to the soup and definitely adds another level of flavor.

Whenever I put together a post I have to set up the food and take pictures of each step of the process. The last step of course is taking a picture of the finished product. After taking a picture of my new creation I figured I would clean up the kitchen so that I could enjoy a bowl of soup without thinking about the slight mess I had made. Well, my youngest son descended upon the kitchen with his girlfriend and immediately wanted to know if I had taken my last picture of the soup. I didn’t think he wanted to eat it (silly me) but he asked if he could taste it. Of course I said sure since I always need a taste tester for my recipes. The first words out of his mouth were “This is what I am going to miss!” That put a smile on my face because he is headed to college in a few months and I know he is going to miss my home cooking. My smile got even bigger when his girlfriend asked if she could try it and again I said sure. She said it was delicious and being the mom that I am I told her to take some home. Seems the soup fairy was on my side today and gave me a hit recipe on the first try. Thanks soup fairy!

Orange Cauliflower Soup

Ingredients:

1 medium head of cauliflower cut into small pieces

1 small onion diced

½ red pepper diced

4 cups chicken broth

1 cup water

1 cup milk

1 cup shredded monterey and/or Colby jack cheese

1 tbsp olive oil

3 tbsp butter

2 tbsp flour

1 tbsp salt

1 tsp black pepper

1 tsp garlic powder

½ tsp parsley

½ tsp basil

½ tsp red pepper flakes

Heat olive oil in a large pot over medium high heat. Add diced onions and red peppers. Saute until slightly browned. Add seasonings and stir. Add cauliflower and stir to mix with onions and peppers. Cook for 2 – 3 minutes. Add chicken broth and water. Stir then bring to a boil. Reduce heat to medium and cover. Let simmer until cauliflower is soft. Using an immersion blender, blend cauliflower until smooth but leave a few florets to create texture. Turn heat down to low.

In a small pan melt butter and add flour. Whisk until flour and butter are blended and form a paste. Add milk and whisk until sauce is thickened. Season with a little season salt and black pepper. Add white sauce to cauliflower and whisk to blend. Stir in cheese. Continue stirring until cheese is well blended into the soup. Taste to see if a little more salt or black pepper is needed.

Enjoy!

Follow my blog with Bloglovin

Lentil and Carrot Ginger Soup

Sometimes you just have to cheat. Not cheat other people or cheat in the sense of doing something wrong. I mean cheat by not making everything from scratch. Making my Lentil and Carrot Ginger Soup was one of those times I decided to cheat. At least, partially. This soup is a combination of dried lentils and a box of carrot and ginger soup.

I am not usually a fan of boxed soups but Trader Joe’s has a nice brand of soups I have used in other recipes upon occasion. I have passed over their Carrot and Ginger soup many times but decided to take a chance on combining it with the lentil soup I make for me and hubby.

Creating soup is about building flavors. Combining the light flavor of lentils with the sweet taste of carrots along with the sharp taste of ginger spells yummy. Being the carnivore that I am, I added diced Pancetta to build even more flavor. My vegetarian brothern can keep it simple and not include meat in this soup. But, if you are not opposed to meat, I think you will enjoy the flavors and texture with the Pancetta. Add some crusty bread on the side of your bowl and you will have a wonderful hearty soup for those chilly or even warm days.

Lentil and Carrot Ginger Soup

Ingredients:

4 cups chicken broth

1 ½ – 2 cups dried yellow lentils (rinsed in cold water)

1 cup shredded carrots

1 cup cubed pancetta (optional)

½ cup diced onions

1 box Carrot Ginger Soup (Trader Joe’s)

1tbsp olive oil

1 tbsp salt

½ tbsp ground black pepper

½ tbsp Adobo seasoning

1 tsp dried parsley

¼ tsp cumin

¼ tsp cayenne pepper (optional)

Place olive oil, pancetta, onions and carrots in a large pot over medium heat. Saute the carrots, onions and pancetta for about 3 – 5 minutes stirring frequently. Add broth, seasonings and lentils to the pot and let simmer for 30 minutes stirring occasionally. Add a little water if the soup gets too thick during the 30 minutes. After 30 minutes stir in the box of carrot and ginger soup. Reduce heat to low and let simmer for an additional 20 minutes.

Serve with crusty bread or croutons.

Follow my blog with Bloglovin

Roasted Tomatoes and Artichokes Pizza

Roasted Tomatoes and Artichokes Pizza

Homemade pizzas don’t have to be boring. By boring, I mean using only the basics like pizza sauce, cheese and pepperoni. I have nothing against a basic pizza. But, when I make pizzas at home I like to pair different veggies or add chicken or prosciutto instead of pepperoni. I also substitute pesto for the pizza sauce.

One of my favorite homemade pizzas is Roasted Tomatoes and Artichokes Pizza. Roasting the tomatoes brings out the natural sweetness of the fruit. Yes, tomatoes are classified as a fruit not a vegetable. Of course, there is an ongoing debate about that but it really doesn’t matter. All I know is that freshly roasted tomatoes are delicious. Combining the artichokes with the roasted tomatoes just increases the deliciousness of the pizza. I have tried different types of tomatoes in this recipe and depending on the tomato the flavor is slightly different.

Ultimately, I prefer using Caperelli tomatoes but I also enjoy Roma tomatoes on this pizza. Hot house or beefsteak tomatoes don’t fair well with this recipe but in a pinch use whatever you have available.

Like all pizzas this one is versatile. Add roasted chicken for protein or even pepperoni if you feel a pizza isn’t really a pizza without it. For my vegetarian friends, I think you will want to add my Roasted Tomatoes and Artichoke pizza to your list of homemade pizza ideas.

Roasted Tomatoes and Artichokes Pizza

Ingredients:

2 containers Caperelli tomatoes quartered

1 jar marinaded artichokes

1 small red onion sliced thin

1pkg ready made pizza crust (Trader Joe’s)

1 ½ cups mozzarella cheese shredded

2 tbsp extra virgin olive oil

2 tbsp basil or tomato pesto (optional)

1 tsp salt

1 tsp black pepper

1 tsp dried oregano

½ tsp red pepper flakes (optional)

¼ tsp onion powder

cooking spray

Preheat oven to 400 degrees.

Spray rimmed baking sheet with cooking spray. Place tomatoes, artichokes and red onions on the baking sheet. Sprinkle with olive oil, salt, black pepper and onion powder. Gently toss to coat veggies with olive oil and seasonings. Bake for 20 – 25 minutes until veggies are roasted. Remove from the oven and let cool for 3 – 5 minutes.

Pre Pizza Crust:

Place pizza crust ona baking sheet and spread crust with pesto. Sprinkle a little cheese over the pesto. Spread roasted tomatoes, artichokes and red onions over the cheese then sprinkle with remaining cheese, dried oregano and red pepper flakes. Place in the oven and bake until cheese melts and turns slightly golden brown (approximately 5 minutes).

Remove from the oven and let cool for 1 minute then slice.


Follow my blog with Bloglovin