Category Archives: Pasta and Grains

Italian Sausages, Peppers and Zucchini

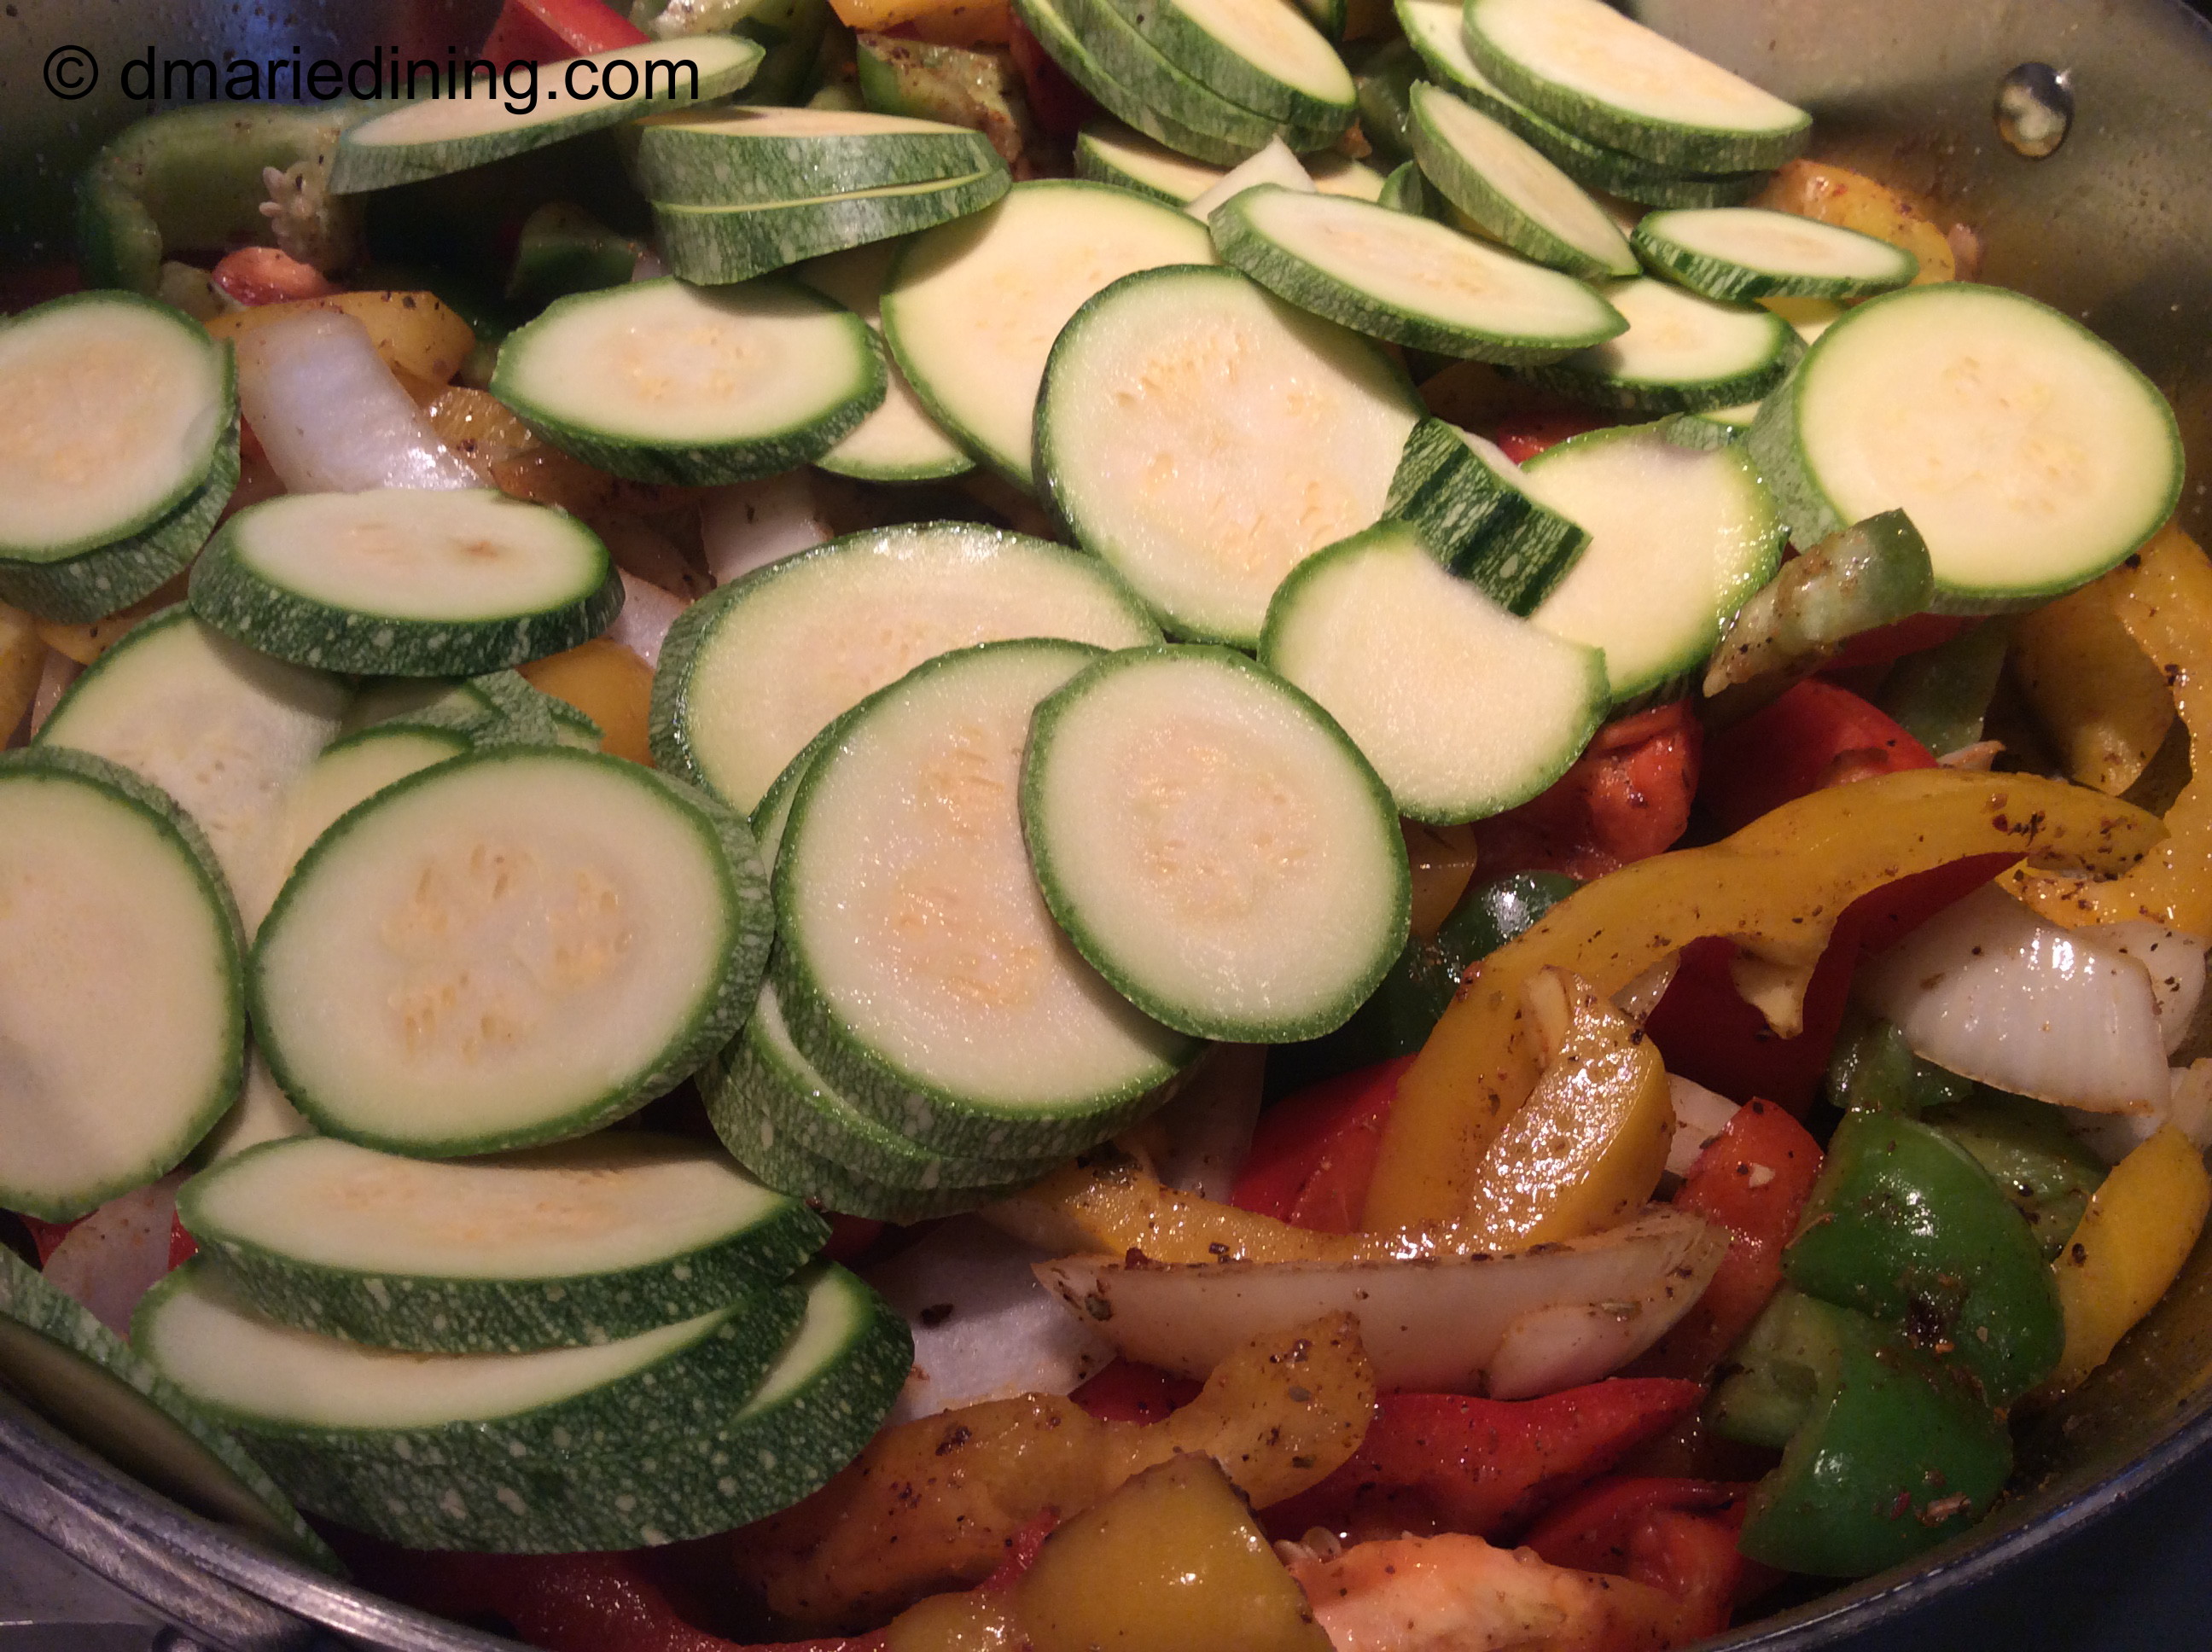
The other day I went to a local apple orchard to pick up some delicious seasonal apple cider and spotted some cute marbled zucchini in the general store. I’m not sure if they are called marbled zucchini but they looked like they were marbled and much smaller than regular zucchini.

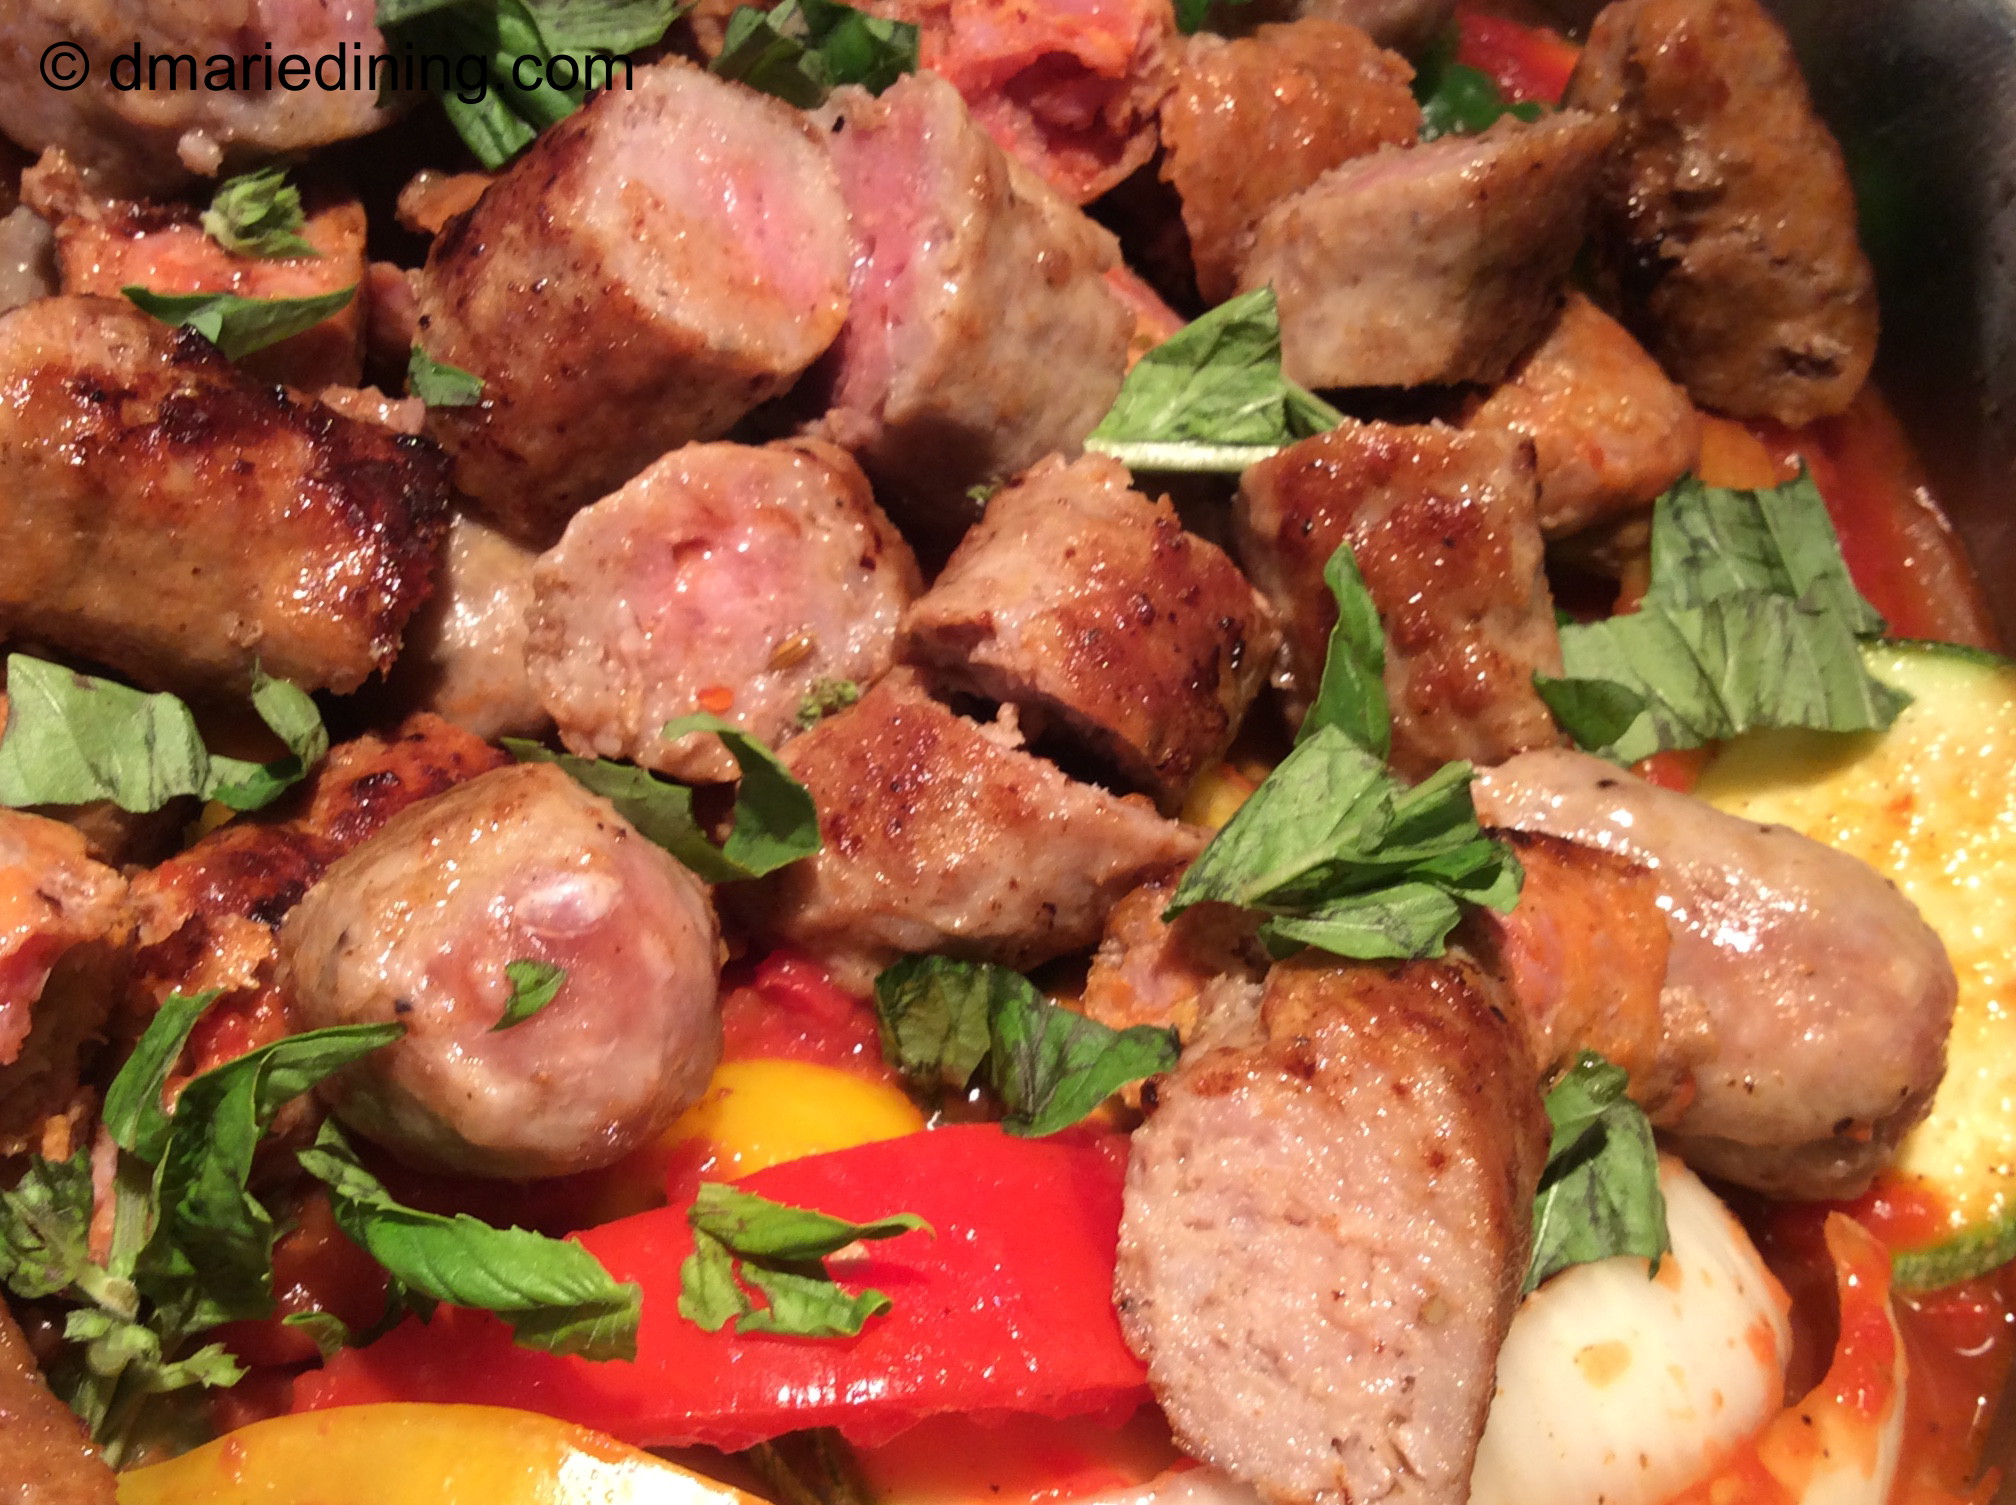
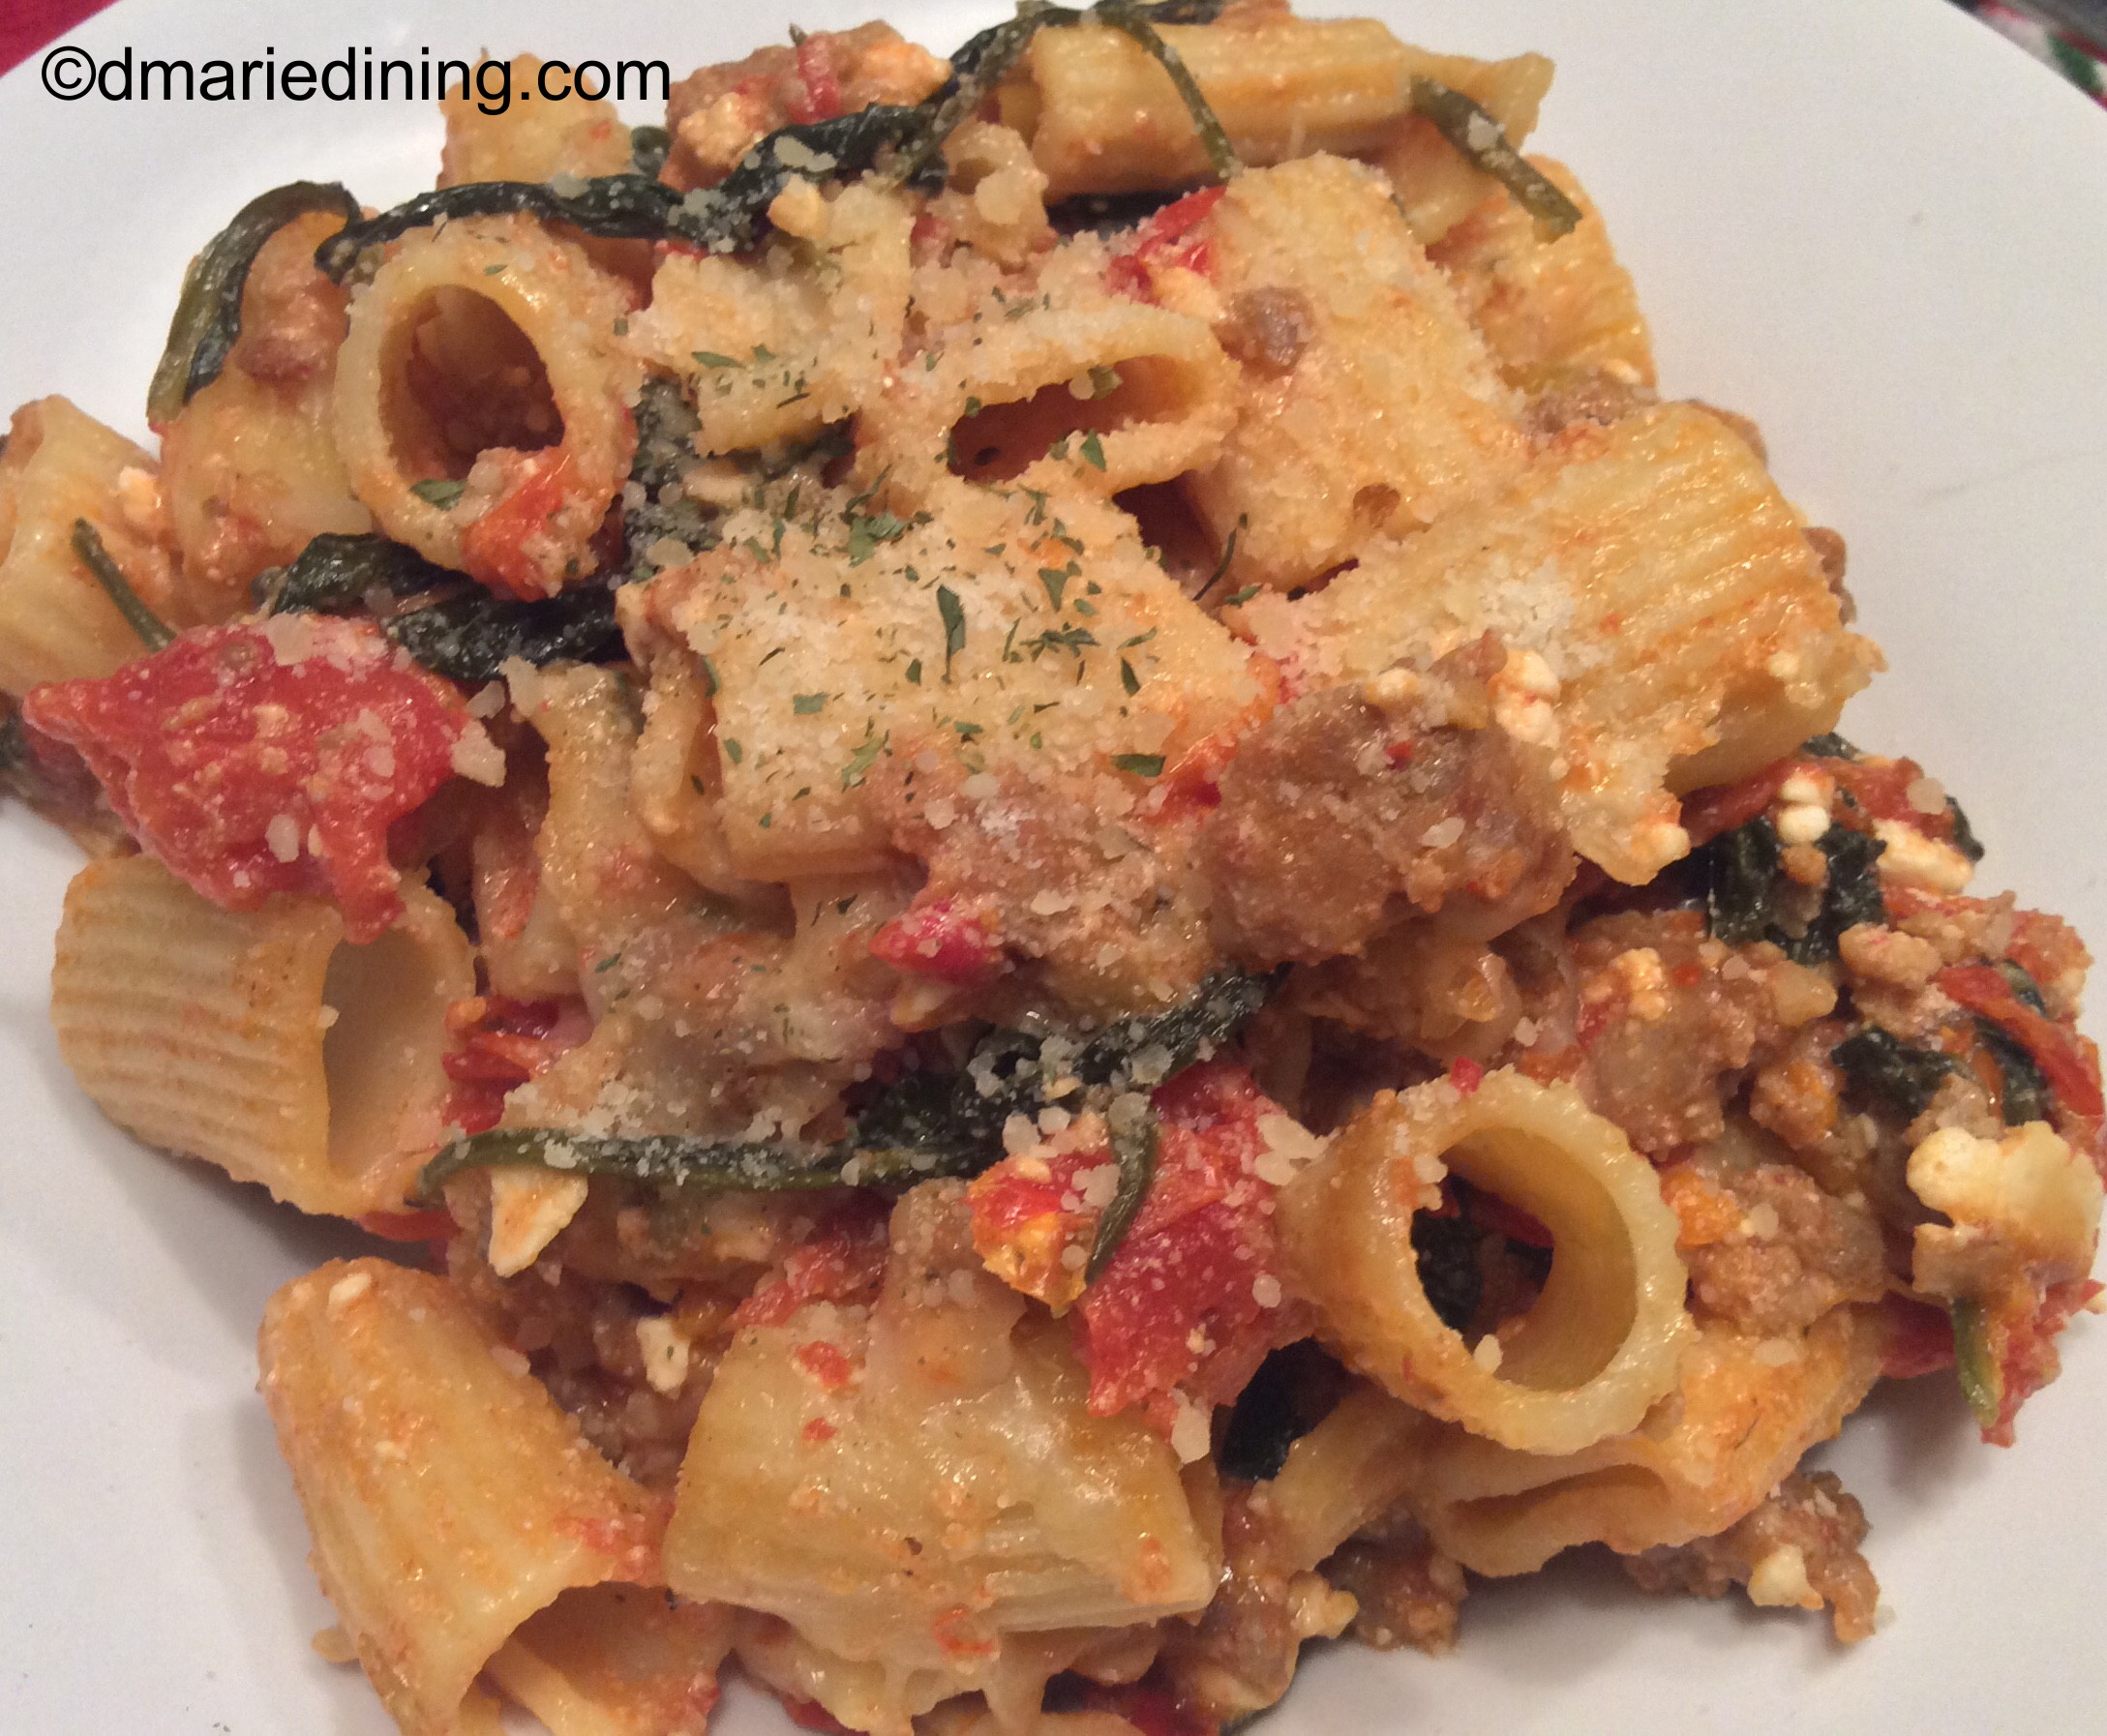
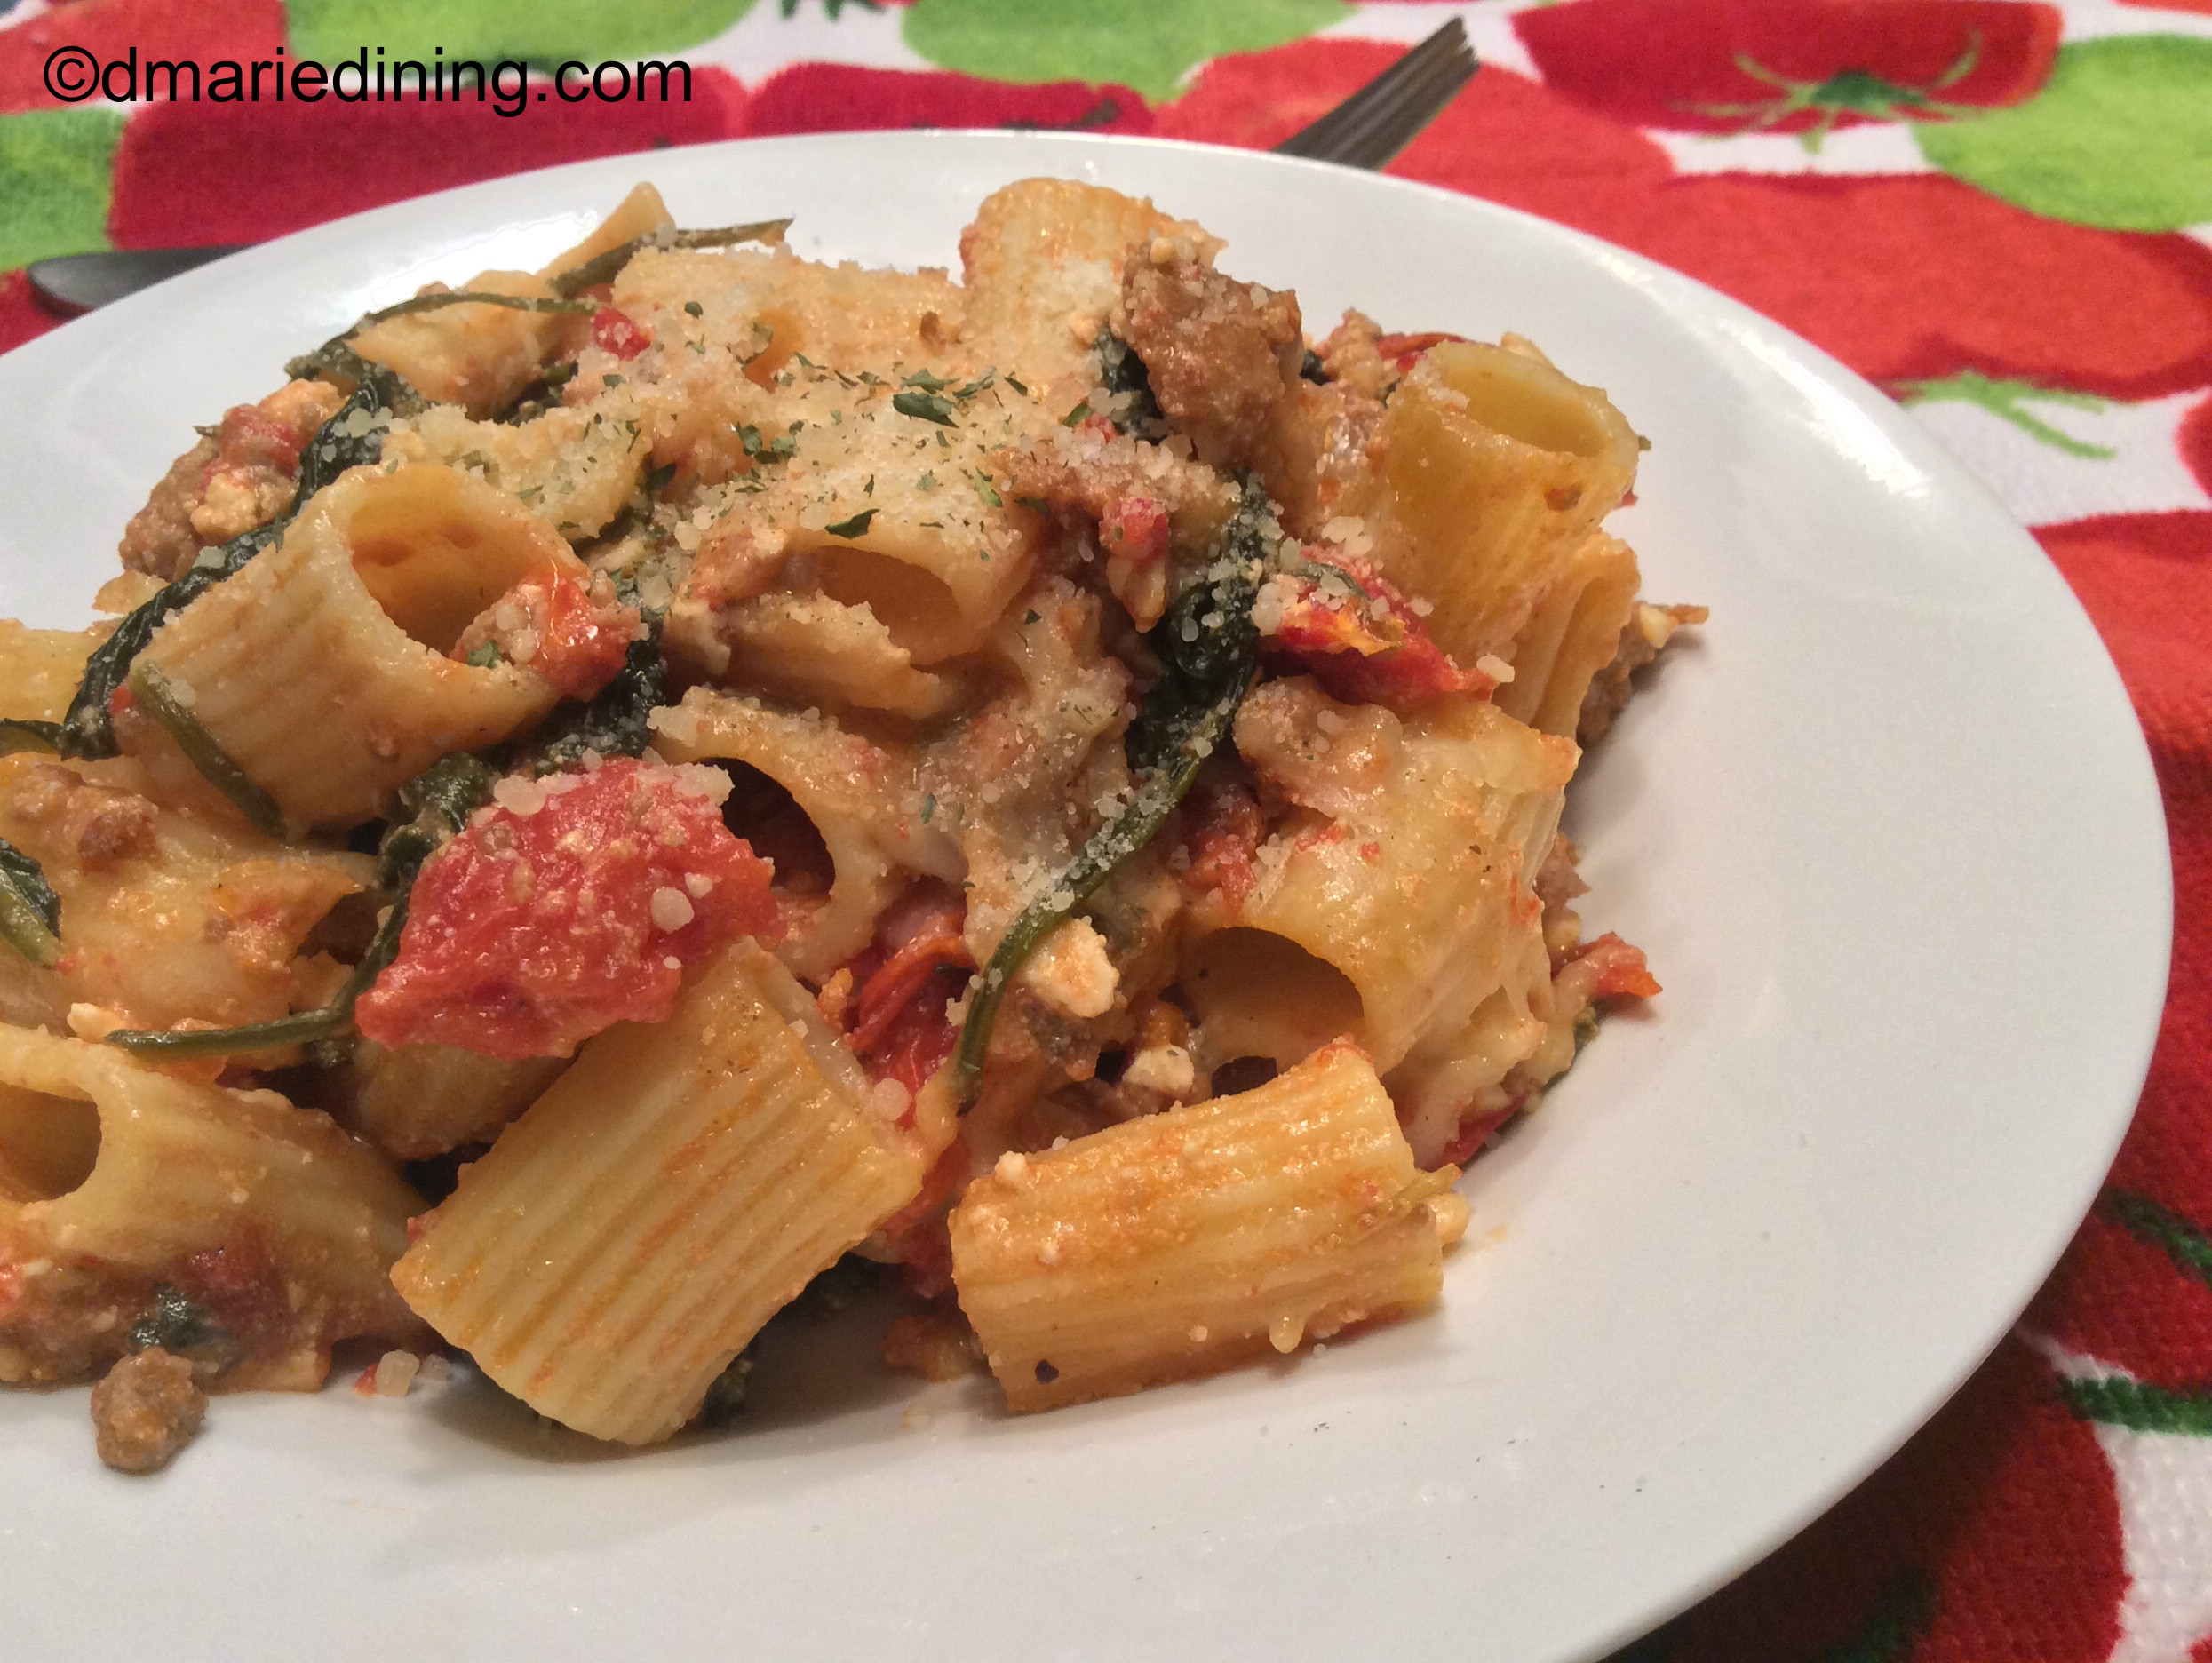
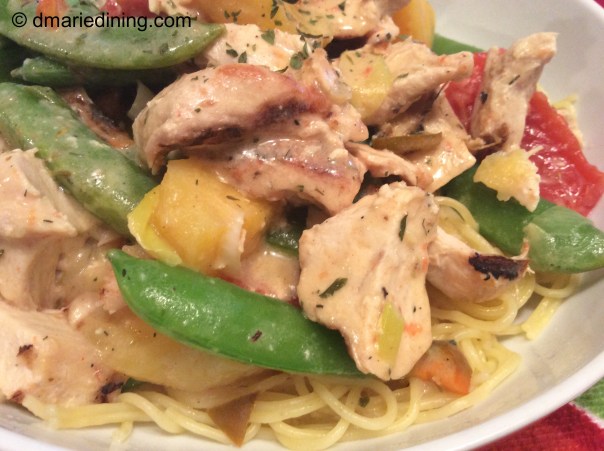
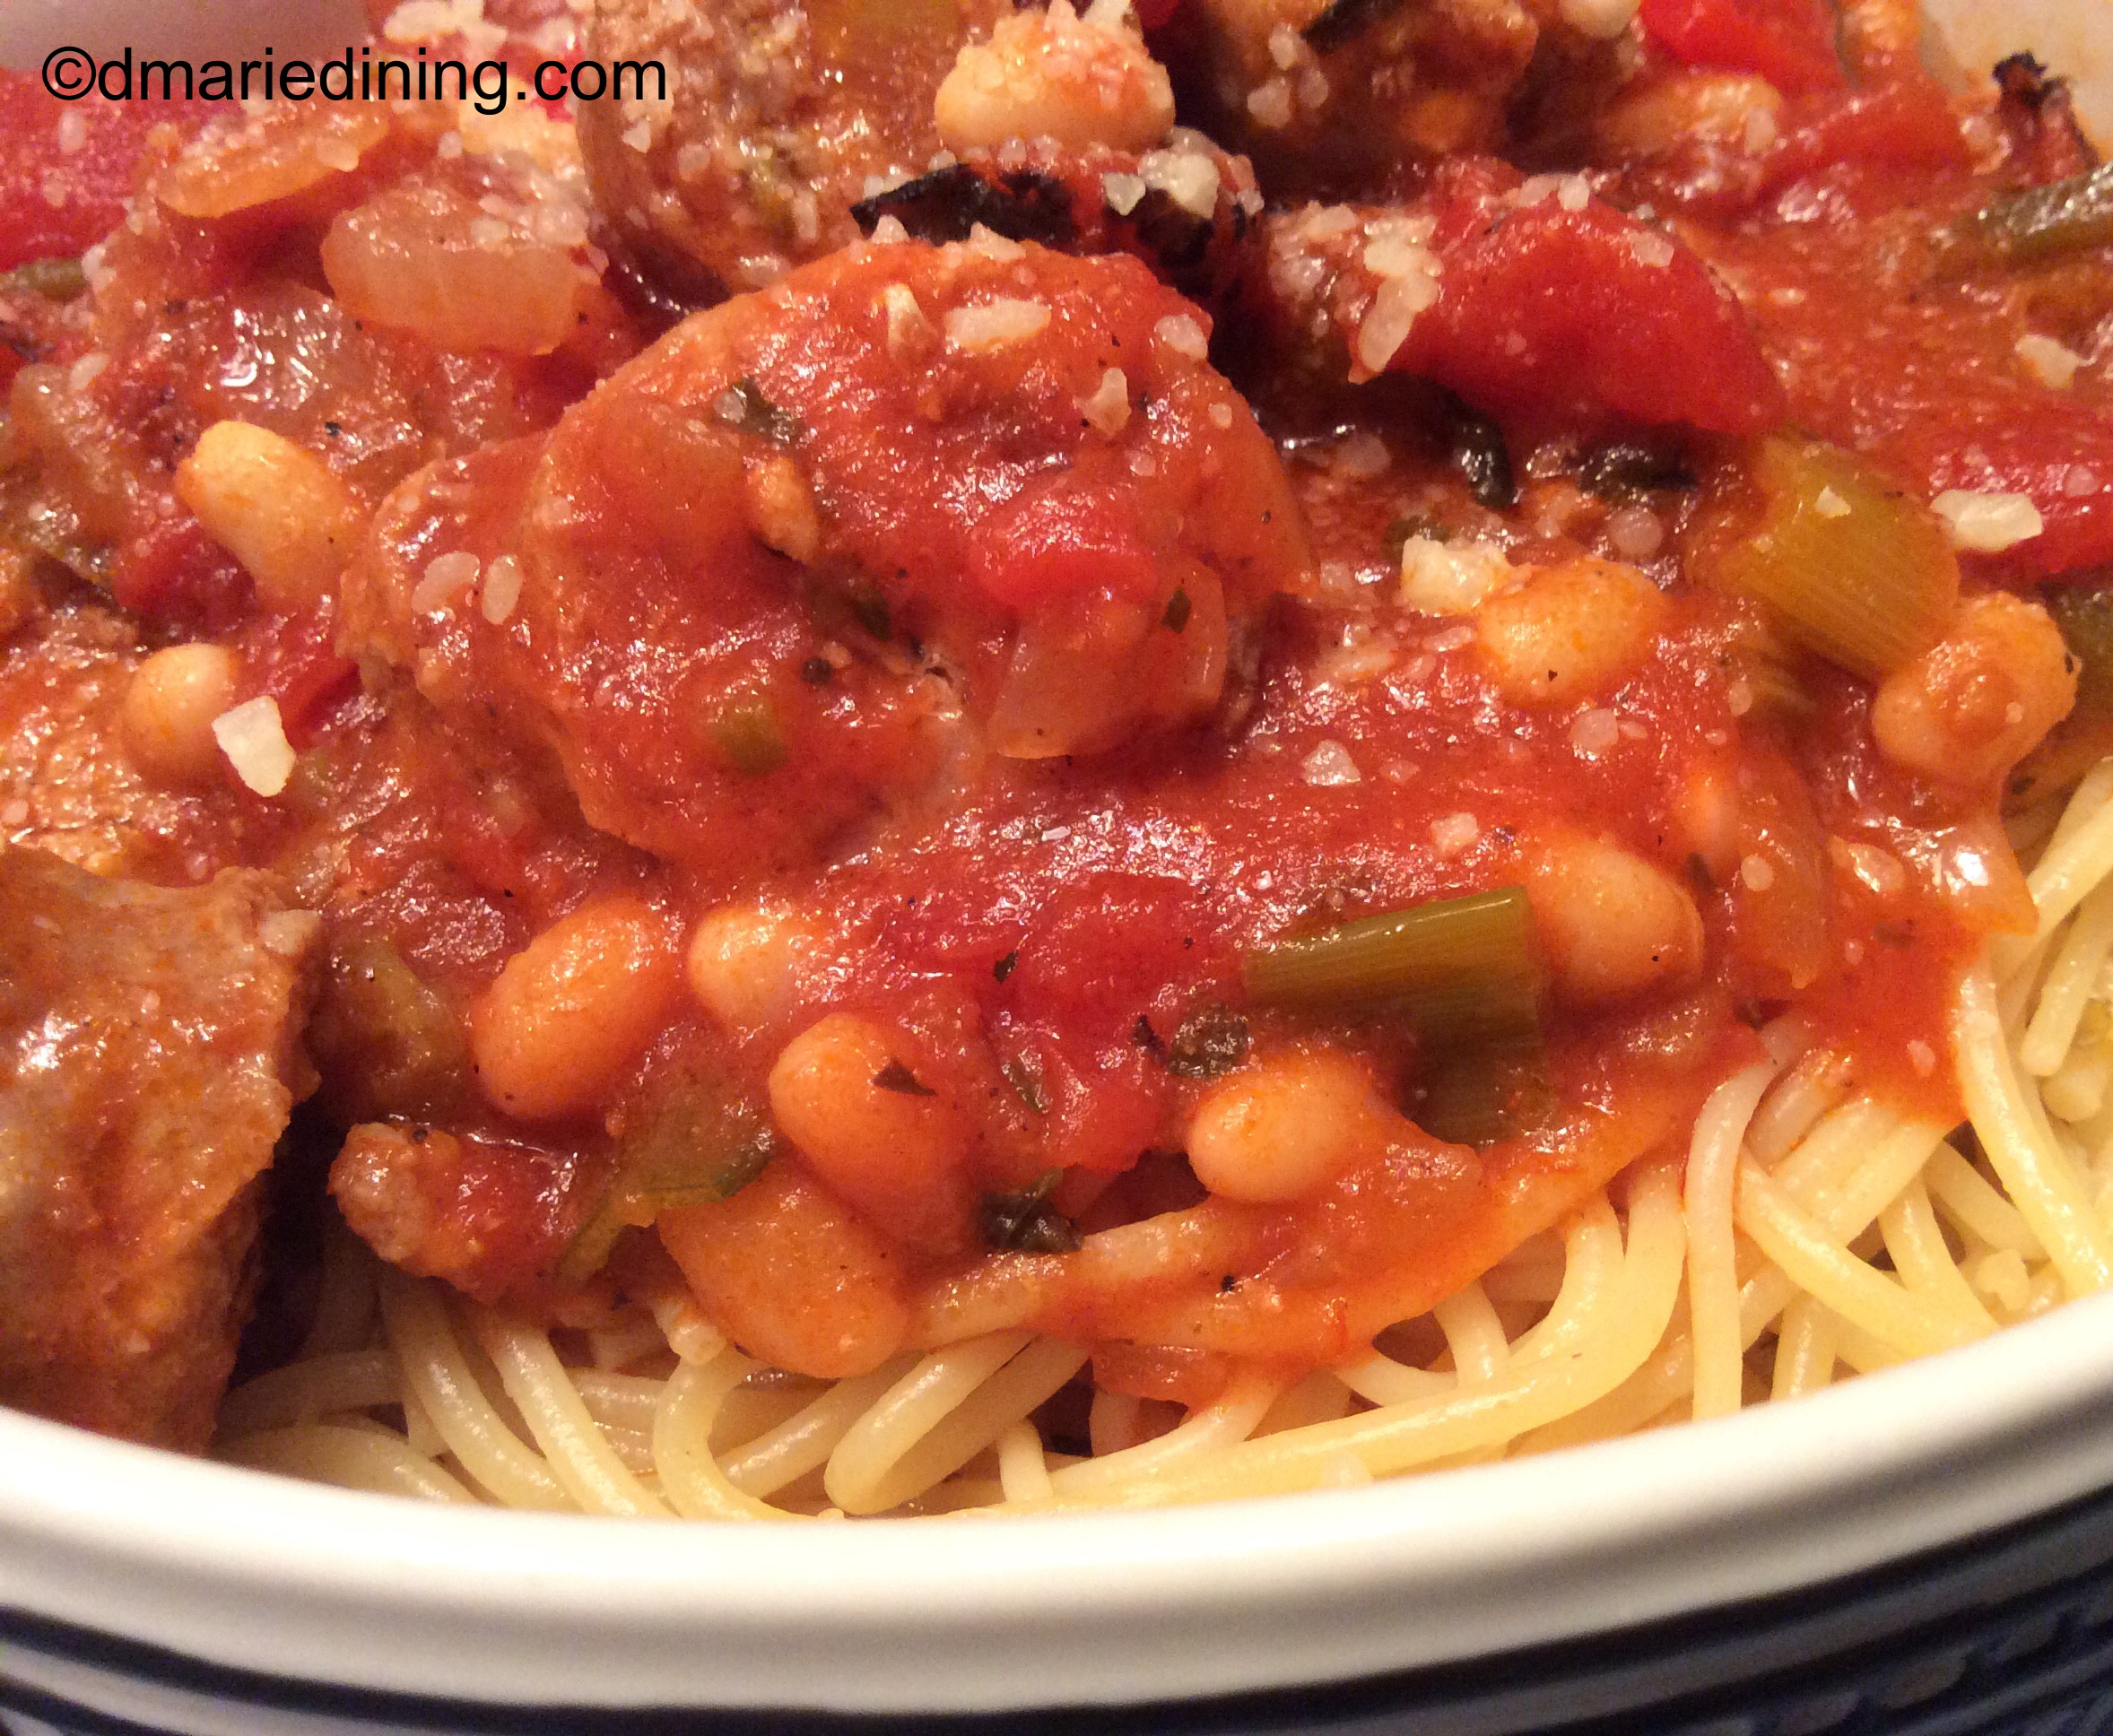
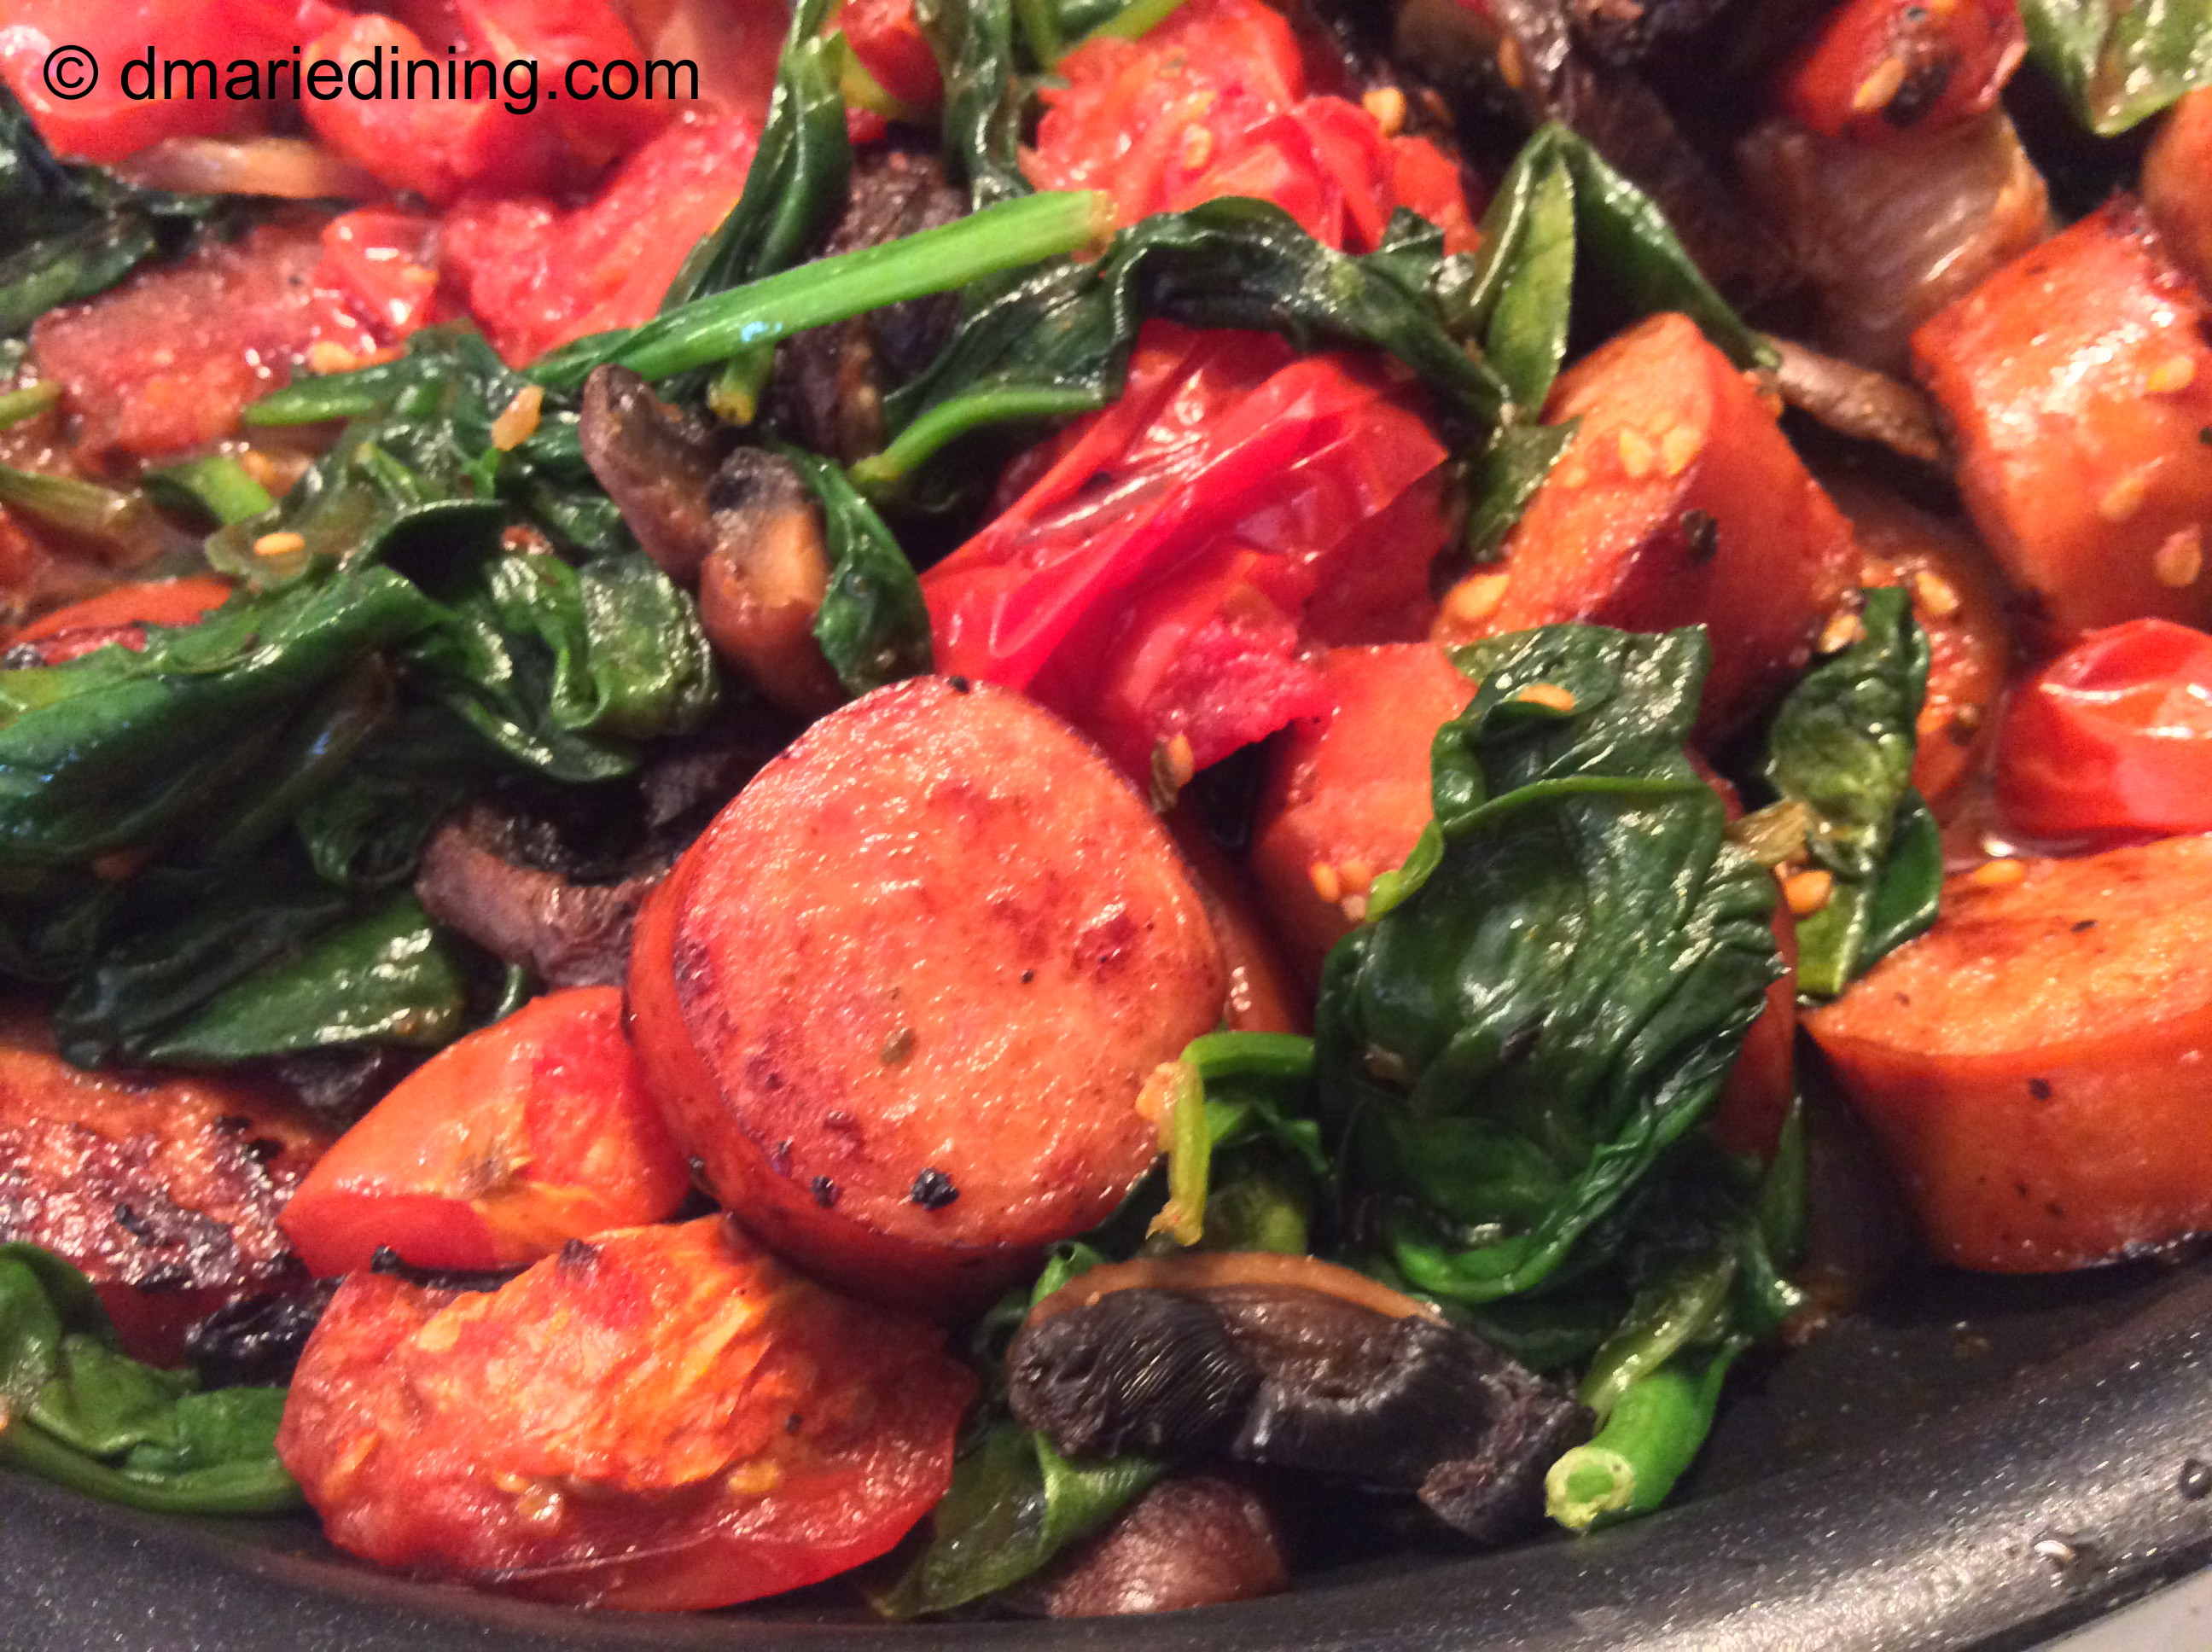
Anyway, I picked up a few along with some red, yellow and green peppers. I wasn’t sure what I was going to do with the veggies at the time but it all came together when I decided to make a quick Sunday meal. The result was a dish made of hot and sweet Italian sausage, sliced peppers, crushed tomatoes and my cute little zucchini sliced thin.

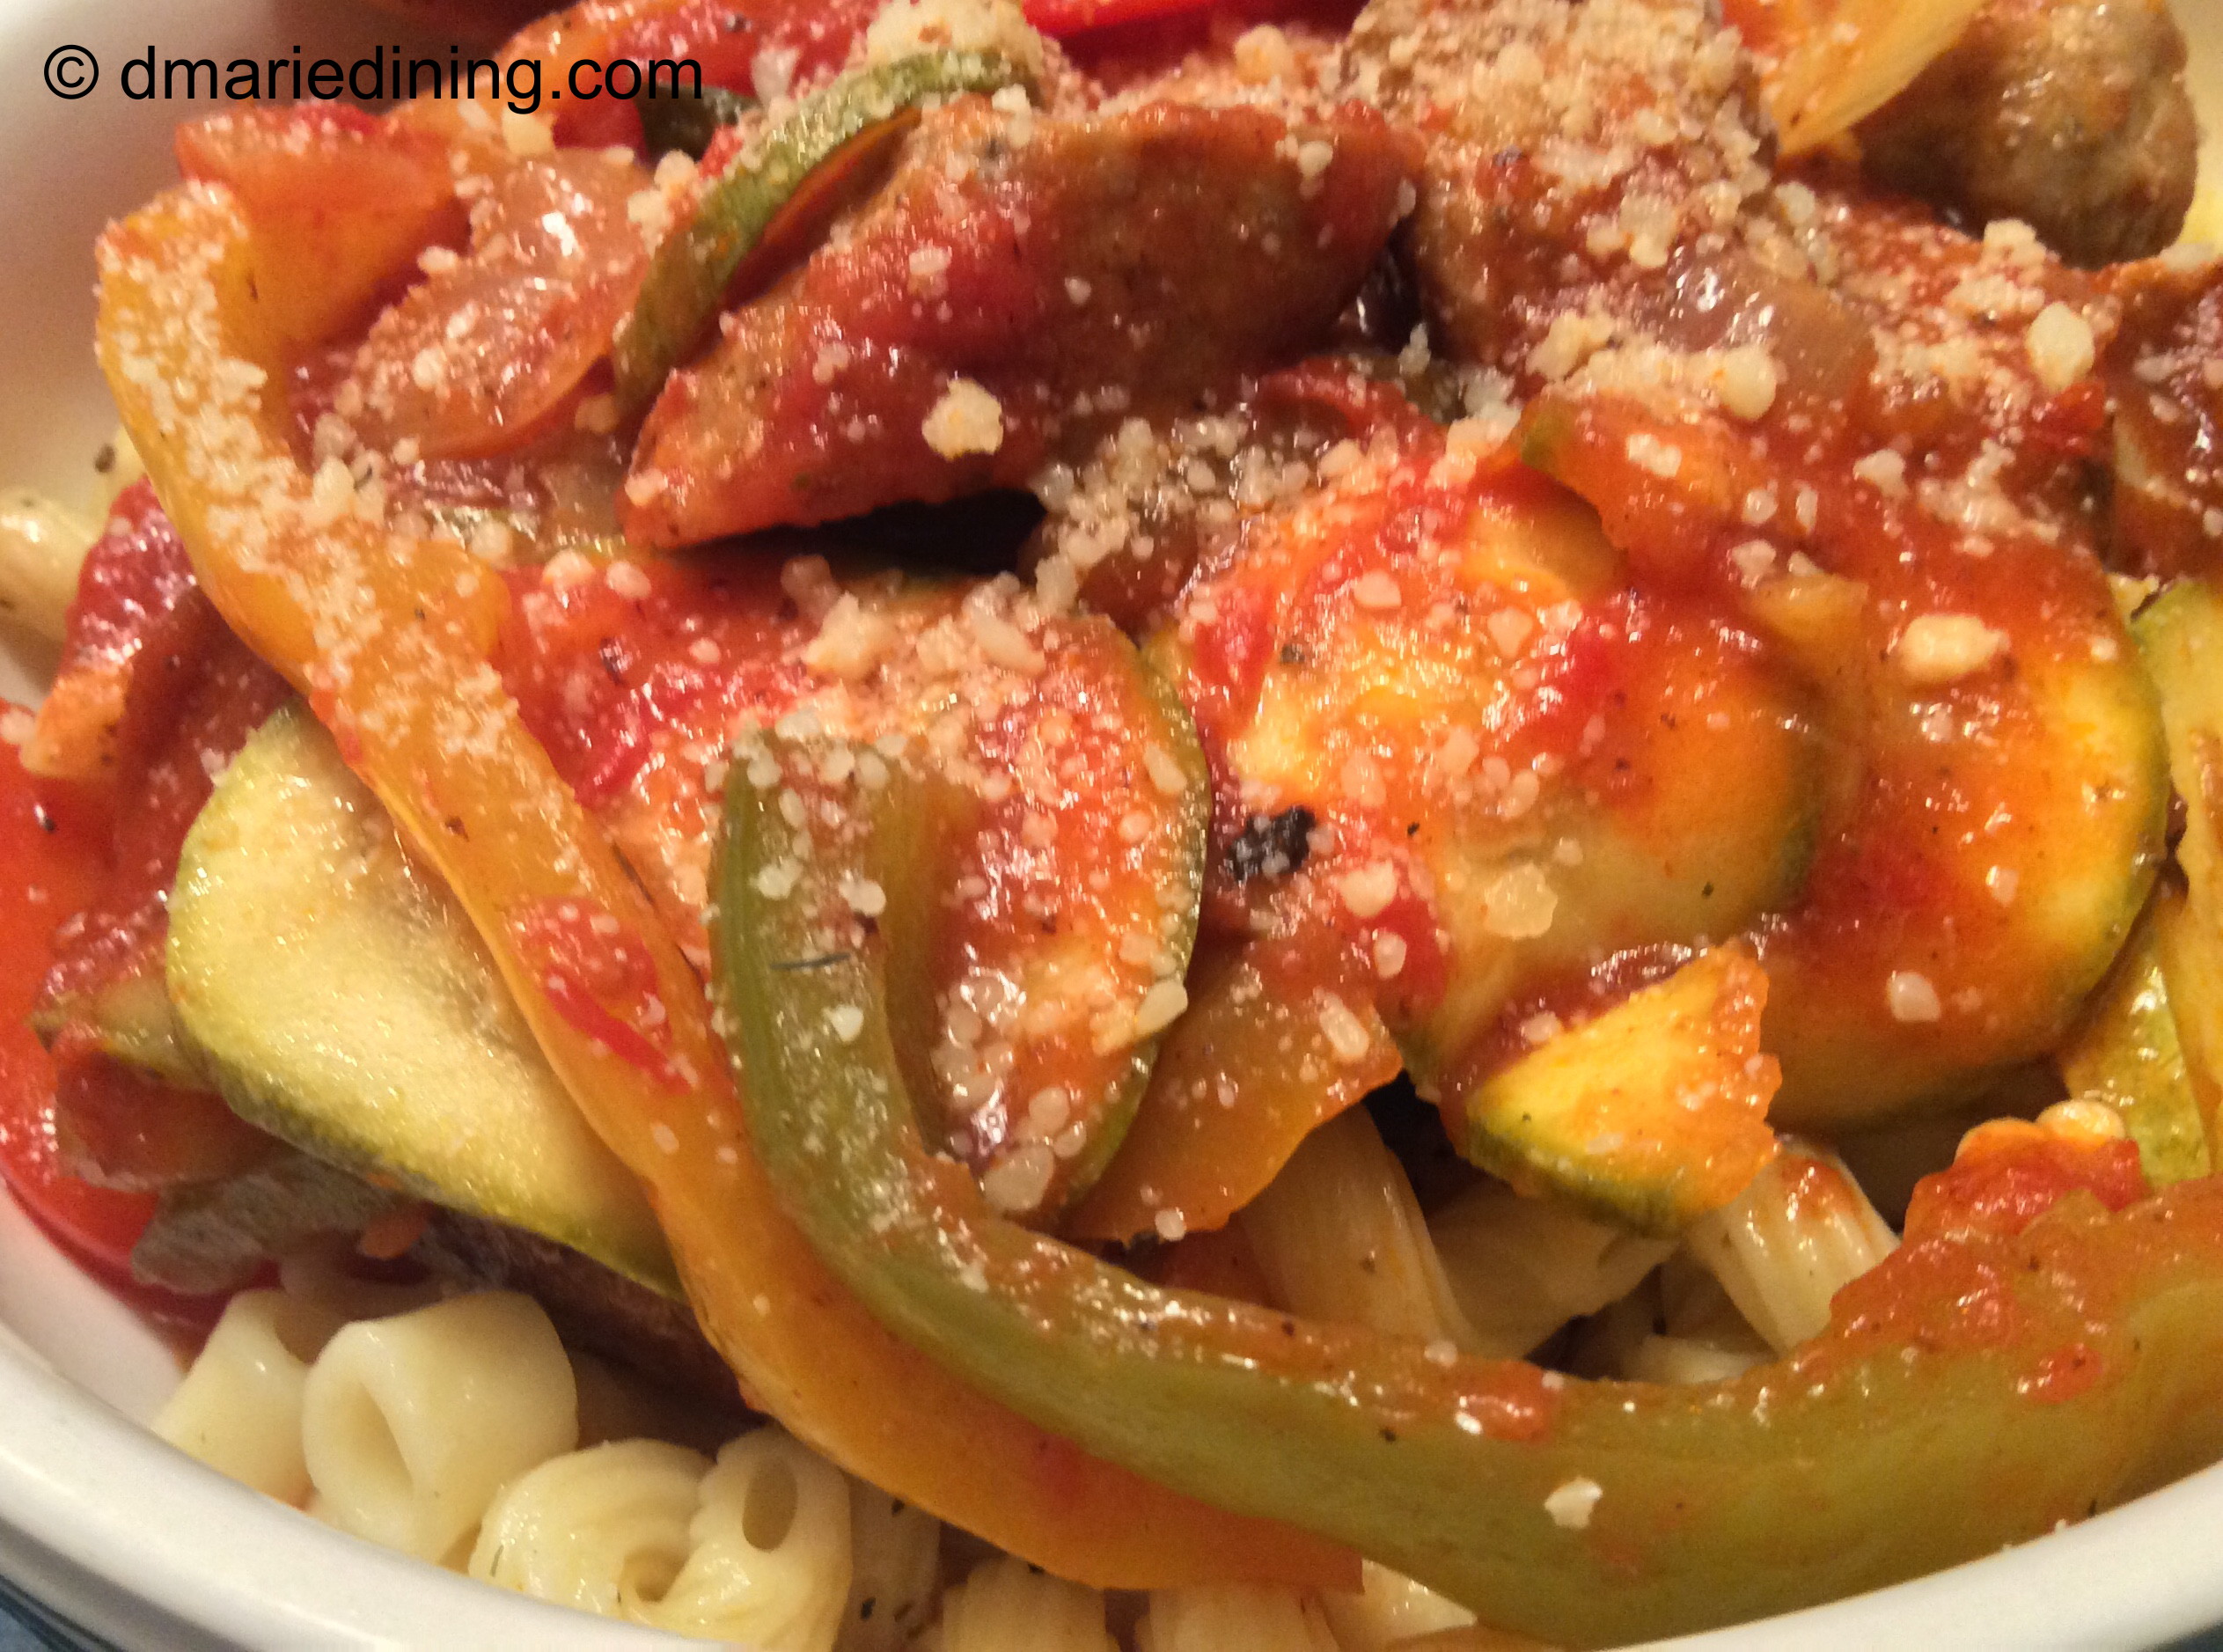
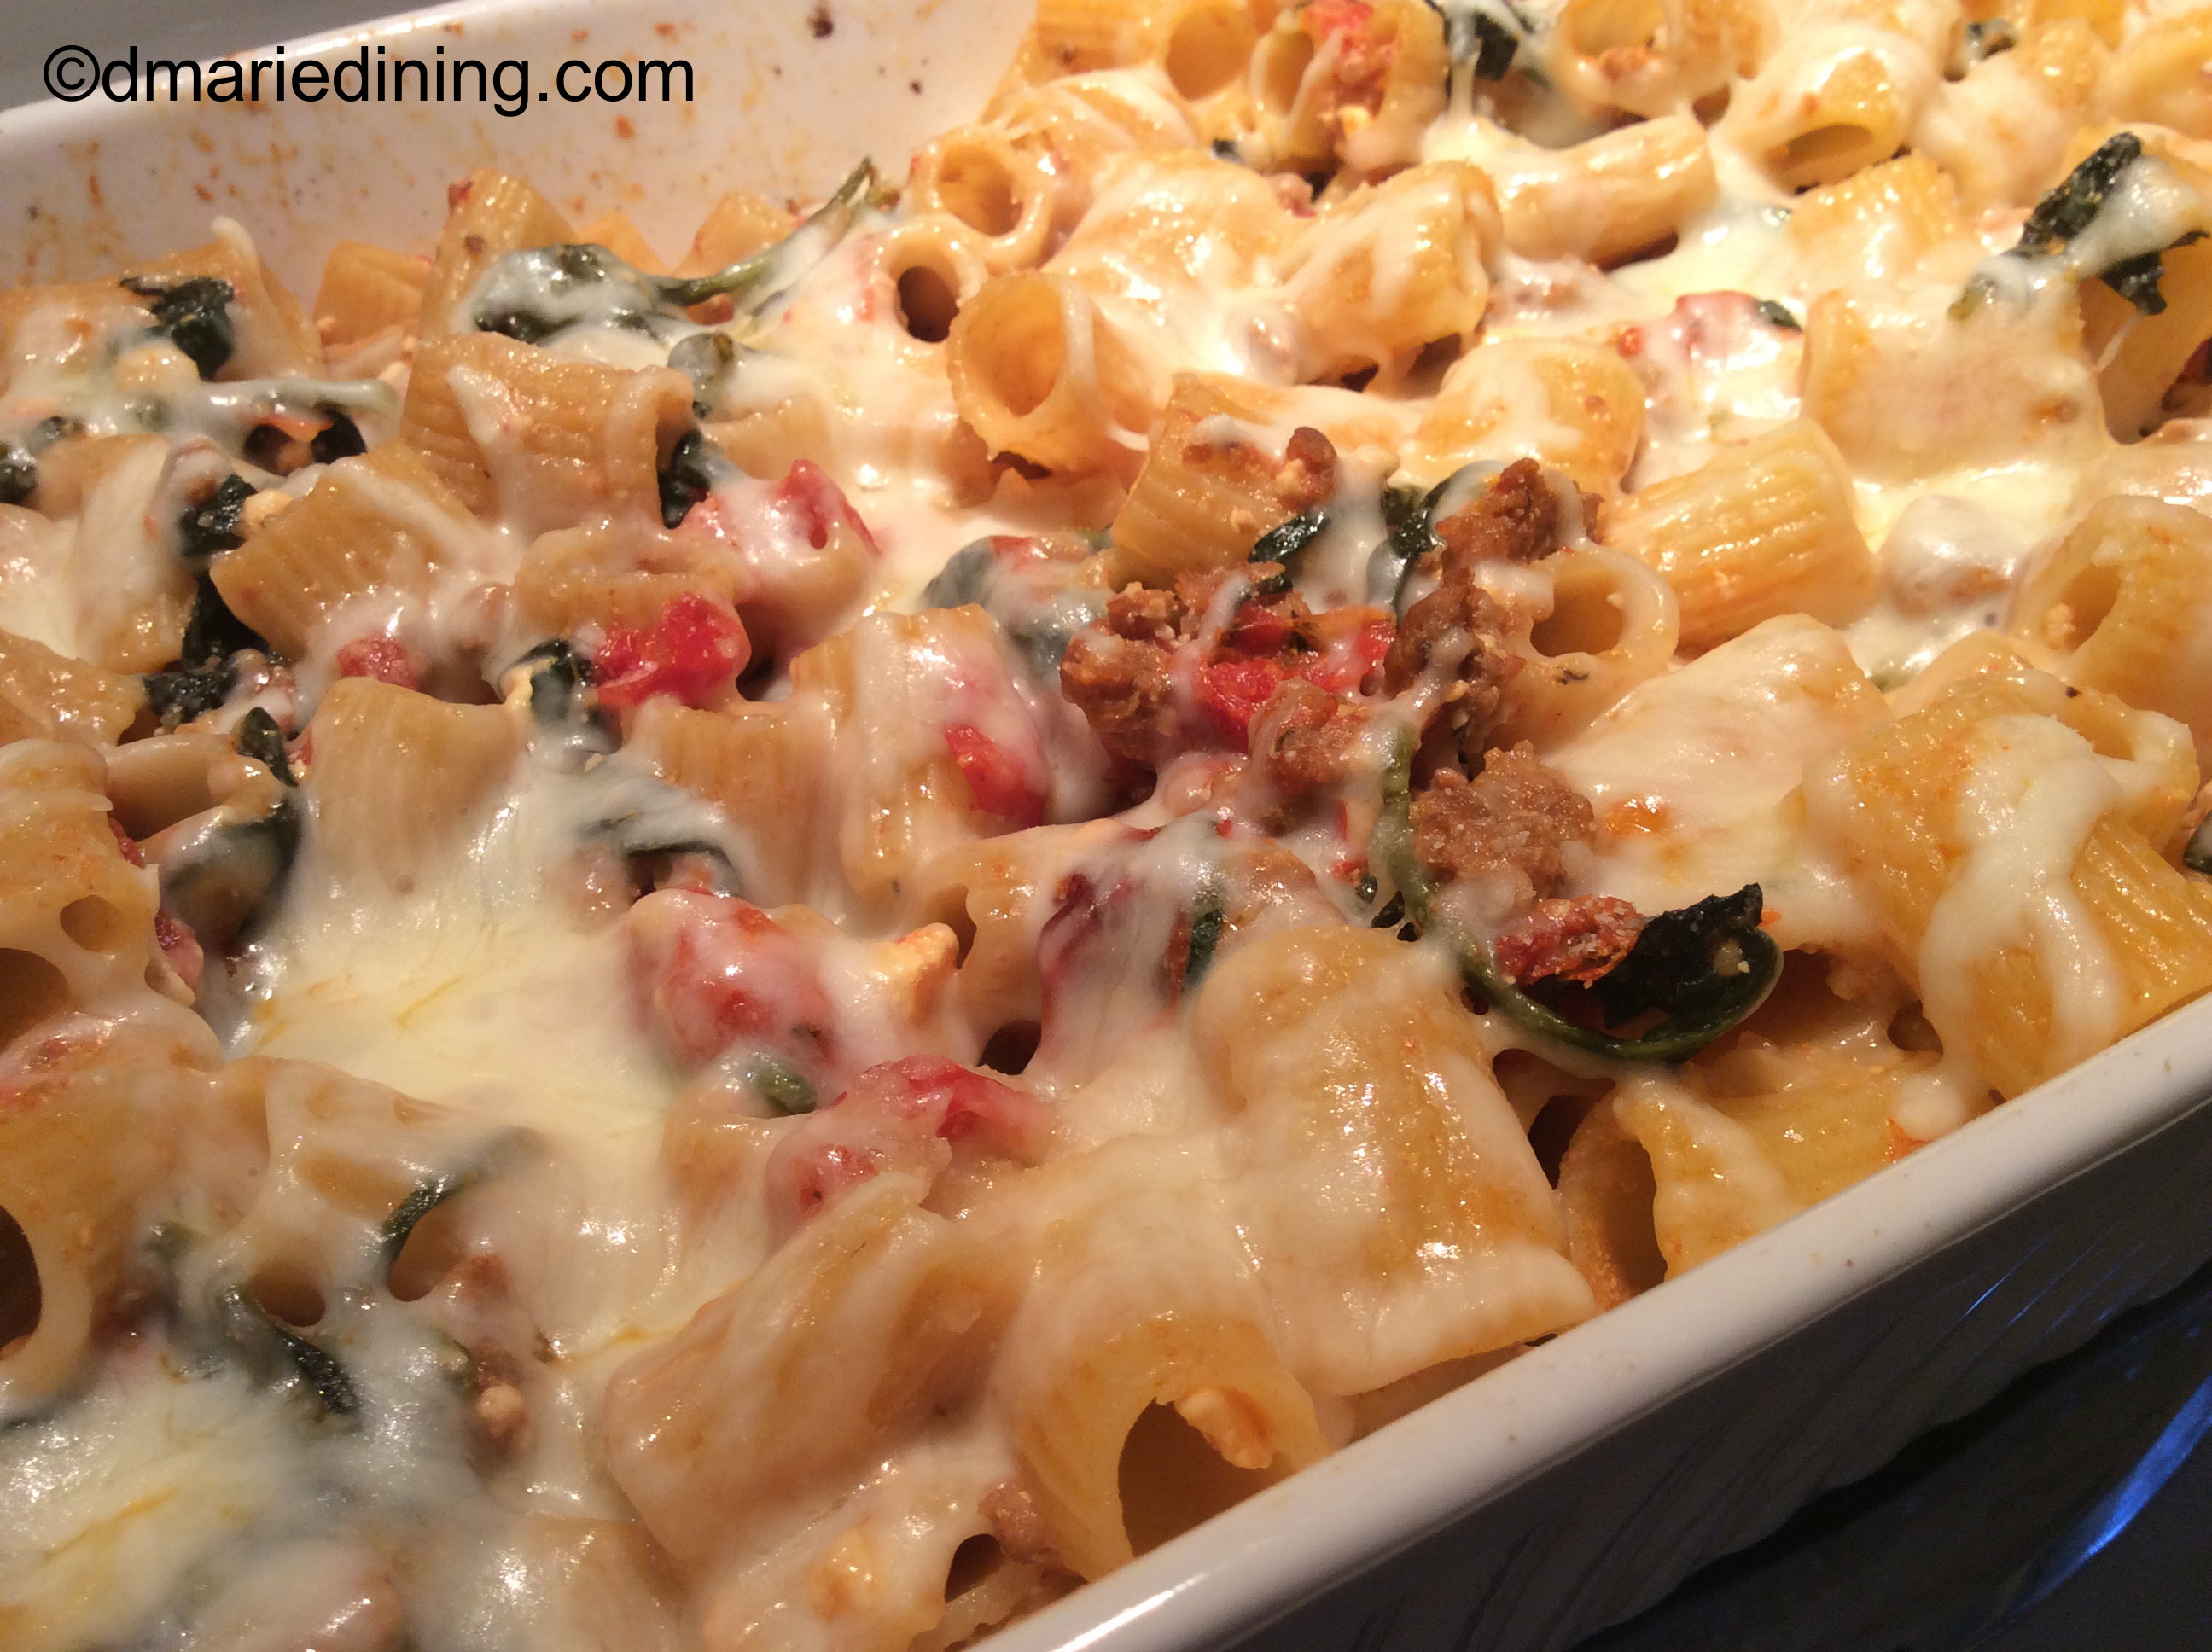
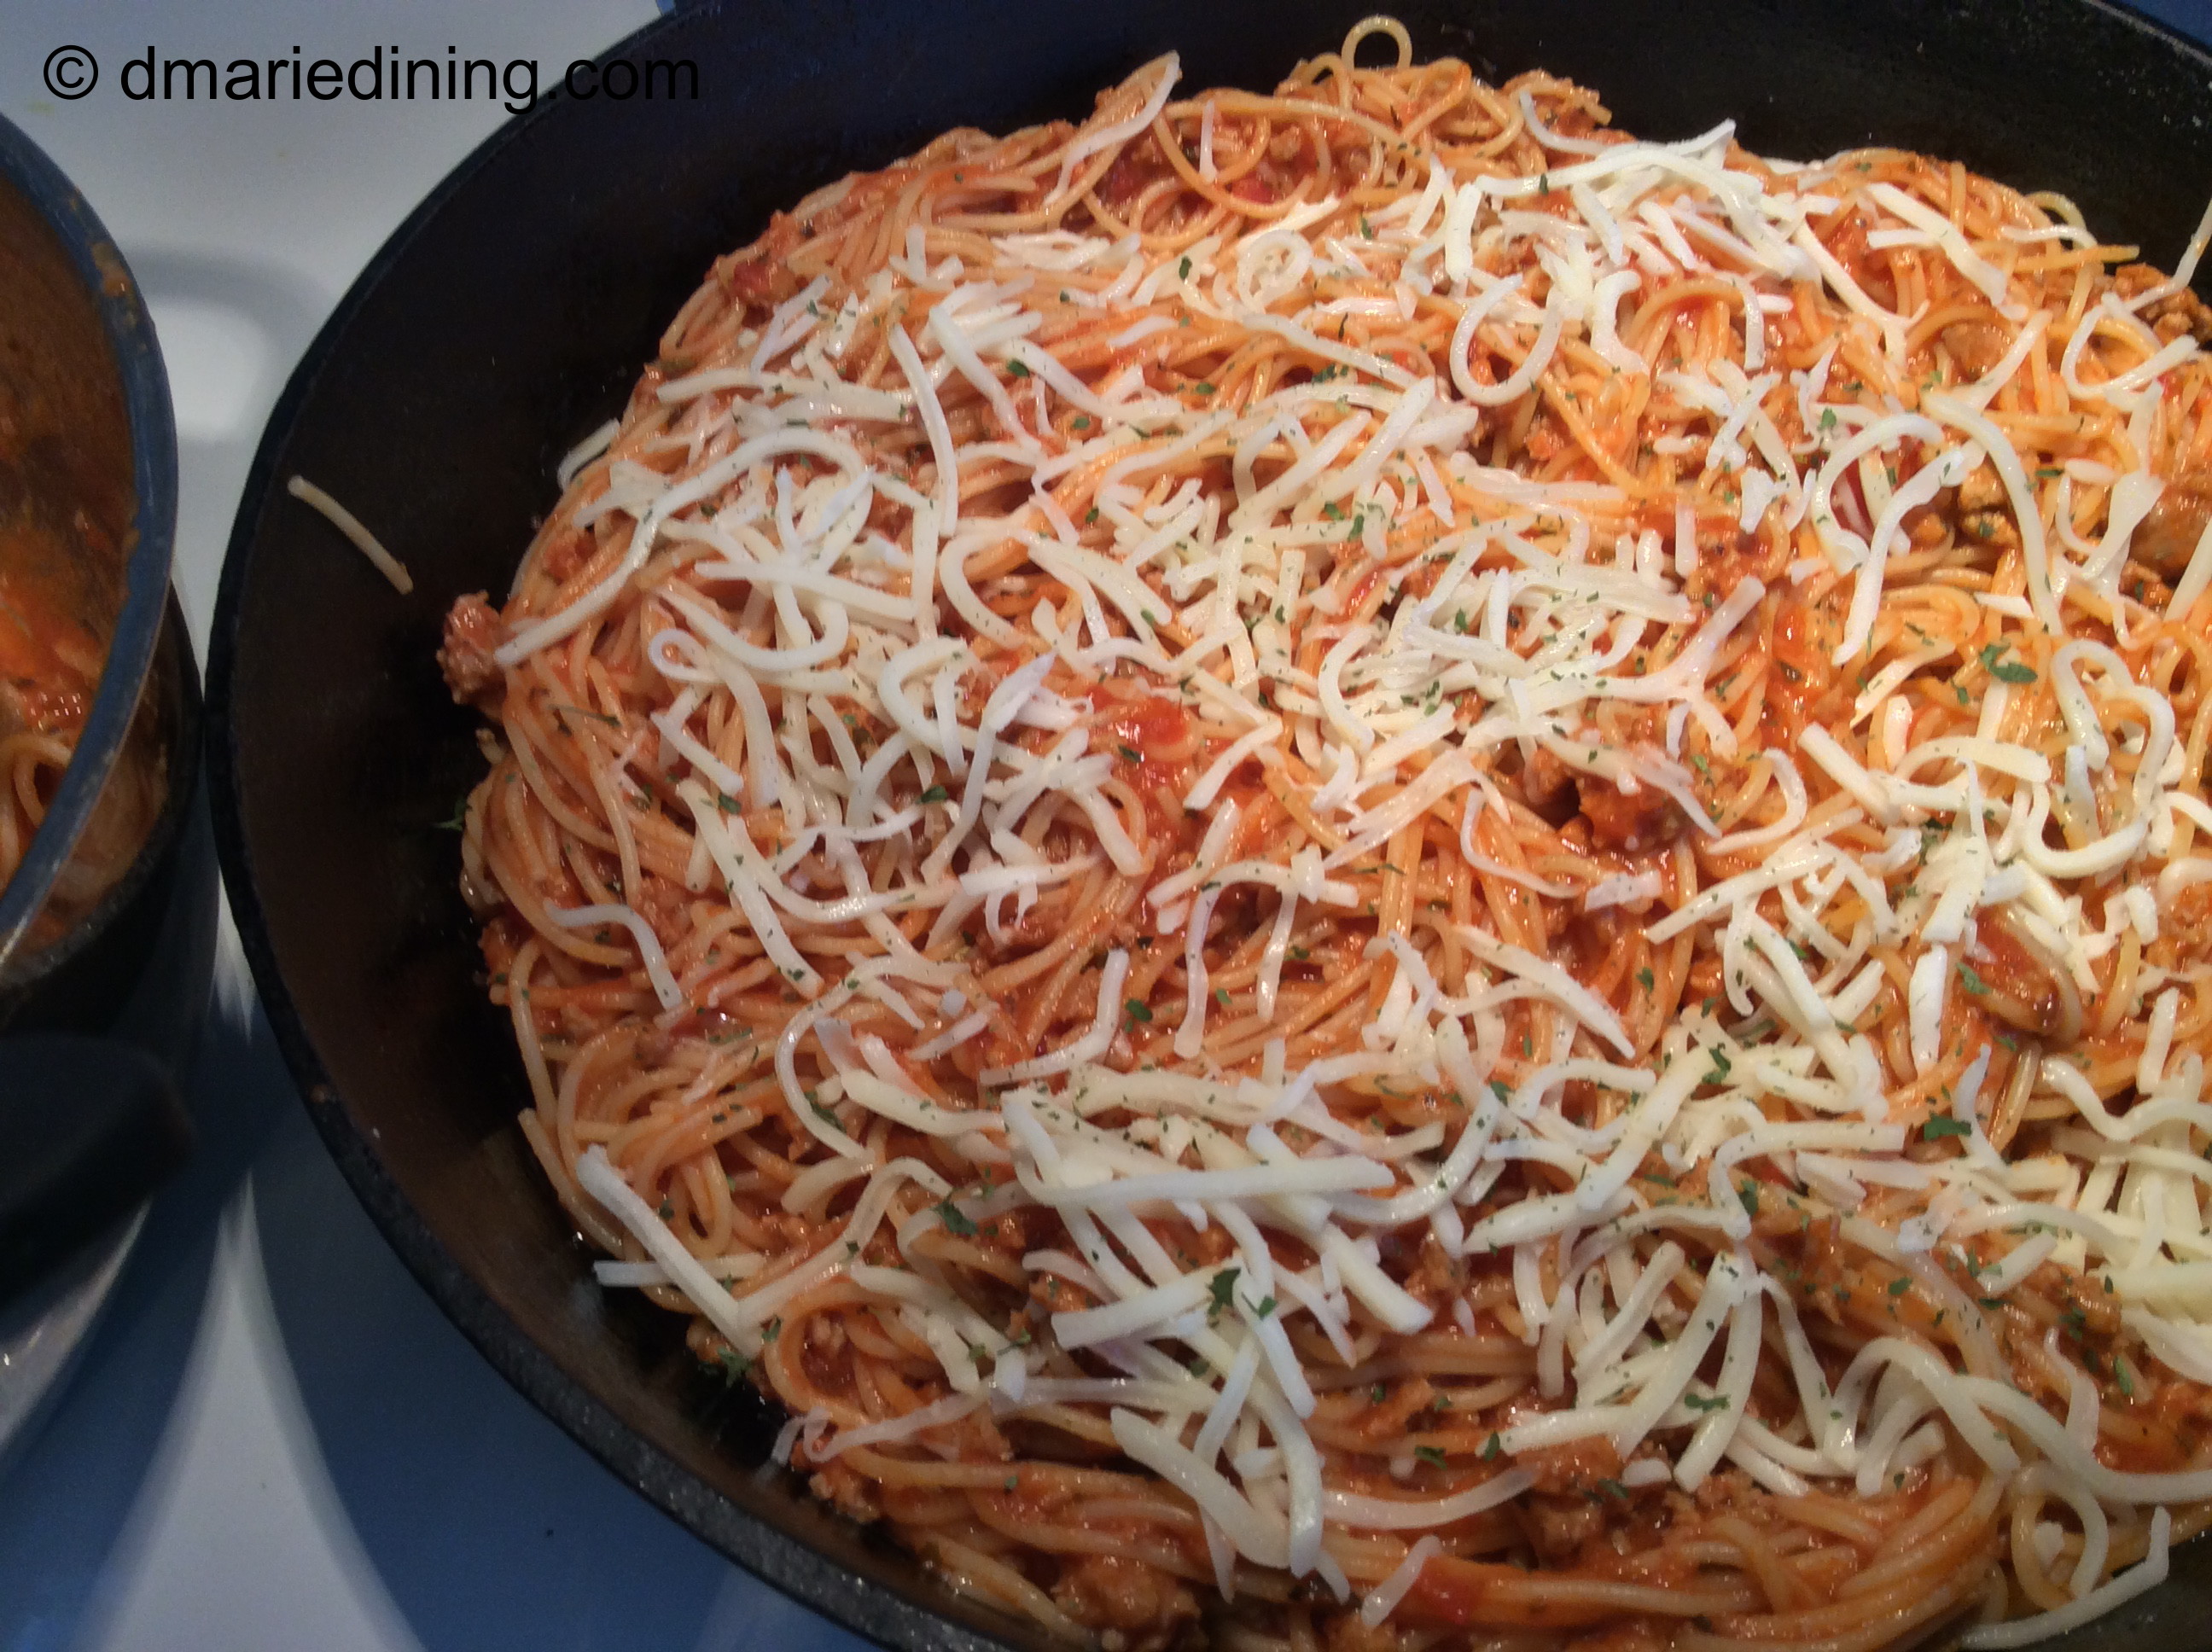
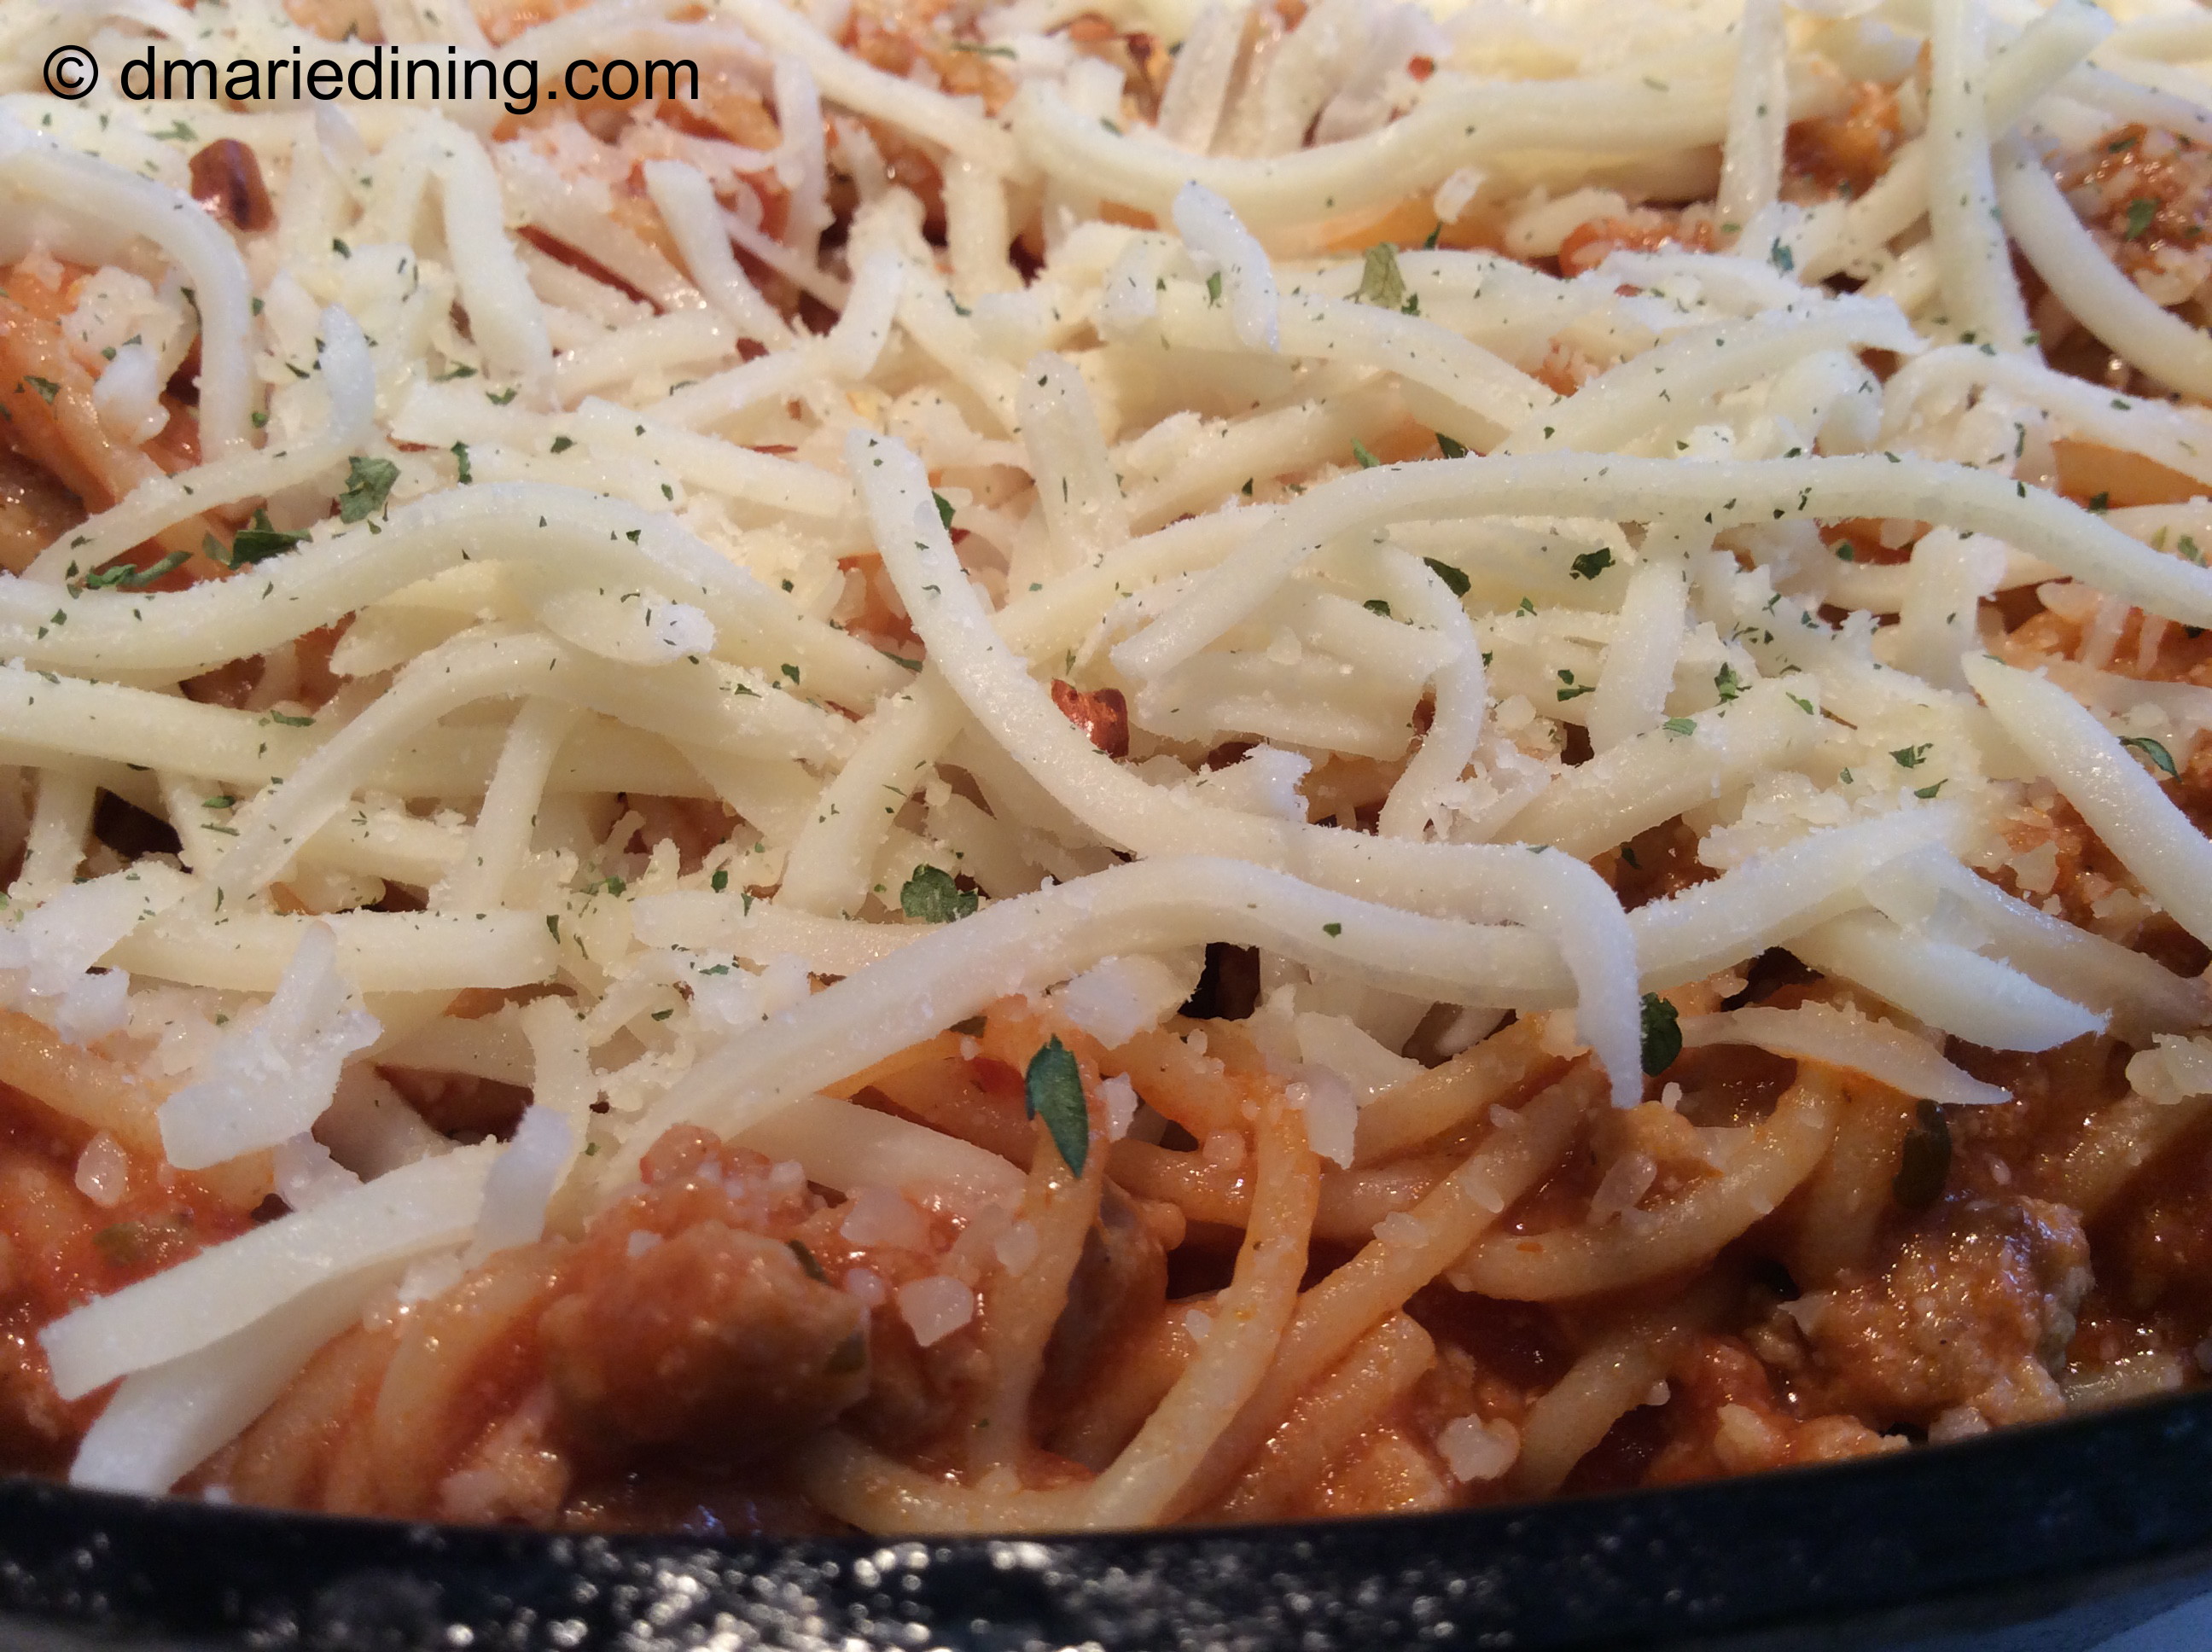
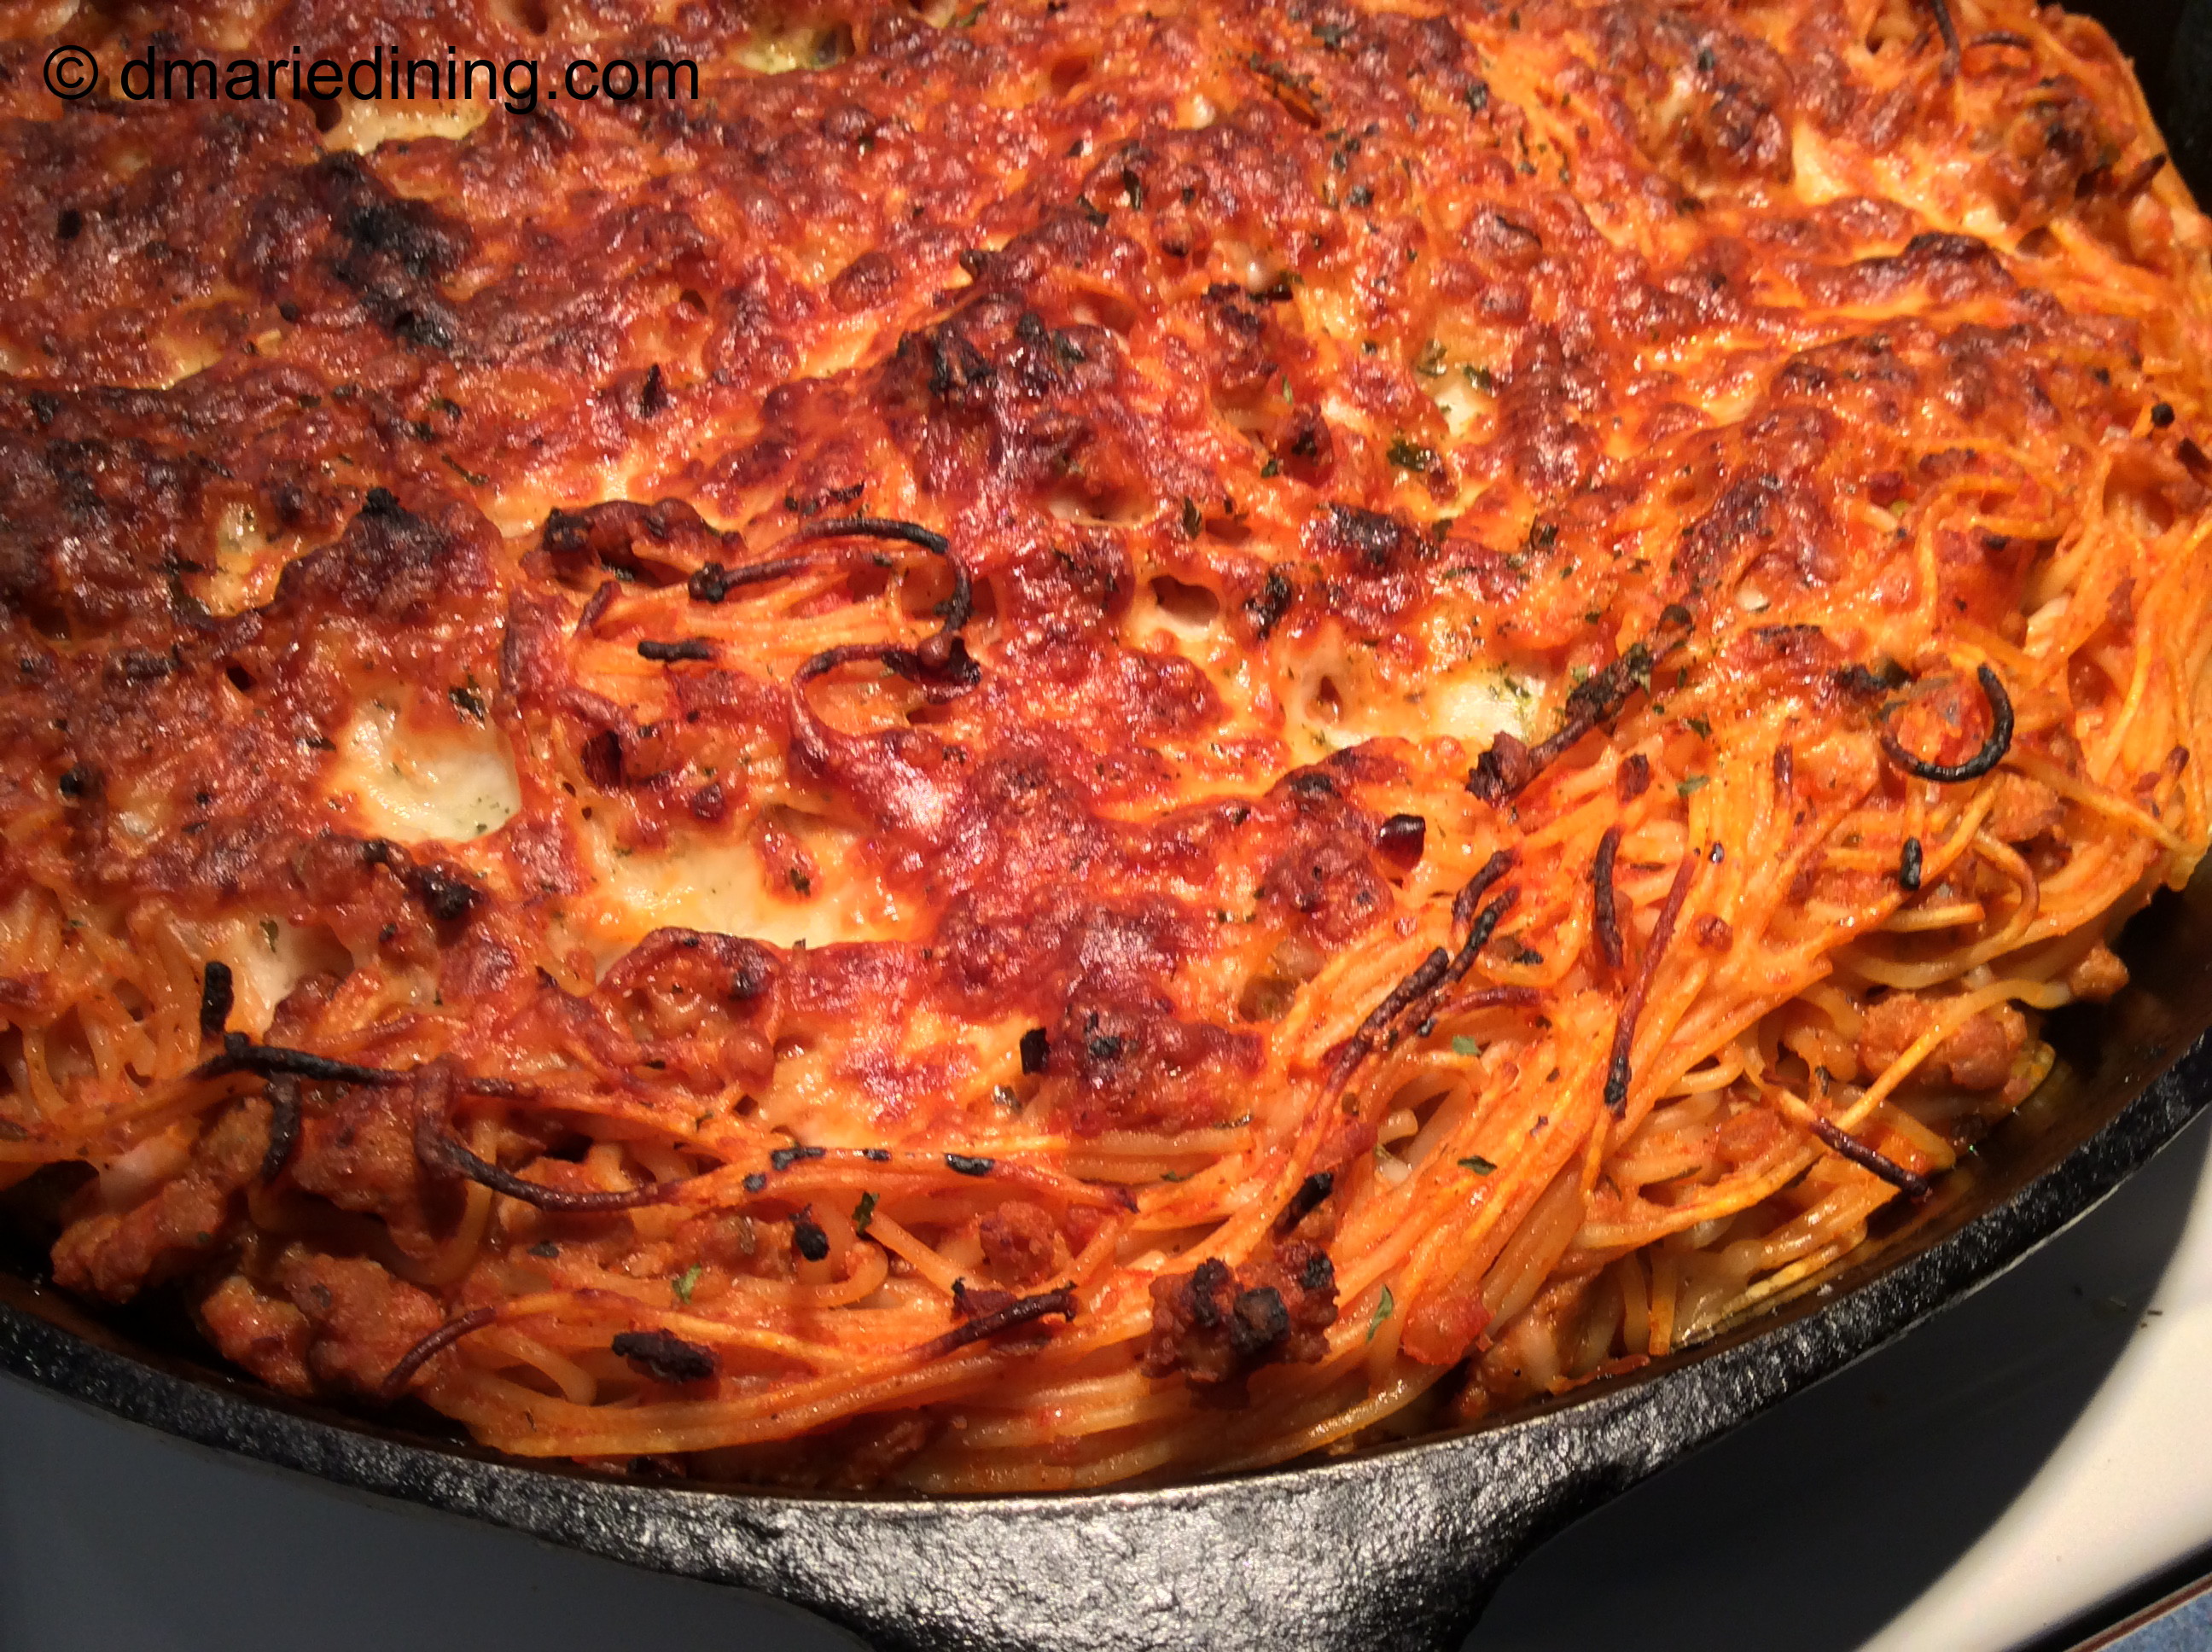
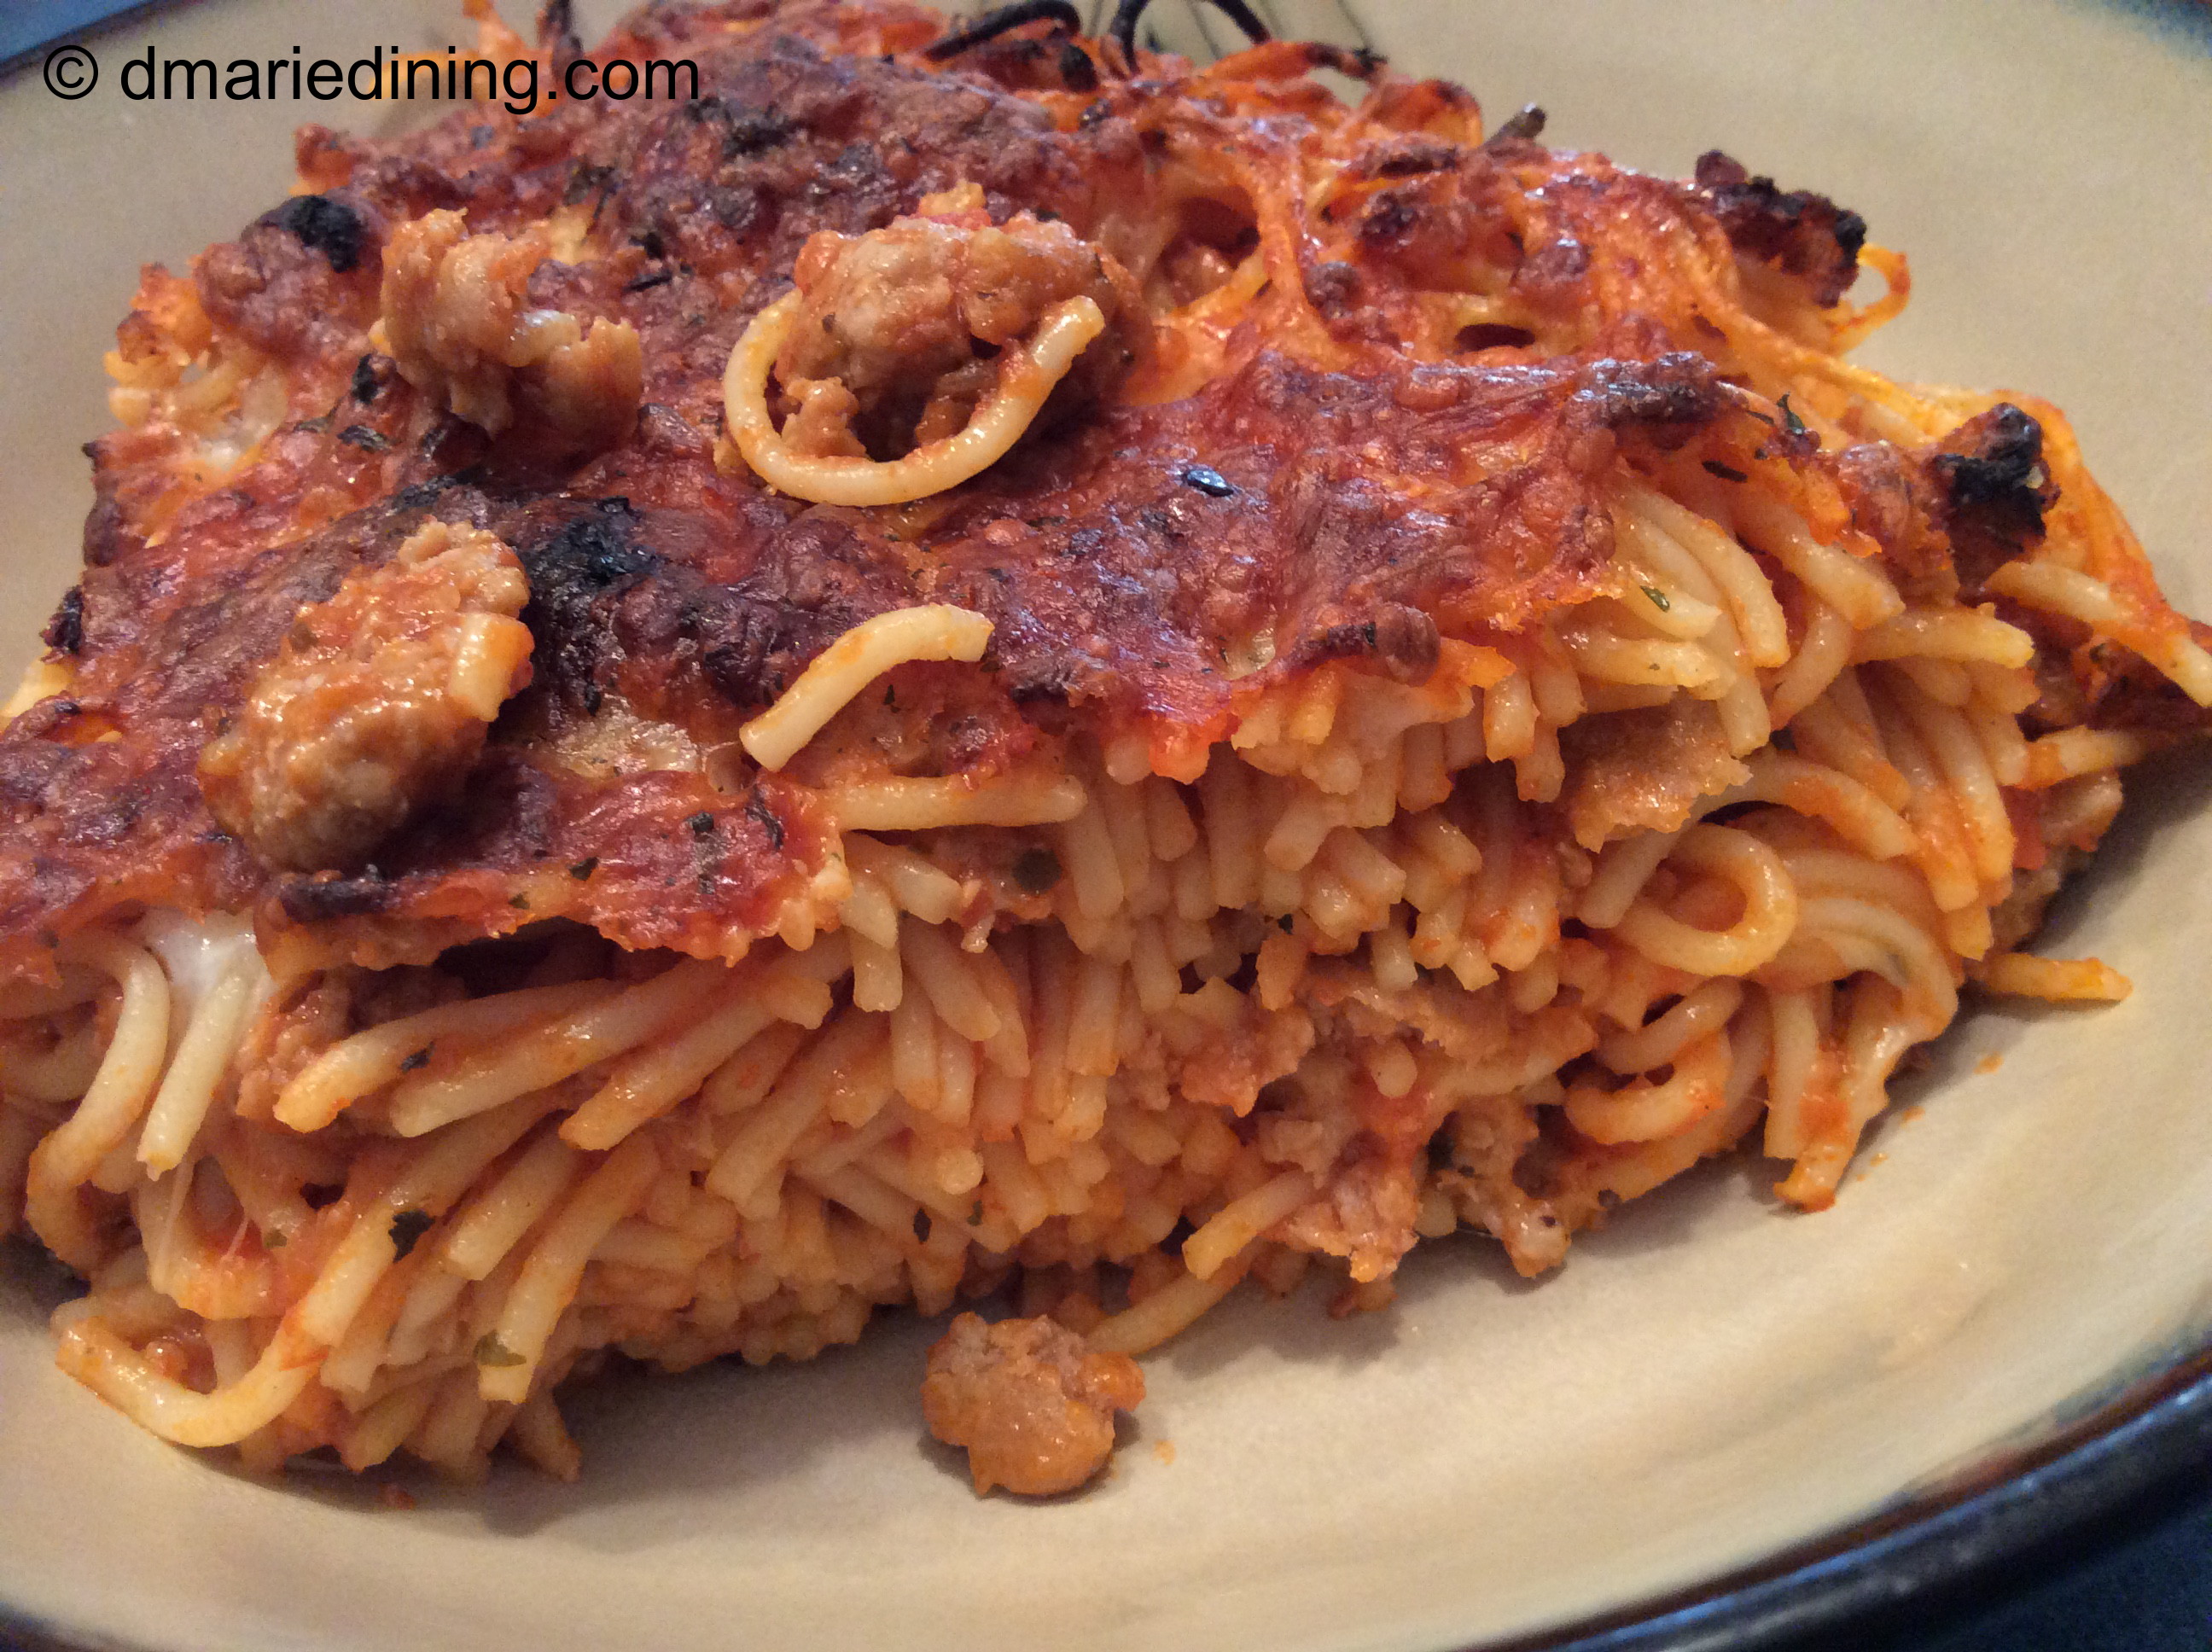
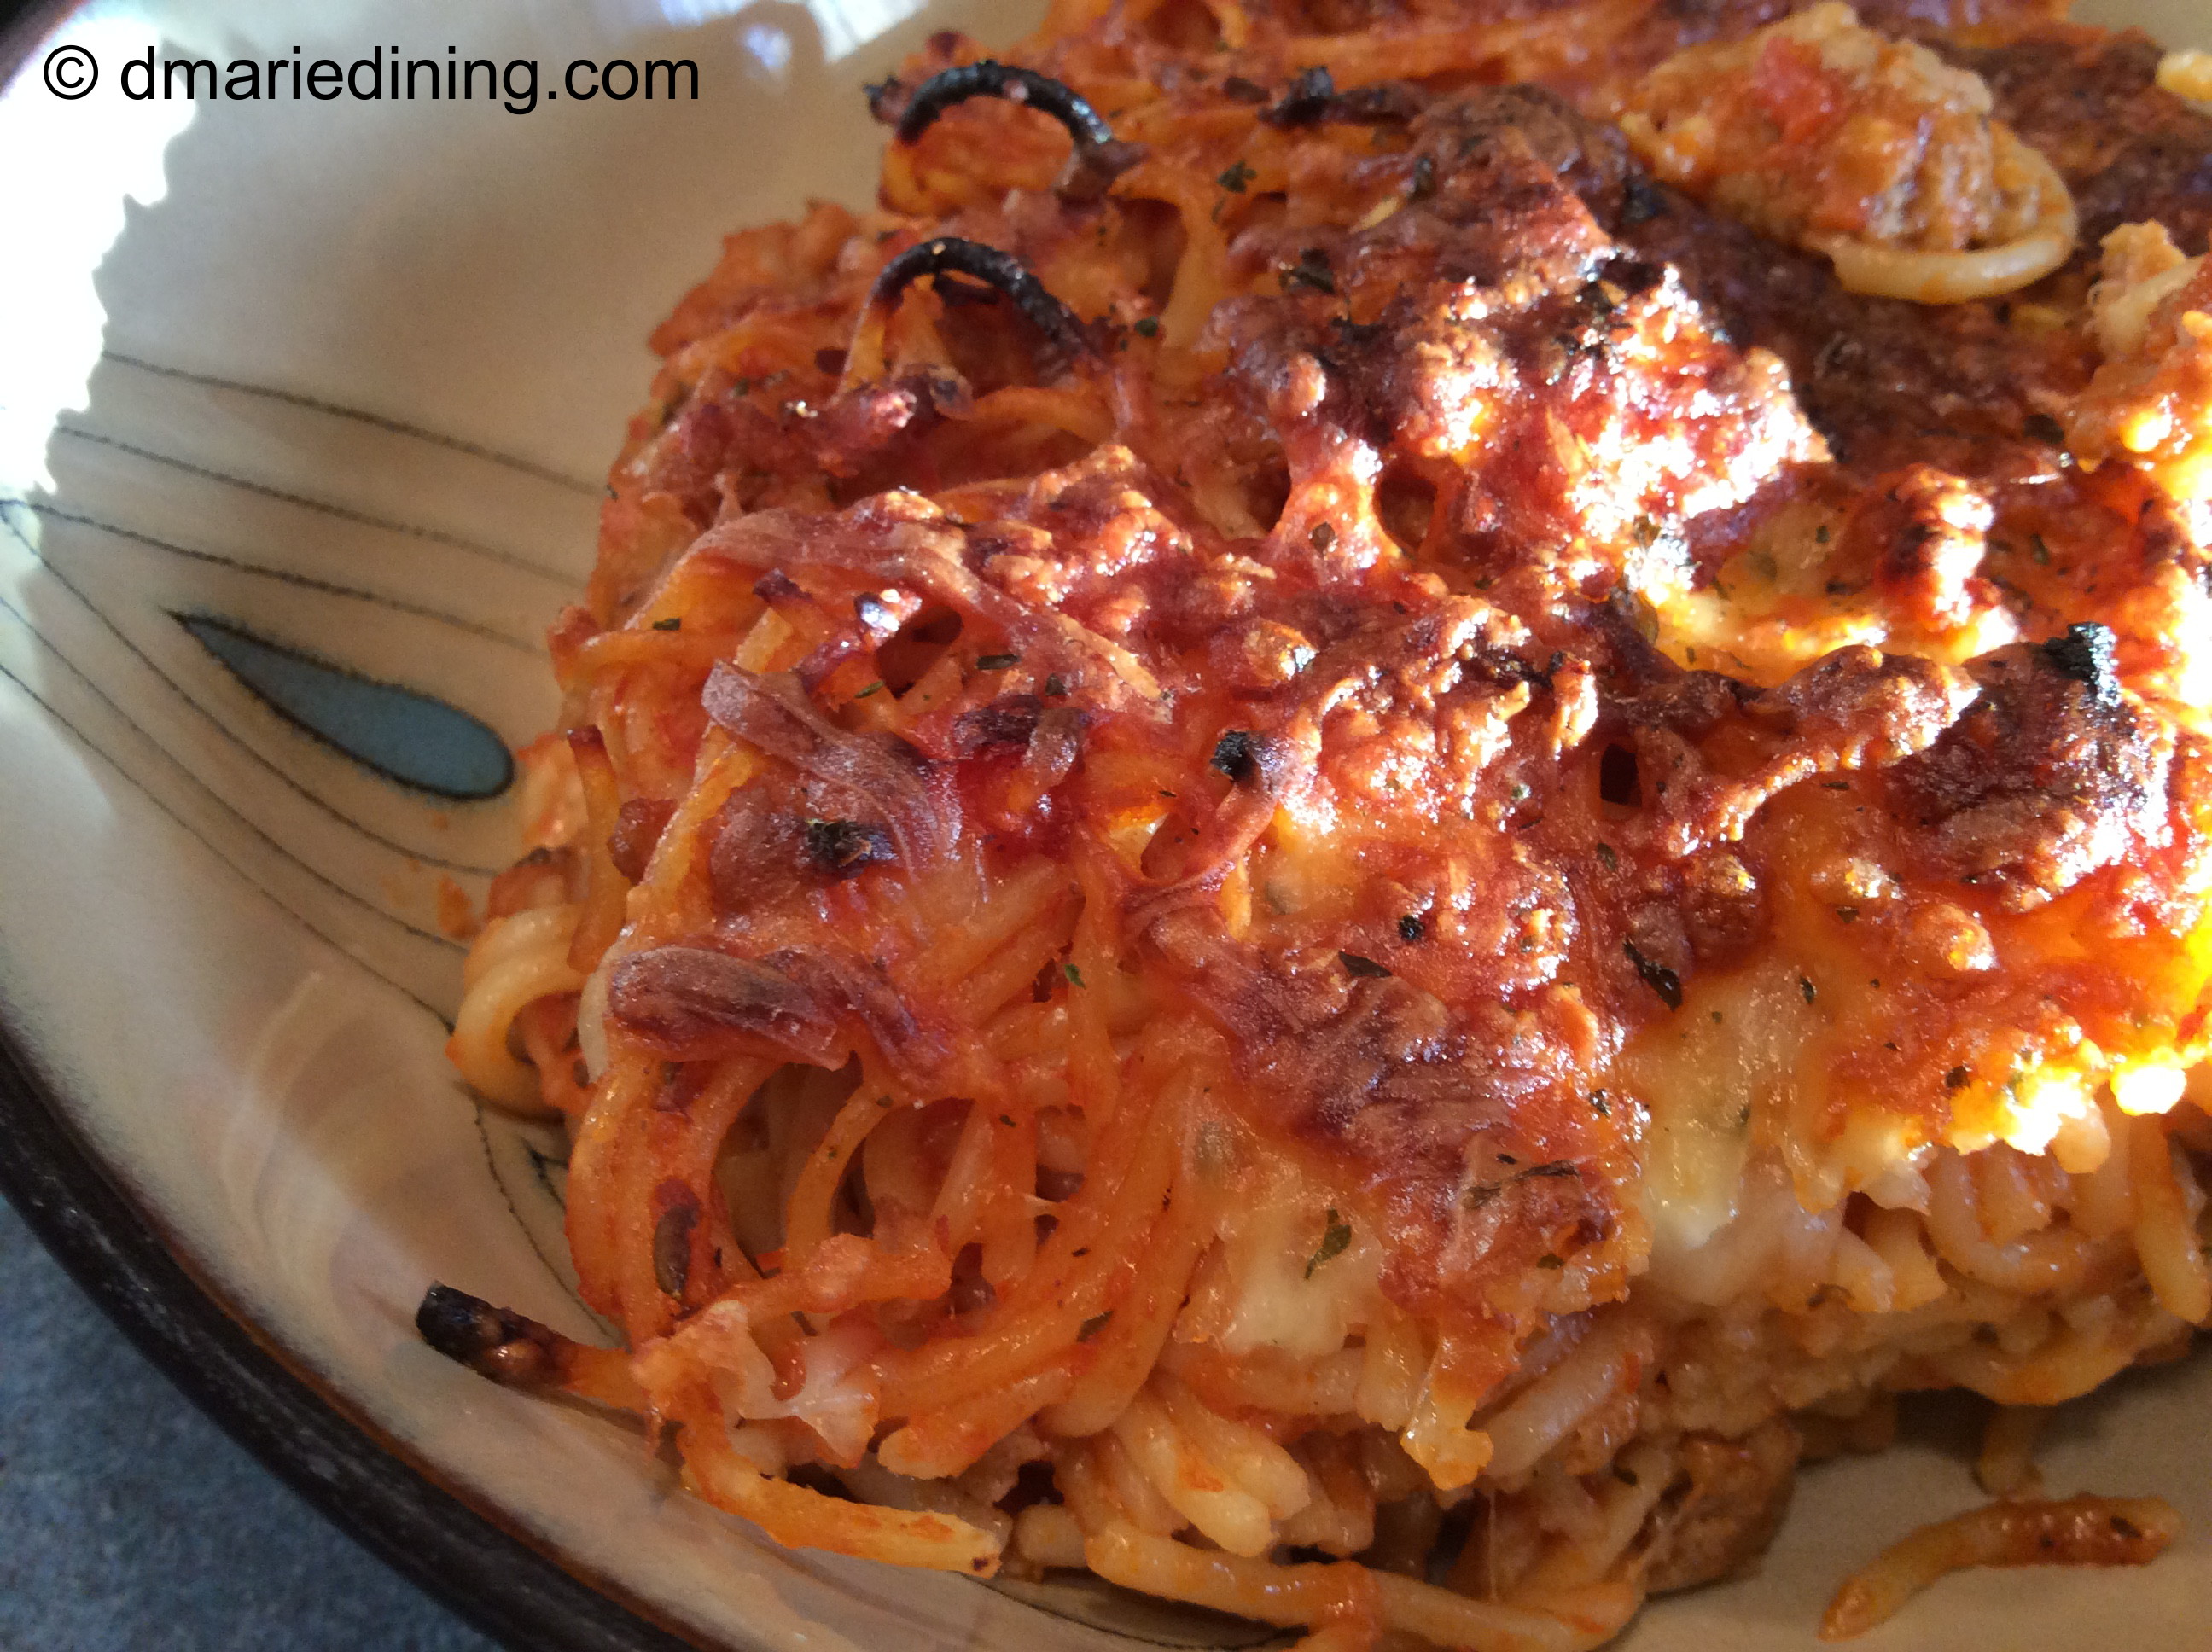
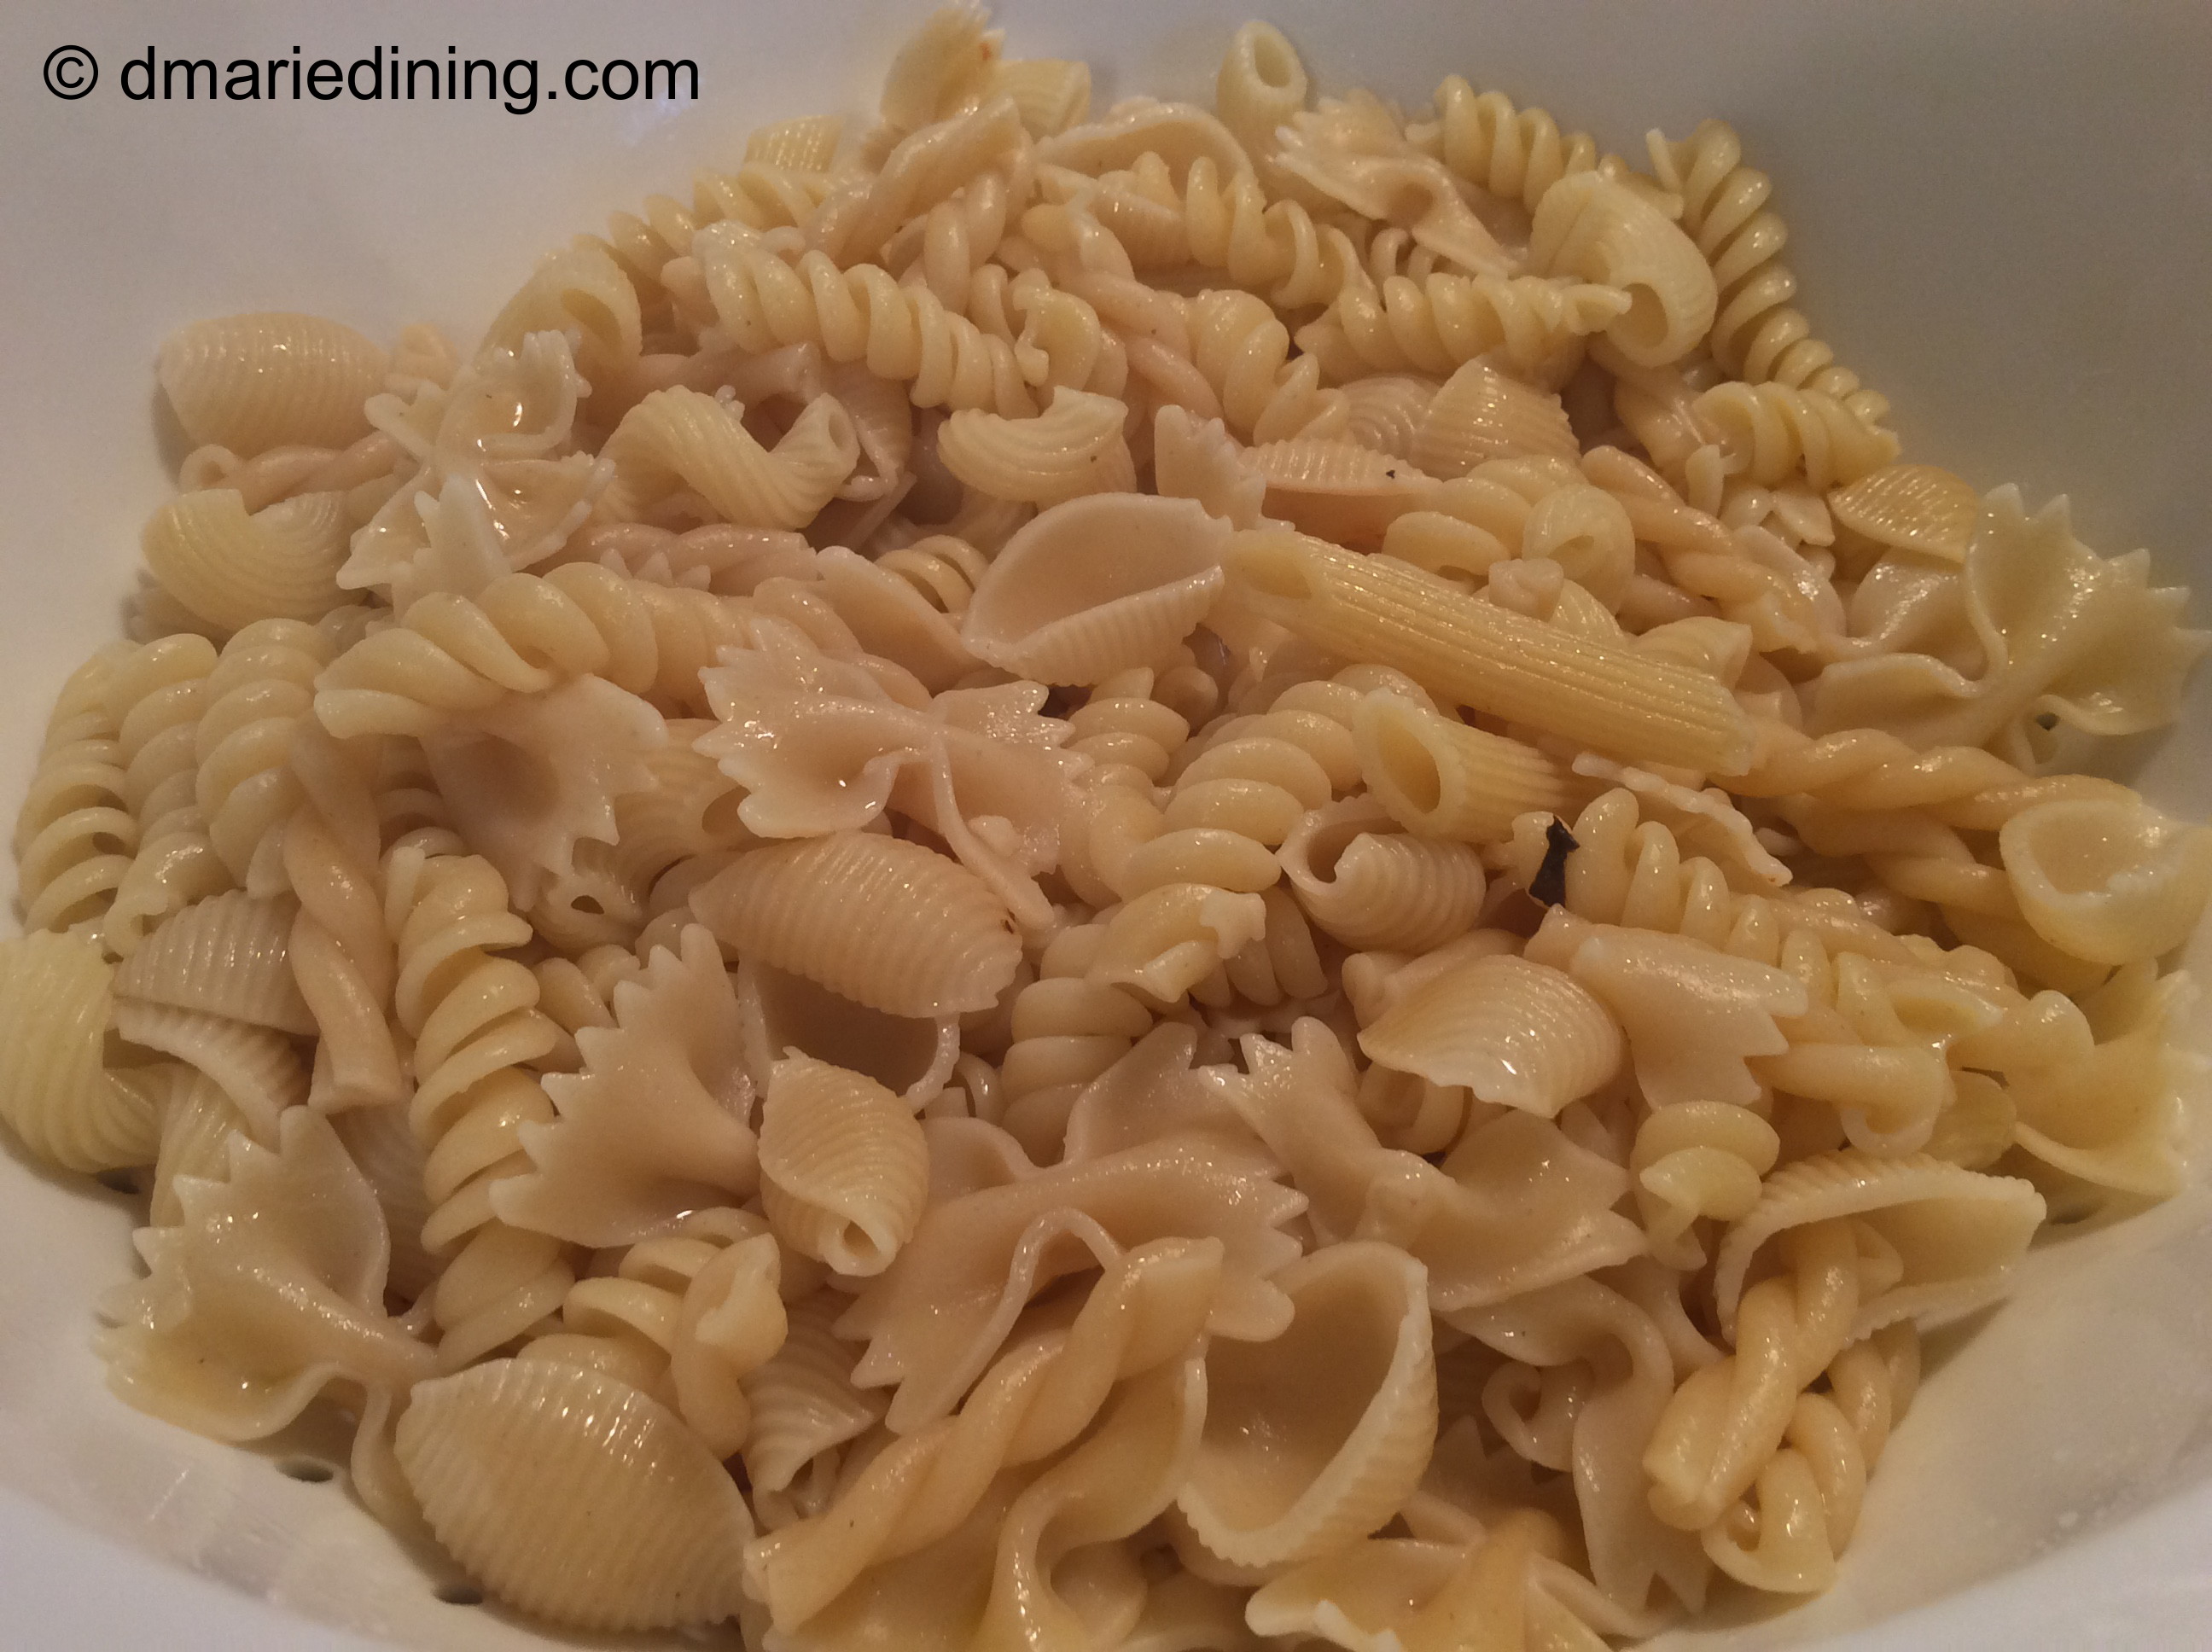
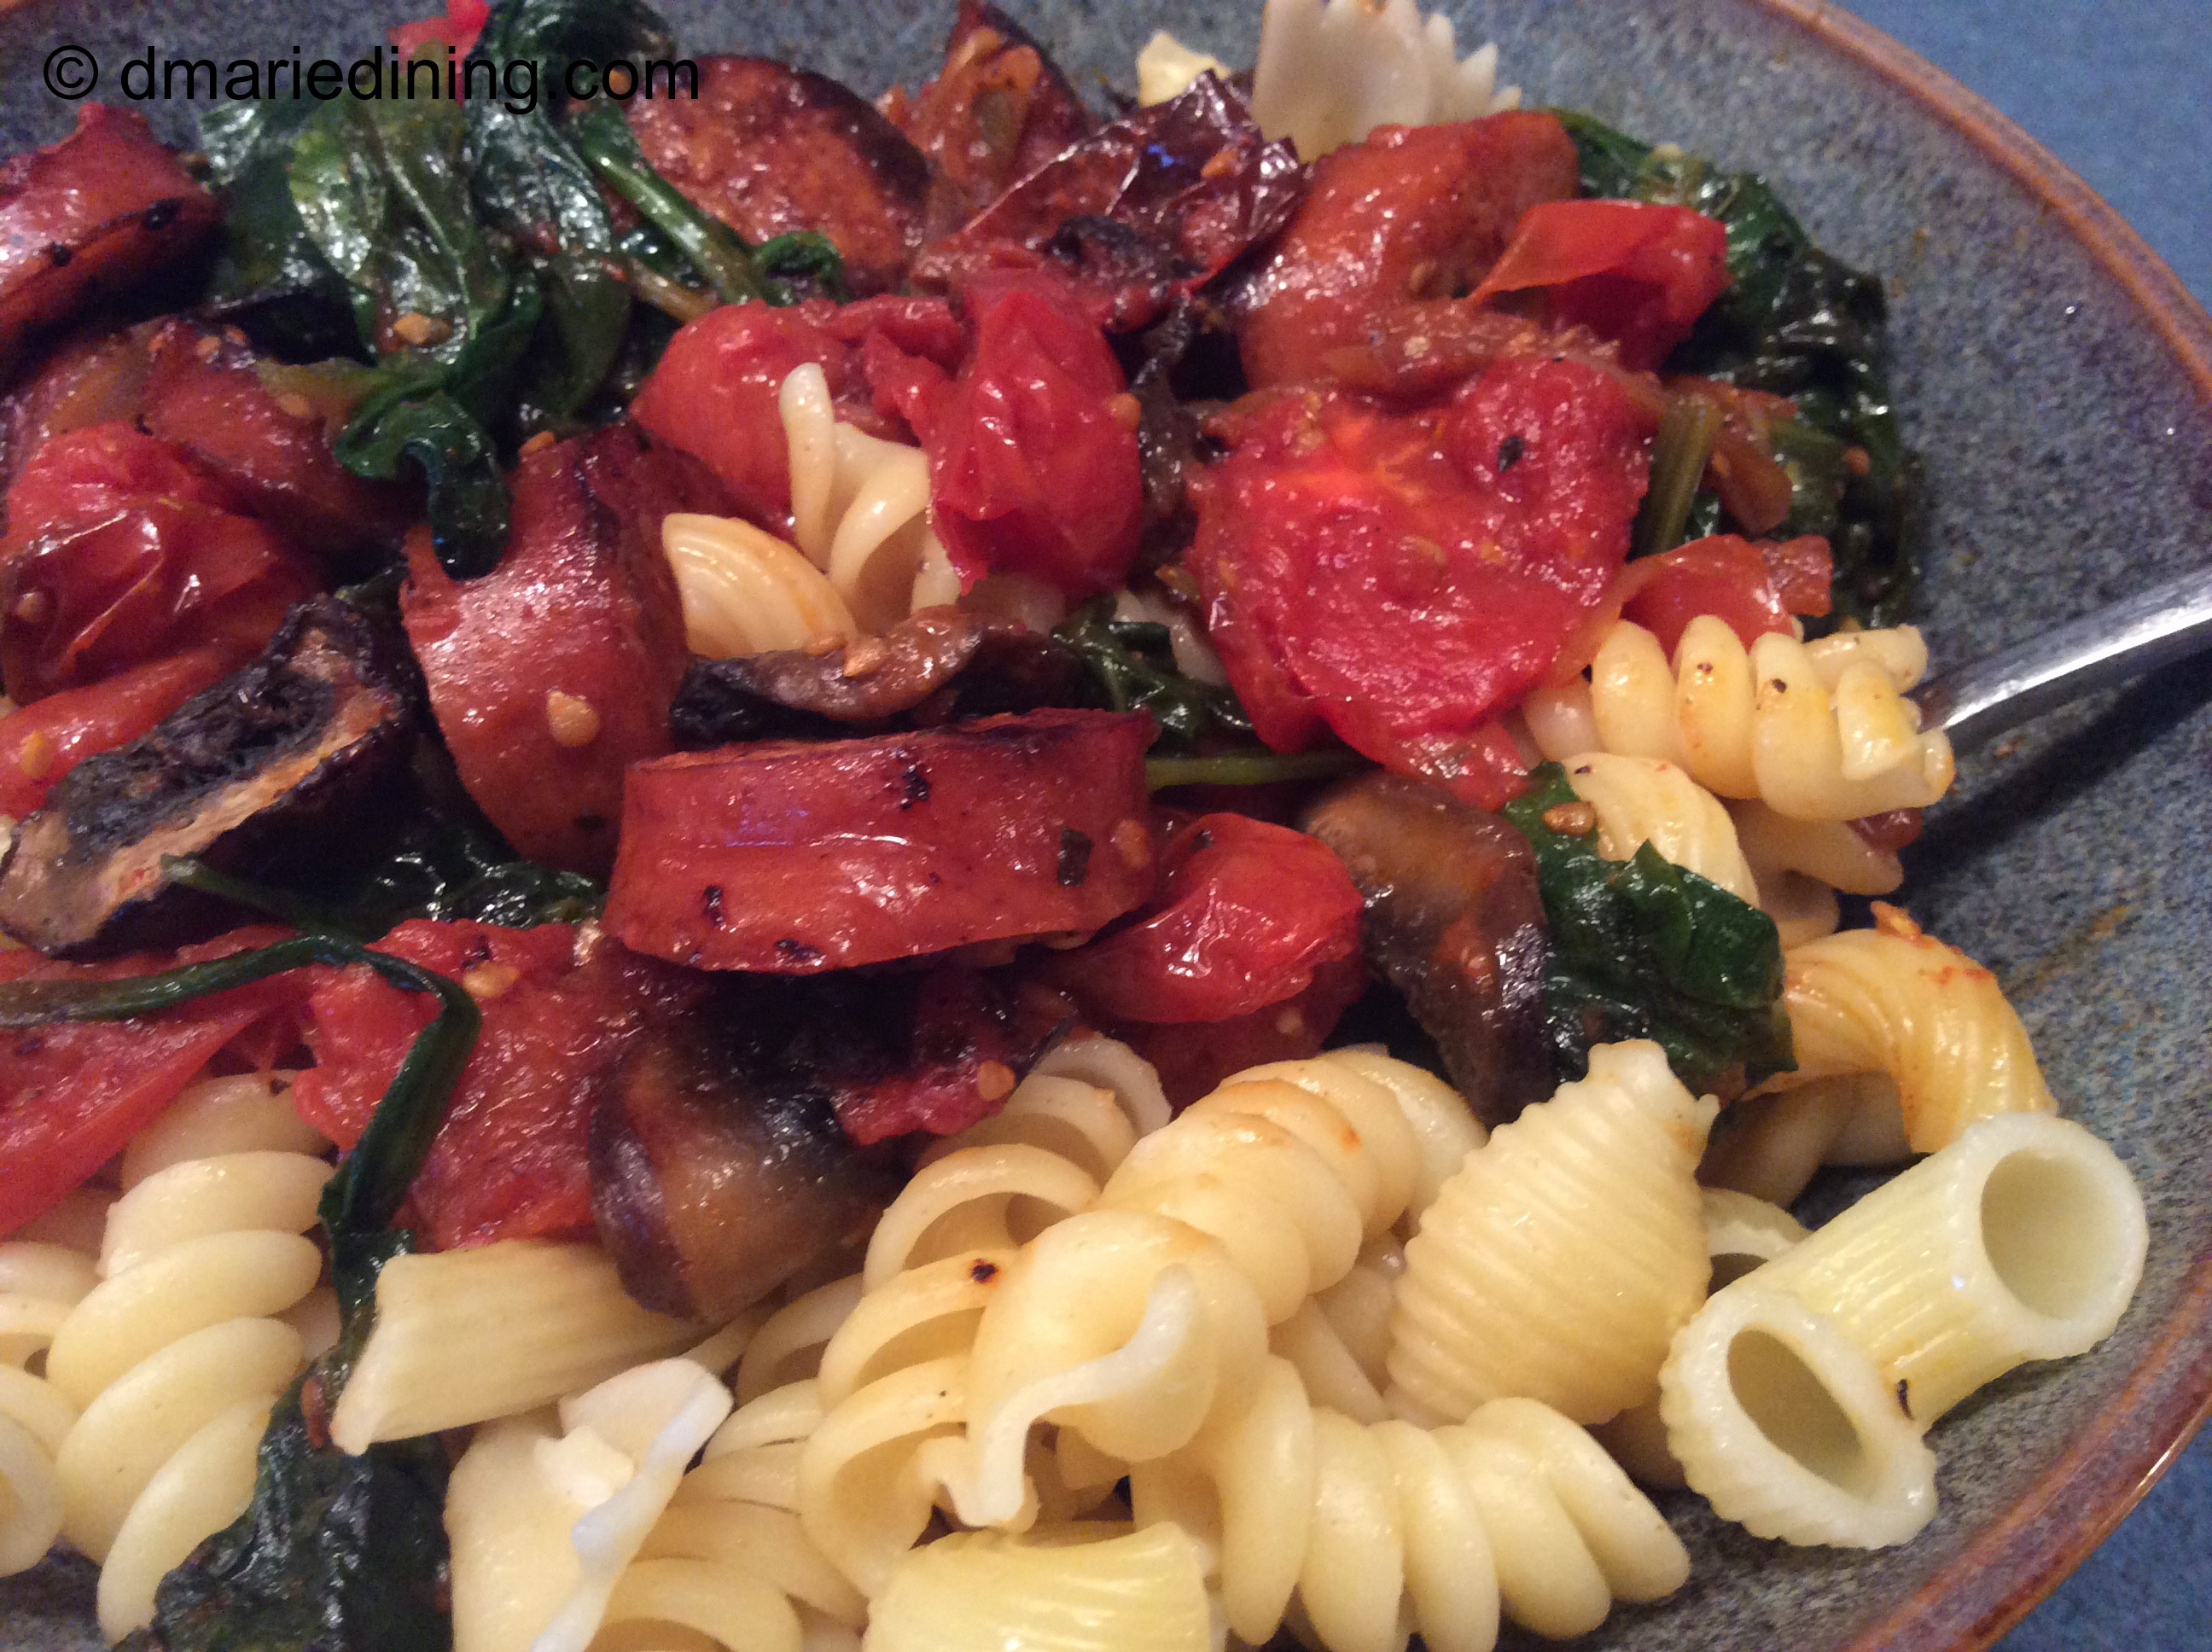
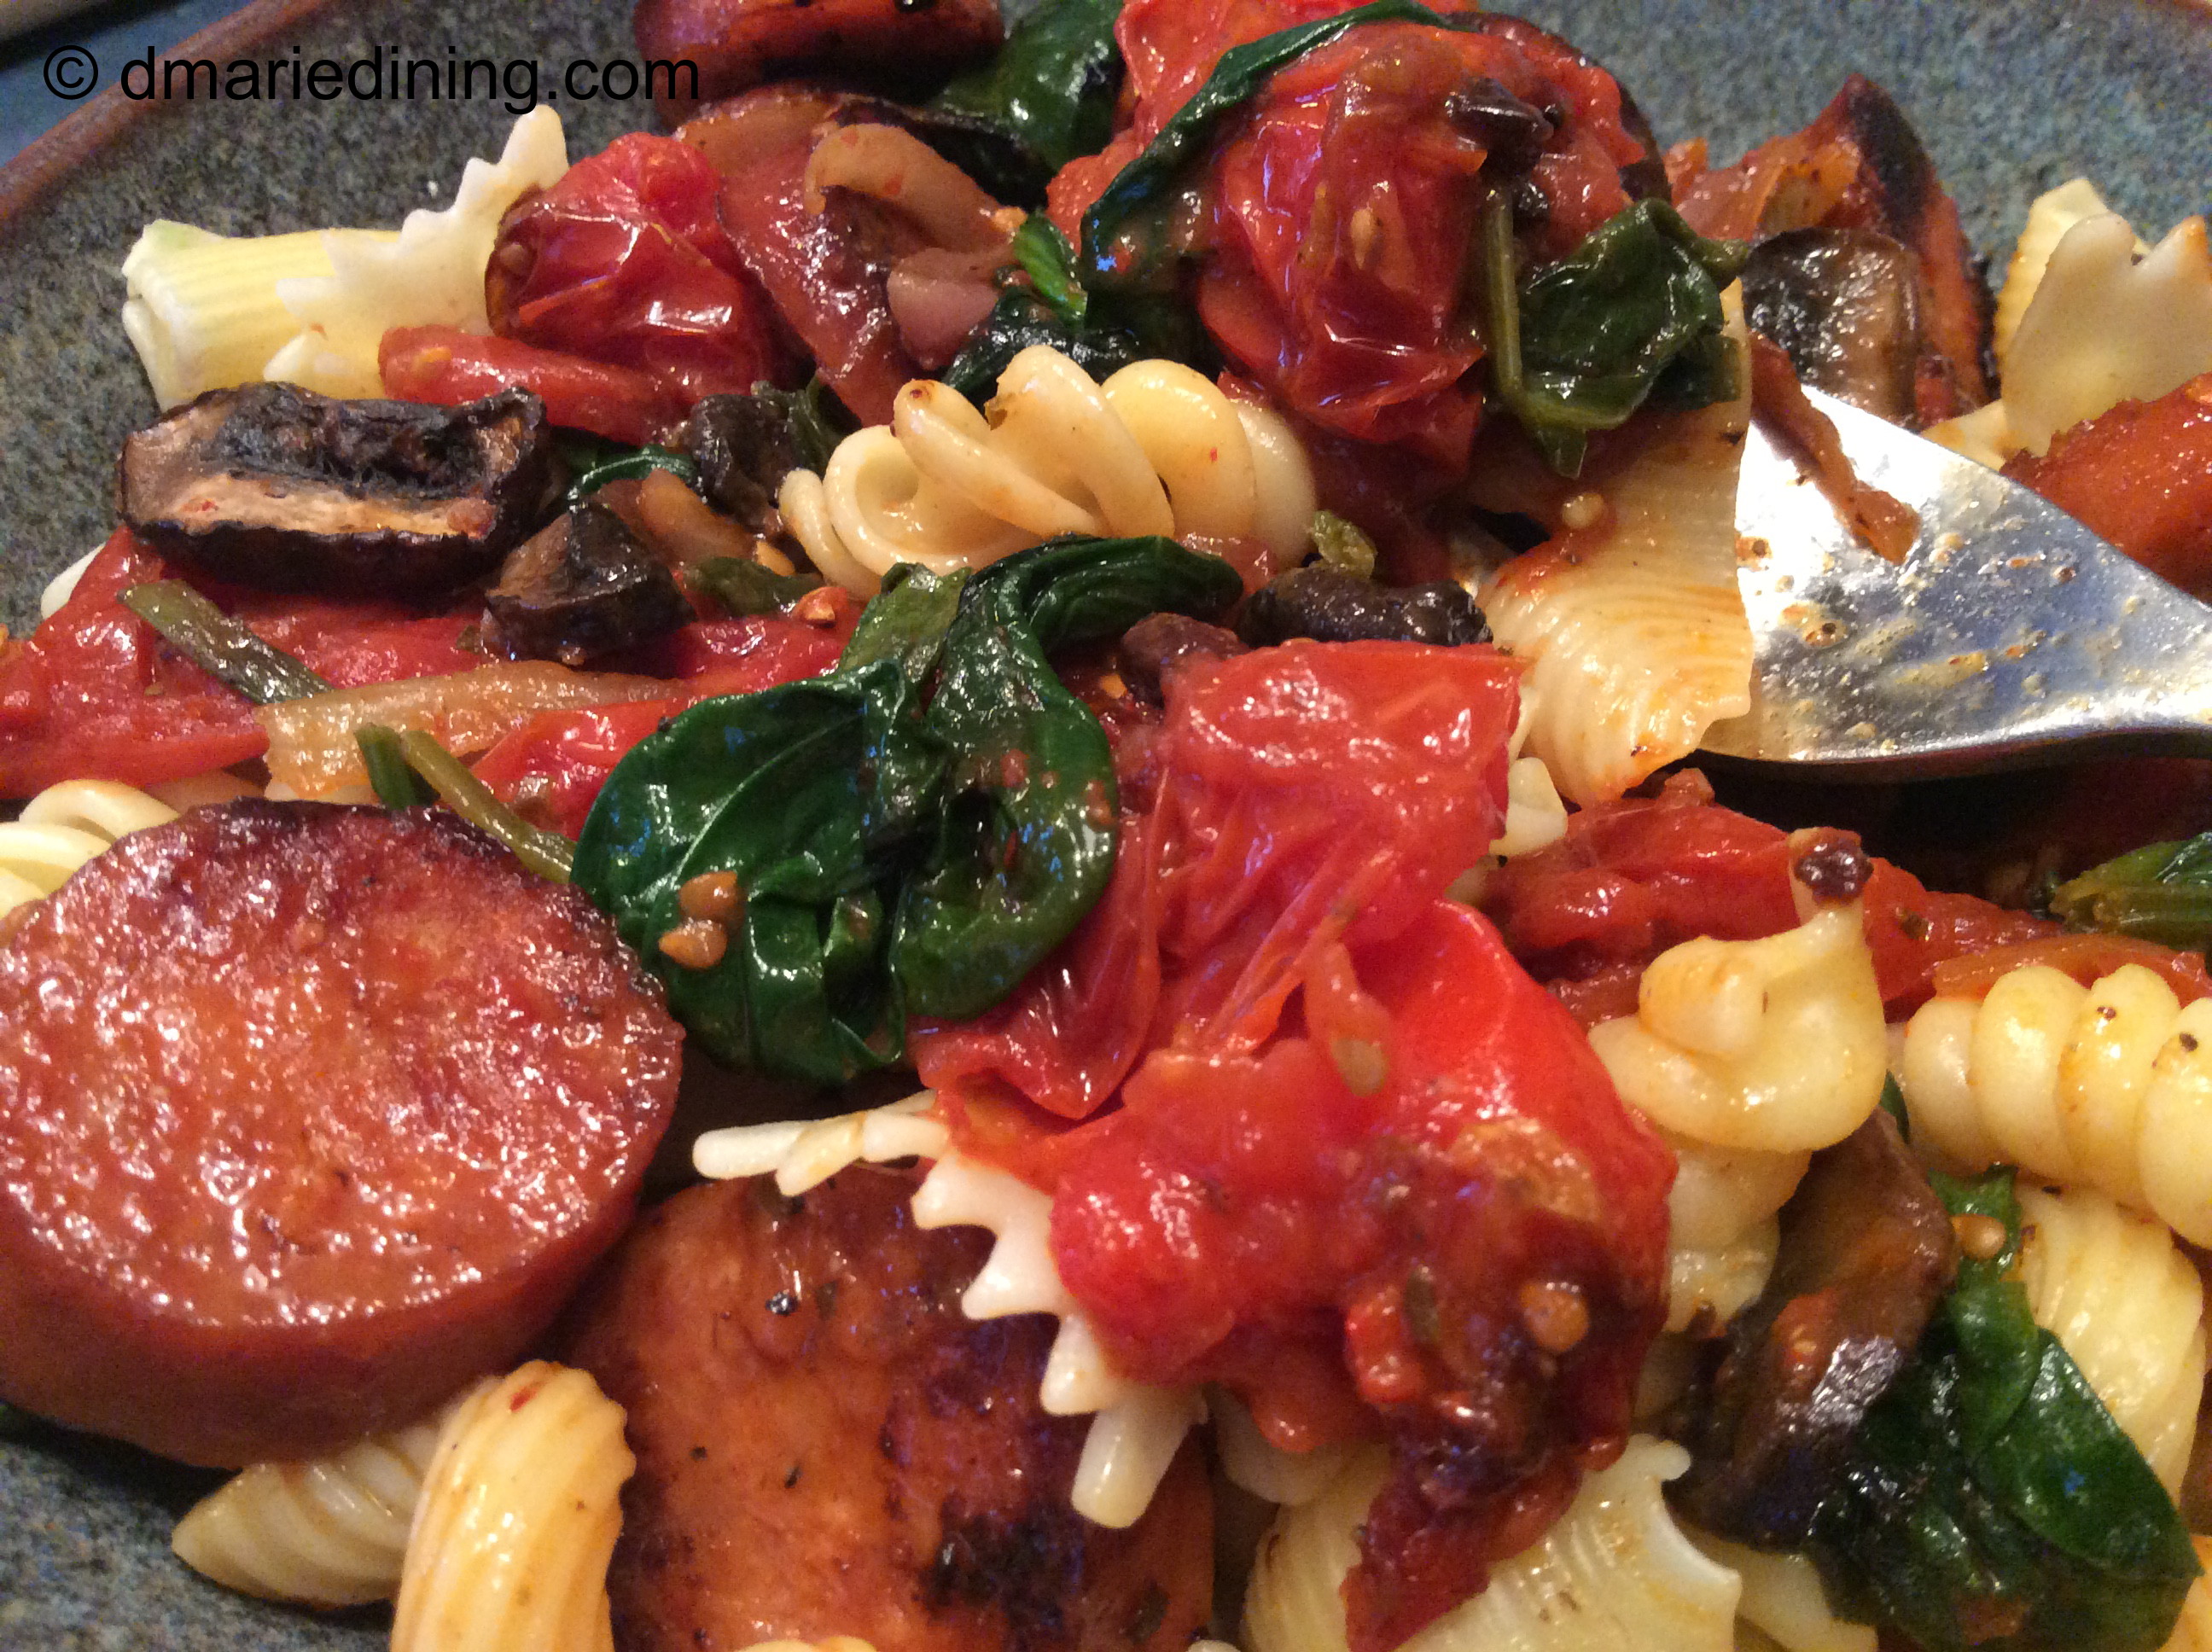
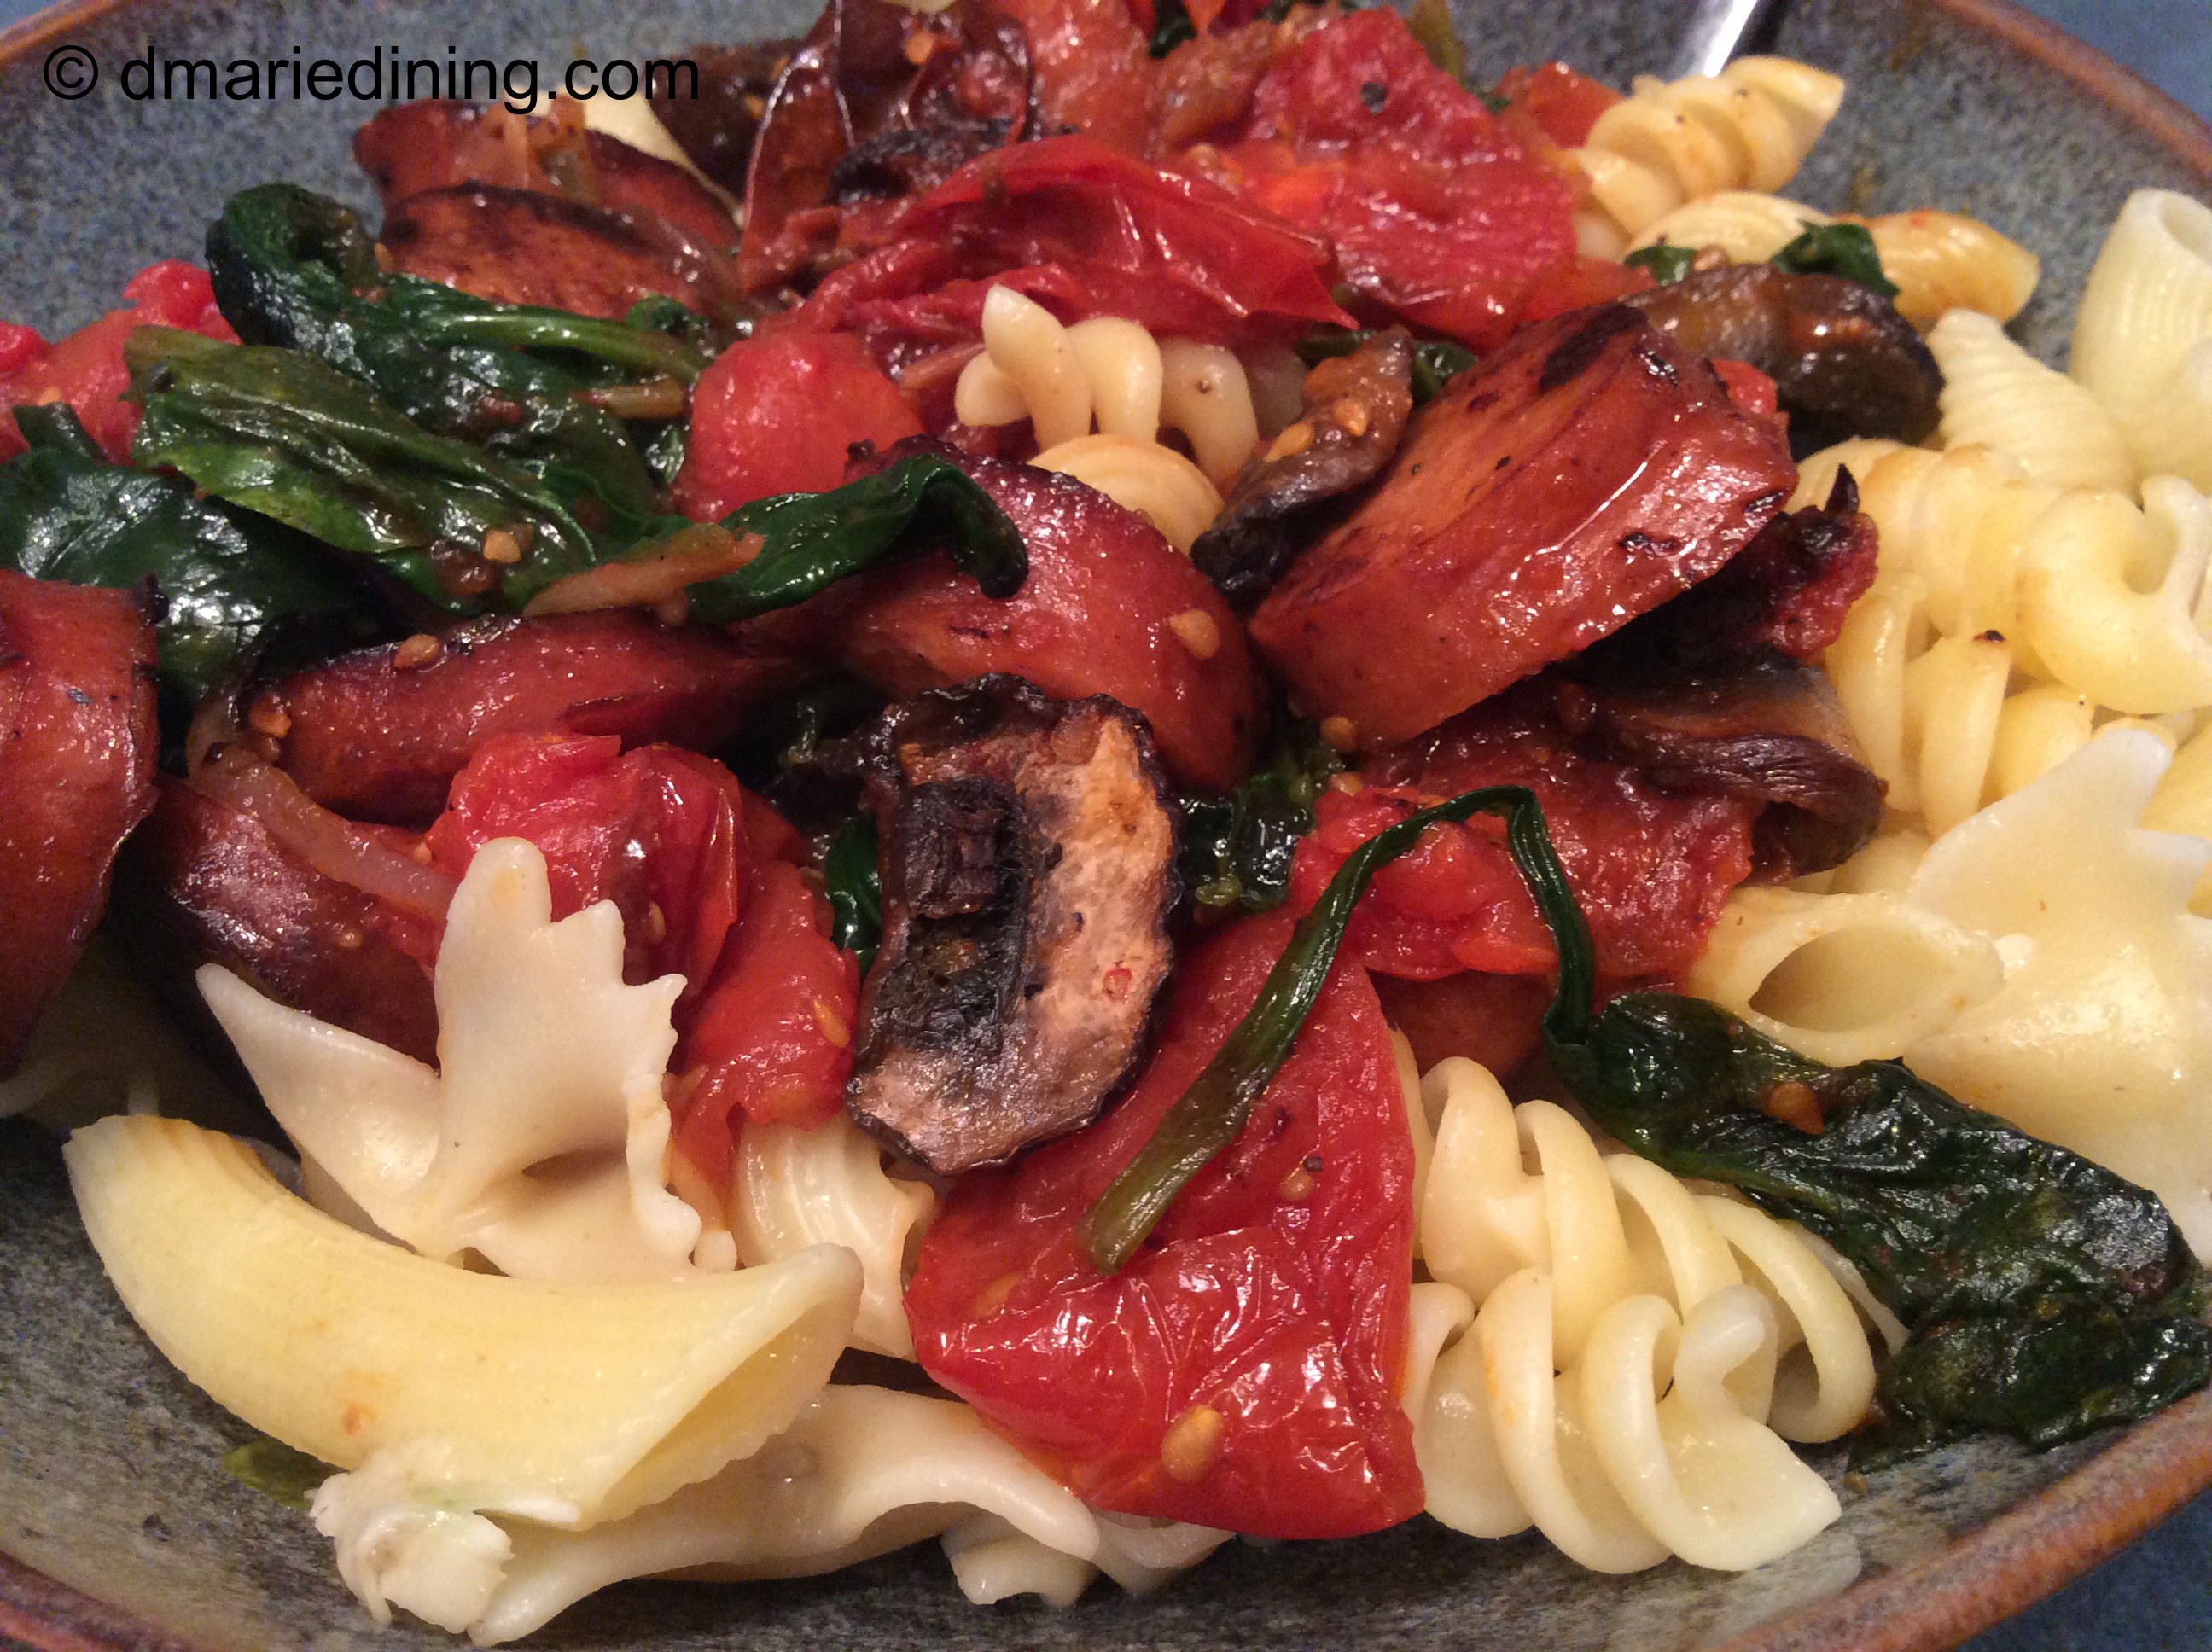
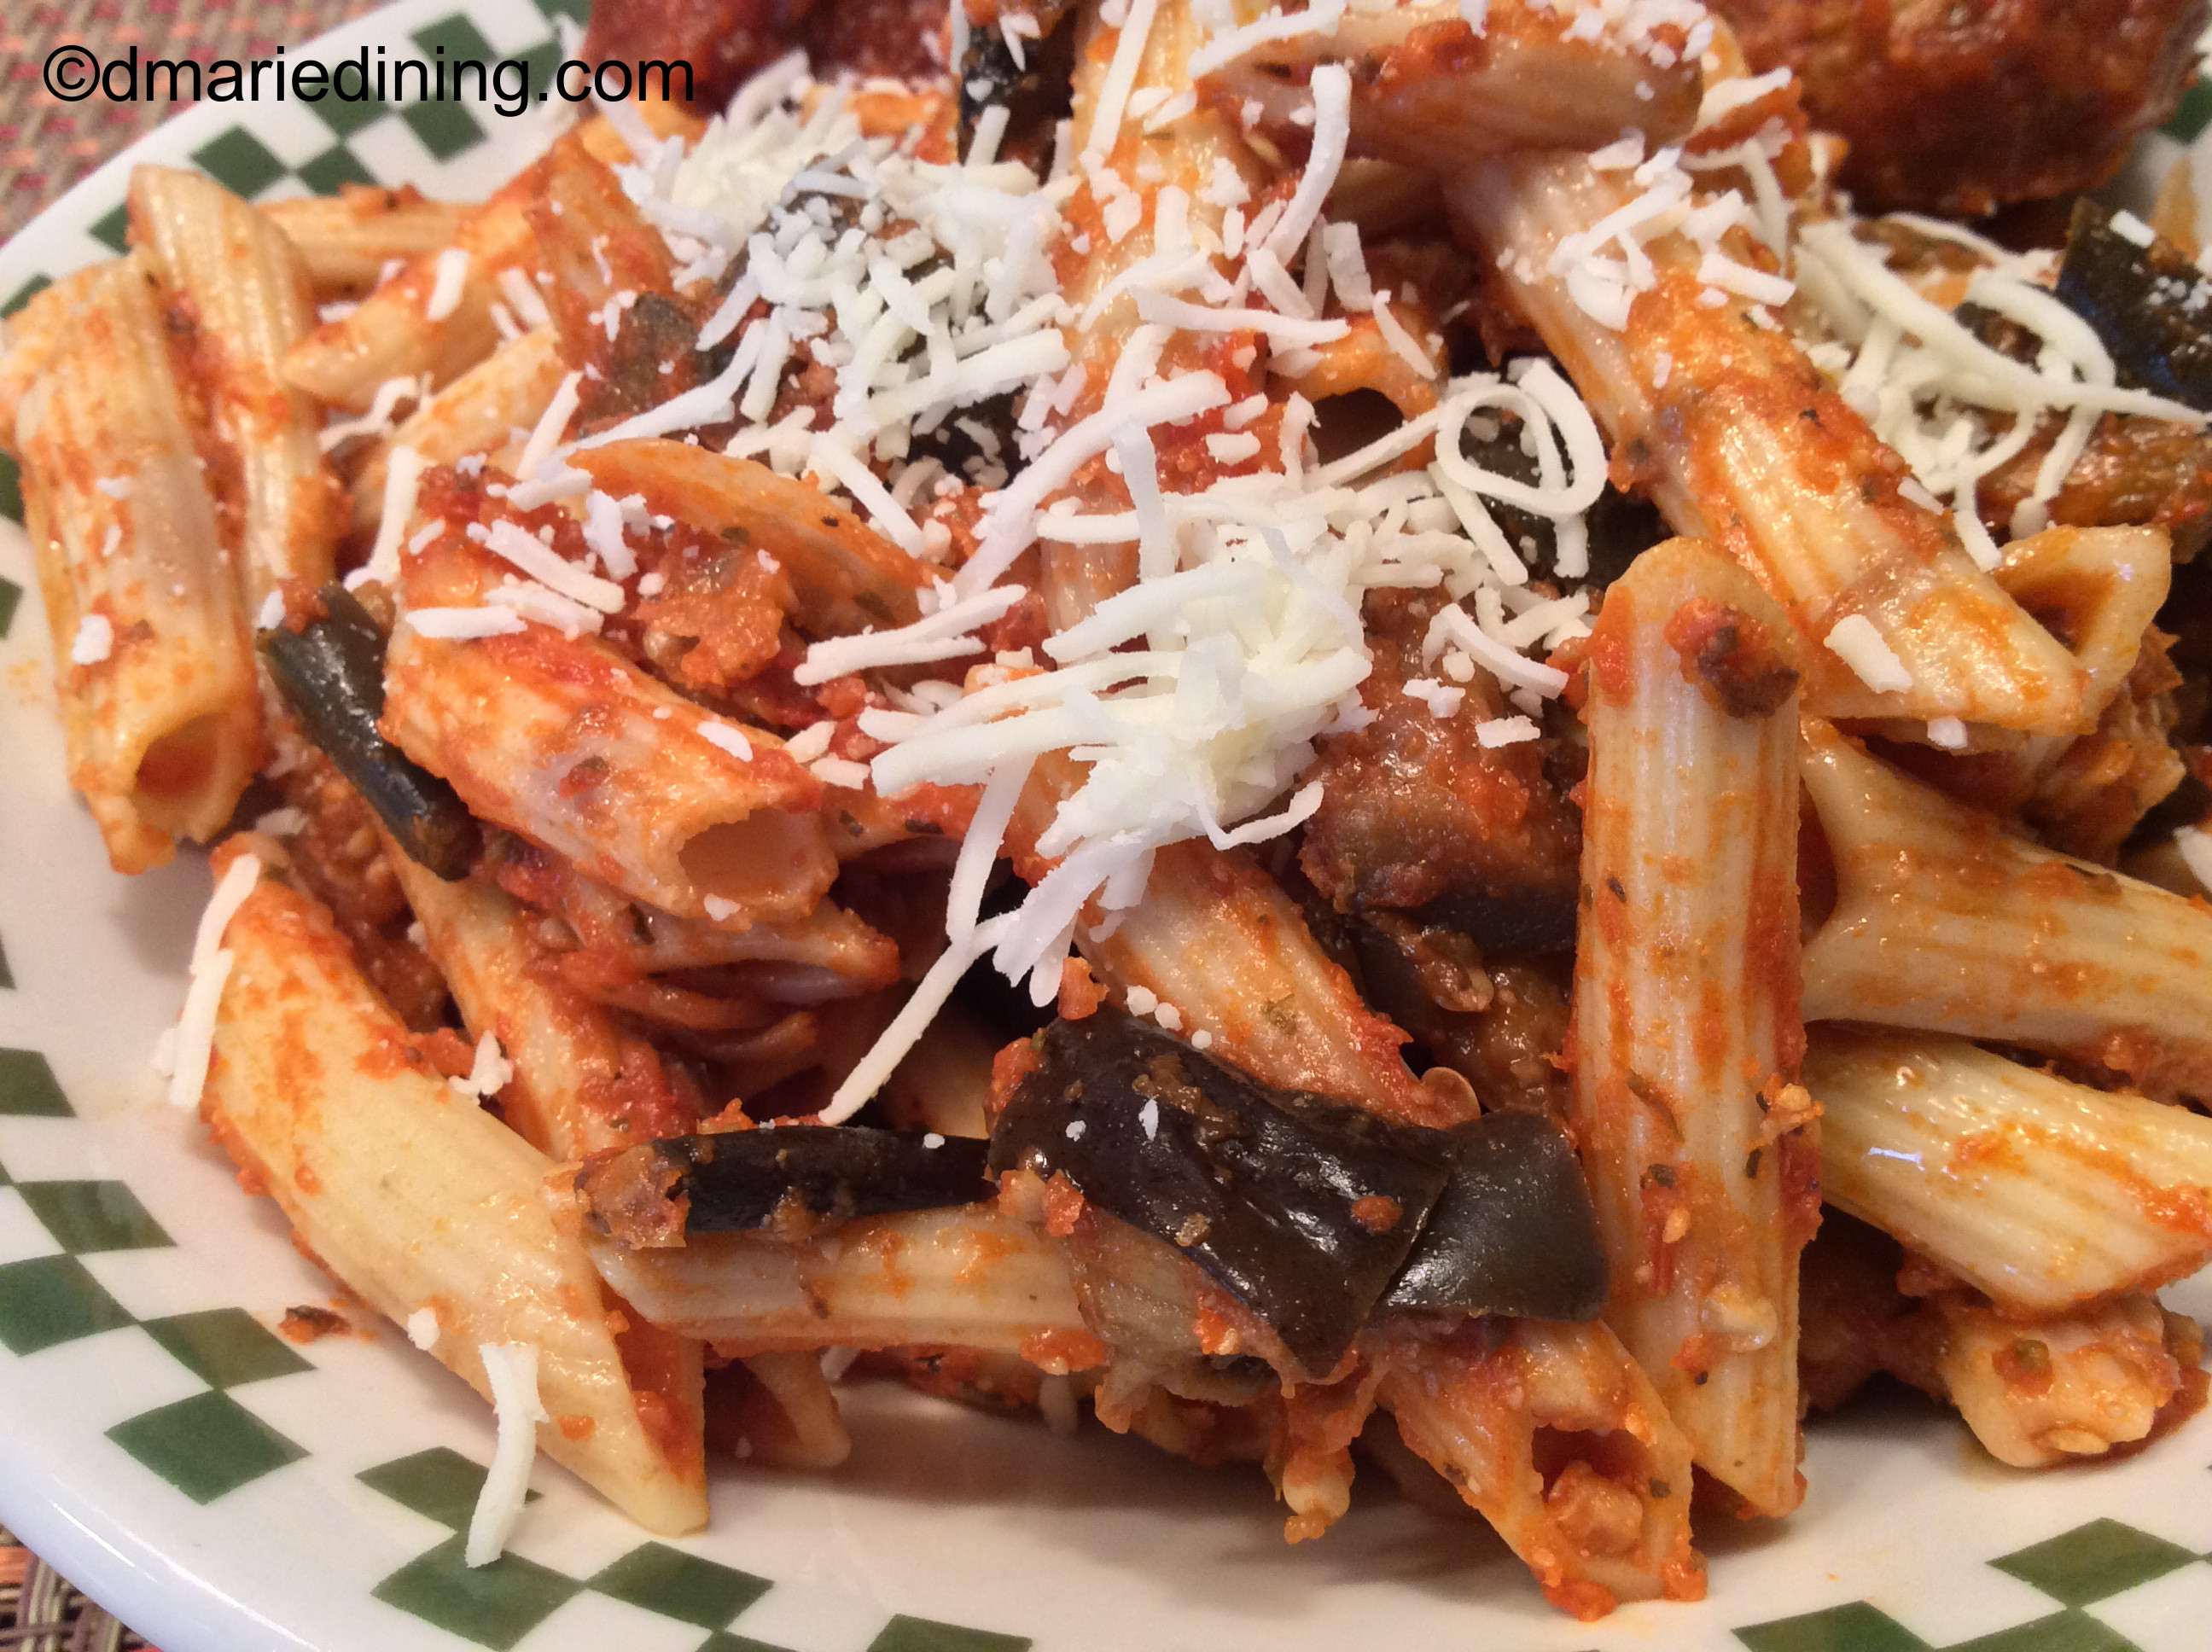
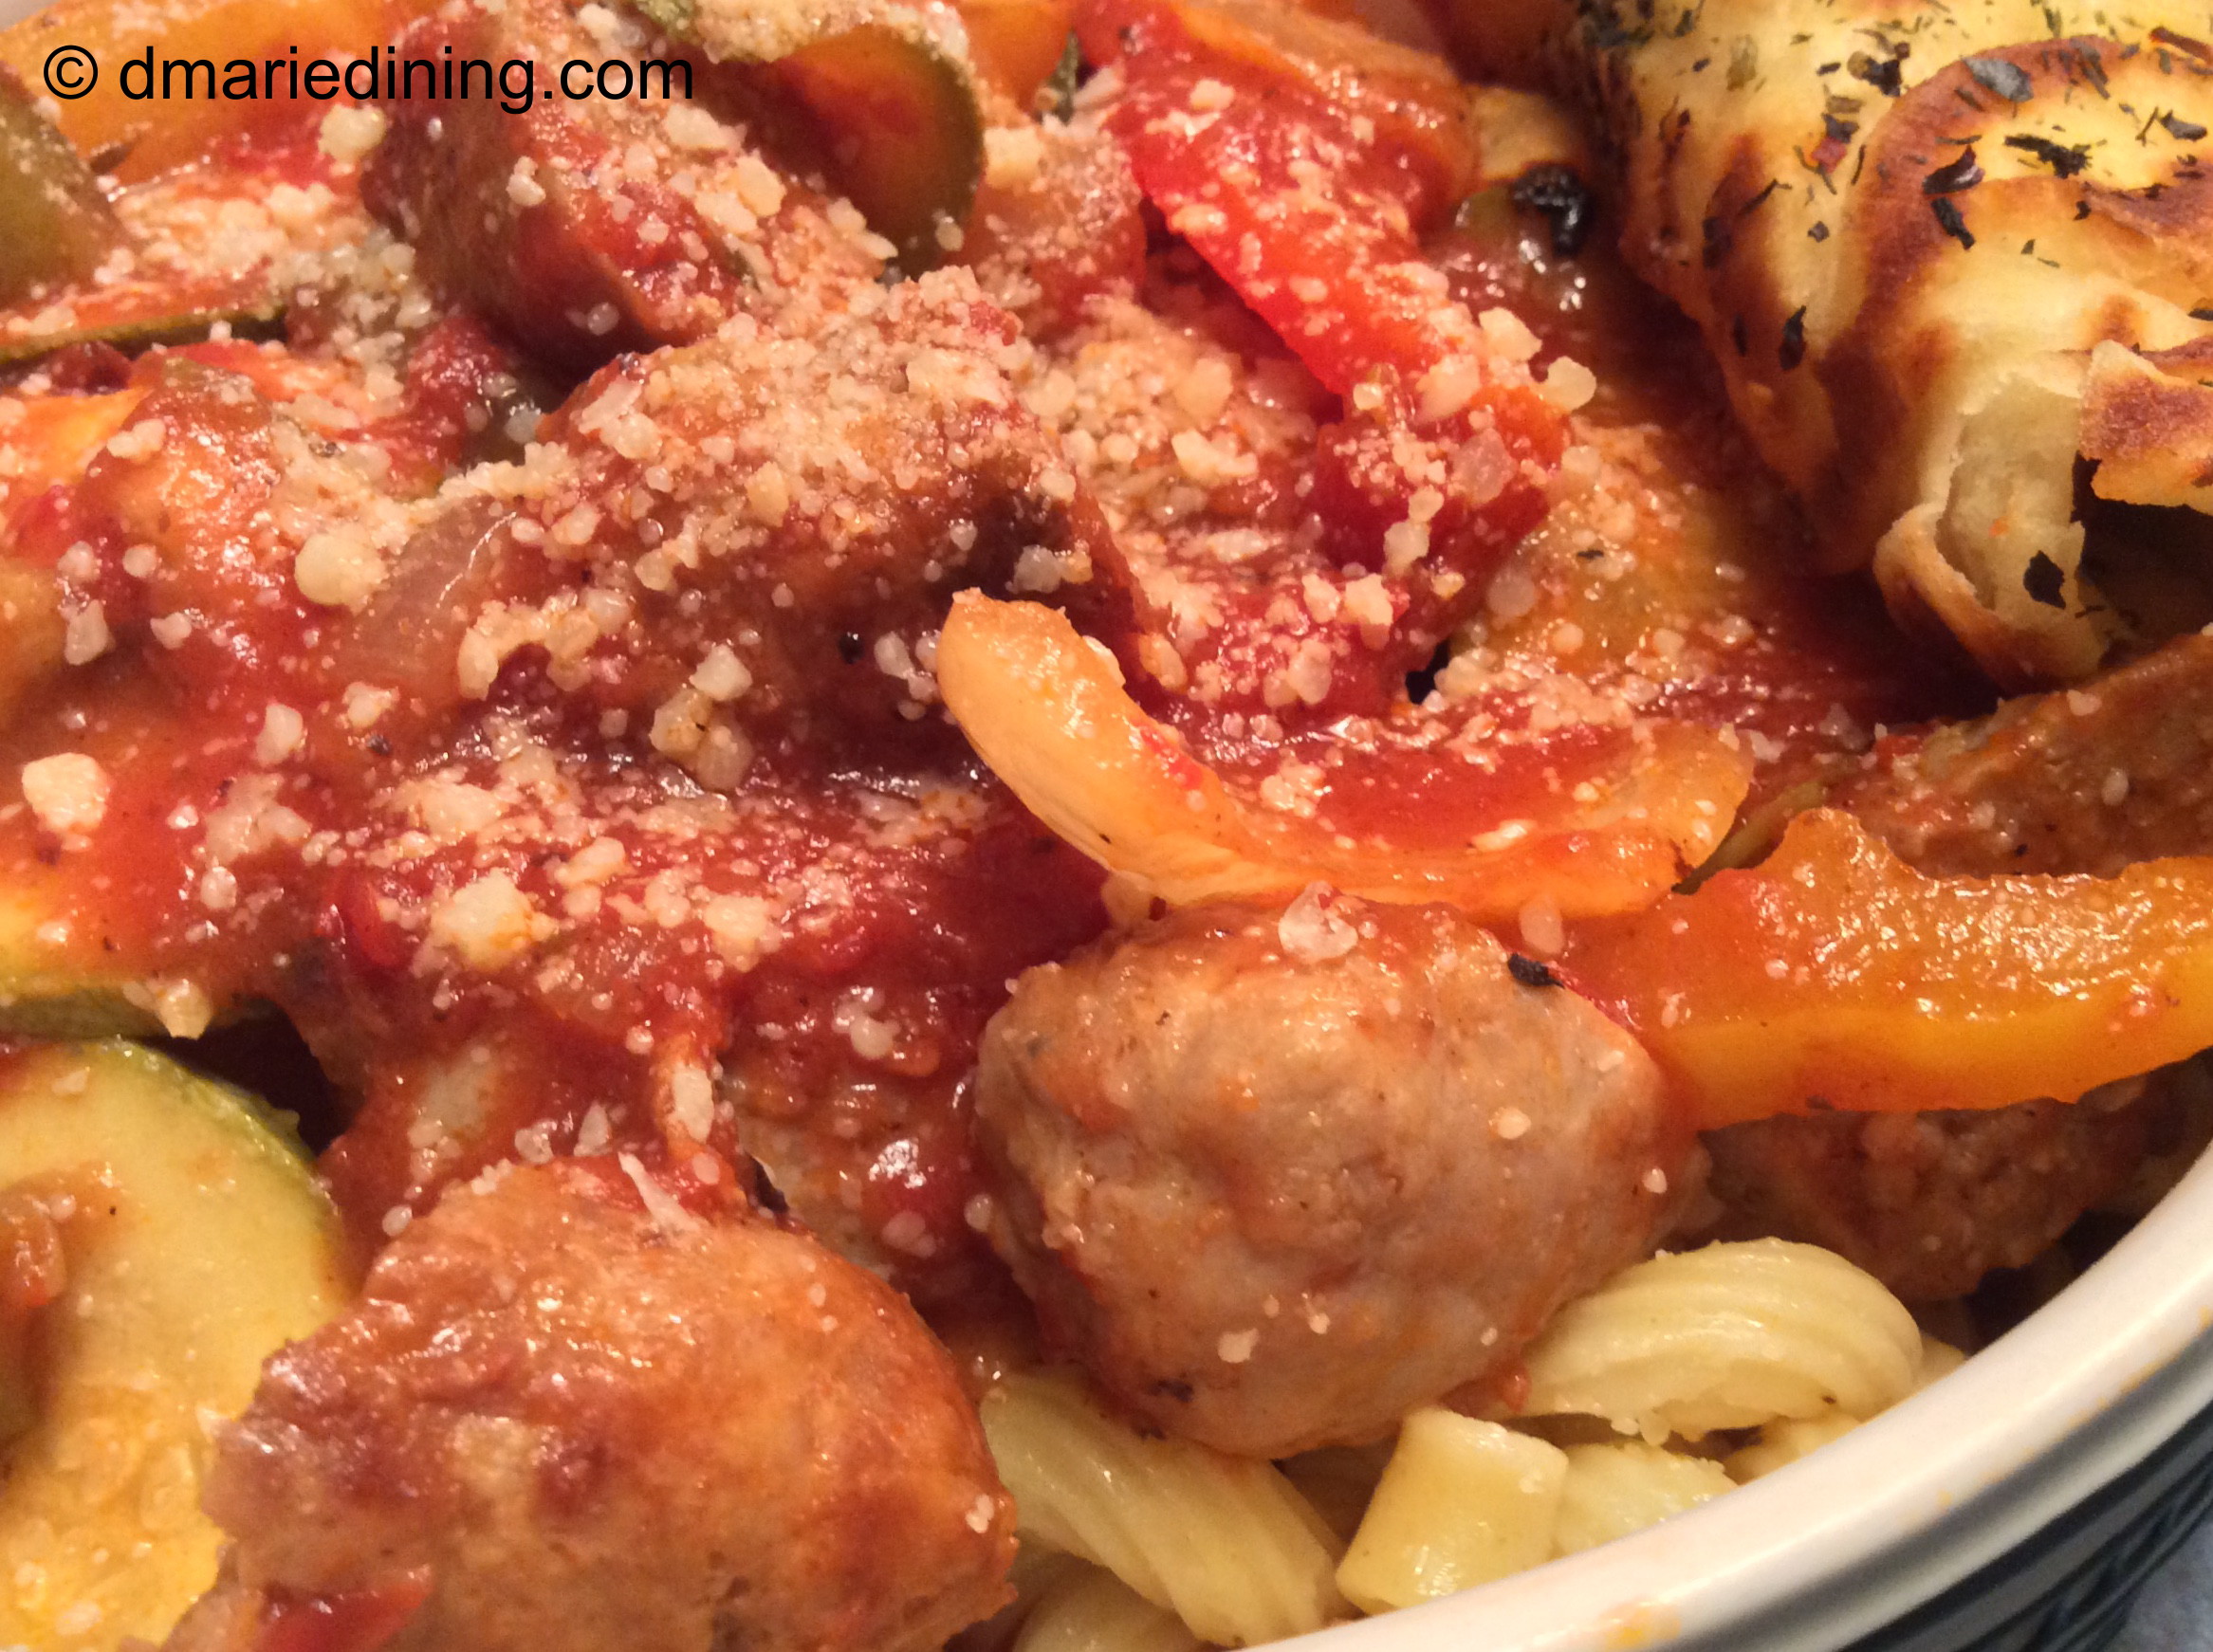
This was another one pot dish that I served over pasta with grilled Naan bread on the side. Talk about yummy. Not to brag, but I was impressed with how quickly the meal came together and how wonderful the mixed flavors tasted. I didn’t even have to ask hubby if this recipe was blog worthy. The first bite let me know it was definitely going on the blog!

Italian Sausages, Peppers and Zucchini

Ingredients:

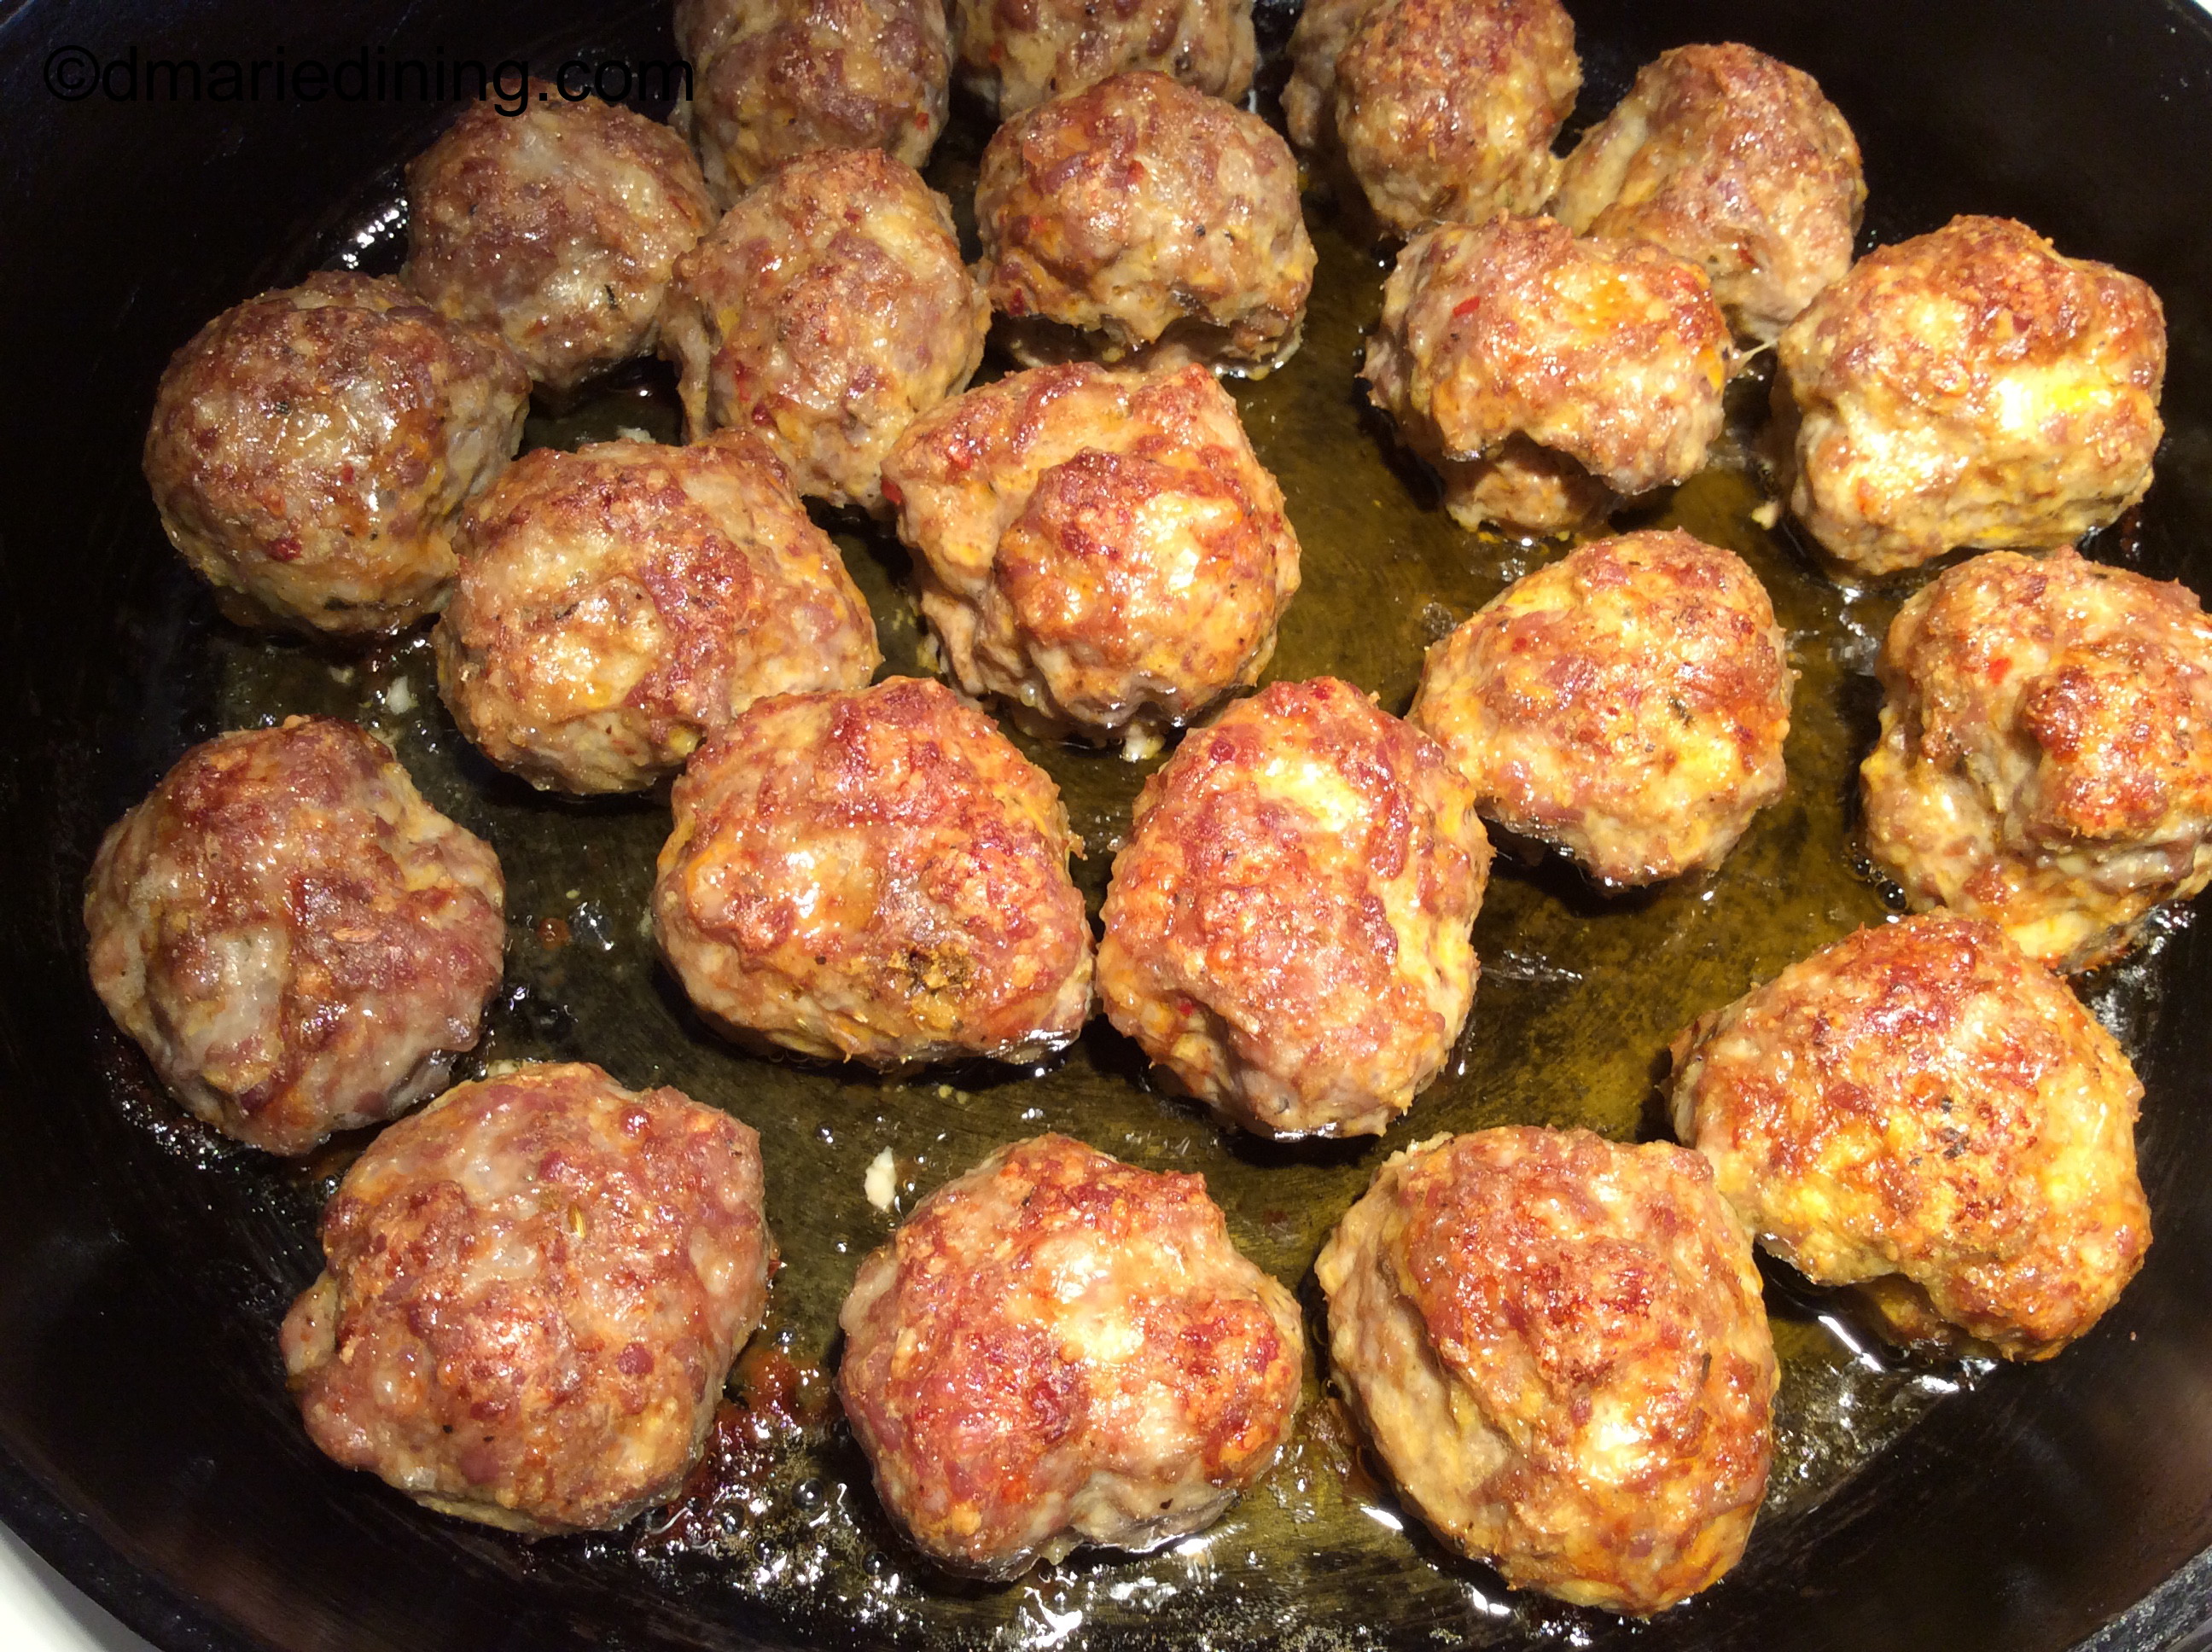
1 pkg hot Italian Sausage casing removed and cut into large bite sized pieces

1 pkg sweet Italian Sausage casing removed cut into large bite sized pieces

5-6 fresh basil leaves torn

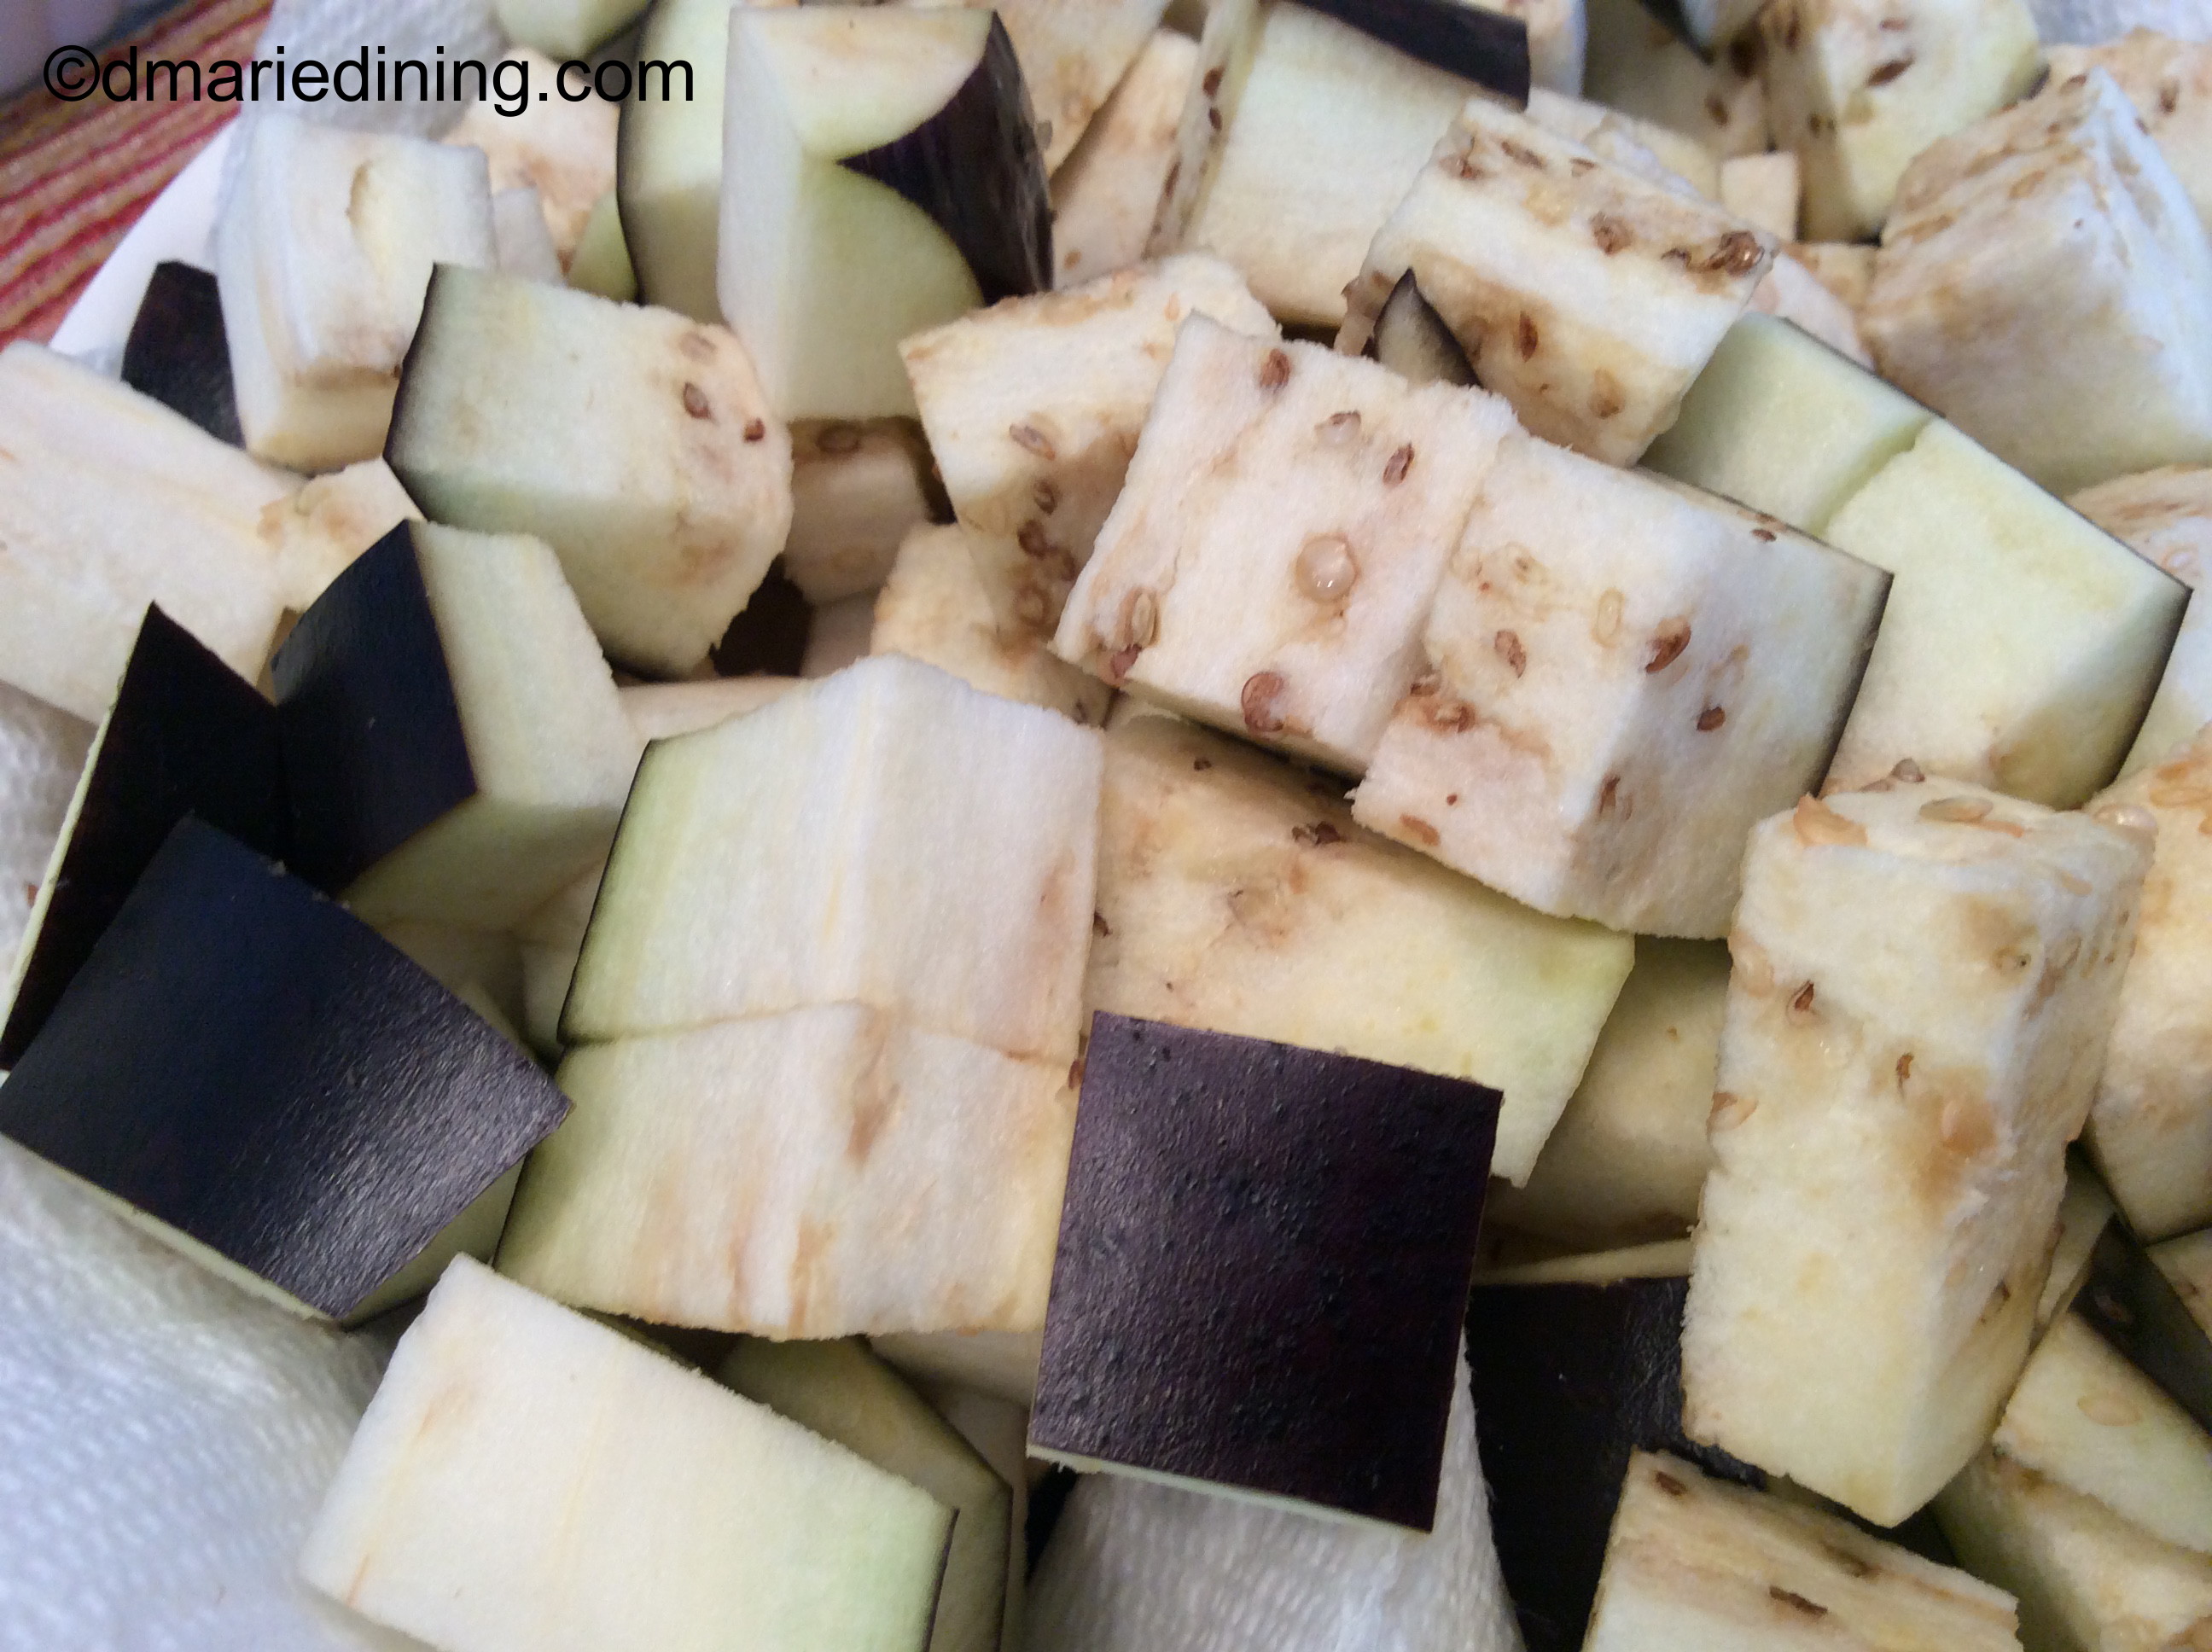
2 small zucchini sliced thin

1 small red onion peeled and sliced

1 red bell pepper seeded and sliced

1 green bell pepper seeded and sliced

1 yellow bell pepper seeded and sliced

1 lg can crushed tomatoes

½ cup water

2 tbsp grape seed oil

2 tbsp extra virgin olive oil

1 tbsp Worcestershire sauce

1 tbsp dried oregano

1 tbsp salt

½ tbsp ground black pepper

½ tbsp Adobo seasoning

Place oils in a large skillet or dutch oven and heat over medium high heat. Add sausages and brown on both sides then remove and place on a plate. Add peppers and onions to the skillet and season with salt, ground black pepper, oregano, Adobo and Worcestershire sauce. Stir then reduce heat to medium. Cook for 2 minutes then add zucchini, basil leaves, crushed tomatoes and water. Stir to mix then add sausages and juices to the skillet. Stir to blend all the ingredients then cover and let simmer for 20 – 25 minutes. Serve over pasta or rice.

Sausage and Pasta with Feta and Tomatoes

I took it as an omen that I should try to make a pasta dish with feta cheese and tomatoes when I saw two different clips on YouTube about baked feta and tomatoes in a sauce. My version of the recipe includes spicy sausage. What can I say. My family enjoys meat. Of course this recipe can be made meatless for the enjoyment of my vegetarian friends. Either way my Sausage and Pasta with Feta and Tomatoes came out a winner.

Until hubby came into my life I was never big on feta cheese. It was not a cheese I would automatically pick up at the grocery store having grown up using cheddar, Swiss, Gueryre and mozzarella cheeses. Feta just looked really bland to me so it was easy to bypass for other cheeses. I cannot say I didn’t like the taste of feta cheese because it sometimes was a topping for salads when we dined out. However, with all of the other flavors in the salad my palate must not have been sophisticated enough to distinguish its tangy taste way back when. Hubby introduced me to the delicious flavor of feta while eating at various Italian restaurants while we were dating. Now, I incorporate feta into a variety of recipes to add a level of tang and creaminess to the dish.

I think this Sausage and Pasta with Feta and Tomatoes dish is quite tasty and oh so simple to make. The hardest part of prepping the recipe is browning the sausage and cooking the pasta. The feta cheese and cherry tomatoes bake together in a casserole dish with a few herbs. Once baked the tomatoes and feta are turned into a delicious creamy sauce which is tossed with the sausage and pasta. Talk about quick and easy. I can make this dish within an hour and have it on the table for my hungry crew to gobble down.

If you have pasta lovers in your house, try this recipe. They will love it!

Sausage and Pasta with Feta and Tomatoes

Ingredients:

3 spicy fresh sausages with casing removed

2 pints of cherry tomatoes

1 block of Feta cheese

1 box pasta. [Prepare according to cooking instructions]

1 bag baby leaf spinach

¼ cup olive oil + 1 tbsp

2 sprigs of fresh thyme

1 sprig fresh rosemary

½ tsp dried oregano

½ tsp dried basil

1 tsp Sea Salt

½ tsp ground black pepper

Preheat oven to 400 degrees.

Place cherry tomatoes in a casserole dish and drizzle with ¼ cup of olive oil. Season with salt, pepper, oregano and basil. Toss until coated with olive oil. Make a well in the middle of the casserole dish and add the block of feta cheese. Place sprigs of thyme and rosemary around the tomatoes. Drizzle a little olive oil over the cheese. Place in the oven and bake for 30 – 40 minutes until cheese is slightly golden brown and the tomatoes are roasted.

While the feta cheese and tomatoes are baking prepare pasta according to the package. Brown the sausage and drain on a paper towel then add to a bowl along with the spinach. Toss the two together and the heat from the sausage will wilt the spinach.

Once the feta cheese and tomatoes are finished baking remove from the oven (leave the oven on) and remove the sprigs of thyme and rosemary. Mash the cheese and tomatoes with a fork then mix the two together. Add sausage and pasta to the casserole dish then gently toss everything together until the pasta is coated with the sauce. Top with a little mozzarella cheese and stick in the oven a few minutes to melt the cheese. Serve with a nice salad.

Rice and Spinach Casserole

Some days are harder than others to come up with side dish ideas. Potatoes, pasta and rice in various forms usually come to mind but can become boring or routine.

The other day I was trying to figure out what to do with the leftover rice in the fridge because I had made too much. Chicken and rice soup was one idea but we were still eating the Lentil and Carrot Ginger Soup I had made two days before. So, soup was out. Then I thought about making a casserole and maybe making it similar to my Macaroni and Cheese recipe. The idea morphed into a Rice and Spinach Casserole.

This recipe was so simple and quick to make because the rice was already cooked which meant it did not take long to pull the recipe together. I must say the Rice and Spinach Casserole did not come out exactly like my macaroni and cheese but it was doggone tasty. I think because rice and pasta have two different consistencies the rice did not come out as creamy as macaroni and cheese. Still the rice dish had a certain level of creaminess. It’s kind of hard to explain so I will just say you will have to try the recipe to see what I mean.

As always, I use my family as a guide to whether or not a recipe is blog worthy. Both my youngest son and hubby enjoyed my “new” side dish and happily had seconds of the Rice and Spinach Casserole. I will say a side dish tastes even better when the entire meal is good so that folks want to get just a little bit more of everything.

Rice and Spinach Casserole

Ingredients:

2 cups cooked rice (leftover rice works well)

1 ½ cups fresh baby spinach

1 cup shredded extra sharp cheddar cheese

½ cup shredded pepper jack cheese

½ cup half and half milk

1 can 2% evaporated milk

2 tbsp butter

cooking spray

Preheat oven to 400 degrees.

Spray a medium sized casserole dish with cooking spray. Set aside ¼ cup cheddar cheese.

Place cooked rice into the casserole dish. Pour evaporated milk and half and half over the rice. Add spinach, cheese and butter. Sprinkle with salt and pepper. Mix well then top with remaining ¼ cup of shredded cheddar cheese.

Bake for 45 minutes to 1 hour until the liquid is evaporated and a knife comes out clean when placed in the middle of the casserole.

Remove from oven and serve with your favorite dish.

Chicken, Yellow Beets and Pasta

Yellow Beets. Until I decided to create a new chicken and pasta dish I had not seen nor had I tasted yellow beets. During one of my treks to Trader Joe’s I spotted the yellow beets after I saw another customer pick up a package in the vegetable aisle and it looked different from other vegetables. Of course, it could also have been the posted sign saying “New Try Me” that caught my eye.

To be specific, the package contained roasted yellow beets. Immediately, I started thinking about what kind of dish I could possibly make with roasted yellow beets. Since I planned to make chicken and pasta with the lemon chicken I had already thrown into the cart, I figured why not add the roasted yellow beets for more flavor and a pop of color. To add even more color I picked up a package of snap peas to liven up the dish.

I knew from the beginning it was going to be a little tricky to get my youngest son to eat beets. He professes not to like them but it could be because when I made beet salad and the dish turned pink. I thought the dish looked pretty but he thought it looked unappealing at least to his eyes. Even when I just served seasoned plain beets, T would scrunch up his face and gently remove them from his plate. Like I sometimes say, we often eat with our eyes.

Mixing up the yellow beets with the chicken and snap peas was distracting enough that T didn’t really mention the yellow looking thing in the dish. By the time I told him what it was he couldn’t make a face because he had eaten half the food on his plate. I guess blending in the yellow beets is like when my girlfriend added prunes to a cake and didn’t tell me until I had gobbled it up and said how moist and delicious it tasted. I don’t care for prunes but since the cake was good what can I say.

The next time you want to jazz up one of your chicken dishes try adding roasted yellow beets. It can be our little secret.

Chicken, Yellow Beets and Pasta

Ingredients:

1 box vermicelli pasta

1 pkg roasted yellow beets cut into ½ inch pieces

1 pkg fresh snap peas

1 pkg cooked lemon or grilled chicken

2 – 3 plum tomatoes cubed

2 scallions sliced

½ cup half and half milk

½ cup chicken broth

¼ cup grated Parmesan cheese

3 tbsp butter

1 tbsp Adobo

1 tbsp flour

1 tbsp salt

½ tsp ground black pepper

½ tsp olive oil

½ tsp dried oregano

½ tsp dried parsley

½ tsp dried cilantro

Prepare per package instructions and reserve ½ cup of pasta water. Melt 2 tbsp of butter in a large skillet along with olive oil over medium high heat. Add snap peas, salt and black pepper then stir to mix. Saute for 1 – 2 minutes then remove from skillet and place in a small bowl and set aside.

Place skillet back on the stove. Add 1 tbsp of butter to the skillet and let it melt. Add flour to the skillet and stir until smooth. Pour in milk and broth then whisk until the sauce is smooth. Add Parmesan cheese and remaining seasonings. Stir to combine. Add chicken, yellow beets, snap peas and scallions (reserve 1 tbsp of scallions). Gently stir to mix all ingredients. Add pasta water to thin out the sauce if necessary. Reduce heat to medium and let simmer for 5 minutes. Serve over pasta.

Follow my blog with Bloglovin

Pasta with Sweet Italian Sausage in Sauce

Let me say from the start that even though this recipe is about pasta and sweet Italian sausage this is not necessarily an Italian recipe. It is more of a combination of Italian and Mexican flavors.

Whenever my youngest son asks what’s for dinner and I say pasta he breaks into his happy dance with sound effects. I have said this more than once in my blog… my family loves pasta. Maybe the next time I make pasta I’ll see if I can film the dance and share it on my blog.

Today, I decided I didn’t want to make the usual spaghetti meat sauce using sauce from a jar. Instead, I opted to make my own sauce using canned tomatoes, veggies and sweet Italian sausage. I also wanted to create a few different textures in the sauce so I added white beans which provided both texture and more flavor. Although everything was soft in the sauce, there were different levels of softness if that makes sense. The pasta was al dente. The beans were creamy. The veggies were smooth and the sausage had a nice soft chew. Fortunately, it all worked together and had me doing my own happy dance.

Pasta with Sweet Italian Sausage in Sauce

Ingredients:

2 packages Sweet Italian Sausage links

1 can small white beans drained and rinsed

1 can Mexican stewed tomatoes

1 can fire roasted tomatoes

1 small can tomato paste

1 small green pepper diced

1 small red pepper diced

2 cups water

2 tbsp grape seed oil

2 tbsp fresh hot salsa

½ tbsp ground oregano

½ tbsp dried basil

½ tbsp Adobo

1 tsp Kosher salt

1 tsp ground black pepper

Heat grape seed oil in a large dutch oven over medium high heat. Add sausages in batches and brown on each side. Slice the browned sausages then set aside. Wipe out the dutch oven if the bottom is too brown. Lower the temperature to medium. Add a little more grape seed oil to the pot then add onions ad peppers along with the seasonings. Stir and cook for approximately 2 – 3 minutes. Add both cans of tomatoes, white beans and tomato paste to the pot and stir until well blended with the onions and peppers. Cook for 3 minutes then add the sausages to the pot. Stir and let simmer for 20 – 25 minutes over medium low heat to allow the sauce to thicken.

While sauce is simmering cook pasta according to the package. Spoon sauce over a bowl of pasta and sprinkle with freshly grated Parmesan cheese. Enjoy!


Follow my blog with Bloglovin

Skillet Baked Spaghetti

I am dedicating this post to my hubby and mother-in-law (may she rest in peace).

Hubby and I were discussing our childhoods the other day and reminiscing about the comfort foods our mothers would make. One of the comfort foods my hubby mentioned was the baked spaghetti his mom would prepare for the family. Mom B. had a special frying pan with rings in the bottom that she would use to bake the spaghetti in. I kind of remembered a similar pan from my childhood my mom would use but I don’t think she used it for baking.

Skillet Baked Spaghetti was pulled together based on how Mom B. would make her baked spaghetti. As always, I added my own twist to the recipe but hubby said my version did remind him of his mom. What a great compliment. I was happy that we could share a moment from his childhood and feel the same warmth and comfort his mom’s cooking would bring to the family.

Fast forward to today and now I have a recipe I can share with my kids and grand kids that makes them feel the comfort we felt from old family recipes. Pasta is usually a hit with my family. Add spice to the mix and a crispy cheesy topping and it’s a home run.

Thanks Mom B. for leaving hubby with a wonderful memory and giving me a delicious recipe.

Skillet Baked Spaghetti

Ingredients:

1 box vermicelli pasta (prepare per package instructions and save ½ cup pasta water) al dente and drained

1 pkg hot sausage links (casing removed)

1 pkg Italian sausage links (casing removed)

1 large jar spaghetti sauce

1 cup shredded mozzarella cheese

¼ cup freshly grated Parmesan cheese

2 tbsp salt

1 tbsp ground black pepper

1 tbsp ketchup

1 tsp dried oregano

1 tsp dried basil

½ tsp turmeric

½ tsp onion powder

¼ tsp red pepper flakes (optional)

Preheat oven to 350 degrees.

Brown the sausages in medium non-stick skillet over medium high heat. Remove most of the grease from the skillet then add the spaghetti sauce, ketchup and seasonings (except for the red pepper flakes). Stir to mix then reduce heat to medium low and simmer for 5 – 10 minutes.

After preparing pasta drain it and reserve ½ cup of the pasta water. Place the pasta back in the pot and add the spaghetti sauce. Mix well and add a little pasta water if the spaghetti seems dry. Spray a large cast iron skillet with cooking spray and drizzle a little olive oil on the bottom of the pan.

Place have of the spaghetti in the skillet then top with ½ of the shredded mozzarella and ½ of the Parmesan cheese. Top with the remaining spaghetti and sprinkle with the remaining cheese along with the red pepper flakes. Bake for 15 – 20 minutes until the top is slightly crispy and golden browned.

Follow my blog with Bloglovin

Mixed Pasta with Kielbasa

Roasting vegetables is one of my favorite ways to prepare vegetables because it is a quick process that brings out a lot flavor. Before I started my blog I never thought about roasting unless it was chicken. Instead, I would just saute vegetables in a pan. Believe it or not the two techniques of sauteing vs. roasting will affect the nutritional value and flavor depending on the vegetable.

I did a little research and found that both roasting and sauteing are healthy methods of preparing vegetables. Steaming is the best way to go and grilling is better than frying when trying to maintain nutrition. Both tomatoes and onions maintain their antioxidant capacity after baking but green peppers tend to lose antioxidant capacity when baked. No, that has not stopped me from baking peppers because I like the taste. It’s just good information to know when preparing them.

Mixed Pasta and Kielbasa was a last minute recipe I came up with based on what I had on hand for dinner. I keep a jar of dried mixed pasta which are the remnants of different boxes of pasta. Elbow, penne, bow tie – whatever! Pasta is pasta. All that really matters is what you add to the pasta. On the night I made Mixed Pasta with Kielbasa I had some baby spinach, tomatoes and a package of kielbasa I needed to cook.

The end result was pretty tasty and definitely a hit with my pasta eating crew. It is hard for me to mess up pasta when dealing with an audience that loves pasta in any shape or form. But, I know just how delicious my pasta dishes are when they go for seconds and this one certainly hit the mark. Seconds all around!

Mixed Pasta with Kielbasa

Ingredients:

1 ring of smoked kielbasa sliced

1 small onion sliced thin

1 pkg baby leaf spinach

1 pkg vine ripe tomatoes quartered

½ green pepper seeded and sliced

1 cup mixed pastas (penne, twists, cavatappi, etc) cooked al dente per package

½ cup chicken broth

¼ shredded mozzarella cheese

3 tbsp olive oil

2 tsp salt

1 tsp Adobo

½ tsp onion powder

½ tsp ground black pepper

¼ tsp red pepper flakes

Preheat oven to 400 degrees.

Add tomatoes, onions and green peppers to a rimmed baking sheet. Season with 1 tsp of salt and pepper. Sprinkle with 2 tbsp oil and toss to coat. Roast in oven for 20 – 25 minutes until slightly charred. Set aside.

Brown kielbasa in 1 tbsp of olive oil over medium high heat. Add chicken broth, roasted vegetables and remaining seasonings to the kielbasa. Stir to mix well. Toss in pasta and stir. Cook until pasta is heated up then sprinkle with cheese. Serve immediately.


Follow my blog with Bloglovin

Penne Pasta and Eggplant with Spicy Meatballs on the side

This post is dedicated to Kashana who is a foodie like me. Kashana and I met at one of my favorite places – Starbucks. We happen to strike up a conversation about food and since then she has been a visitor to my blog. It is nice when someone outside of family appreciates many of the recipe ideas I have shared over the years.

I have to admit that this recipe was adapted from another recipe I saw on a cooking show. I thought it would be a nice recipe for the days when I wanted a meatless dish that was also quite filling. Adding spicy meatballs on the side was a way for me to please others that liked a meatless dish as well as those that are true carnivores no matter what.

This recipe really came in handy recently when my sister, who is a vegetarian, and brother-in-law joined us for dinner at our house. I was surprised that night when my sister shared that she no longer eats pasta, flour, sugar, etc. Fortunately, I had also prepared blackened salmon because I knew she liked salmon which I figured would go with the pasta. So all was not lost with my dinner menu which included a delicious salad (per the family) along with steamed broccoli topped with melted cheese.

Okay, back to the Penne and Eggplant. Talk about easy. Preparing pasta is usually quick and quite easy by just following the directions on the box. I made sure the pasta was al dente so that it would not be a pile of mush after I baked it a little. Eggplant can be quite watery when you cook it. So, the trick to reducing the amount of moisture in the eggplant is to microwave the cubed eggplant for about 8 minutes on a paper towel. This method worked like a charm. I think I might try this when I make another eggplant lasagna to make it less watery too.

Spicy meatballs on the side allowed me to have a vegetarian dish and the ability to satisfy the carnivore in me and some of my family. The meatballs were also a big hit along with the Penne Pasta and Eggplant. Two for one! Man…. I’m on a roll.  Thank you Kashana for your support.

Penne Pasta with Spicy Meatballs on the side

Ingredients:

2 large eggplant cubed (do not peel)
½ small onion sliced thin

1 box Penne pasta cooked al dente according to package

1 ½ jars marinara sauce

1 cup shredded mozzarella

1 cup grated fresh Parmesan

2 tbsp olive oil

1 tsp sea salt or Kosher salt

1 tsp dried basil

1 tsp dried oregano

¼ tsp onion powder

Cooking Spray

Preheat oven to 350 degrees.

Line a large microwaveable bowl with paper towels. Place cubed eggplant in the bowl and sprinkle with sea salt. Microwave eggplant for 8 minutes. Heat olive oil in a large skillet over medium heat. Add eggplant and sprinkle with black pepper, oregano, basil and onion powder. Saute the eggplant until softened stirring constantly so that it does not burn.

Remove the eggplant from the heat. Spray the bottom of a casserole dish with cooking spray. Pour a little marinara sauce on the bottom of the dish and spread around. Add the Penne pasta to the dish and top with the eggplant, thinly sliced onions and Parmesan cheese. Pour marinara sauce over the top and gently mix to combine the eggplant, pasta and cheese. Add more sauce if the pasta seems too dry. Top with the shredded mozzarella cheese then bake for 20 to 30 minutes until the cheese has melted and pasta is heated throughout. Serve immediately with the Spicy Meatballs and a healthy salad.

Follow my blog with Bloglovin

Parmesan Chicken Fingers

One of my youngest son’s favorite meals is Parmesan chicken. He likes chicken and he loves pasta. Put the two together and he is extremely happy with dinner. I also enjoy Parmesan chicken (light on the pasta) but sometimes a big fat chicken breast is too much for me. Okay, I will admit I go for the chicken breast first when I eat fried chicken but that is a different kind of meal.

I decided to alter my recipe for Parmesan chicken by substituting chicken fingers for a full chicken breast. Thus, Parmesan Chicken Fingers was born. Using the chicken fingers allows everyone to choose exactly the right portion of meat for their appetites rather than filling their plates with a large single chicken breast.

To add an extra layer of crispiness to the chicken fingers I mixed in a little ground cornmeal with the panko bread crumbs for the coating. I wasn’t sure I could pull this one off with my taste testers but the guys loved it. Sometimes you just have to sneak in something new to a recipe and then sit back and wait for the reactions. I got the idea to add fine ground cornmeal from one of the many cooking shows I like to watch. I think the chef was making fried chicken (yeah, I went back to talking about fried chicken) and added cornmeal to the coating to add an extra layer of crunch. It looked so good on the plate I figured it would be good on my Parmesan Chicken Fingers too.

Bottom-line …. it worked! Such an easy recipe and thankfully a tasty one too.

Parmesan Chicken Fingers

Ingredients:

2 packages chicken fingers

2 eggs

1 jar spaghetti sauce

1 cup shredded mozzarella cheese

½ cup panko bread crumbs

½ cup flour + 1 tbsp

½ cup frying olive oil or vegetable oil

¼ cup finely ground cornmeal

¼ cup grated Parmesan cheese

2 tbsp milk

1 tbsp flour

1 tbsp salt

½ tbsp ground black pepper

½ tsp red pepper flakes (optional)

Preheat oven to 350 degrees.

Season chicken fingers with salt and pepper. Place ½ cup flour on a plate and set aside. Beat eggs with milk and set aside.

Mix panko bread crumbs, cornmeal, 1 tbsp flour, grated Parmesan cheese and red pepper flakes in a bowl.

Dredge chicken in flour (shake off excess) then dip in egg mixture. Roll in bread crumbs and place on a cookie sheet to rest.

Heat oil in a no stick frying pan over medium heat. Test the oil to see if it is hot by place the thick end of a chopstick in the center of the pan. It you see rapid bubbles then the oil is hot (Thanks for the tip Mama Noi). Fry the chicken in batches until lightly golden brown. Drain on a paper towel.

Place chicken in a casserole dish and drizzle with spaghetti sauce and top with mozzarella cheese. Bake for 15 – 20 minutes until cheese is melted and golden. Serve with pasta.

P.S. For the grand kids I make Parmesan Chicken Fingers with a honey mustard or BBQ dipping sauce.

Follow my blog with Bloglovin

Spicy Taco Chicken Bowl

The “new” craze right now is creating recipes and putting the dish in bowls. At first, I wasn’t really into the bowl idea but it didn’t take long for me to realize I kinda liked the idea. Placing breakfast, lunch or dinner in a bowl helped to cut down on the amount of food we actually ate. I put less in a bowl compared to  how much I put on a plate.

One of my first bowl adventures was my Asian Bowl with Lollipop Lamb Chops. Not to brag too much but that recipe was a big hit with hubby. Now, he has another favorite. My Spicy Taco Chicken Bowl. This recipe was a little spicy with various textures and flavors that complimented each other. Although there are several components to the recipe, I think it is a very simple dish. Shredded spicy taco flavored chicken, crispy yellow rice, seasoned black beans and a mix of avocado and tomatoes. The hardest thing about this recipe is the wait time. Yeah, this one isn’t quick to make only because the chicken has to bake. While the chicken bakes about an hour all of the other pieces can easily be pulled together.

Even I couldn’t complain about having chicken again. Plus, I didn’t take the easy way out and make wingettes. Instead, I opted for chicken legs because they are meaty and you don’t have to take a long time to clean them like chicken thighs. Granted, I think chicken thigh meat is sweeter than chicken leg meat but it takes work to get thighs ready for cooking. Maybe the next time I make a Spicy Taco Chicken Bowl I’ll build in extra time and try it with chicken thighs. Whichever chicken part you choose (legs vs. thighs), I am confident you will enjoy my Spicy Taco Chicken Bowl. Healthy, Easy and Delicious!

Spicy Taco Chicken Bowl

Ingredients:

6 – 8 chicken legs washed

2 plum tomatoes diced

2 scallions diced

2 slices bacon diced

1 can black beans rinsed

1 avocado diced

1 pkg hot and spicy taco seasoning

½ stick butter melted

1 ½ cup water

1 ½ cup chicken broth

1 ½ cups white rice

1 ½ tbsp salt

1 tbsp fresh lemon juice

½ tbsp ground black pepper

1 tsp turmeric

1 tsp cilantro

½ tsp dried parsley

½ tsp onion powder

½ tsp Chile powder

Preheat oven to 350 degrees.

Place chicken in a large bowl. Season with 1 tbsp salt, black pepper, Chile powder and all but 1 tsp hot and spicy taco seasoning. Add melted butter and mix until chicken is well coated. Spray a baking dish with cooking spray then place chicken in one layer in the baking dish. Bake for 1 hour until the chicken is tender and cooked through. Remove from the oven and let cool for about 10 minutes then pull meat off the bone into chunks. Place chicken in a medium size skillet with ¼ chicken stock and remaining taco seasoning. Stir and let simmer for 5 minutes.

While chicken is cooking prepare the following:

Rice:

Rinse rice with cold water to remove some of the starch. Place in a microwaveable casserole dish with a pinch salt, turmeric, water and chicken broth. Place in microwave uncovered for 21 minutes until cooked. Remove from microwave and fluff up rice with a fork. Let cool for about 10 – 15 minutes. While rice is cooling cook bacon in a large skillet until crisp over medium high heat. Remove from skillet and drain on paper towels. Reduce heat to medium high and add rice and scallions to the bacon grease breaking up any clumps of rice. Let rice crisp up for about 3 minutes then stir and flip to crisp up the other side. Cook for an additional 3 minutes then toss in bacon and mix in thoroughly. Cook another 2 minutes then remove from heat.

Prepare Tomato and Avocado:

Place diced tomatoes and avocado in a medium sized bowl. Season with a little salt, ground black pepper, parsley and lemon juice. Gently toss with a spoon. Cover and set aside in the refrigerator.

Black Beans:

Place black beans in a small pot and add a little chicken broth. Season with salt, pepper, cilantro and onion powder. Cook over medium heat for 3 – 5 minutes stirring occasionally. Remove from heat.

Bowl Setup:

Place crispy yellow rice in the bottom of an individual bowl. Add chicken to one side of the bowl then add the black beans along with tomato and avocado mix. Enjoy!

Follow my blog with Bloglovin