Tag Archives: vegetables

Roasted Zucchini, Yellow Squash and Other Veggies

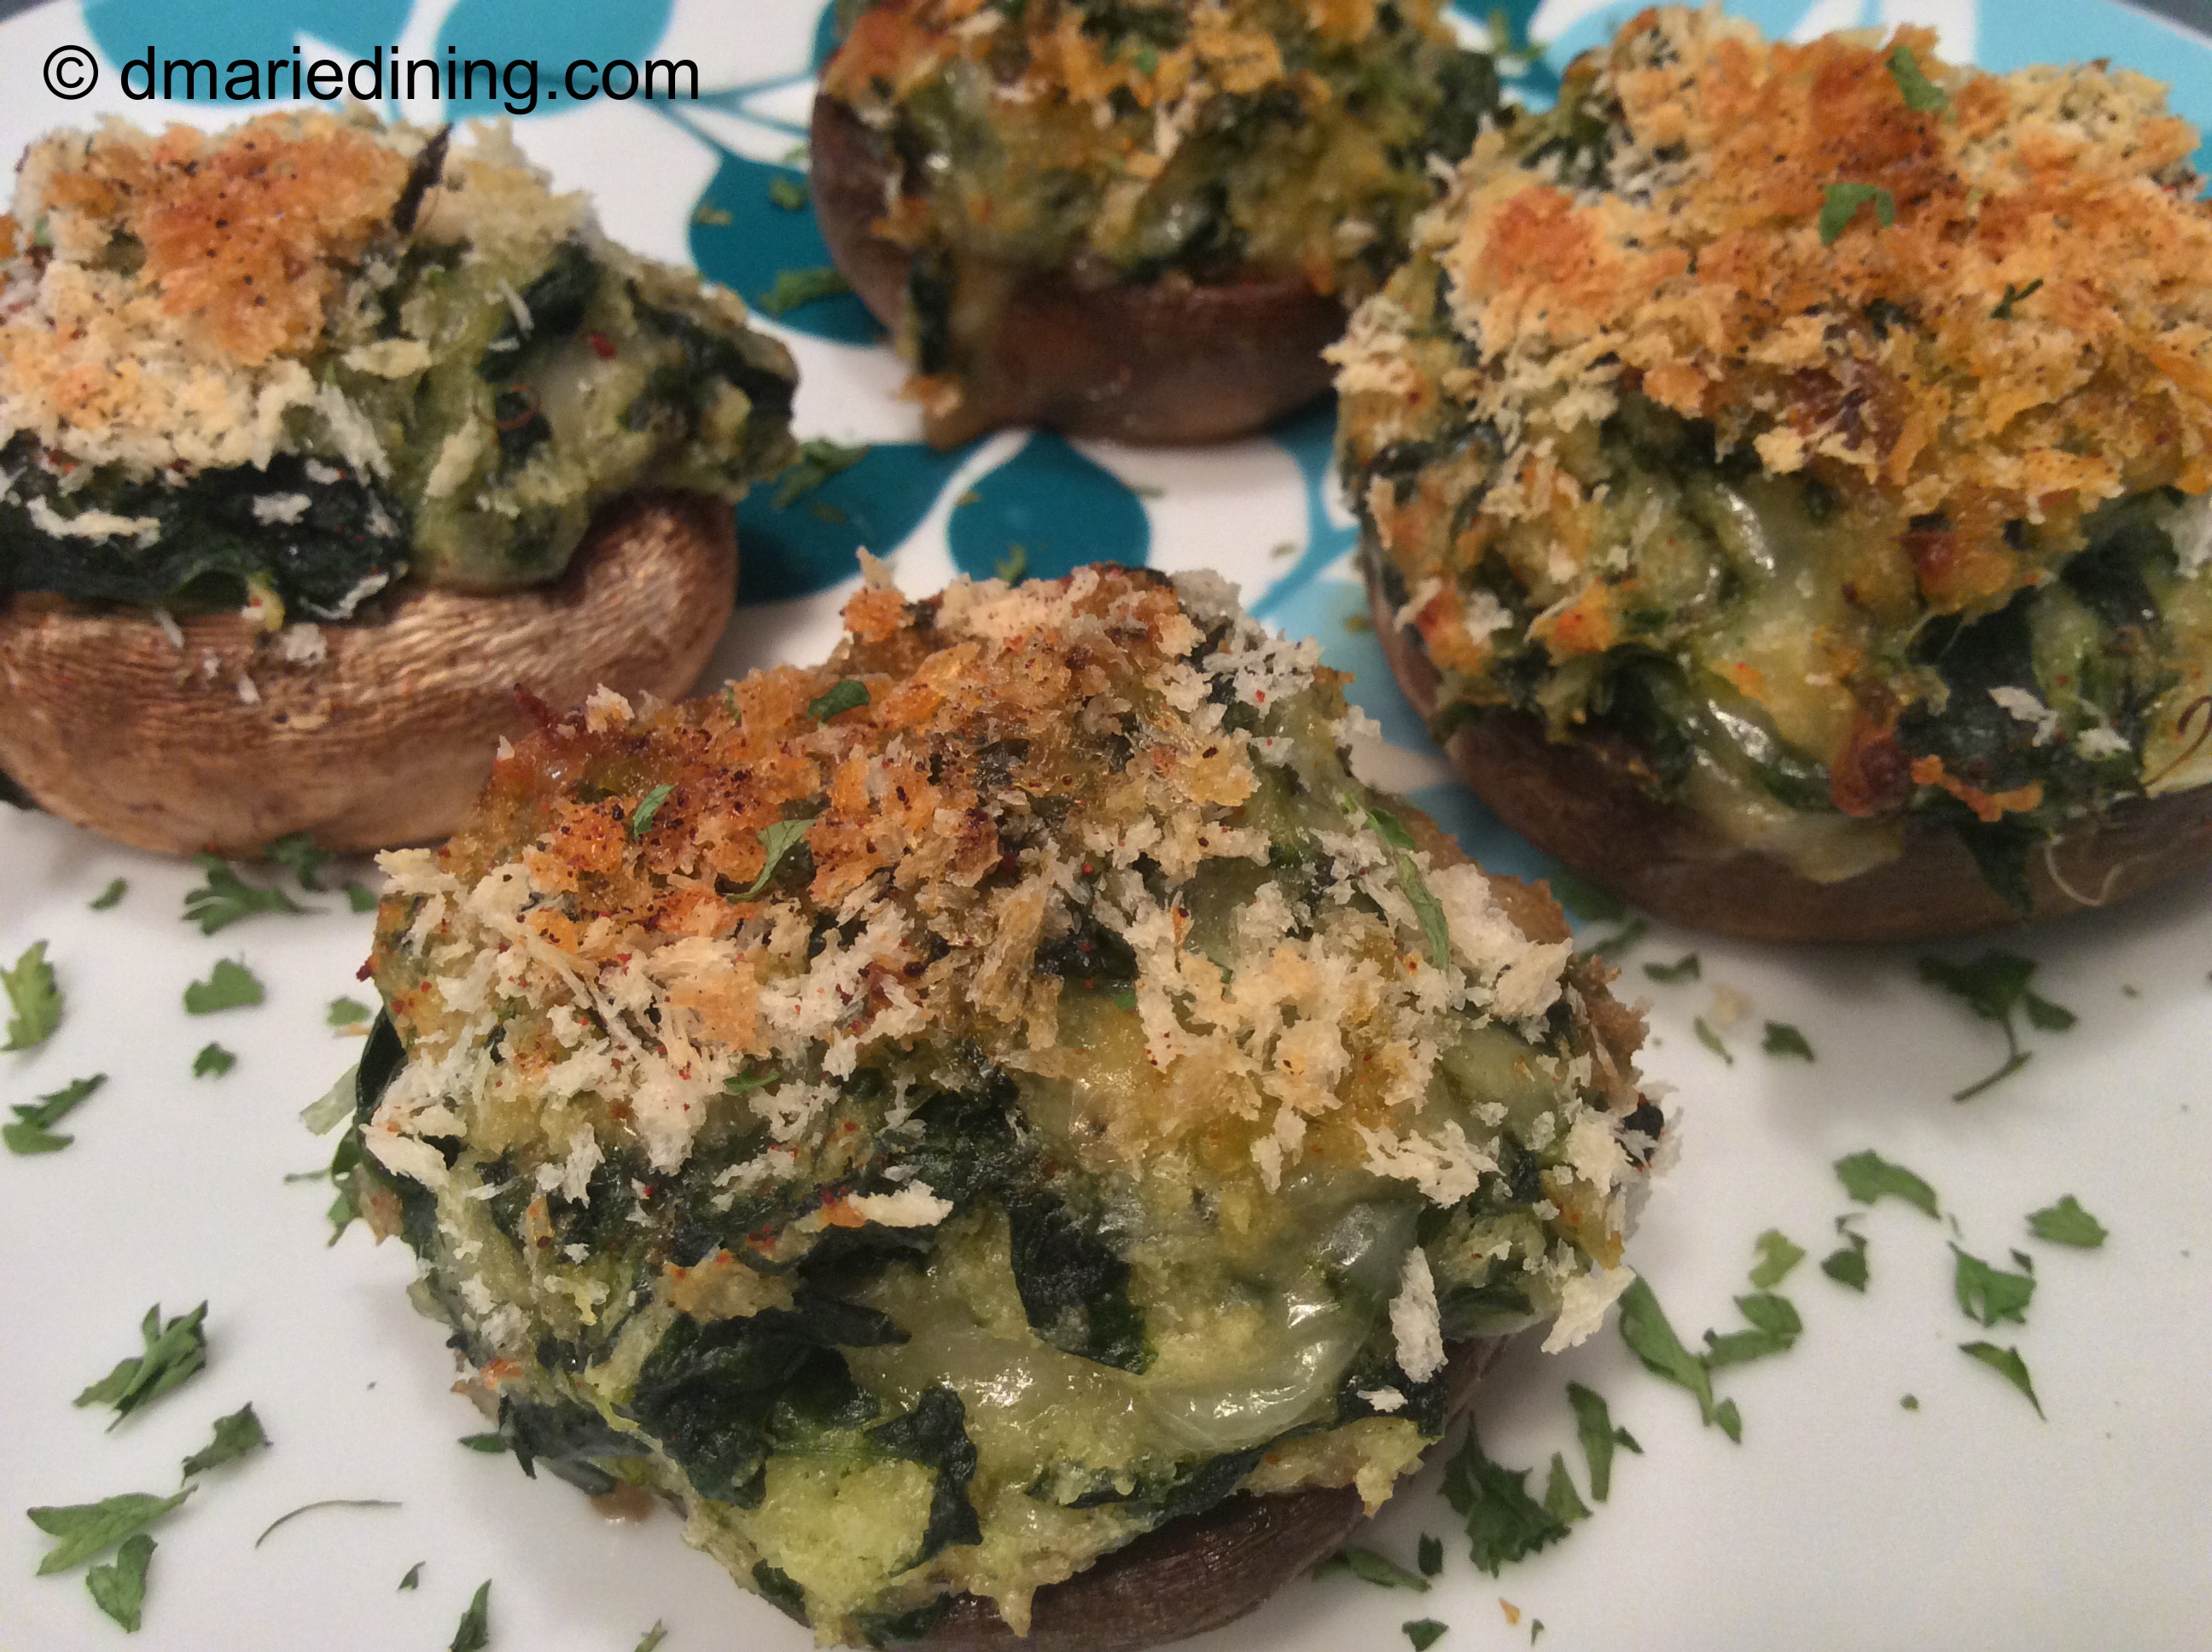
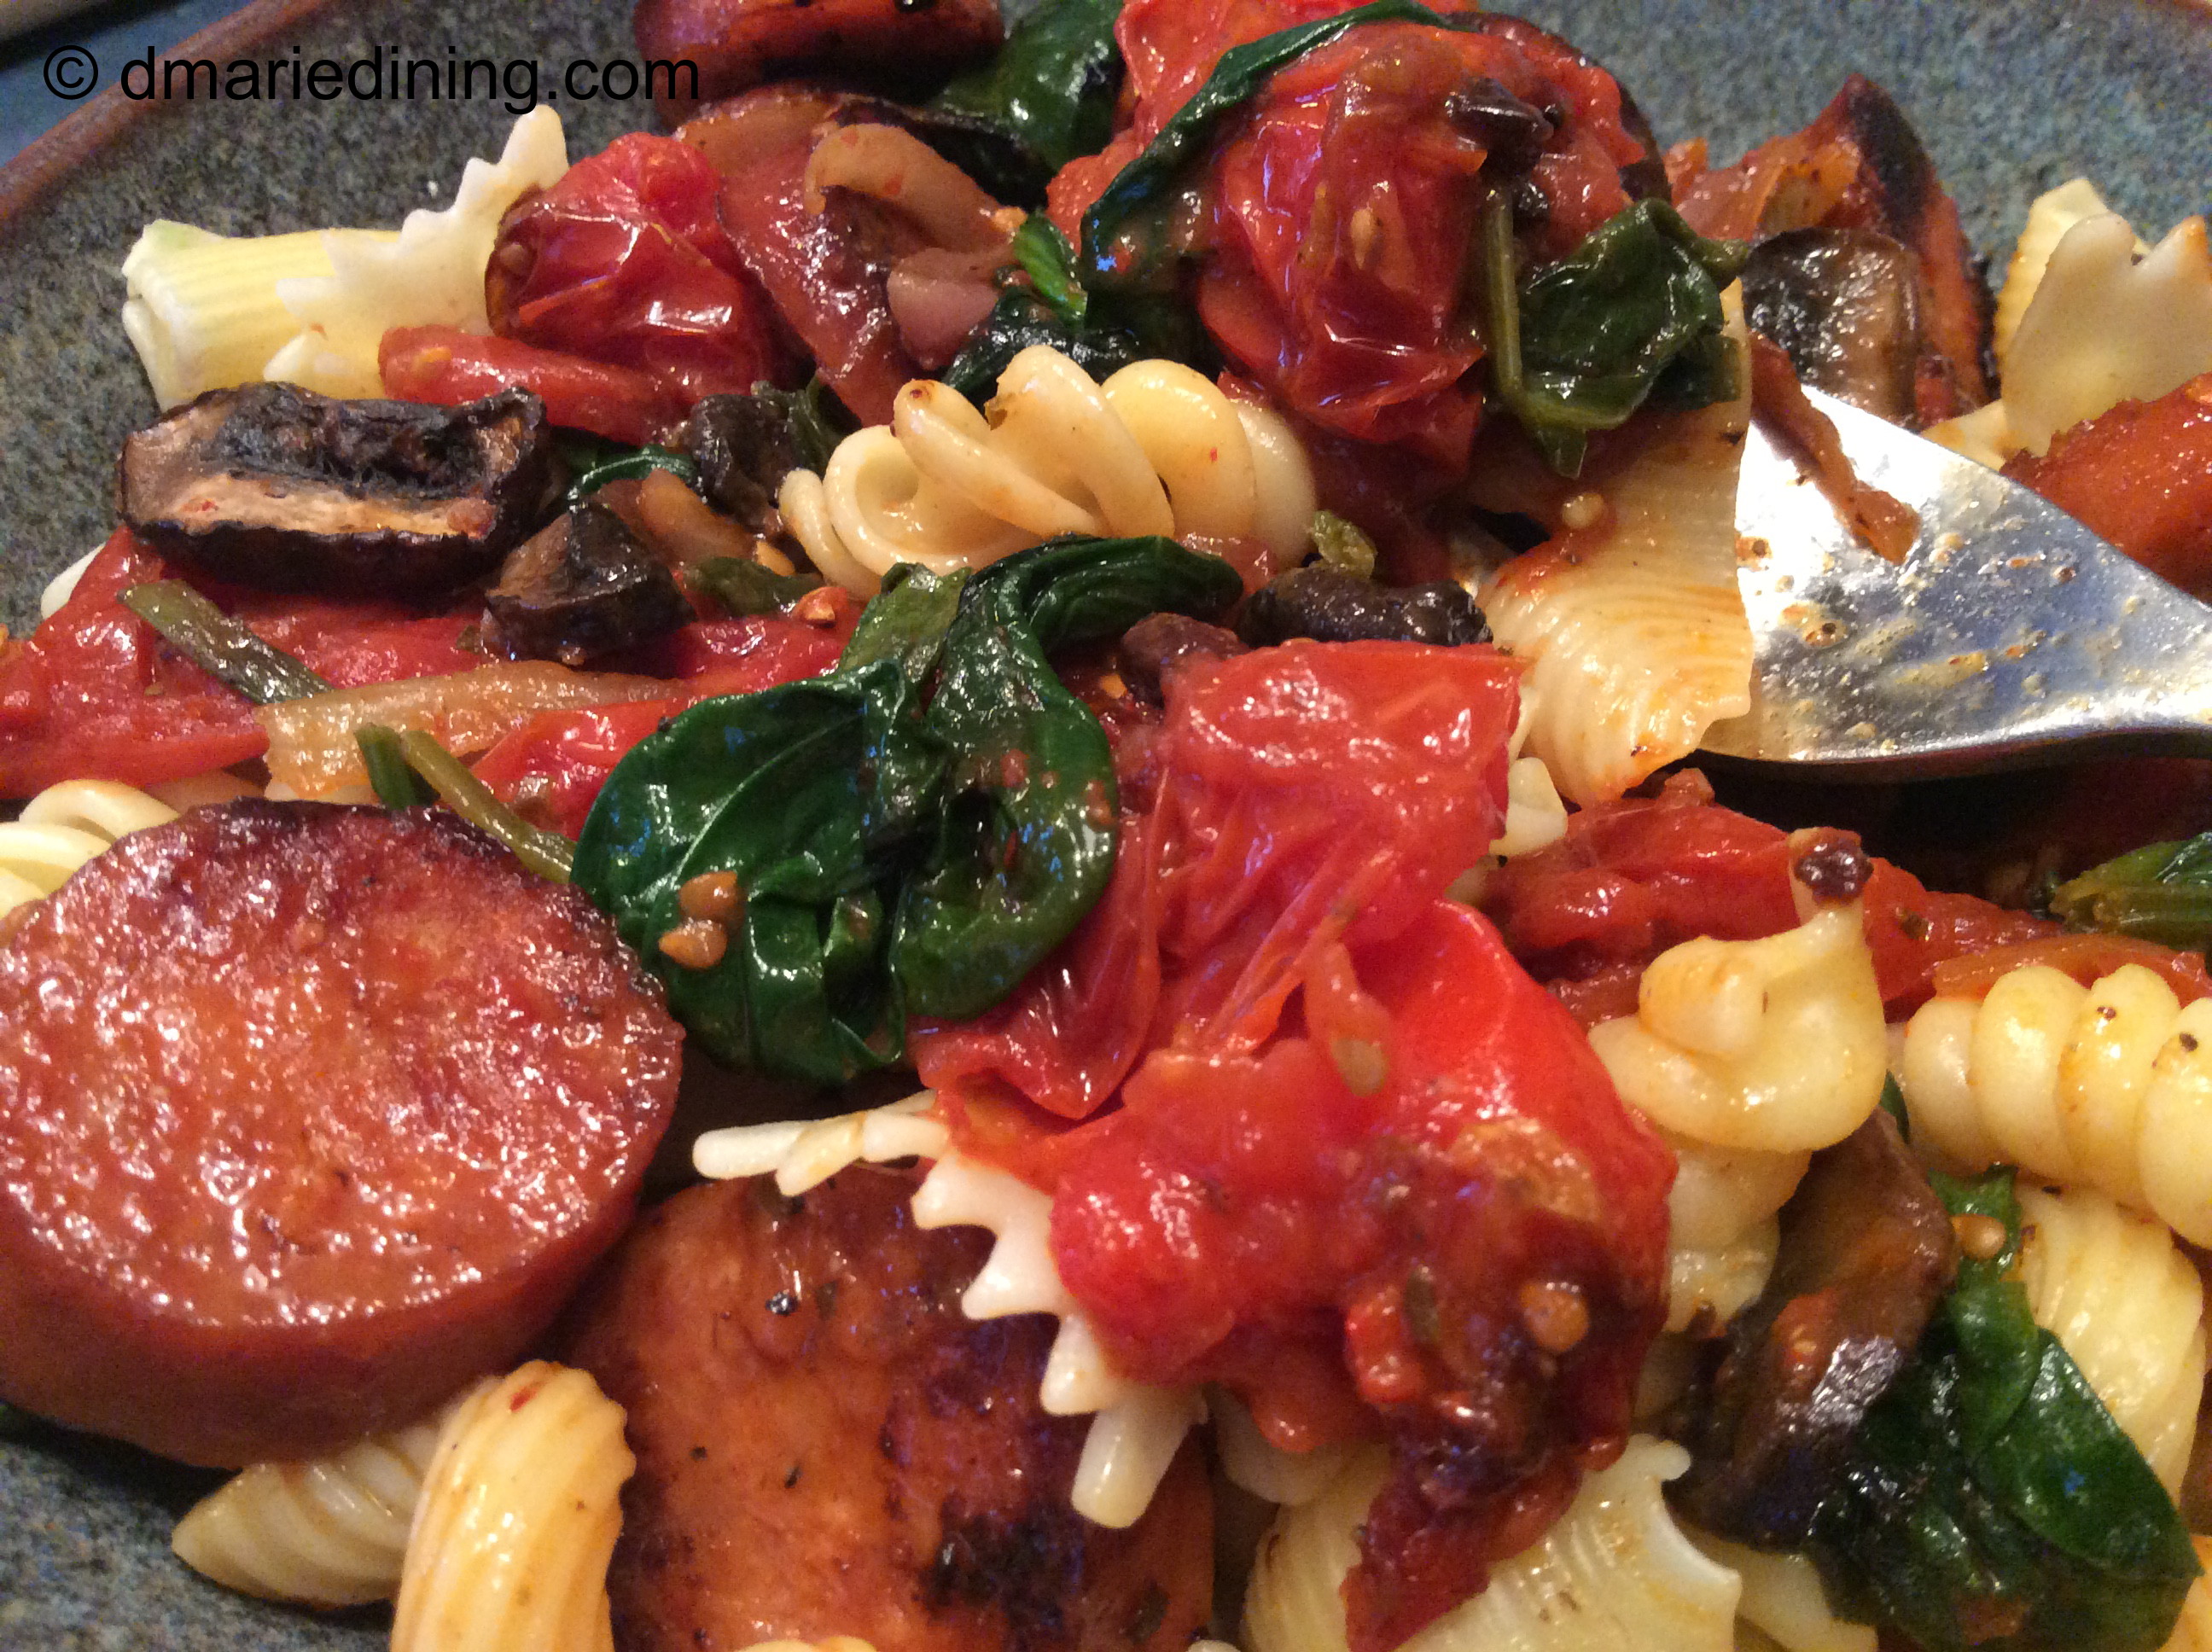
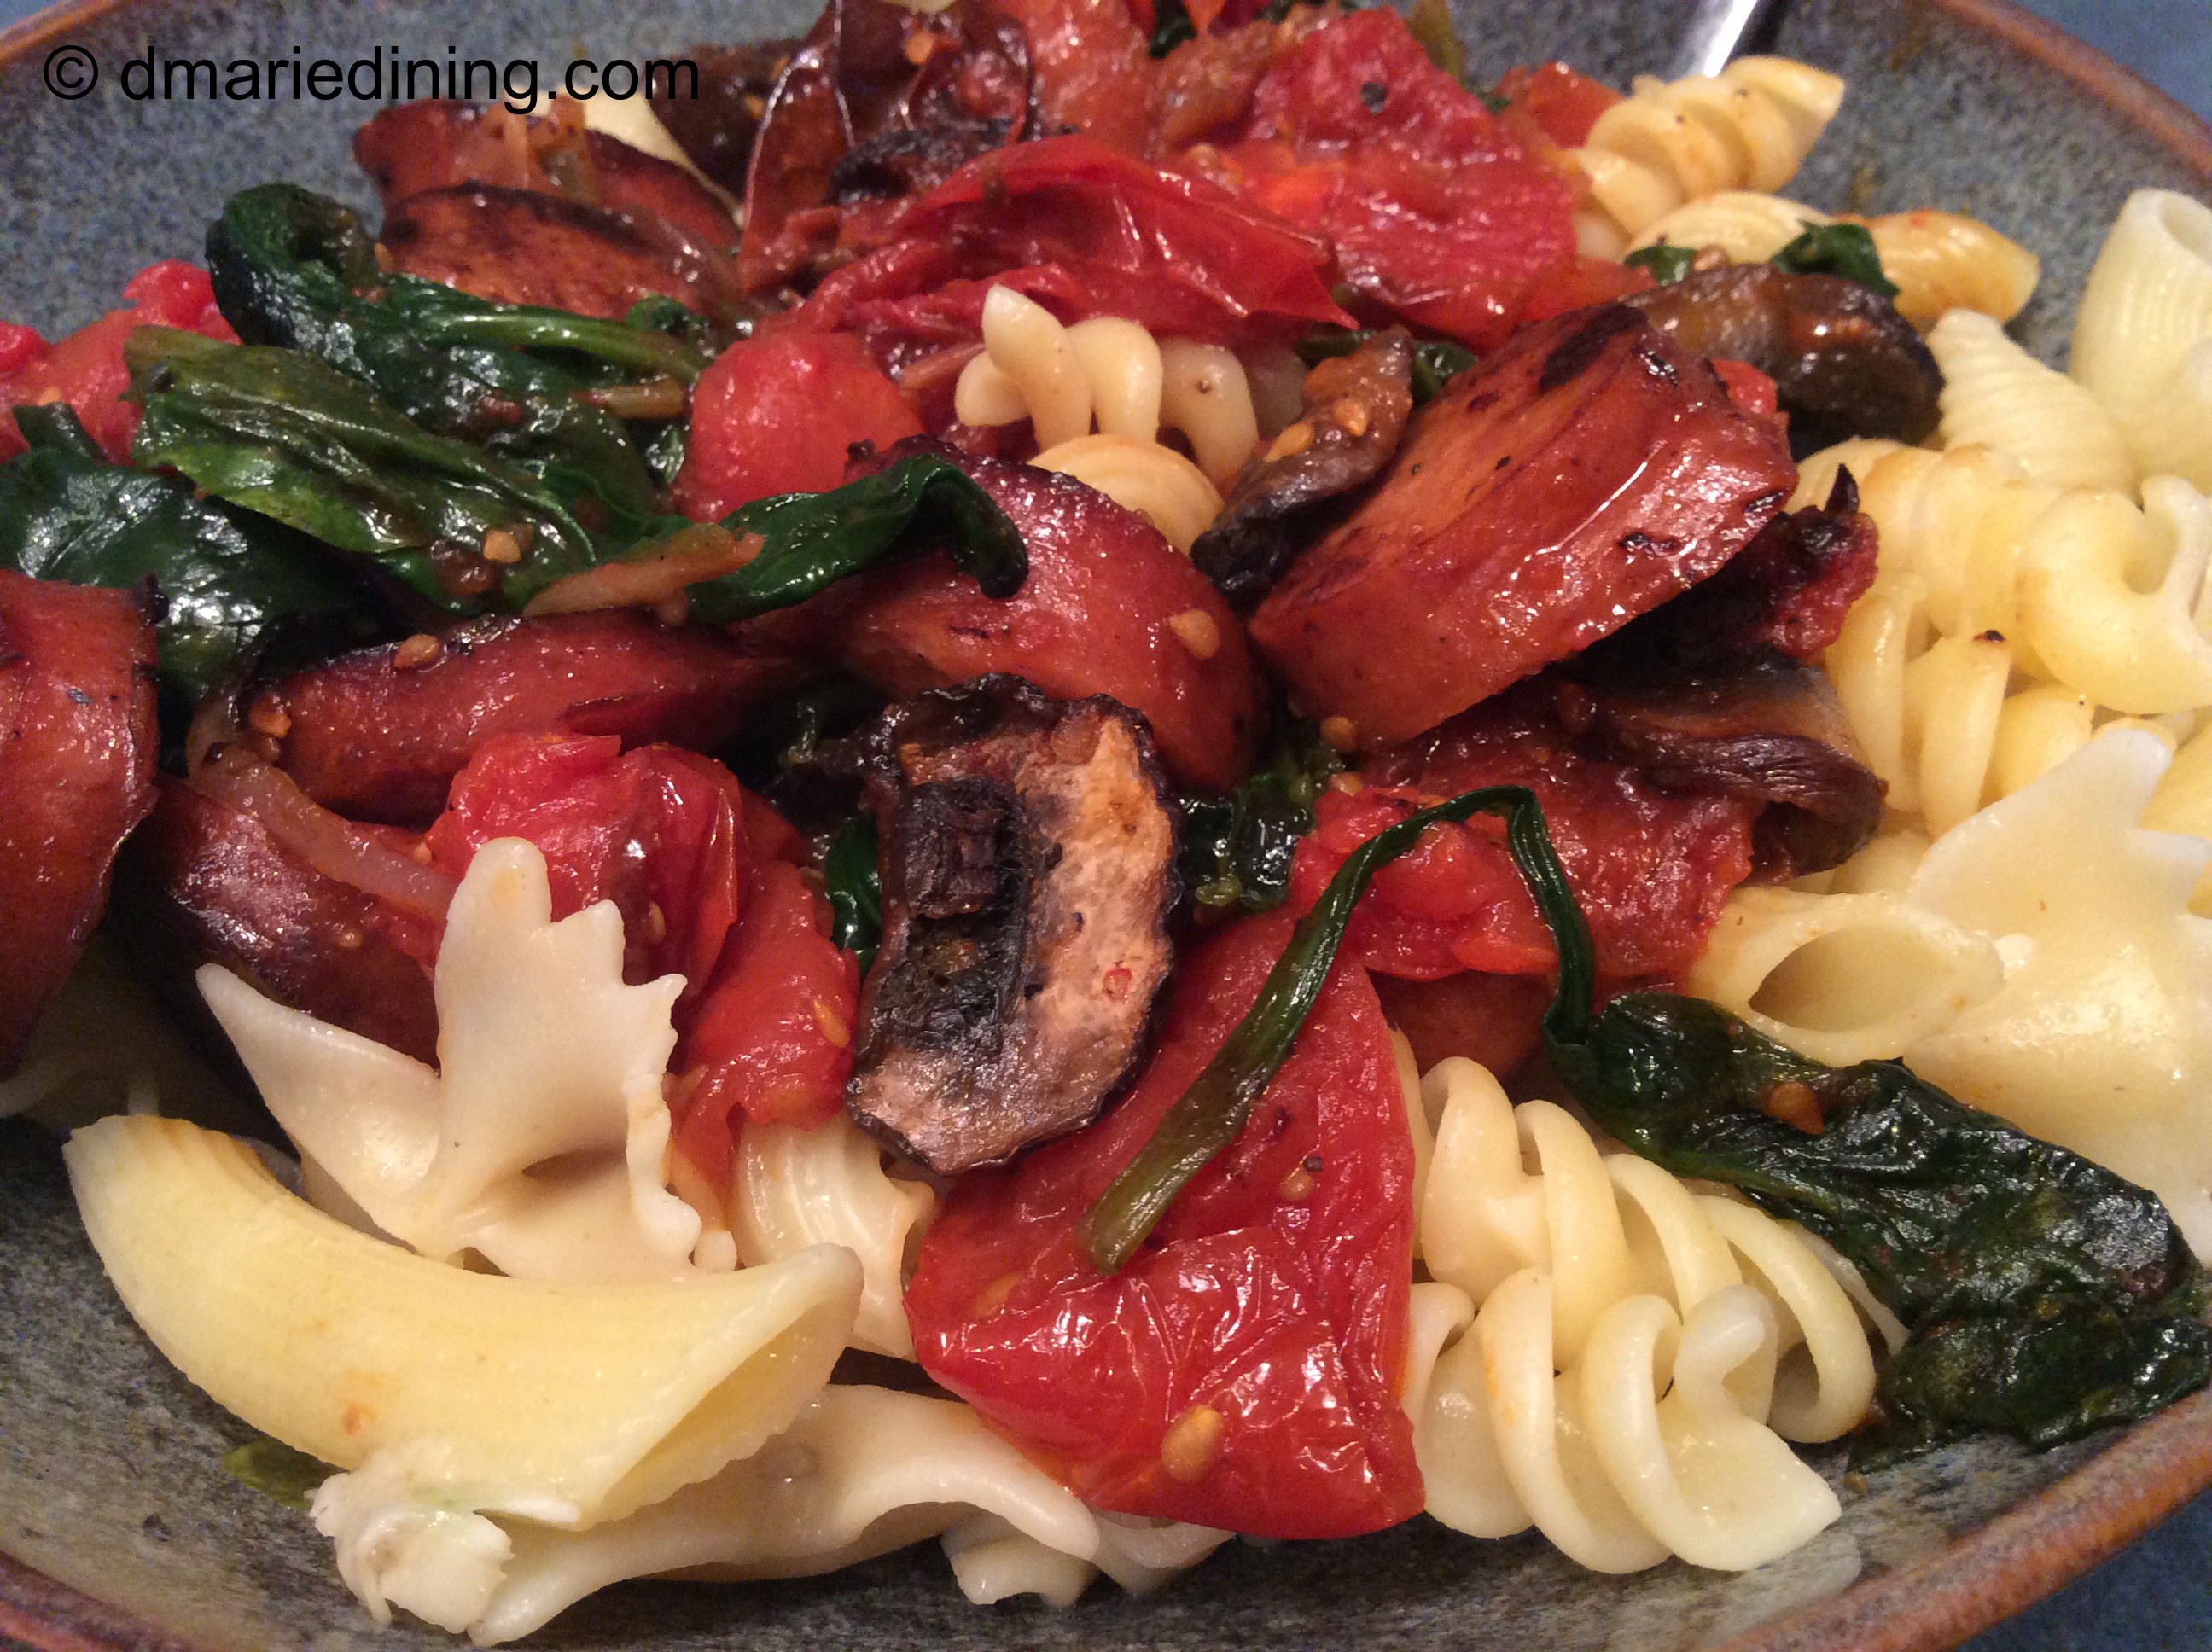
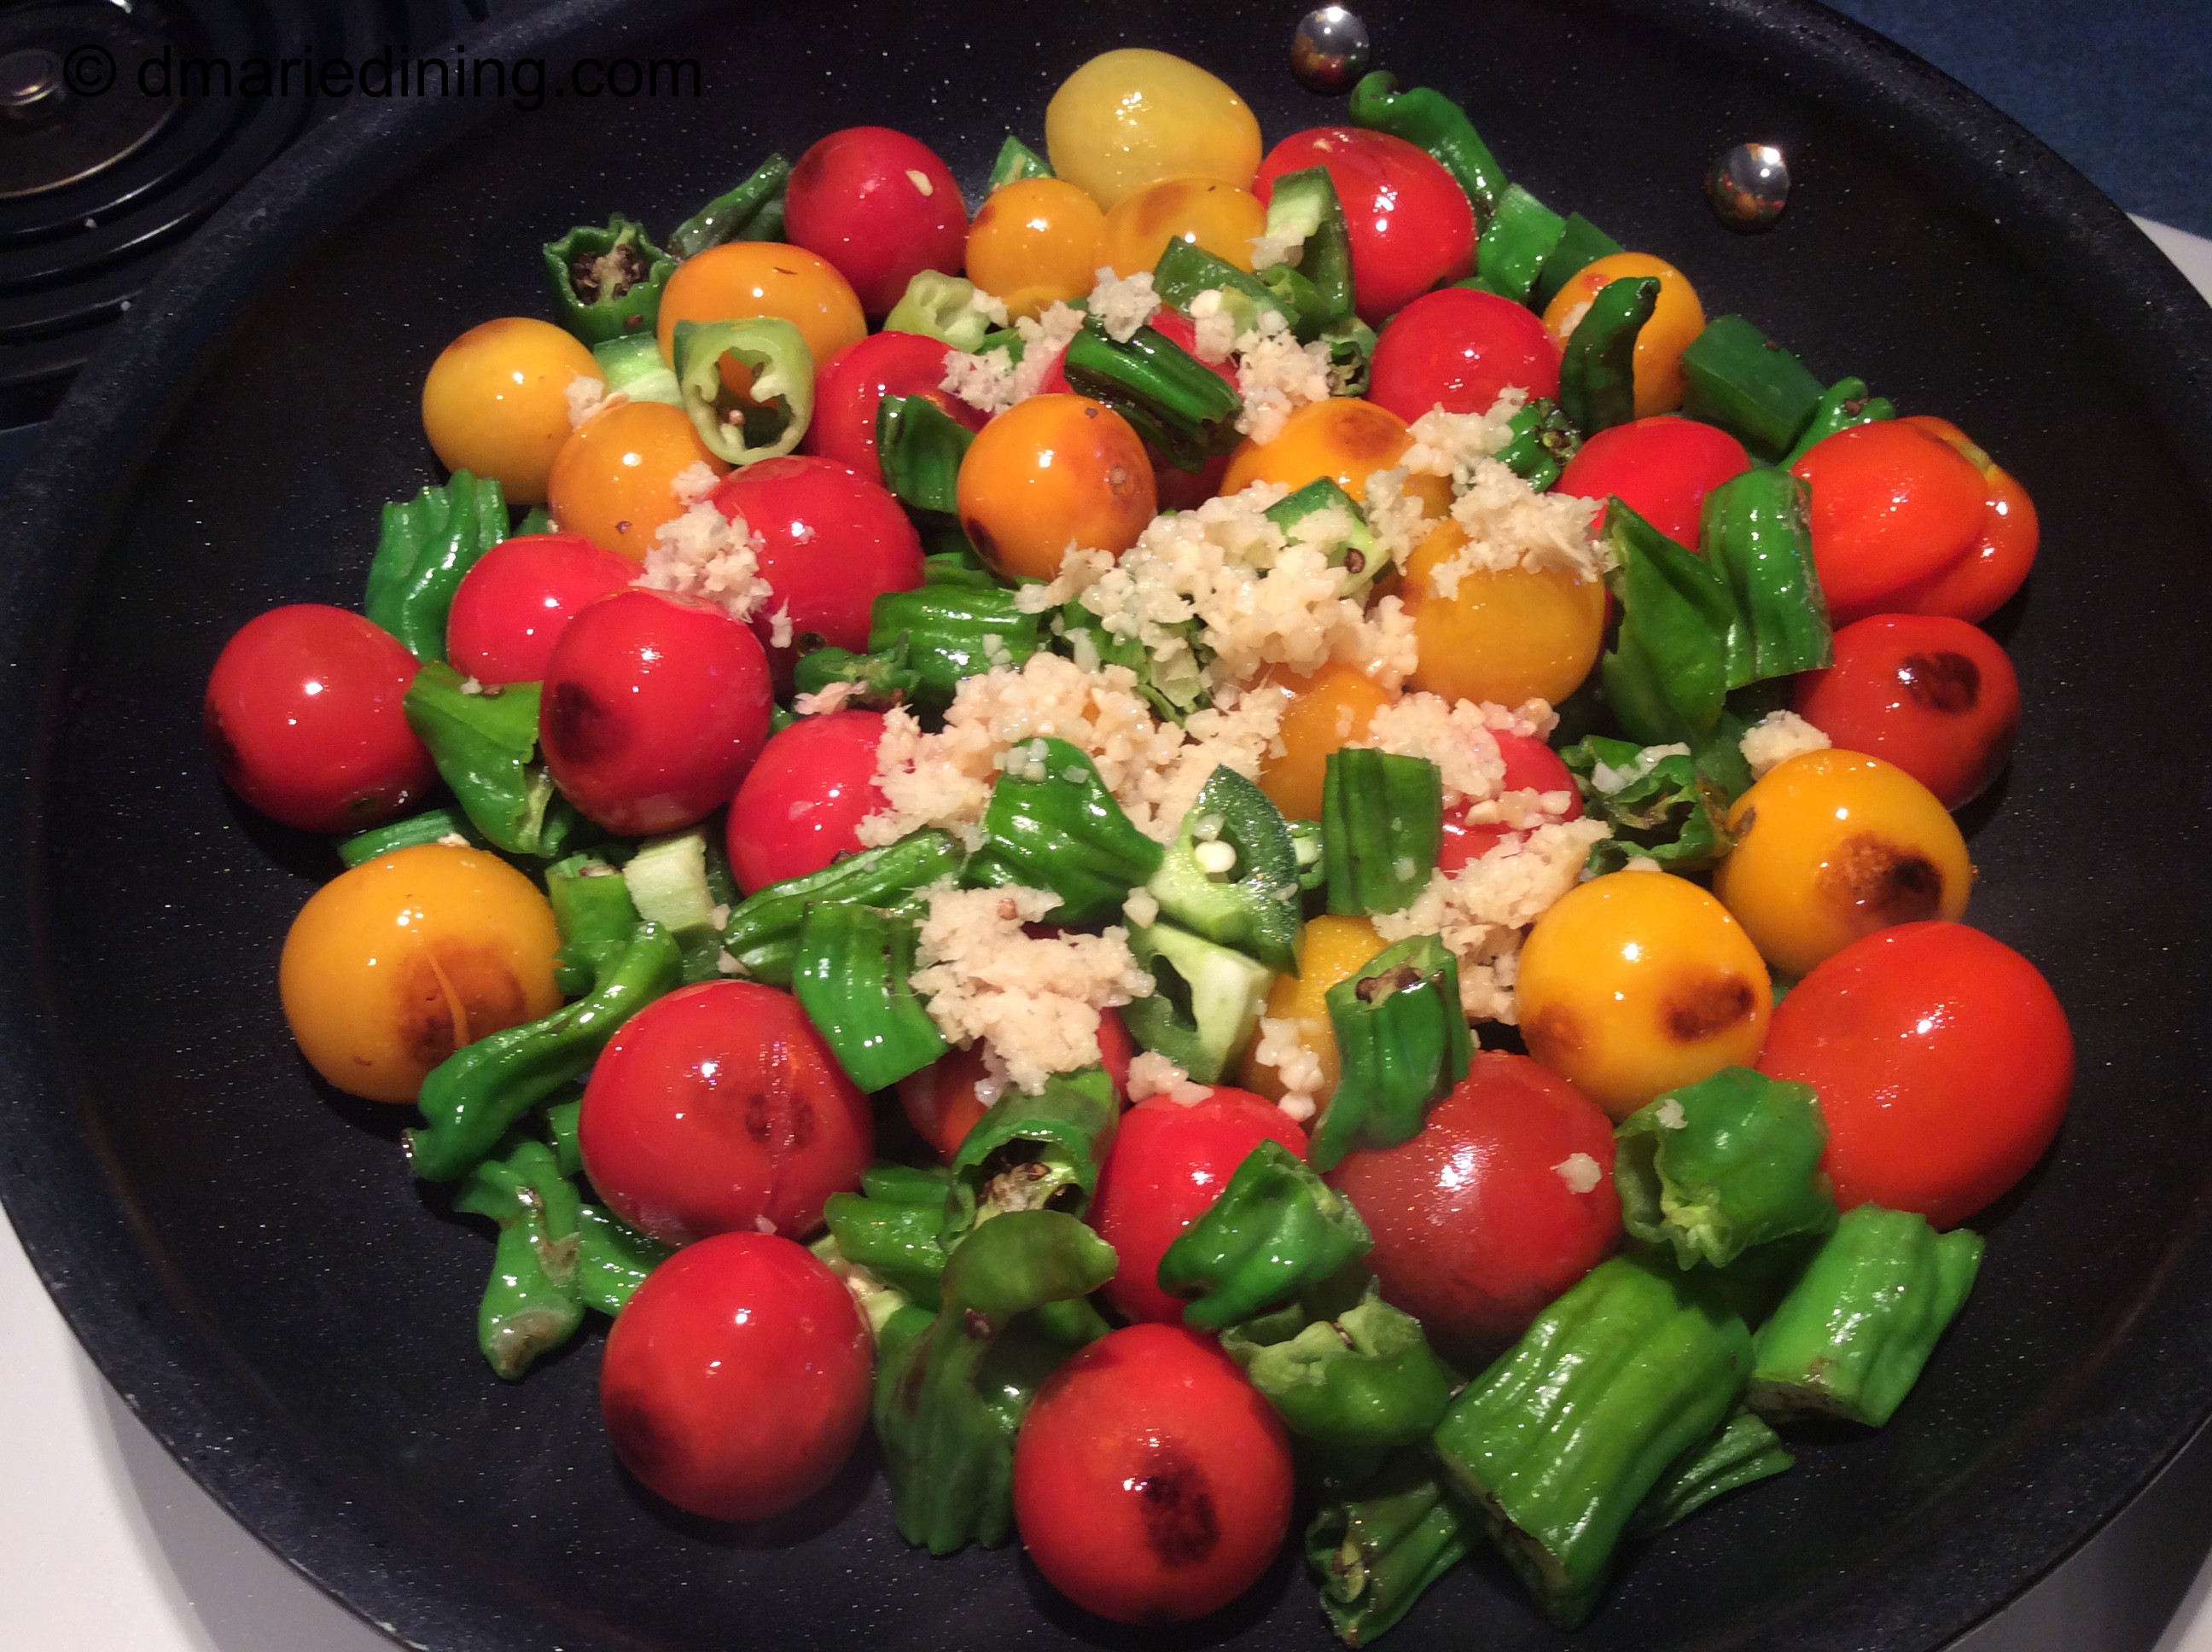
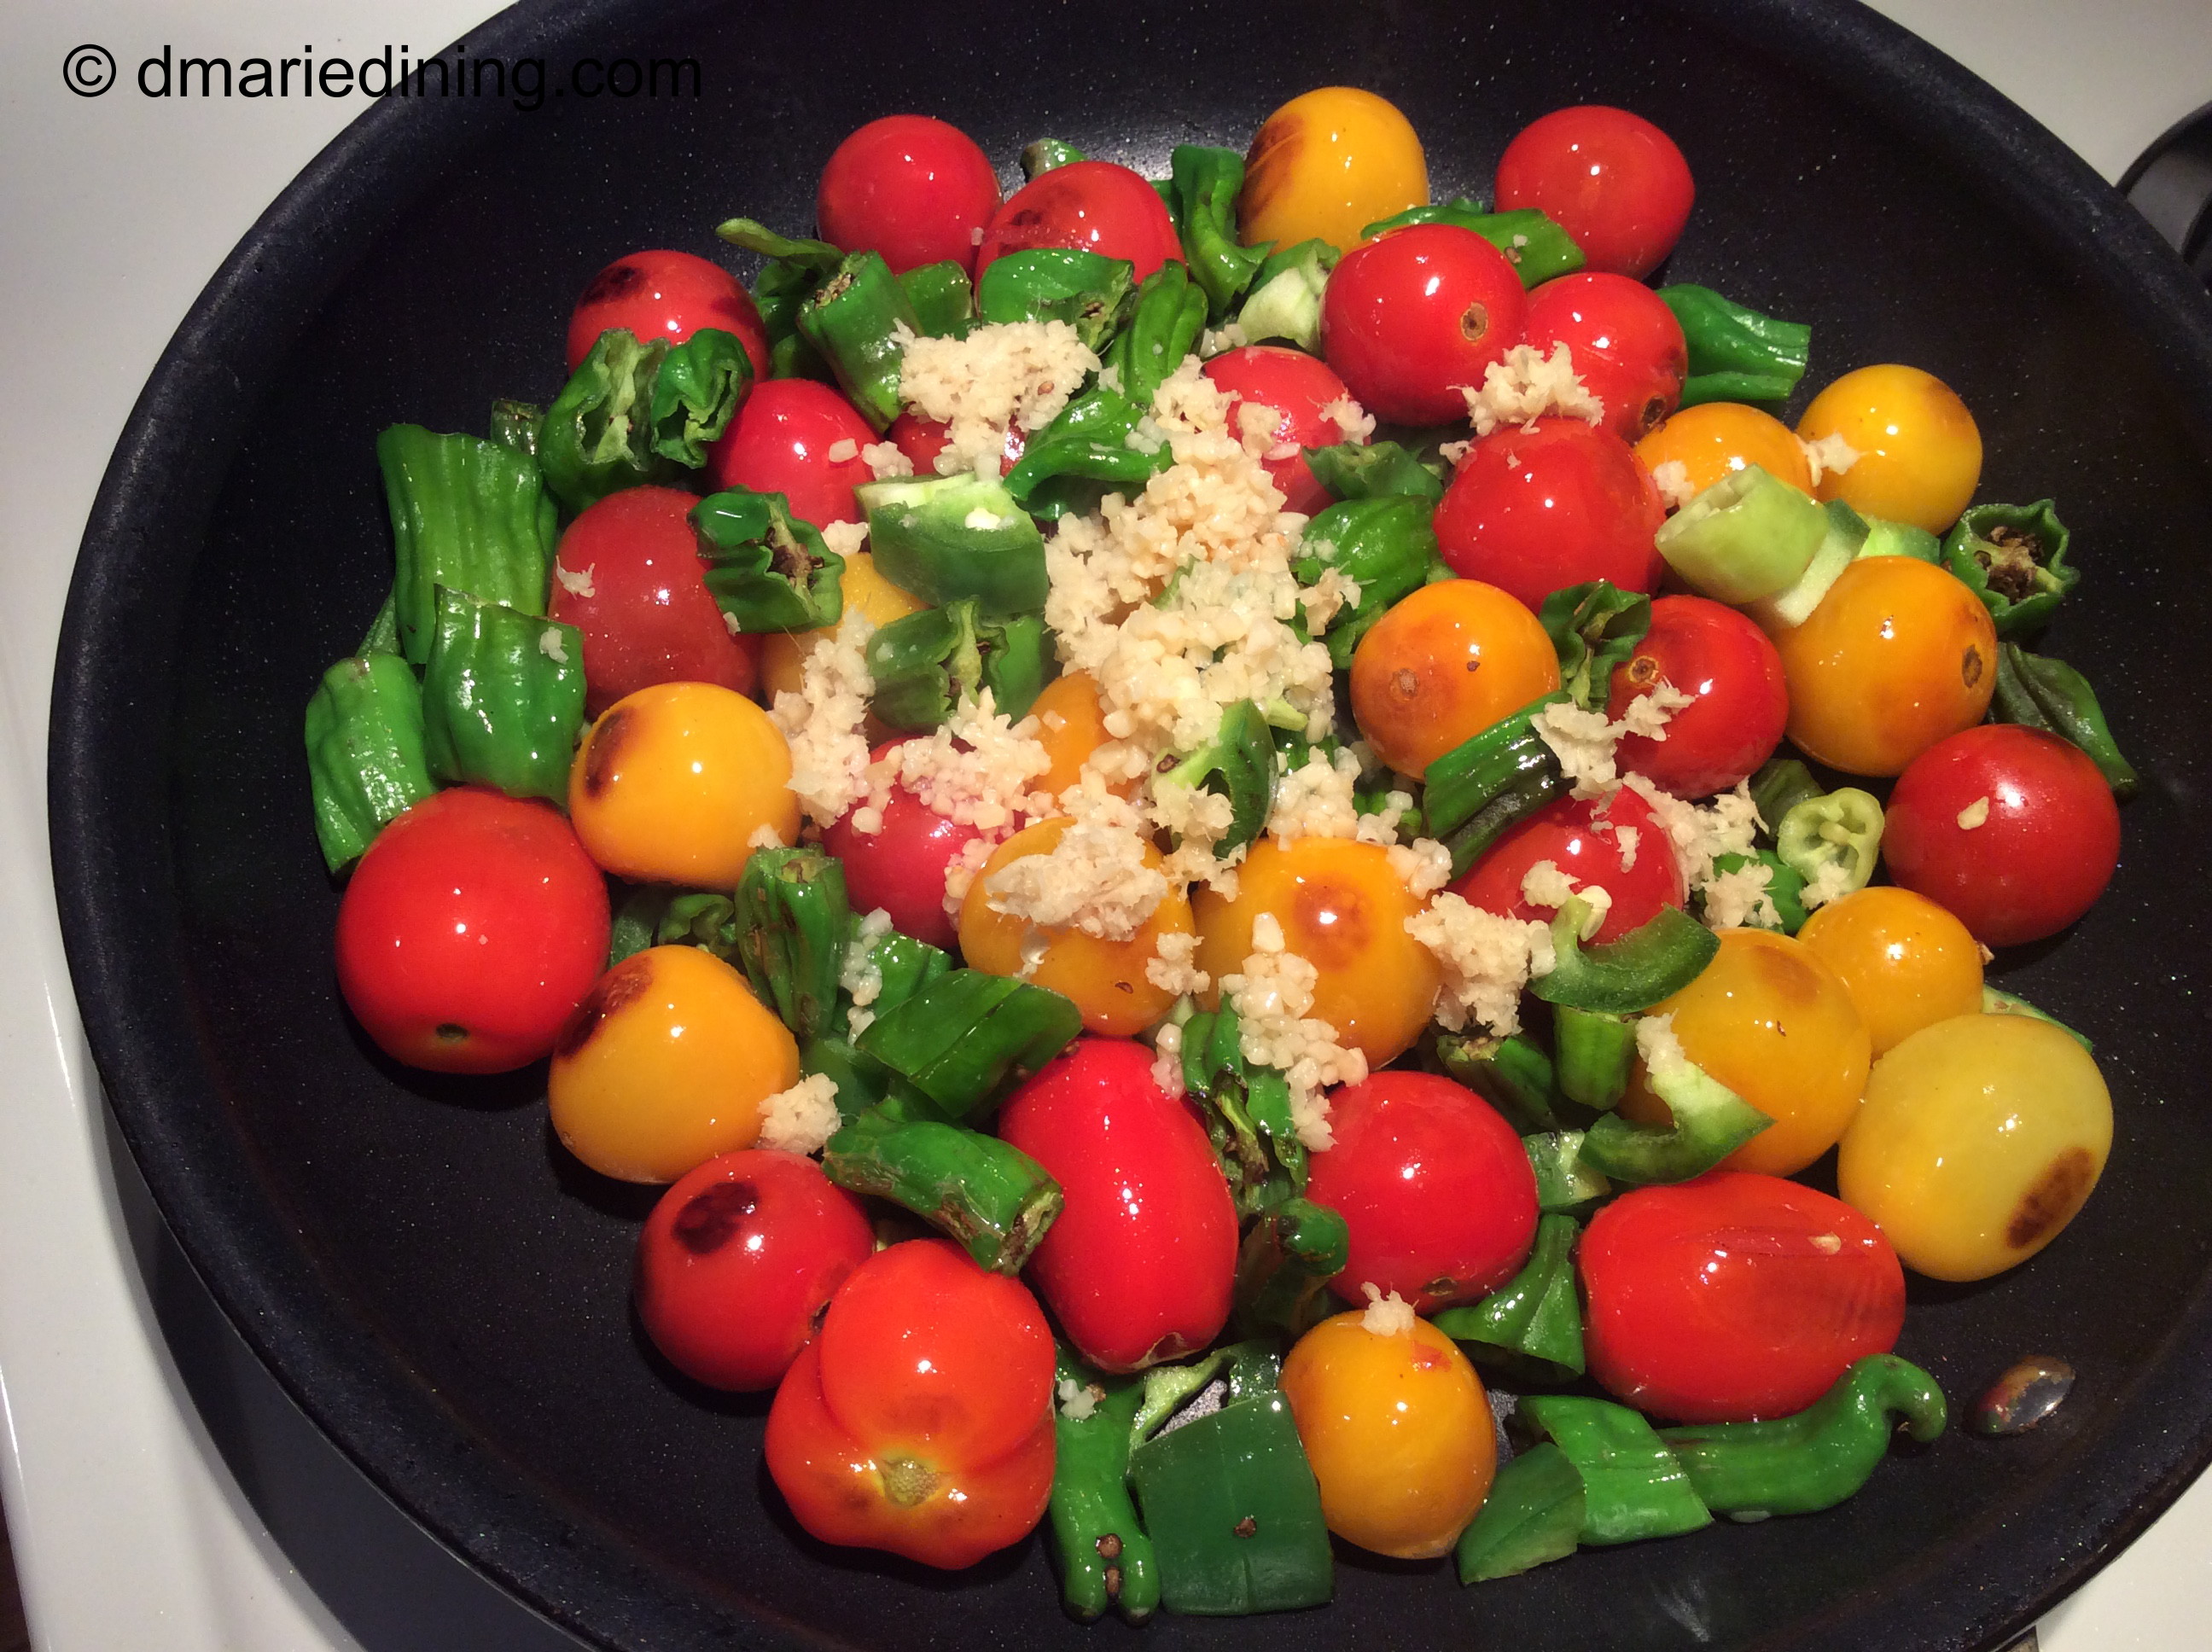
I have learned over time that the best way to bring out the natural flavors of vegetables is to roast them. Whether it is to create a delicious soup, add to a favorite recipe or to just have a medley of veggies, roasting is the way to go.

This past summer proved to be a veggie delight for me and hubby. Between the tomatoes and peppers we grew on our porch and the beautiful vegetables we bought from local farmers we were in veggie heaven.

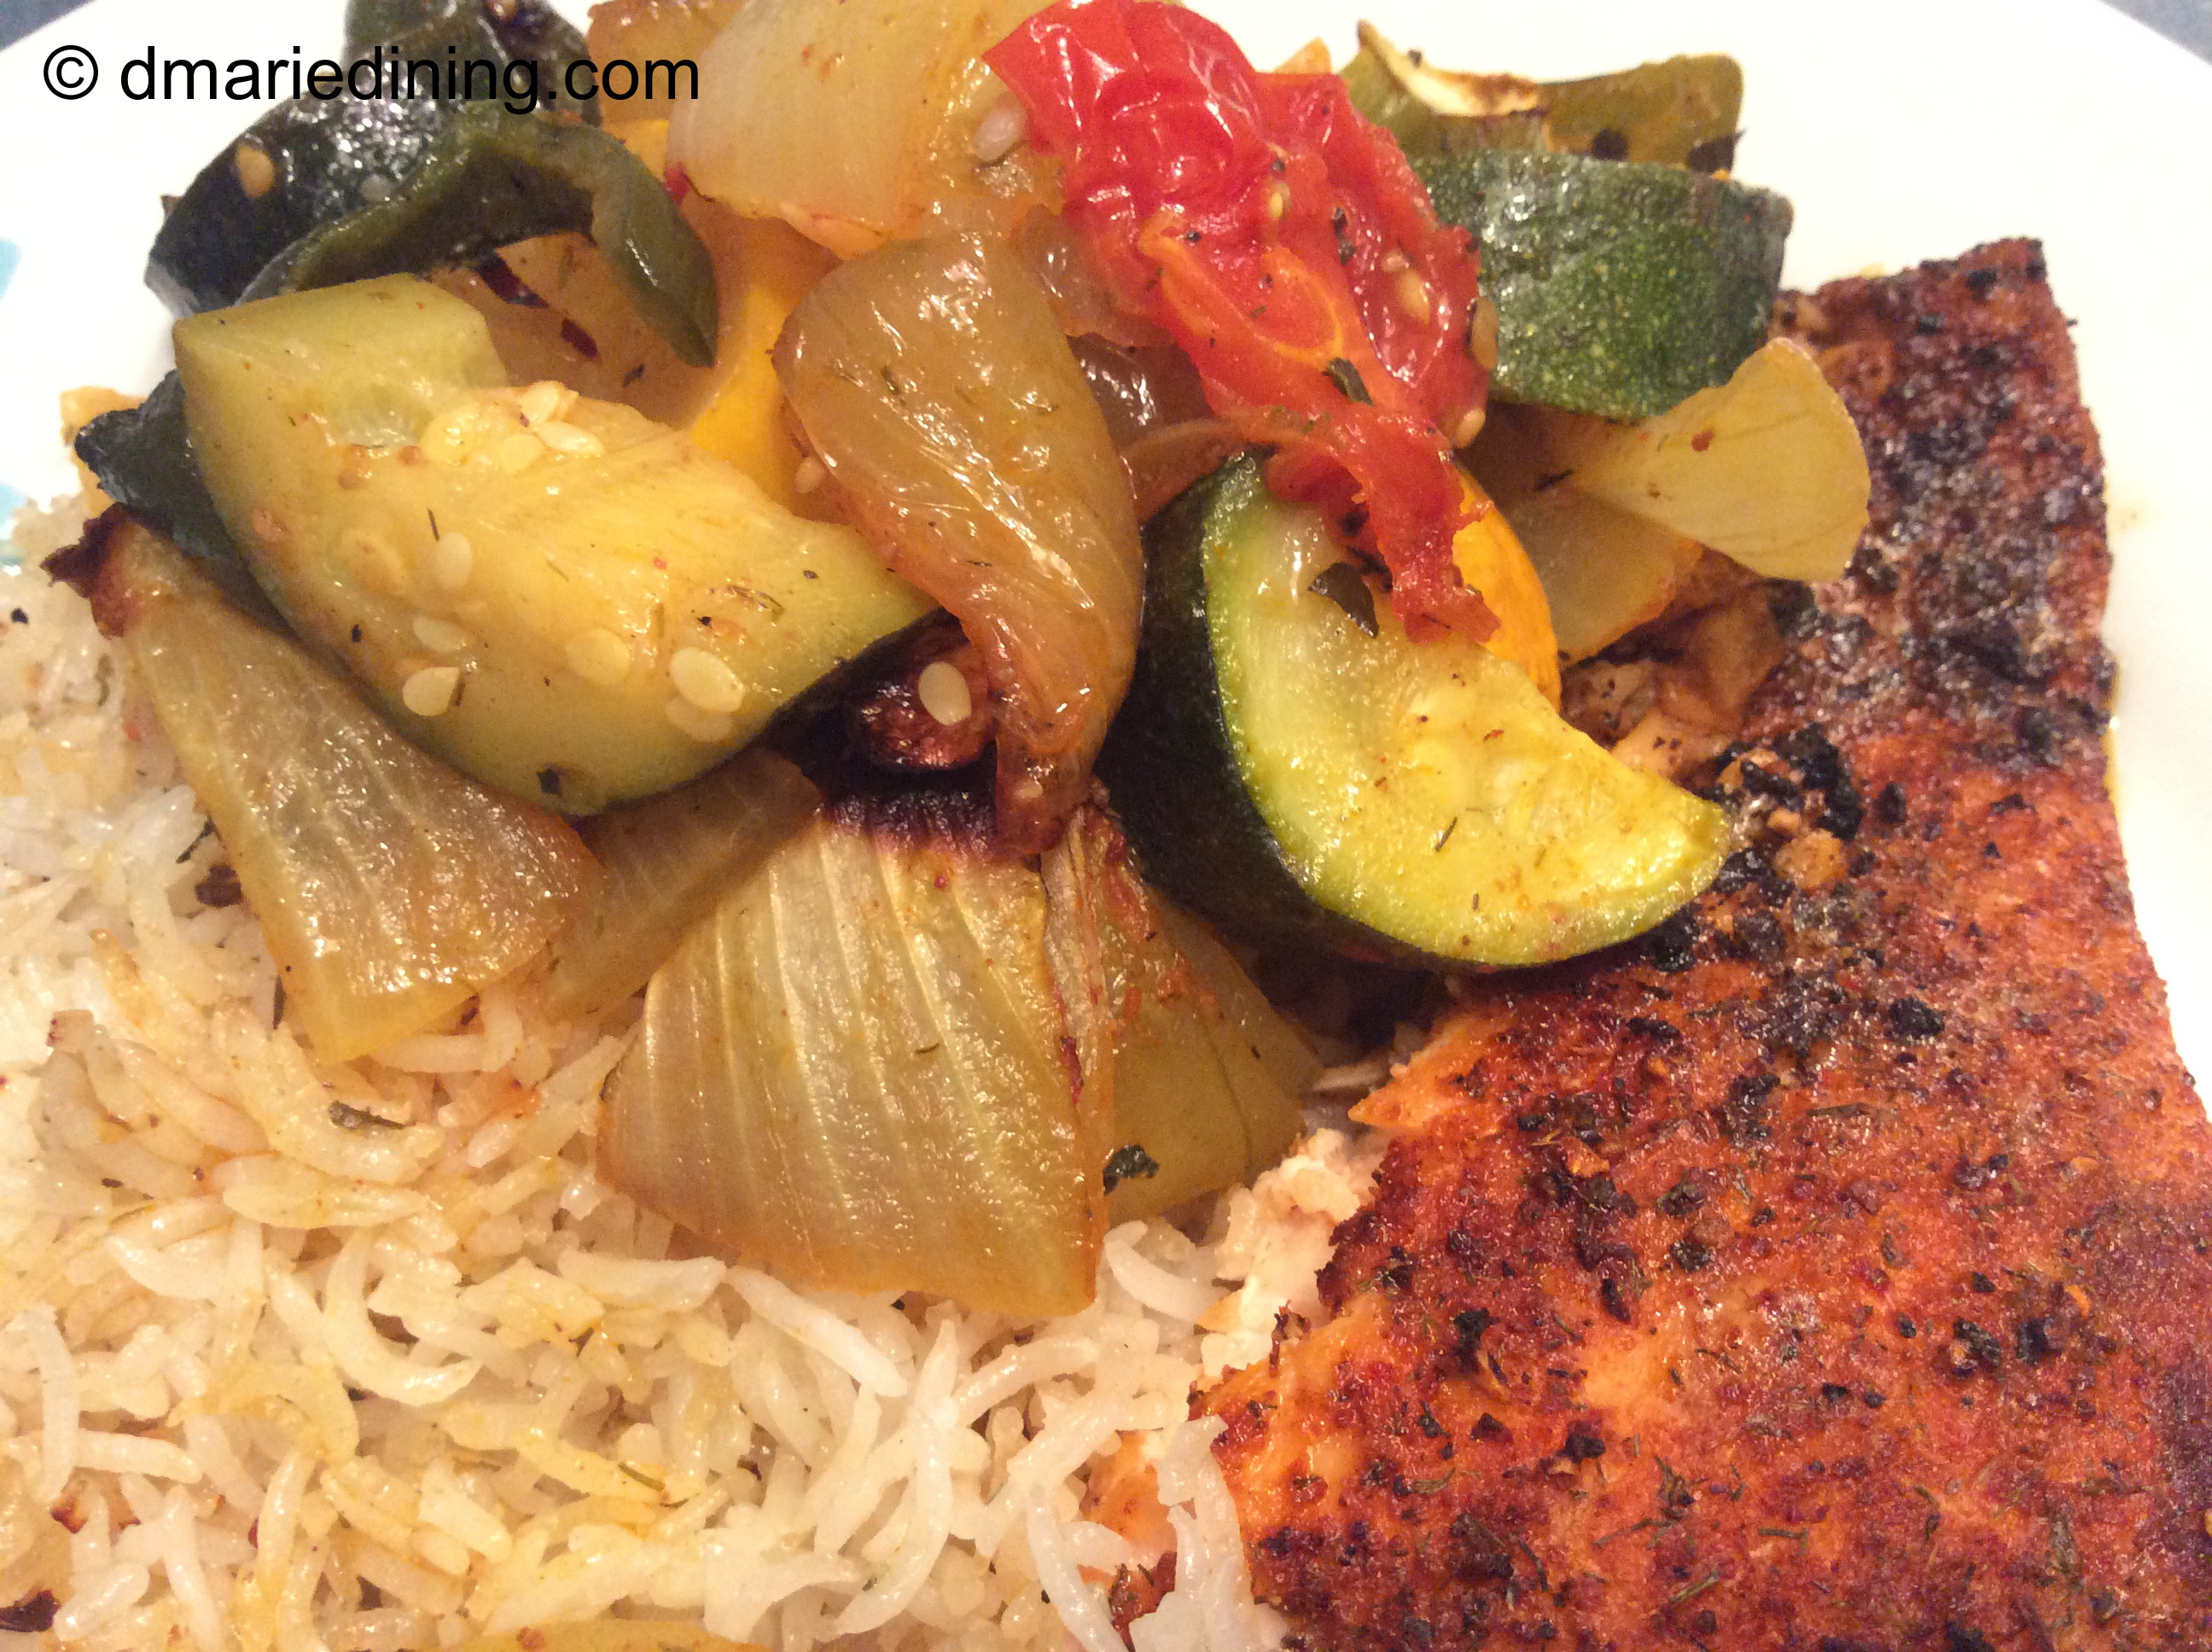
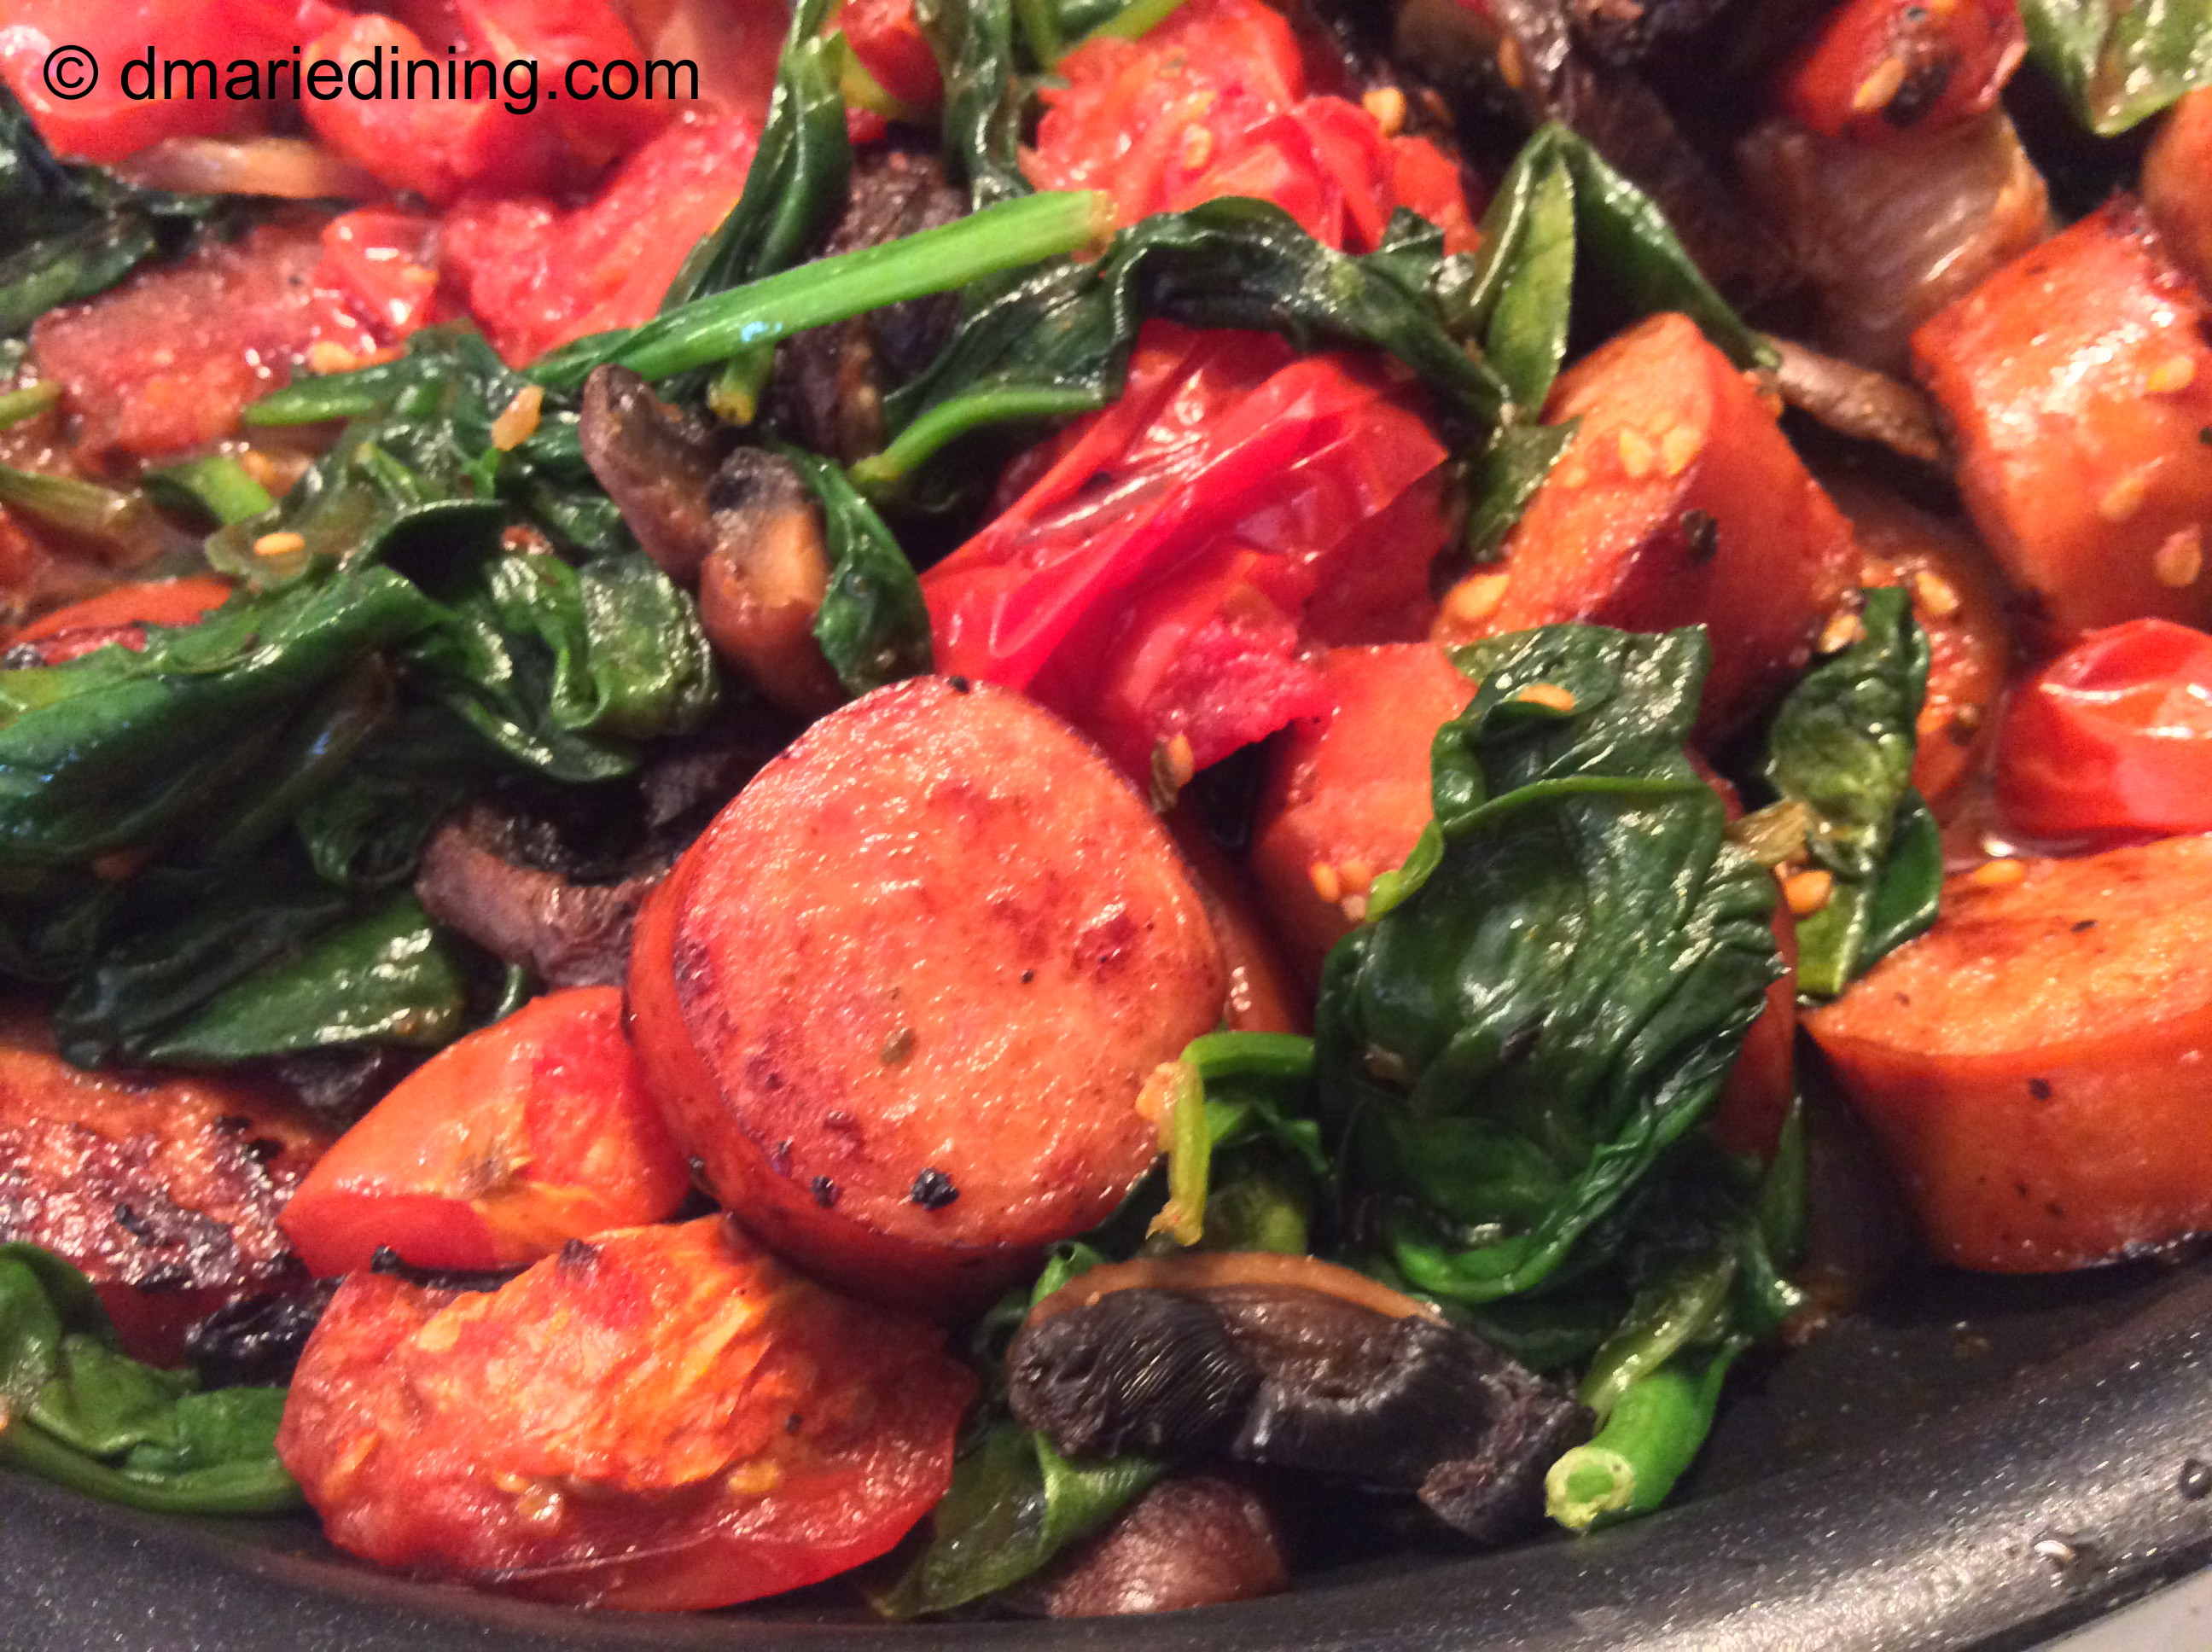
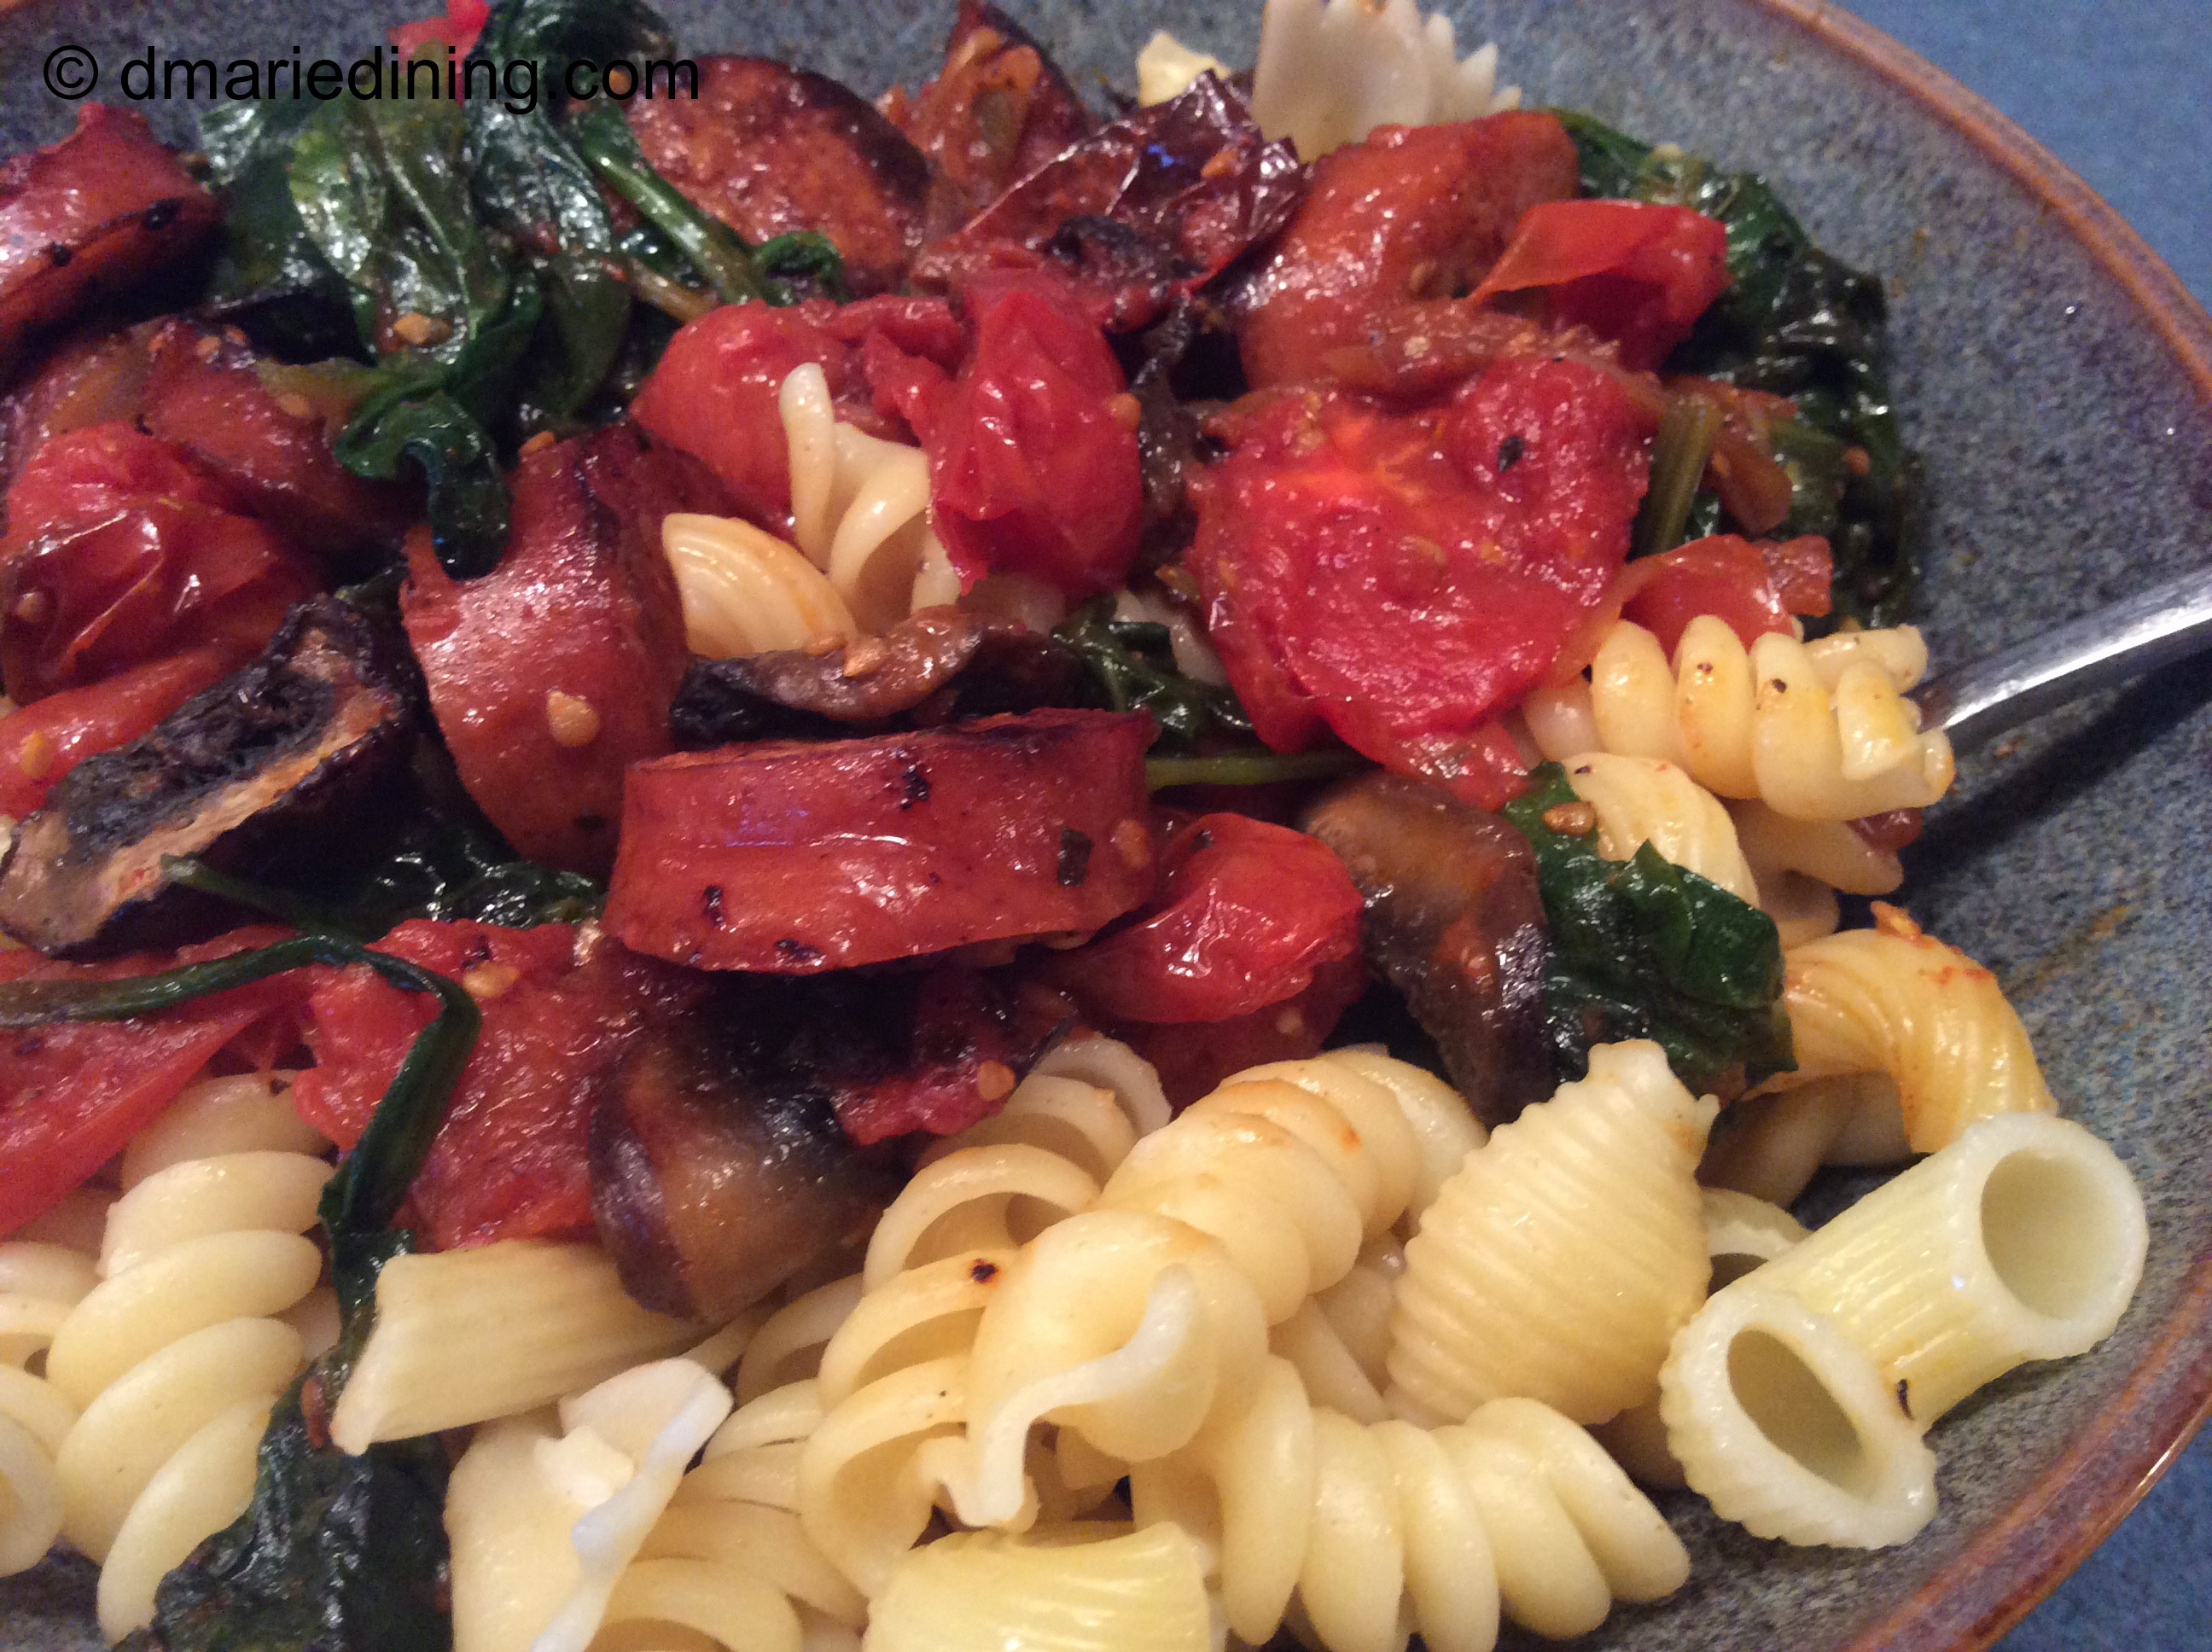
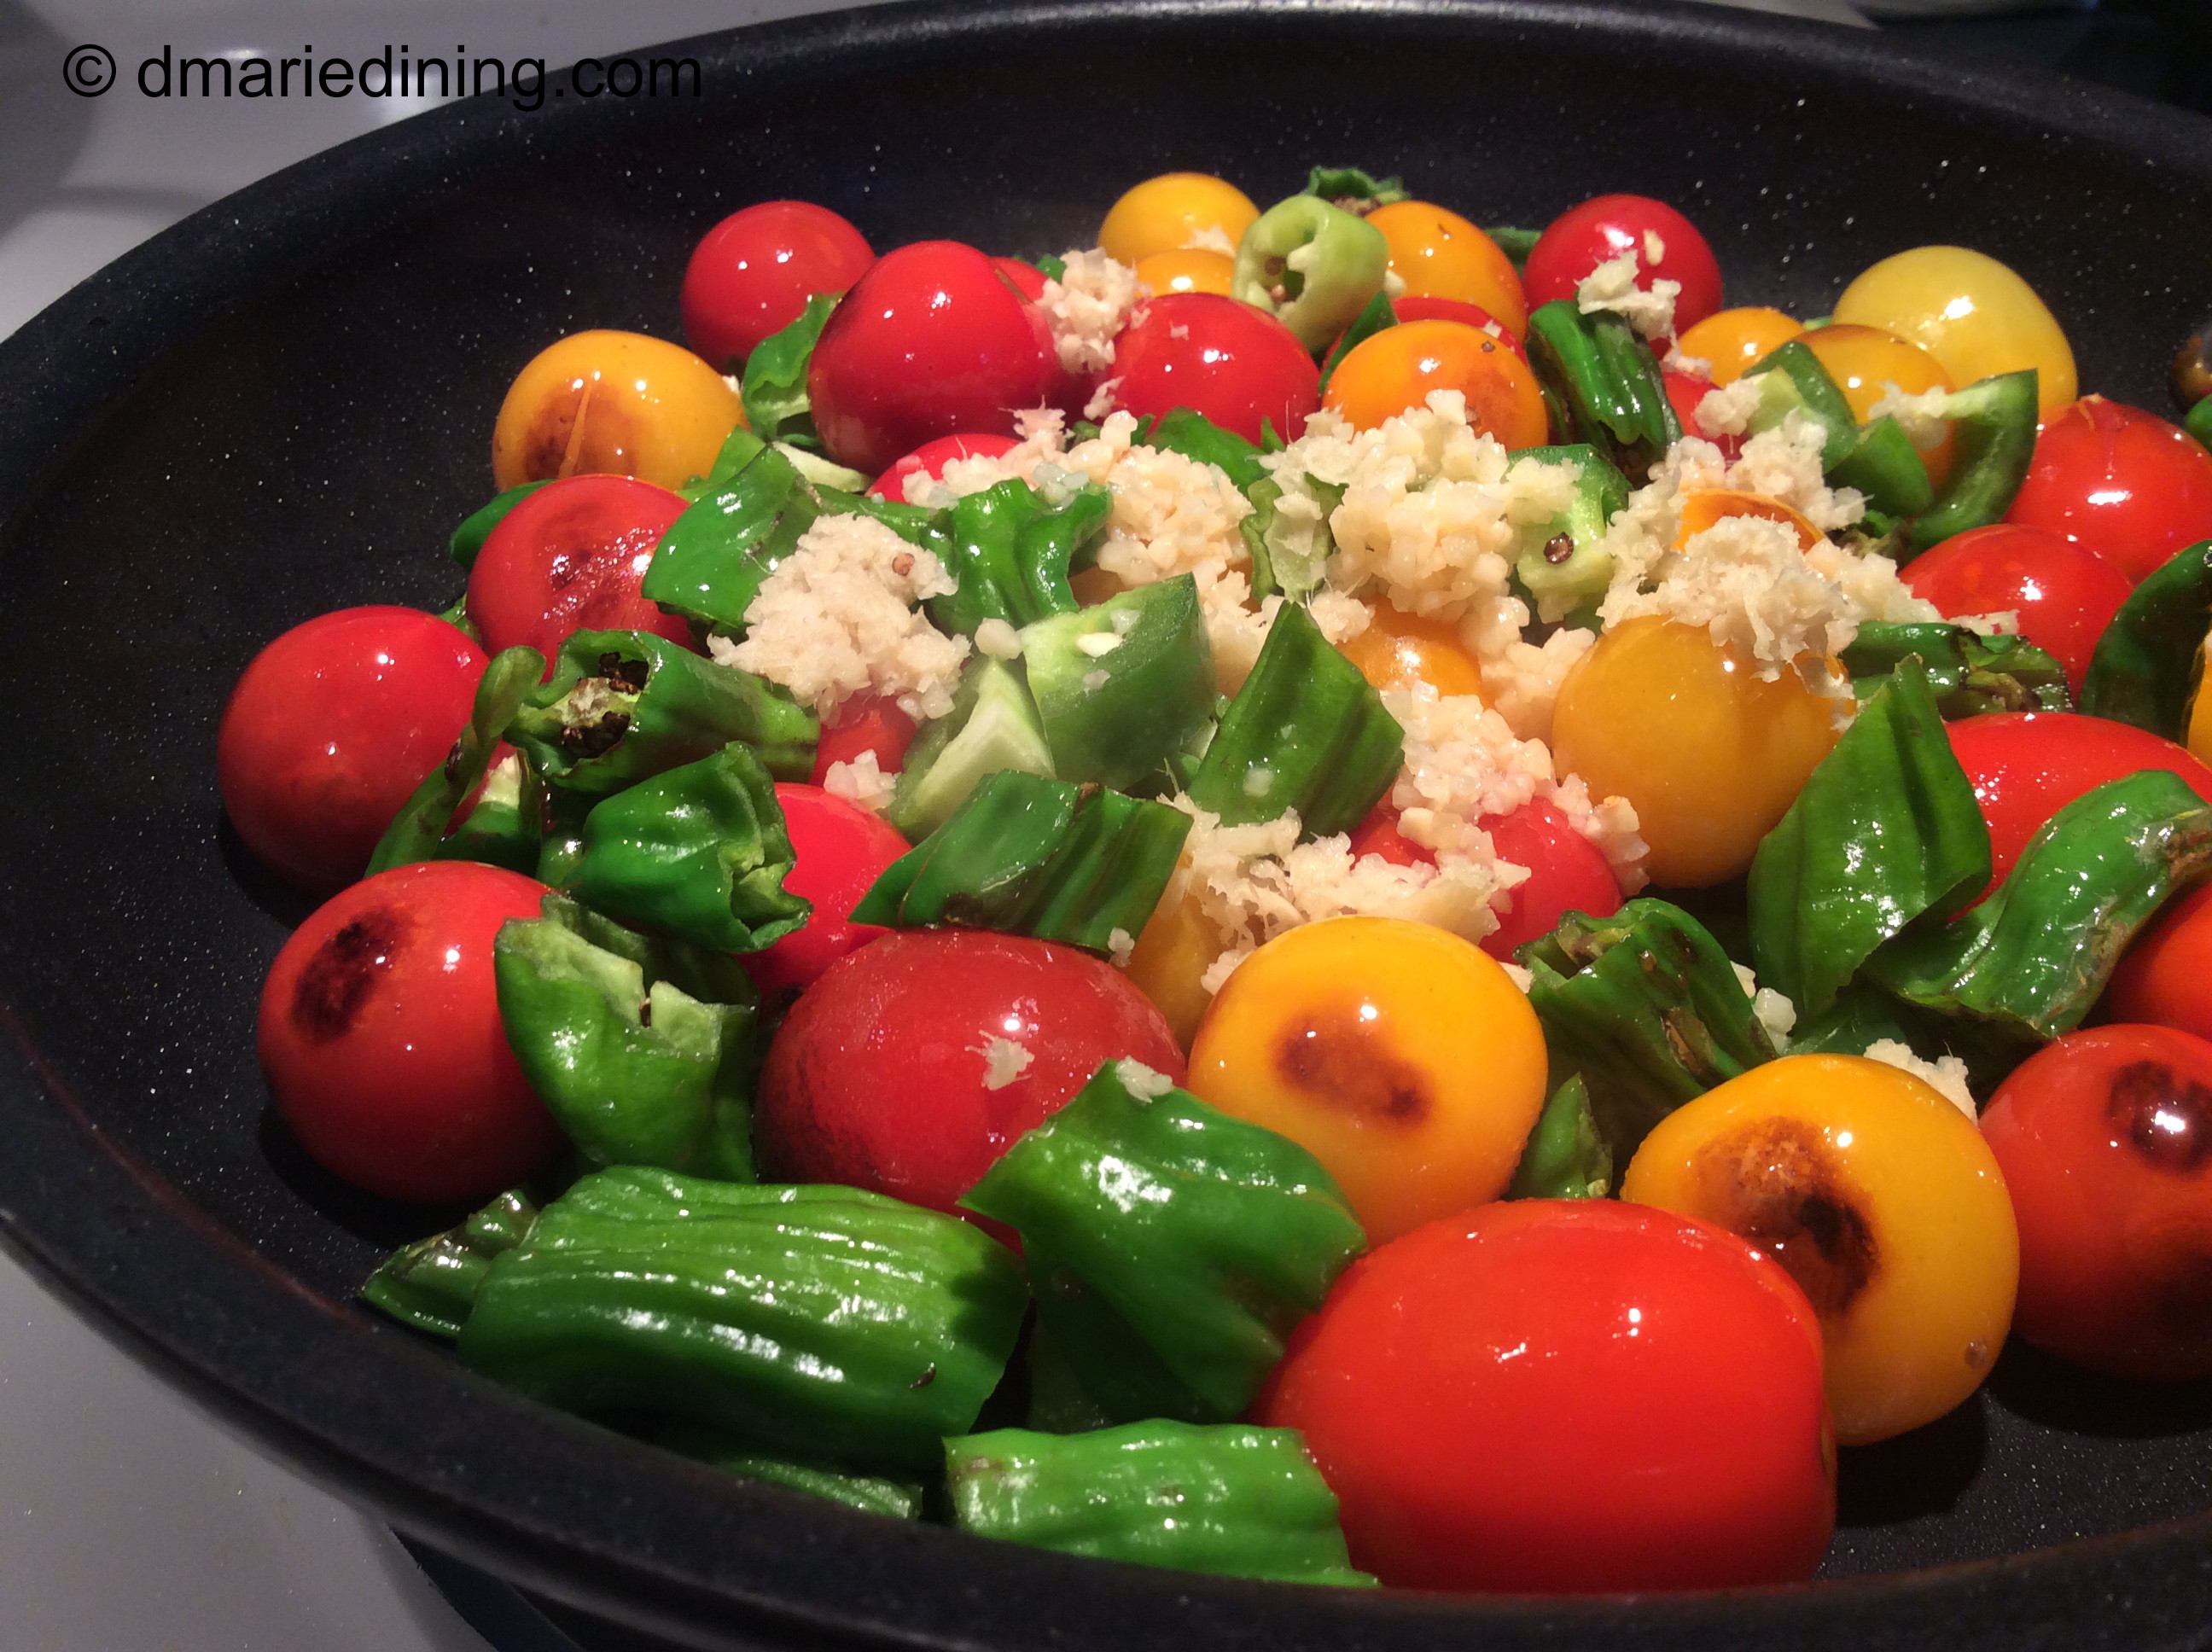
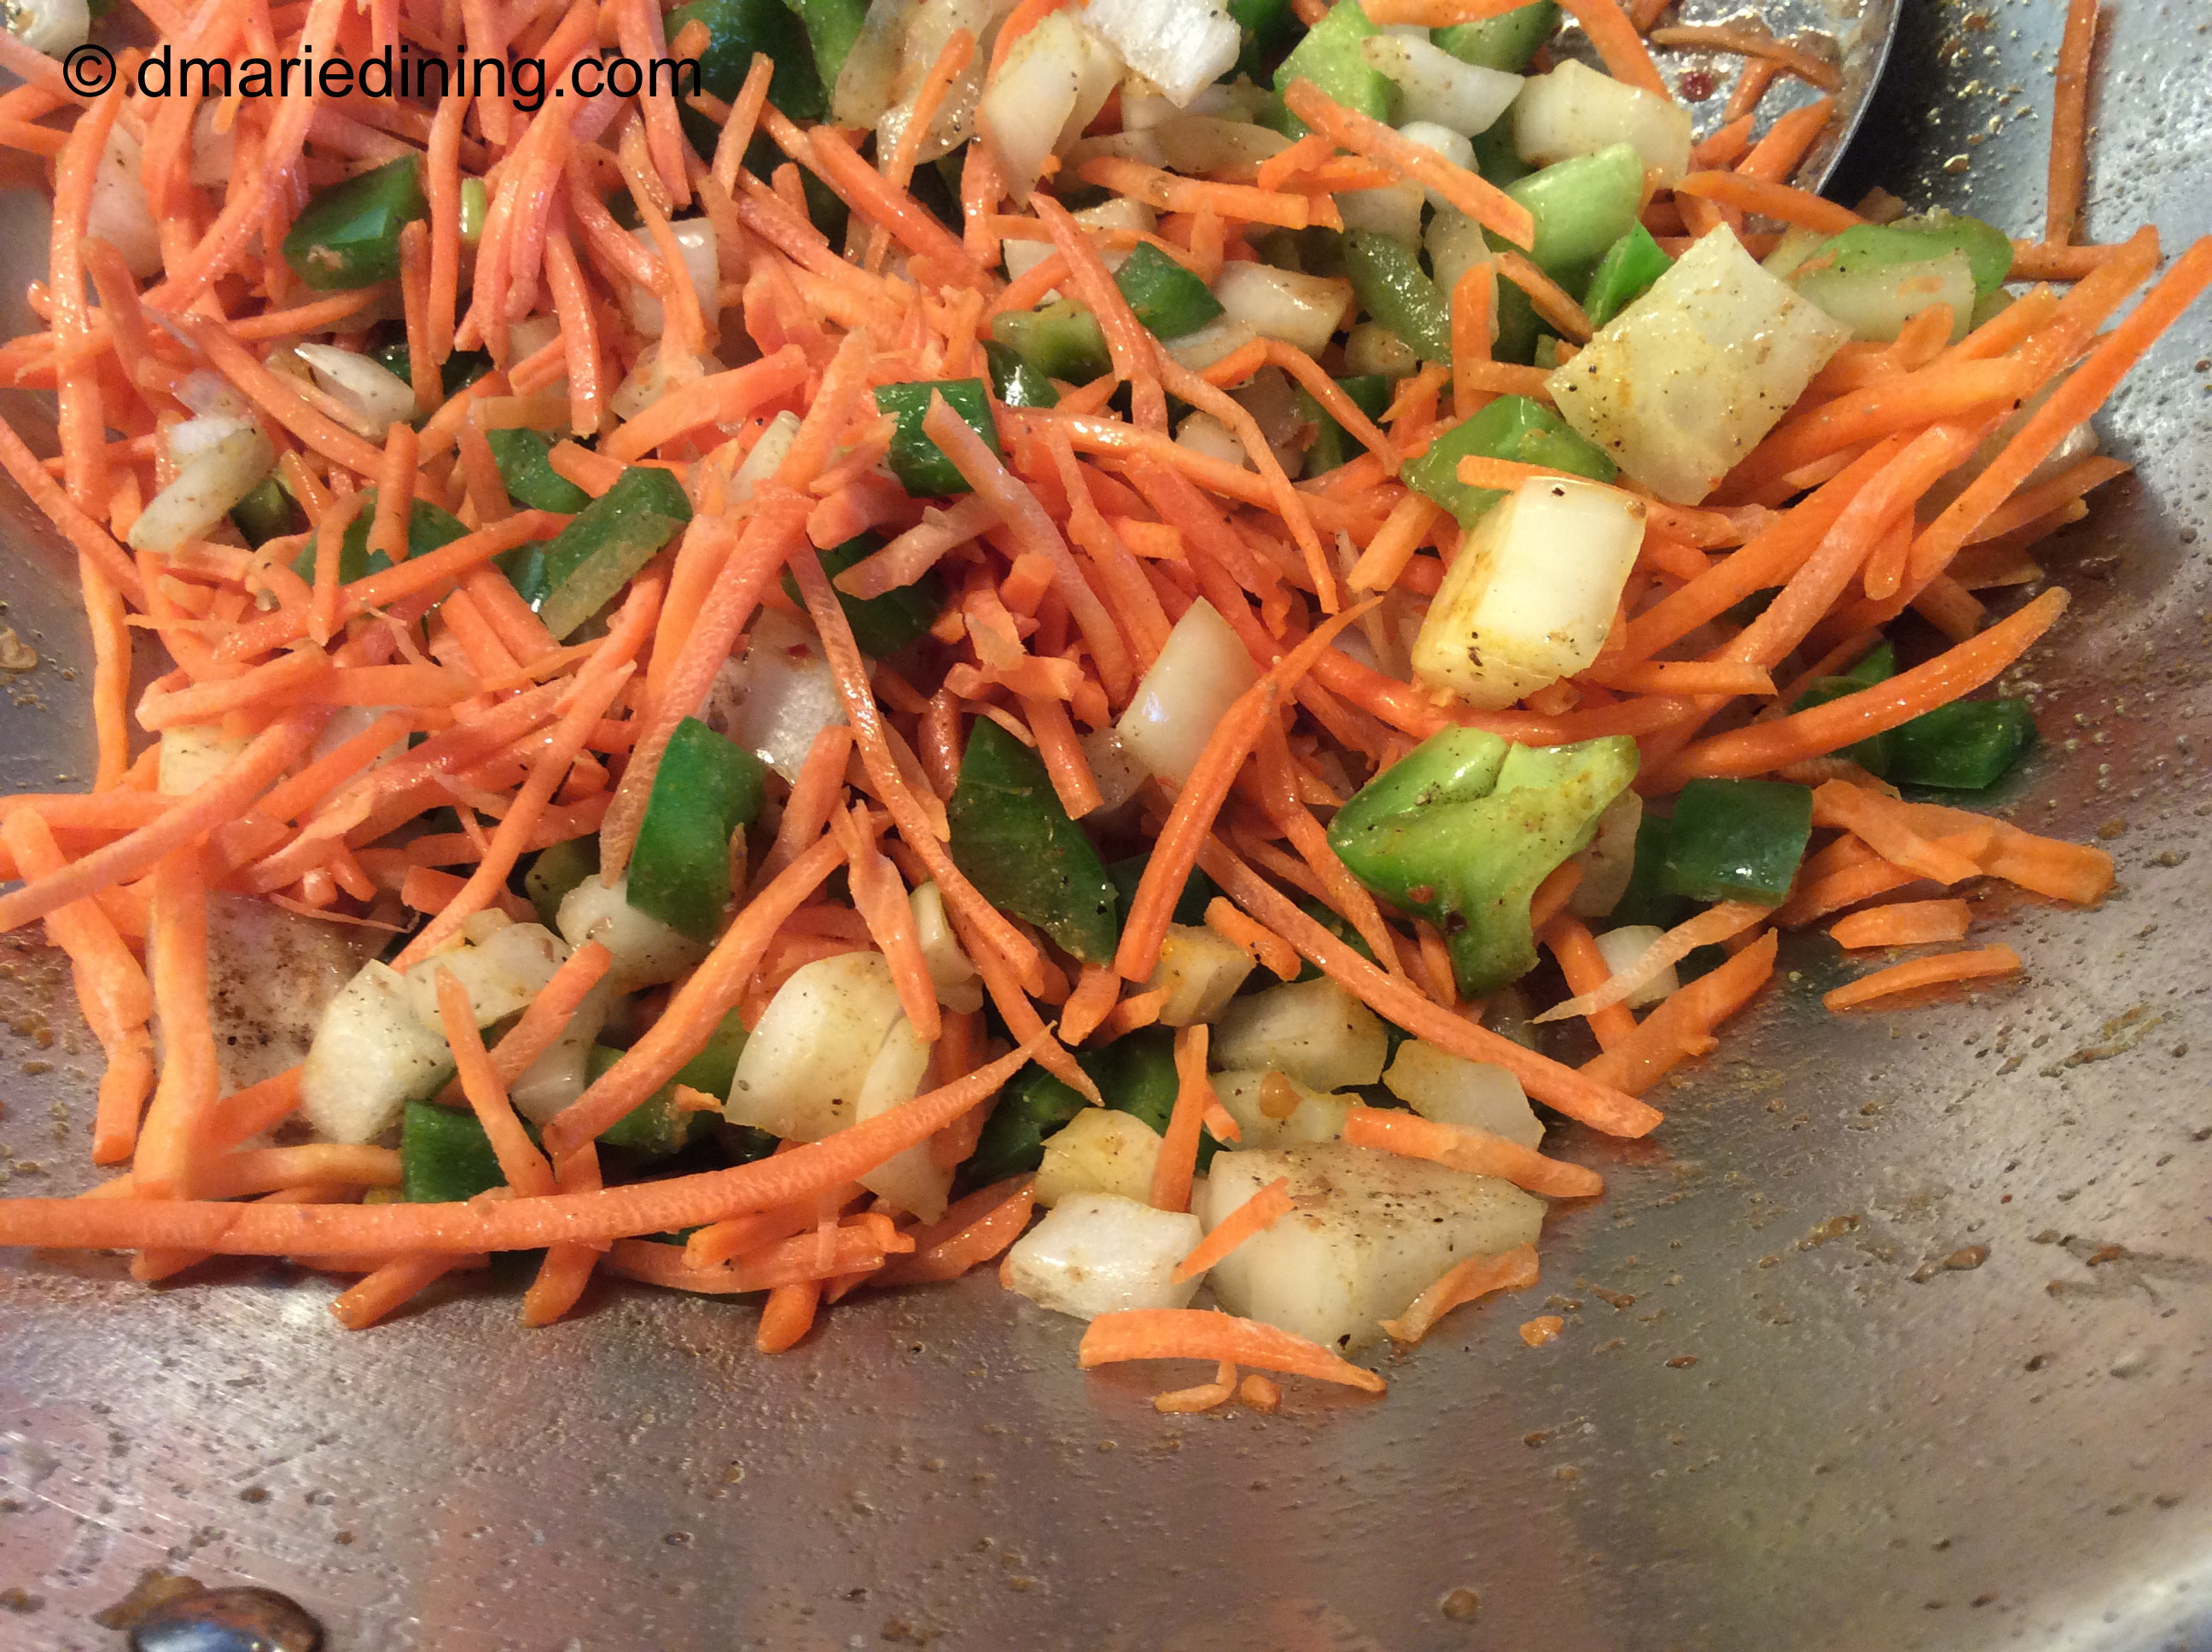
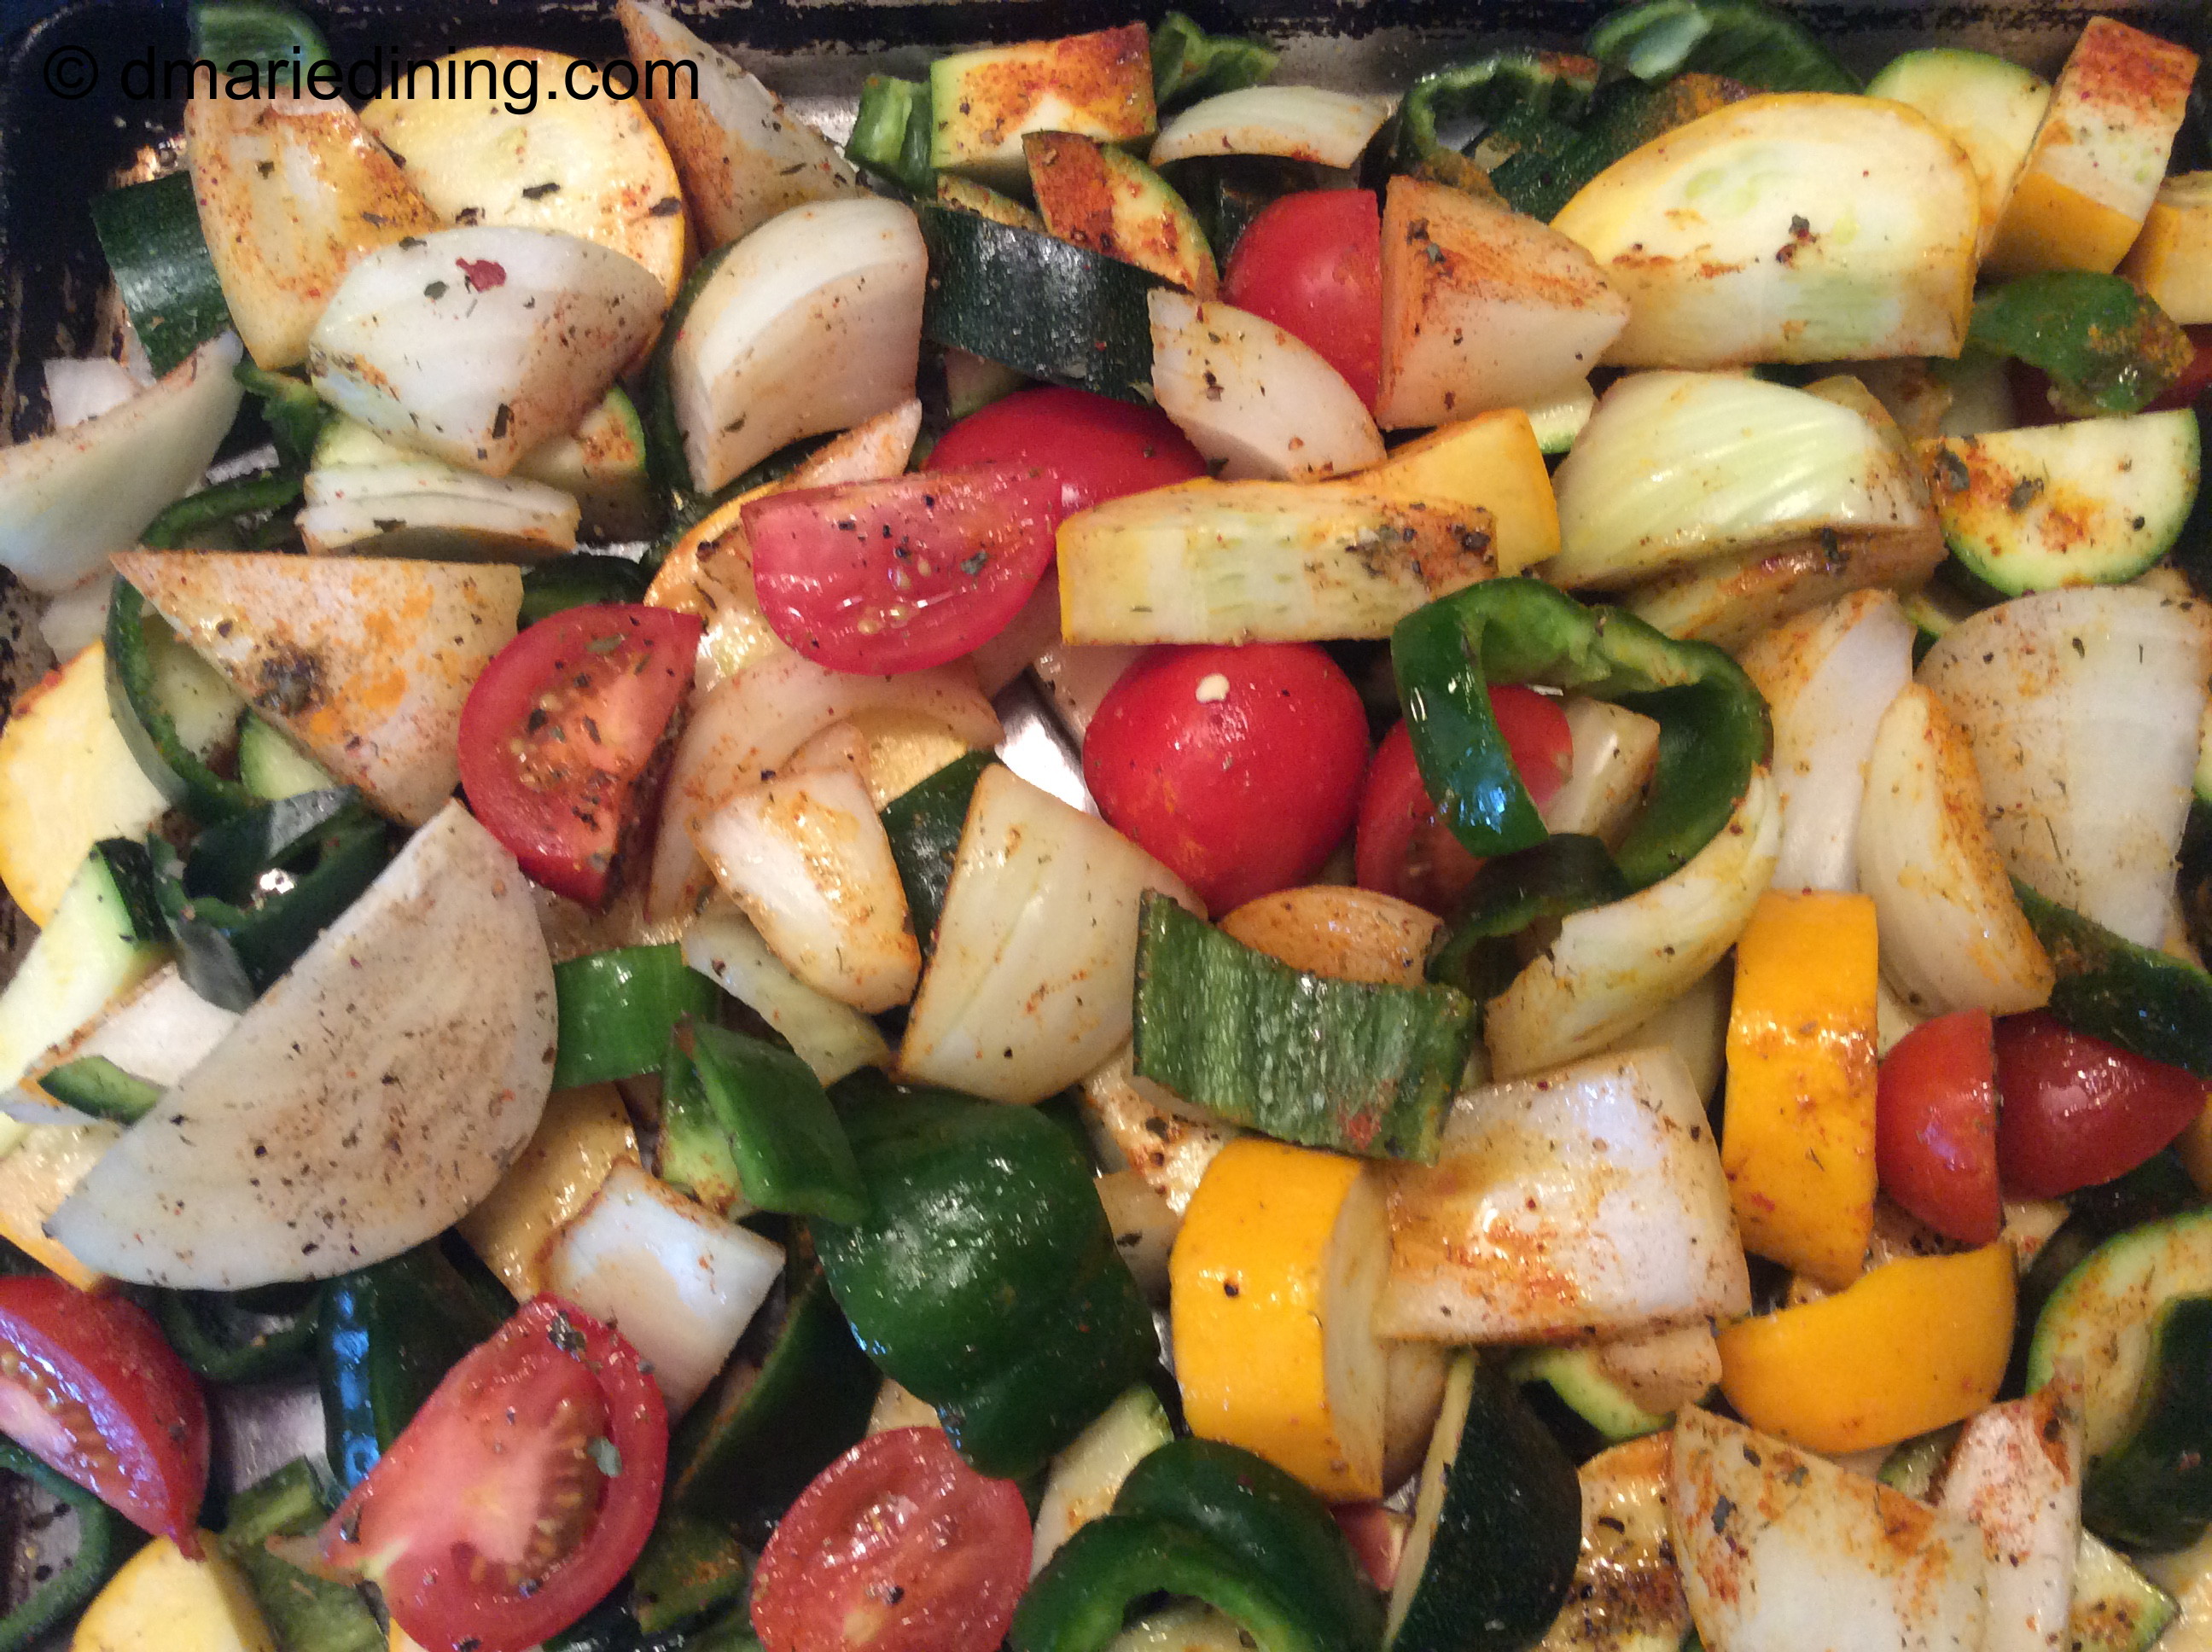
To pack a lot of flavor into one vegetable side dish I roasted zucchini, yellow squash, tomatoes, onions and peppers together. The prep time was quick and the end result was fantastic. Also, using a sheet pan to roast the vegetables kept clean up time down to a minimum.

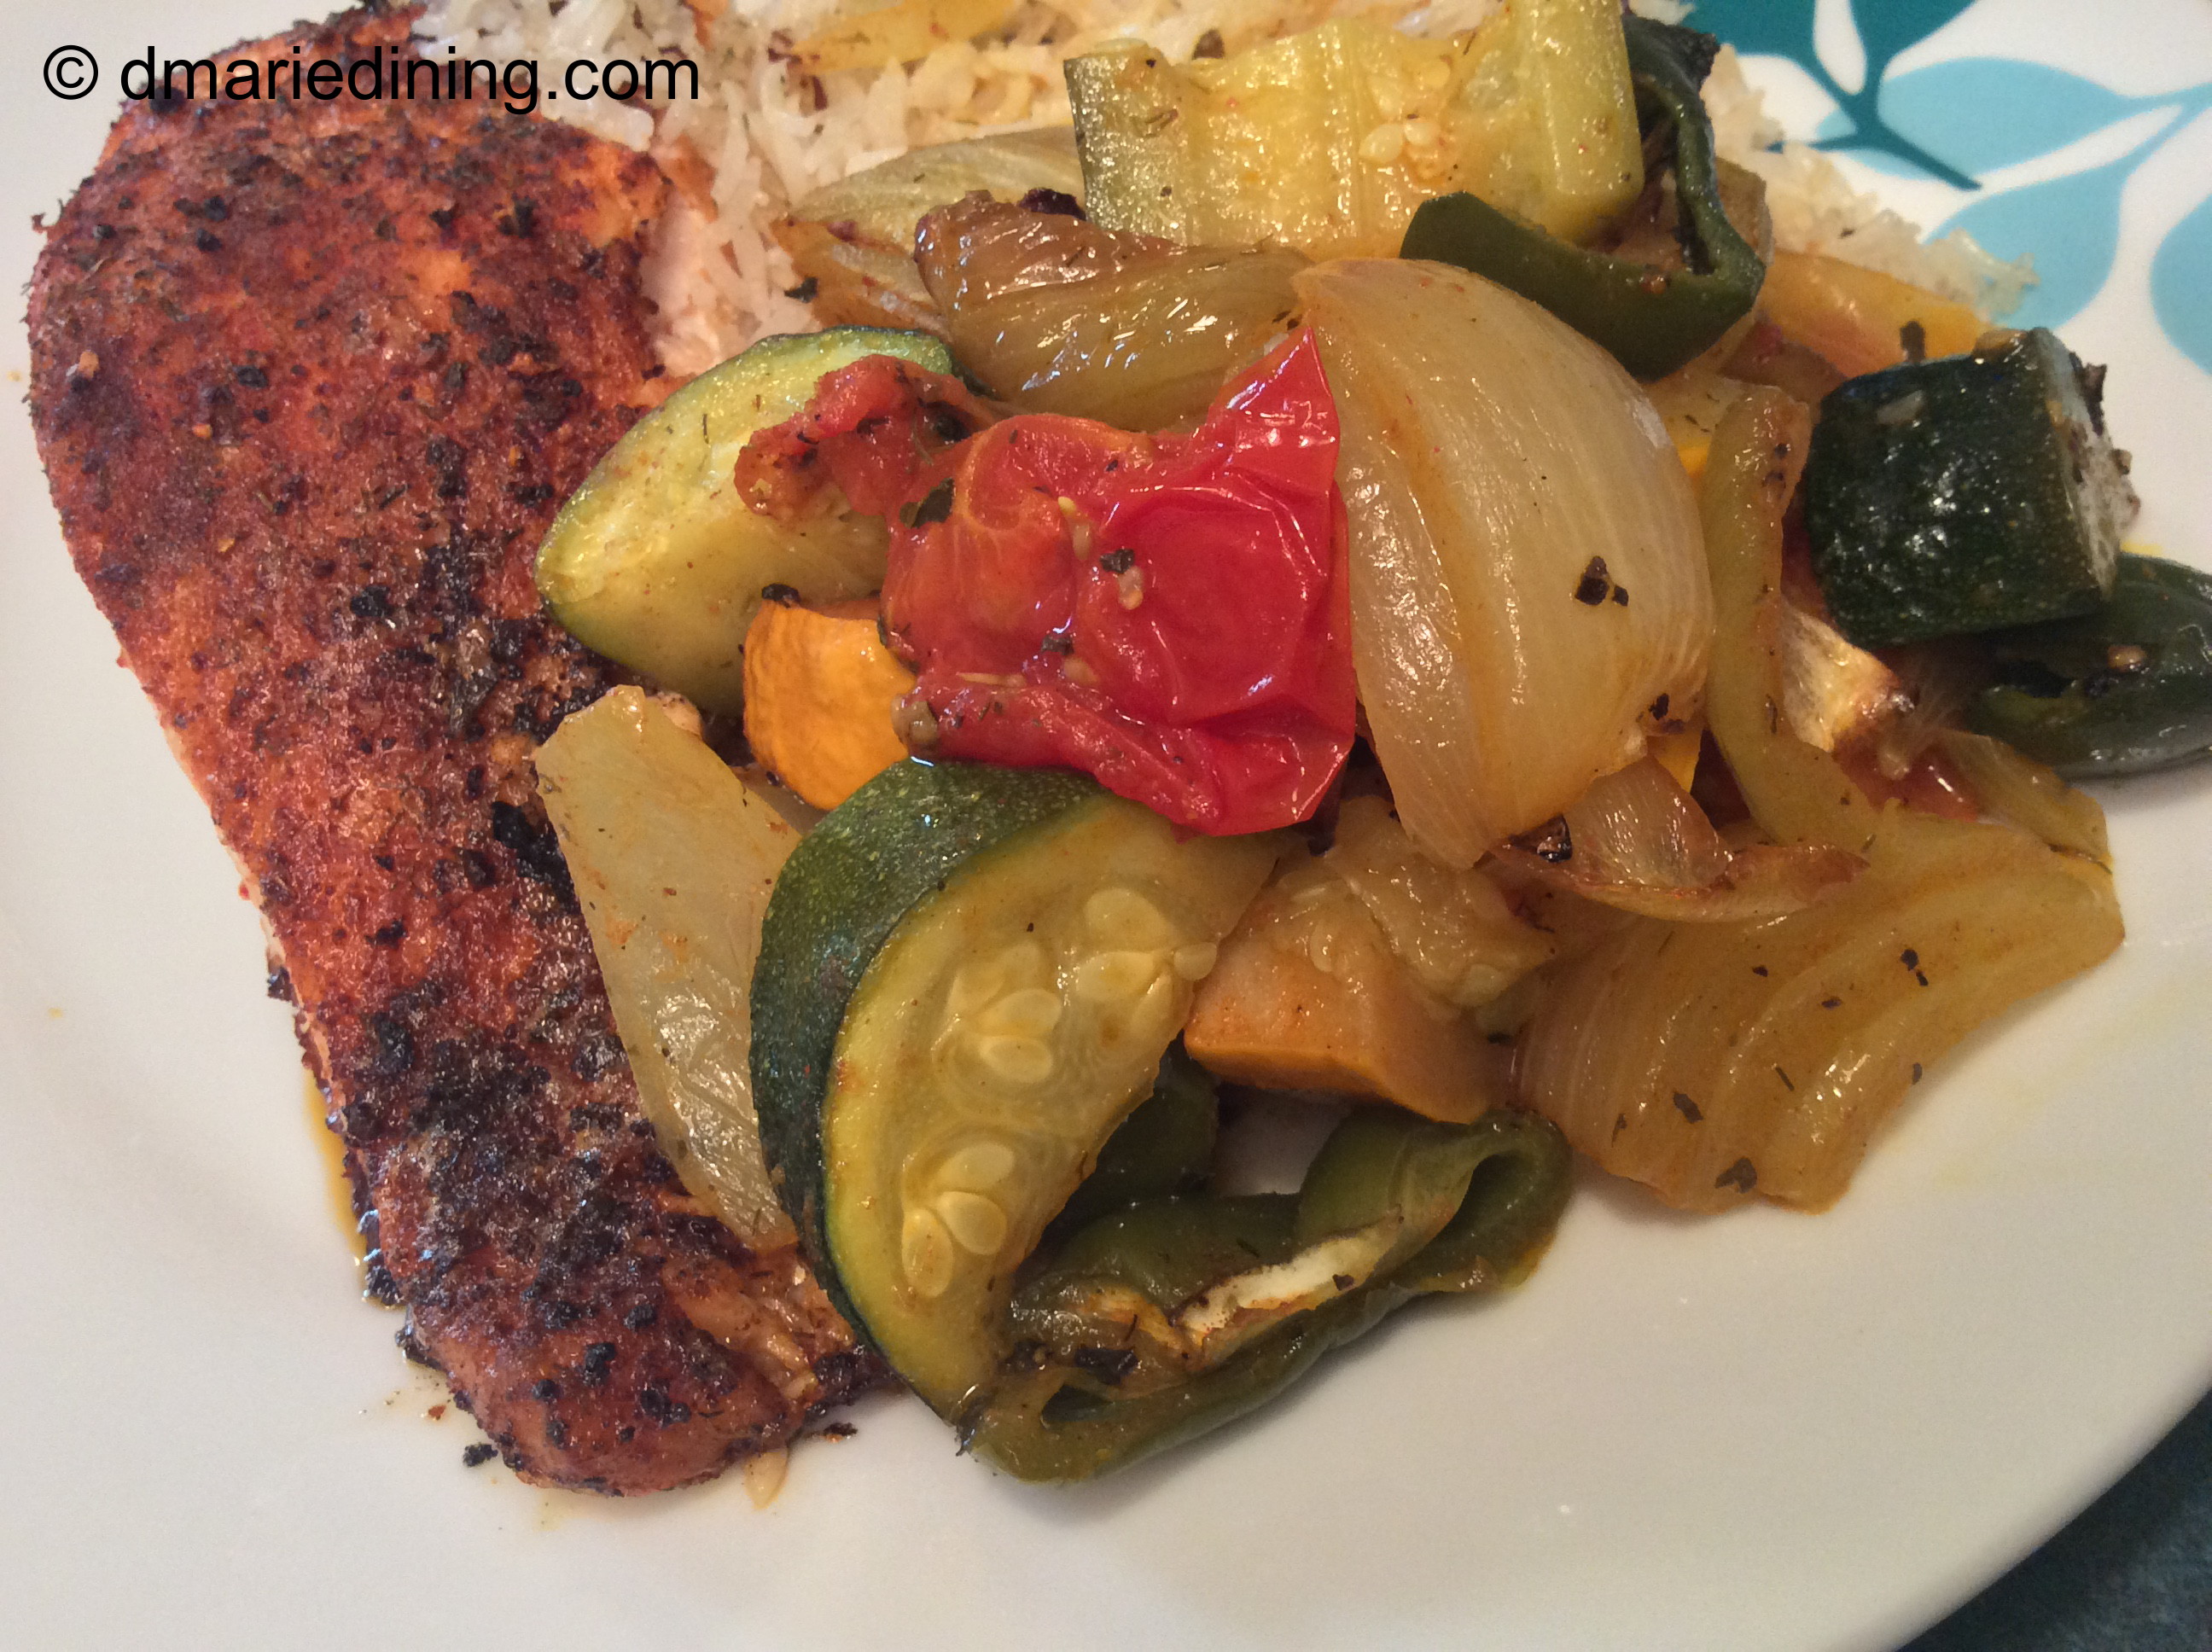
Next time you want to have a flavor packed side dish or just a bowl of good veggies, try roasting a bunch of your favorite vegetables together for a Healthy, Quick and Easy recipe.

Roasted Zucchini, Yellow Squash and Other Veggies

Ingredients:

1 lg zucchini quartered

1 lg yellow squash quartered

1 pkg Campari tomatoes cut in half

1 lg onion cut into wedges

1 small jalapeno pepper sliced thin

1 medium green pepper diced

2 tbsp extra virgin olive oil

1 tbsp dried oregano

1 tbsp dried basil

1 tbsp salt

1 tsp ground black pepper

1 tsp smoked paprika

¼ tsp cayenne pepper (optional)

Cooking spray

Preheat oven to 400 degrees.

Spray a rimmed sheet pan with cooking spray then add the vegetables to the pan. Sprinkle with all of the seasonings then drizzle with extra virgin olive oil. Toss to mix and coat the vegetables. Place in the oven and bake for 30 to 40 minutes until the vegetables are soft and cooked to your desired tenderness. Serve with your favorite meat or over rice as a vegetarian meal.

Advertisement

Rice and Spinach Casserole

Some days are harder than others to come up with side dish ideas. Potatoes, pasta and rice in various forms usually come to mind but can become boring or routine.

The other day I was trying to figure out what to do with the leftover rice in the fridge because I had made too much. Chicken and rice soup was one idea but we were still eating the Lentil and Carrot Ginger Soup I had made two days before. So, soup was out. Then I thought about making a casserole and maybe making it similar to my Macaroni and Cheese recipe. The idea morphed into a Rice and Spinach Casserole.

This recipe was so simple and quick to make because the rice was already cooked which meant it did not take long to pull the recipe together. I must say the Rice and Spinach Casserole did not come out exactly like my macaroni and cheese but it was doggone tasty. I think because rice and pasta have two different consistencies the rice did not come out as creamy as macaroni and cheese. Still the rice dish had a certain level of creaminess. It’s kind of hard to explain so I will just say you will have to try the recipe to see what I mean.

As always, I use my family as a guide to whether or not a recipe is blog worthy. Both my youngest son and hubby enjoyed my “new” side dish and happily had seconds of the Rice and Spinach Casserole. I will say a side dish tastes even better when the entire meal is good so that folks want to get just a little bit more of everything.

Rice and Spinach Casserole

Ingredients:

2 cups cooked rice (leftover rice works well)

1 ½ cups fresh baby spinach

1 cup shredded extra sharp cheddar cheese

½ cup shredded pepper jack cheese

½ cup half and half milk

1 can 2% evaporated milk

2 tbsp butter

cooking spray

Preheat oven to 400 degrees.

Spray a medium sized casserole dish with cooking spray. Set aside ¼ cup cheddar cheese.

Place cooked rice into the casserole dish. Pour evaporated milk and half and half over the rice. Add spinach, cheese and butter. Sprinkle with salt and pepper. Mix well then top with remaining ¼ cup of shredded cheddar cheese.

Bake for 45 minutes to 1 hour until the liquid is evaporated and a knife comes out clean when placed in the middle of the casserole.

Remove from oven and serve with your favorite dish.

Chicken and Cabbage Stew

One pot dishes are good for both hubby and me. Good for me because I don’t have to fuss with a lot of different pots, pans and utensils. It’s good for hubby because he usually washes dishes since I cook so less clean up for him.

When I think about it, that is how my mom and dad operated in the kitchen. My mom is an excellent chef and since she did most of the cooking my dad would wash the dishes. Like my hubby, my dad could fix breakfast but that was about it for him. I can’t complain about hubby’s lack of culinary skills because besides washing dishes hubby vacuums and will wash clothes if I don’t get to them first. My in-laws did a great job raising two sons that are productive and aren’t afraid to help around the house. God Bless my dad and in-laws. I miss them everyday.

Okay, back to my Chicken and Cabbage Stew. This is a relatively quick meal and as previously stated the beauty of it is using only one pot. The one constant in our house is chicken. Yes, I sometimes go on and on about eating so much chicken but you really cannot beat it for the price and the health benefits compared to red meats. Adding a few light vegetables to the pot just enhances the nutritional value and cuts down on calories as well as fat.

Aside from the flavors of the Chicken and Cabbage Stew I liked the colors of the dish. The bright red of the peppers. The pop of orange from the carrots and turmeric broth. Plus, the contrast of green between the cooked green peppers and sprinkle of green onions on top. Eating with your eyes is just as important as enjoying the mixed flavors of any dish.

Chicken and Cabbage Stew

Ingredients:

4 – 6 drumsticks or boneless chicken thighs

2 celery stalks diced

1 green onion diced

1 small green pepper diced

1 small red pepper diced

1 small Napa cabbage shredded

1 bag baby carrots

2 cups chicken stock or broth

3 tbsp grape seed oil or olive oil

2 tbsp tomato paste

2 tbsp salt

1 tbsp seasoned salt

1 tbsp ground black pepper

1 tbsp turmeric

1 tsp onion powder

1 tsp cumin

½ tsp red pepper flakes (optional)

½ tsp dried parsley

Heat oil in a large dutch oven over medium heat. Season chicken with 1 tbsp salt, seasoned salt and ground black pepper. Brown chicken then remove from dutch oven and place on a plate to cool slightly. Remove meat from drumsticks and chop or cube chicken thighs. Set aside.

Reduce heat to medium and add onions (except for green onions), peppers and celery to the pot. Season with remaining salt, onion powder, cumin, dried parsley and red pepper flakes. Stir for 1 minute or until vegetables begin to soften. Add tomato paste and turmeric. Stir to blend with vegetables. Add chicken with juices along with chicken stock and carrots to the dutch oven. Let simmer for 10 – 15 minutes then add shredded Napa cabbage. Stir and continue to cook for an additional 20 minutes until the cabbage is cooked and tender.

Serve over rice and sprinkle with green onion.


Follow my blog with Bloglovin

Spinach Stuffed Mushrooms

What can be an easier side dish than Spinach Stuffed Mushrooms? Not too many things. Depending on what you are using to stuff your mushrooms the process can be easy or a little complicated. The process I used for this recipe was extremely easy.

Stuffed mushrooms were one of the my favorite appetizers back in the days when it was safe to sit down in a restaurant and enjoy a full course meal. In the days of Covid-19, my family and I are cautious about social distancing and staying as safe as possible. Although we miss dining out, we are definitely supporting our local restaurants by doing take out a couple of times each week. I enjoy cooking for the family but even I need a break now and then.

So, since I couldn’t have Spinach Stuffed Mushrooms at a restaurant I made my own version at home. Instead of sauteing baby spinach and chopping up onions along with other veggies, I used frozen creamed spinach to reduce my prep time. By adding a few seasonings along with some grated Parmesan cheese I created a quick filling. Viola! I made a lovely Spinach Stuffed Mushroom appetizer or side dish to compliment dinner.

Spinach Stuffed Mushrooms

Ingredients:

12 large mushrooms cleaned (chop stems and reserve)

1 pkg frozen creamed spinach

½ cup Panko bread crumbs

½ cup grated Parmesan cheese

¼ cup shredded mozzarella cheese

½ tsp Kosher salt

¼ tsp ground black pepper

¼ tsp garlic powder

Grape seed oil or olive oil

Pinch of cayenne powder or red pepper flakes (optional)

Preheat oven to 400 degrees.

Thaw creamed spinach in a medium sized bowl. Add salt, ground black pepper, garlic powder, cayenne, ½ of the bread crumbs and cheeses. Stir to mix well.

Rub mushrooms with a little grape seed oil them place in a rectangular baking sheet lined with foil or a casserole dish. Stuff each mushroom with the creamed spinach filling then top with remaining bread crumbs. Drizzle a little grape seed oil over the bread crumbs and sprinkle with paprika then place in oven. Bake for 15 – 20 minutes until the mushrooms are softened and golden brown.

Follow my blog with Bloglovin

Quiche

During warmer weather I shy away from always fixing meals that require me to be around the stove for any length of time. One pot meals and meals that go into the oven are my favorite things to prepare when it is hot.

Quiche is one of those meals you can quickly prepare then stick it in the oven to do its thing while you do something else. Quiche is also versatile because you can use anything you want for the filling whether it is veggies, meat, cheese or a combination of all three. The only thing I haven’t tried in a quiche is pasta. But who knows, that might work too. I’ll let you know if I ever get bold enough to try it.

I have two quiche recipes you can try for my vegetarian friends and meat eaters like me. I encourage you to experiment with the ingredients to make this your own favorite recipe.

P.S. Crab quiche is wonderful too. I’ll write a recipe on that one too sometime soon.

Quiche

Basic Quiche Recipe

Ingredients:

6 extra large eggs

1 ready made pie crust (roll out to fit in pie pan)

½ cup shredded Gruyere cheese

¼ cup shredded sharp cheddar cheese

¼ cup fresh grated Parmesan cheese

¼ cup half and half

1 tbsp butter or olive oil

½ tsp mushroom seasoning (Trader Joe’s)

¼ tsp salt

¼ tsp cracked black pepper

¼ tsp dried parsley

¼ tsp dried thyme

2 dashes of hot sauce (optional)

cooking spray

paprika

Preheat oven to 350 degrees.

Place pie crust in a pie pan sprayed with cooking spray. Gently tap the bottom of the pie crust with a fork to prevent puffing. Set aside.

Beat together eggs, seasonings and half and half until well blended. Fold cheeses into the egg mixture. Sprinkle with a little paprika. Place pie pan on a baking sheet and place in the oven. Bake for 30 to 45 minutes. Test to make sure the quiche is cooked thoroughly by placing a butter knife in the center after 30 minutes. Cook a few minutes more if not completely done. Let the quiche cool for about 5 to 10 minutes then serve with nice soup or salad.

Additional Ideas:

Mushroom Quiche:

Saute 1 package each of baby portobella mushrooms and white button mushrooms in 1 tbsp of butter or olive oil. Place on the bottom of the pie crust then pour egg and cheese mixture over the mushrooms. Bake according to basic the recipe.

Chicken and Broccoli Quiche:

Season one package of cooked diced white meat chicken with a little salt, onion powder and pepper.  Set aside.  Blanche 1 package of broccoli florets in salted water for about 3 minutes. Remove from water and place in a bowl of ice cold water to stop the cooking process. Drain and sprinkle broccoli with a little salt. Place chicken and broccoli in the bottom of the pie crust then pour egg and cheese mixture over the filling. Bake according to the basic recipe.


Follow my blog with Bloglovin

Mixed Pasta with Kielbasa

Roasting vegetables is one of my favorite ways to prepare vegetables because it is a quick process that brings out a lot flavor. Before I started my blog I never thought about roasting unless it was chicken. Instead, I would just saute vegetables in a pan. Believe it or not the two techniques of sauteing vs. roasting will affect the nutritional value and flavor depending on the vegetable.

I did a little research and found that both roasting and sauteing are healthy methods of preparing vegetables. Steaming is the best way to go and grilling is better than frying when trying to maintain nutrition. Both tomatoes and onions maintain their antioxidant capacity after baking but green peppers tend to lose antioxidant capacity when baked. No, that has not stopped me from baking peppers because I like the taste. It’s just good information to know when preparing them.

Mixed Pasta and Kielbasa was a last minute recipe I came up with based on what I had on hand for dinner. I keep a jar of dried mixed pasta which are the remnants of different boxes of pasta. Elbow, penne, bow tie – whatever! Pasta is pasta. All that really matters is what you add to the pasta. On the night I made Mixed Pasta with Kielbasa I had some baby spinach, tomatoes and a package of kielbasa I needed to cook.

The end result was pretty tasty and definitely a hit with my pasta eating crew. It is hard for me to mess up pasta when dealing with an audience that loves pasta in any shape or form. But, I know just how delicious my pasta dishes are when they go for seconds and this one certainly hit the mark. Seconds all around!

Mixed Pasta with Kielbasa

Ingredients:

1 ring of smoked kielbasa sliced

1 small onion sliced thin

1 pkg baby leaf spinach

1 pkg vine ripe tomatoes quartered

½ green pepper seeded and sliced

1 cup mixed pastas (penne, twists, cavatappi, etc) cooked al dente per package

½ cup chicken broth

¼ shredded mozzarella cheese

3 tbsp olive oil

2 tsp salt

1 tsp Adobo

½ tsp onion powder

½ tsp ground black pepper

¼ tsp red pepper flakes

Preheat oven to 400 degrees.

Add tomatoes, onions and green peppers to a rimmed baking sheet. Season with 1 tsp of salt and pepper. Sprinkle with 2 tbsp oil and toss to coat. Roast in oven for 20 – 25 minutes until slightly charred. Set aside.

Brown kielbasa in 1 tbsp of olive oil over medium high heat. Add chicken broth, roasted vegetables and remaining seasonings to the kielbasa. Stir to mix well. Toss in pasta and stir. Cook until pasta is heated up then sprinkle with cheese. Serve immediately.


Follow my blog with Bloglovin

Eb’s Brussel Sprouts and Turkey Bacon

Eb’s Brussel Sprouts with Turkey Bacon is a sister recipe to my Brussel Sprouts with Pancetta recipe and post.

Ingredients:

1 lb brussel sprouts cut in half

6 – 8 slices of turkey bacon diced large

½ cup diced onions

¼ cup white wine

¼ cup chicken broth

3 tbsp rice vinegar

1 tsp Sazon seasoning

½ tsp salt

½ tsp cracked black pepper

½ tsp minced garlic

Paprika

Preheat oven to 350 degrees.

Place bacon in a single layer in a rectangular casserole dish. Sprinkle with onions and minced garlic. Pour white wine and broth over the bacon. Season the brussel sprouts with salt, pepper, rice vinegar and Sazon seasoning. Place brussel sprouts cut side down over the bacon. Sprinkle with paprika and bake for 20 – 25 minutes.

Follow my blog with Bloglovin

Brussel Sprouts with Pancetta (or Turkey Bacon)

My hair stylist Eb (and little brother) and I often discuss anything from family, food and sports to politics while I am sitting in his chair. A while ago we talked about a couple of the dishes he makes for Mother’s Day. He showed me a picture of one recipe in particular he had created which consisted of brussel sprouts and turkey bacon. I must say it looked absolutely delicious and of course made me want to create my own brussel sprout recipe. So this post is dedicated to Eb and all the brussel sprout lovers of the world.

Brussel sprouts are one of those vegetables I found that people either love or hate. I am on the side of loving them. Not just because I love most foods but because they are very low in fat and have a high percentage of potassium and vitamin C. Plus, they have a nice little bite in flavor. Contrary to what some folks think, brussel sprouts are not baby cabbages. Where as cabbage grows out of the ground and we eat the head of the cabbage, brussel sprouts are buds that grow on thick long stalks. Both vegetables are in the same cruciferous family along with kale, collard greens, bok choy and other types of greens.

The haters of brussel sprouts have given this vegetable a bad rap. Probably because whomever prepared them were not totally sure how to cook them. Take frozen brussel sprouts off your list. Once frozen they are not quite as delicious as they could be. Brussel sprouts need to be cooked fresh. The smaller the brussel sprout the sweeter the taste. Larger brussel sprouts tend to be more bitter but if they are prepared the right way large sized brussel sprouts will taste wonderful too. Lightly browning or caramelizing the brussel sprouts enhances the nutty flavor and cuts down on the bitterness in my opinion. Pairing the brussel sprouts with other wonderful flavors like pancetta and onions also brings out the savory taste of the sprouts.

However, you decide to fix them just make sure you give brussel sprouts the tender love and care they deserve. I think if given another chance, even haters will grow to love brussel sprouts.

Brussel Sprouts with Pancetta

Ingredients:

10 – 15 small brussel sprouts cut in half

1 pkg pancetta

1 clove garlic minced

½ small onion sliced thin

¼ cup chicken broth

2 tbsp olive oil

1 tbsp butter

1 tsp salt

½ tsp cracked black pepper

½ tsp onion powder

Heat olive oil and butter in a medium sized non-stick skillet over medium high heat. Add onion and pancetta and cook for 5 minutes stirring occasionally until the onion softens and pancetta slightly browns. Add brussel sprouts and seasonings. Stir to mix the pancetta, onions and brussel sprouts. Lightly brown the brussel sprouts for approximately 3 minutes then add the chicken broth, reduce heat to medium and cover. Cook until the brussel sprouts are fork tender but do not over cook. Serve with your favorite fish or meat.

Follow my blog with Bloglovin

Blistered Tomatoes and Shishito Peppers

Sometimes the best recipes are the simplest recipes especially when you’ve run out of ideas for healthy side dishes. Blistered Tomatoes and Shishito Peppers is one of those simple recipes that is healthy, quick, easy, colorful and definitely flavorful.

This past summer our daughter introduced the family to shishito peppers. I had never heard of them even though I love to cook with a variety of peppers. Hubby and I decided to take a trip to Washington, DC to celebrate our anniversary plus drop off our youngest son to hang out with his sister in June. On our first night there we met up at a restaurant and D suggested we try the shishito peppers as an appetizer. Count us in when it comes to peppers whether they are hot, sweet or mild. Talk about love at first bite. The peppers were smoky, flavorful and mild with a few hot surprises in the bunch.

When hubby and I returned home I knew I had to find those peppers and try to recreate our wonderful appetizer. It took a few shopping trips here and there but I finally found a grocer that sold the shishito peppers. Of course I wanted to take the peppers to another level so I added blistered tomatoes to the dish because I had a garden full of cherry tomatoes. The tomatoes added an extra pop (literally) to the recipe and paired well with the peppers.

If you need a quick side dish to add to a light meal, try making Blistered Tomatoes with Shishito Peppers. You won’t be disappointed.

Blistered Tomatoes and Shishito Peppers

Ingredients:

3 – 4 shishito peppers diced

2 fresh basil leaves julienned (substitute: ¼ tsp dried basil)

1 package mixed heirloom cherry tomatoes

1 clove garlic minced

1 tbsp olive oil

1 tbsp fresh lemon juice

½ tsp sea salt

optional:

½ red onion sliced

1 tbsp balsamic vinegar

Heat no stick frying pan over medium high heat then add olive oil. Place tomatoes and shishito peppers in the pan. Cook for 2 – 3 minutes until tomatoes begin to blister. Stirring occasionally. Add garlic, lemon juice and basil to the mixture and stir to mix well. Cook an additional 2 minutes then sprinkle with sea salt and serve immediately.


Follow my blog with Bloglovin

Chicken Stir Fry

Stir fry dishes are one of the easiest things to make for dinner on a busy night or any night. My version of Chicken Stir Fry was developed over time as I played with different flavors and levels of heat. I had to find a happy medium for the family as my taste buds like low to medium heat and the rest of the family like burn your mouth levels of heat. Since I wanted to enjoy the dish along with the family I went with medium heat with a side of hot chili oil for the everyone else to add to their bowls of stir fry.

If you don’t have a wok, I would suggest investing in one because you can make a variety of dishes in this one tool wonder. Woks are easy to clean and can take a lot of heat. Of course, if you don’t have a wok or don’t want to invest in one, you can stick to using a large skillet for creating your stir fry dishes.

The key to making a flavorful stir fry is in the marinade. The longer you marinade the chicken or any other meat, the more intense the flavor becomes. At a minimum marinade your meat for 30 minutes and if you can plan ahead, marinade it overnight. Overnight marinading also helps to tenderize the meat (just a few useful tips).

From start to finish I can have dinner ready in an hour for the hungry crew on Chicken Stir Fry night. Talk about Healthy, Quick and Easy! I love it.

Chicken Stir Fry

Ingredients:

2 – 3 chicken breasts cut into thin strips

1 package snow peas

1 small green pepper large dice

1 small broccoli crown cut into florets

1 small onion diced

1 cup shredded carrots

½ cup chicken broth

½ cup crispy chow mein noodles

1 small can water chestnuts drained

3 tbsp hoisin sauce

3 tbsp oyster sauce

2 tbsp Thai style sweet and spicy sauce

2 tbsp garlic chopped

2 tbsp soy sauce

2 tbsp olive oil

1 tbsp corn sauce

1 tsp minced ginger

1 tsp black pepper

½ tsp red chili flakes (optional)

Marinade:

Place chicken in a medium sized bowl. Mix together Thai style sweet and spicy chili sauce, 1 tbsp garlic, ginger, soy sauce and corn starch in a separate bowl. Pour mixture over chicken and massage into the meat. Cover with plastic wrap and marinade in the refrigerator for at least 30 minutes or overnight.

To cook stir fry:

Heat oil in wok or large skillet over medium high heat. Add chicken and stir until chicken is no longer pink but not totally cooked through. Remove chicken and place in a bowl. Set aside. Add a little more oil to the wok if necessary then add carrots, snow peas, onions and broccoli. Cook for 2 – 3 minutes stirring constantly until vegetables begin to soften. Add chicken broth, water chestnuts and chicken to the vegetables along with the sauces and red chili flakes. Stir and cook an additional 3 – 5 minutes until chicken is fully cooked through. Serve in bowls over rice, ramen or udon noodles. Top with crispy chow mein noodles.

Follow my blog with Bloglovin