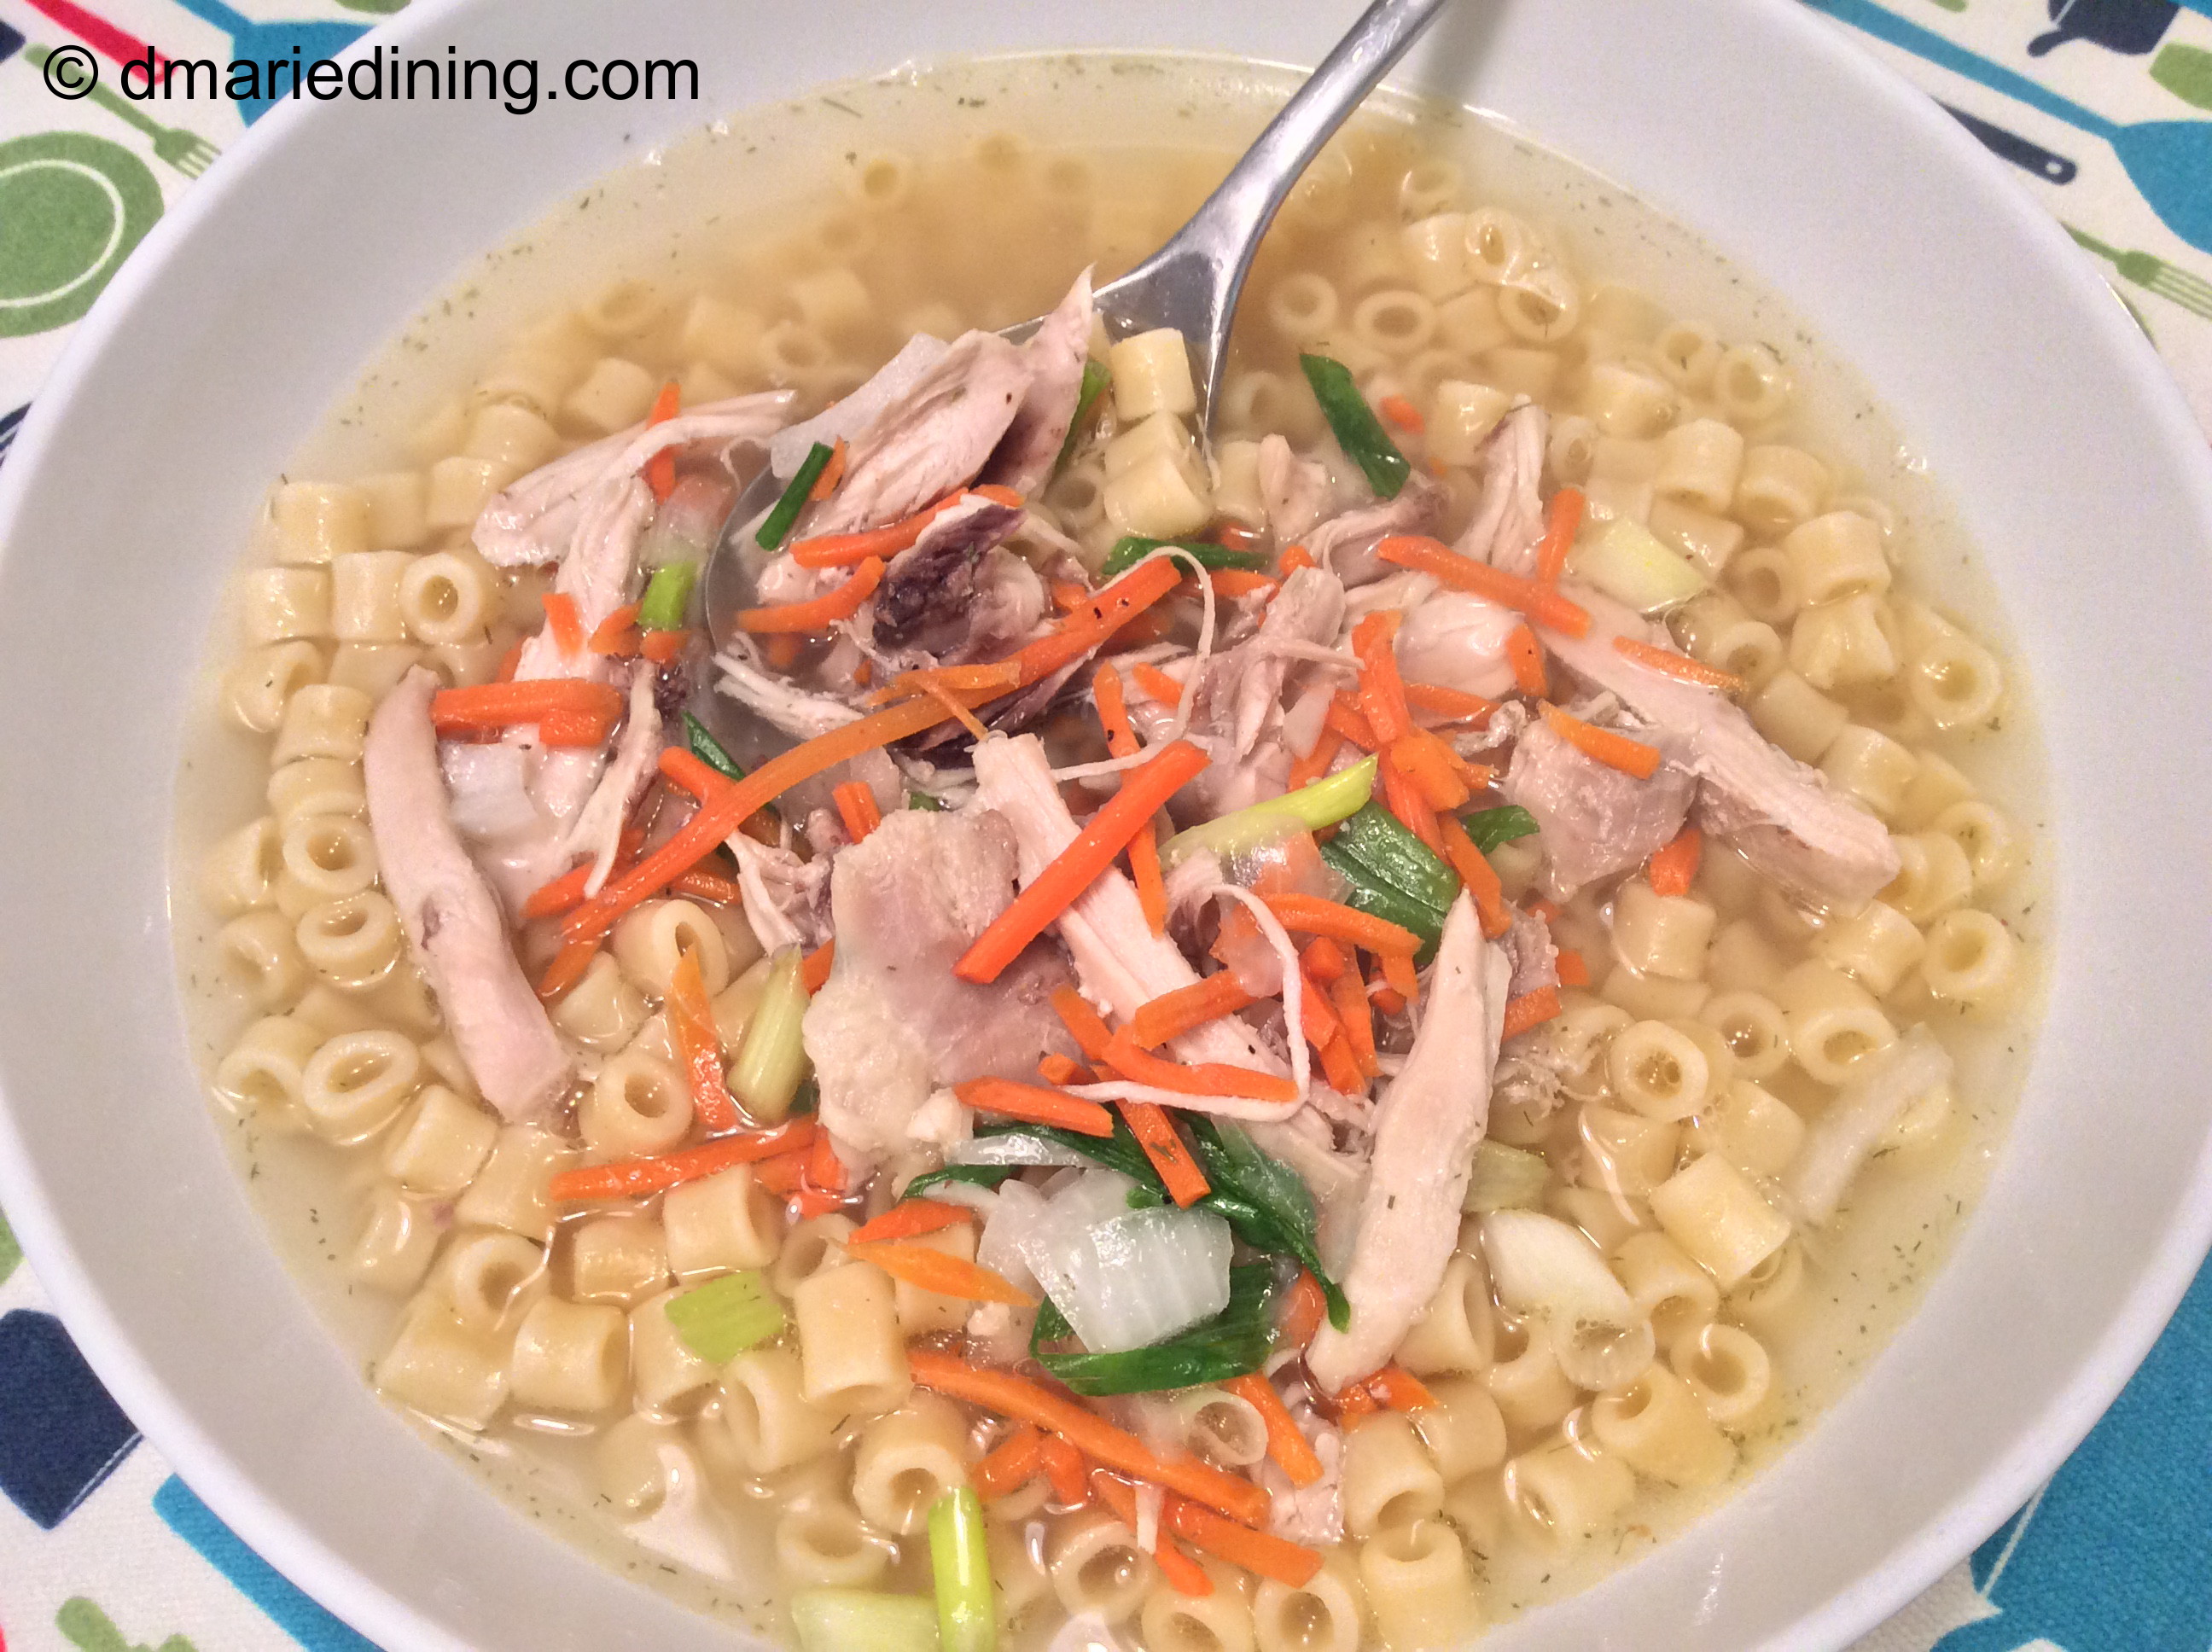
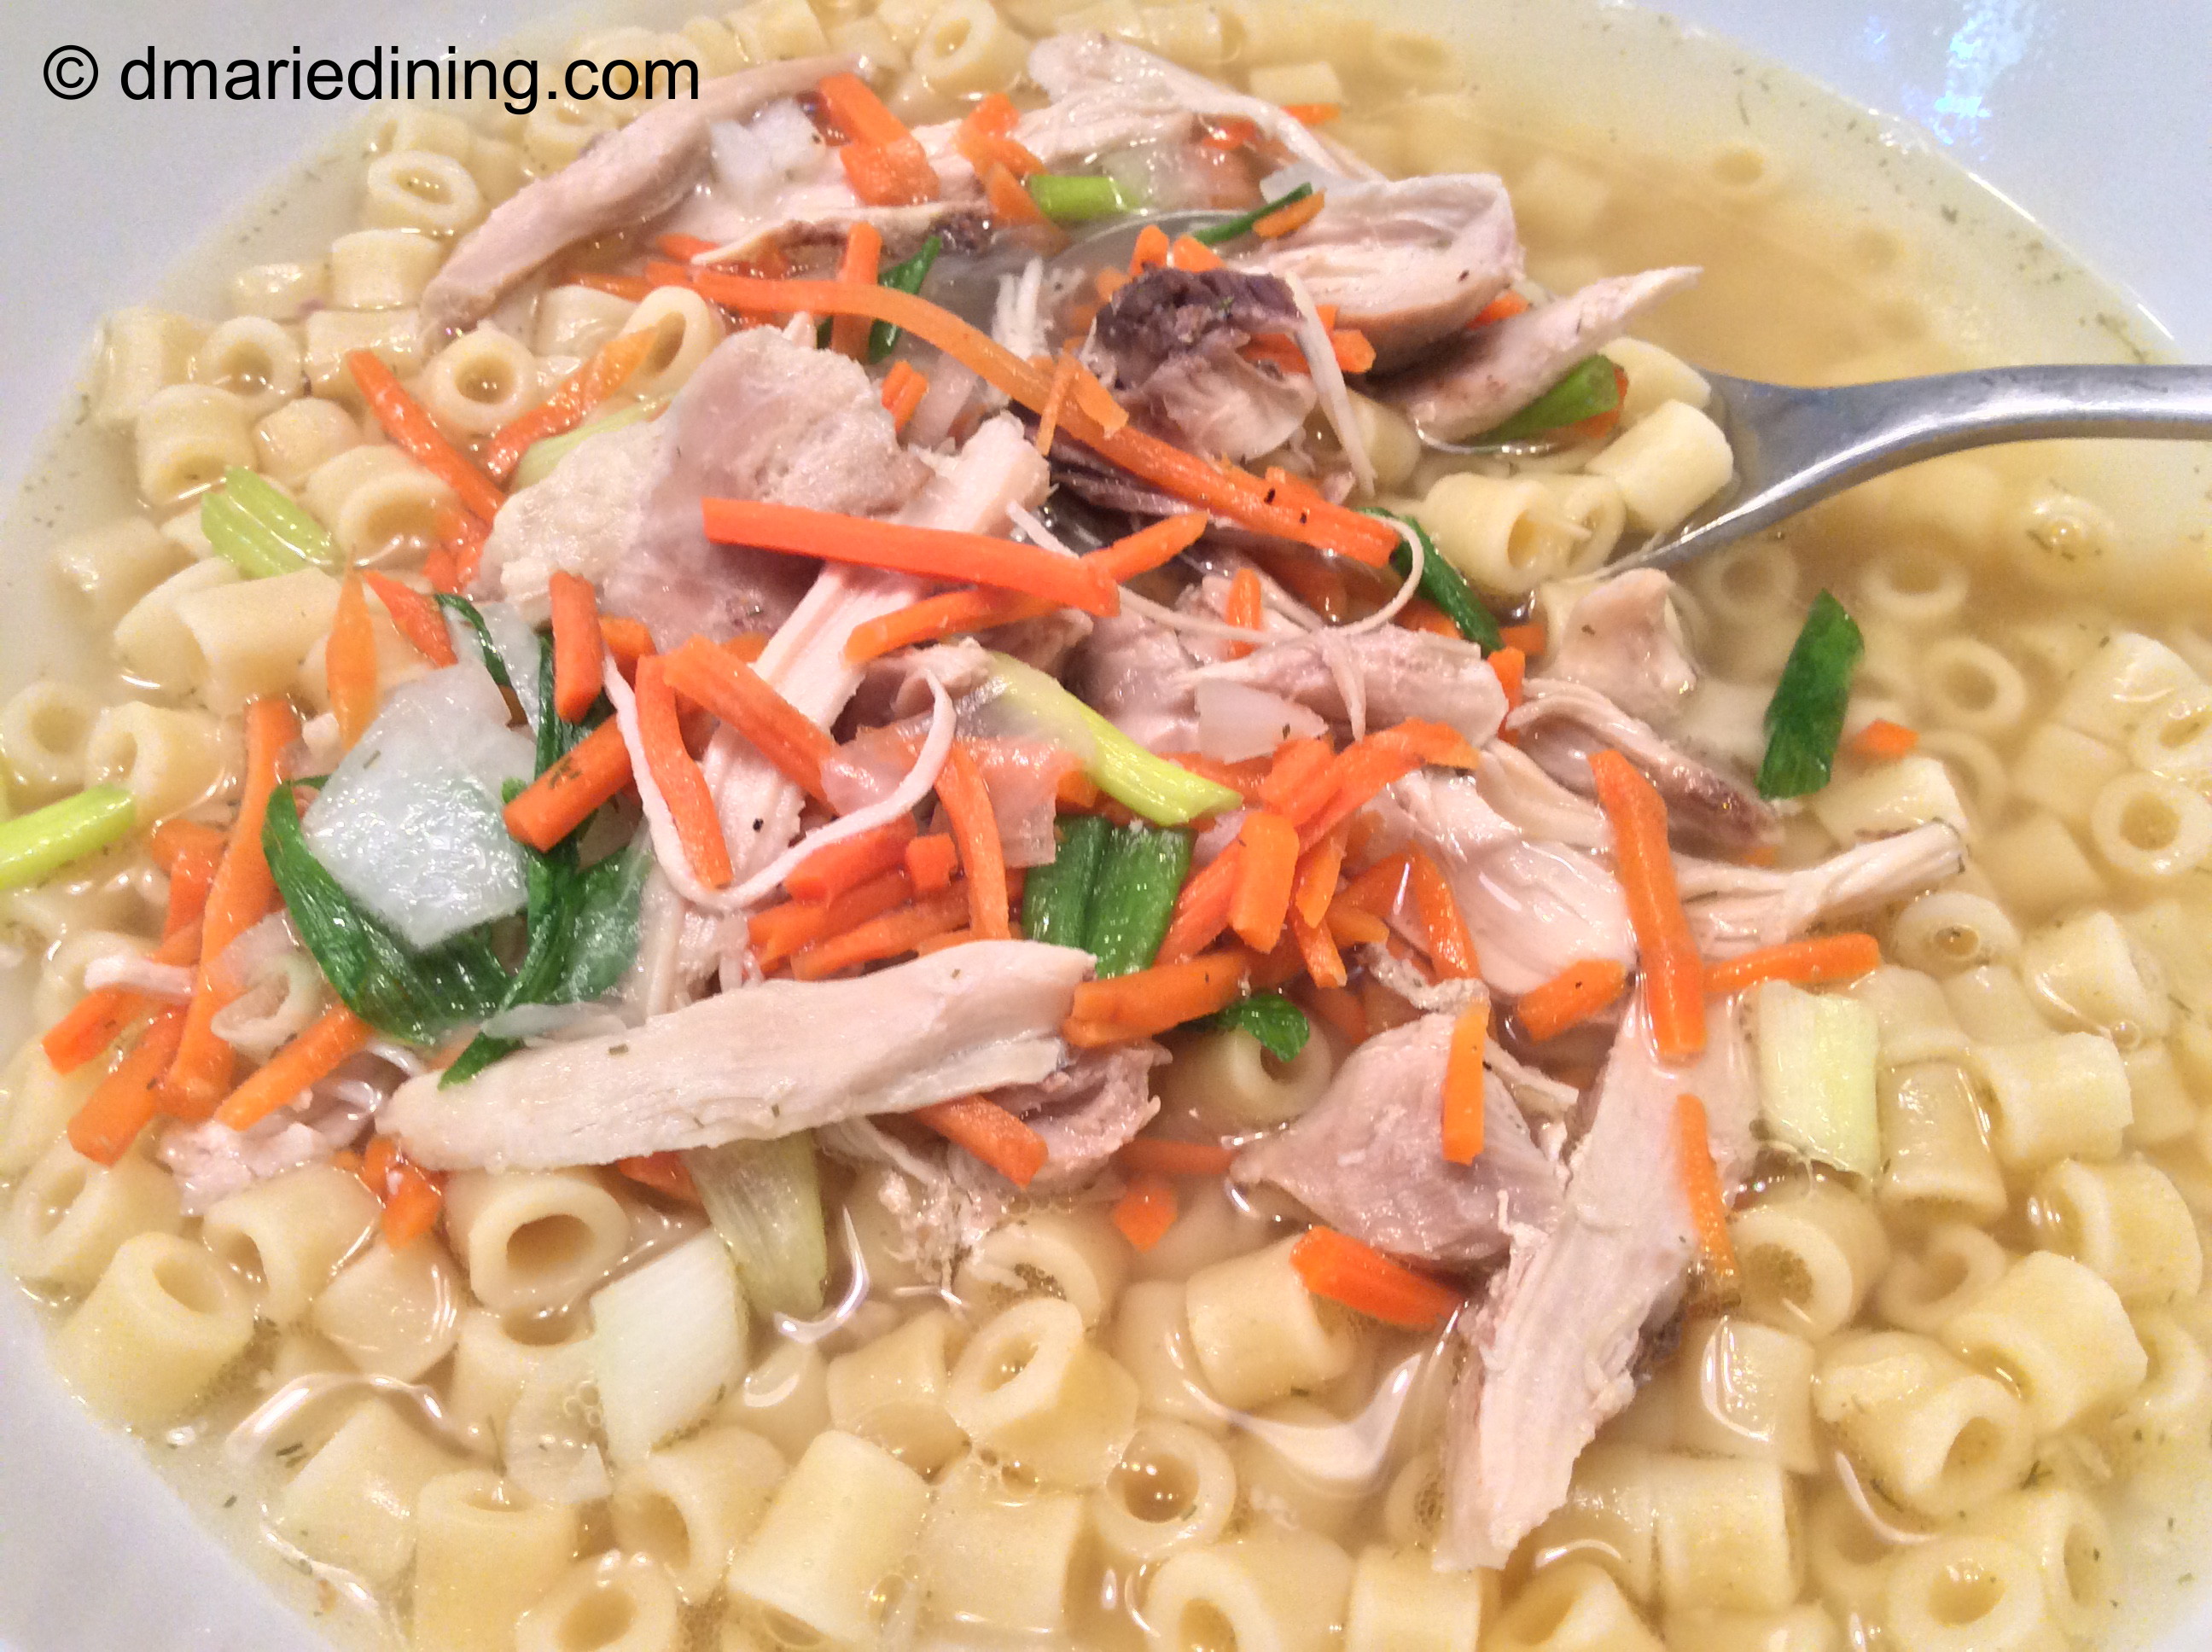
Comfort food is good anytime of the year but fall calls for comfort soup. With slight breezes and the crisp sound of falling leaves, soup is a great way to warm up and snuggle. Chicken noodle soup is a very traditional comfort food which my family loves. But, I wanted to make a traditional chicken soup with a slight twist. That is why I decided to make a Shredded Chicken and Pasta Soup.

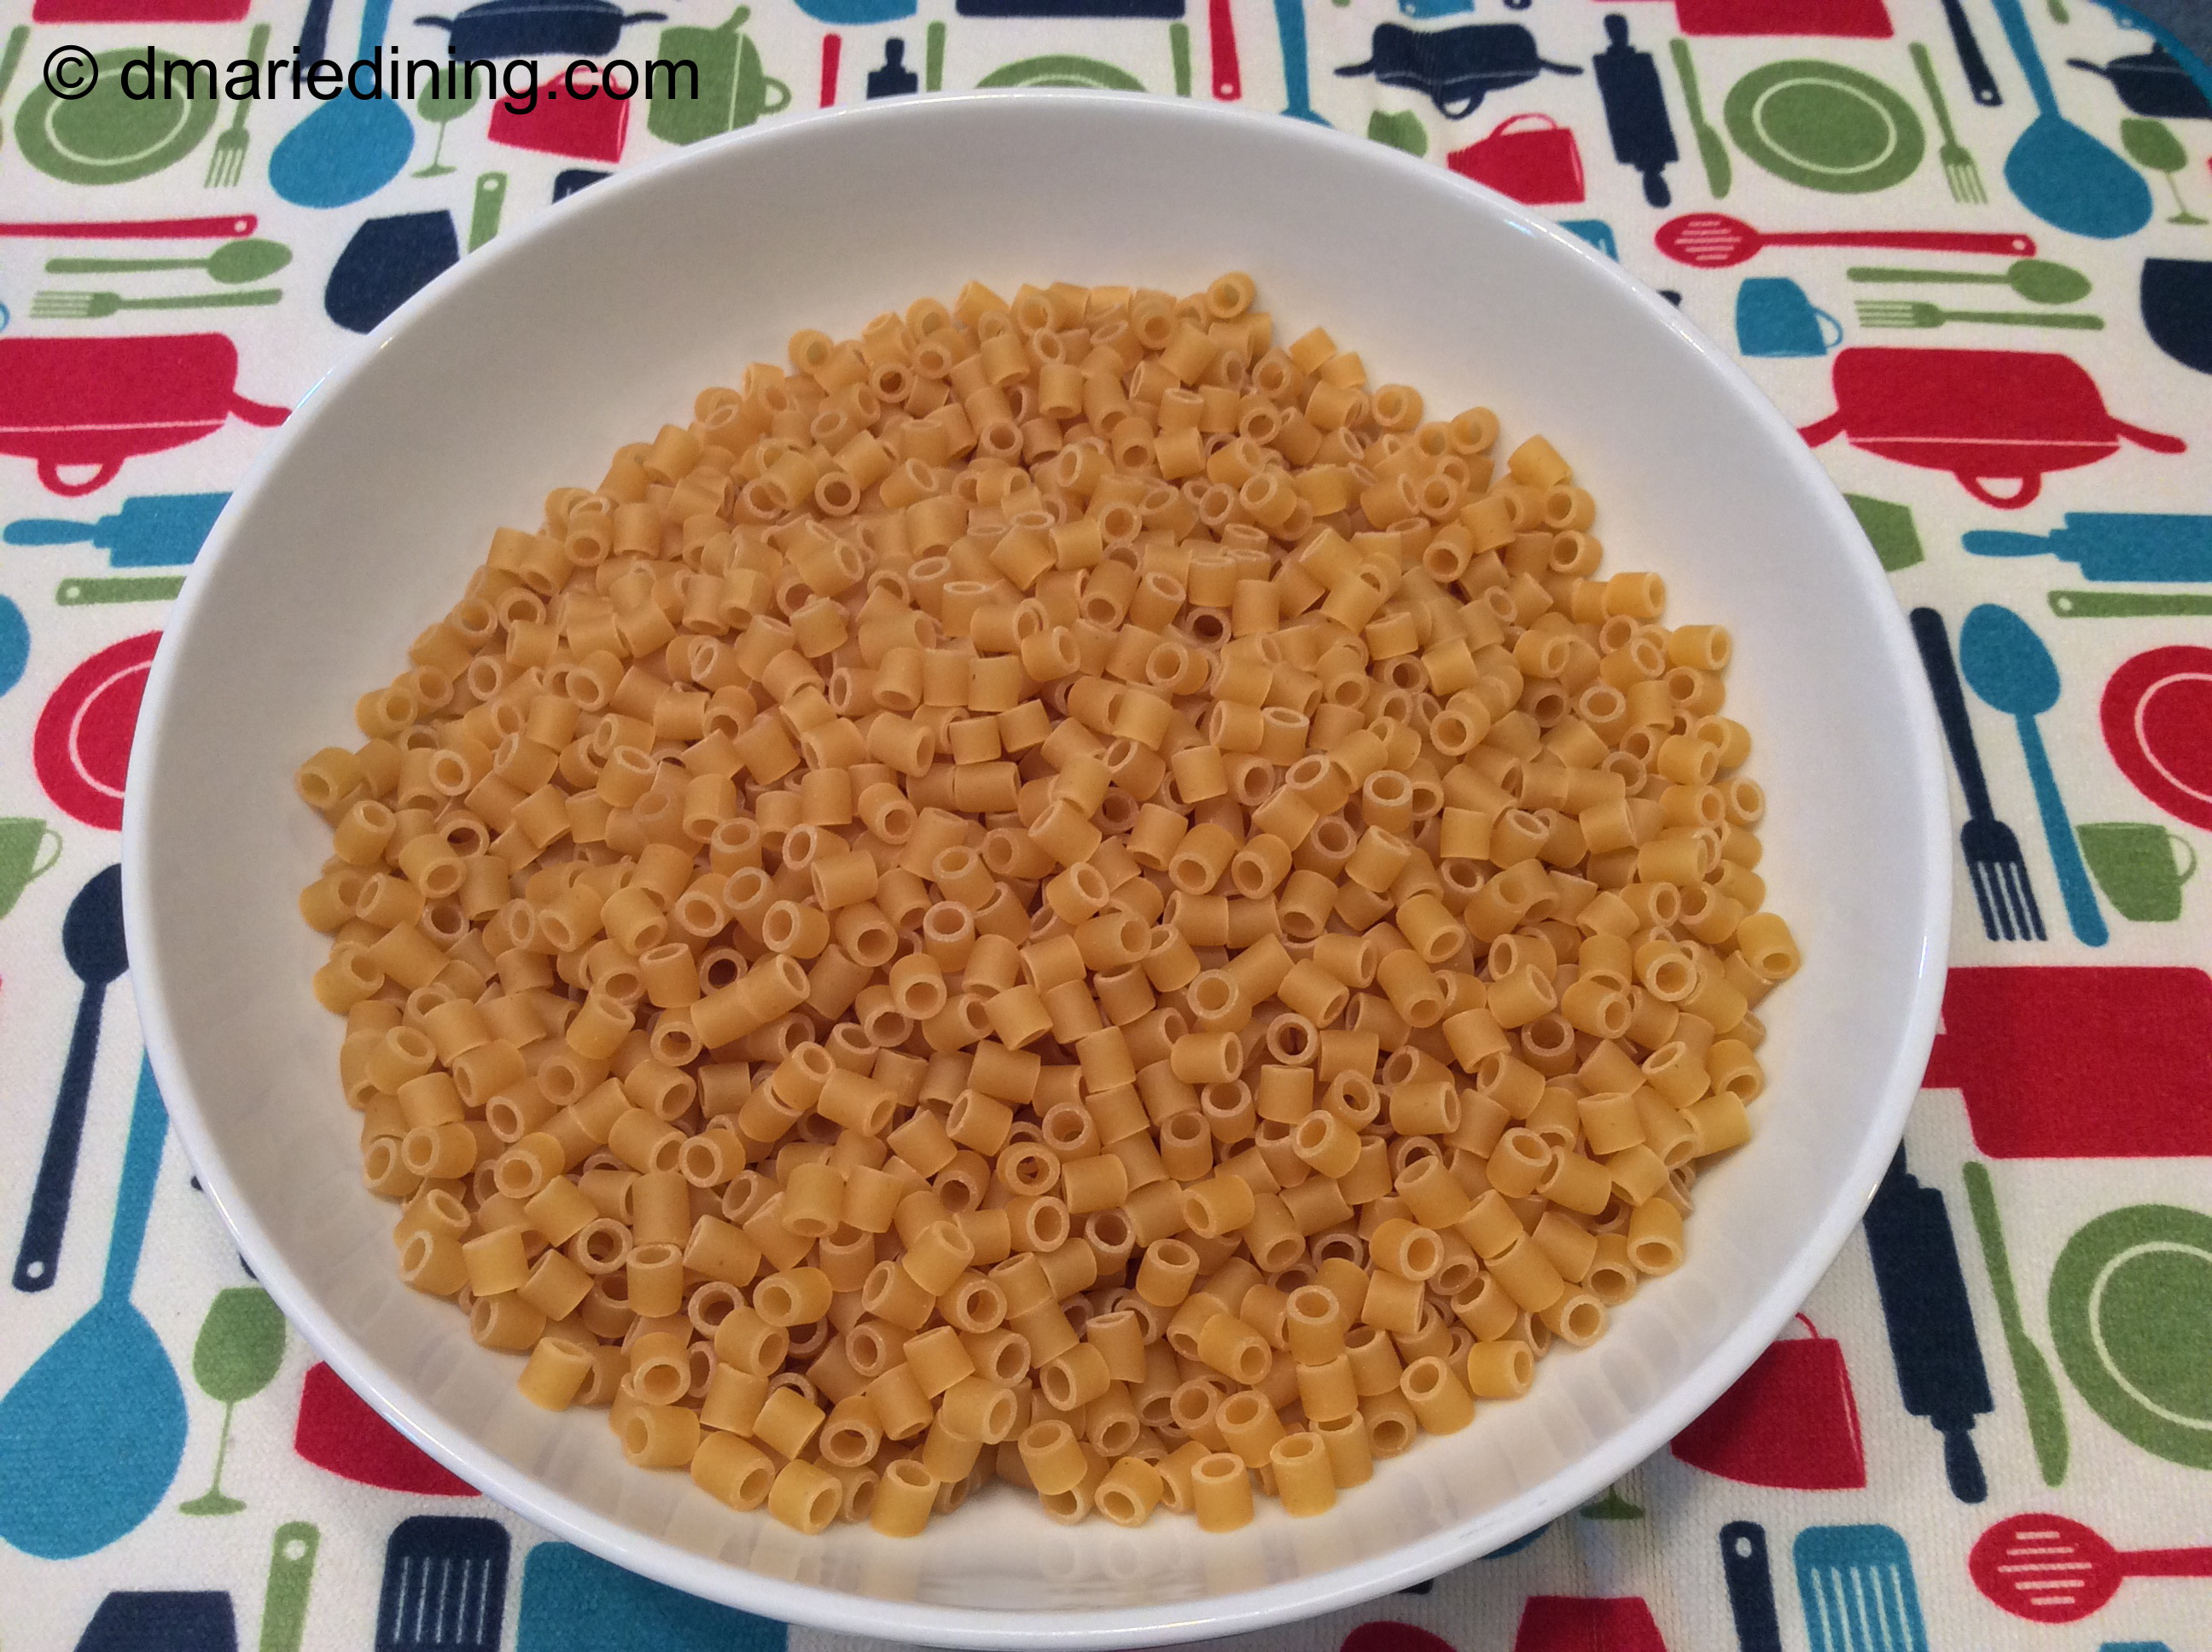
When it came to choosing a pasta for the soup I didn’t want a noodle so I had to search for a type of pasta that would compliment the soup. Ditalini pasta turned out to be the perfect pasta for the Shredded Chicken and Pasta Soup. Ditalini looks like little tubes and they soaked up the chicken broth. Every bite offered an extra burst of broth and flavor.
One thing I really liked about the Shredded Chicken and Pasta Soup was the fact that including the pasta made the soup very filling. A big bowl of soup makes a full meal with a nice chunk of crusty bread. If you want to have the soup with a meal I would suggest you only have a small cup so that you don’t get full too fast. Either way you will definitely have a smile on your face while eating the soup.
Think about cooking up a big pot of Shredded Chicken and Pasta Soup the next time you feel a chill in the air. It will warm you up and put a smile on your face. Remember comfort food is good anytime of the year but fall and winter call for comfort soup.
Shredded Chicken and Pasta Soup
Ingredients:
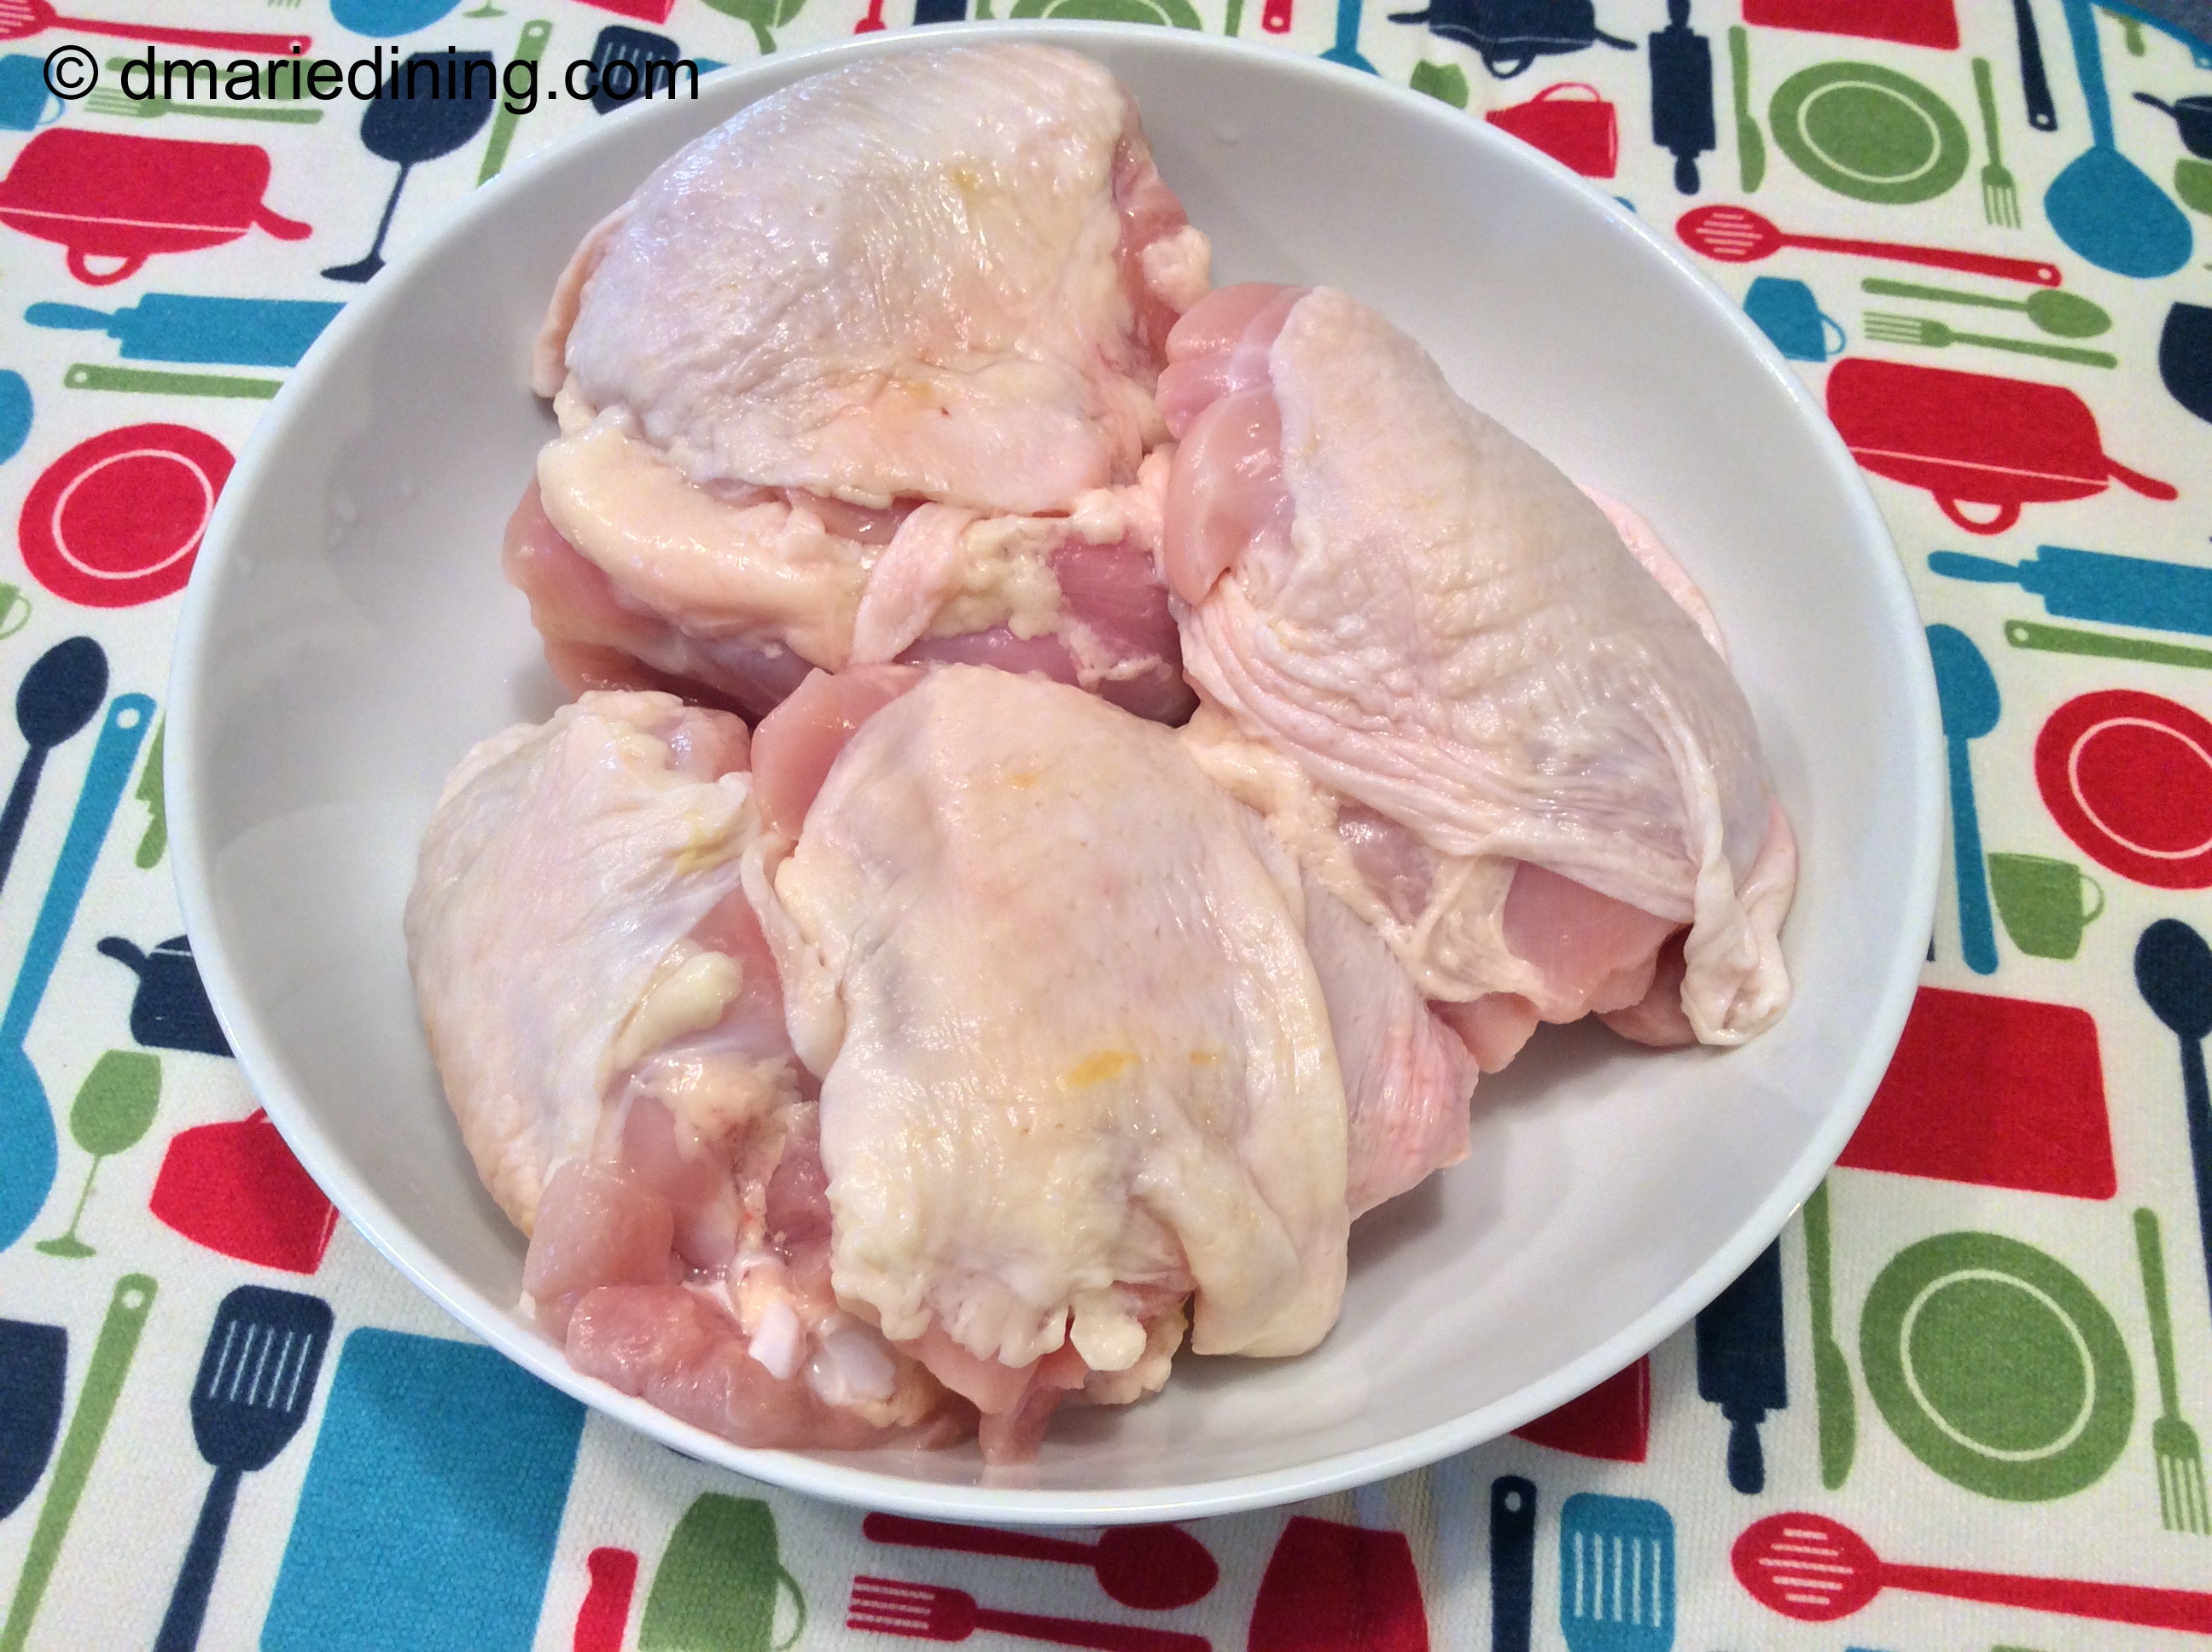
4 chicken thighs
5 quarts water
3 cups Ditalini pasta (prepare according to package)
1 cup chicken broth
1 cup diced celery
1 cup diced onion
1 cup shredded carrots (rough chop)
3 scallions diced (green part included)
2 tbsp salt
1 tsp black pepper
½ tsp onion powder
½ tsp Adobo seasoning
½ tsp dried dill
¼ tsp thyme
dash of cayenne pepper (optional)
Place water, chicken, ½ cup onions and all seasonings except for dill into a large pot. Cook chicken on medium high for 45 minutes or until chicken is cooked all the way through and is tender. Remove chicken from the pot and set aside to cool for shredding. Once cooled, shred chicken with your fingers and set aside.
Strain chicken broth and place back into the pot. Skim some of the chicken grease from the surface of the broth. Reduce heat to medium. Add the additional cup of chicken broth, carrots, celery, green onions, dill and remaining onions to the pot. Simmer for 5 minutes. Add chicken to the broth and simmer for another 10 – 15 minutes. You can either place pasta in individual bowls then ladle soup over the pasta so that the pasta stays al dente. Or, you can add pasta to the soup and remove from heat so that the pasta does not over cook.