Tag Archives: recipe

Apple Salad

IMG_4587_1

Refreshing is the word that kept springing from my mouth when I first tasted my Apple Salad dish and when I described it to my hubby and son. I have been thinking about light and refreshing dishes quite a bit lately since warmer weather has crept into my life. During warmer weather I don’t feel like making heavy or complicated meals. Summer is the time when I am looking for quick recipes and dishes that don’t make me tired or lazy after eating.

IMG_4599_1

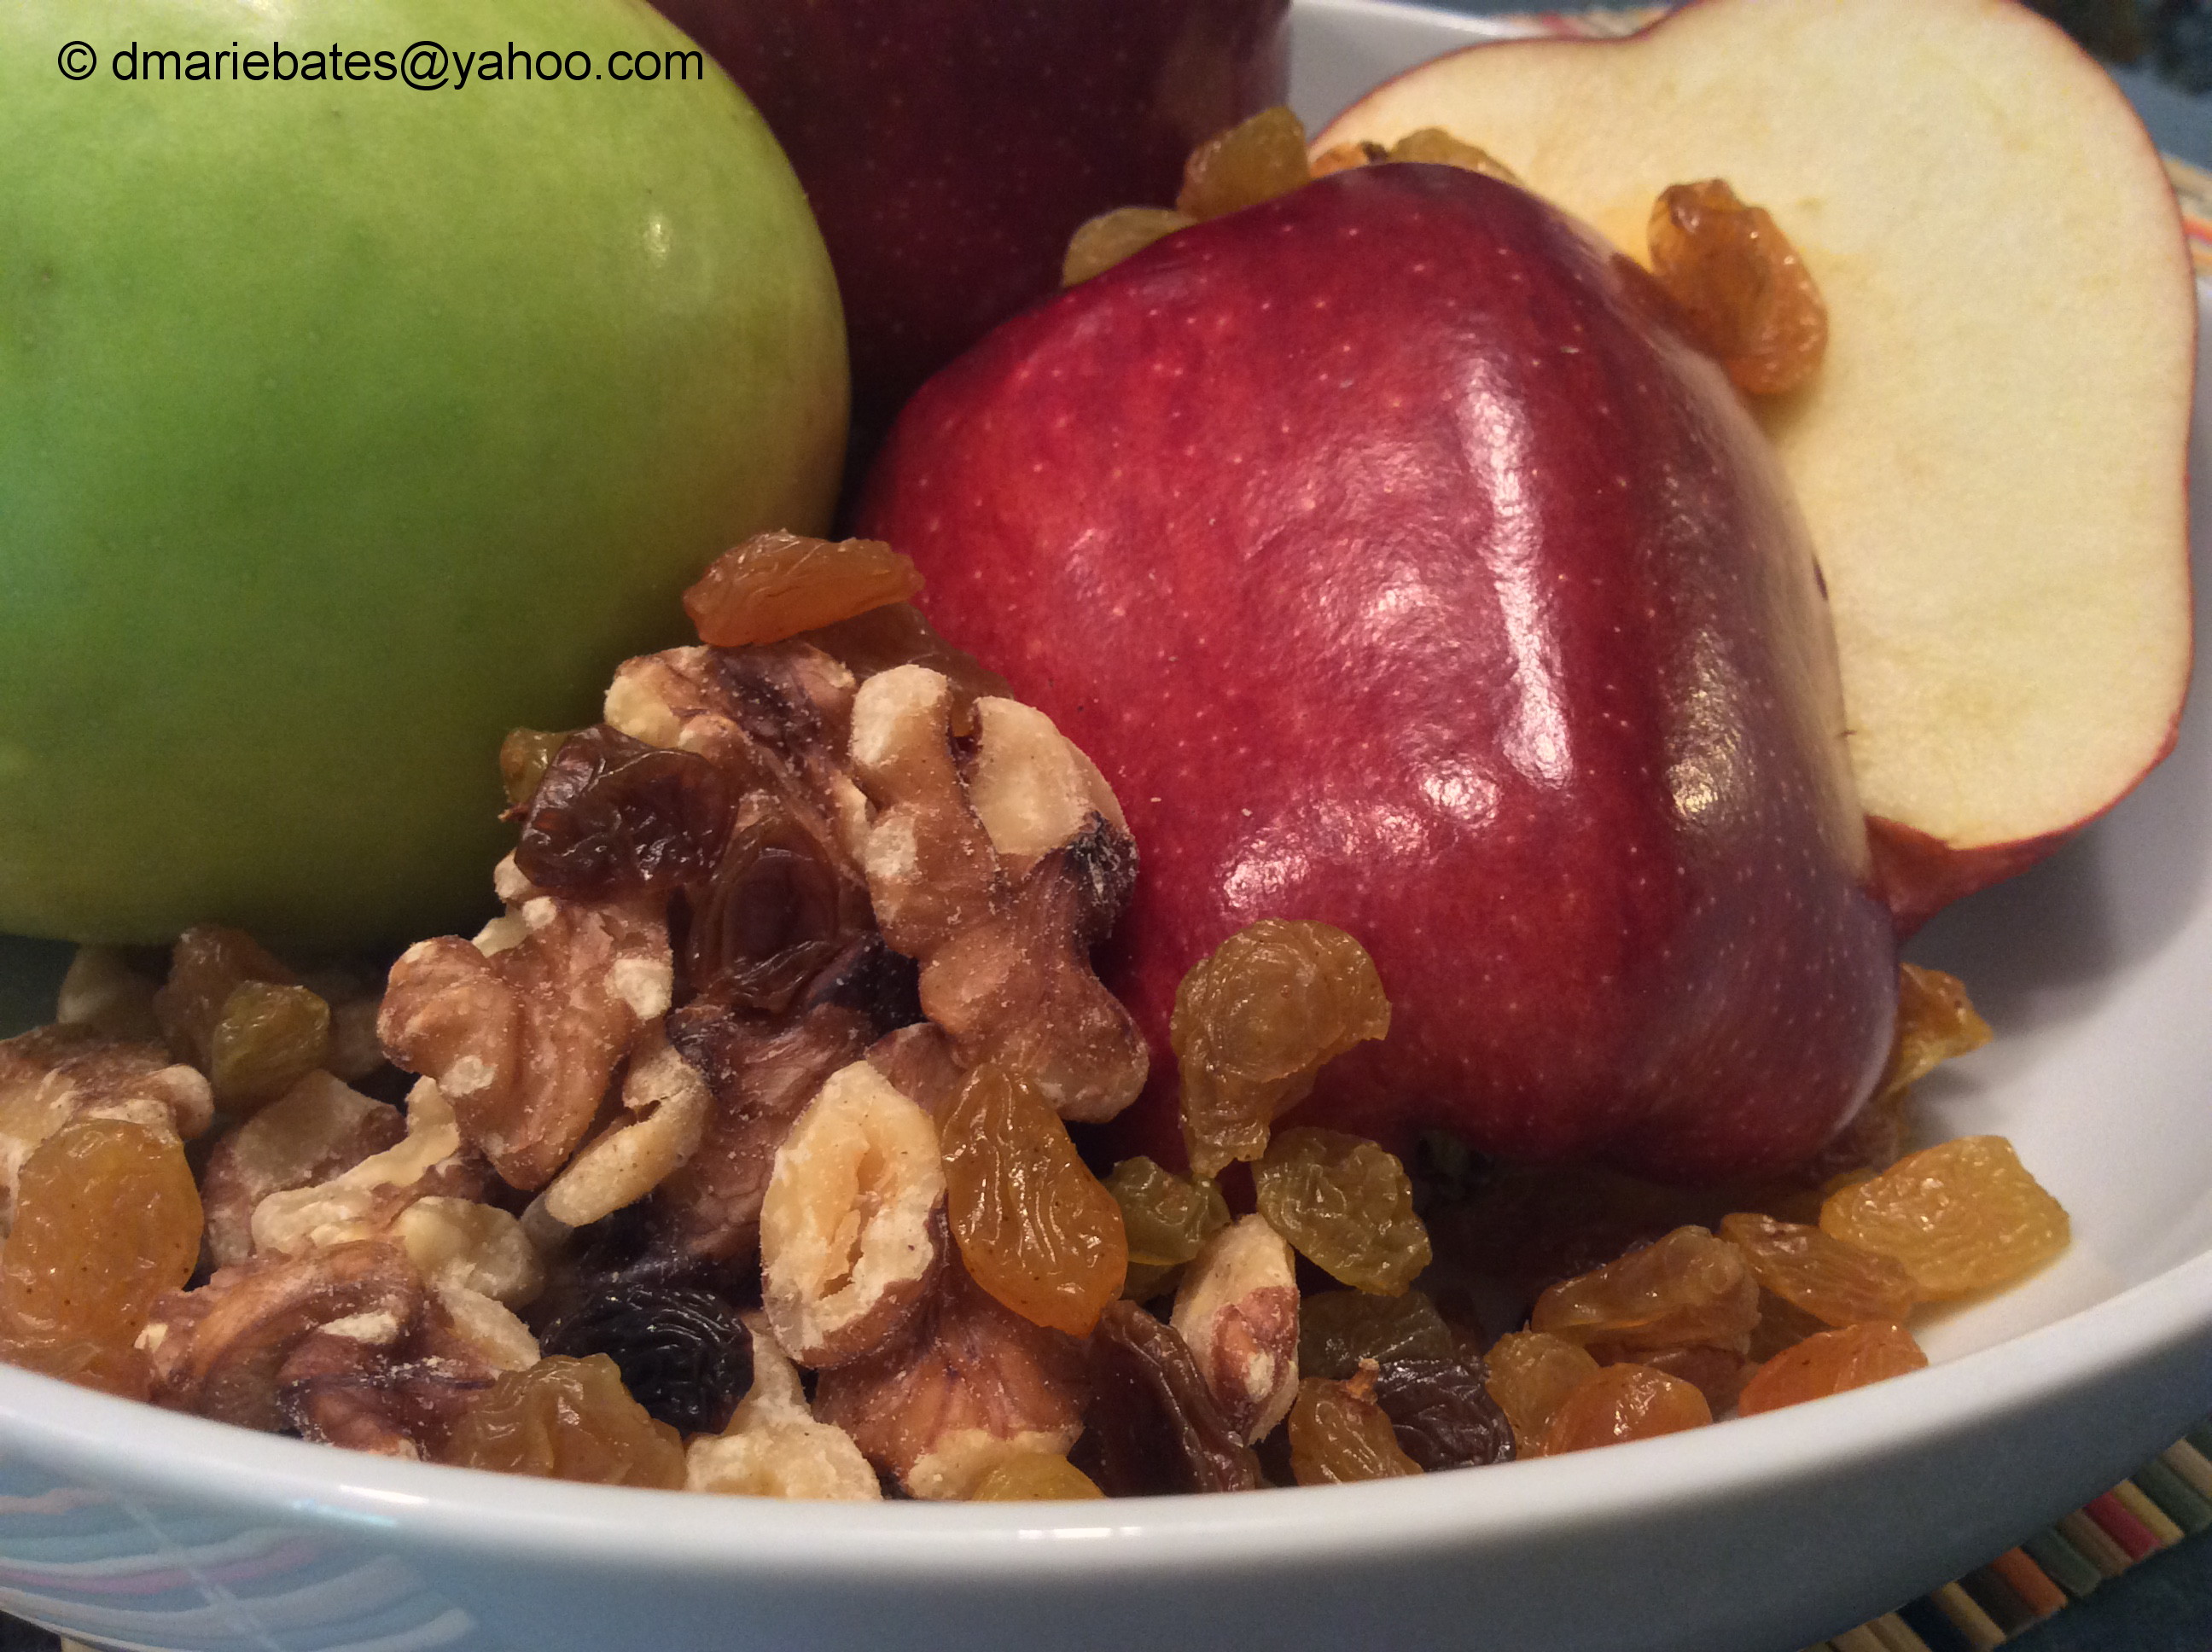
My Apple Salad recipe is all the things I just mentioned. It is quick to make. It is light and refreshing. Plus, it does not make me feel heavy, bloated or lazy after eating it. On the contrary. I actually feel energized after eating this salad. Apple Salad is packed with protein from the delicious chopped walnuts and golden raisins and has vitamin C from the apples. Another plus is that the raisins contain antioxidants which helps our bodies to fight against cancer and heart disease. Also, the raisins add a hint of sweetness to counter the tartness of the apples.

IMG_4612_1

Bottom-line… Apple Salad is a low calorie, healthy dish that will leave you feeling refreshed and energetic. Just ask my son. He liked this salad so much that he had it for breakfast and as a snack. If my biggest critic loved my Apple Salad, I think you will too.

IMG_4615_1

Apple Salad

Ingredients:

2 large granny smith apples diced

2 large re crispy apples diced

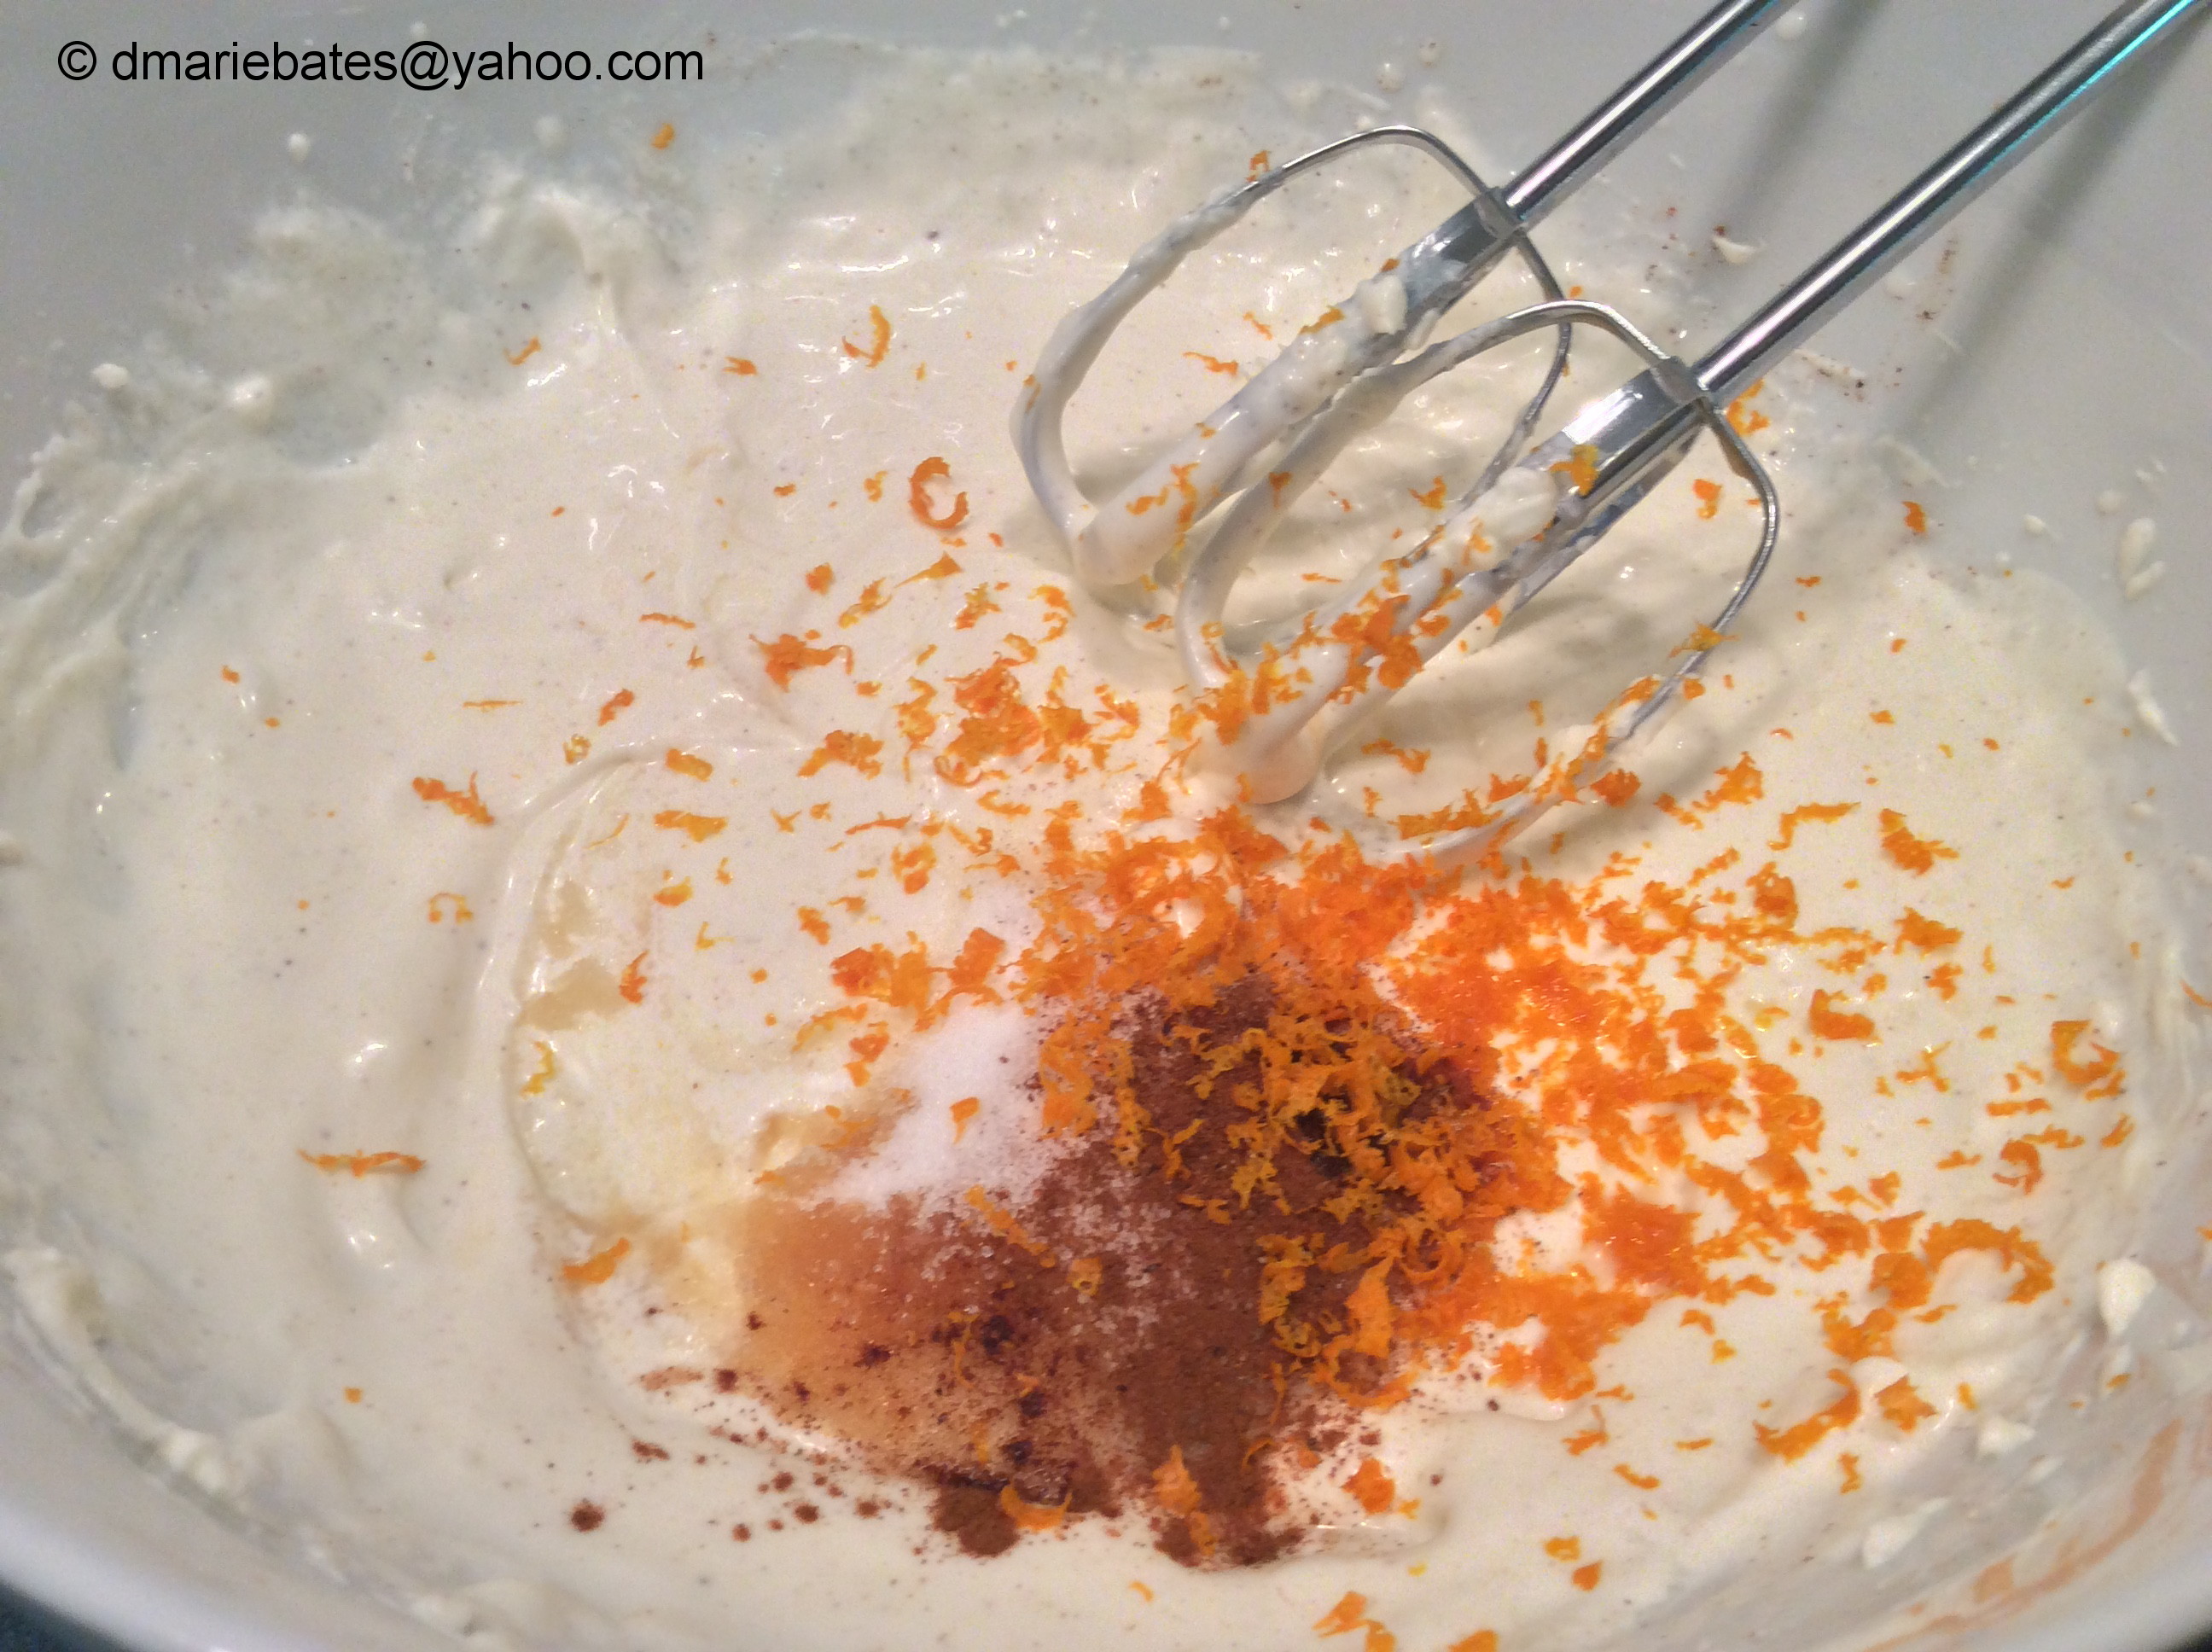
1 8oz container marscapone cheese

½ cup golden raisins

½ cup chopped walnuts

¼ cup sour cream

4 tbsp milk

2 tbsp sugar

1 tsp vanilla extract

1 tsp orange zest

1 tsp ground cinnamon

¼ tsp ground nutmeg

juice from ½ of a lemon

Place apples in a large bowl and squeeze lemon juice over apples then toss. This will keep the apples from turning brown. Set asides.

In a deep bowl add marscapone cheese, sour cream, milk and sugar. Beat with a hand mixer until smooth. Add vanilla, nutmeg and cinnamon. Beat until seasonings are incorporated into mixture. Stir in orange zest. Pour mixture over apples then add walnuts and raisins. Gently mix until the apples are well coated along with the nuts and raisins. Serve chilled or at room temperature.

Follow my blog with Bloglovin

Advertisement

Breakfast Burrito

IMG_3366_1

Weekends are usually the only time I have to make a family breakfast. But, even on the weekends I may be crunched for time to get breakfast on the table. Between basketball games, errands or family outings I sometimes have to pull together a quick meal before we head out the door.

IMG_3374_1

Breakfast Burritos are a quick way to get a relatively balanced breakfast on the table without a lot of fuss. Plus, the burritos are light but filling so you feel satisfied and not hungry a few minutes after eating. I like to add veggies to my Breakfast Burritos to make them seem healthier than if I loaded them with potatoes or other heavy foods like you see in fast food commercials. That being said, it doesn’t mean I don’t like a little bacon on my burrito. Healthy is good but bacon is too!

IMG_3380_1

Getting back to the veggies in the Breakfast Burrito, I count salsa as a veggie. Salsa is basically nothing but veggies. Tomatoes, onions, peppers. Three vegetables in one scoop of salsa. How great is that? Even my youngest son likes salsa. Although he would also tell you he does not like fresh tomatoes. Cooked? Yes. Fresh? No. Crazy I know but it is all a mind game. There are plenty of things in life folks say they don’t like in one form but love them in another form. For instance, I have a friend that refuses to each raw broccoli with dip. However, she is wild about broccoli salad. Go figure. Hmmm… it must be the bacon. Again, bacon is always good. Yea bacon!

IMG_3399_1

Okay, I got off track for a second. Back to the Breakfast Burritos. You can add whatever you like to your burrito. Leftovers are a wonderful filling to Breakfast Burritos as long as they go with eggs. Try my standard version of a Breakfast Burrito then try creating your own version. Whatever you do I know it will be good.

IMG_3405_1

Breakfast Burrito

Ingredients:
8 large eggs
6 slices bacon
3 large tortillas
¼ cup milk
½ cup shredded Colby Jack cheese
¼ cup shredded sharp cheddar cheese
¼ cup salsa
1 tbsp sour cream
1 tbsp butter
cooking spray

Preheat oven to 250 degrees.

Place bacon on a microwave safe plate with a stack of 3 paper towels and cover with a paper towel. Microwave bacon for 4 ½ minutes until crispy. May need to adjust time based on your microwave. Set aside.

Melt butter in a medium size non-stick frying pan. Add eggs and milk. Break up yolks in the pan and stir until eggs are blended with the milk. Stir in cheddar cheese and black pepper. Cook until eggs are scramble, light and fluffy.

Lay a large tortilla on a flat surface. Spread a little cream cheese over the tortilla. This will act as a binding agent to keep the tortilla together when you roll it up. Place a spoonful of scrambled eggs at one end of the tortilla. Layer a little salsa over the egg then sprinkle shredded Colby Jack cheese over the salsa. Add two slices of bacon over the cheese. Fold the closest end of the tortilla over the filling then fold in the two sides. Roll the tortilla tucking in the sides as you go until you reach the other end of the tortilla. Place tortilla on a cookie sheet sprayed with cooking spray. Repeat with remaining tortillas. Bake the tortillas for 5 – 10 minutes to allow cheese to melt and the tortilla is warm.


Follow my blog with Bloglovin

Curried Fish

IMG_9622_1

Have you ever had a day when you were prepared to make one dish but wind up preparing something totally different? I just had one of those days. I was ready to try out a new chicken dish on the family when my hubby made the statement that we were eating a lot of heavy meat lately. He told me it would be nice to have a light salad and/or fish. Keep in mind that I include salads with our meals almost 5 out of 7 days each week. Besides, I don’t consider chicken wings to be a heavy meat like beef or pork. Anyway, I was in a good mood to be flexible and took up the challenge of switching gears and coming up with a lighter meal.

IMG_2525_1

The only fish I had available in the freezer was cod. I didn’t want to just bake the cod so I tried thinking outside the box and prepared a Curried Fish dish over chopped cabbage along with the requested salad. Granted, I had no idea how to make Curried Fish so I decided to tweak one of my curry chicken recipes that would adapt well to using fish instead of chicken.

IMG_2559_1

The biggest difference in making my Curry Chicken dish and the Curried Fish was adding a jar of Marsala. The elevation of both the heat and flavors was amazing. As I have always said, my family loves spicy foods and the Marsala definitely made the Curried Fish spicy. If you don’t like a lot of heat in your food just cut down on the amount of Marsala you use or purchase a milder version of the sauce.

IMG_2552_1

In the end, I was pleased with how the Curried Fish turned out and my hubby was quite happy. He got both a spicy fish dish he loved and the salad he requested. What more could a hungry man want?

IMG_2526_1

Curried Fish

Ingredients:
2 – 3 large cod fillets
1 small green pepper sliced thin
1 small red onion sliced thin
1 clove garlic minced
1 jar Marsala red hot curry sauce
1 13.6 oz can light coconut milk Thai Kitchen
1 15 oz can diced tomatoes with juice
2 cups buttermilk
1 cup prepared rice
¼ cup chicken broth
3 tbsp olive oil

Seasonings:
2 tbsp curry powder
1 tbsp turmeric
1 tbsp salt
1 tbsp black pepper
1 tbsp Adobo
1 tbsp onion powder
½ tbsp cumin
½ tbsp nutmeg
½ tbsp thyme
½ tsp chili powder
¼ tbsp coriander
8 – 10 dashes of hot sauce
pinch of sugar

Cut fish in to large cubes. Season with a little salt and black pepper. Place in a container then pour buttermilk over the fish. Add hot sauce and stir to mix well with fish. Refrigerate for at least 30 minutes.

Saute onions and green peppers with olive oil in a large frying pan for 5 minutes over medium heat. Stir in garlic and cook for 2 more minutes. Do not let the garlic burn. Add cumin, nutmeg, salt, black pepper, turmeric and chili powder. Stir until well combine and cook for a few minutes to release the flavors. Add coconut milk, curry powder, tomatoes with juice and broth. Stir to combine. Add Marsala and continue stirring. Bring to a low simmer. Drain fish from buttermilk and add to sauce. Reduce heat to medium low. Cover and let fish cook for 20 – 25 minutes. Serve over rice or chopped cabbage.

Tip: Use milder version or less Marsala if you do not like really spicy foods.

Follow my blog with Bloglovin

Jalapeno Poppers with Bacon

IMG_2149_1

On a whim I thought I would try making Jalapeno Poppers. Not the type of poppers that are breaded and fried. I wanted to make oven baked poppers with a twist. I wrapped them in bacon. Yummy!

IMG_2147_1

Making the Jalapeno Poppers with Bacon was a quick and semi-easy task. I was a little gun shy in making them at first because I had recently tried making roasted stuffed poblano peppers and it was a disaster. But, I made lemonade out of those lemons by adding the collapsed roasted poblano peppers to a brown rice dish I decided to create. More on that one later.

IMG_2165_1

The most difficult task in preparing the poppers was cleaning the jalapeno peppers. After slicing off a little piece of the pepper I had to remove the seeds and membrane. Both are the hottest part of the jalapeno pepper just like any other hot pepper. Removing the seeds and membrane helped to tone down the heat of Jalapeno Poppers but they were still a little hot. I guess stuffing the peppers with pepper jack cheese may have contributed to the level of heat also (ya think !?!). Of course, if you are not a fan of really hot foods, you could use a milder cheese like cheddar or monterey cheese. However, if you are willing to make Jalapeno Poppers I doubt heat is really an issue for you.

IMG_2174_1

Bacon. Who besides non meat eaters does not like bacon? Bacon adds a lot of flavor to most dishes (even ice cream if you are truly adventurous) and it definitely adds another level of flavor to the Jalapeno Poppers.

IMG_2186_1

Fast, easy and tasty. Three words I like to hear whenever I have to cook. I think this recipe fits the bill for all three.

IMG_2178_1

Jalapeno Poppers with Bacon

Ingredients:
8 – 10 jalapeno peppers with stems
4 – 8 slices of bacon sliced in half
½ cup shredded pepper jack cheese
¼ cup whipped cream cheese
8 – 10 toothpicks

Optional Stuffing:
Crumbled browned Italian sausage and cheese
Sauteed veggies and cheese
Preheat oven to 400 degrees.

Combine pepper jack cheese and cream cheese in a small bowl. Okay to use your fingers. Set aside.

Slice jalapeno peppers lengthwise to remove part of the pepper without removing the stem. Prepare only a few at a time so that you do not mix up the different sections of the peppers.

Stuff peppers with cheese then place cut slice over cheese. Wrap a slice of bacon and secure with a toothpick. Place on a rimmed baking sheet and back for 20 – 25 minutes until bacon is crispy. Drain on paper towels.

Optional:

To stretch the peppers just cut them in half and stuff each half then wrap in bacon.  The peppers are great whether you serve them whole or in halves.

Follow my blog with Bloglovin

Potato Squishes

IMG_2038_1

My friend Doll and I were discussing food the other day (as we usually do) and she told me about a great potato recipe she saw on the show “The Chew”. Since I am a potato lover my ears perked up when Doll said the recipe started with Yukon Gold Potatoes.

IMG_2047_1

The recipe turned out to be simple so it was right up my alley. The most intriguing part of the recipe called for squishing the potatoes after boiling them until they were fork tender. Potatoes? Squishing? Sold! I knew this was recipe I wanted to make into my own. With just a few additions to the recipe Doll conveyed to me I created Potato Squishes.

IMG_2050_1

As I said earlier, this is a very simple recipe that will go great with any beef, pork fish or fowl entree. My first adventure into making Potato Squishes was to pair them with steak. Like my daughter often says “shut the front door”! What goes better with steak than potatoes? Nothing! My family was a bunch of happy campers when I served up a nice tender steak, salad and the newly created Potato Squishes.

IMG_2060_1

Doll – you are my new foodie hero. Thank you the idea and for sharing such wonderful recipes.

Potato Squishes

Ingredients:
10 – 12 baby Yukon Gold Potatoes
3 tbsp olive oil
2 tbsp diced chives (optional)
1 tbsp salt
½ cup sour cream
½ cup shredded sharp cheddar cheese or pepper jack cheese
water (enough to cover the potatoes)

Place potatoes in a large pot with water and salt. Boil potatoes until they are fork tender but do not over cook. Remove potatoes from the pot and place on a flat surface. Gently squish the potatoes with the palm of your hand until they are slightly flattened.

Heat olive oil in a medium size non-stick frying pan over medium high heat. Place potatoes in the frying pan and brown on one side. Flip the potatoes over and sprinkle with cheese. Lower heat to medium and cover until cheese melts. Place a dollop of cream cheese on top of the melted cheese then sprinkle with chives.

Follow my blog with Bloglovin

Banana Pumpkin Muffins

IMG_1851_1

It is that time of year when the leaves turn into brilliant colors of yellow, orange and red. I love the transition of summer into fall just so I can watch the leaves blow in crisp fall winds then trickle slowly to the ground. I also love the smell of fall. The air is filled with the scent of apple cider, pumpkin and spices that let you know that fall is here and both Halloween and Thanksgiving are coming.

IMG_1862_1

Since I have started baking a little more I thought I would try out a new recipe that reminded me of the season and of course would be easy to make. Banana Pumpkin Muffins popped into my mind. What is easier than making muffins? It only take a few minutes to mix all of ingredients and about 15 minutes to bake.

IMG_1856_1

I use to look at really ripe bananas and think they were a missed opportunity to eat. Now, I see them as an opportunity to create. Pairing bananas and pumpkin flavors seemed like a natural fit and I was right. To make them even more yummy, I added a little crumble mix to the top of the muffins for another layer of texture and crunch. The result was a delicious moist muffin that went great with a steaming cup of coffee for my hubby and a cold glass of milk for me.

IMG_1869_1

Fall is a fabulous time of year and Banana Pumpkin Muffins are a fabulous treat for fall.

IMG_1888_1

Banana Pumpkin Muffins

Ingredients:
3 ripe bananas
1 egg slightly beaten
1 ½ cups flour
¾ cup sugar
¼ cup melted butter
3 tbsp pumpkin spread
1 tbsp vanilla extract
1 tsp baking powder
1 tsp baking soda
½ tsp salt (optional)
Pinch of pumpkin spice (optional)
20 – 24 small baking cups

Crumble Topping:
¼ cup chopped walnuts
¼ cup packed brown sugar (add a little more if necessary)
1 tbsp butter
¼ tsp cinnamon (optional)

Place ingredients in a small bowl. Cut butter into the mixture until little crumbles are formed. Set aside.

Preheat oven to 375 degrees.

In a large bowl gently mash the bananas leaving small chunks. Add remaining ingredients until well blended. Fill baking cups ½ way then top with crumble. Bake for 15 – 20 minutes depending on your oven. Test with a toothpick to see if the center is set.


Follow my blog with Bloglovin

Collard Greens

IMG_1431_1

No matter what kind of greens you are preparing the key to making delicious greens is the seasoning. I don’t mean just salt and pepper. I mean down home kind of seasonings. Ham hocks, smoked turkey parts or fat back. Take your pick. I have used them all at some point in time to season both my greens and different kinds of beans.

IMG_1456_2

Collard greens, turnip greens, mustard greens and kale each have their own unique flavor. To me, kale has a very mild flavor that is sweeter than other types of greens. Plus, kale is a very tender green that has become popular as a substitute for salads or is prepared as a crispy snack. Turnip, mustard and collard greens on the other hand have a much stronger taste than kale. In the case of turnip and mustard greens I think they are on the bitter side so I often mix them with cabbage or with collard greens to balance the flavor. I love to pair collard greens with pork or if I am making a real southern Sunday dinner, I will make collard greens, fried chicken and macaroni and cheese. Throw in some skillet cornbread and my family is in heaven.

IMG_1479_2

Every year until he passed away my dad would plant a garden in the backyard and on one side of the house. He enjoyed planting tomatoes, peppers, okra, beans and collard greens. The collard greens were for my mom and me since he really did not like them but he would grow them just for us. I don’t know how he did it but each year he grew some of the prettiest collard greens I ever saw. I always envied the nice large leaves and when I bought my first house my dad gave me a couple of plants to try in my backyard. The collard greens never quite turned out like his and were often a little puny so I would go over to my parent’s house and pick a few from their garden to supplement my pot of greens.

IMG_1487_2

IMG_1494_2

One trick my mom taught me when cooking Collard Greens was to strip the greens from the stem then layer a few into a pile. Next, you roll them up like a cigar and then slice them into ribbons. For whatever reason, my greens seem more tender when cut them up this way. I also add a little sliced onion and my mom’s secret ingredient to my pot of greens. One or two (depending on how spicy you want the greens) hot peppers. Do Not mix the peppers into the greens and break them up. You also don’t want to lose the peppers in the greens when you stir them up . The person that finds the pepper will have a nice hot surprise. Back in the day I use to be that person whenever my mom forgot to take the pepper out. Now, it is my daughter that finds the pepper on the few occasions I forget to take it out. Remember to just lay the pepper on top of the greens and be careful when stirring them.

Ummm …… talk about good southern cooking!

IMG_1570_2

Collard Greens

Ingredients:
2 bunches collard greens
2 ham hocks or 2 smoked turkey legs
1 hot pepper
4 cups water
1 cup chicken broth
1 cup diced onions
1 tbsp bacon fat
1 tbsp salt
1 tsp black pepper
1 tsp onion powder
1 tsp Adobo (optional)

Place ham hocks or smoked turkey legs into a pressure cooker with 4 cups of water with ½ cup of diced onion. Cook for 35 – 40 minutes. Cool down pressure cooker by running under cold water so that pressure is released. Remove meat. Drain broth and set aside. If you are not comfortable using a pressure cooker, place the ham hocks or smoked turkey legs in a large pot with 4 cups of water. Cook for 1 to 1 ½ hours on medium high heat until meat is tender. Remove meat and drain broth.

Remove stems from collard greens. Layer collards in a stack of 4 – 5 leaves then roll up like a cigar. Slice collard greens into ribbons. Set aside.

Heat bacon fat in a large pot over medium high heat. Add onions and saute for 1 minute. Add meat, broth, water and collard greens to the pot then sprinkle with seasonings. Lay hot pepper on top of the greens. Reduce heat to medium and let greens cook for 1 ½ hours until they are tender. Stir occasionally but be careful not to break up the hot pepper. Add more water if necessary. Remove the hot pepper prior to serving.

Follow my blog with Bloglovin

Apple, Brie and Prosciutto Appetizer

IMG_2003_1

Apples are a marvelous fruit that is transformed throughout the year into delicious recipes for snacks, drinks and desserts. Some recipes are seasonal like warm apple crisp in the warmer months or mixed into fruit salads in the cooler months. My simple recipe for Apple, Brie and Prosciutto Appetizer can be made anytime of the year and may be transformed by the type of apple you decide to use.

IMG_1989_1

In the fall , the best kinds of apples are honey crisp, Swiss gourmet and granny smith. When my youngest son was a little guy we would gather some friends to go apple picking before the weather turned too cold. There was a local farm not far from out neighborhood that allowed you to pick seasonal fruits by the pound. The kids loved it because they could ride a wagon down to the apple orchard then fill their bags to the brim. Granted, it was a little more expense than store bought apples but to see the kids running around having fun was well worth it. Plus, there was a petting zoo, face painting and pony rides that the kids all loved.

IMG_2014_1

My apple of choice for this recipe was a granny smith apple. We did not have time to pick any so I had to settle for apples from the grocer. Still, the apples were juicy and delicious. Anyway, I used granny smith apples because I wanted a contrast of flavors between the Apples, Brie and Prosciutto.

IMG_2022_1

Hubby thought the Apple, Brie and Prosciutto Appetizer was sweet and rich but not too rich. Sour, salty and sweet is how I would describe the flavors. Sour, because of the granny smith apples. Salty, because of the slightly salty prosciutto and sweet because of the nice creamy brie. Adding a few crackers to the mix made my hubby and I agree this was an appetizer our family, friends and my blog followers would enjoy. This recipe will definitely be on my menu for the holidays. To make it look festive during the holidays I think I will use both red and green apples. Maybe I should make an apricot fruit dip to go along with the apples. Hmmm….. stay tuned for that one.

IMG_2029_1

Apple, Brie and Prosciutto Appetizer

Ingredients:
1 – 2 granny smith apples sliced into wedges
1 – 2 pkgs prosciutto sliced in half lengthwise
8 oz brie sliced cut into bite sized pieces

Place a piece of brie on each apple slice then wrap with prosciutto. Serve with crackers.

Follow my blog with Bloglovin

Pearls and Black Eyed Peas

IMG_1656_1

A few weeks ago my hubby and I visited Washington, DC to get away and enjoy each others company. Because we really just wanted to relax and not do a lot of sightseeing we stayed close to the hotel. We also took most of our meals at the hotel. Fortunately, the main restaurant served some delicious food and gave me a few ideas for new recipes.

IMG_1661_1

One night I chose to have grilled salmon (my favorite fish) with a side of black eyed peas and Israeli couscous. I was interested in tasting the Israeli couscous because I had just purchased a box of it from Trader Joe’s and I wasn’t sure of how to prepare it. Plus, I liked the look of the box. I sometimes chose new foods to try based on how they look. I think it is a true statement that we eat with our eyes and presentation is important when serving a meal.

IMG_1675_1

The black eyed peas and Israeli couscous was absolutely wonderful. It was full of flavor and I liked the texture of the pearl sized couscous. Israeli couscous is larger in size than regular couscous and resembles tapioca pearls. The side dish also included lots of other vegetables like zucchini, corn, onions and mushrooms. As soon as I tasted the black eyed peas and couscous I knew I had found a new recipe to try using my box of Israeli couscous.

IMG_1699_1

Although I truly enjoyed the hotel’s version, I decided to put my own twist to the dish and used a few different ingredients that complimented the black eyed peas and couscous. Black eyed peas, Israeli couscous, roasted red peppers and mushrooms. Yummy! Once you have a bite you will be making this side dish over and over again.

IMG_1687_1

Pearls and Black Eyed Peas

Ingredients:
1 bag frozen black eyed peas
1 large or 2 small smoked turkey legs (optional)
2 cups cooked pearl (Israeli) couscous (prepare according to package)
2 cups chicken broth
1 cup sliced shitake or baby bella mushrooms
½ cup onions diced
½ cup green peppers diced
½ cup roasted red peppers diced
2 tbsp olive oil
1 tsp garlic powder
1 tsp salt
1 tsp black pepper
½ tsp cayenne

If using smoked turkey in the dish, cook turkey in 6 cups of water until until meat is tender. If you are comfortable using a pressure cooker, it will speed up the process. Strain and reserve broth to use with black eyed peas in lieu of chicken broth. Slightly shred turkey.

Heat olive oil in a medium sized frying pan over medium high heat then add mushrooms, green peppers and roasted red peppers. Sprinkle with a little salt and cayenne pepper. Saute until mushrooms are browned and green peppers are soft.

Place black eyed peas in a large pot with 2 cups chicken broth or reserved smoked turkey broth. Add onions and remaining seasonings. Cook black eyed peas for 20 – 25 minutes until soft. Drain black eyed peas.

In a large bowl gently mix couscous, veggies and black eyed peas. Add a little broth to moisten if necessary.

Enjoy!

Follow my blog with Bloglovin

Shredded Chicken and Pasta Soup

IMG_1792_1

Comfort food is good anytime of the year but fall calls for comfort soup. With slight breezes and the crisp sound of falling leaves, soup is a great way to warm up and snuggle. Chicken noodle soup is a very traditional comfort food which my family loves. But, I wanted to make a traditional chicken soup with a slight twist. That is why I decided to make a Shredded Chicken and Pasta Soup.

IMG_1784_1

When it came to choosing a pasta for the soup I didn’t want a noodle so I had to search for a type of pasta that would compliment the soup. Ditalini pasta turned out to be the perfect pasta for the Shredded Chicken and Pasta Soup. Ditalini looks like little tubes and they soaked up the chicken broth. Every bite offered an extra burst of broth and flavor.

IMG_1776_1

One thing I really liked about the Shredded Chicken and Pasta Soup was the fact that including the pasta made the soup very filling. A big bowl of soup makes a full meal with a nice chunk of crusty bread. If you want to have the soup with a meal I would suggest you only have a small cup so that you don’t get full too fast. Either way you will definitely have a smile on your face while eating the soup.

IMG_1800_1

Think about cooking up a big pot of Shredded Chicken and Pasta Soup the next time you feel a chill in the air. It will warm you up and put a smile on your face. Remember comfort food is good anytime of the year but fall and winter call for comfort soup.

IMG_1814_1

Shredded Chicken and Pasta Soup

Ingredients:
4 chicken thighs
5 quarts water
3 cups Ditalini pasta (prepare according to package)
1 cup chicken broth
1 cup diced celery
1 cup diced onion
1 cup shredded carrots (rough chop)
3 scallions diced (green part included)
2 tbsp salt
1 tsp black pepper
½ tsp onion powder
½ tsp Adobo seasoning
½ tsp dried dill
¼ tsp thyme
dash of cayenne pepper (optional)

Place water, chicken, ½ cup onions and all seasonings except for dill into a large pot. Cook chicken on medium high for 45 minutes or until chicken is cooked all the way through and is tender. Remove chicken from the pot and set aside to cool for shredding. Once cooled, shred chicken with your fingers and set aside.

Strain chicken broth and place back into the pot. Skim some of the chicken grease from the surface of the broth. Reduce heat to medium. Add the additional cup of chicken broth, carrots, celery, green onions, dill and remaining onions to the pot. Simmer for 5 minutes. Add chicken to the broth and simmer for another 10 – 15 minutes. You can either place pasta in individual bowls then ladle soup over the pasta so that the pasta stays al dente. Or, you can add pasta to the soup and remove from heat so that the pasta does not over cook.

Follow my blog with Bloglovin