I missed the boat on making these Pumpkin Cheesecake Bars for our Thanksgiving dessert. My mom usually makes apple pie and sweet potato pie but since I knew she wasn’t going to make sweet potato pies I planned to make the cheesecake bars. I had also promised my friend Eb that I would bring him some the next time I came to get my hair done. Being a woman of my word, I was forced to make the Pumpkin Cheesecake Bares the day after Thanksgiving since I was going to see Eb on Saturday. The thought did cross my mind to see if I could push off making the bars until the following week but I would have felt bad not keeping my promise.

To be honest, I am so glad I followed through and made the Pumpkin Cheesecake Bars. This was my first attempt at making them and it was easier than I thought it would be to pull together. The warm flavors and spices along with the creaminess of the cheesecake made this dessert a winner. Plus, I added chopped walnuts to the graham cracker crust for a slight hint of nuttiness. Pecans would also work in the crust but the day I want shopping for ingredients the walnuts were on sale. Maybe next time I will try the pecans.
If something you cook smells good, it will often taste good too. I knew the Pumpkin Cheesecake Bars were probably going to be good when my son T asked how soon he could eat them when I pulled them out of the oven. Unfortunately for him, the bars had to cool down then chill for a minimum of two hours. Since it was kinda of late when I finished cooking it meant he had to wait until the next day. Hence the disappointed face I saw walk up the stairs.

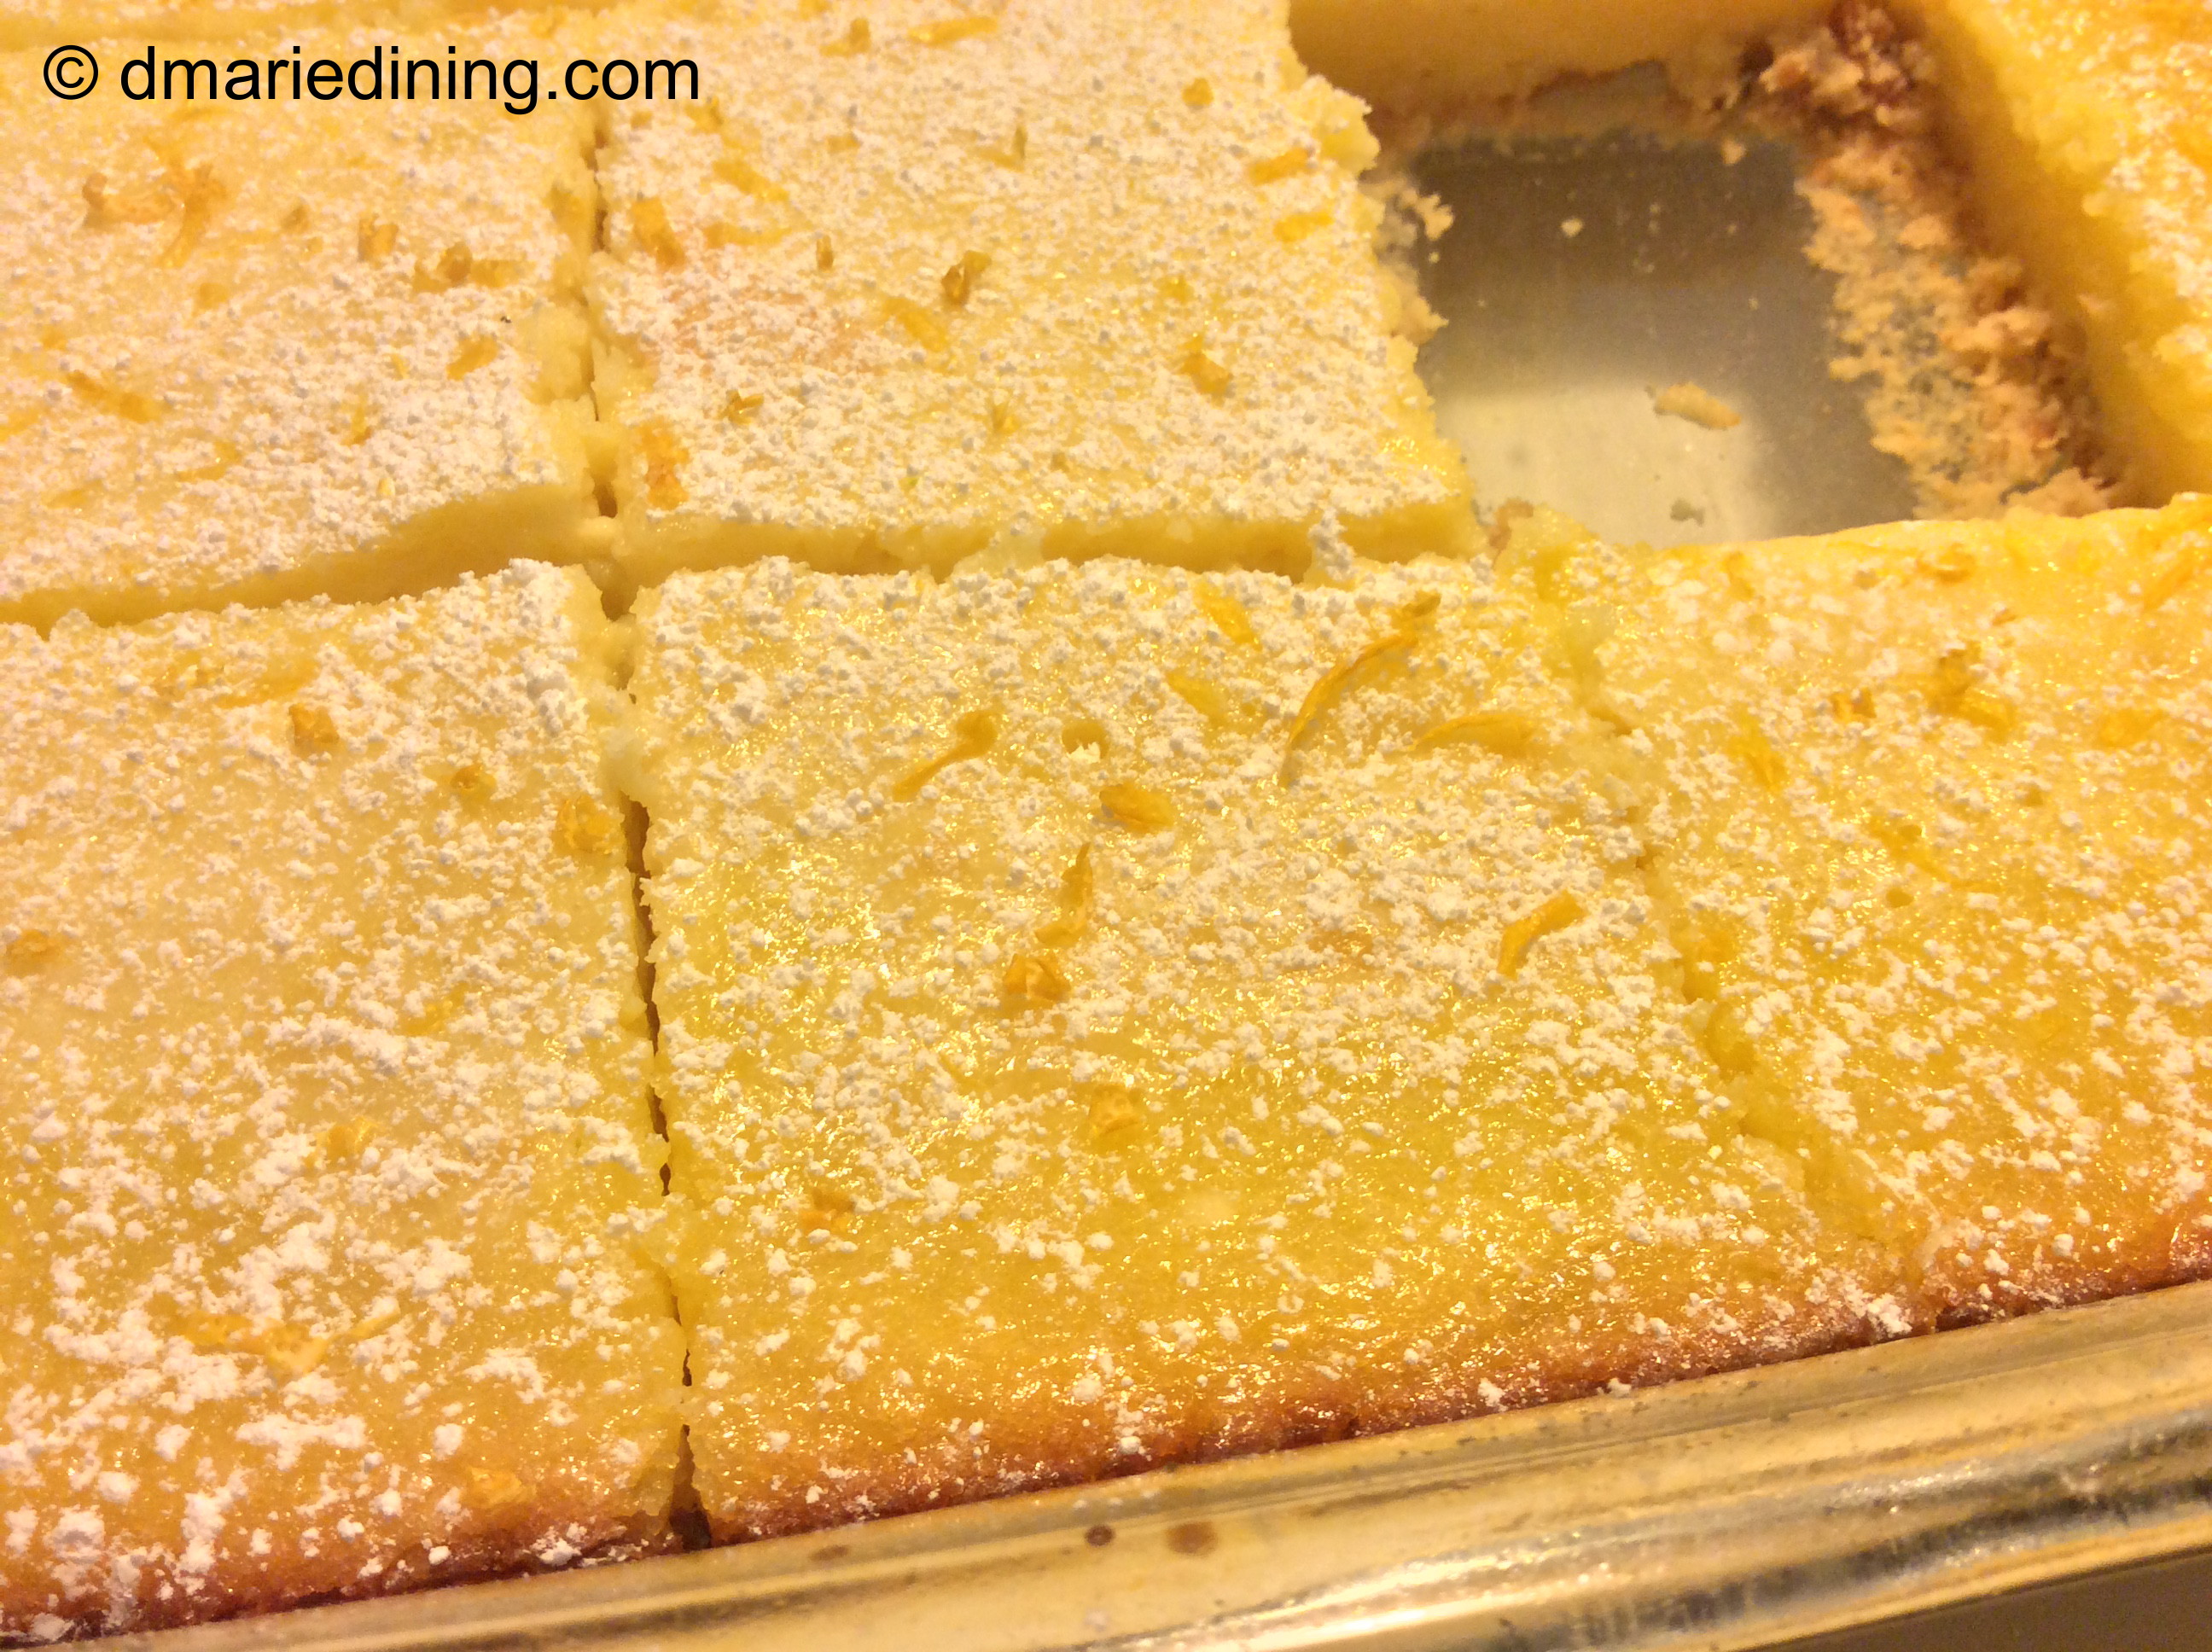
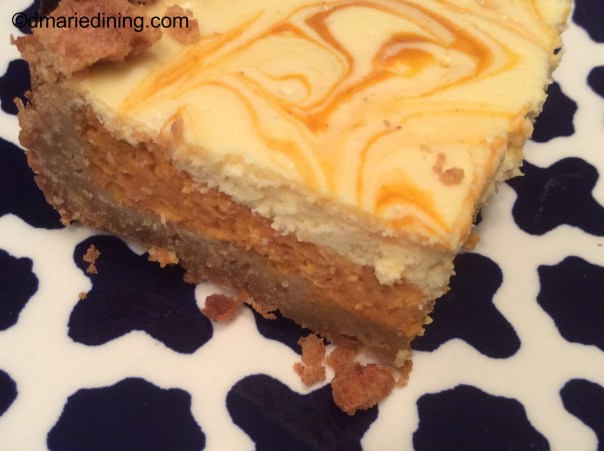
In the end I was happy with the recipe and how the Pumpkin Cheesecake Bars looked and tasted. I was ever happier when Eb told me “You got something here!” after the first bite. He also said this was the kind of dessert I could sell in a cafe with a nice cup of coffee. Hmmm…. That might be a good idea.
Ingredients: 3 Layers
Preheat oven to 350 degrees.
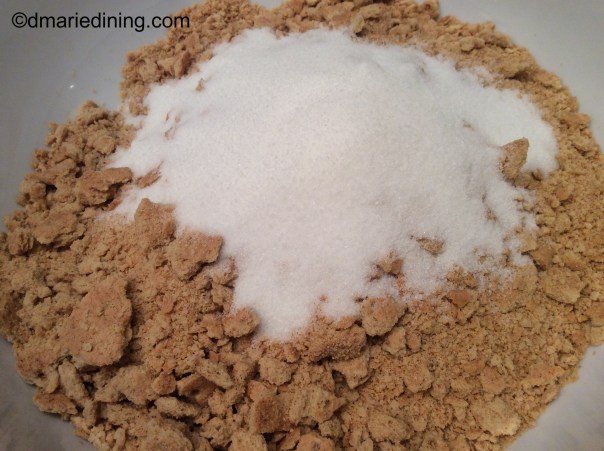
Crust:
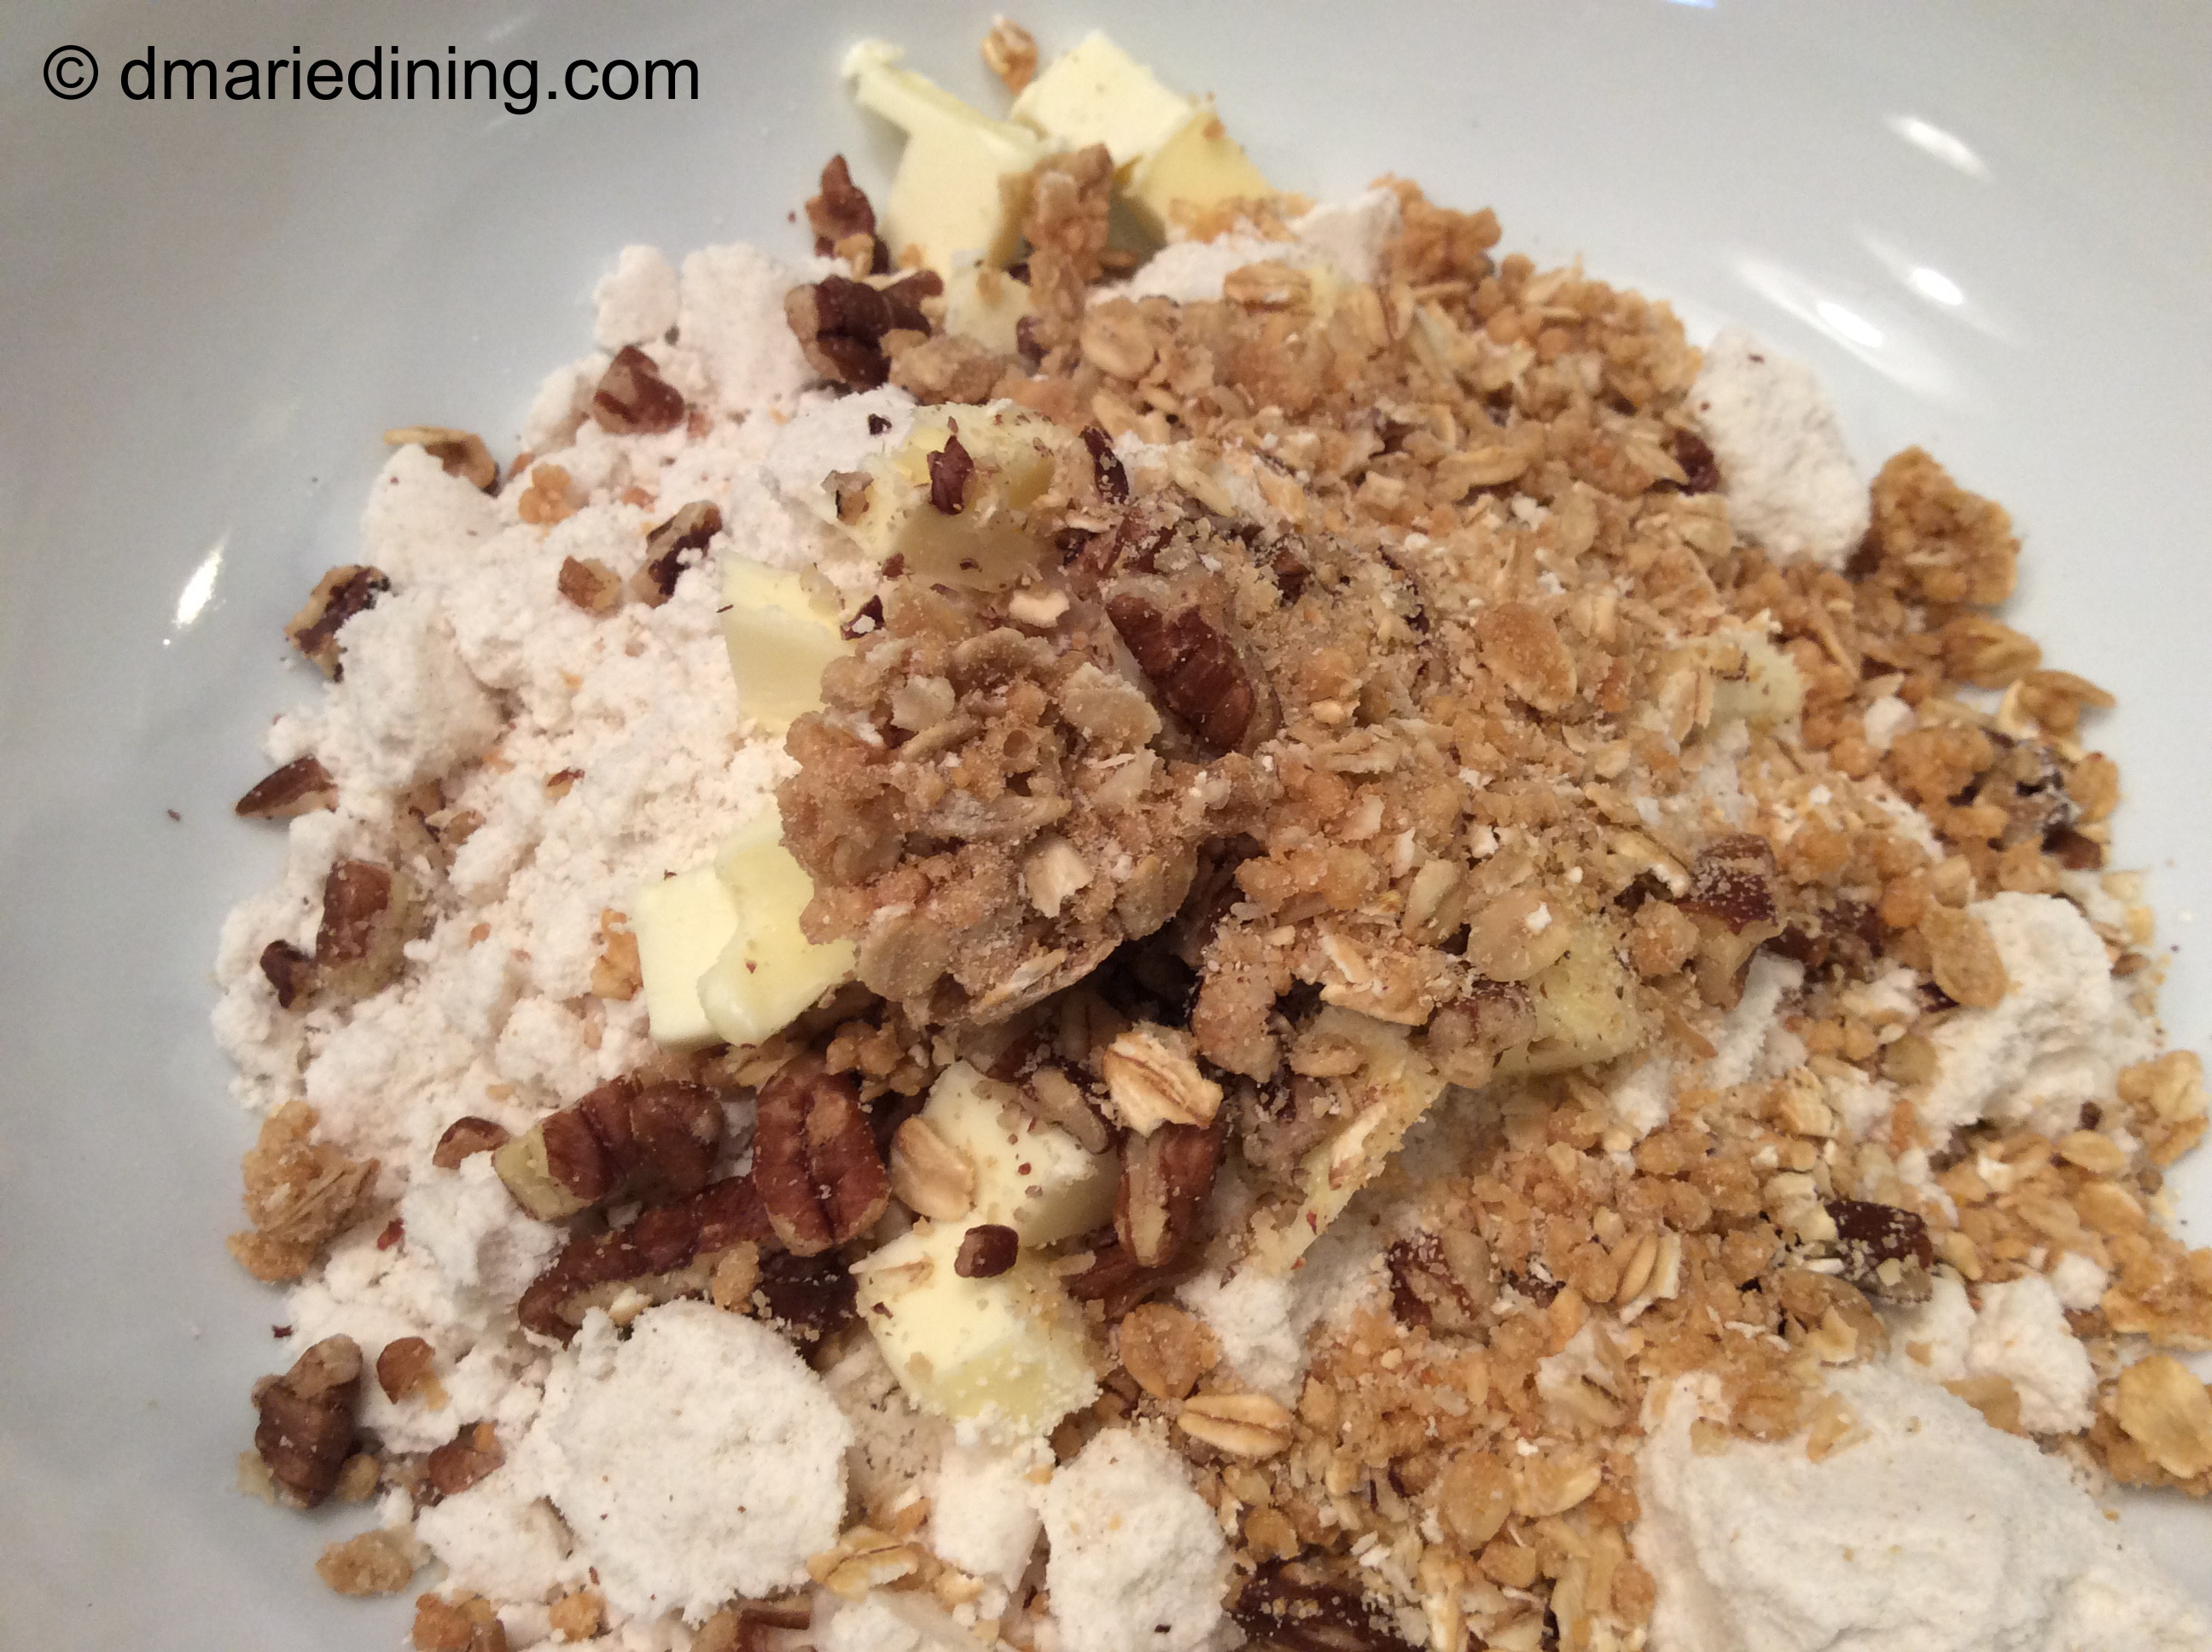
3 cups cinnamon graham cracker crumbs
½ cup chopped walnuts
1 stick + 2 tbsp melted unsalted butter
5 tbsp granulated sugar
Combine ingredients in a large bowl until crumbs are slightly moist. Press into a 9 x11 baking dish. Push some of the crumbs up along the sides of the dish. Set aside.
Pumpkin Layer:
2 large eggs
1 15oz can of pure pumpkin. (Do Not use canned pumpkin pie mix)
¾ cup heavy whipping cream
¾ cup granulated sugar
1 tsp vanilla extract
1 tsp pumpkin pie spice
½ tsp cinnamon
Whip all ingredients together until well blended and smooth. Pour over graham cracker crust and smooth into an even layer.
Cheesecake Layer:
1 brick softened cream cheese
1 large egg
1 egg yolk
½ cup granulated sugar
2 oz mascarpone cheese
1 tsp vanilla extract
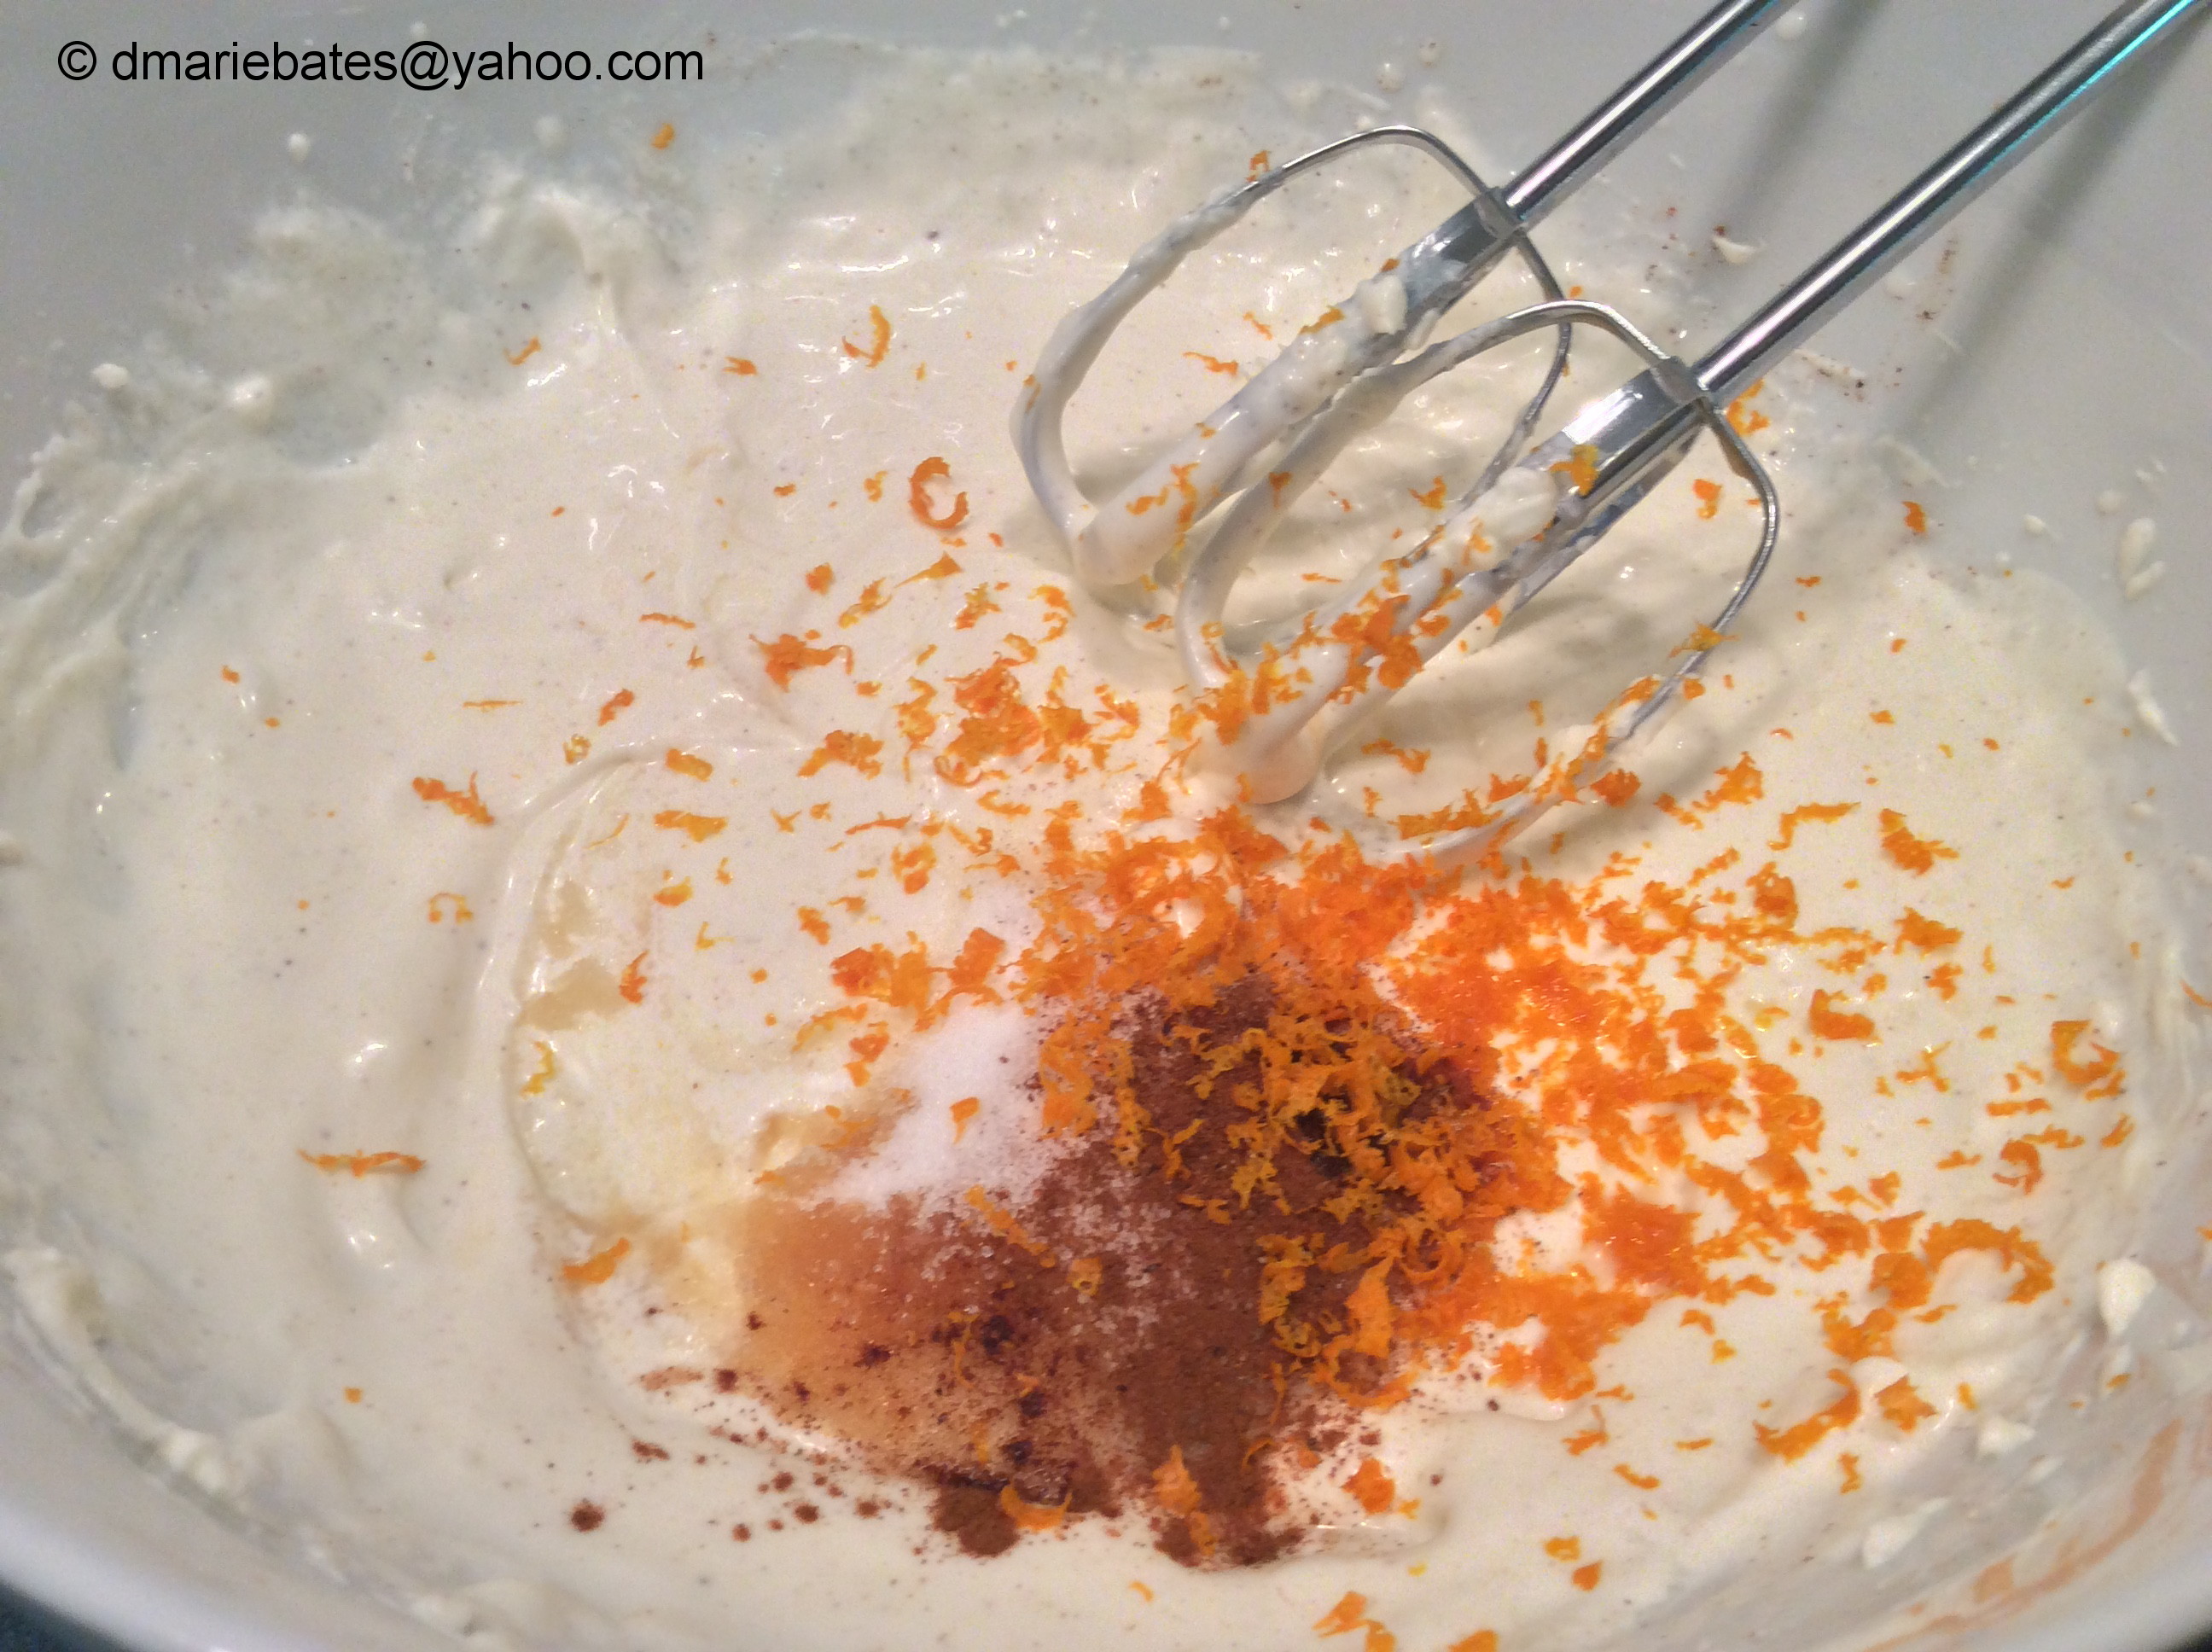
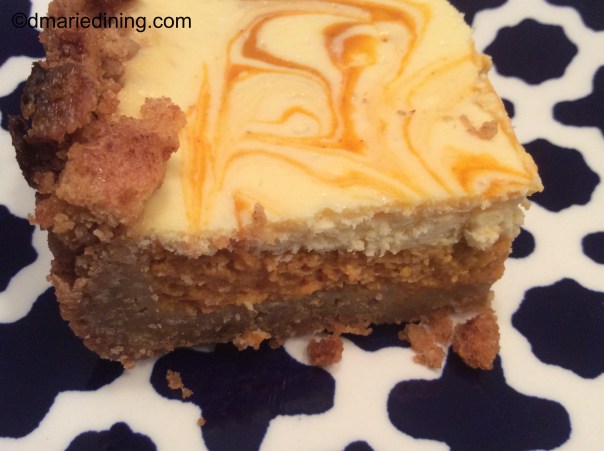
Beat all ingredients together in a large bowl until smooth. Spoon mixture over pumpkin layer and smooth out. Take a butter knife and gently swirl the cheesecake into the pumpkin.
Place baking dish in the oven and bake for 45 minutes until the center is set. Remove from the oven and let the bars cool for 45 minutes to 1 hour. Cover with plastic wrap and refrigerate for at least 2 hours but overnight is better. Slice into bars and enjoy!