During a conversation with my sister-in-law a while ago she told me about a wonderful fish dish she prepares for her family. I had never heard of Vera Cruz but it seemed interesting and simple to make. I guess I am behind the times because when I told a few of my friends about wanting to try out the dish for the blog they said they often make the dish.
Since I did not want to be the only one left off of the Vera Cruz boat I thought I would come up with my version of the standard recipe. The only real difference between my version and the standard version my sister-in-law shared are the few additional seasonings I used. As always my crew likes a little heat so I added some to the sauce.
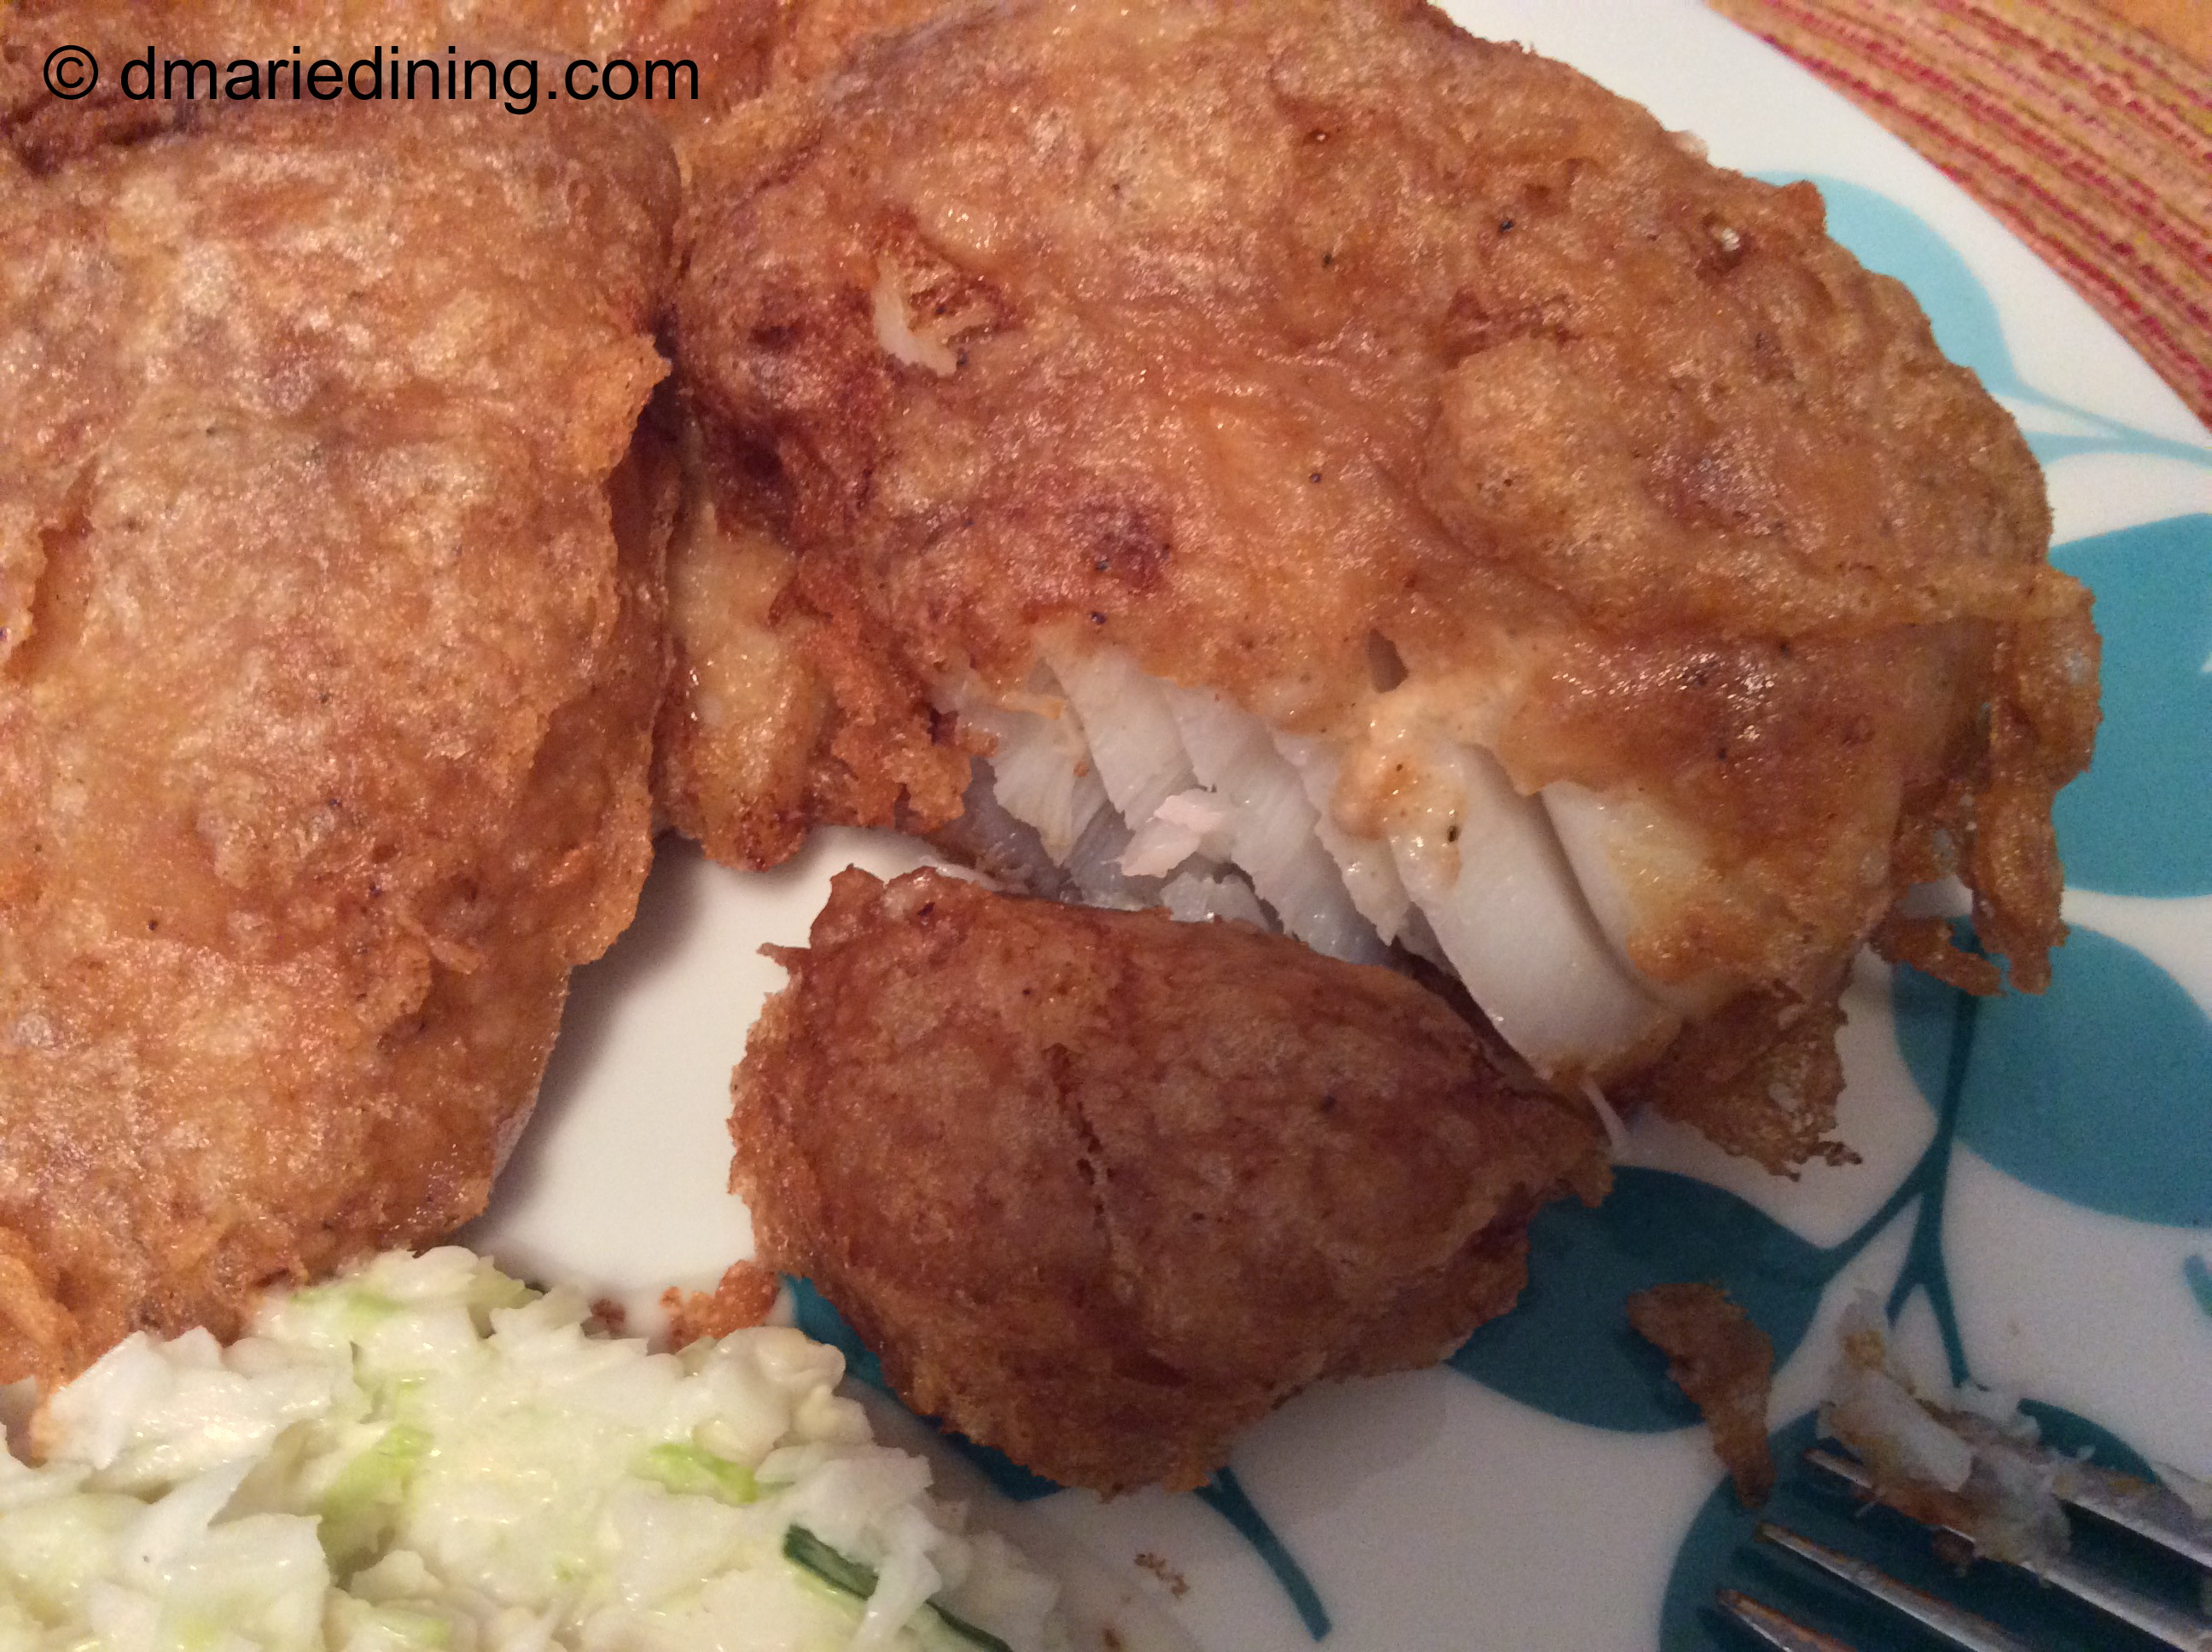
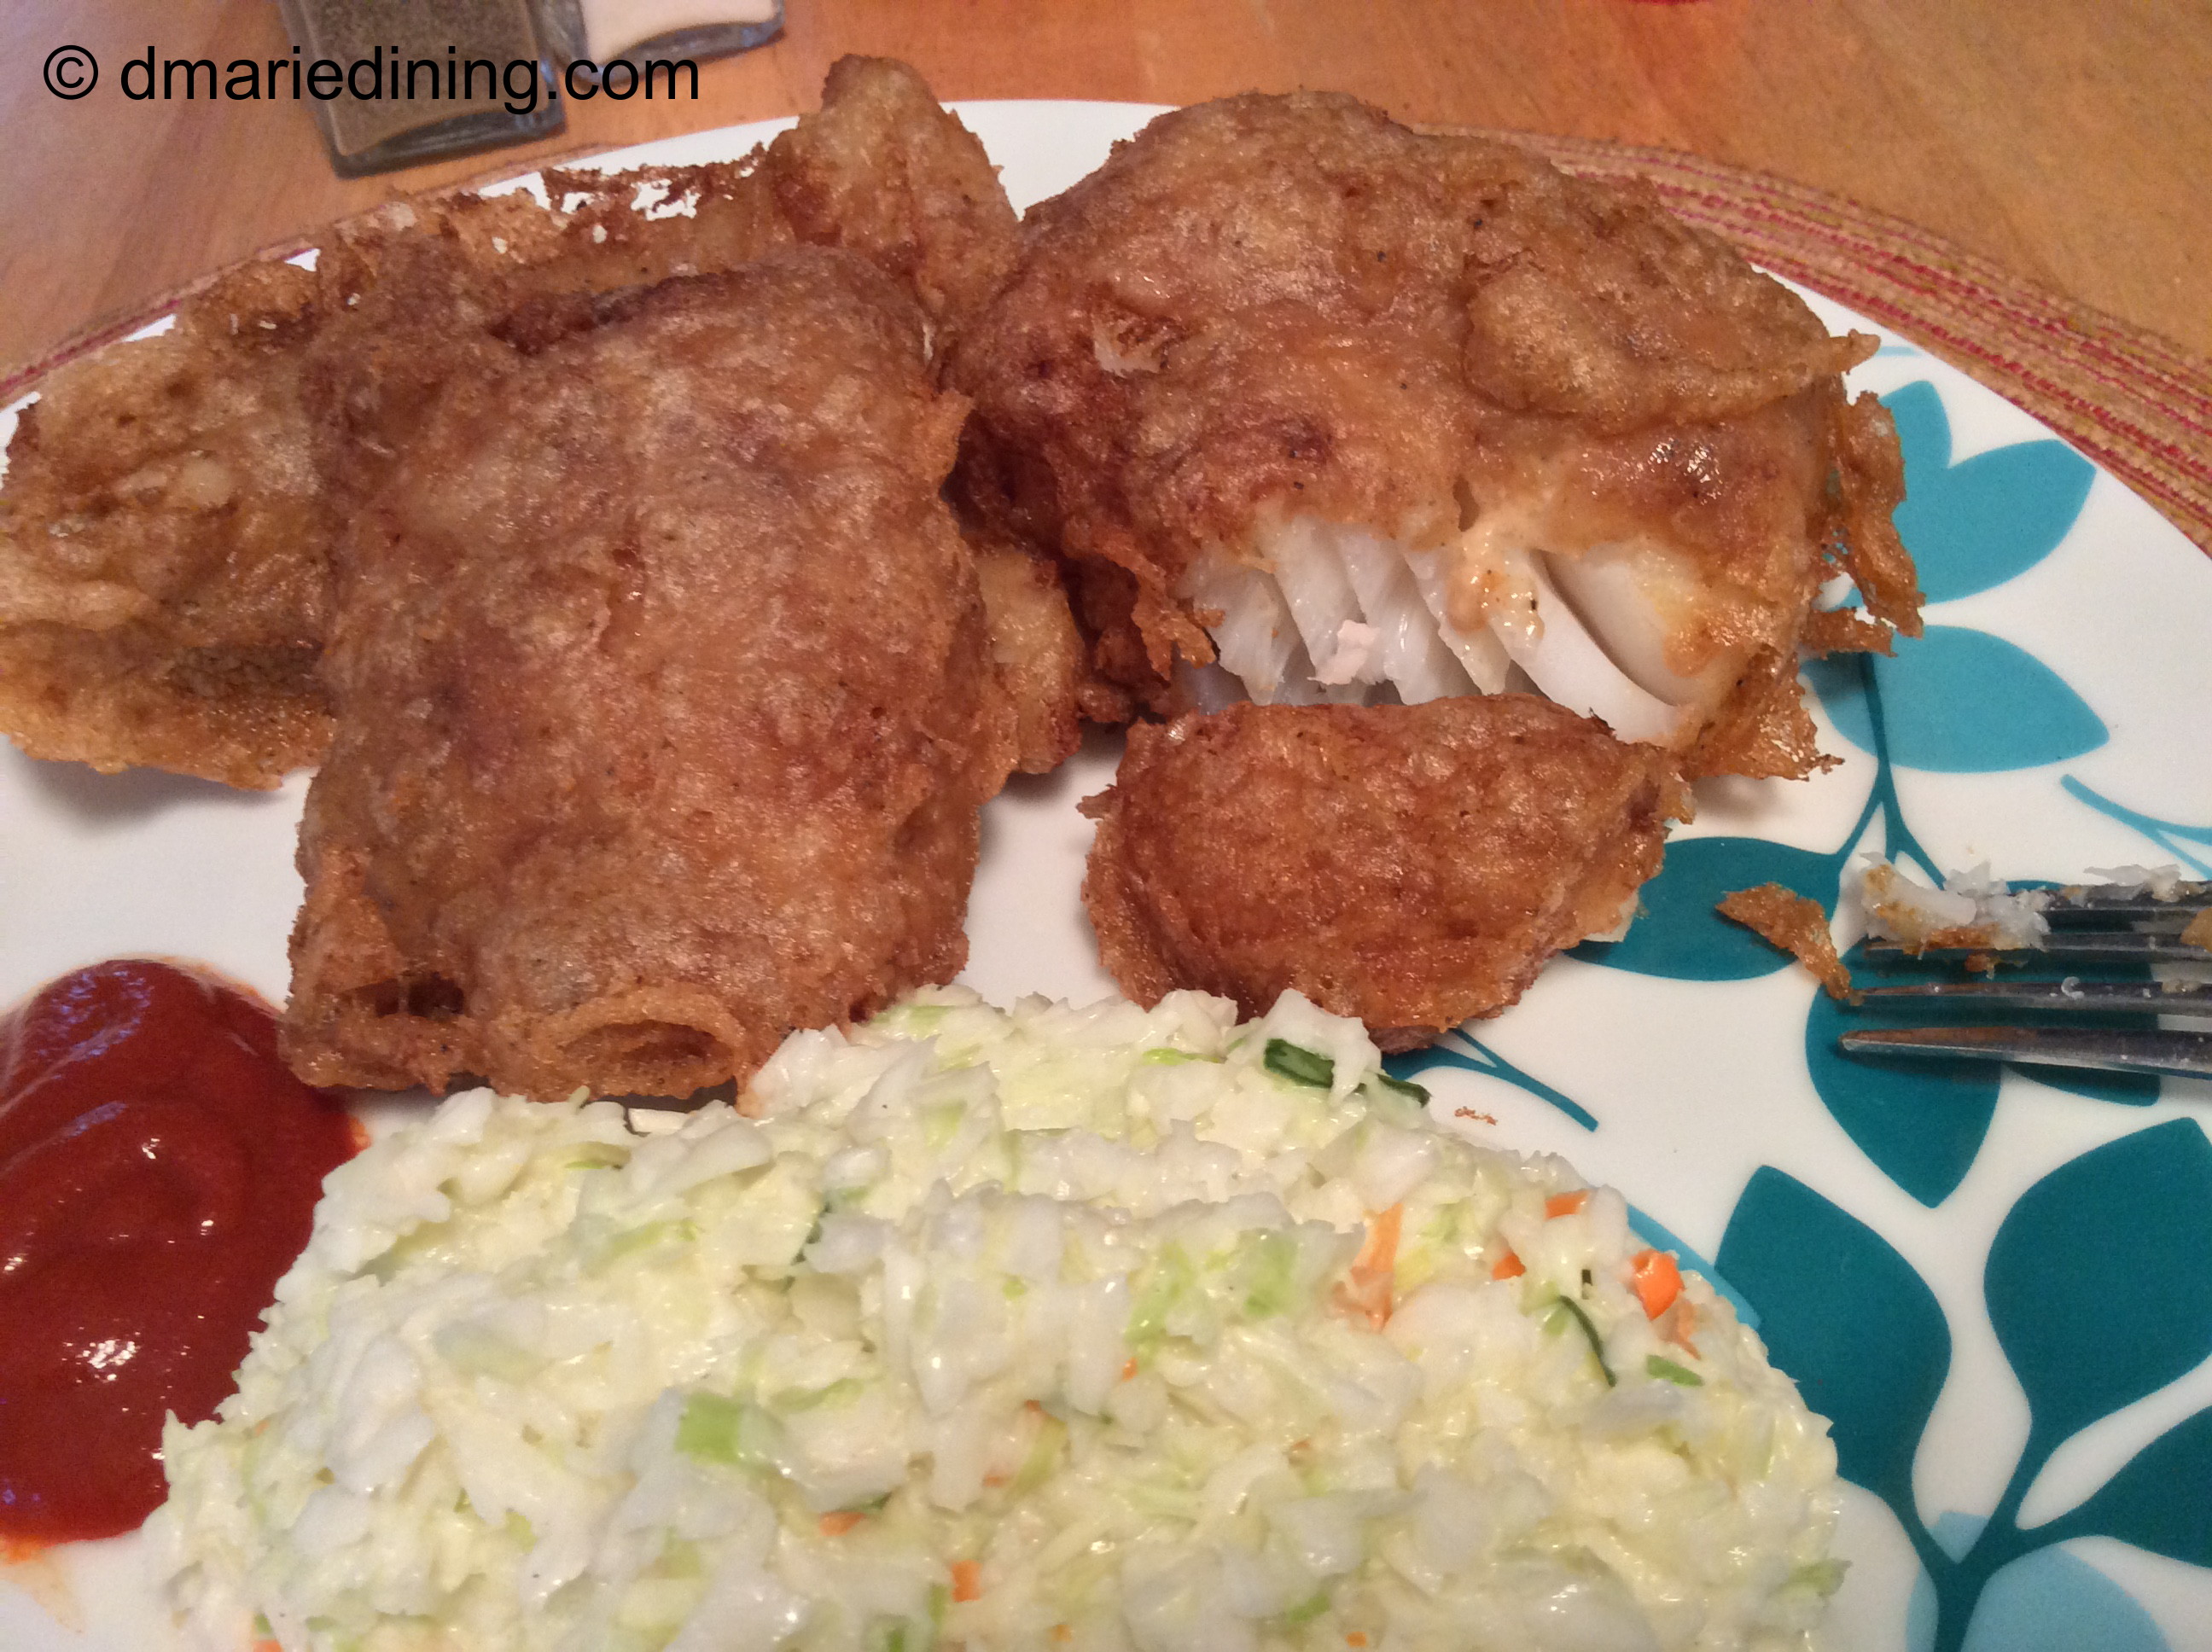
I was pleasantly surprised at how the Vera Cruz with Tilapia turned out and even more surprised that my youngest son really liked it. Typically, my son likes fried fish versus what he would consider to be baked fish. Once his plate was cleaned from eating the Vera Cruz with Tilapia I could only smile then I let my sister-in-law know what a great recipe Vera Cruz with Tilapia turned out to be.
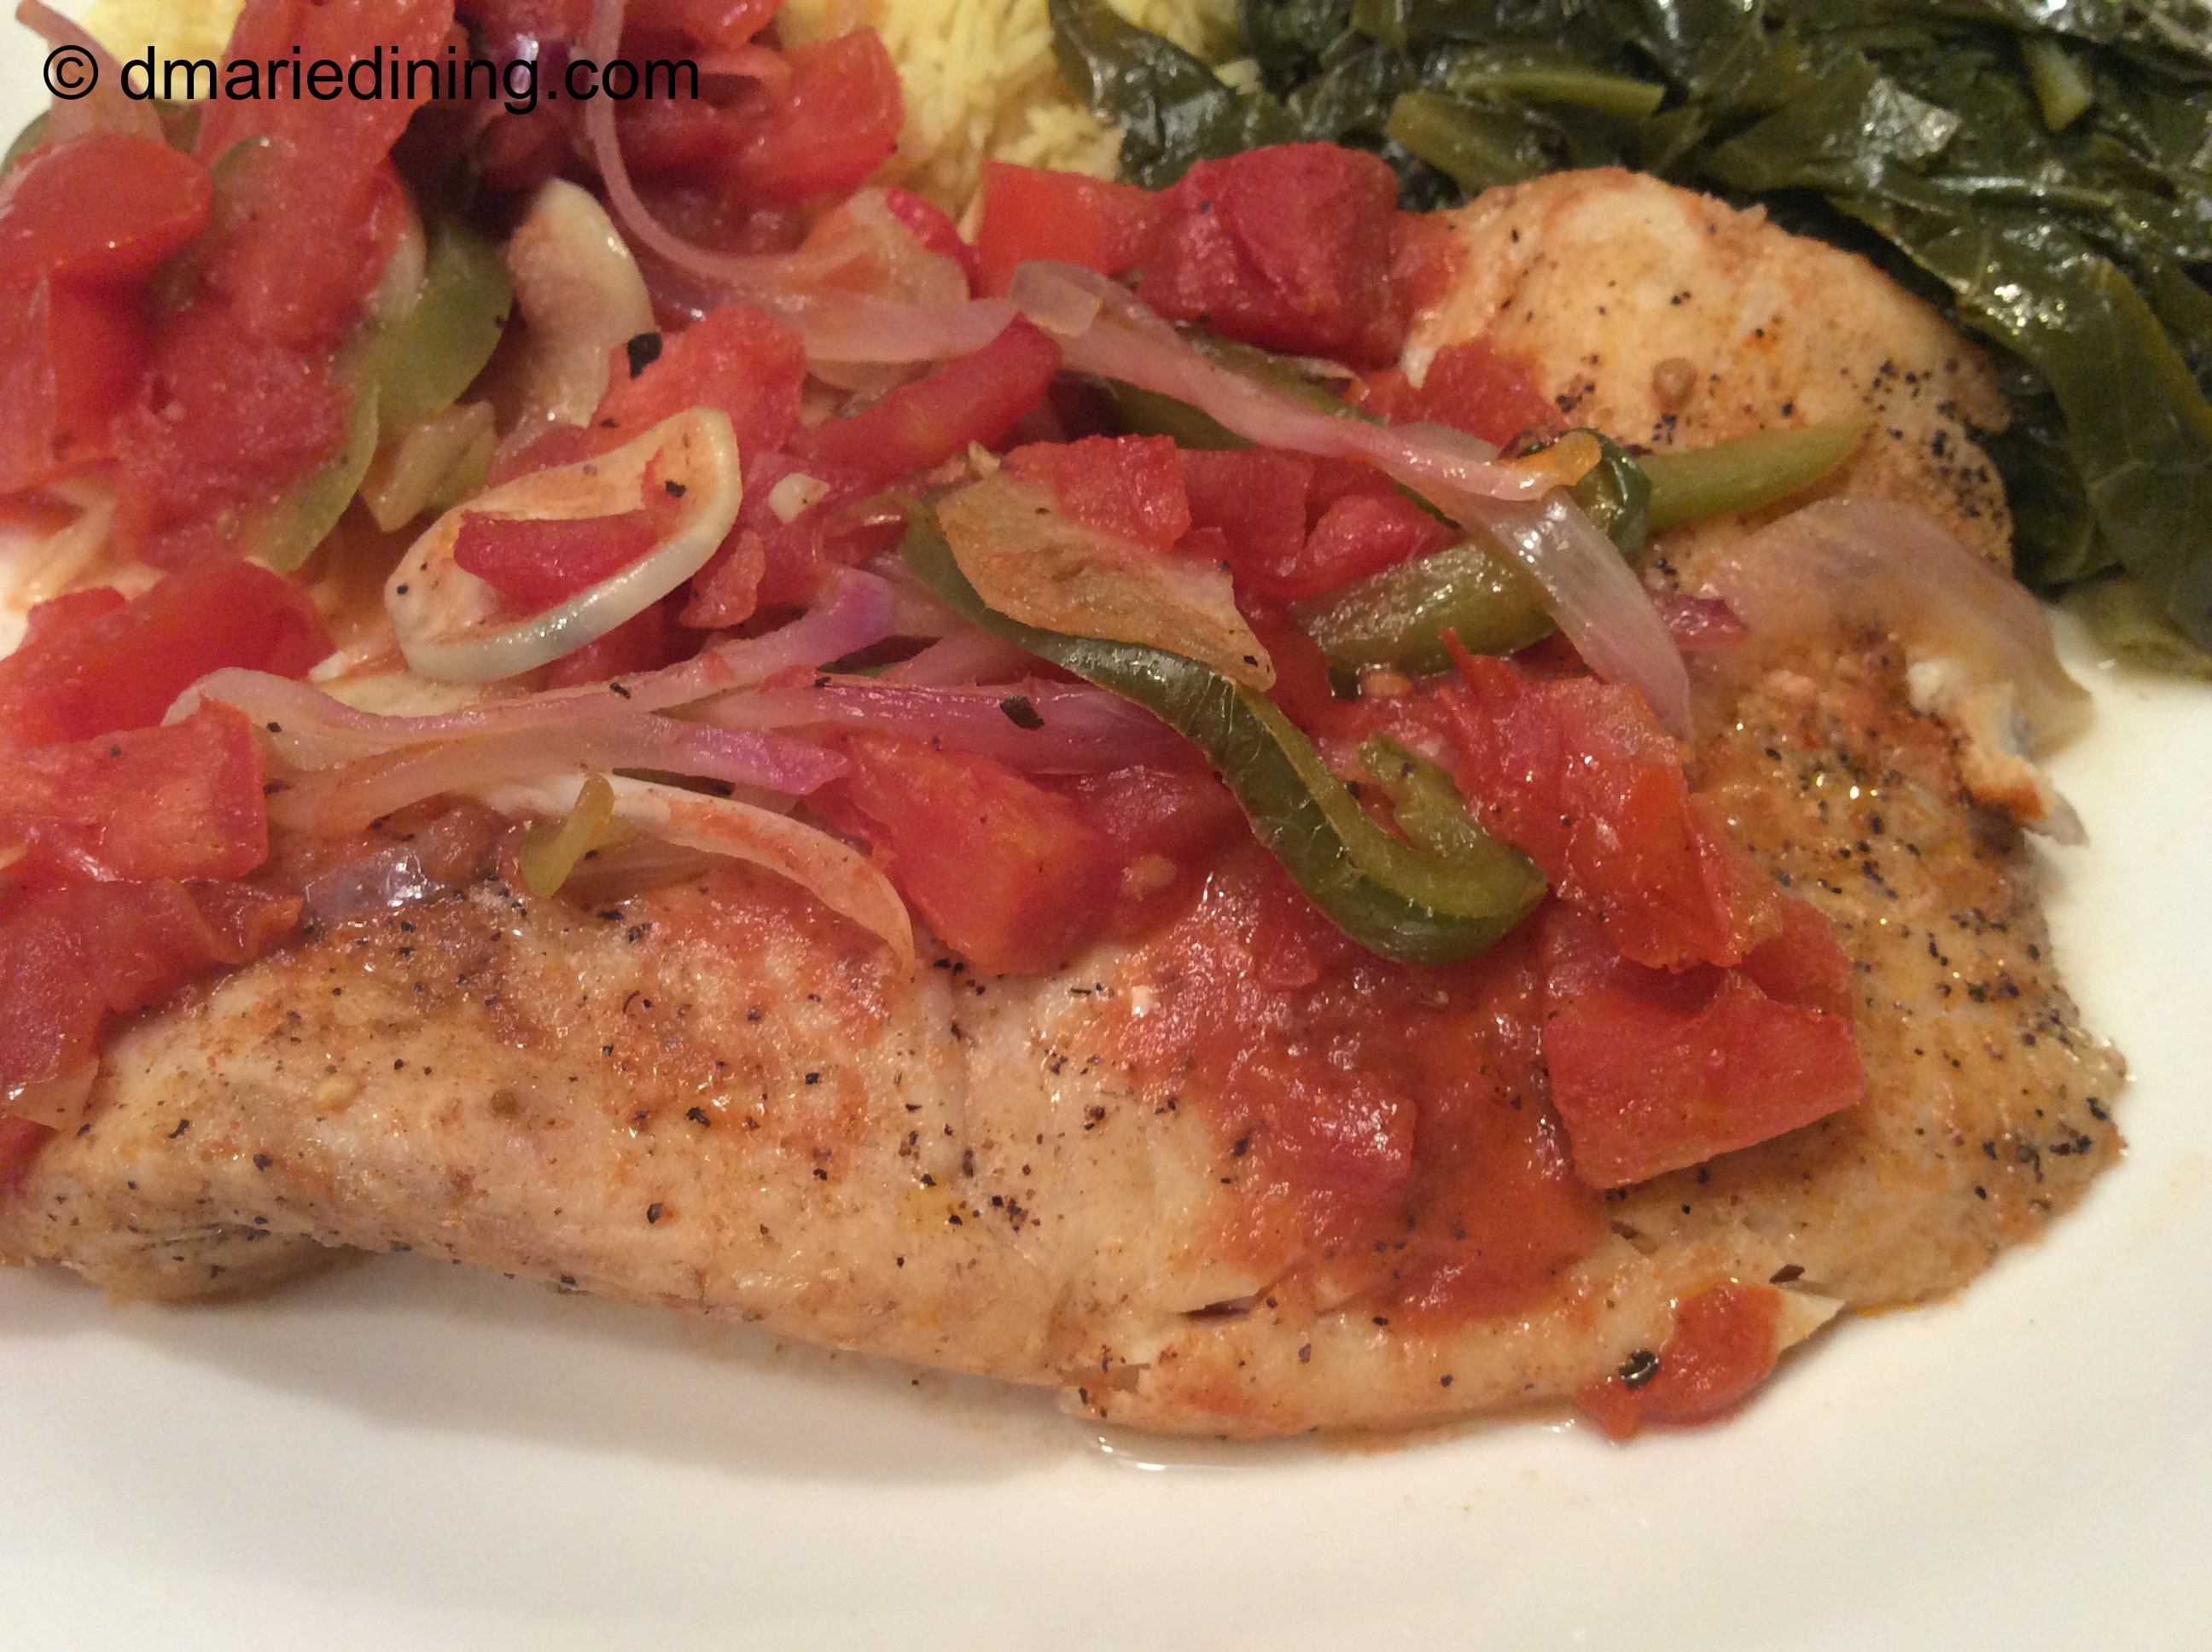

Vera Cruz with Tilapia
Ingredients:
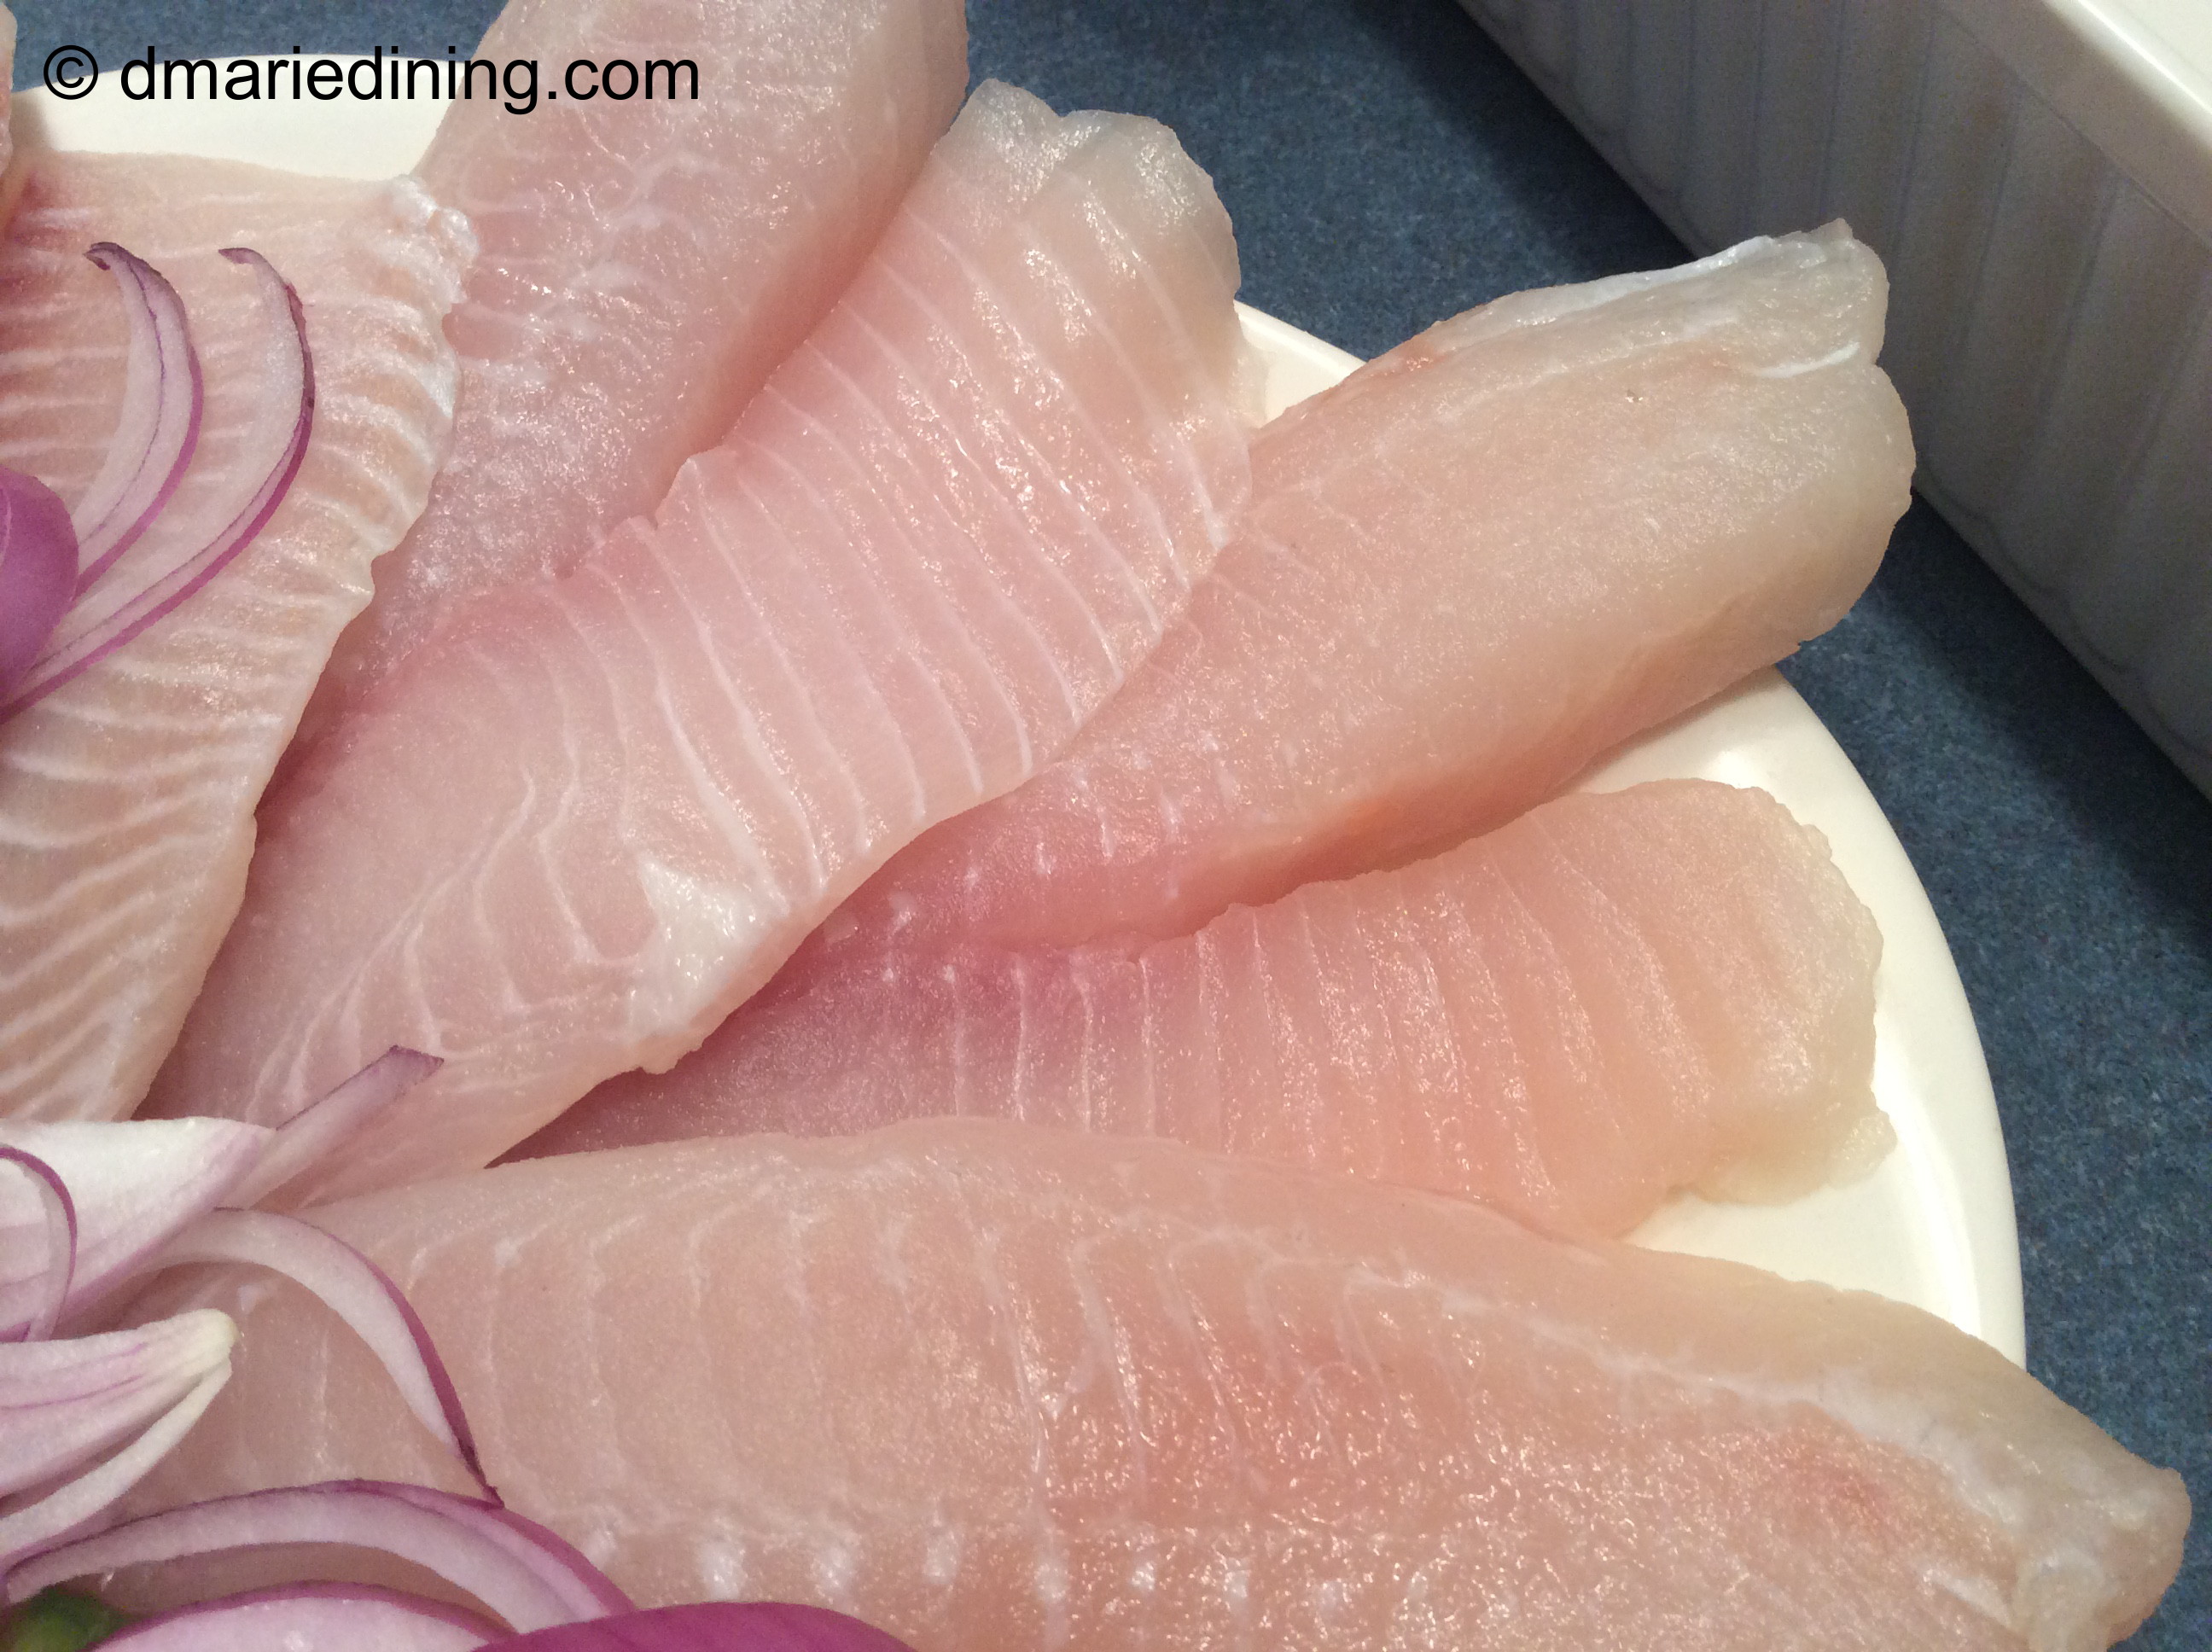
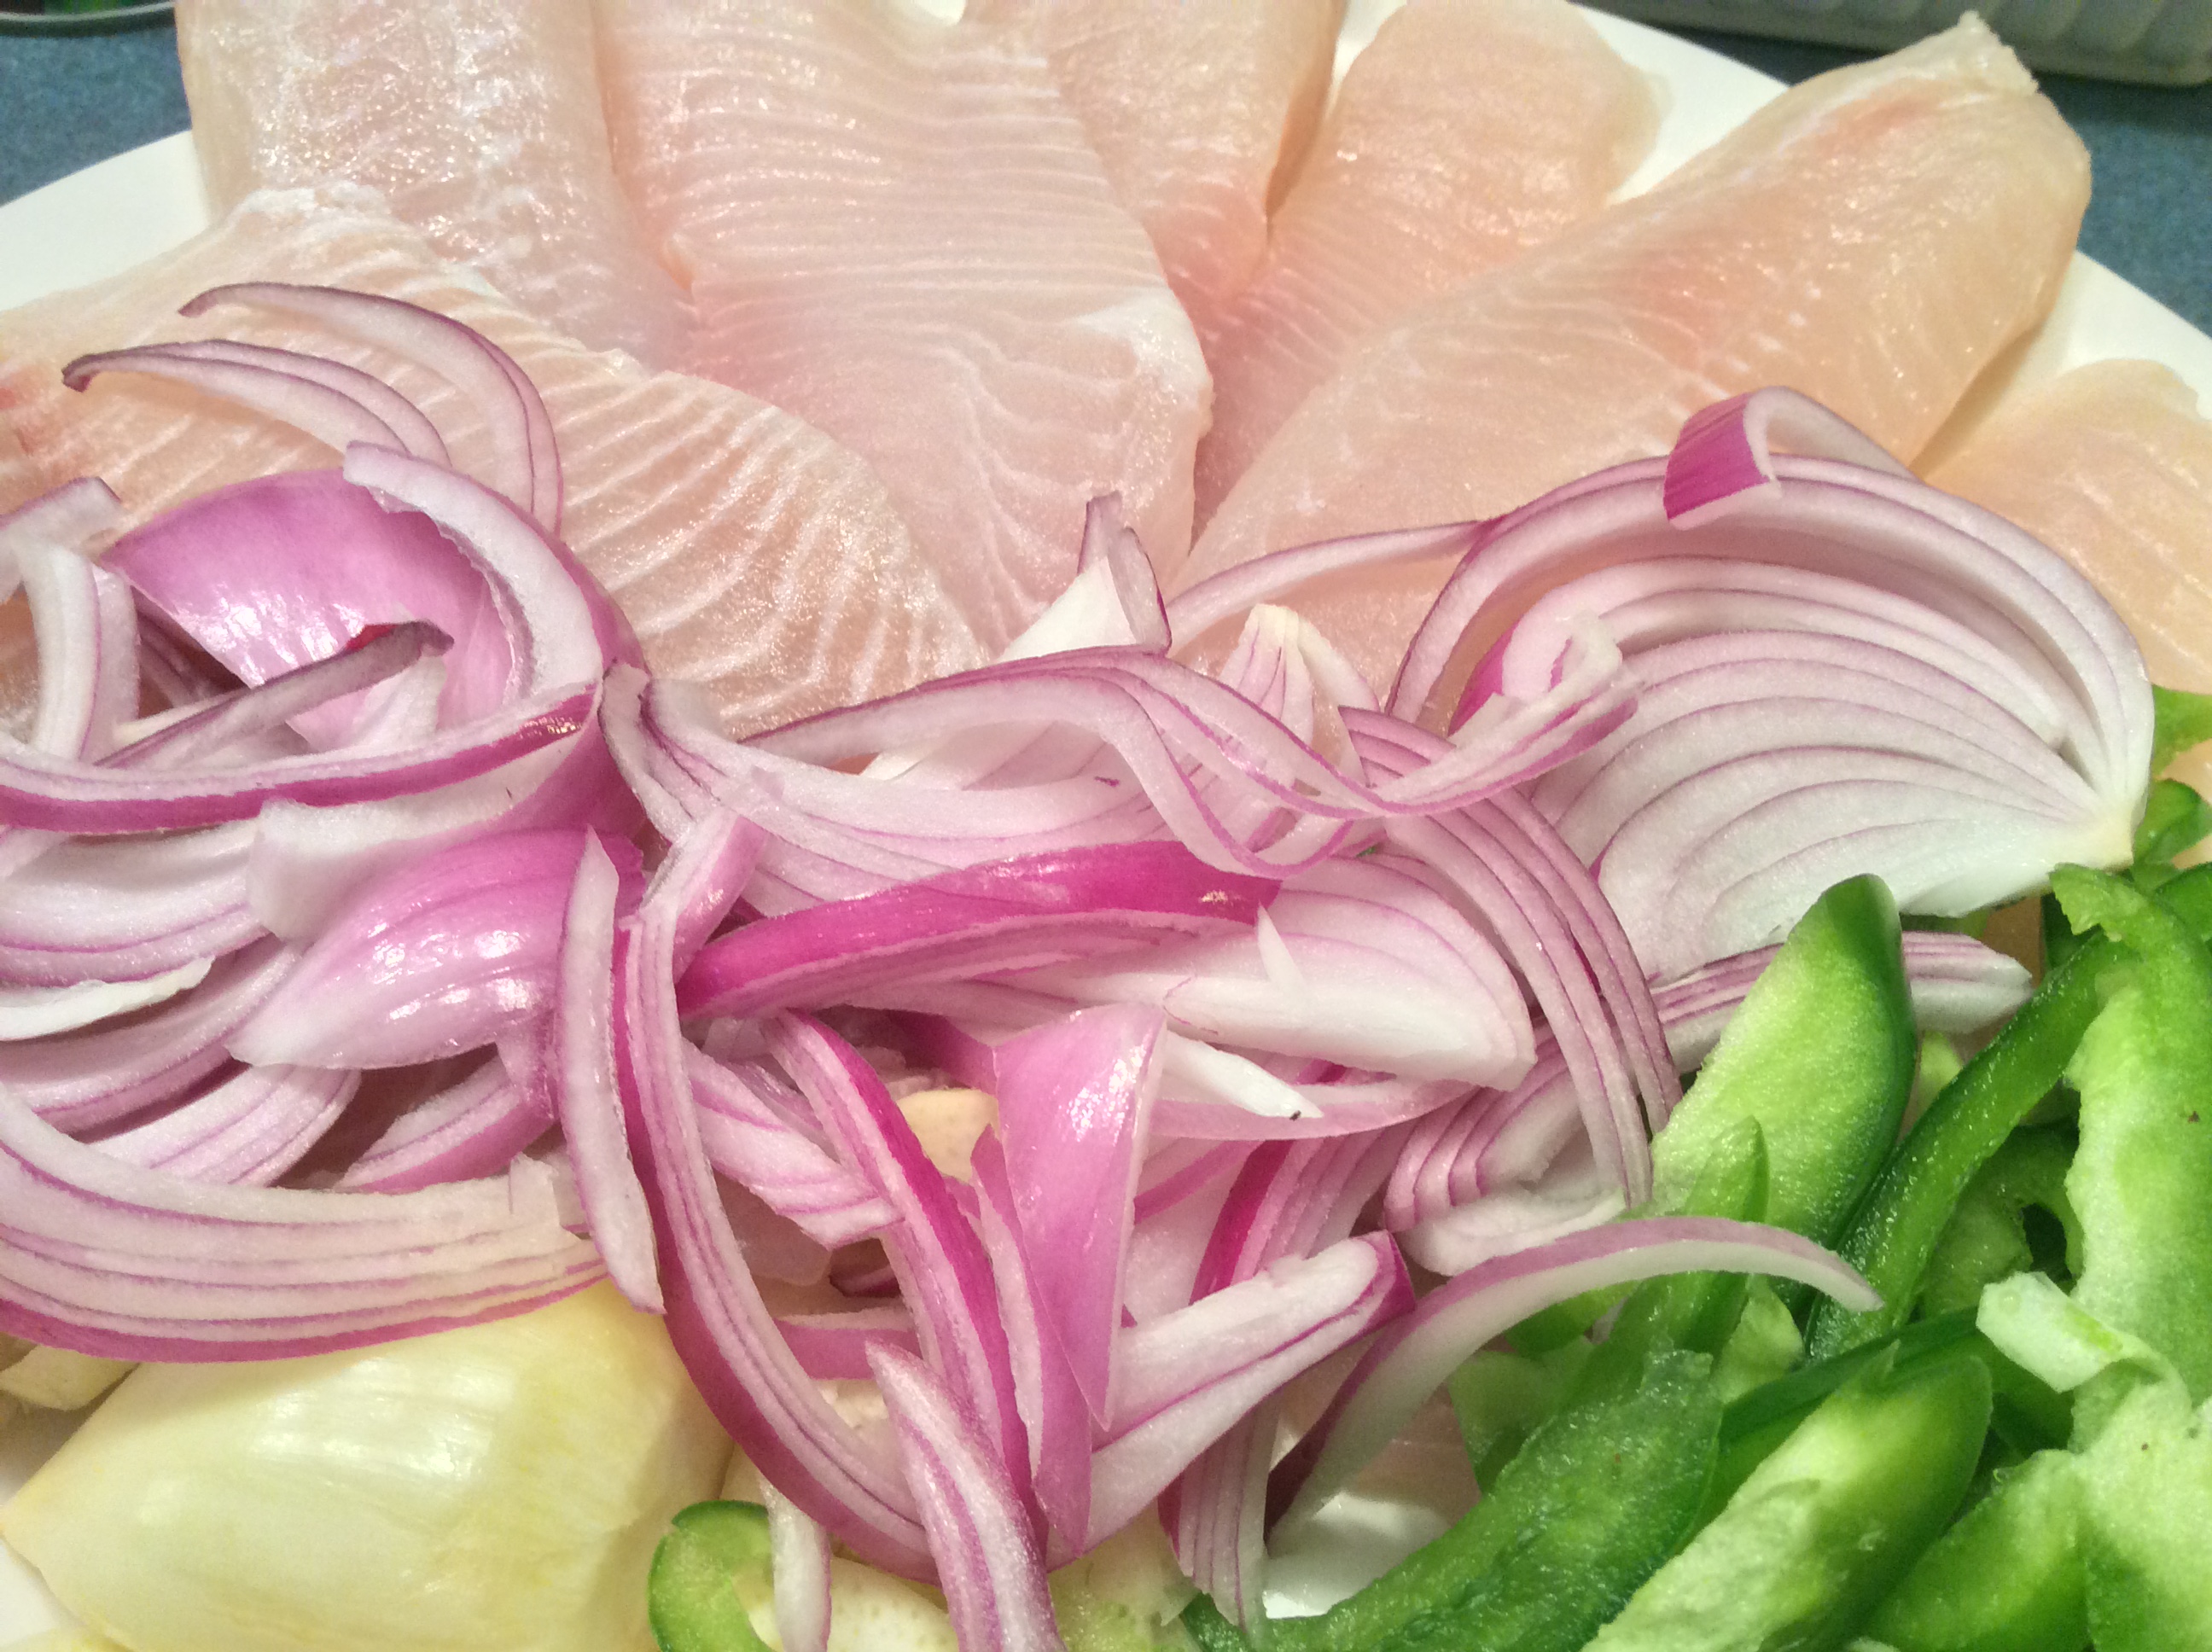
4 tilapia fillets
1 small onion sliced
1 small green pepper sliced
2 scallions diced
2 cloves garlic minced
1 jalapeno pepper diced (remove membrane and some seeds)
1 14 oz can fire roasted tomatoes
1 8 oz can tomato puree or sauce
¼ cup capers
1 tbsp salt
1 tbsp black pepper
1 tsp basil
1 tsp oregano
2 tbsp butter
1 tbsp olive oil
Preheat oven to 350 degrees.
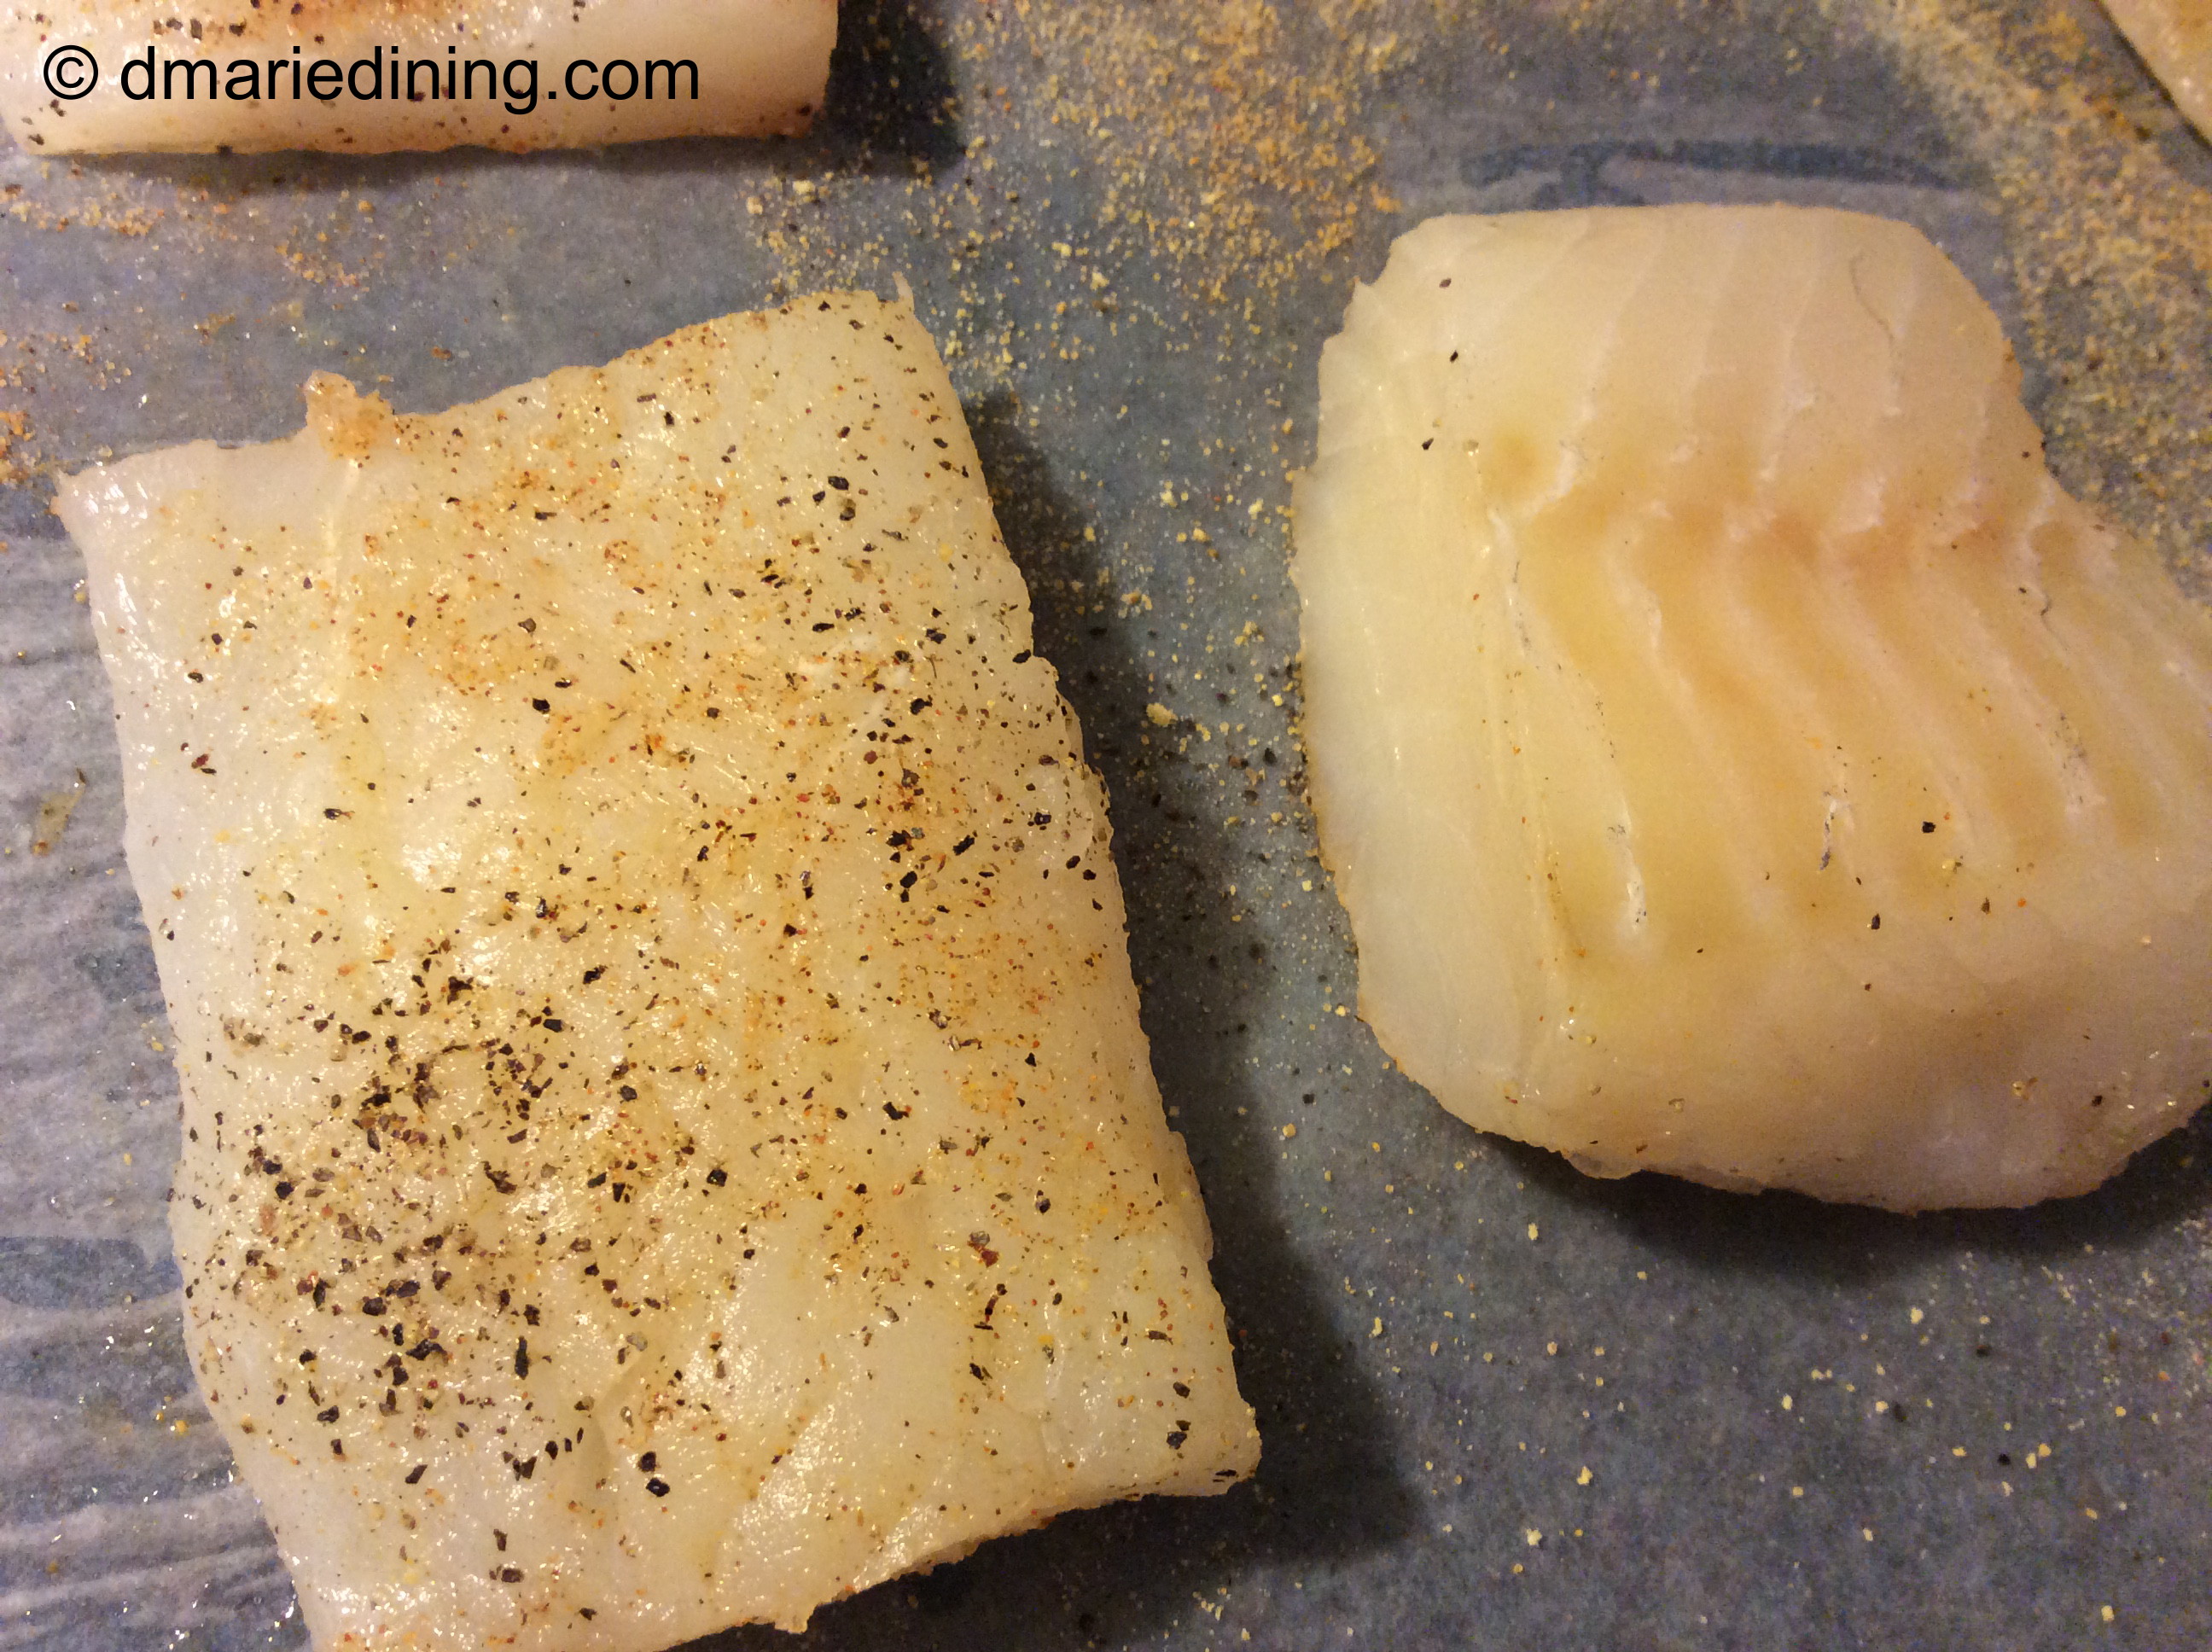
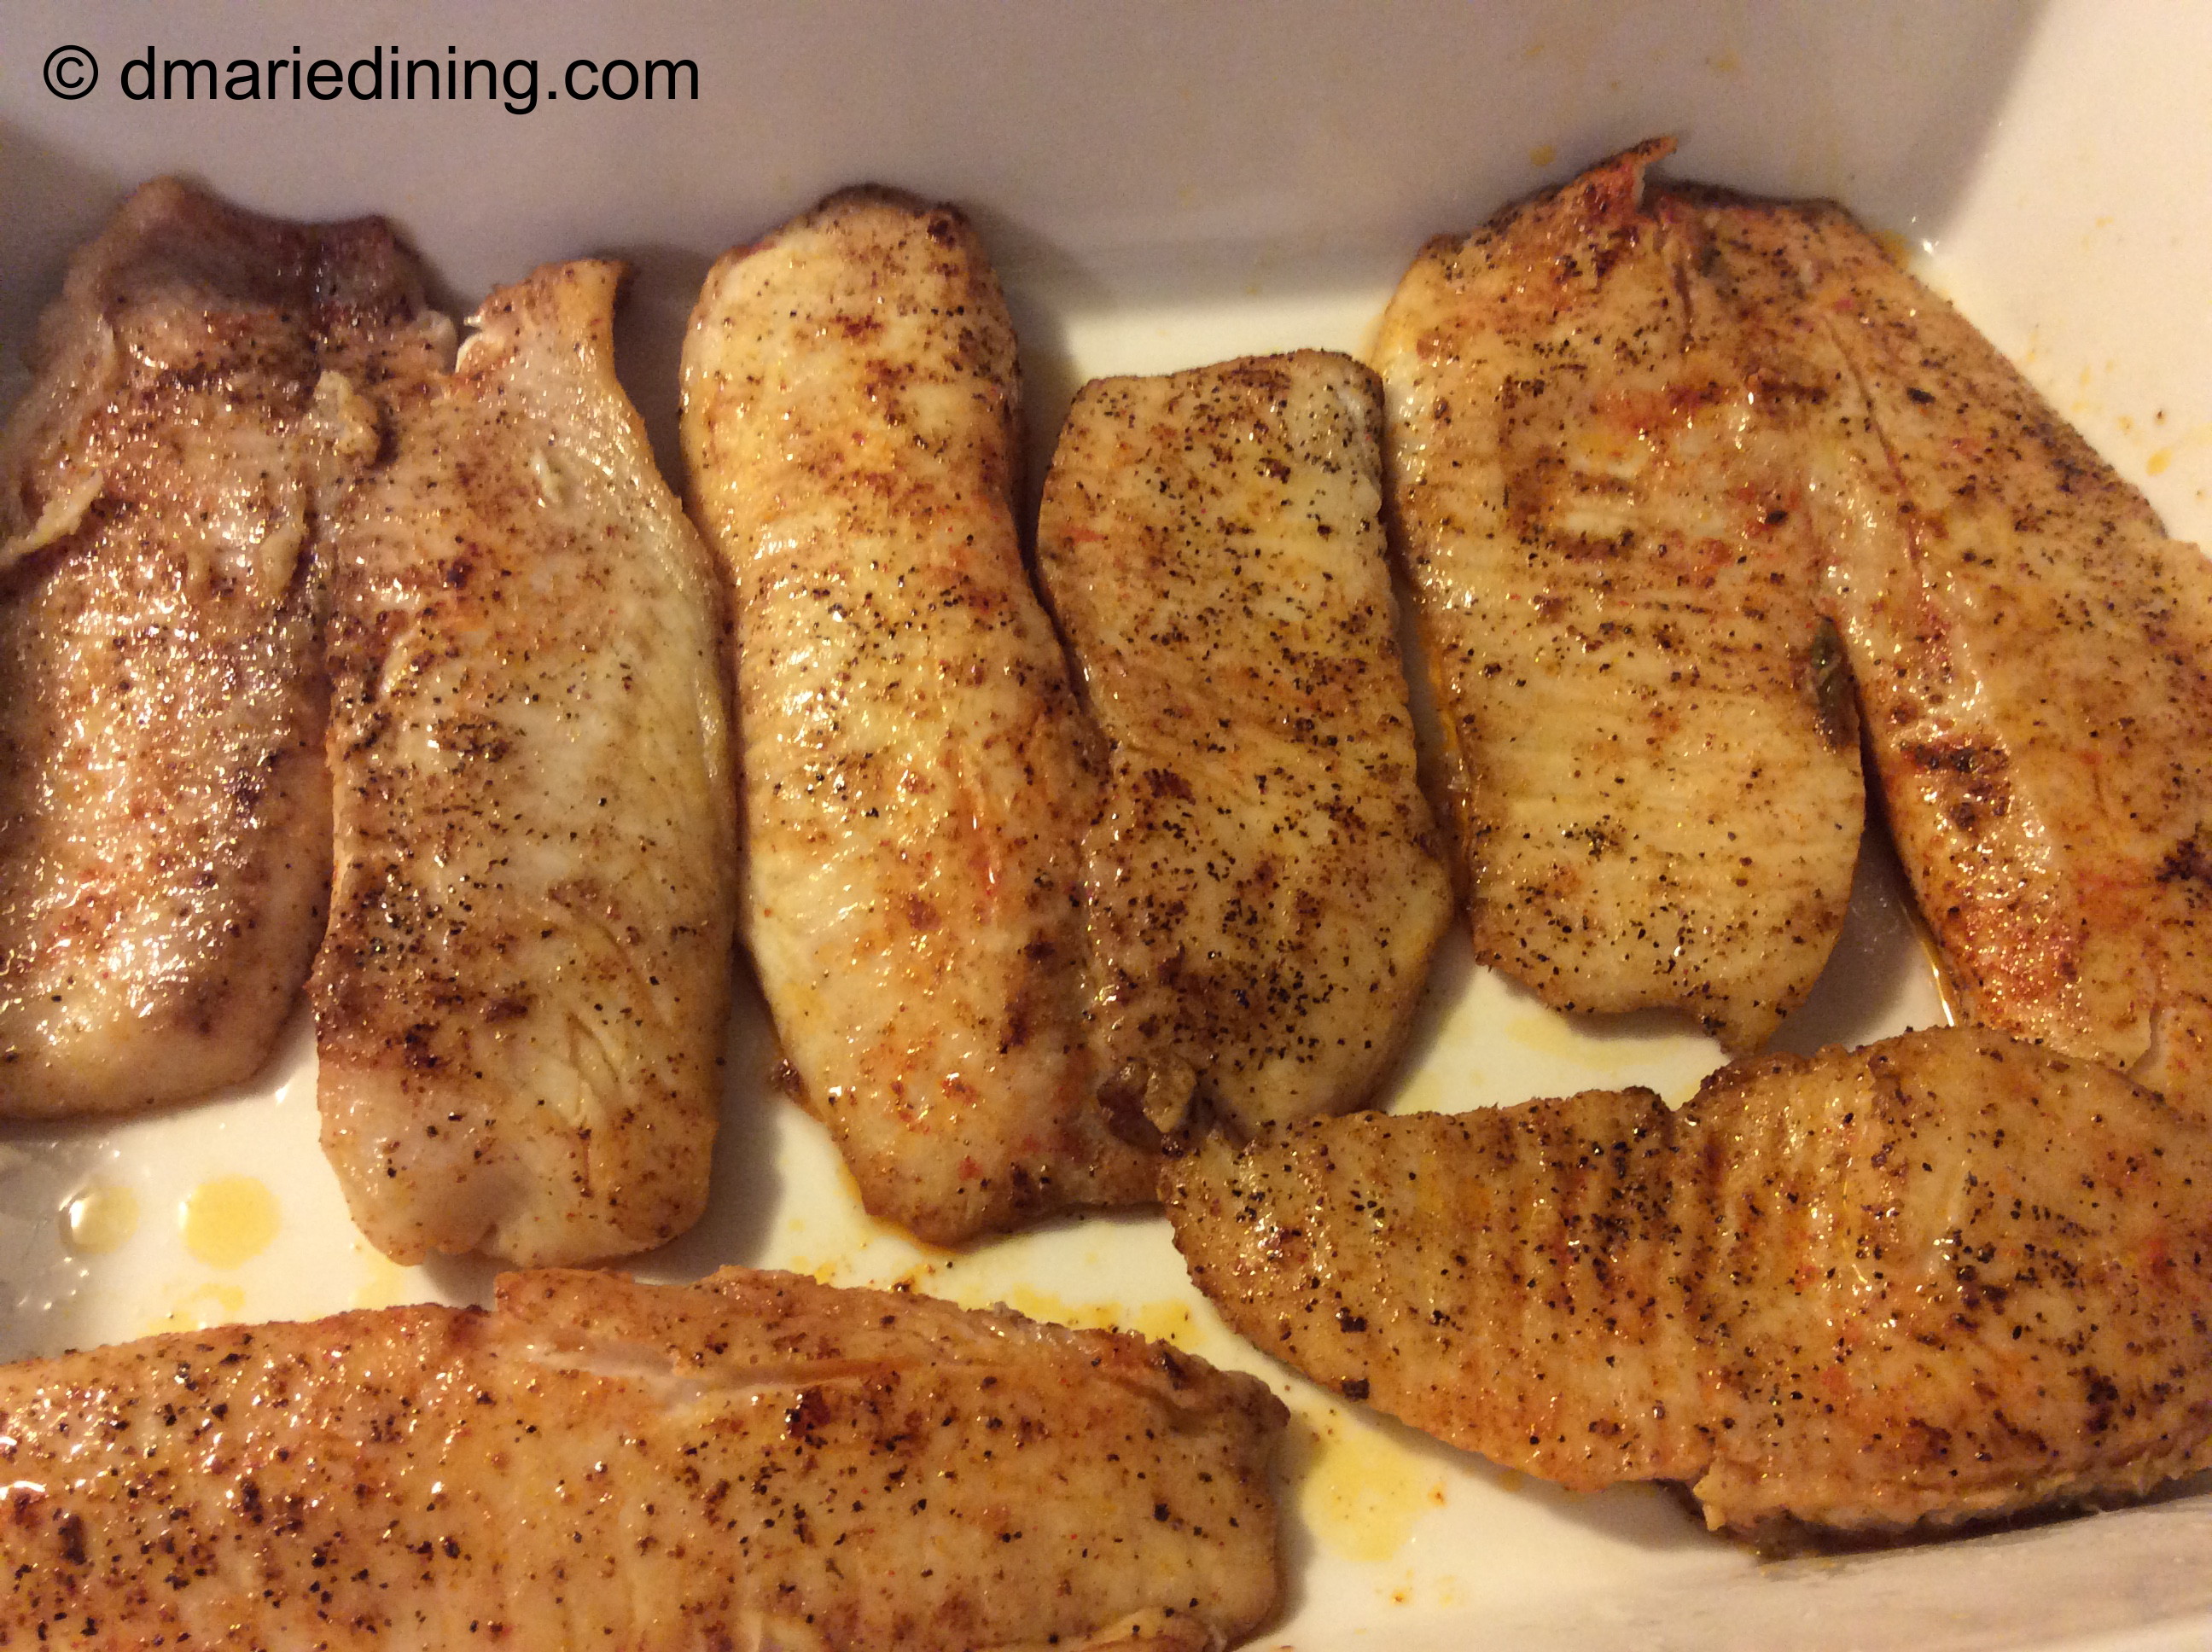
Season fish with a little salt and black pepper. Set aside.
Melt butter along with olive oil in a large non-stick frying pan over medium high heat. Add two pieces of fish and brown lightly on both sides. Place fish in a long casserole dish. Repeat with remaining fish and set aside.
Reduce heat to medium then add onion, scallions, green pepper and garlic to the pan. Season with salt and black pepper. Stir for 1 – 2 minutes until veggies soften a little and watch carefully so that garlic does not burn. Add roasted tomatoes and tomato puree/ sauce along with remaining seasonings. Simmer over medium low heat for 5 minutes. Pour mixture over fish and sprinkle with capers. Place in oven and bake for 15 minutes until fish is fully cooked.