Category Archives: Vegetables

Penne Pasta and Eggplant with Spicy Meatballs on the side

This post is dedicated to Kashana who is a foodie like me. Kashana and I met at one of my favorite places – Starbucks. We happen to strike up a conversation about food and since then she has been a visitor to my blog. It is nice when someone outside of family appreciates many of the recipe ideas I have shared over the years.

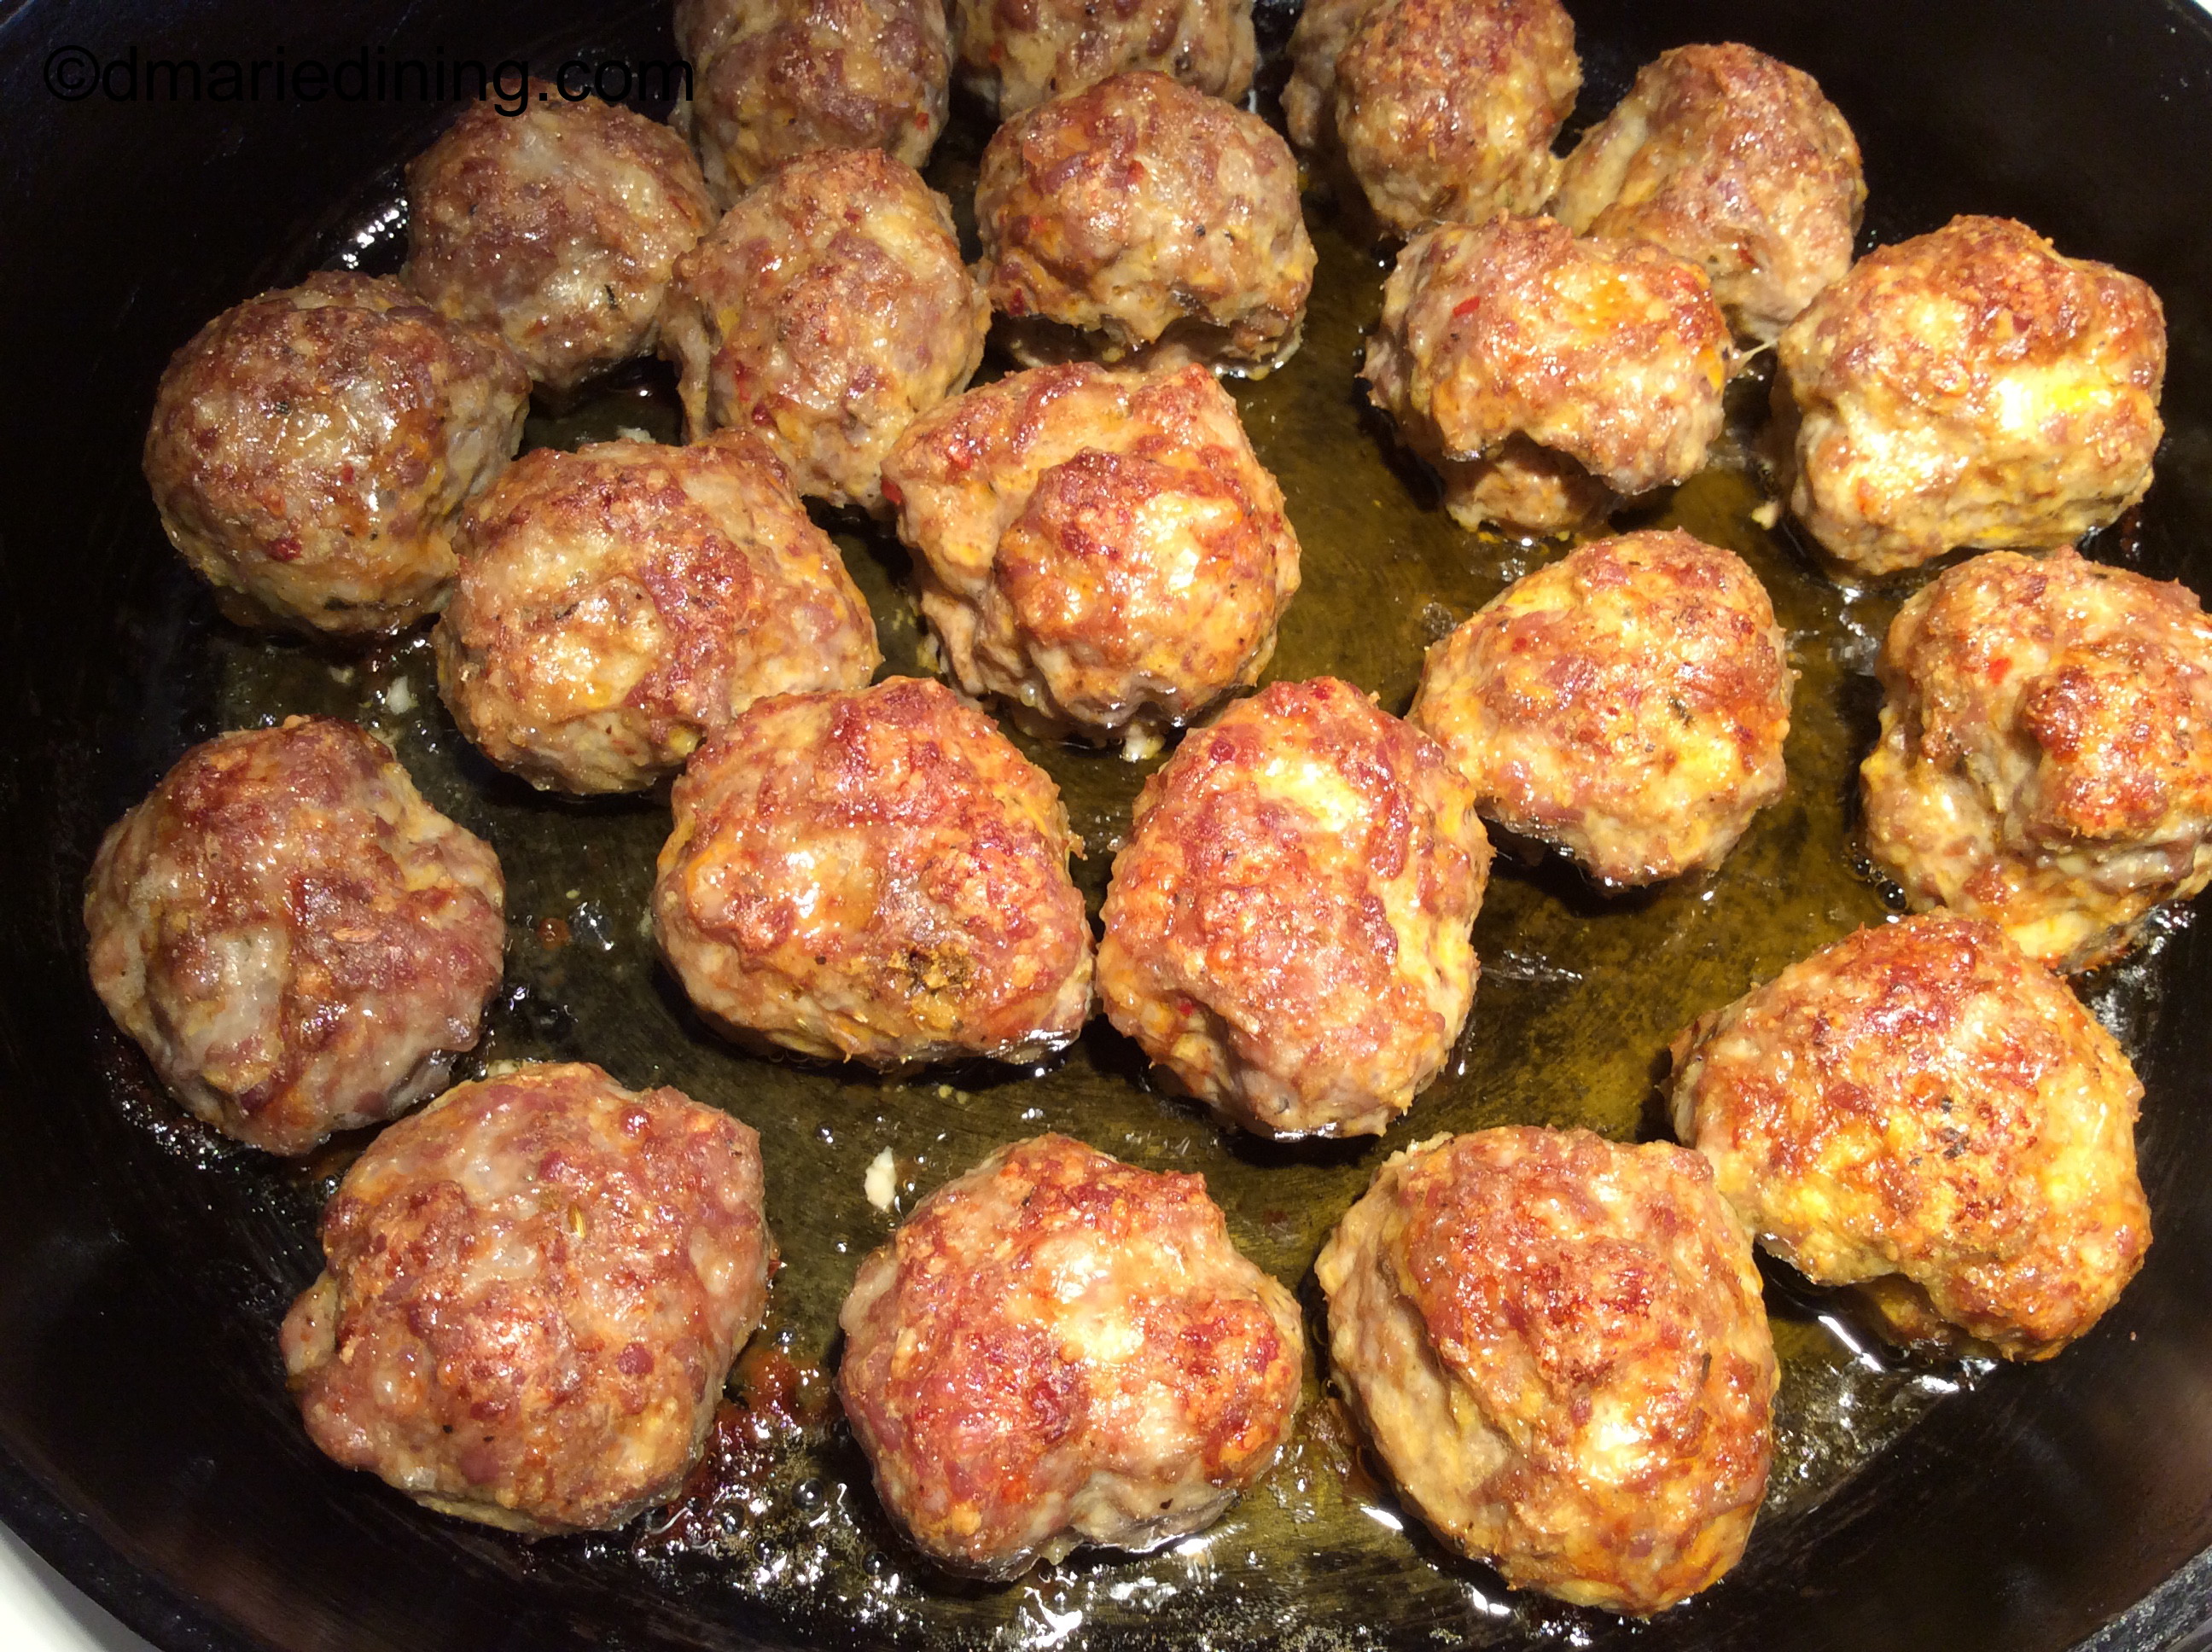
I have to admit that this recipe was adapted from another recipe I saw on a cooking show. I thought it would be a nice recipe for the days when I wanted a meatless dish that was also quite filling. Adding spicy meatballs on the side was a way for me to please others that liked a meatless dish as well as those that are true carnivores no matter what.

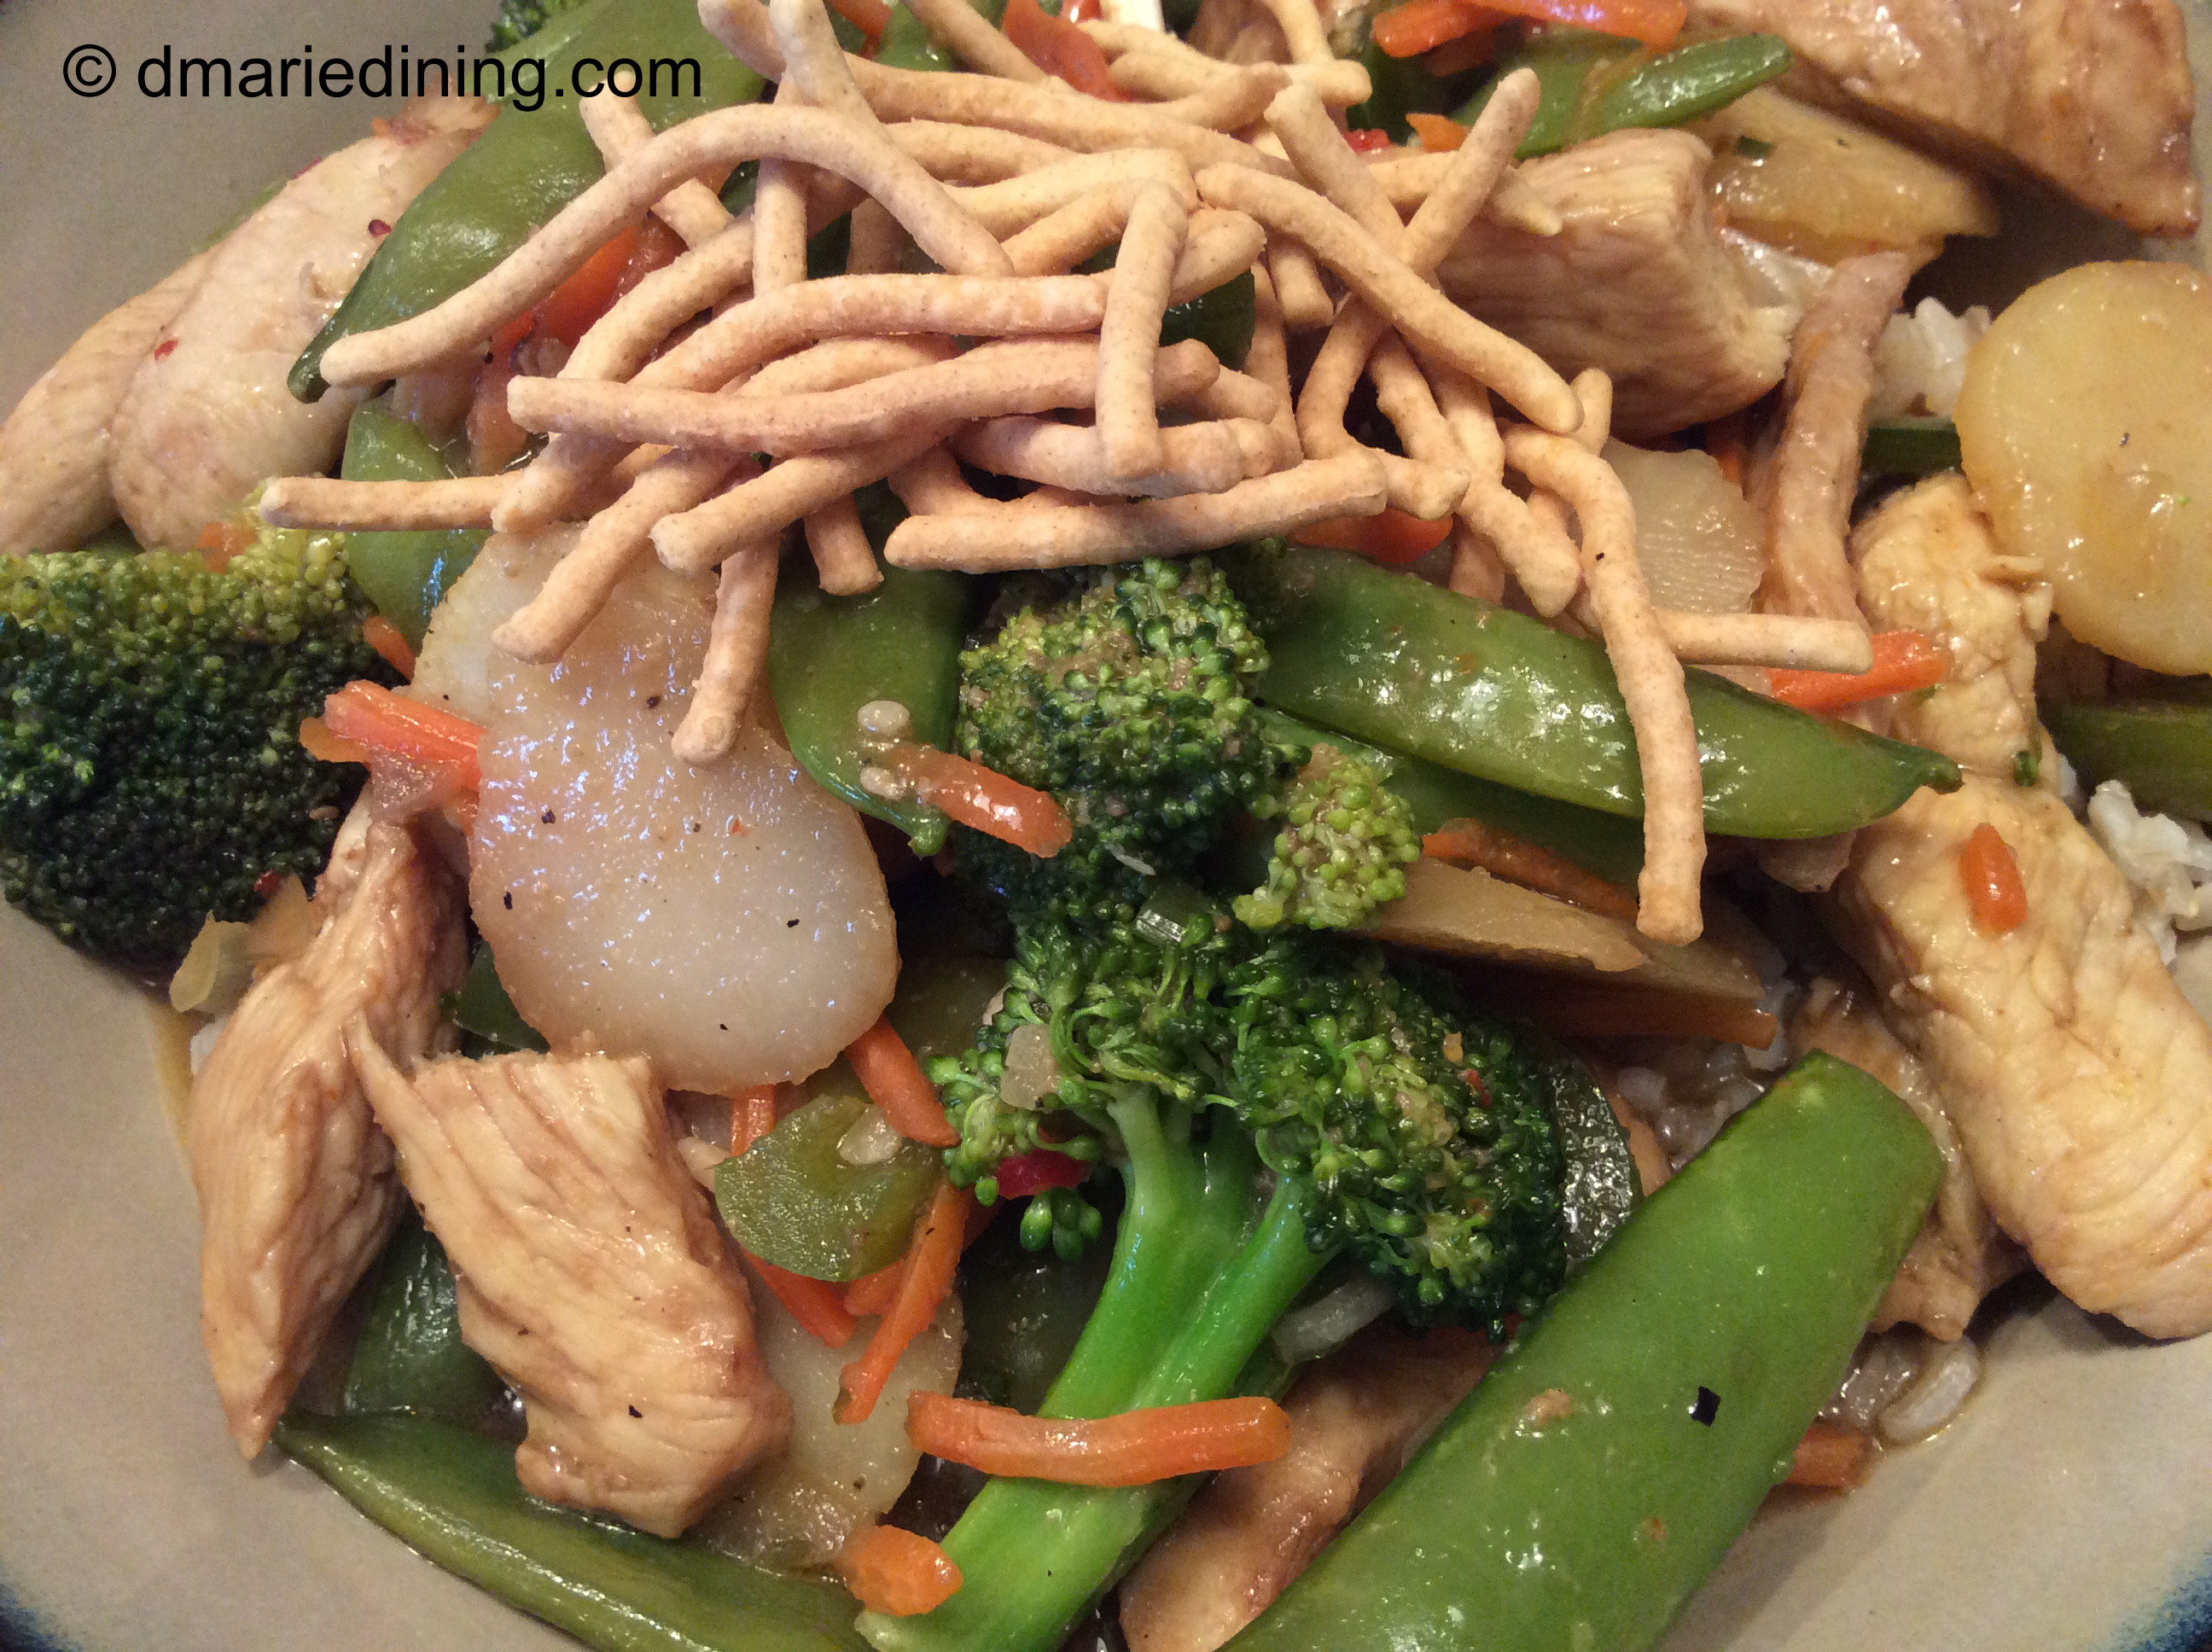
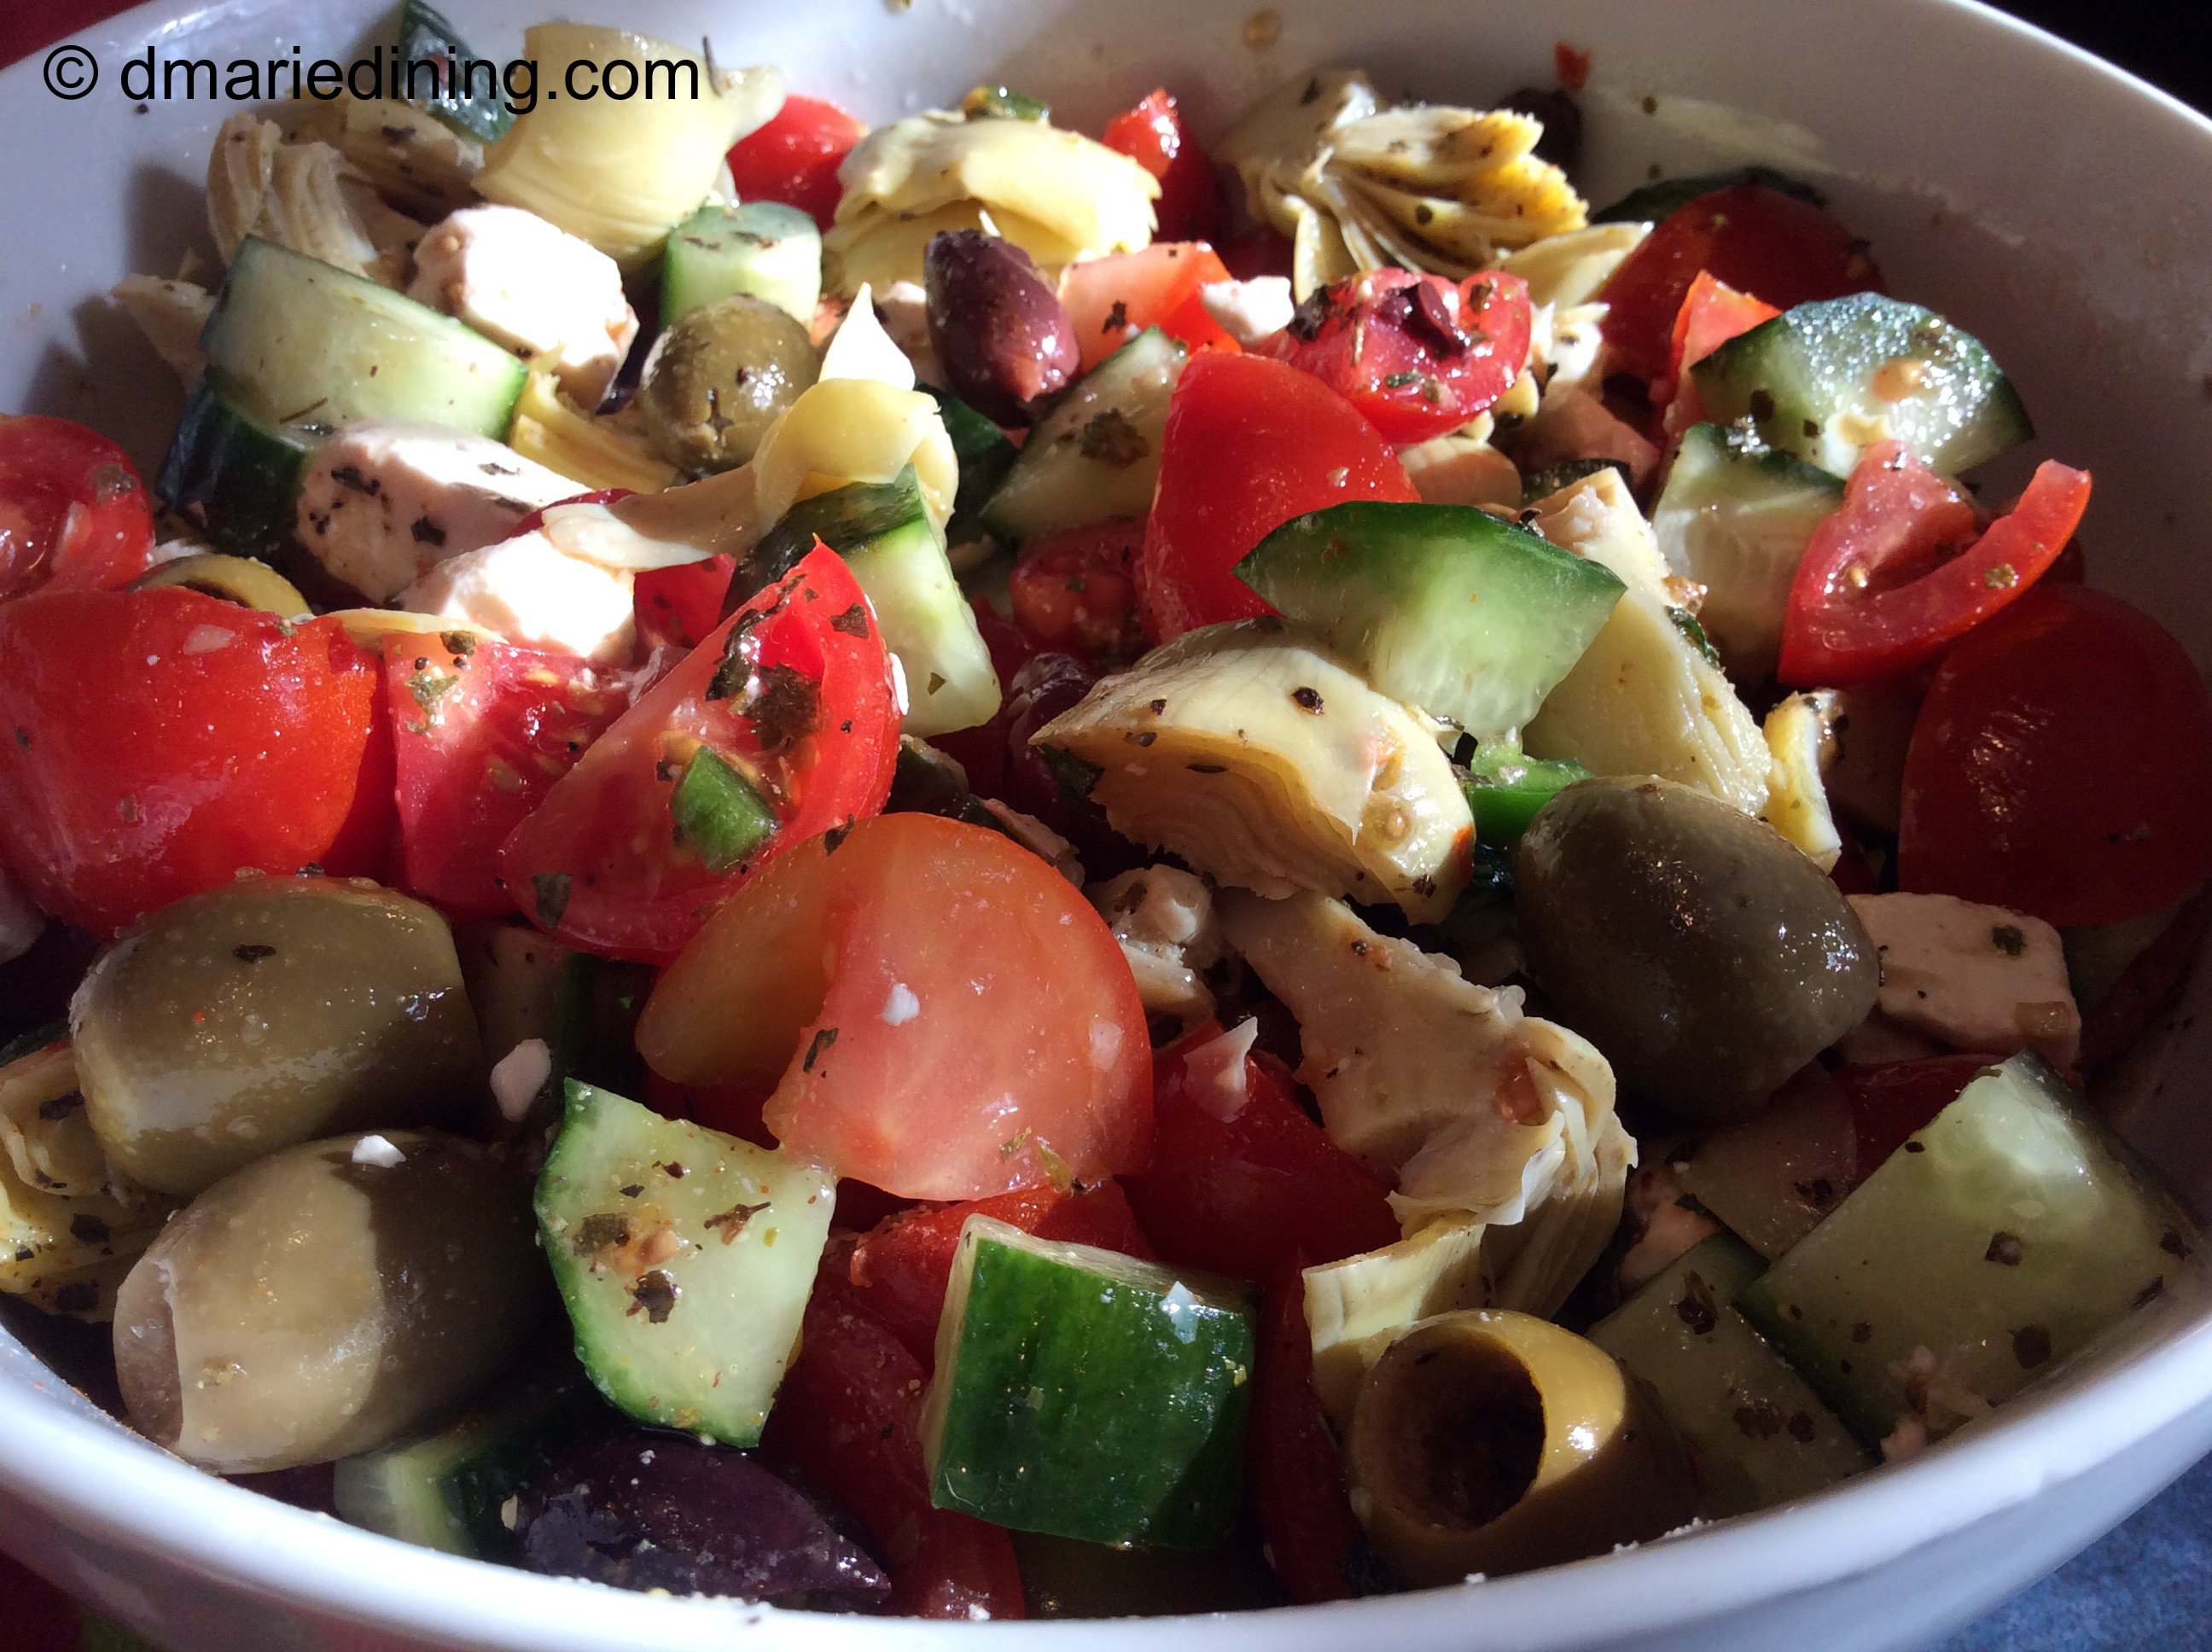
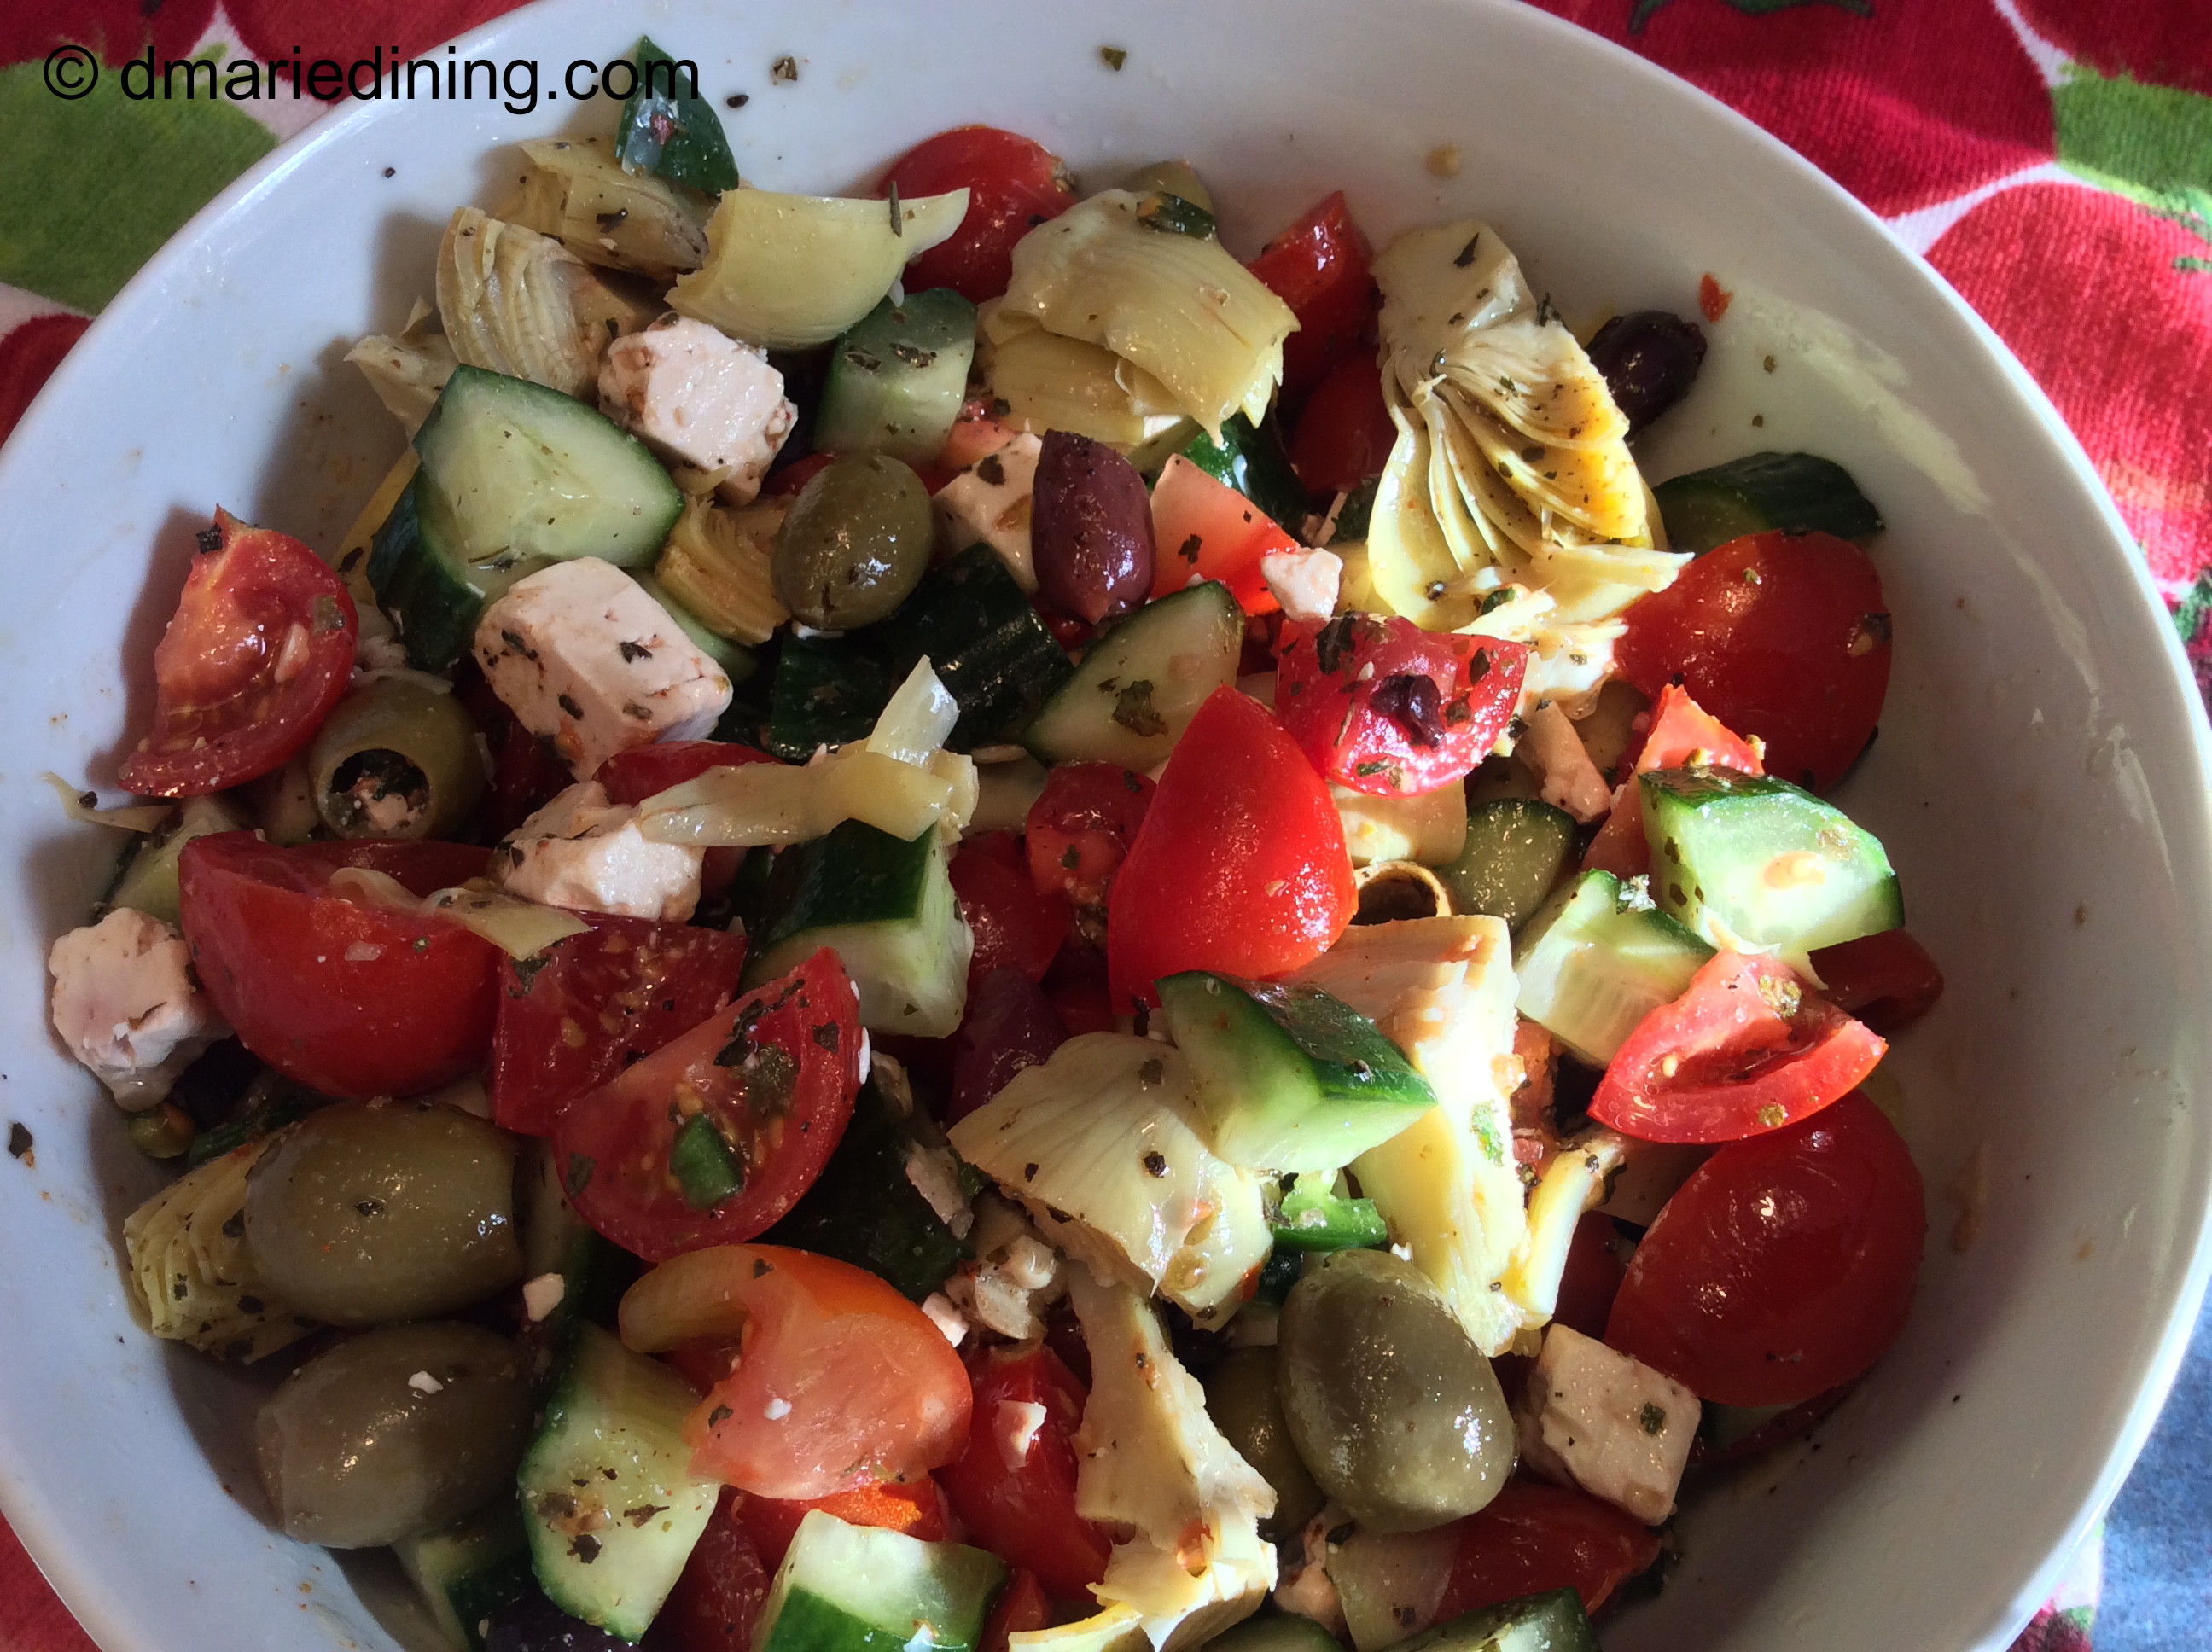
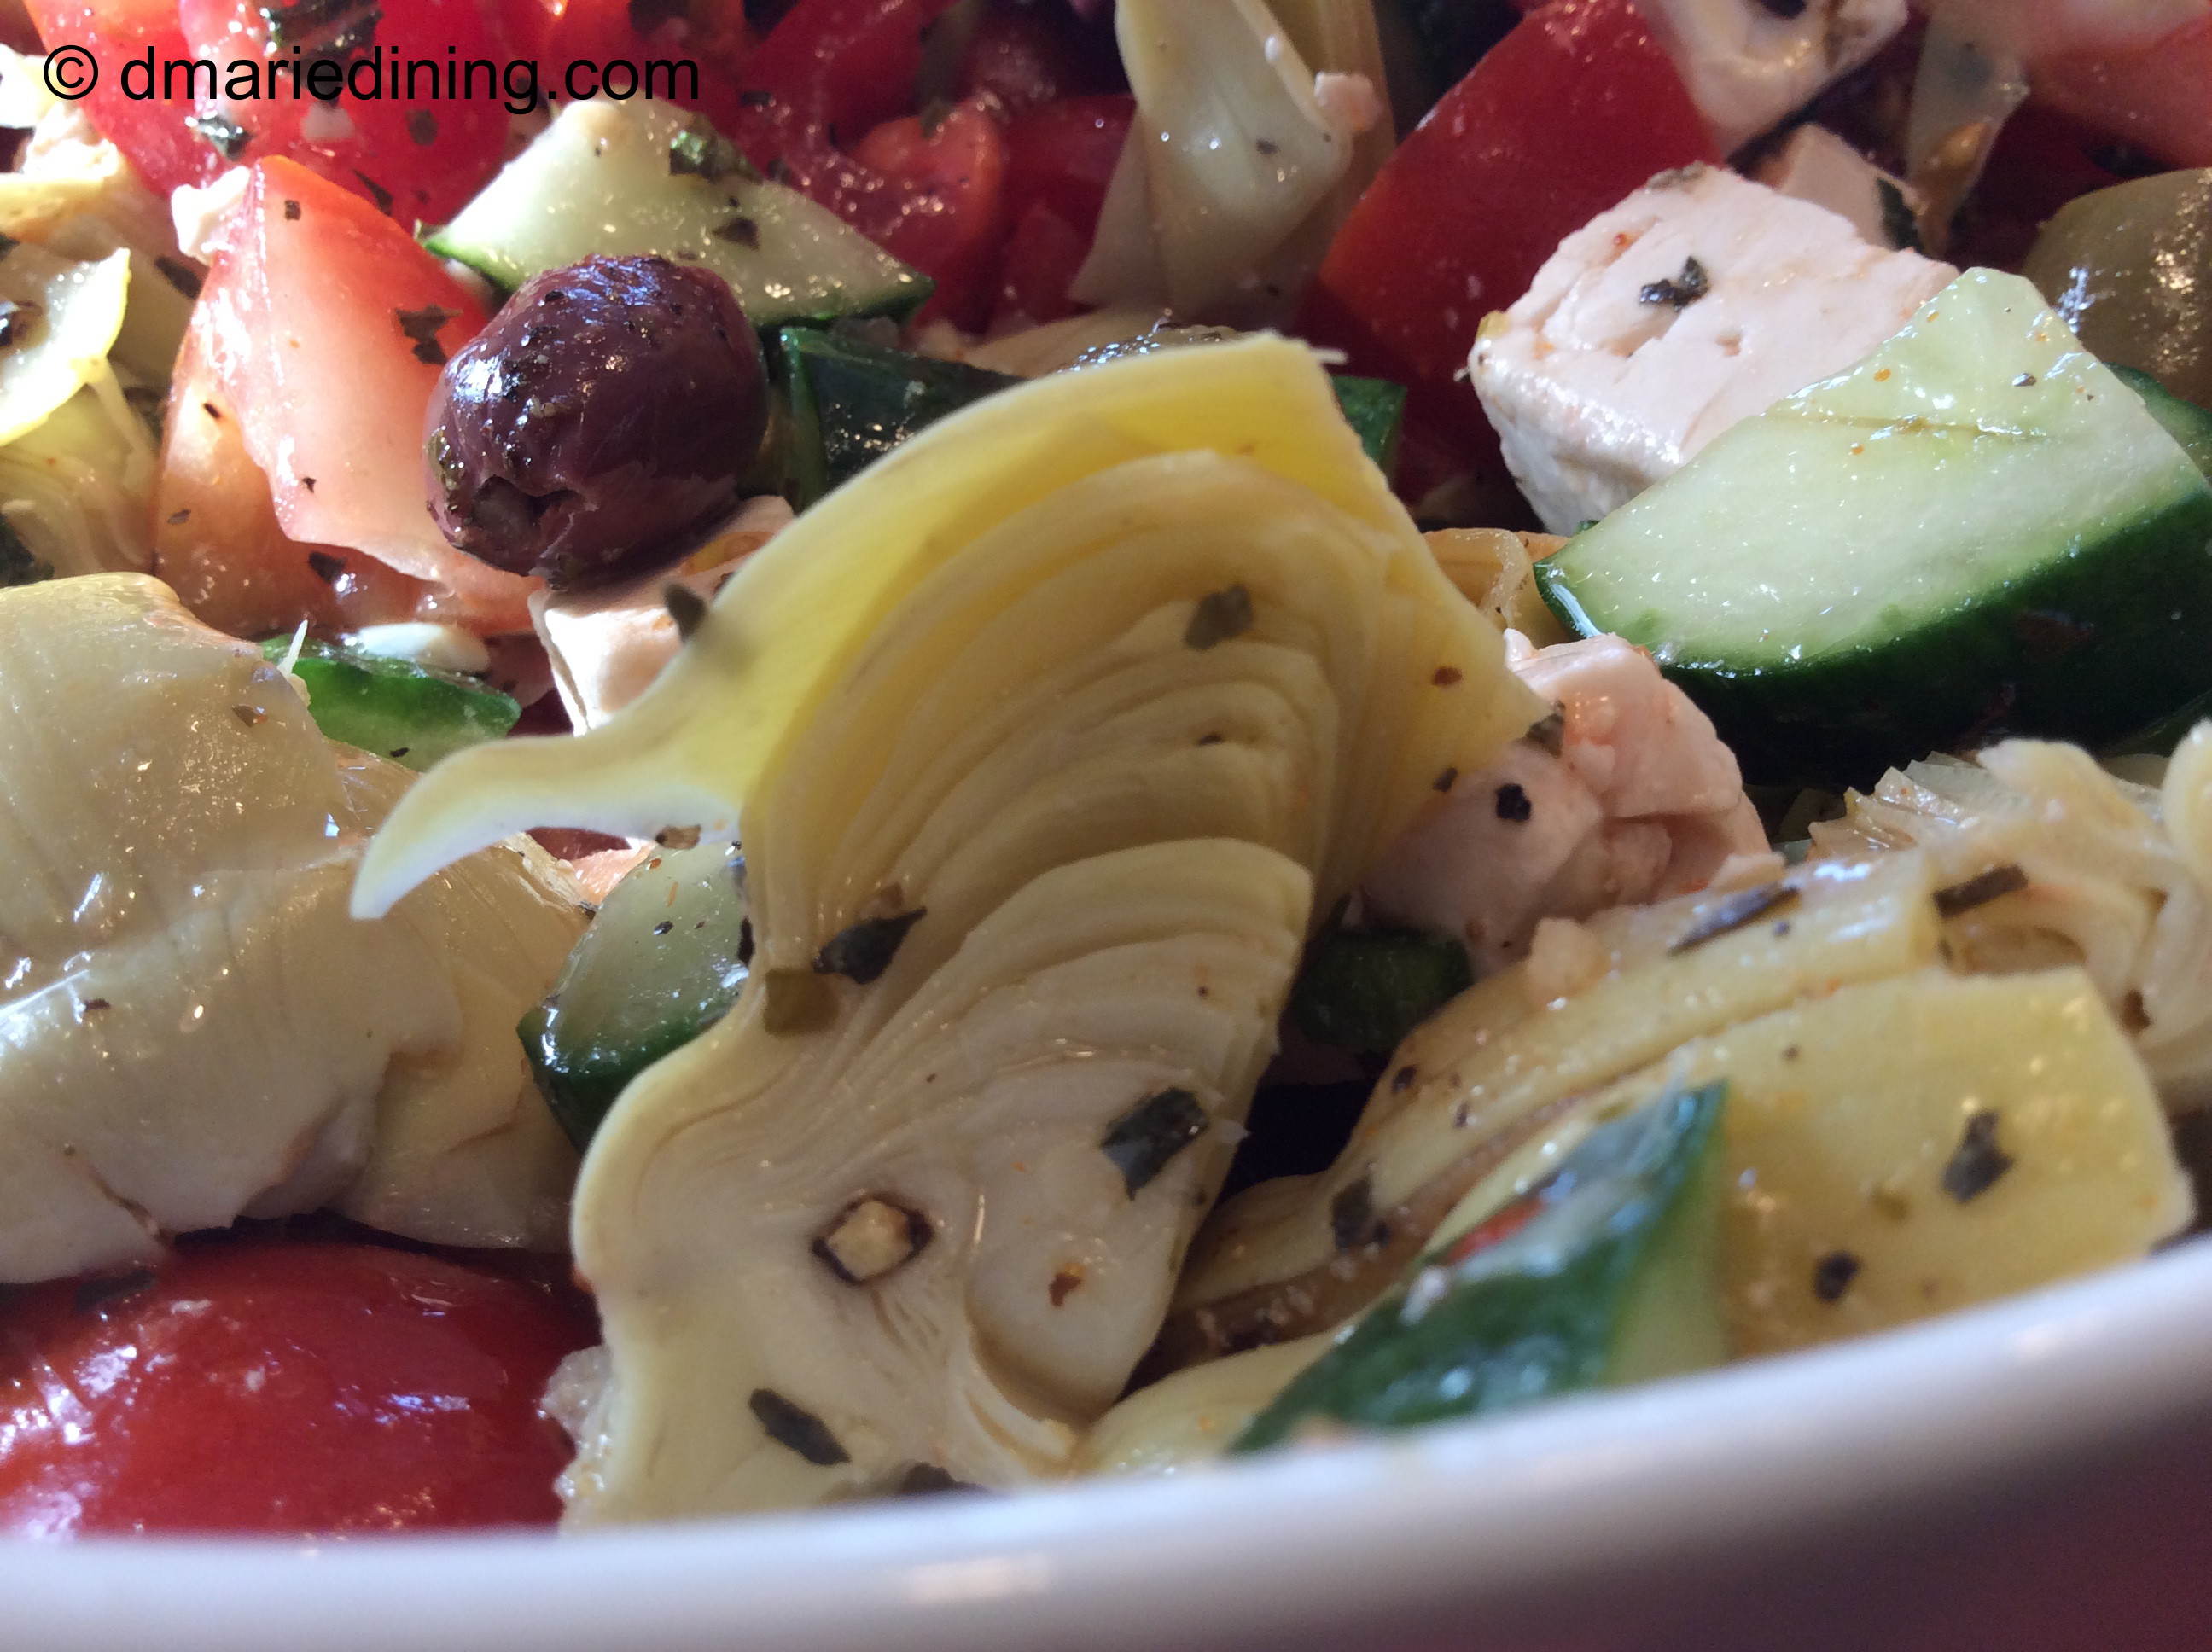
This recipe really came in handy recently when my sister, who is a vegetarian, and brother-in-law joined us for dinner at our house. I was surprised that night when my sister shared that she no longer eats pasta, flour, sugar, etc. Fortunately, I had also prepared blackened salmon because I knew she liked salmon which I figured would go with the pasta. So all was not lost with my dinner menu which included a delicious salad (per the family) along with steamed broccoli topped with melted cheese.

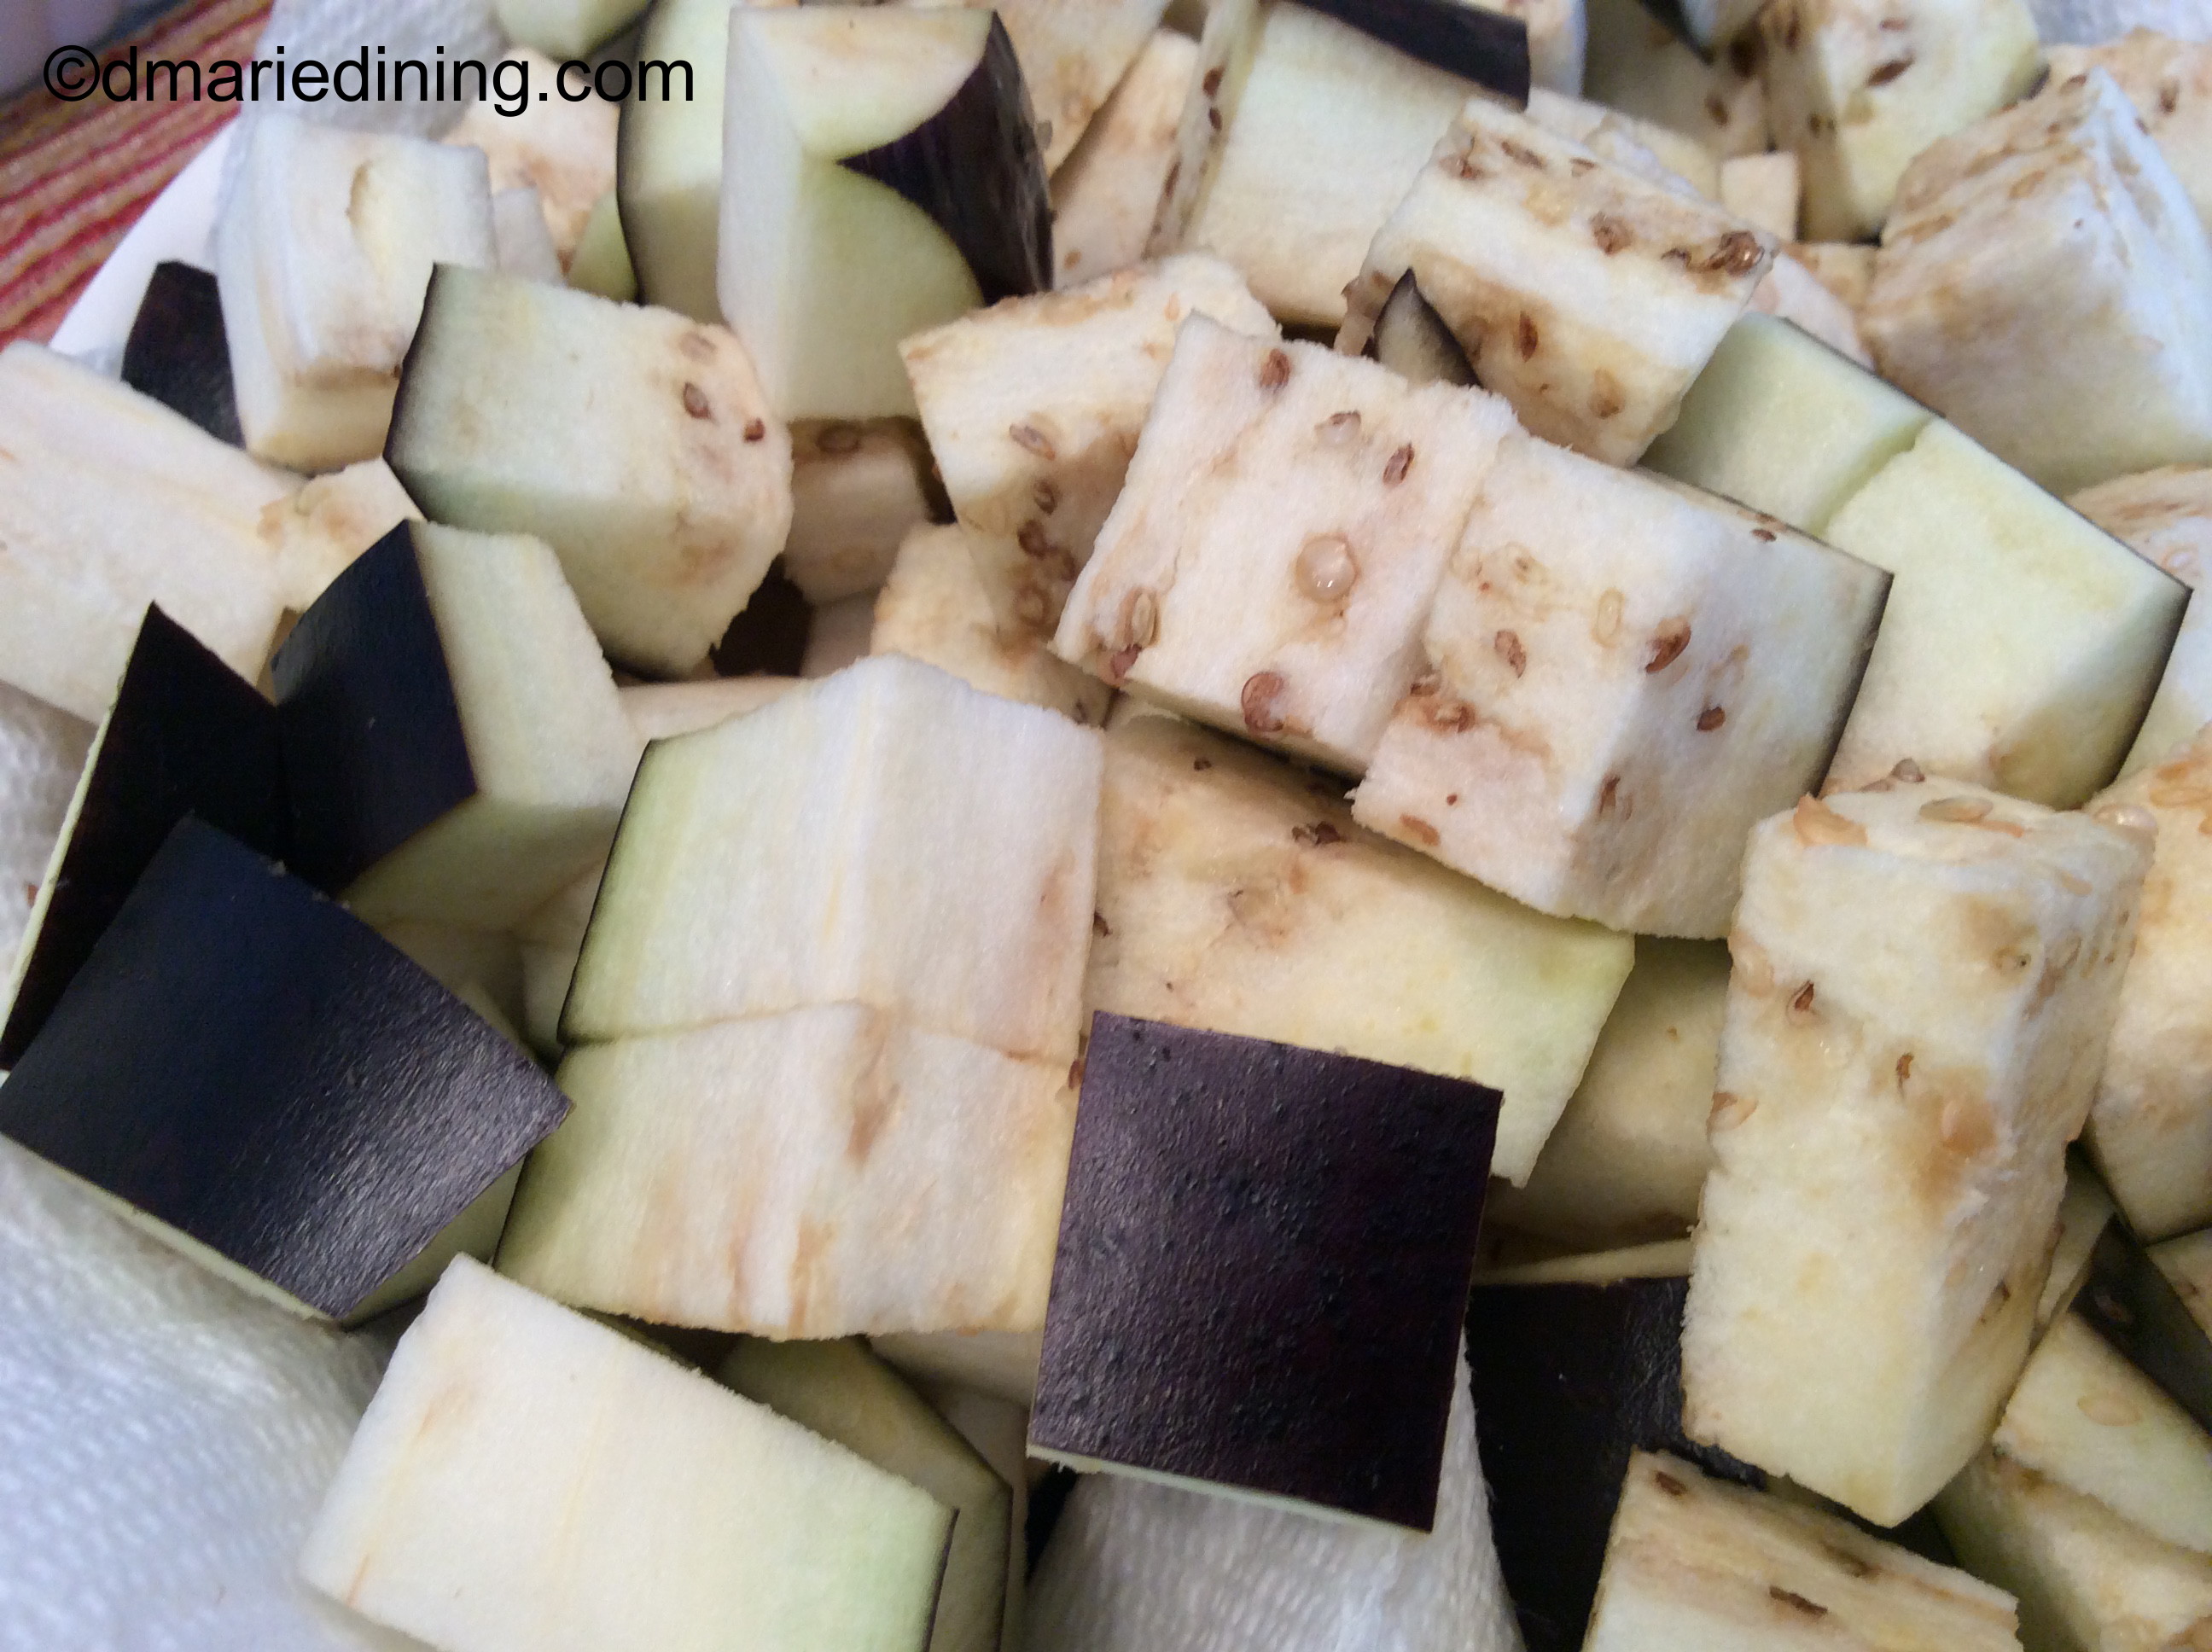
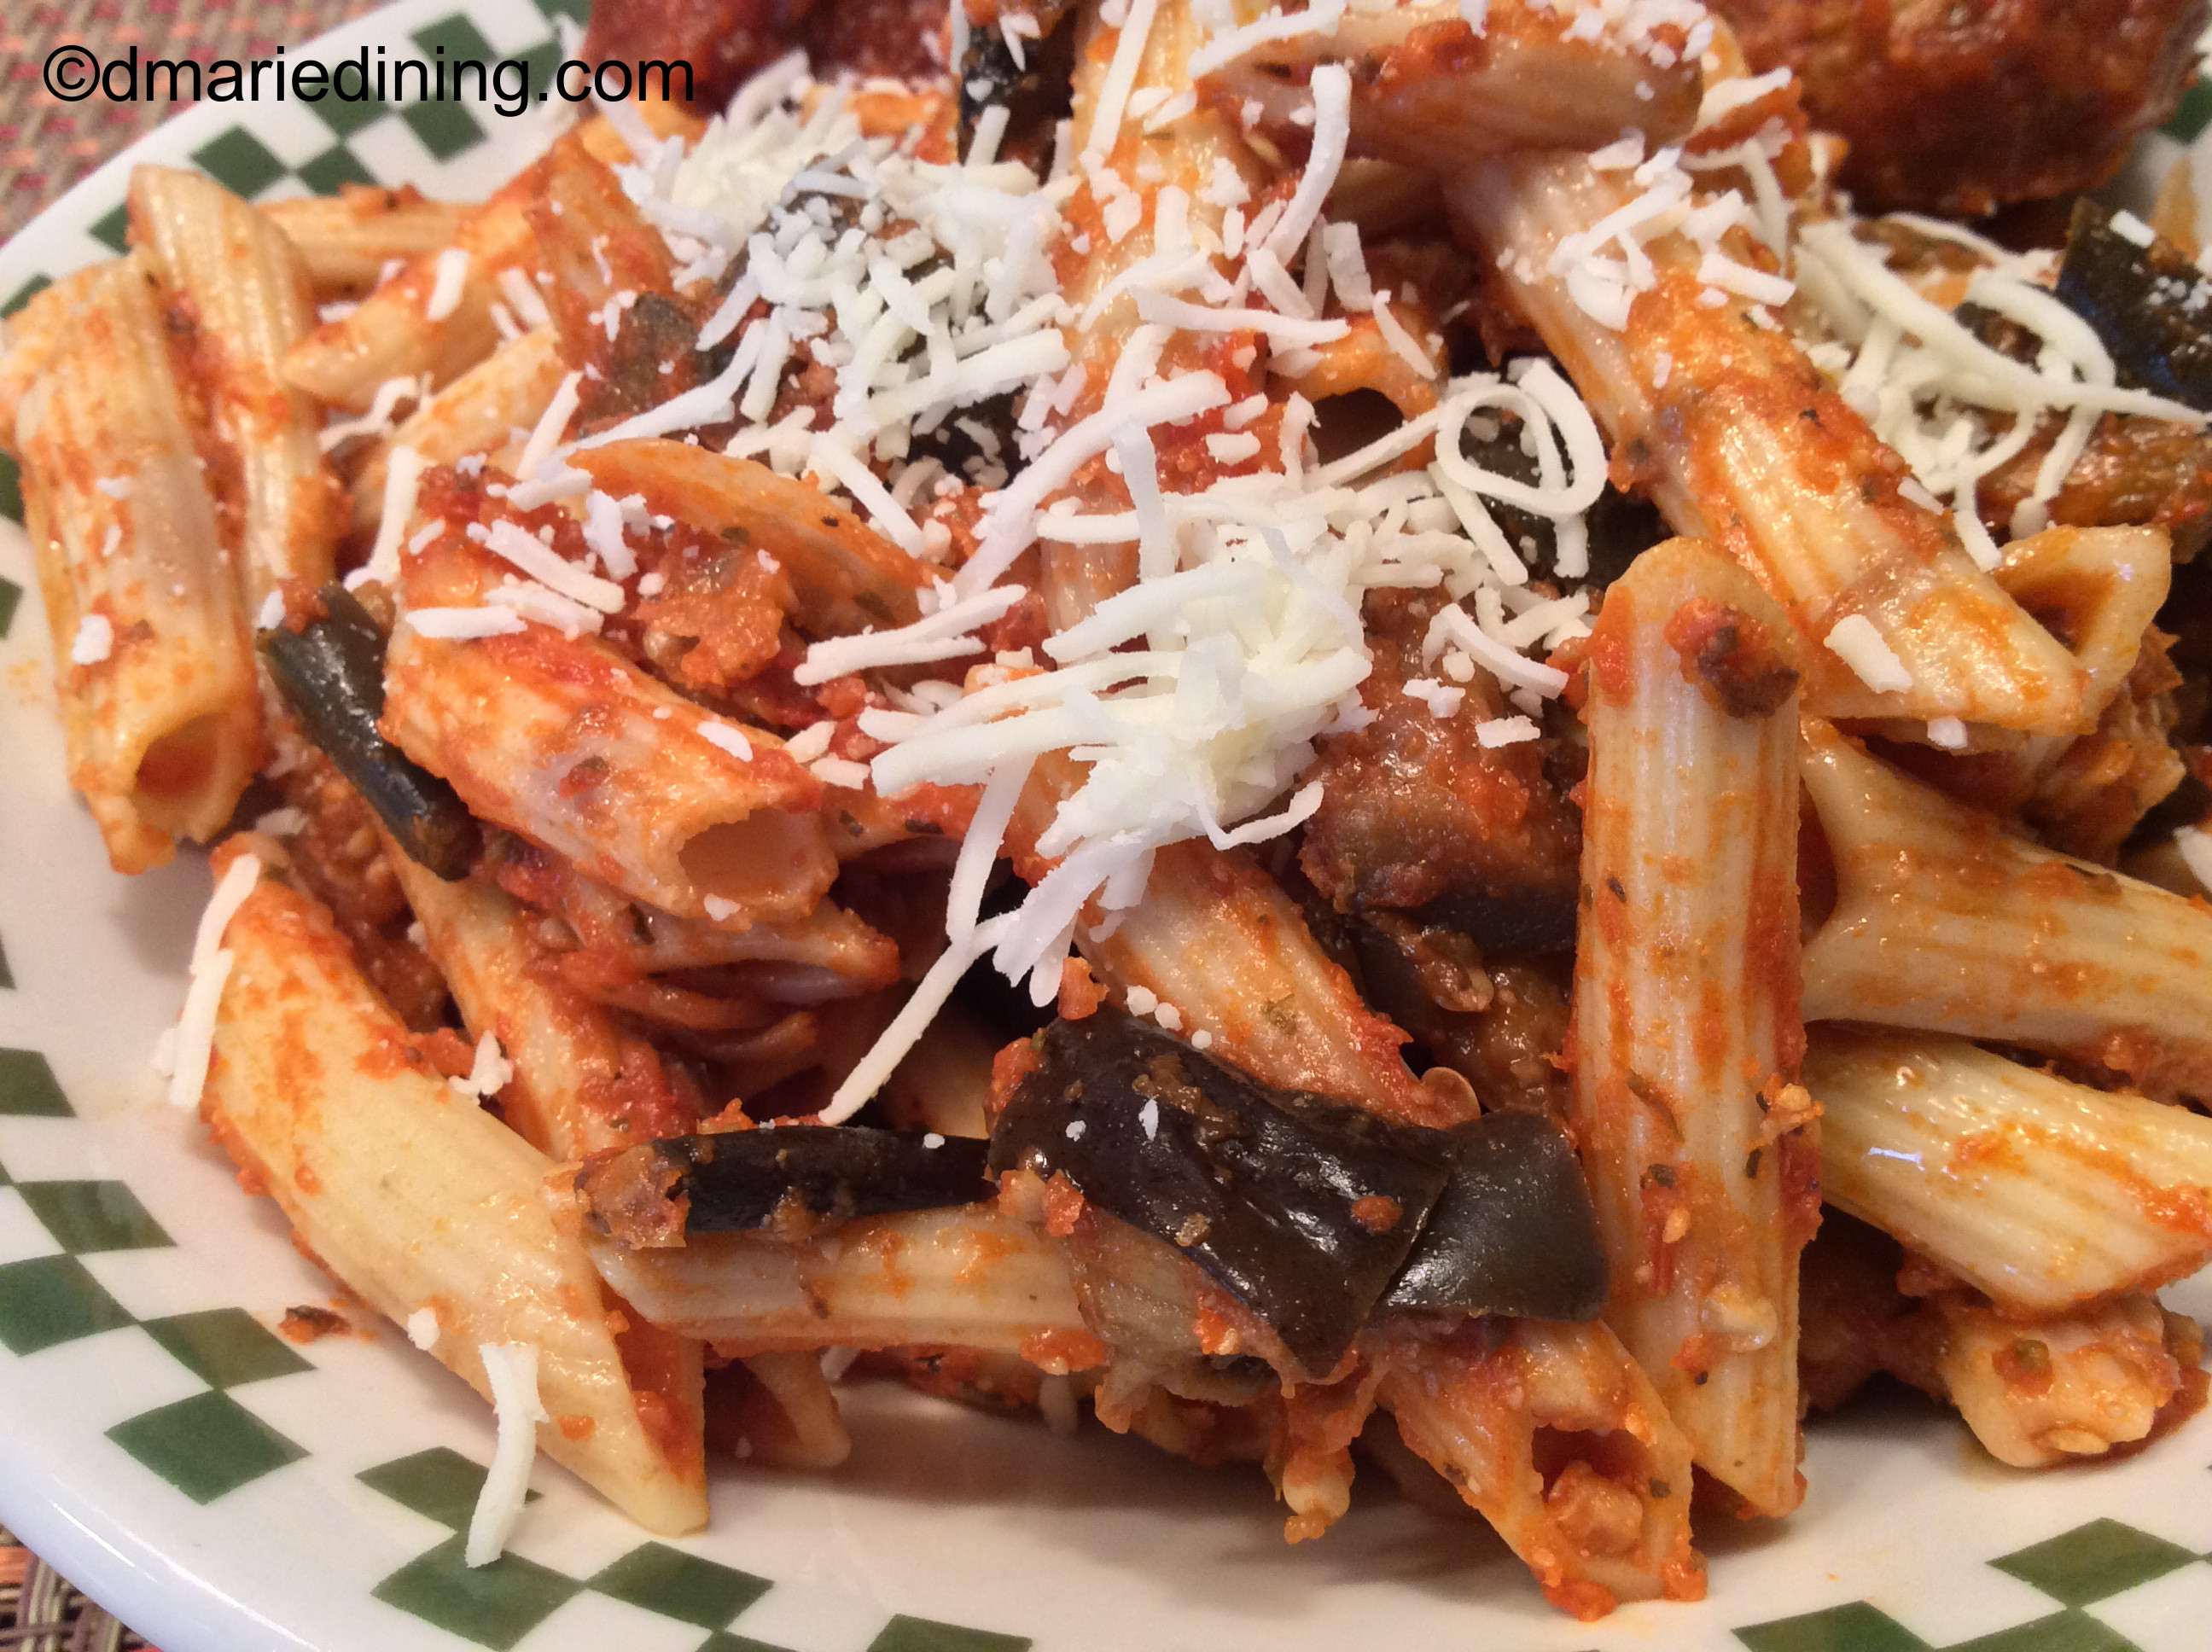
Okay, back to the Penne and Eggplant. Talk about easy. Preparing pasta is usually quick and quite easy by just following the directions on the box. I made sure the pasta was al dente so that it would not be a pile of mush after I baked it a little. Eggplant can be quite watery when you cook it. So, the trick to reducing the amount of moisture in the eggplant is to microwave the cubed eggplant for about 8 minutes on a paper towel. This method worked like a charm. I think I might try this when I make another eggplant lasagna to make it less watery too.

Spicy meatballs on the side allowed me to have a vegetarian dish and the ability to satisfy the carnivore in me and some of my family. The meatballs were also a big hit along with the Penne Pasta and Eggplant. Two for one! Man…. I’m on a roll.  Thank you Kashana for your support.

Penne Pasta with Spicy Meatballs on the side

Ingredients:

2 large eggplant cubed (do not peel)
½ small onion sliced thin

1 box Penne pasta cooked al dente according to package

1 ½ jars marinara sauce

1 cup shredded mozzarella

1 cup grated fresh Parmesan

2 tbsp olive oil

1 tsp sea salt or Kosher salt

1 tsp dried basil

1 tsp dried oregano

¼ tsp onion powder

Cooking Spray

Preheat oven to 350 degrees.

Line a large microwaveable bowl with paper towels. Place cubed eggplant in the bowl and sprinkle with sea salt. Microwave eggplant for 8 minutes. Heat olive oil in a large skillet over medium heat. Add eggplant and sprinkle with black pepper, oregano, basil and onion powder. Saute the eggplant until softened stirring constantly so that it does not burn.

Remove the eggplant from the heat. Spray the bottom of a casserole dish with cooking spray. Pour a little marinara sauce on the bottom of the dish and spread around. Add the Penne pasta to the dish and top with the eggplant, thinly sliced onions and Parmesan cheese. Pour marinara sauce over the top and gently mix to combine the eggplant, pasta and cheese. Add more sauce if the pasta seems too dry. Top with the shredded mozzarella cheese then bake for 20 to 30 minutes until the cheese has melted and pasta is heated throughout. Serve immediately with the Spicy Meatballs and a healthy salad.

Follow my blog with Bloglovin

Advertisement

Chicken Stir Fry

Stir fry dishes are one of the easiest things to make for dinner on a busy night or any night. My version of Chicken Stir Fry was developed over time as I played with different flavors and levels of heat. I had to find a happy medium for the family as my taste buds like low to medium heat and the rest of the family like burn your mouth levels of heat. Since I wanted to enjoy the dish along with the family I went with medium heat with a side of hot chili oil for the everyone else to add to their bowls of stir fry.

If you don’t have a wok, I would suggest investing in one because you can make a variety of dishes in this one tool wonder. Woks are easy to clean and can take a lot of heat. Of course, if you don’t have a wok or don’t want to invest in one, you can stick to using a large skillet for creating your stir fry dishes.

The key to making a flavorful stir fry is in the marinade. The longer you marinade the chicken or any other meat, the more intense the flavor becomes. At a minimum marinade your meat for 30 minutes and if you can plan ahead, marinade it overnight. Overnight marinading also helps to tenderize the meat (just a few useful tips).

From start to finish I can have dinner ready in an hour for the hungry crew on Chicken Stir Fry night. Talk about Healthy, Quick and Easy! I love it.

Chicken Stir Fry

Ingredients:

2 – 3 chicken breasts cut into thin strips

1 package snow peas

1 small green pepper large dice

1 small broccoli crown cut into florets

1 small onion diced

1 cup shredded carrots

½ cup chicken broth

½ cup crispy chow mein noodles

1 small can water chestnuts drained

3 tbsp hoisin sauce

3 tbsp oyster sauce

2 tbsp Thai style sweet and spicy sauce

2 tbsp garlic chopped

2 tbsp soy sauce

2 tbsp olive oil

1 tbsp corn sauce

1 tsp minced ginger

1 tsp black pepper

½ tsp red chili flakes (optional)

Marinade:

Place chicken in a medium sized bowl. Mix together Thai style sweet and spicy chili sauce, 1 tbsp garlic, ginger, soy sauce and corn starch in a separate bowl. Pour mixture over chicken and massage into the meat. Cover with plastic wrap and marinade in the refrigerator for at least 30 minutes or overnight.

To cook stir fry:

Heat oil in wok or large skillet over medium high heat. Add chicken and stir until chicken is no longer pink but not totally cooked through. Remove chicken and place in a bowl. Set aside. Add a little more oil to the wok if necessary then add carrots, snow peas, onions and broccoli. Cook for 2 – 3 minutes stirring constantly until vegetables begin to soften. Add chicken broth, water chestnuts and chicken to the vegetables along with the sauces and red chili flakes. Stir and cook an additional 3 – 5 minutes until chicken is fully cooked through. Serve in bowls over rice, ramen or udon noodles. Top with crispy chow mein noodles.

Follow my blog with Bloglovin

Orange Cauliflower Soup

I love it when a new idea comes together on the first try and is a hit with the family. I just decided to make a cauliflower soup today because I had a head of cauliflower and I needed to make something with it before it was no longer edible. A nice soup came to mind because although we have been having nice warm weather during the day it is a little chilly at night. Besides, I can eat soup any day of the year because I just love soup!

I am calling this one Orange Cauliflower Soup because I used diced red peppers in the soup which made it turn a pale orange color. I was not sure how everyone else would react to the color but I liked it so….. Orange Cauliflower Soup was born. Just making cauliflower soup was not enough. I wanted to add a slight richness to the soup and decided what better way to make it taste rich without a ton of calories than to add a little cheese. I think I have had cheesy cauliflower soup in the past but it was a little too rich for my blood. Adding just a little cheese keeps the calories down, adds thickness to the soup and definitely adds another level of flavor.

Whenever I put together a post I have to set up the food and take pictures of each step of the process. The last step of course is taking a picture of the finished product. After taking a picture of my new creation I figured I would clean up the kitchen so that I could enjoy a bowl of soup without thinking about the slight mess I had made. Well, my youngest son descended upon the kitchen with his girlfriend and immediately wanted to know if I had taken my last picture of the soup. I didn’t think he wanted to eat it (silly me) but he asked if he could taste it. Of course I said sure since I always need a taste tester for my recipes. The first words out of his mouth were “This is what I am going to miss!” That put a smile on my face because he is headed to college in a few months and I know he is going to miss my home cooking. My smile got even bigger when his girlfriend asked if she could try it and again I said sure. She said it was delicious and being the mom that I am I told her to take some home. Seems the soup fairy was on my side today and gave me a hit recipe on the first try. Thanks soup fairy!

Orange Cauliflower Soup

Ingredients:

1 medium head of cauliflower cut into small pieces

1 small onion diced

½ red pepper diced

4 cups chicken broth

1 cup water

1 cup milk

1 cup shredded monterey and/or Colby jack cheese

1 tbsp olive oil

3 tbsp butter

2 tbsp flour

1 tbsp salt

1 tsp black pepper

1 tsp garlic powder

½ tsp parsley

½ tsp basil

½ tsp red pepper flakes

Heat olive oil in a large pot over medium high heat. Add diced onions and red peppers. Saute until slightly browned. Add seasonings and stir. Add cauliflower and stir to mix with onions and peppers. Cook for 2 – 3 minutes. Add chicken broth and water. Stir then bring to a boil. Reduce heat to medium and cover. Let simmer until cauliflower is soft. Using an immersion blender, blend cauliflower until smooth but leave a few florets to create texture. Turn heat down to low.

In a small pan melt butter and add flour. Whisk until flour and butter are blended and form a paste. Add milk and whisk until sauce is thickened. Season with a little season salt and black pepper. Add white sauce to cauliflower and whisk to blend. Stir in cheese. Continue stirring until cheese is well blended into the soup. Taste to see if a little more salt or black pepper is needed.

Enjoy!

Follow my blog with Bloglovin

Lentil and Carrot Ginger Soup

Sometimes you just have to cheat. Not cheat other people or cheat in the sense of doing something wrong. I mean cheat by not making everything from scratch. Making my Lentil and Carrot Ginger Soup was one of those times I decided to cheat. At least, partially. This soup is a combination of dried lentils and a box of carrot and ginger soup.

I am not usually a fan of boxed soups but Trader Joe’s has a nice brand of soups I have used in other recipes upon occasion. I have passed over their Carrot and Ginger soup many times but decided to take a chance on combining it with the lentil soup I make for me and hubby.

Creating soup is about building flavors. Combining the light flavor of lentils with the sweet taste of carrots along with the sharp taste of ginger spells yummy. Being the carnivore that I am, I added diced Pancetta to build even more flavor. My vegetarian brothern can keep it simple and not include meat in this soup. But, if you are not opposed to meat, I think you will enjoy the flavors and texture with the Pancetta. Add some crusty bread on the side of your bowl and you will have a wonderful hearty soup for those chilly or even warm days.

Lentil and Carrot Ginger Soup

Ingredients:

4 cups chicken broth

1 ½ – 2 cups dried yellow lentils (rinsed in cold water)

1 cup shredded carrots

1 cup cubed pancetta (optional)

½ cup diced onions

1 box Carrot Ginger Soup (Trader Joe’s)

1tbsp olive oil

1 tbsp salt

½ tbsp ground black pepper

½ tbsp Adobo seasoning

1 tsp dried parsley

¼ tsp cumin

¼ tsp cayenne pepper (optional)

Place olive oil, pancetta, onions and carrots in a large pot over medium heat. Saute the carrots, onions and pancetta for about 3 – 5 minutes stirring frequently. Add broth, seasonings and lentils to the pot and let simmer for 30 minutes stirring occasionally. Add a little water if the soup gets too thick during the 30 minutes. After 30 minutes stir in the box of carrot and ginger soup. Reduce heat to low and let simmer for an additional 20 minutes.

Serve with crusty bread or croutons.

Follow my blog with Bloglovin

Refreshing Tomato Salad

Let me say right off the bat that if you don’t like the taste of mint you can leave it out to this salad. My friend Doll does not like anything with mint so before she makes the “ewww” sound after reading the recipe I want her and all mint haters to know the mint is optional. Doll claims to be a southern girl but how can she really be southern if she doesn’t like the taste of mint. Come on! Mint julpes are a southern staple. At least where my family comes from and they are southern.

Hubby and I both like the flavor of mint in salads. I think it adds a refreshing taste to quite a few dishes. My favorite ice cream is mint chocolate chip and I love an ice cold peppermint patty. The creation of my Refreshing Tomato Salad was my welcome spring and summer gift to the family. It is packed with olives, feta cheese, cucumbers, artichokes and of course Tomatoes!

I was fortunate this year to have a good crop of tomatoes so I was able to add our homegrown tomatoes to this salad. I have not tried growing cucumbers yet but maybe next year I will. I prefer English cucumbers because regular cucumbers have too many hard seeds. But, that is just my preference. Use whatever type of cucumber you like or have handy.

During these last days of summer I have been making this recipe a little more frequently. It is always sad to see the warm weather turn a little cooler because it means the end of short sleeves, sandals and shorts. I for one will miss the warm days but I also look forward to the beauty of fall weather. Good thing for me my Refreshing Tomato Salad is delicious no matter what the weather may be.

Refreshing Tomato Salad

Ingredients:

4 – 6 small tomatoes large dice cut

1 English cucumber diced

1 jar marinated artichokes drained and slightly chopped

½ cup crumbled feta cheese

½ cup Italian black olives

¼ cup olive oil

juice from ½ lemon

½ tbsp red onion diced small

½ tsp chopped fresh mint (optional)

½ tsp dried dill

½ tsp dried basil

½ tsp salt

½ tsp black pepper

¼ tsp red pepper flakes (optional)

Combine all ingredients in a large bowl and toss gently. Refrigerate for 1 hour to allow the flavors to marry. Remove from refrigerator and let stand at room temperature for 10 minutes. Serve as a side dish or add a little bow tie pasta to make it a meal.


Follow my blog with Bloglovin

Roasted Tomatoes and Artichokes Pizza

Roasted Tomatoes and Artichokes Pizza

Homemade pizzas don’t have to be boring. By boring, I mean using only the basics like pizza sauce, cheese and pepperoni. I have nothing against a basic pizza. But, when I make pizzas at home I like to pair different veggies or add chicken or prosciutto instead of pepperoni. I also substitute pesto for the pizza sauce.

One of my favorite homemade pizzas is Roasted Tomatoes and Artichokes Pizza. Roasting the tomatoes brings out the natural sweetness of the fruit. Yes, tomatoes are classified as a fruit not a vegetable. Of course, there is an ongoing debate about that but it really doesn’t matter. All I know is that freshly roasted tomatoes are delicious. Combining the artichokes with the roasted tomatoes just increases the deliciousness of the pizza. I have tried different types of tomatoes in this recipe and depending on the tomato the flavor is slightly different.

Ultimately, I prefer using Caperelli tomatoes but I also enjoy Roma tomatoes on this pizza. Hot house or beefsteak tomatoes don’t fair well with this recipe but in a pinch use whatever you have available.

Like all pizzas this one is versatile. Add roasted chicken for protein or even pepperoni if you feel a pizza isn’t really a pizza without it. For my vegetarian friends, I think you will want to add my Roasted Tomatoes and Artichoke pizza to your list of homemade pizza ideas.

Roasted Tomatoes and Artichokes Pizza

Ingredients:

2 containers Caperelli tomatoes quartered

1 jar marinaded artichokes

1 small red onion sliced thin

1pkg ready made pizza crust (Trader Joe’s)

1 ½ cups mozzarella cheese shredded

2 tbsp extra virgin olive oil

2 tbsp basil or tomato pesto (optional)

1 tsp salt

1 tsp black pepper

1 tsp dried oregano

½ tsp red pepper flakes (optional)

¼ tsp onion powder

cooking spray

Preheat oven to 400 degrees.

Spray rimmed baking sheet with cooking spray. Place tomatoes, artichokes and red onions on the baking sheet. Sprinkle with olive oil, salt, black pepper and onion powder. Gently toss to coat veggies with olive oil and seasonings. Bake for 20 – 25 minutes until veggies are roasted. Remove from the oven and let cool for 3 – 5 minutes.

Pre Pizza Crust:

Place pizza crust ona baking sheet and spread crust with pesto. Sprinkle a little cheese over the pesto. Spread roasted tomatoes, artichokes and red onions over the cheese then sprinkle with remaining cheese, dried oregano and red pepper flakes. Place in the oven and bake until cheese melts and turns slightly golden brown (approximately 5 minutes).

Remove from the oven and let cool for 1 minute then slice.


Follow my blog with Bloglovin

Spicy Taco Chicken Bowl

The “new” craze right now is creating recipes and putting the dish in bowls. At first, I wasn’t really into the bowl idea but it didn’t take long for me to realize I kinda liked the idea. Placing breakfast, lunch or dinner in a bowl helped to cut down on the amount of food we actually ate. I put less in a bowl compared to  how much I put on a plate.

One of my first bowl adventures was my Asian Bowl with Lollipop Lamb Chops. Not to brag too much but that recipe was a big hit with hubby. Now, he has another favorite. My Spicy Taco Chicken Bowl. This recipe was a little spicy with various textures and flavors that complimented each other. Although there are several components to the recipe, I think it is a very simple dish. Shredded spicy taco flavored chicken, crispy yellow rice, seasoned black beans and a mix of avocado and tomatoes. The hardest thing about this recipe is the wait time. Yeah, this one isn’t quick to make only because the chicken has to bake. While the chicken bakes about an hour all of the other pieces can easily be pulled together.

Even I couldn’t complain about having chicken again. Plus, I didn’t take the easy way out and make wingettes. Instead, I opted for chicken legs because they are meaty and you don’t have to take a long time to clean them like chicken thighs. Granted, I think chicken thigh meat is sweeter than chicken leg meat but it takes work to get thighs ready for cooking. Maybe the next time I make a Spicy Taco Chicken Bowl I’ll build in extra time and try it with chicken thighs. Whichever chicken part you choose (legs vs. thighs), I am confident you will enjoy my Spicy Taco Chicken Bowl. Healthy, Easy and Delicious!

Spicy Taco Chicken Bowl

Ingredients:

6 – 8 chicken legs washed

2 plum tomatoes diced

2 scallions diced

2 slices bacon diced

1 can black beans rinsed

1 avocado diced

1 pkg hot and spicy taco seasoning

½ stick butter melted

1 ½ cup water

1 ½ cup chicken broth

1 ½ cups white rice

1 ½ tbsp salt

1 tbsp fresh lemon juice

½ tbsp ground black pepper

1 tsp turmeric

1 tsp cilantro

½ tsp dried parsley

½ tsp onion powder

½ tsp Chile powder

Preheat oven to 350 degrees.

Place chicken in a large bowl. Season with 1 tbsp salt, black pepper, Chile powder and all but 1 tsp hot and spicy taco seasoning. Add melted butter and mix until chicken is well coated. Spray a baking dish with cooking spray then place chicken in one layer in the baking dish. Bake for 1 hour until the chicken is tender and cooked through. Remove from the oven and let cool for about 10 minutes then pull meat off the bone into chunks. Place chicken in a medium size skillet with ¼ chicken stock and remaining taco seasoning. Stir and let simmer for 5 minutes.

While chicken is cooking prepare the following:

Rice:

Rinse rice with cold water to remove some of the starch. Place in a microwaveable casserole dish with a pinch salt, turmeric, water and chicken broth. Place in microwave uncovered for 21 minutes until cooked. Remove from microwave and fluff up rice with a fork. Let cool for about 10 – 15 minutes. While rice is cooling cook bacon in a large skillet until crisp over medium high heat. Remove from skillet and drain on paper towels. Reduce heat to medium high and add rice and scallions to the bacon grease breaking up any clumps of rice. Let rice crisp up for about 3 minutes then stir and flip to crisp up the other side. Cook for an additional 3 minutes then toss in bacon and mix in thoroughly. Cook another 2 minutes then remove from heat.

Prepare Tomato and Avocado:

Place diced tomatoes and avocado in a medium sized bowl. Season with a little salt, ground black pepper, parsley and lemon juice. Gently toss with a spoon. Cover and set aside in the refrigerator.

Black Beans:

Place black beans in a small pot and add a little chicken broth. Season with salt, pepper, cilantro and onion powder. Cook over medium heat for 3 – 5 minutes stirring occasionally. Remove from heat.

Bowl Setup:

Place crispy yellow rice in the bottom of an individual bowl. Add chicken to one side of the bowl then add the black beans along with tomato and avocado mix. Enjoy!

Follow my blog with Bloglovin

Zucchini, Tomato and Sweet Potato Gratin

Eating with your eyes is just as important as tasting with your tongue. I know I have mentioned this in the past but it is worth mentioning again. If you are going to prepare a dish for family, friends or yourself, you want it to look appealing. Combining different colors is an easy way to create visual beauty with food. This recipe is a nice blend of green, red and orange. Layering the vegetables in a circular pattern also made this a very attractive dish.

Gratins originated in French cuisine and has been adopted in many other culinary cuisines. I wasn’t sure exactly what gratin was until I saw one made on a cooking show. On this particular show the chef made potato au gratin which was gorgeous because of the crispy brown topping. Turns out a gratin is considered the technique of topping a dish with breadcrumbs or grated cheese then browning it.

While most of the gratin recipes I have seen are made with sliced white potatoes I wanted to think outside the box and combine potatoes with other vegetables. Plus, I wanted to make the dish pop with color. Hence, my Zucchini, Tomato and Sweet Potato Gratin. A ring of beauty and a delightful dish.

Zucchini, Tomato and Sweet Potato Gratin

Ingredients:

2 plum or vine ripe tomatoes sliced

1 large zucchini sliced

1 large sweet potato peeled and sliced

½ red onion sliced

½ cup shredded Parmesan or mozzarella cheese

2 tbsp olive oil

2 tbsp minced garlic

1 tbsp salt

½ tbsp ground black pepper

½ tsp dried thyme

Preheat oven to 375 degrees.

Coat bottom of a large iron skillet with 1 tbsp olive oil.  Add minced garlic and spread around the skillet. Alternate slices of zucchini, tomatoes, and sweet potatoes in a circular pattern around the iron skillet. Place red onion slices over the other veggies then season with salt, ground black pepper and thyme. Drizzle with remaining olive oil and sprinkle with shredded cheese. Place on the lower shelf of the oven and bake for 35 minutes. Move to top rack and back for 20 – 25 minutes more. Test potatoes with a knife to make sure they are cooked and soft.


Follow my blog with Bloglovin

Asian Bowl with Lollipop Lamb Chops

Recently, I received a wonderful surprise in the mail. New bottles of Gazebo Room Salad Dressing and Marinade. I immediately started thinking about the kinds of recipes I could create that incorporated the dressings. I didn’t want to just use them as a dressing on top of one of my regular salads. I wanted something new and exciting!

Bingo! I finally decided to make an Asian Bowl with Lollipop Lamb Chops. I topped the Asian bowl with Gazebo Room Asian Vinaigrette Salad Dressing and Marinade. Yes, that is a mouthful to say and a delicious mouthful to taste. If you like tangy salad dressings, I think you will like this Asian dressing. I just would not put a lot of this dressing on a salad. A little goes a long way with this dressing because it is so flavorful.

Now back to my Asian Bowl with Lollipop Lamb Chops. In my mind, this is a very simple dish to make and the Asian bowl is both colorful and nutritious. I kept it simple by combining just a few veggies, thin lo mein noodles and of course the lamb chops. I have to admit I developed this recipe based on the lamb chops. As I usually do on the weekends, I was perusing the meat aisle looking for something other than chicken. Remember, I have nothing against chicken. We just eat it often so I try to break up the week with another meat if possible so that we don’t grow feathers. I spied a lone package of lollipop lamb chops among the packages of bigger lamb chops and grabbed them before anyone else could. It is rare for me to find these little jewels so I was quite happy with this trip to the grocery store.

When I pulled the recipe together I wasn’t totally convinced hubby would be on board since I had never prepared a “bowl”. I wasn’t even sure he had heard of an Asian bowl but he surprised me and said “Sure, go for it”, which meant he was on board. Hubby did come into the kitchen a couple of times to see what I was doing and guided me on how he wanted me to “create” his bowl. Yeah, let’s just call him my assistant on this recipe. Anyway, we both enjoyed the final product. Hubby really enjoyed it because he ate the whole thing. Normally, he leaves a little food on his plate but not this time. All I saw were two chopsticks and lamb chop bones sitting at the bottom of his bowl. That is what I call a successful dish!

Asian Bowl with Lollipop Lamb Chops

Ingredients:

2 Roma tomatoes diced

2 scallions sliced

2 bunches romaine lettuce shredded or small Napa cabbage shredded

1 package (6 – 8) lollipop lamb chops

1 package thin lo mein noodles

1 small can water chestnuts drained

1 cup snow peas

1 cup shredded carrots

¼ cup crispy rice noodles

¼ cup Gazebo Room Asian Vinaigrette Salad Dressing and Marinade

2 tbsp olive oil

1 tbsp minced fresh ginger

1 tbsp Worcestershire sauce

1 tbsp salt

½ tbsp black pepper

paprika

Season lamb chops with Worcestershire sauce, salt, black pepper and paprika. Set aside.

Heat olive oil in a medium sized frying pan over medium high heat. Brown lamb chops on both sides approximately 3 – 5 minutes on each side. Remove from pan and place on paper towels to drain.

Add snow peas, carrots and scallions to frying pan and saute until slightly softened but still has some crispness. Remove from the pan and set aside.

Build Salad:

Place lettuce in the bottom of the bowl. Arrange veggies around the bowl. Add lo mein noodles, water chestnuts and diced tomatoes. Place three lamb chops on one side of the bowl. Drizzle with dressing then sprinkle with rice noodles.

Enjoy!


Follow my blog with Bloglovin

Coq Au Vin

My first experience of tasting French food was on a business trip to Massachusetts. I don’t remember the name of the restaurant but I do remember the escargot one of my co-workers ordered and insisted I try. It was garlicky and a little rubbery but totally delicious. It was my first and last attempt at eating snails and although I enjoyed the taste, I did not like the texture. At this point, I could not tell you if that is the way snails are suppose to be when you cook them or if my experience was an exception. Like I said, the flavors were good but the snail did not make my mouth happy.

Fortunately, that experience did not turn me against French food. My next experience was much, much better. There are not many ways you can mess up a chicken so I ordered Coq Au Win at a nice little bistro hubby and I happened upon on one of our vacations. Now, we all know chicken can get a bit boring when you have it over and over again. Fried, baked, boiled. Ugh! Chicken can be so much more than fried, baked or boiled. Chicken can be dressed up as a stew with amazing flavors combined with mushrooms, onions and carrots. Yes, carrots. Coq Au Vin traditionally has potatoes instead of carrots. However, I chose to add carrots because I wanted to serve my Coq Au Vin with mashed potatoes. The gravy from the stew drizzled over the mashed potatoes was a delectable combination.

One more thing I changed in my recipe was the use of white wine instead of red wine. I like white wine better than red wine so I figured why not substitute the two wines. Some may say it’s not really Coq Au Vin if you don’t use red wine but don’t listen to them. Remember, make every recipe your own.

Ingredients:

4 chicken thighs bone-in (remove excess fat)

4 large carrots peeled and sliced thick

3 slices bacon

2 green onions sliced

2 pkgs sliced cremini mushrooms

½ white onion thinly sliced

1 cup chicken broth

½ cup white wine or red wine

2 tsp butter

2 tsp flour

1 tsp thyme

salt and pepper

Preheat oven to 350 degrees.

Wash chicken and pat dry. Season chicken with salt and pepper then set aside.

In a large oven proof skillet or dutch oven, fry 3 slices of bacon over medium high heat until crisp and fat is rendered. Remove bacon and leave drippings in the skillet. Add chicken to the skillet and brown on both sides. Place chicken on a plate and set aside.

Lower heat to medium then add mushrooms and white onions. Saute until slightly browned for approximately 7 – 10 minutes stirring frequently. Stir in flour and butter and cook for 1 minute. Again, stirring frequently. Add wine and stir to mix. Bring to a low boil and scrap brown bits from the bottom of the skillet. Add thyme and a little more salt and pepper. Let simmer for 5 minutes. Stir in broth then add carrots and chicken back to the pan along with drippings. Simmer for another 3 minutes. Cover skillet and place in oven for 30 to 45 minutes. Baste after 20 minutes. Enjoy with mashed potatoes, rice or wide noodles.

Follow my blog with Bloglovin