I have to say on the day I prepared this recipe I was really stopped up and couldn’t enjoy the normal aromas surrounding me when I cook. But, the Roasted Pork Loin smell came through loud and clear. The pork smelled heavenly with the onions and jalapeno peppers I added to the dish. All of a sudden I felt my mouth watering and I realized it was because of the delicious smell coming from the oven. It is nice when good food evokes that kind of reaction. The smell is great, your mouth waters and you just cannot wait to eat!
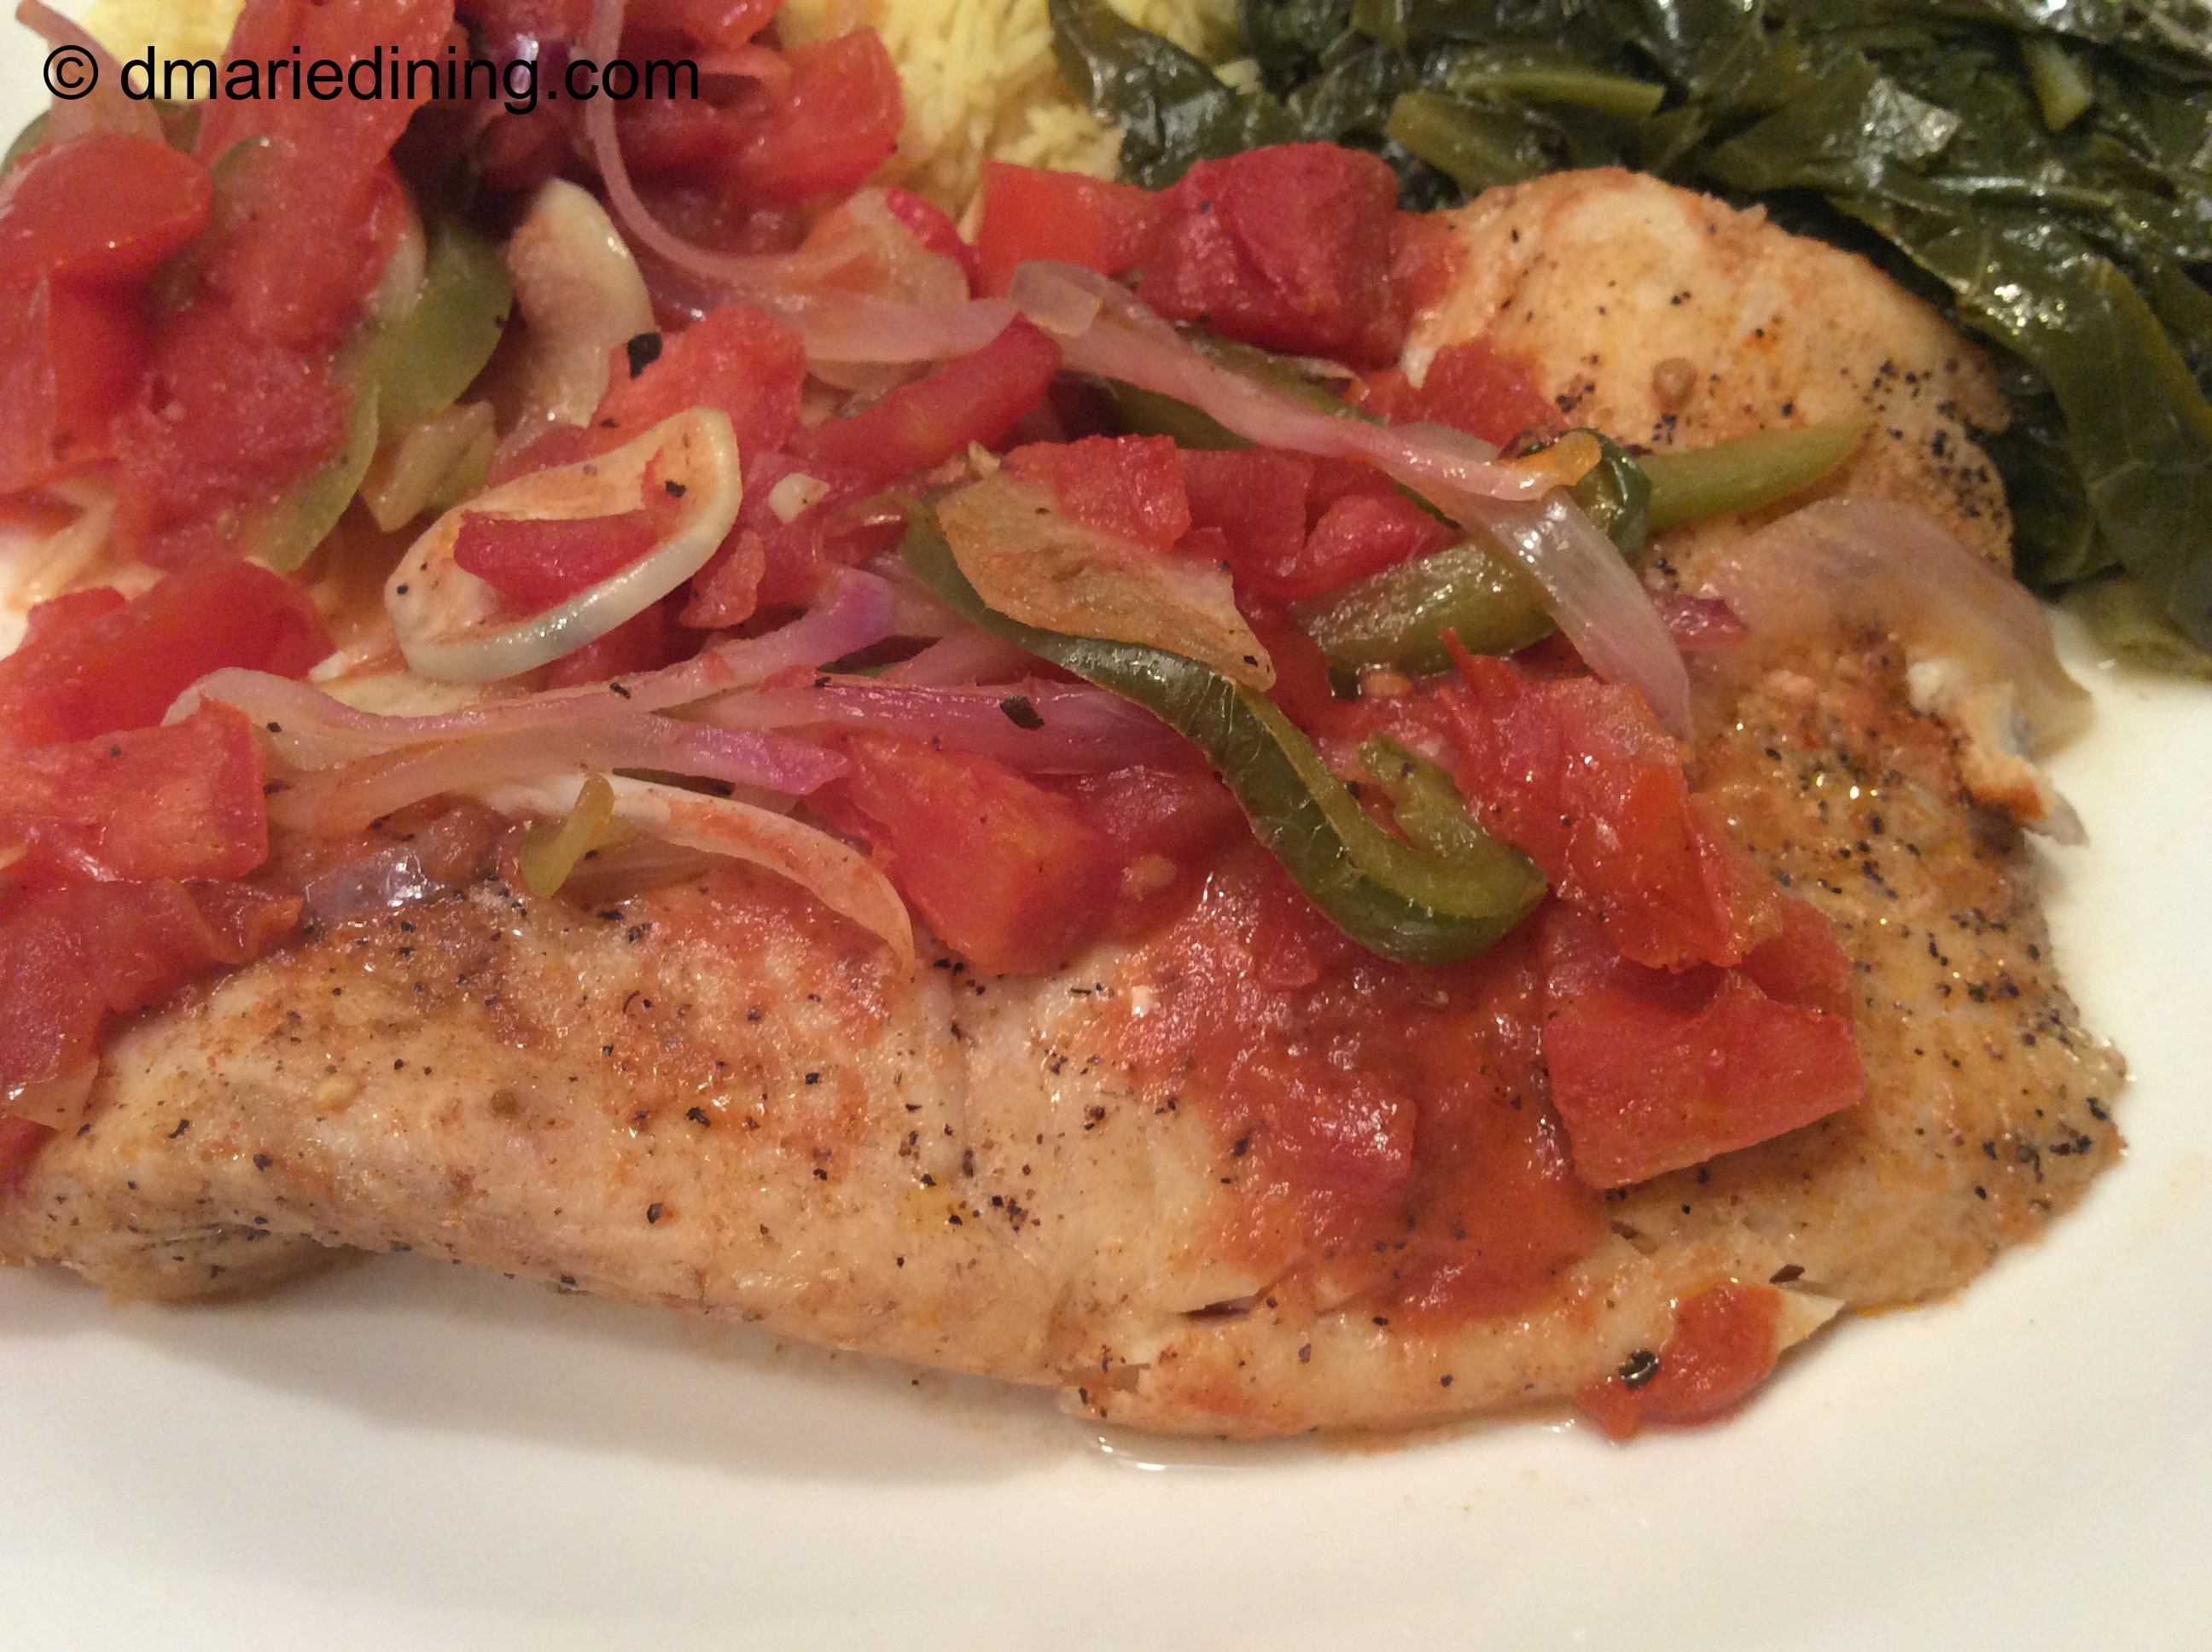
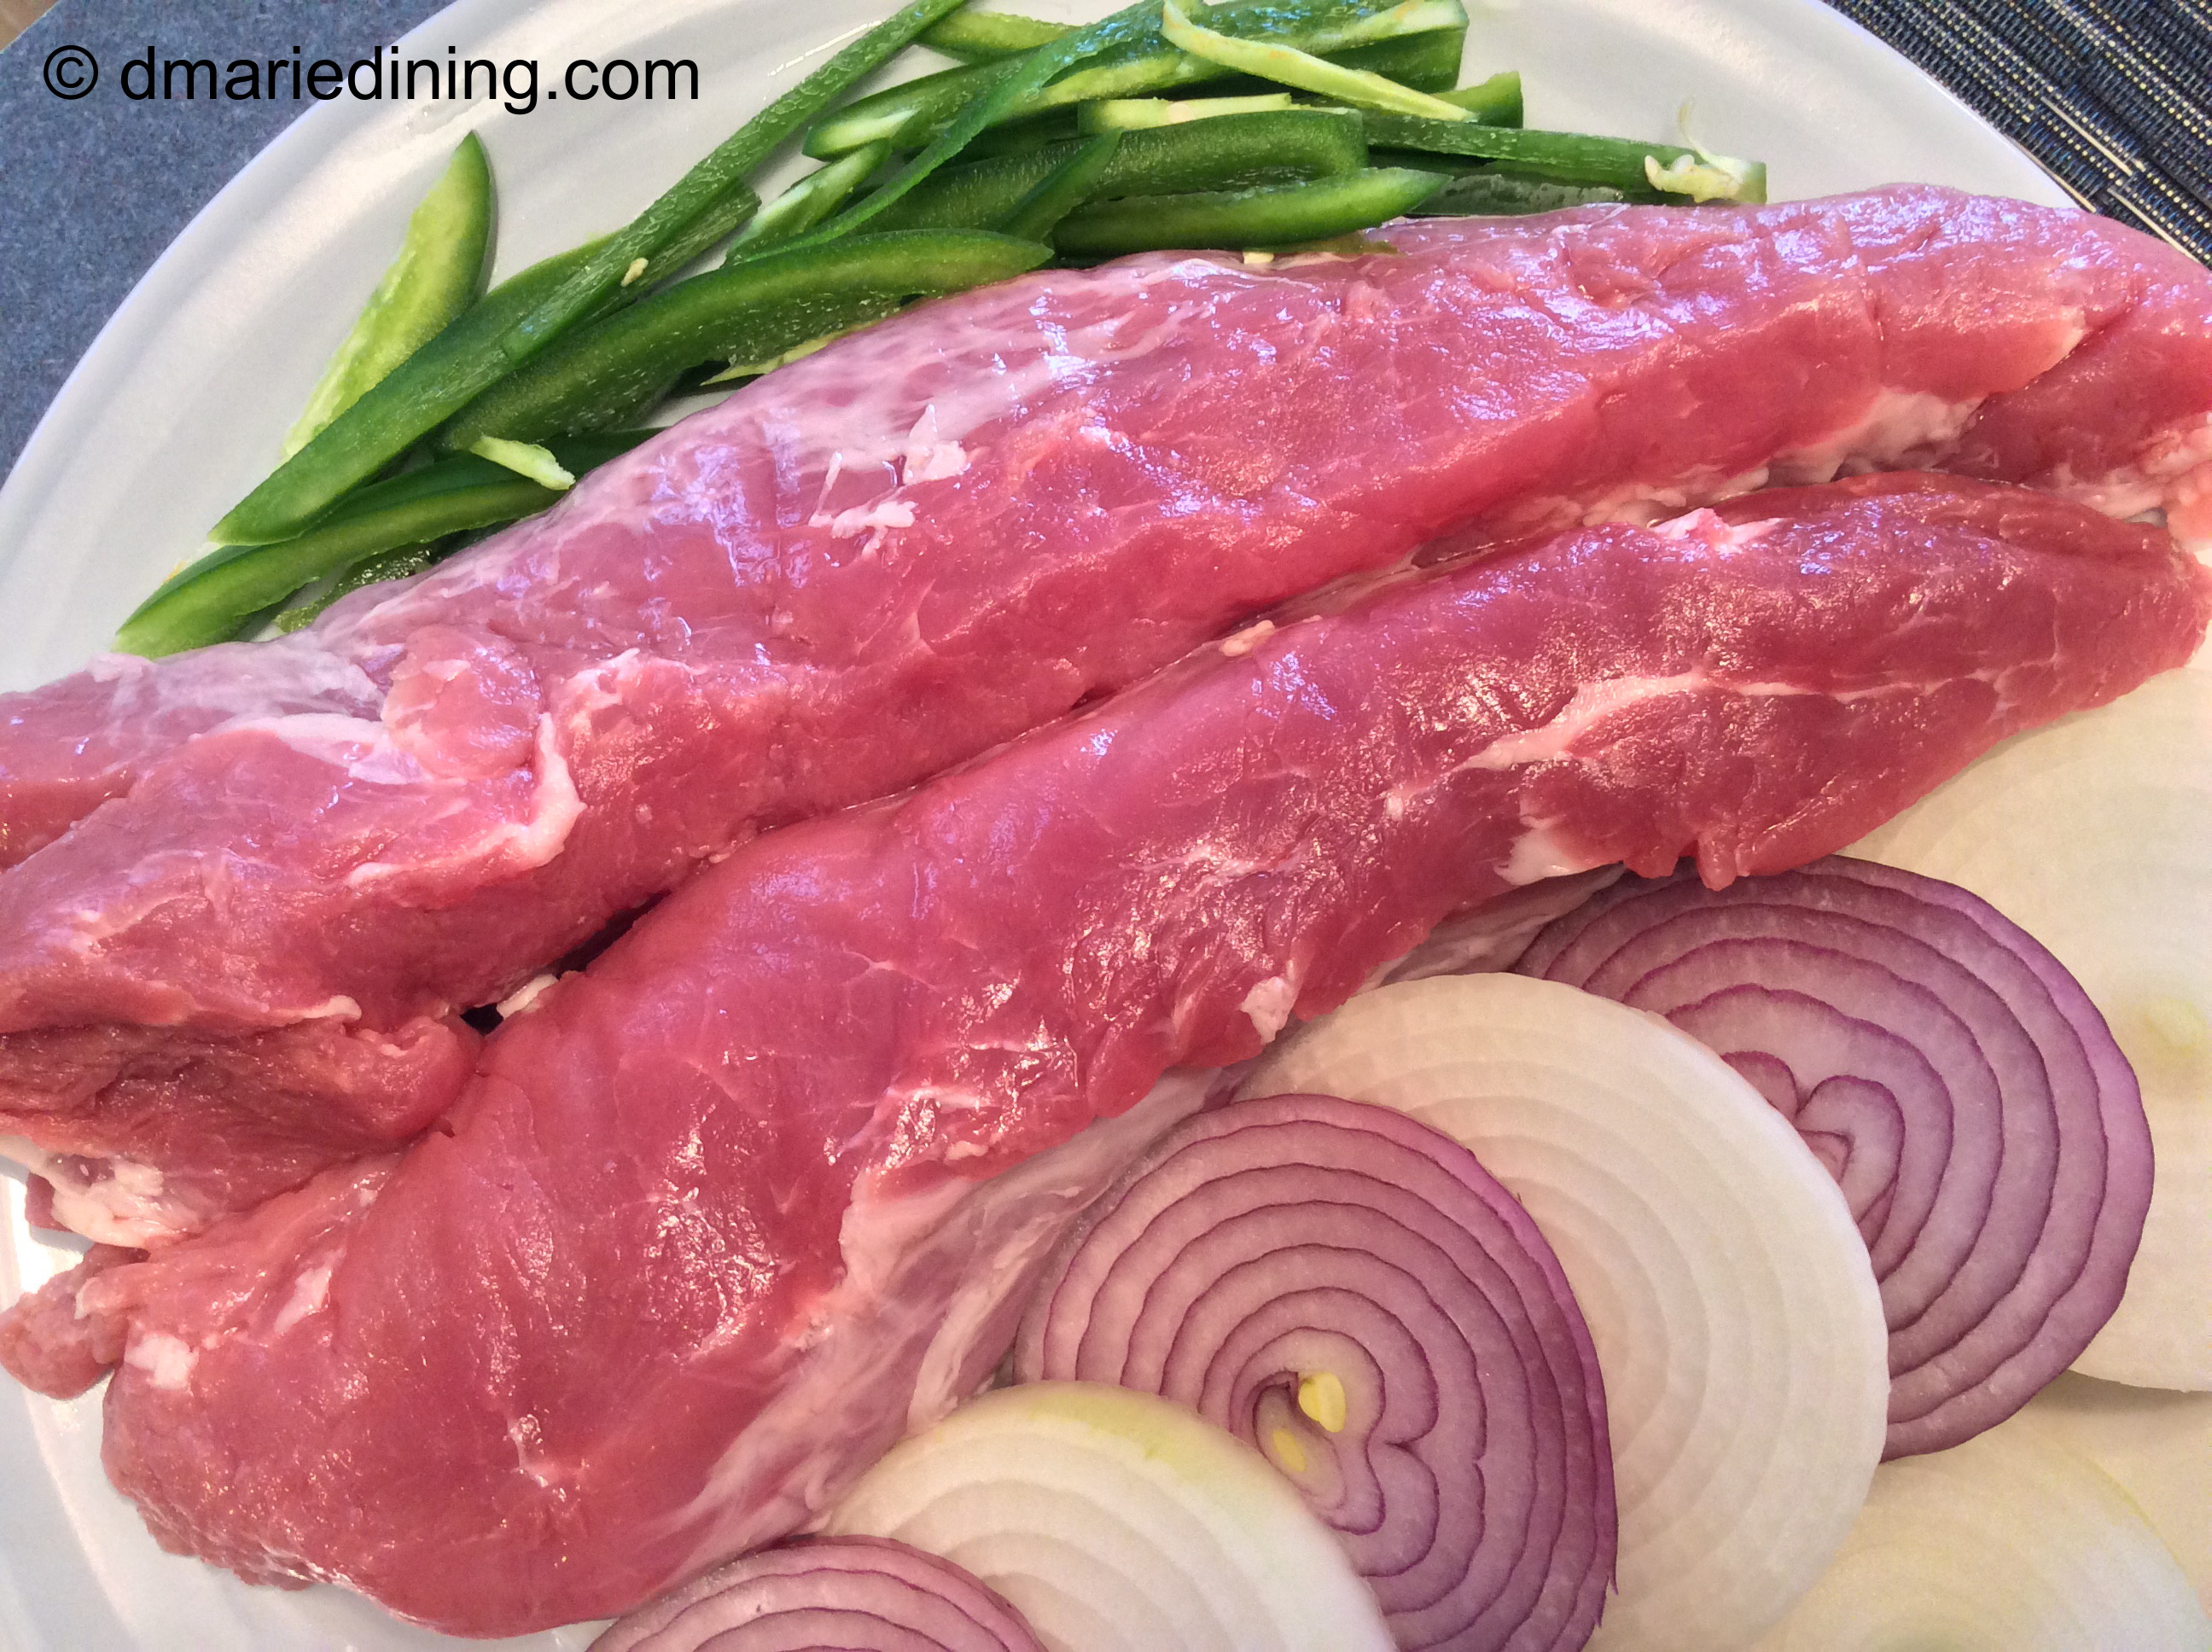
Not everyone enjoys pork but if you are willing to serve it to family and friends this will be a crowd pleaser. Pork loin is a tender piece of meat but like with any meat it can dry out if you are not careful. I think surrounding the pork loin with lots of onions and peppers along with a little water then wrapping it up tight helps to lock in the juices and the flavors.
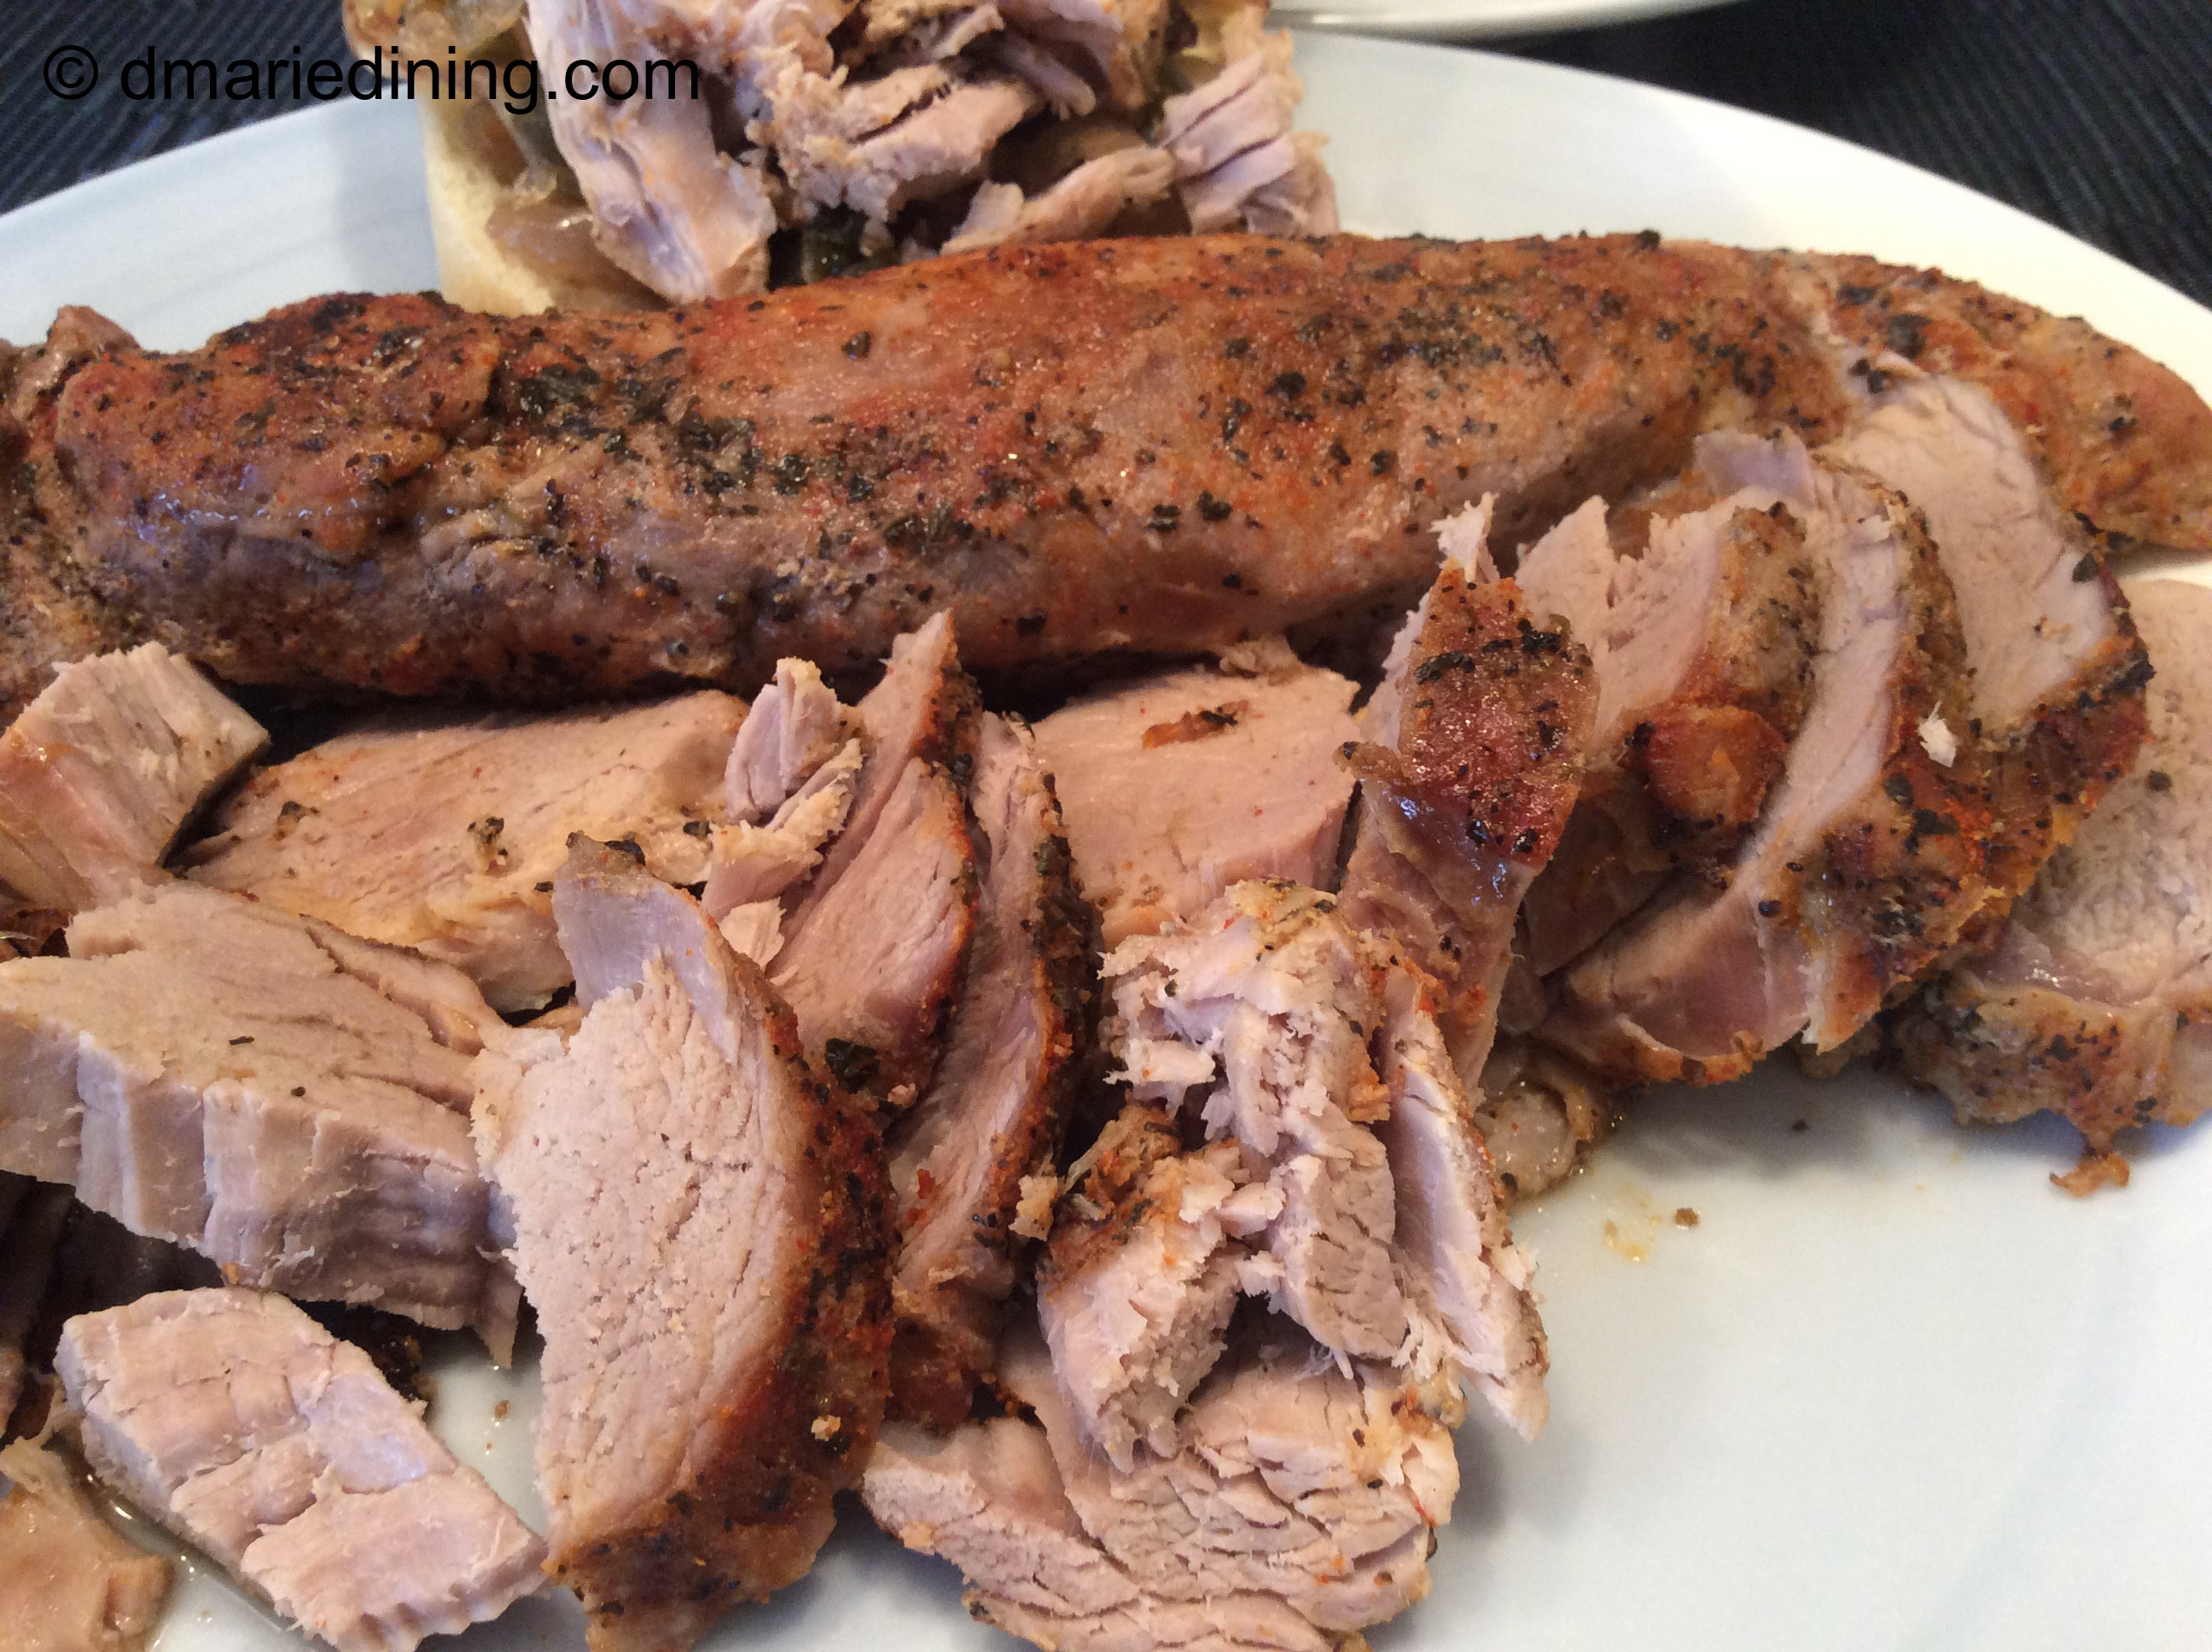
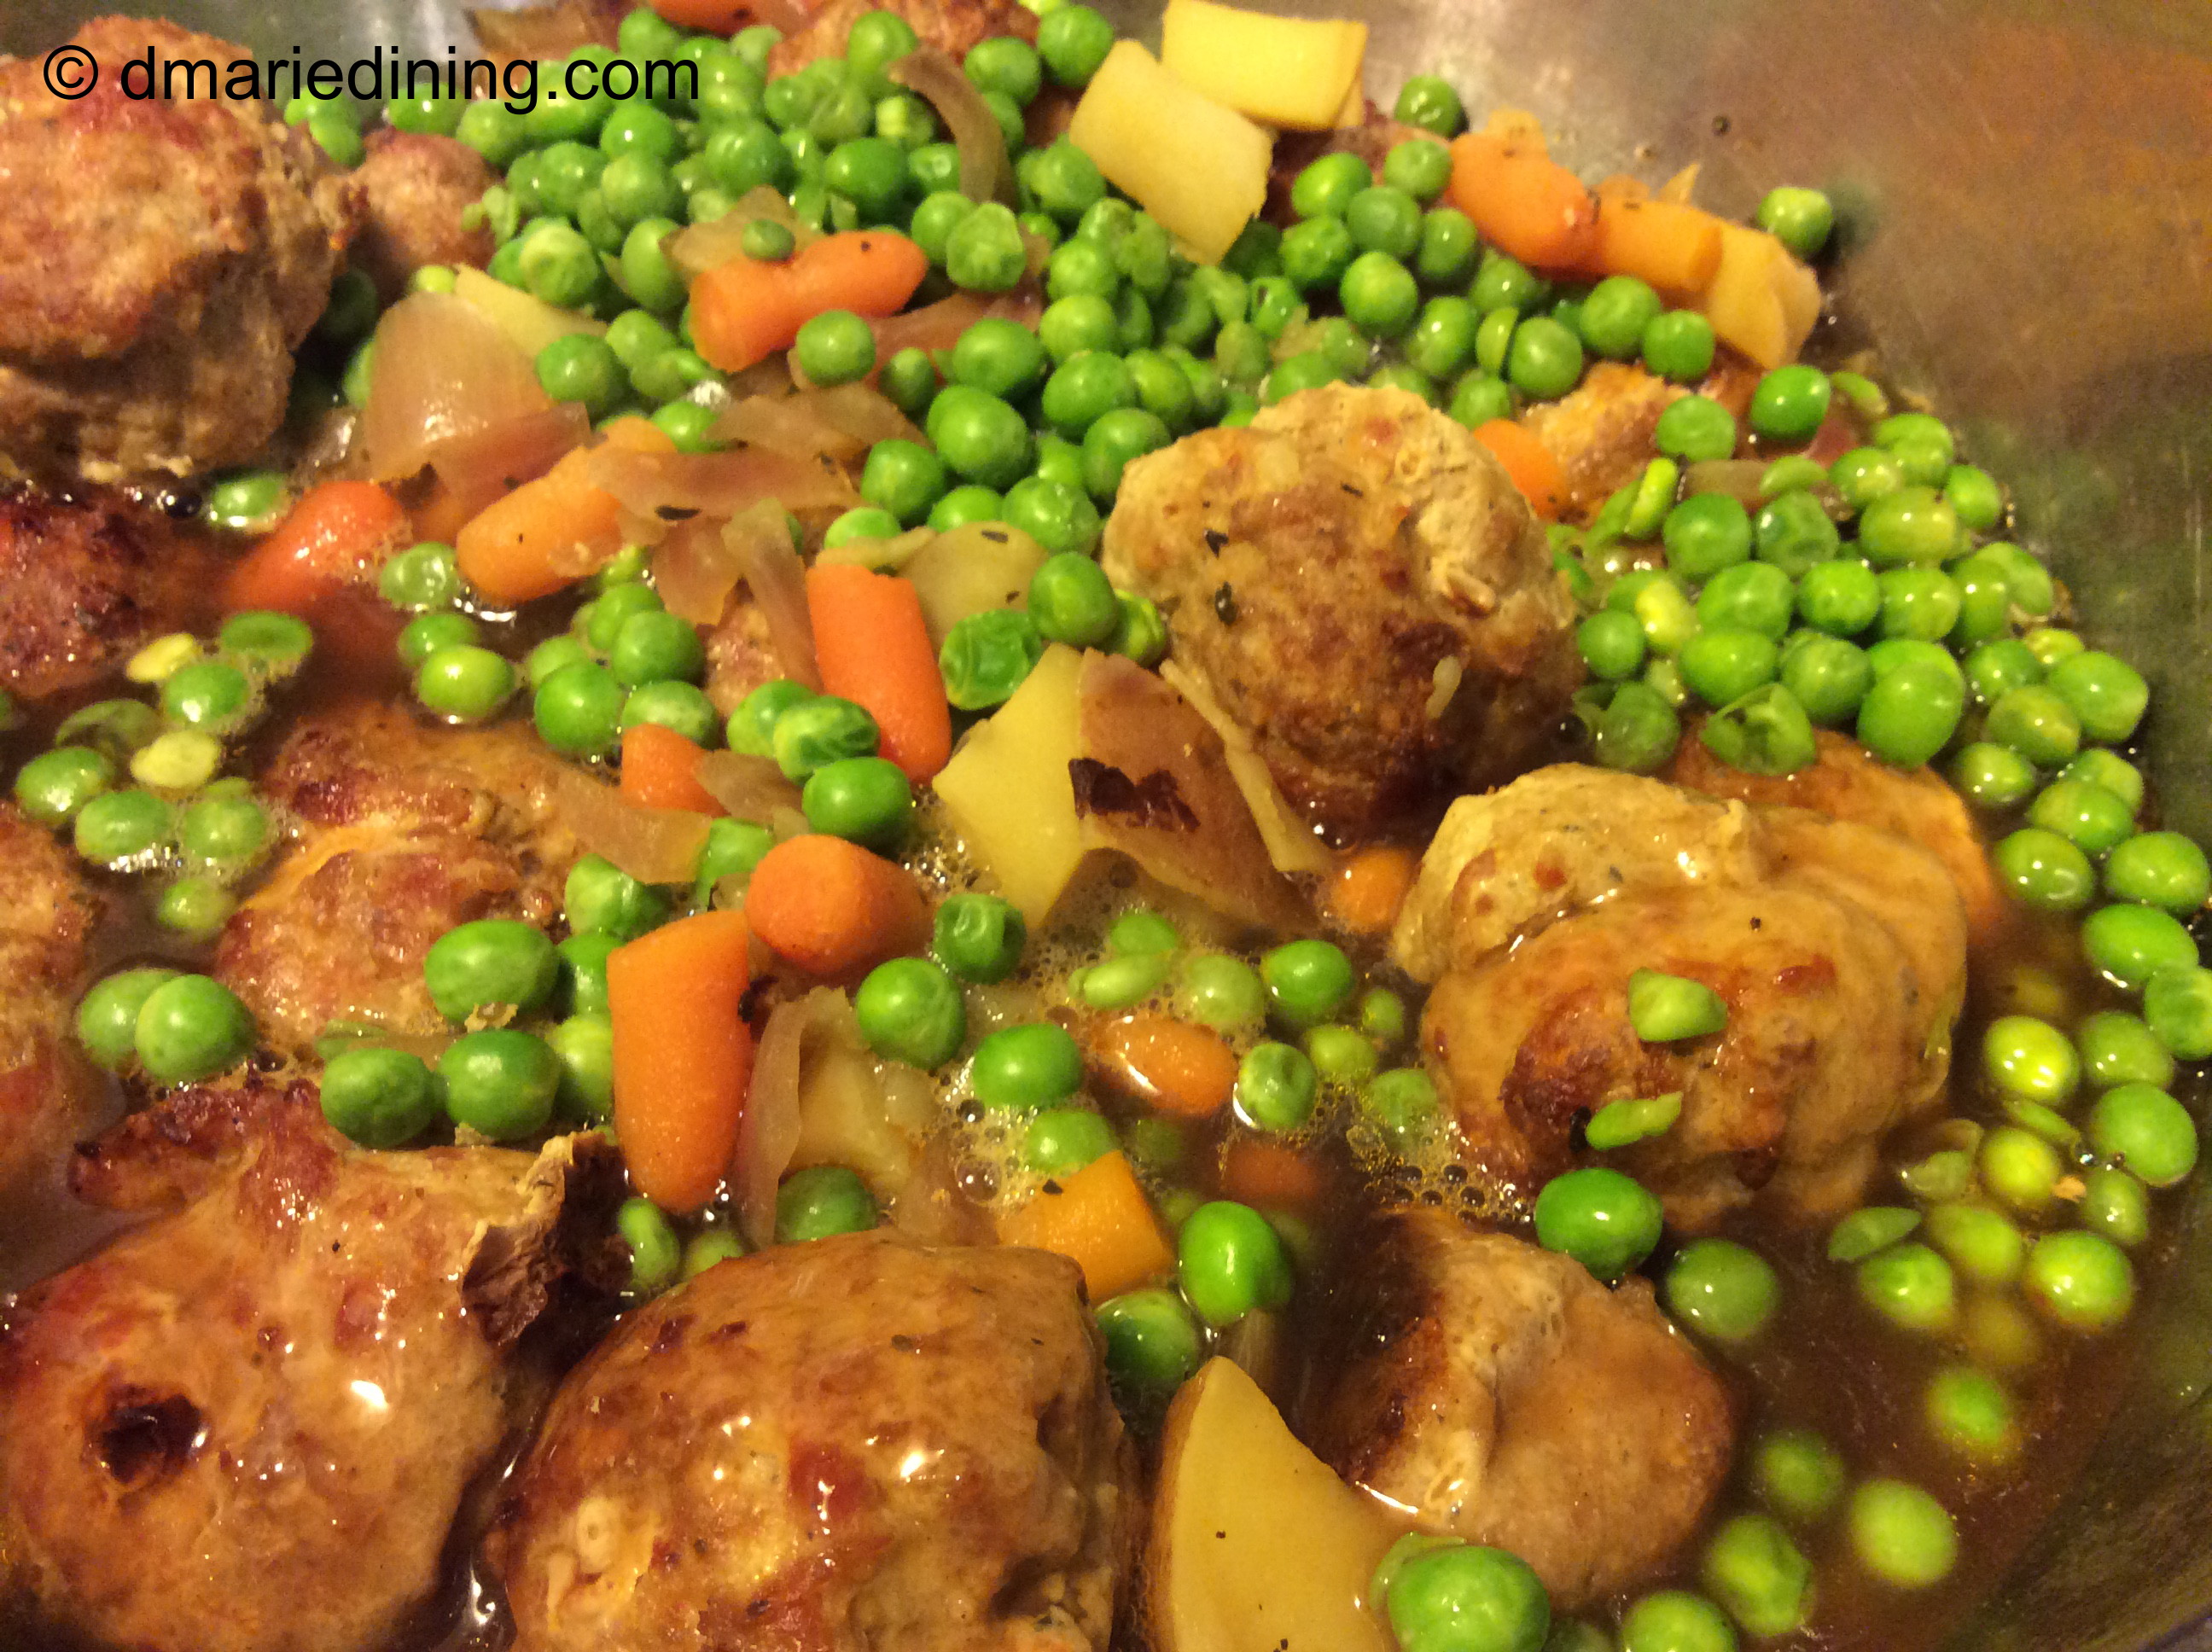
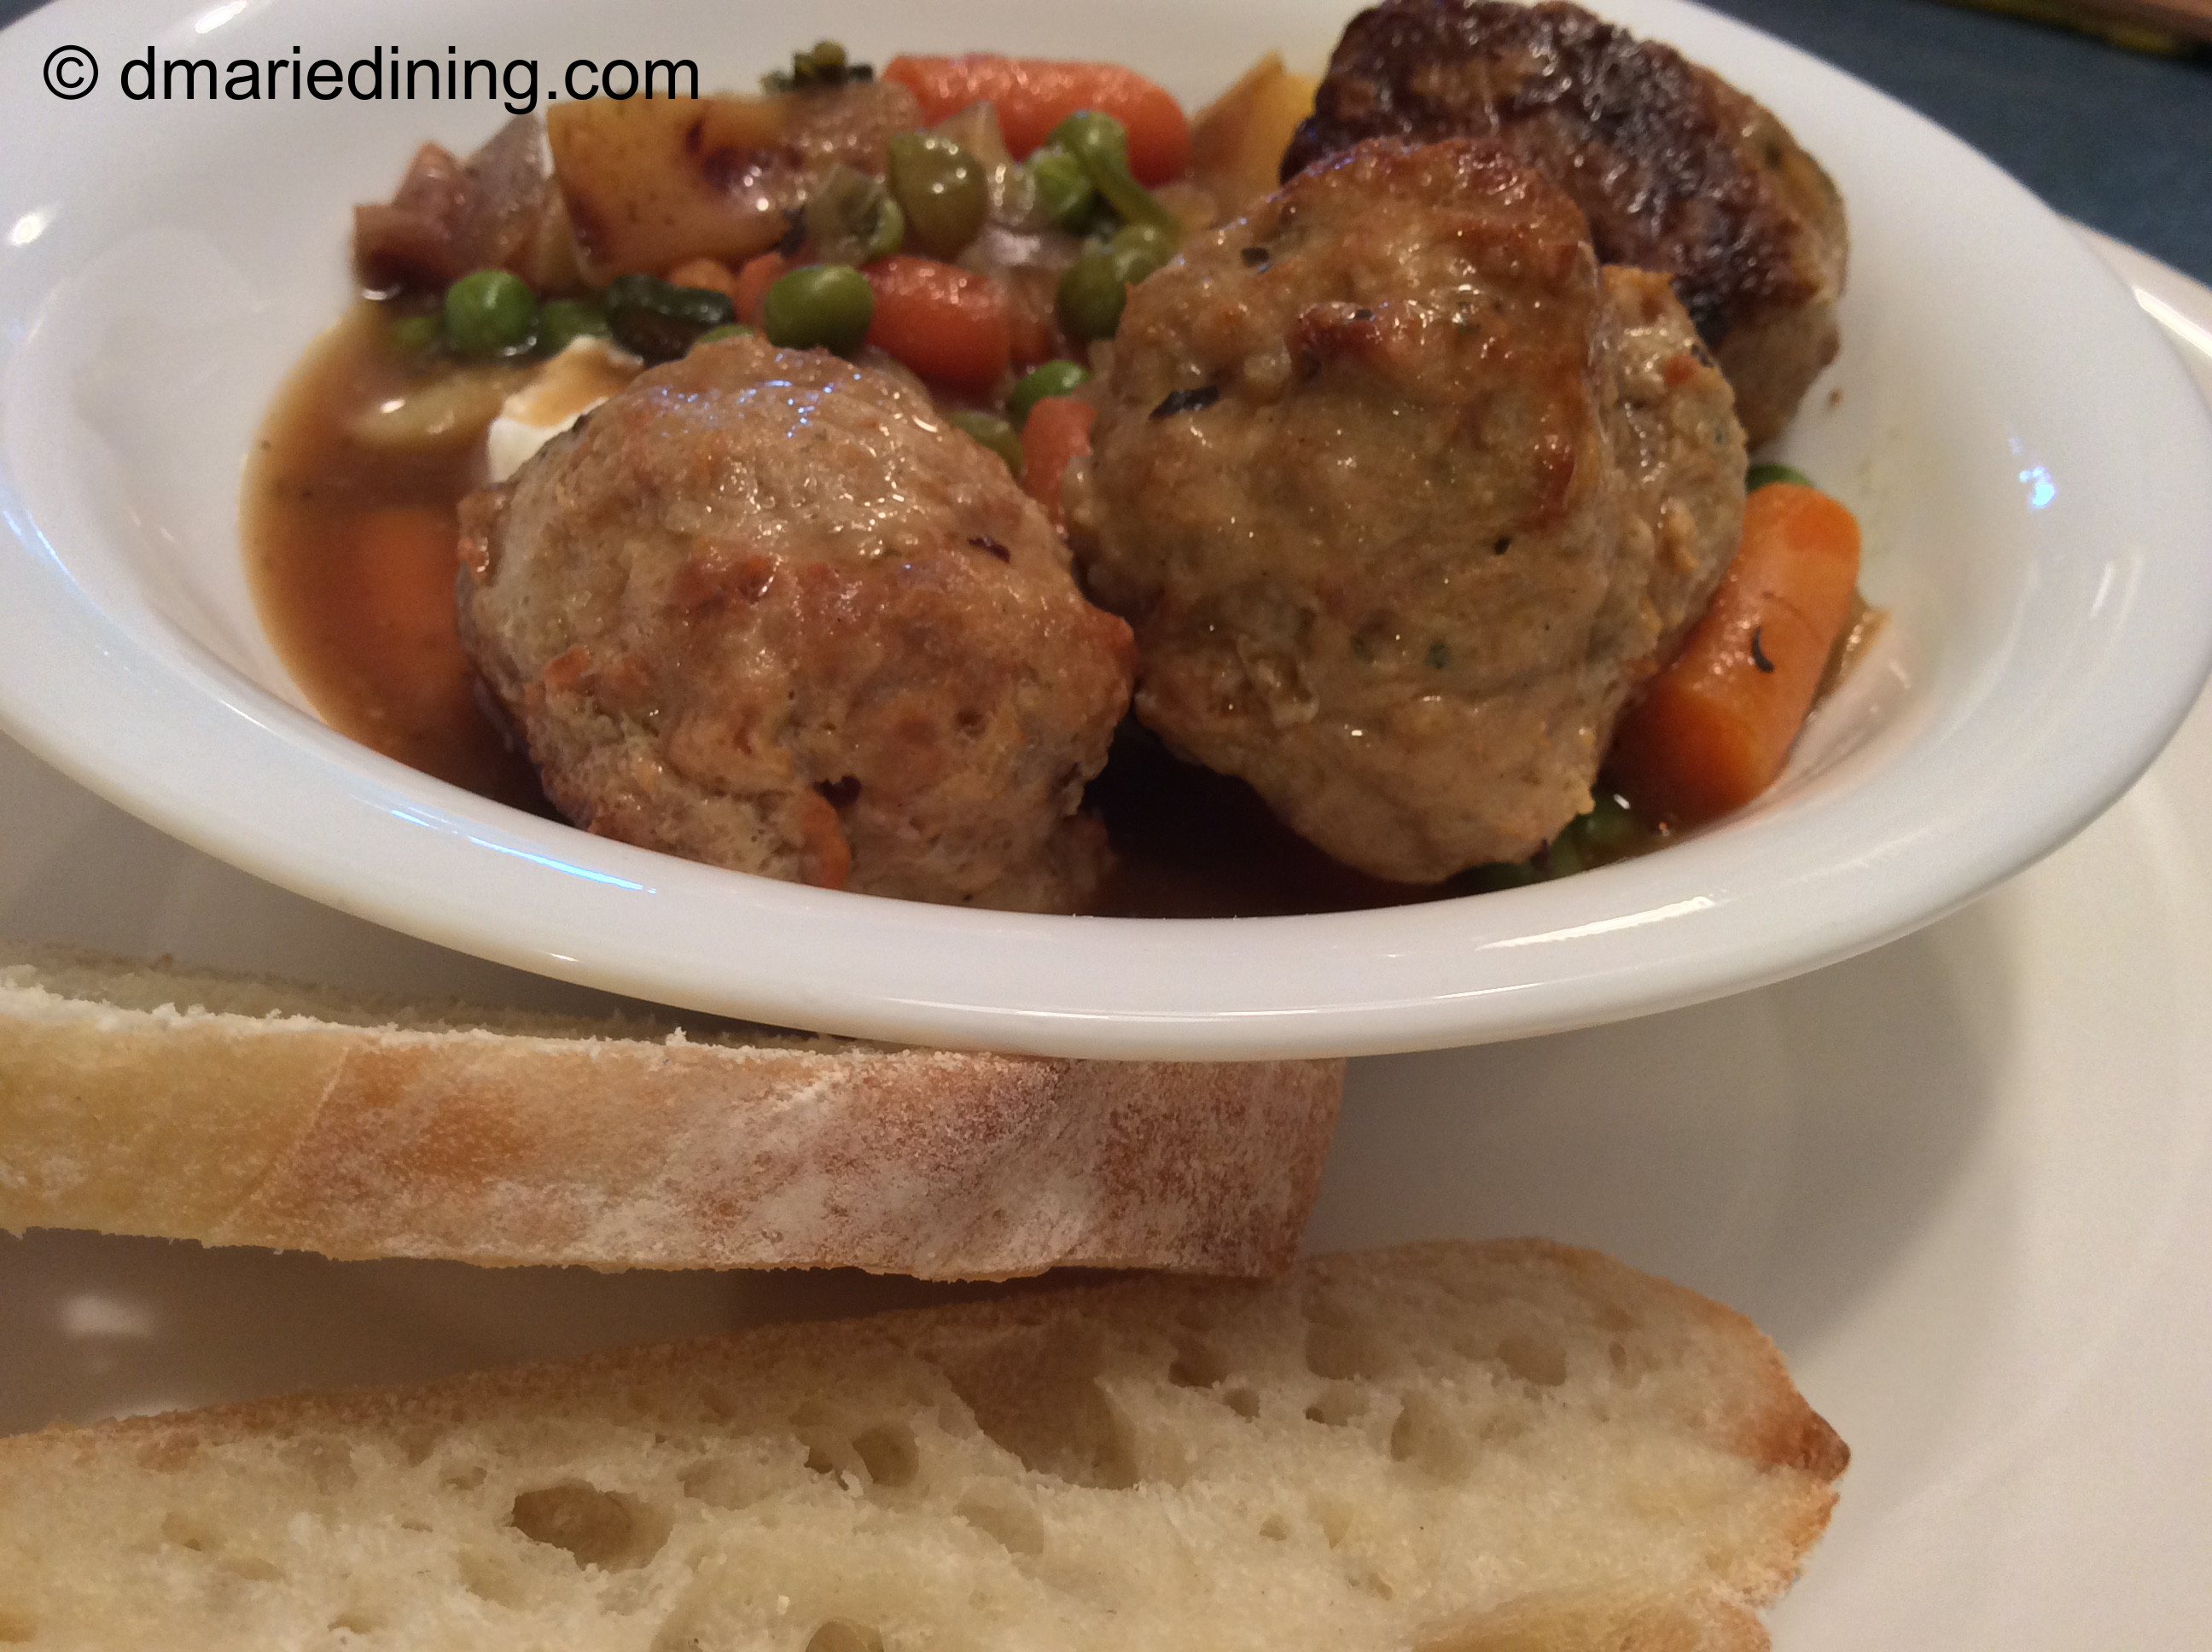
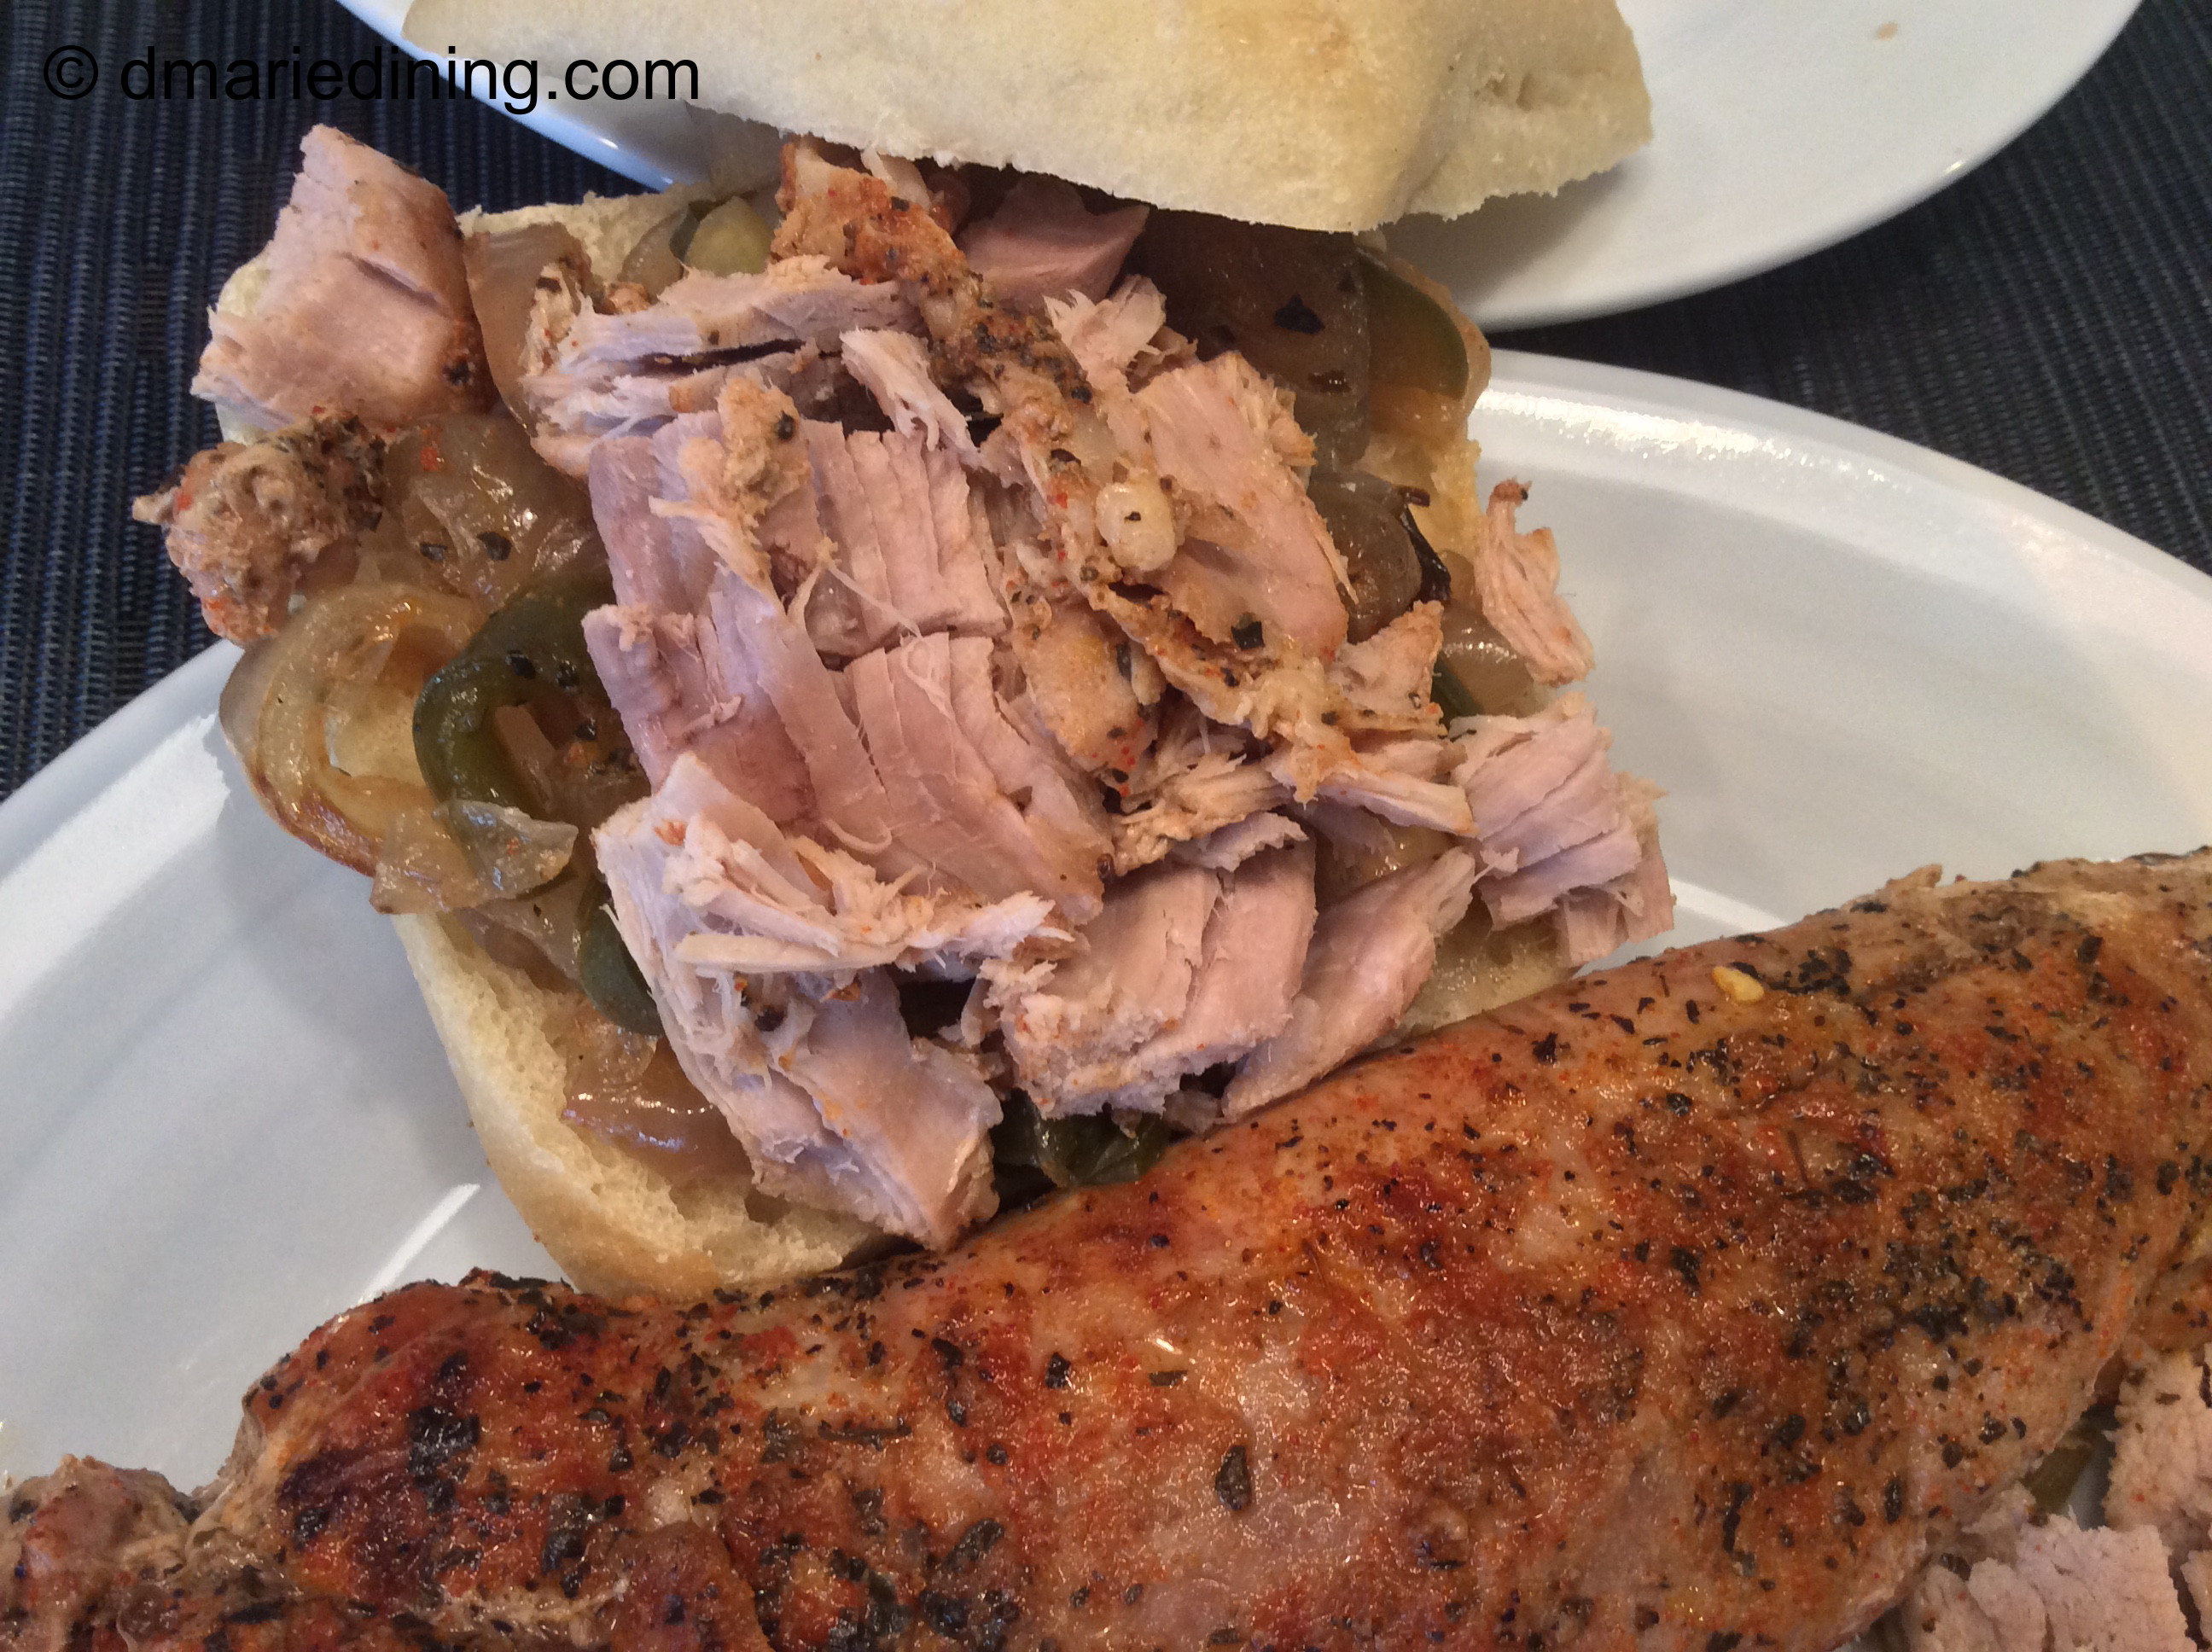
Roasted Pork Loin is excellent as a sandwich or paired with fried apples and mashed potatoes. No matter what you decide to make as a side dish the Roasted Pork Loin with be the star on your table. “Mr. DeMille, I’m ready for my close-up”.
Roasted Pork Loin
Ingredients:
1 – 2 pork loins
1 large onion sliced
1 jalapeno pepper sliced
1 cup of water
1 tbsp salt
1 tbsp black pepper
1 tsp onion powder
½ tsp ground ginger
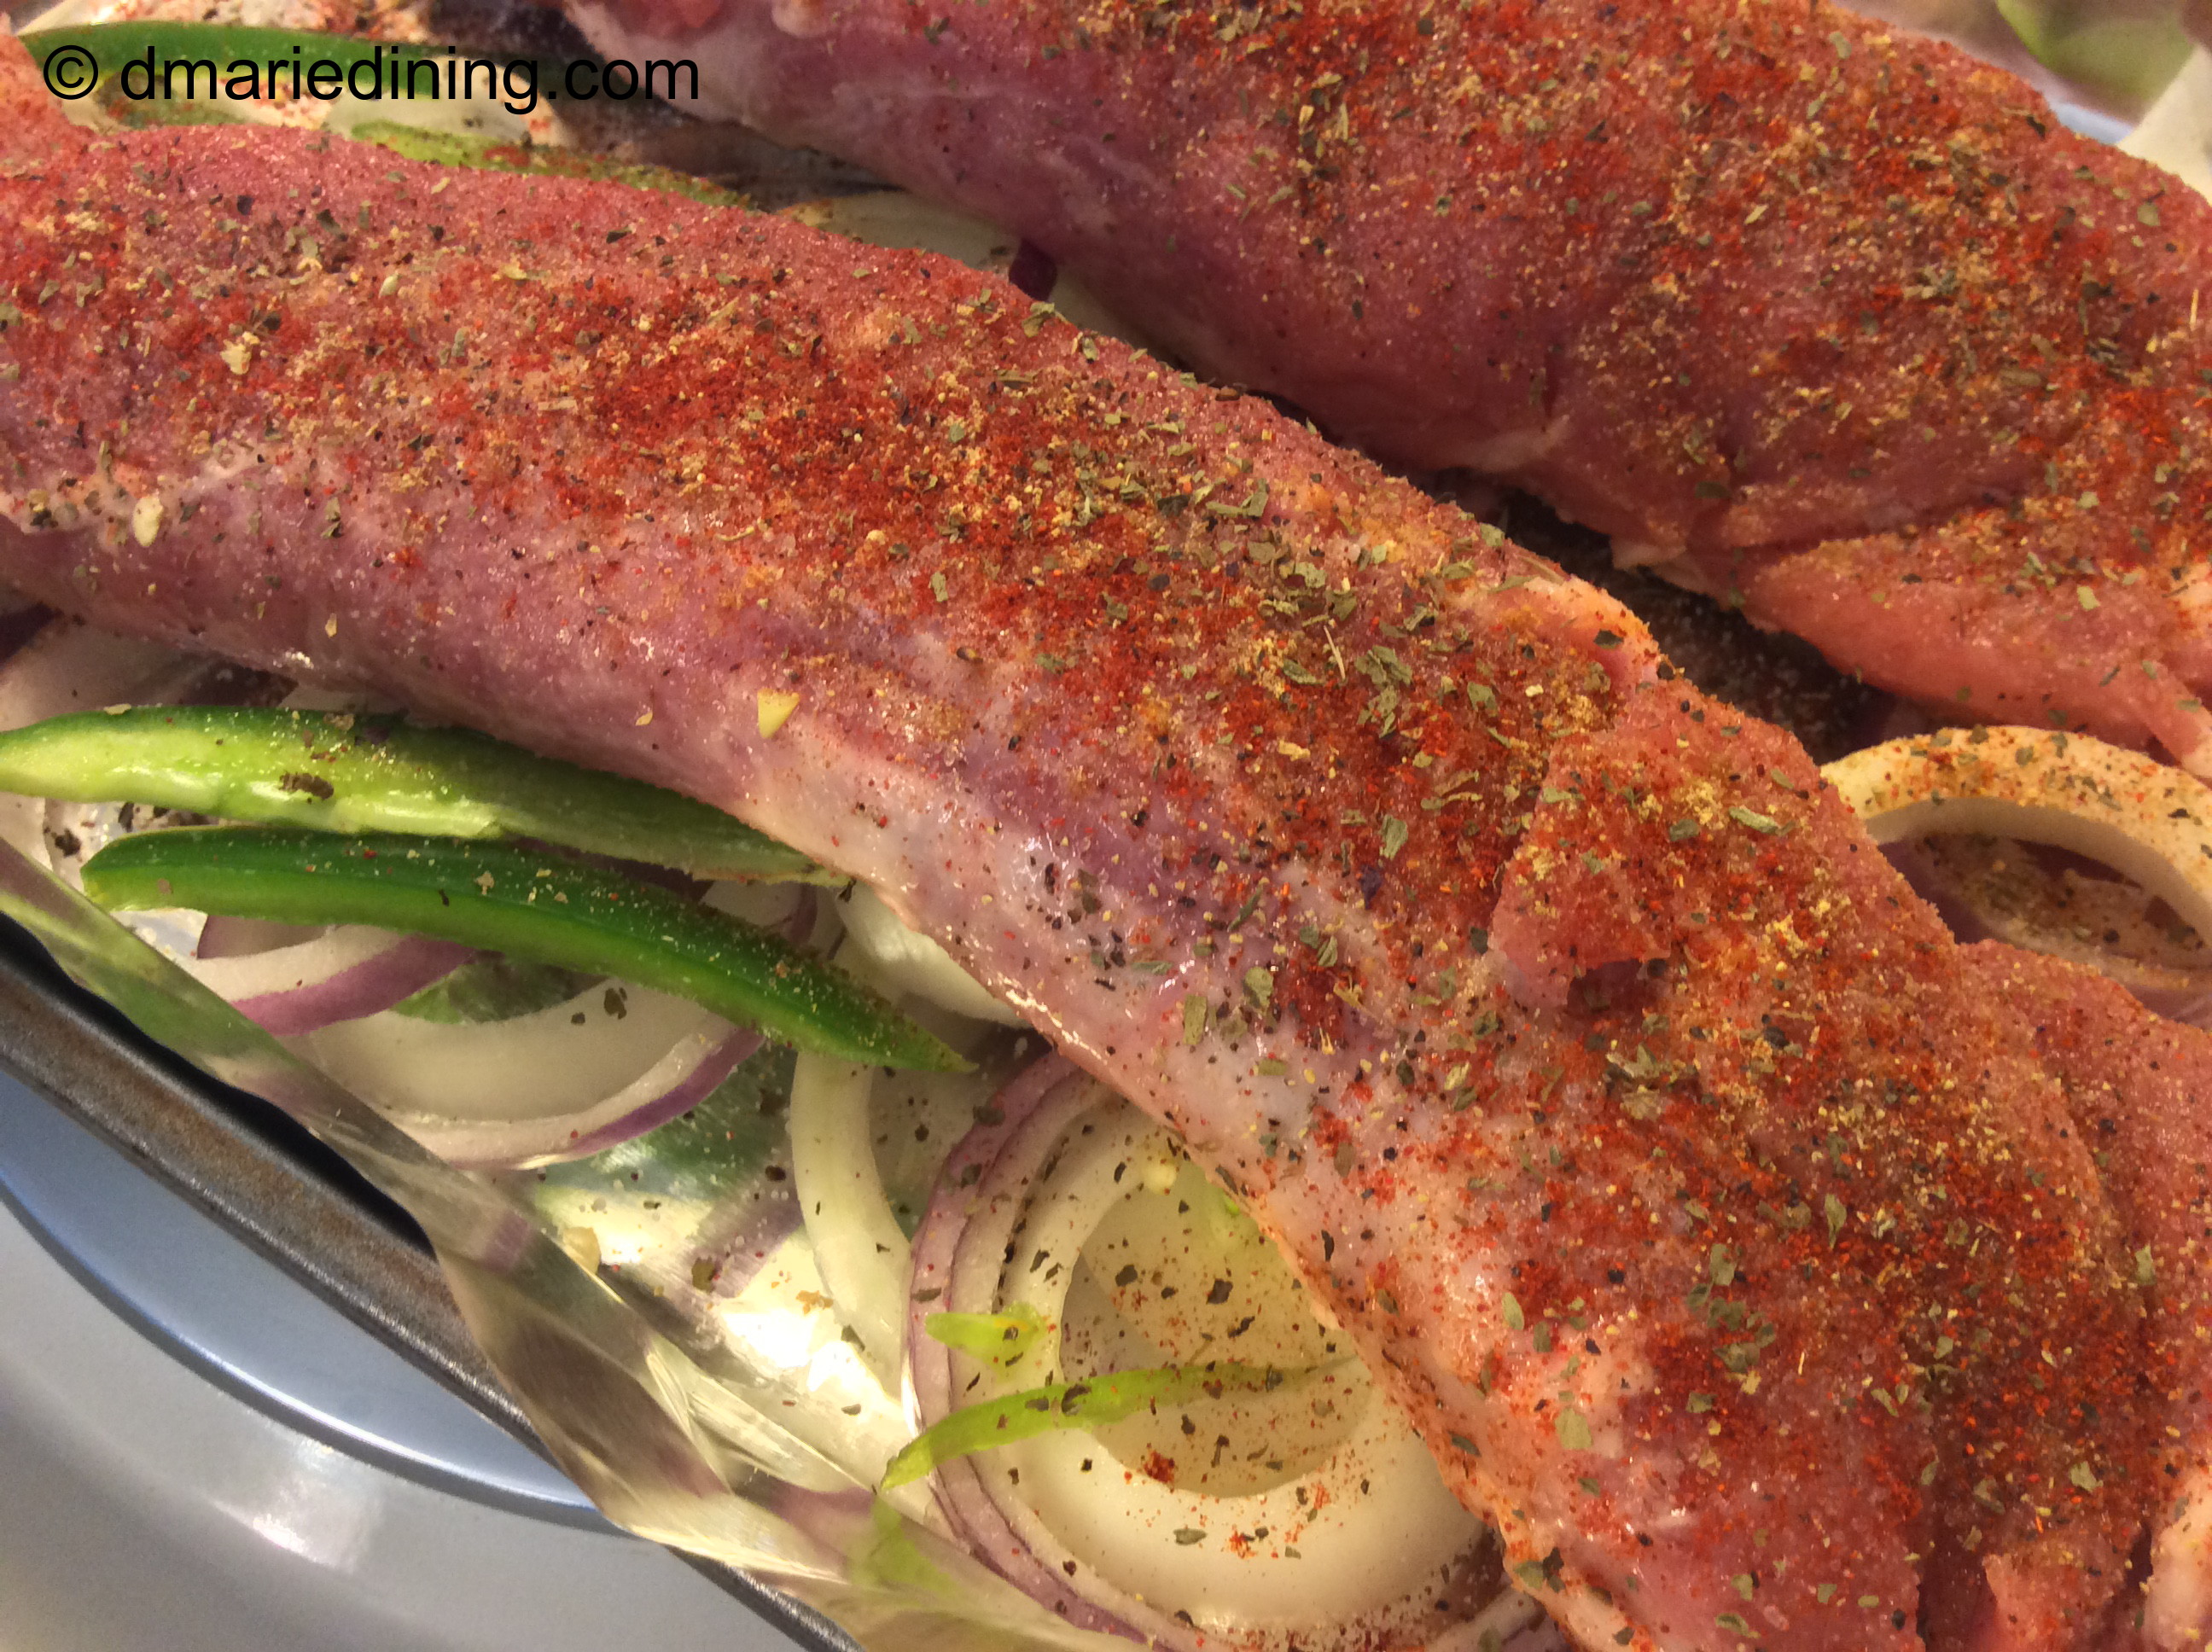
paprika
Preheat oven to 350 degrees.
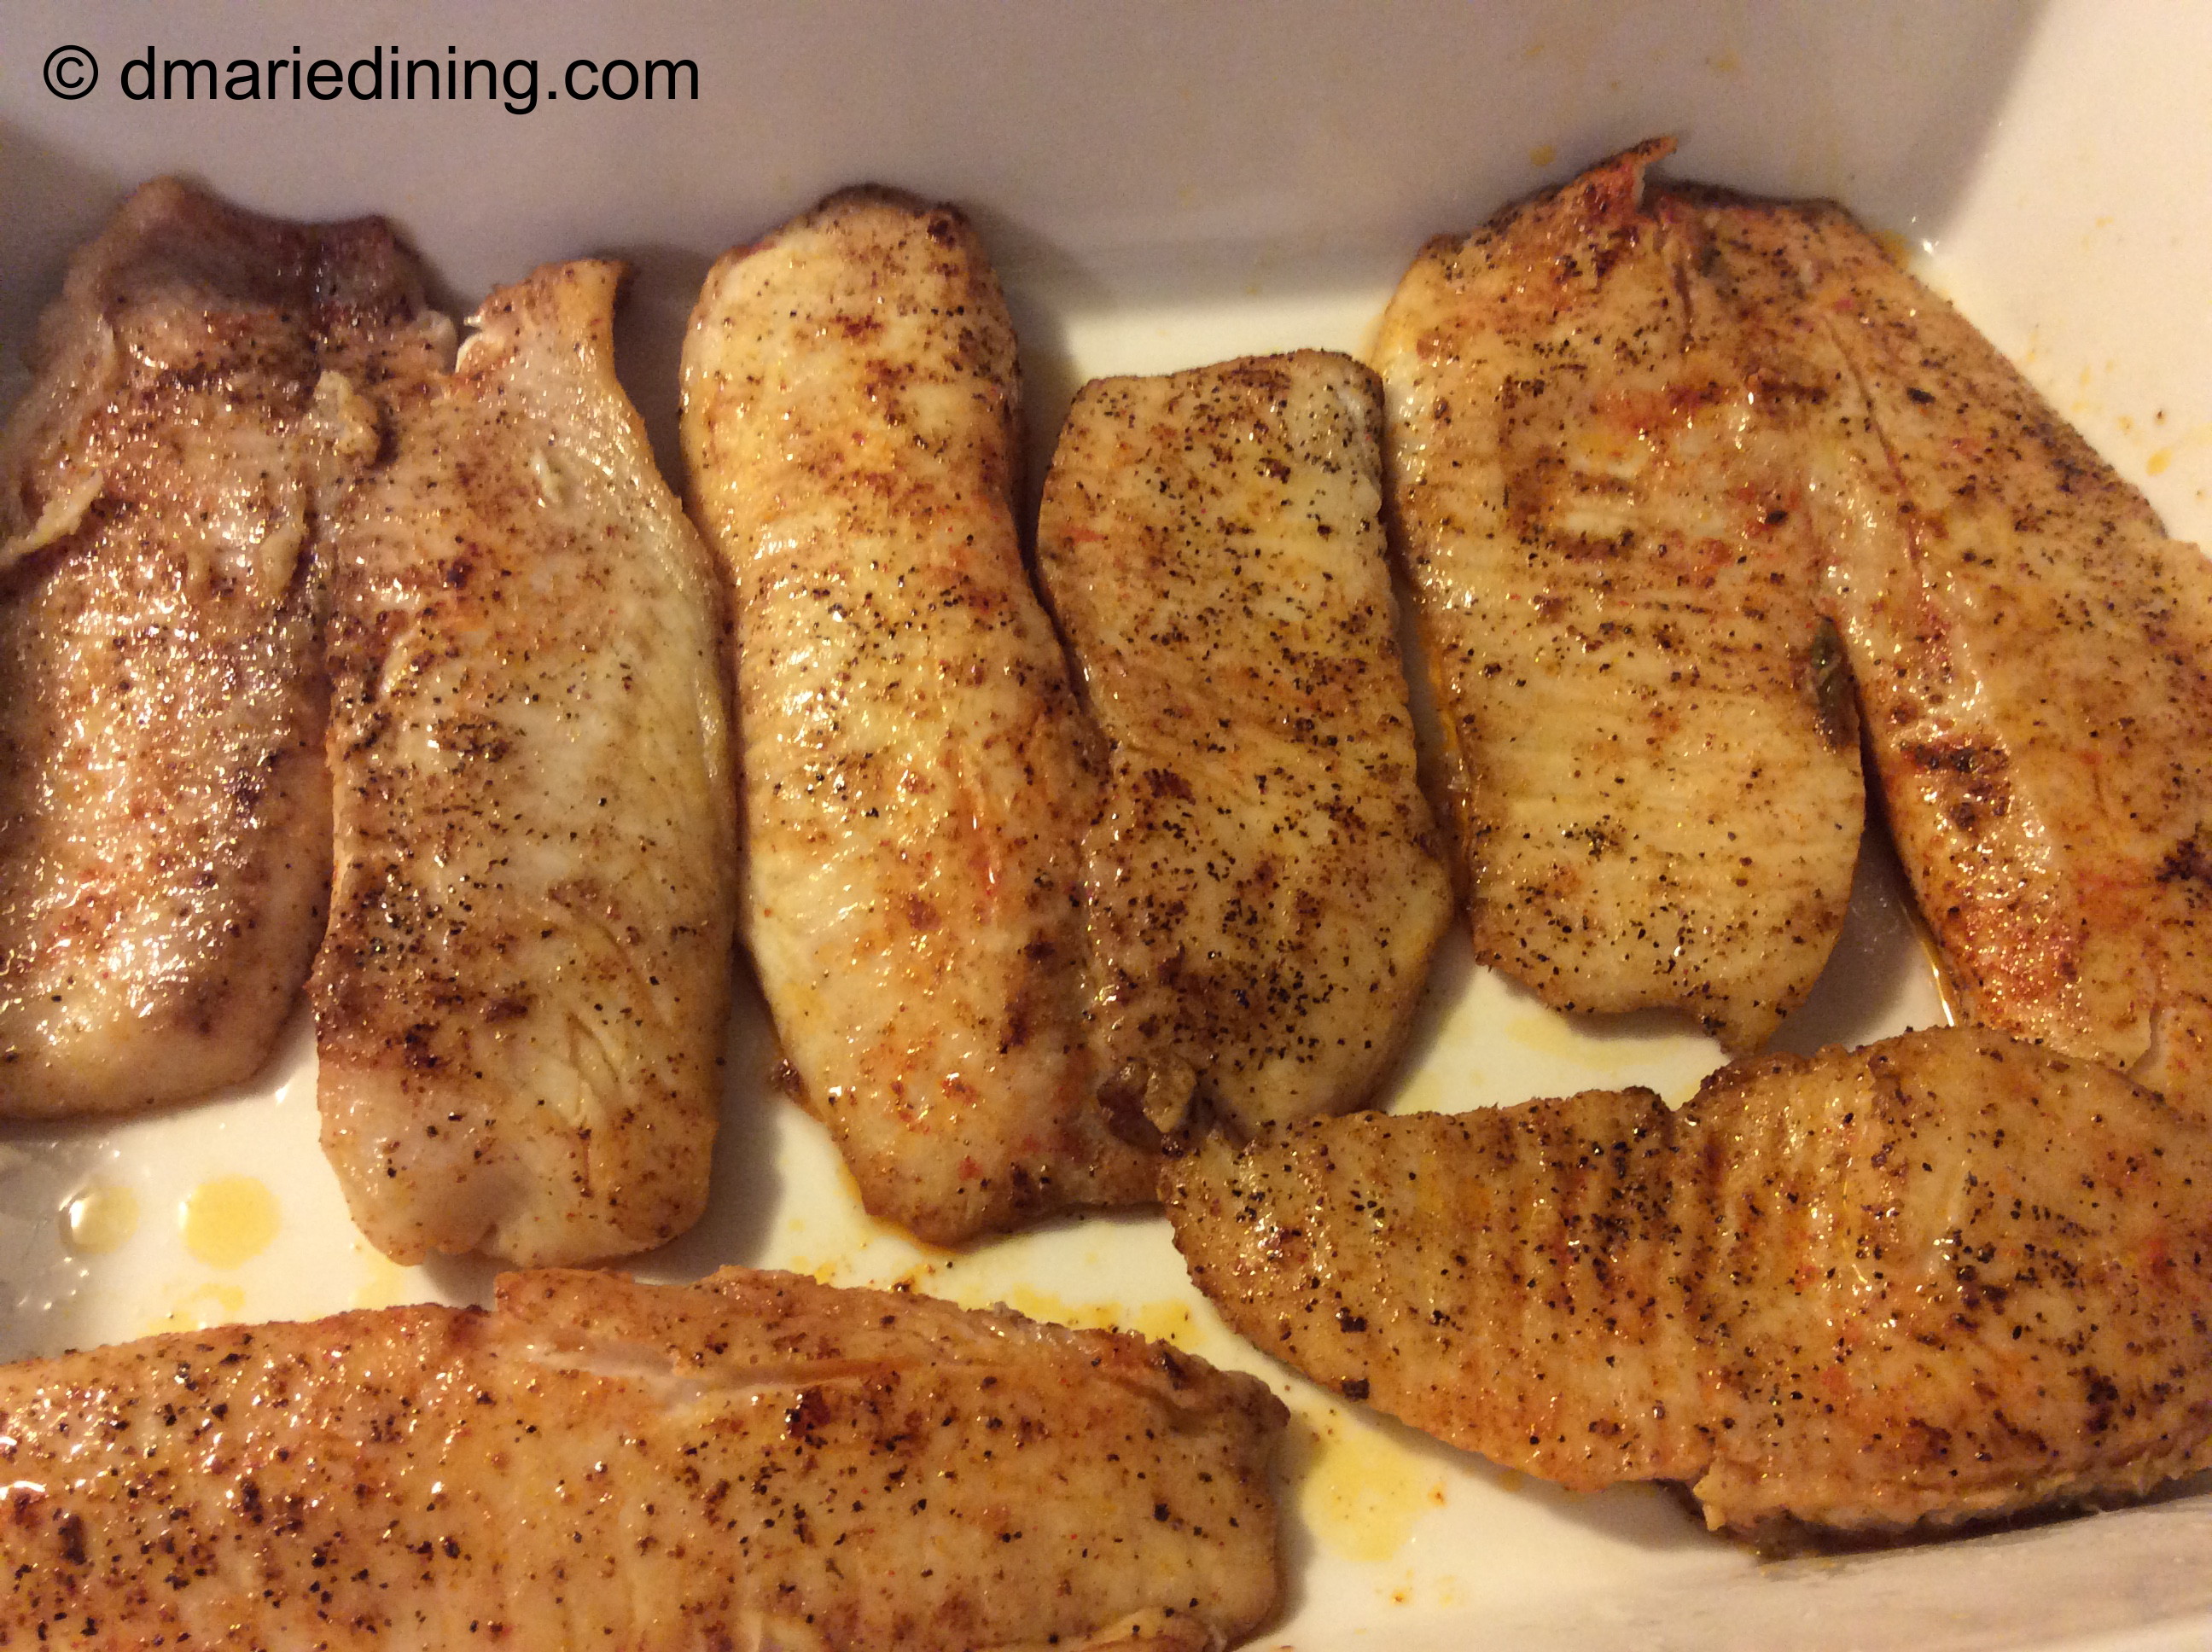
Season pork loins with all seasonings and place in a roasting pan. Cover with onions and jalapeno peppers. Pour water into the pan and wrap tightly with foil. Bake for 1 ½ hours until cooked and tender. Slice for a meal or sandwiches.