Lately, I have been eating a lot of cauliflower which means I have to come up with different ways to fix it so that we don’t get bored with cauliflower. I really like broccoli salad so I thought I would add cauliflower and a few other ingredients to my standard recipe to create a new fresh salad.

The spring and summer seasons call for light flavorful dishes. Cauliflower is big, pretty and plentiful during this time of year. As the seasons progress, cauliflower becomes less expensive so it usually ends up in my shopping cart.

My biggest surprise after making my Broccoli and Cauliflower Salad was that my youngest son really liked it. He can be picky when it comes to eating raw vegetables so I was taken aback when he dipped his fork into the bowl and scooped out some of the salad. His reaction surprised me even more and I suddenly realized I may not have any Broccoli and Cauliflower Salad left to take to work for lunch. No worries. I would rather see T enjoy eating raw veggies than worry about lunch the next day. Besides, I quickly put aside a little salad in a container then put it way back in the frig before hubby and T could polish it off.

This is one recipe I am sure I will be making all summer long. Bring on the BBQ!!! I have a dish I think everyone will love.

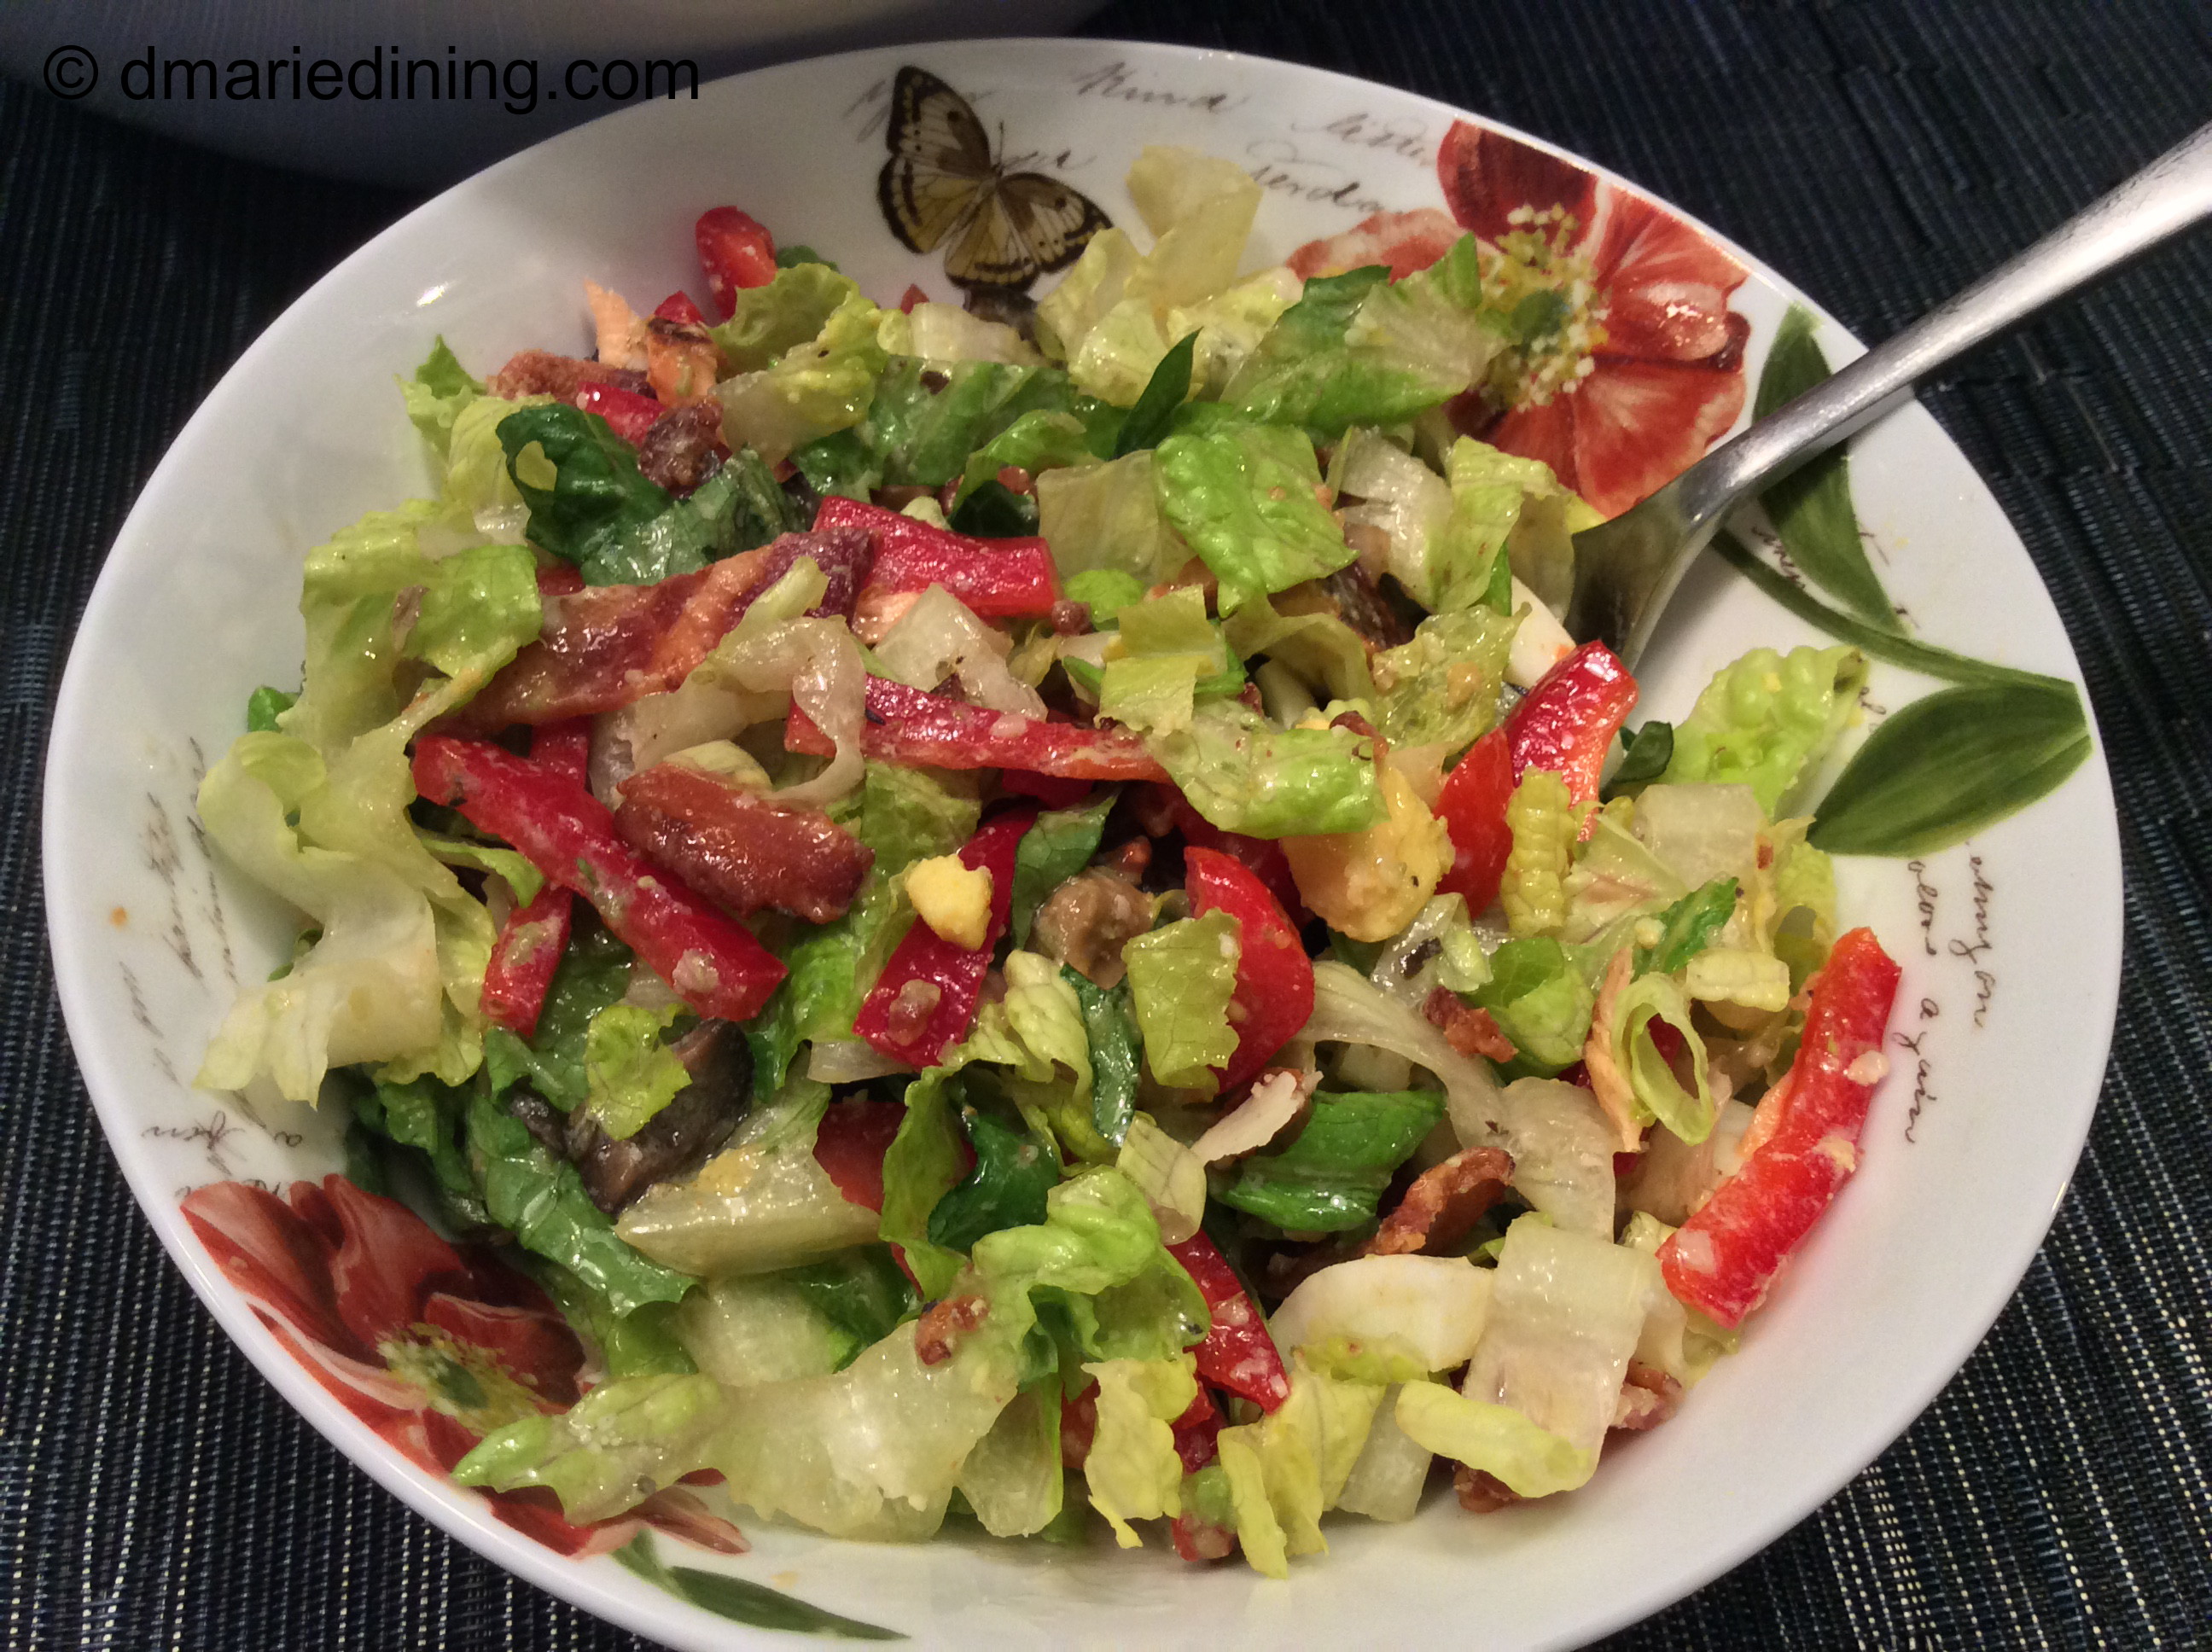
Broccoli and Cauliflower Salad
Ingredients:
1 large broccoli crown cut into small florets
1 large head of cauliflower cut into small florets
6 slices bacon fried and crumbled
1 cup carrots shredded
1 cup red cabbage shredded
½ cup sour cream
½ cup mayo
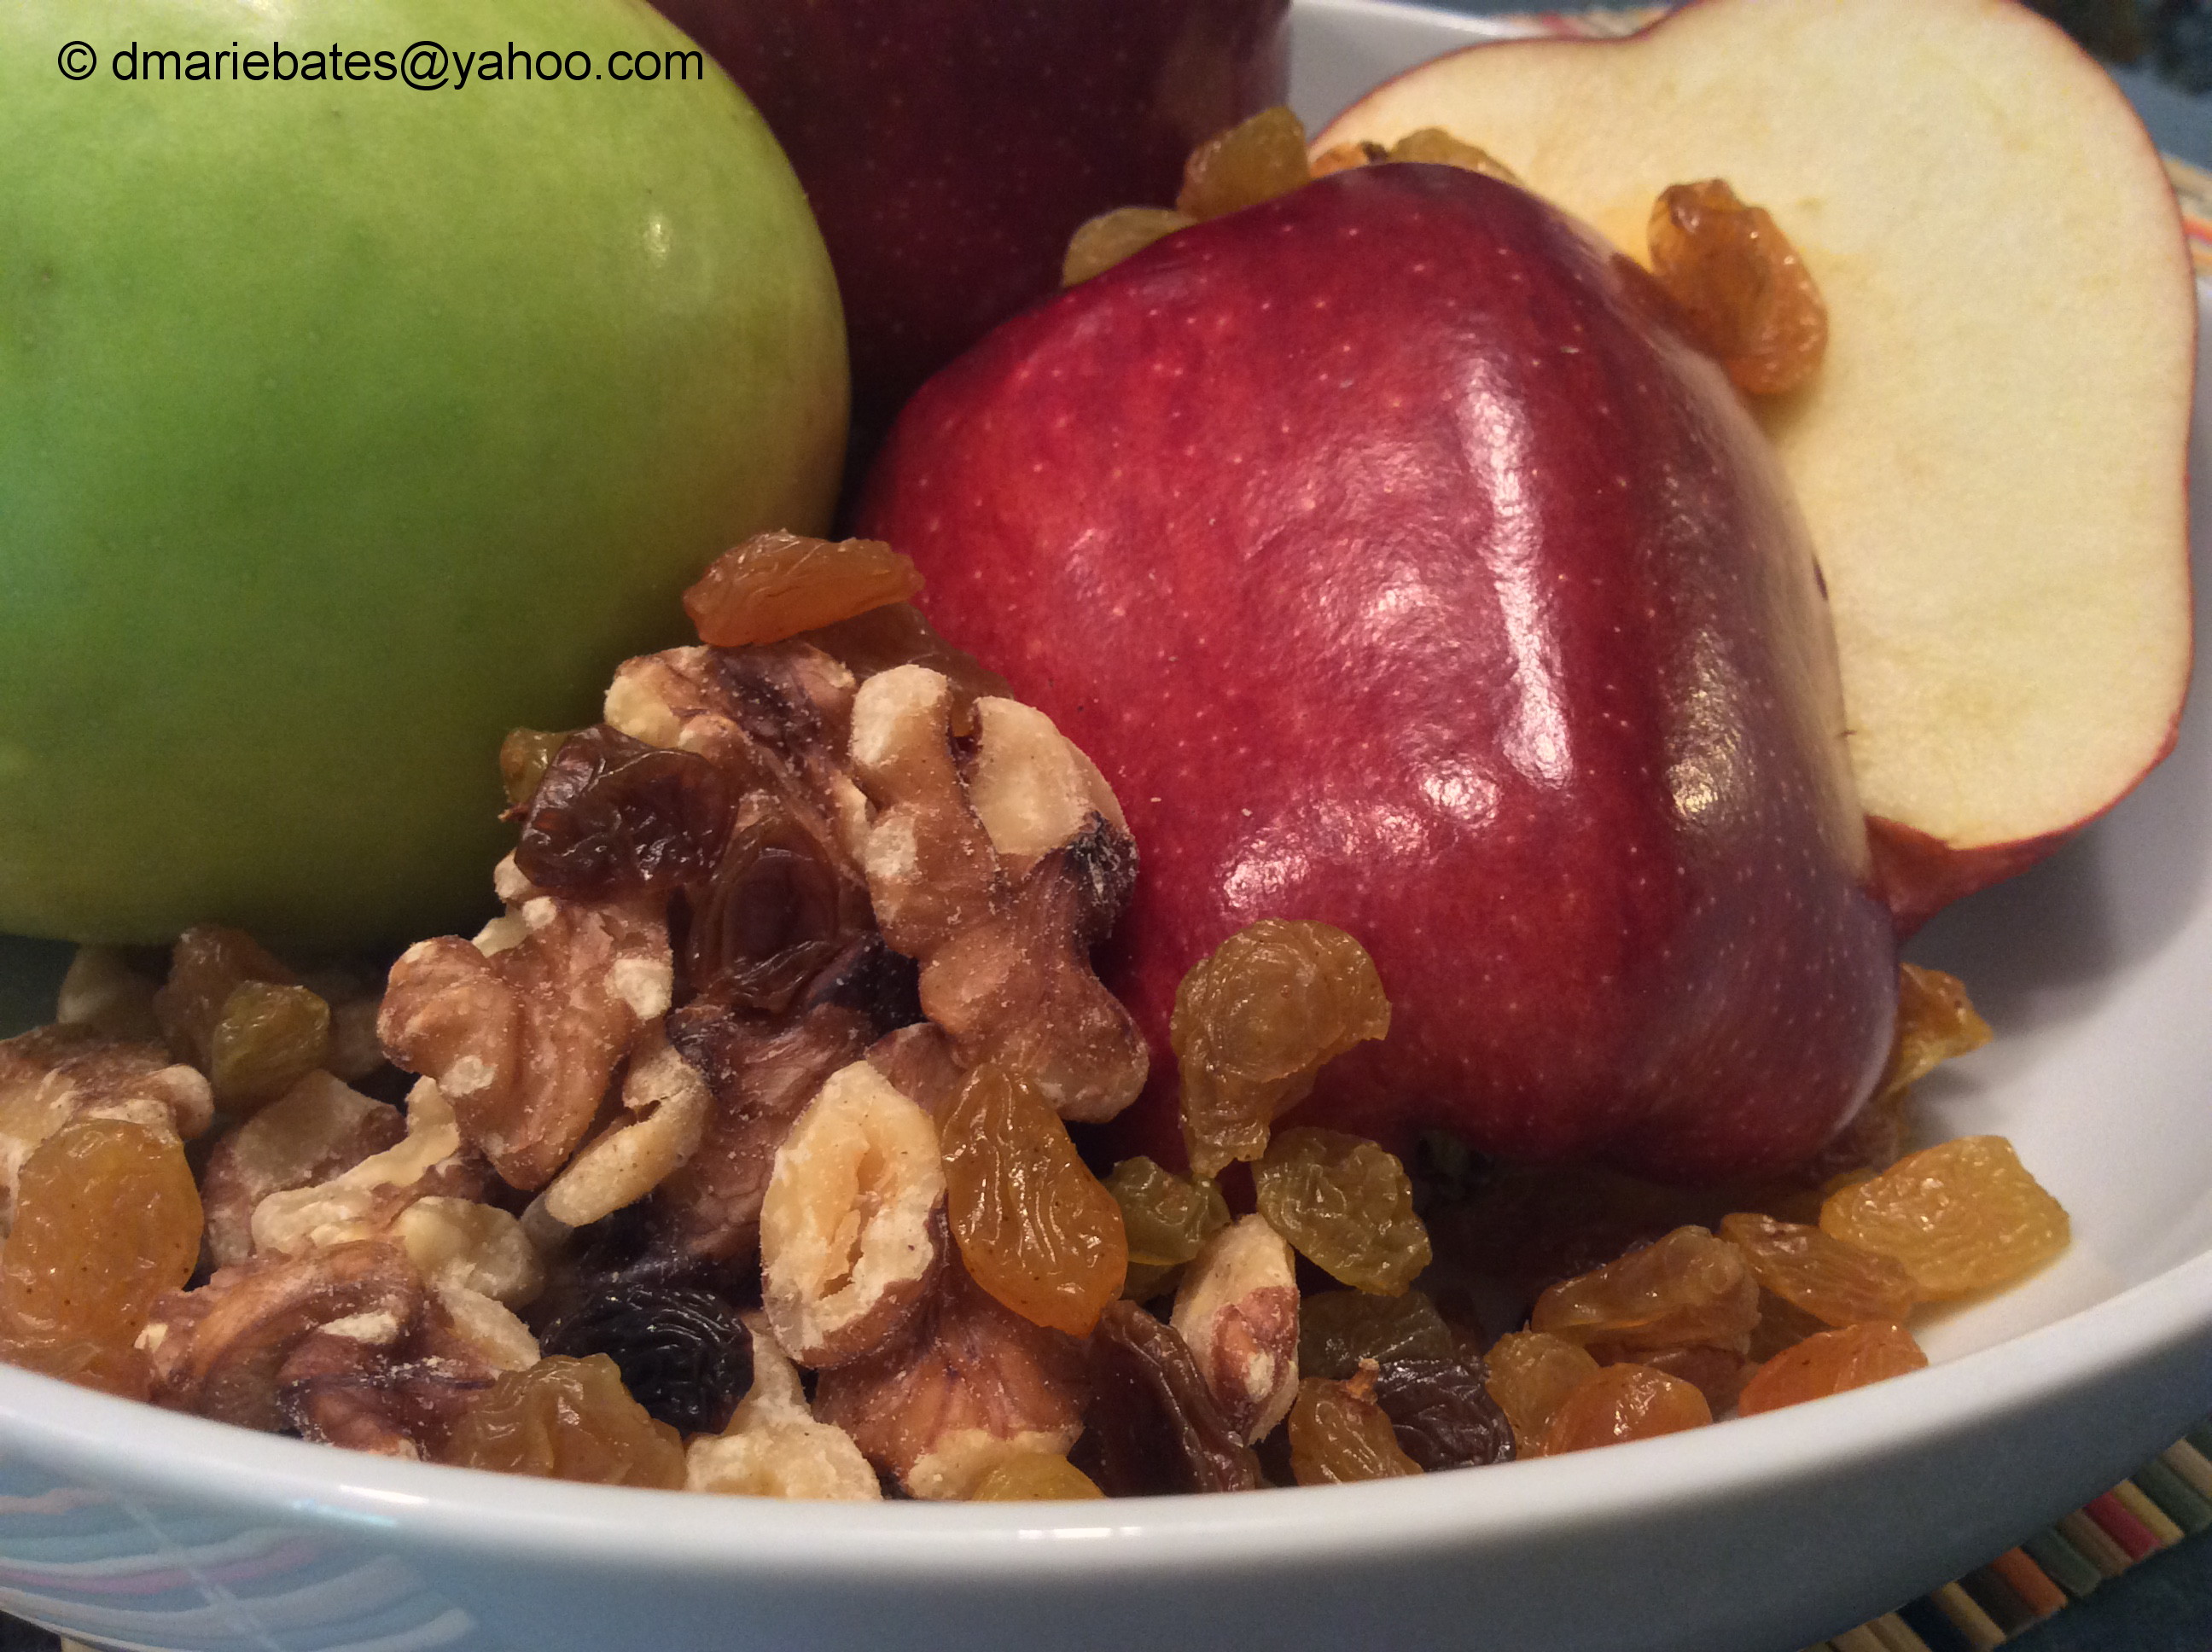
½ cup golden raisins
¼ cup Colby jack cheese shredded
½ tbsp seasoned salt
½ tsp cracked black pepper
½ tsp sugar
¼ tsp chopped parsley
Combine broccoli, cauliflower and raisins in a large bowl. In a medium bowl blend together sour cream, mayo and seasonings. Pour over veggies and gently mix to coat. Sprinkle with bacon (reserve a little bacon for garnish) and cheese then gently toss.
Chill 30 minutes. Serve chilled or at room temperature. Top with bacon crumbs before serving.