Tag Archives: blog

Ham Hash

img_5716_1

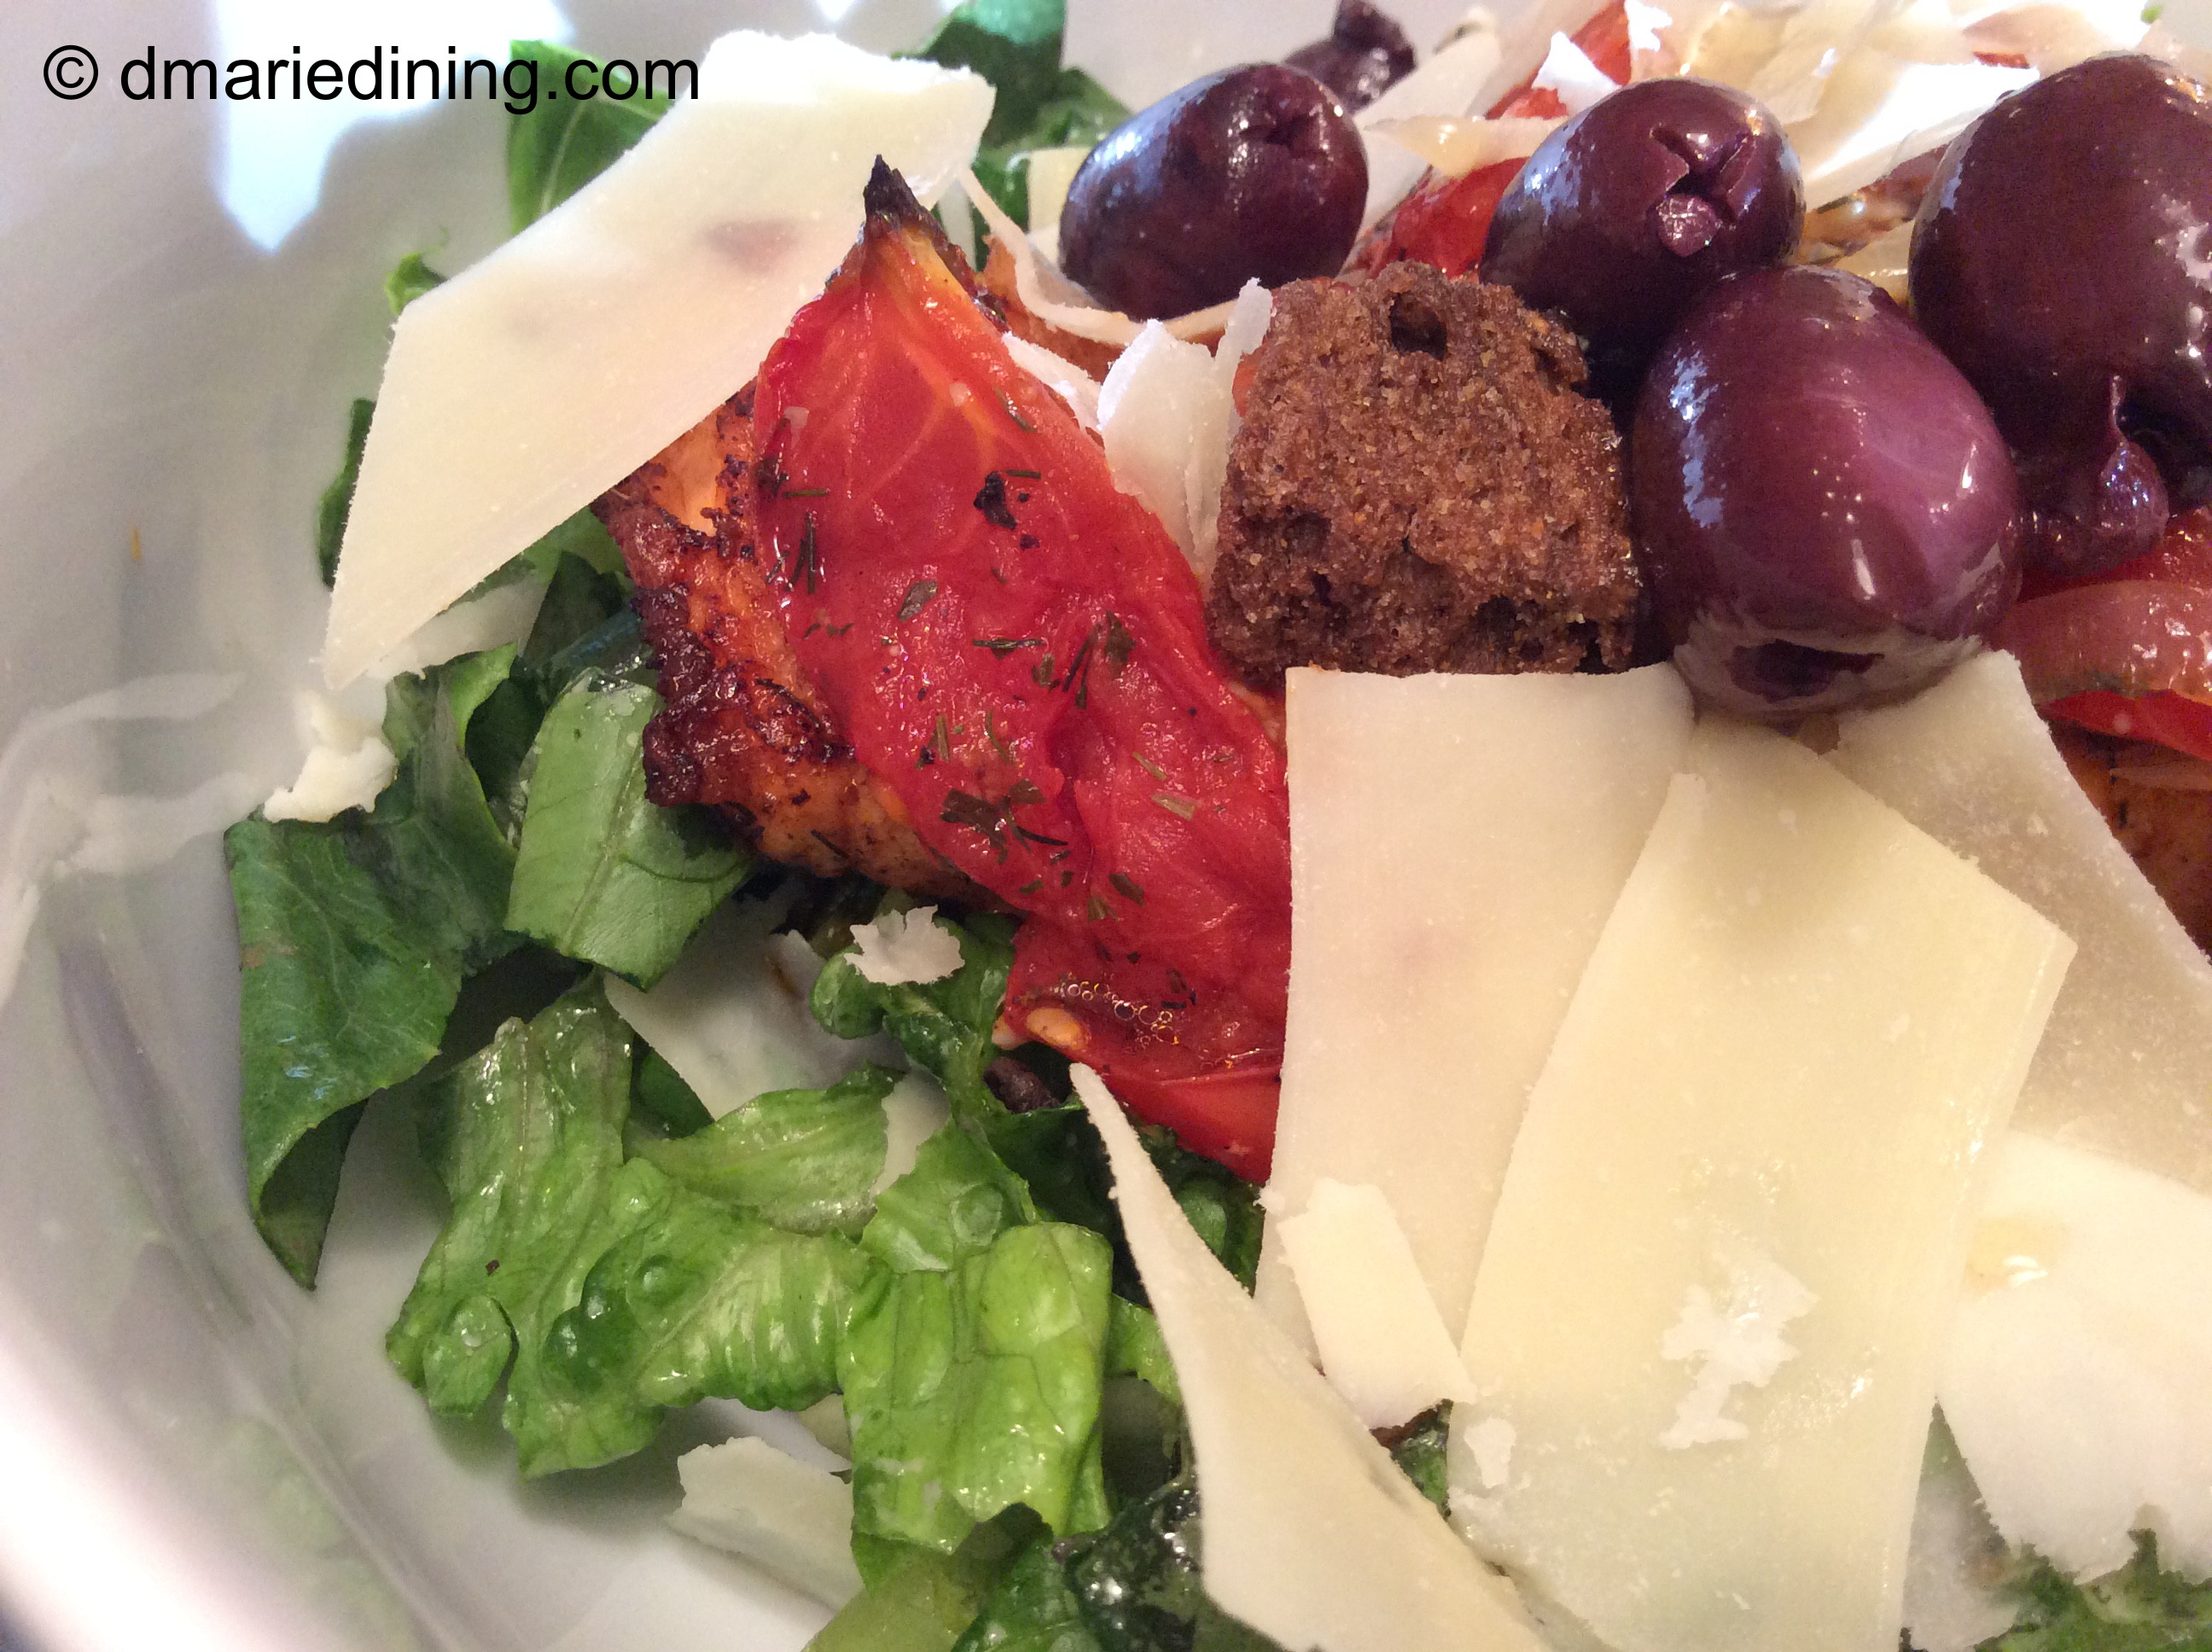
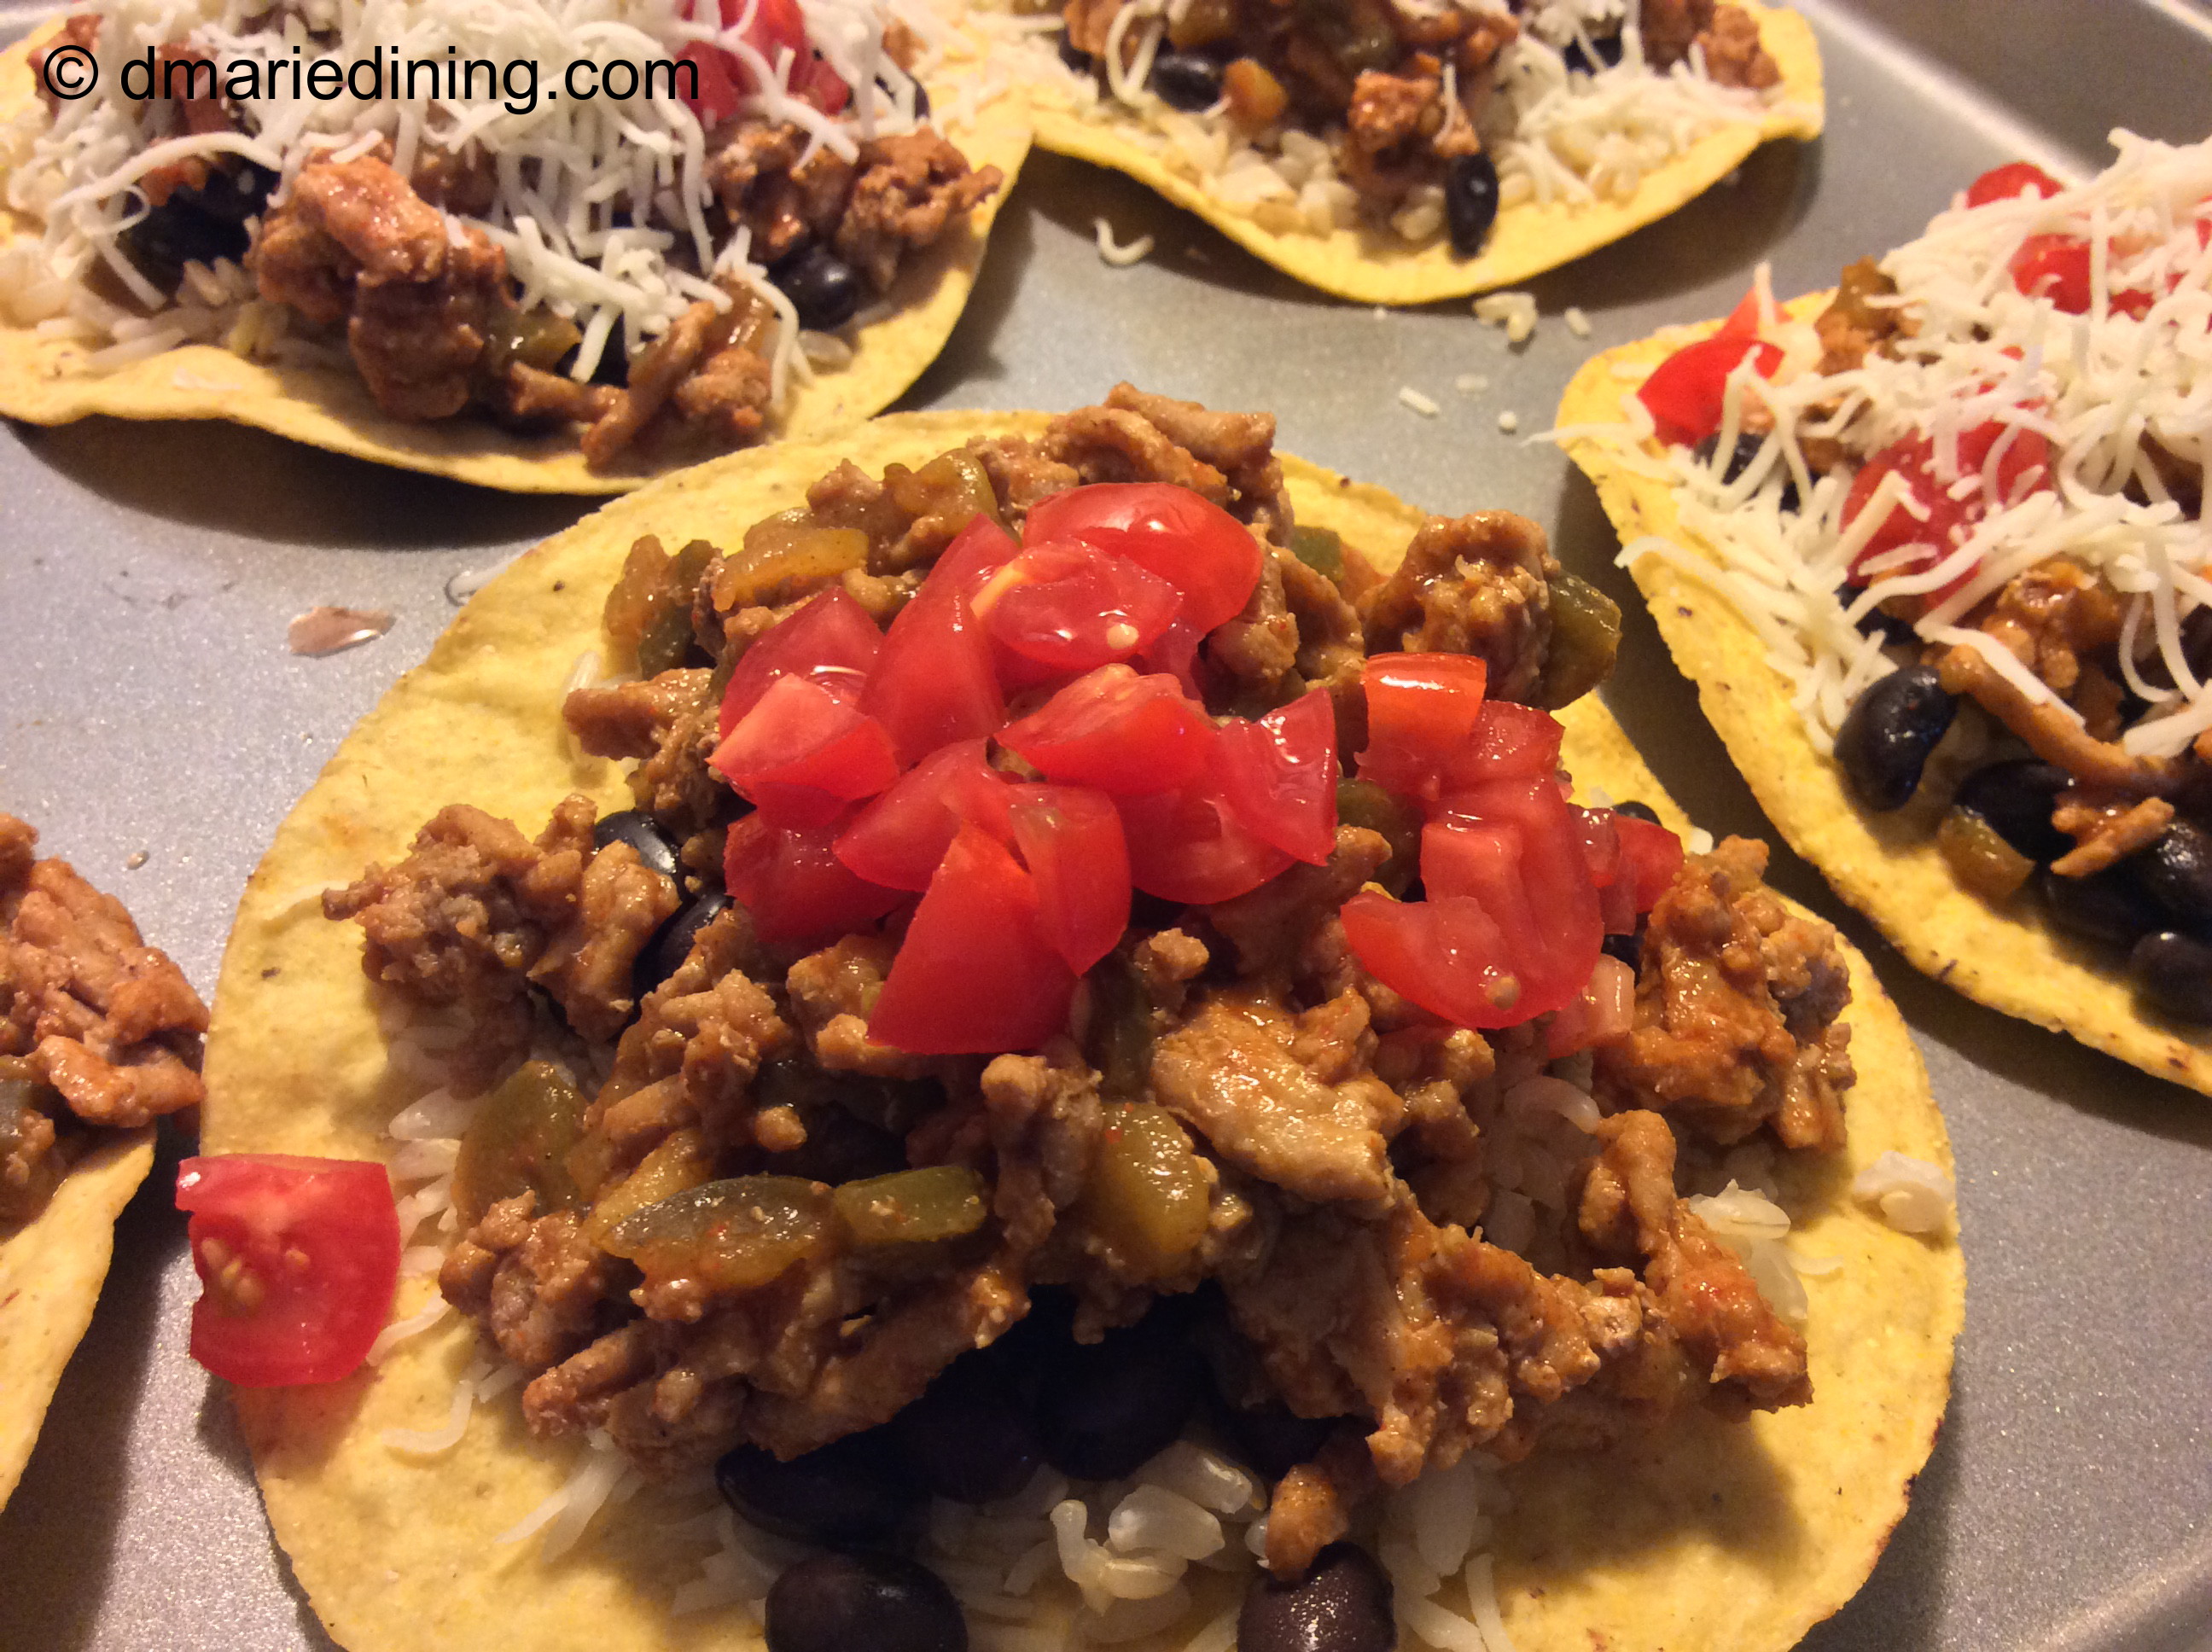
While my hubby and kids love all types of pasta I am a fan of potatoes. I love mashed potatoes, baked potatoes and of course fried potatoes. Since I am the only one that craves potatoes I don’t make them too often. But, when I do I want to make sure everyone will eat them.

img_5721_1

I figured out a while ago that in order to get my hubby to eat potatoes I needed to make them for breakfast. Why breakfast instead of dinner I still have not figured that one out yet. Hey, I don’t mind as long as I can eat potatoes.

img_5729_1

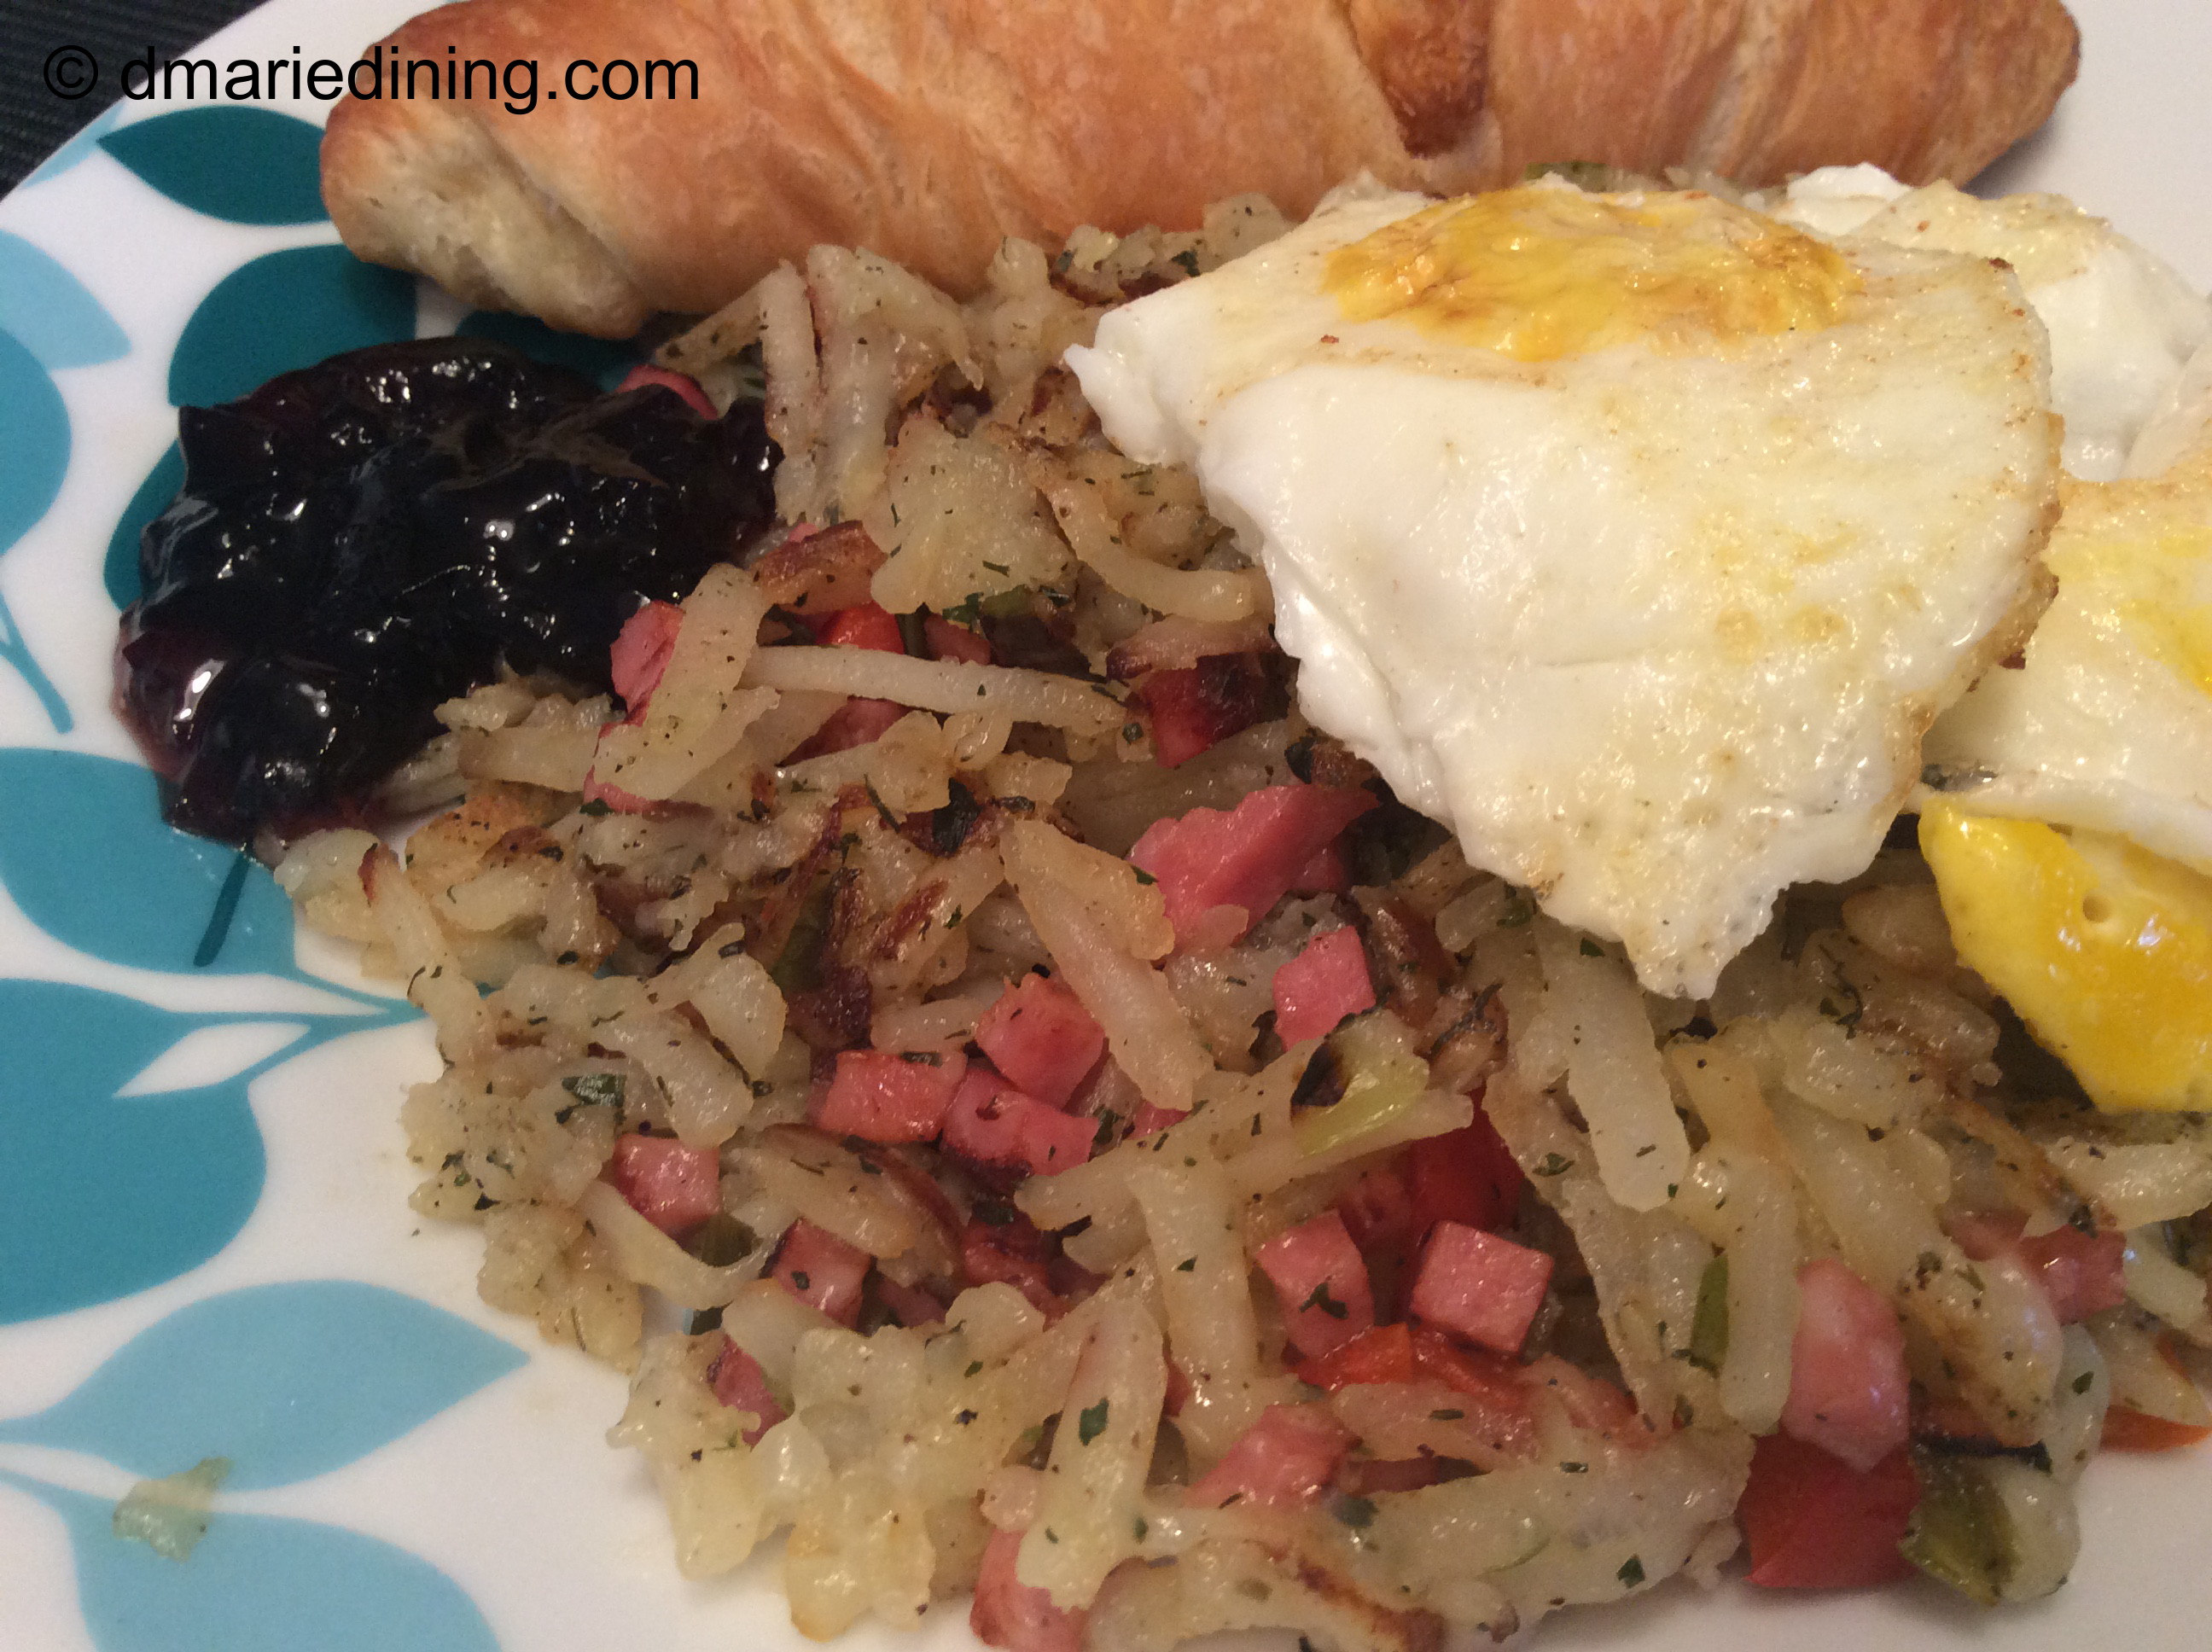
I first flirted with making a turkey hash but put that recipe aside because I did not have turkey at the time I decided to create a breakfast potato recipe. I did however have a package of diced ham I was going to use in a ham salad recipe. Preparing Ham Hash was a nice choice mostly because I had all the ingredients on hand. A lot of recipes are created based on what is in the pantry or refrigerator when chefs put on their creativity caps. At least, that is how quite a few of my recipes are pulled together. Using a little bit of this and that based on what you have to work with is a great way to create new tasty meals. I am never afraid to try something new and fortunately my family does not mind participating as my taste testers in my crazy kitchen laboratory.

img_5748_1

Creating a Ham Hash recipe was not a big stretch. This is a very simple recipe that is full of flavor. One of the best things about the recipe is that it is quick to fix. The potatoes and veggies do not take long to cook especially since I used packaged shredded potatoes (I do shred my own Yukon Gold potatoes when I have time).  Plus, the ham was already cooked.  So…. Viola! Quick and Easy.

img_5775_1

Ham Hash

Ingredients:

3 – 4 Yukon Gold potatoes shredded or 1 pkg shredded potatoes

2 scallions sliced (both white and green parts of scallion)

1 pkg diced ham

1 small onion diced

¼ cup green peppers diced

¼ cup red peppers diced

2 tbsp bacon fat

2 tbsp butter

1 tsp parsley

½ tsp salt

½ tsp black pepper

¼ tsp onion powder

¼ tsp garlic powder

¼ tsp red pepper flakes (optional)

Heat bacon fat in a large skillet over medium heat. Add diced ham and stir to coat with fat. Cook until ham is slightly browned. Remove from skillet and set aside. Add potatoes and veggies to the skillet and sprinkle with seasonings. Stir to mix veggies with potatoes. Increase heat to medium high and allow potatoes to crisp up a little for 5 – 6 minutes then add ham back to the skillet. Reduce heat to medium. Stir to mix in ham with the potatoes. Cook an additional 8 – 10 minutes stirring occasionally until the potatoes are cooked through. Serve with eggs and biscuits.

Follow my blog with Bloglovin

Kale and Sweet Potato Remix (Baby Girl’s Recipe)

img_5860_1

The holidays are over but I still have a story to tell about our last Thanksgiving celebration. My daughter-in-law came up with the idea of having the ladies make new dishes out of our holiday leftovers. Nat made a delicious pasta dish out of leftover steamed broccoli ( Nat’s Broccoli and Pasta Remix ) and my daughter made a tasty dish using leftover roasted sweet potatoes and fresh kale.

img_5902_1

Baby Girl’s Kale and Sweet Potato Remix was pretty impressive and quite simple to prepare. Leftovers are great. At least in my book. I think the seasonings blending together overnight make some dishes taste even better the next day. That was true for the sweet potatoes we used for the Kale and Sweet Potato Remix. Of course using all fresh ingredients is fine too. You don’t have to wait until you have leftovers to make this yummy dish. If you need a recipe for leftover kale or sweet potatoes this is a wonderful recipe to pull together.

img_5949_1

When Baby Girl thought of this recipe she decided to step it up a little by using two types of kale – red kale and curly green kale. I don’t remember ever seeing red kale in the grocery store or maybe I did see it but did not know it was kale. Anyway, the red kale was beautiful and had a sweeter and more delicate flavor than the curly green kale. The combination of the two types of kale created a nice balance between the slightly bitter and sweet flavors. Adding sweet potatoes only elevated the dish and made it blog worthy.

img_5960_1

Nice going kiddo! One more recipe to add to your repertoire and mine.

img_5959_1

Kale and Sweet Potato Remix

Ingredients:

4 cloves garlic chopped

3 lg sweet potatoes peeled and cubed

1 bunch Redbor kale clean and remove stems

1 bunch curly green kale clean and remove stems

½ jalapeno pepper seeded and diced (leave a few seeds for spice)

¾ cup white cooking wine

½ cup grated parmesan cheese

3 tbsp olive oil

1 tsp salt

½ tsp black pepper

Preheat oven to 400 degrees.

Place cubed sweet potatoes on a greased cookie sheet. Drizzle olive oil over sweet potatoes. Sprinkle with jalapeno peppers, salt and pepper then toss to coat with olive oil. Place in oven and bake for 35 – 45 minutes until sweet potatoes are slightly browned and fork tender. Remove from oven and set aside.

Heat 2 tbsp olive oil in a large frying pan over medium heat. Add garlic and stir constantly for 1 minute to prevent garlic from burning. Pour in white cooking wine and stir for an additional 2 minutes.

Increase heat to medium high and add Redbor kale. Cook for 6 – 8 minutes until the kale is wilted. Add the remaining kale. Season with salt and black pepper then cook for 15 – 20 more minutes until tender. Stir occasionally. Reduce heat to medium and add sweet potatoes to the kale. Gently toss to mix kale and sweet potatoes. Transfer to a serving dish. Top with grated parmesan cheese.

Enjoy!

Follow my blog with Bloglovin

Nat’s Broccoli and Pasta Remix

img_5941_1

During the holidays families often have to split time when their adult children are married. Our family is no different than any other family. Every year we share the kids with the in-laws. Last year my daughter-in-law came up with a great idea so that my hubby and I did not feel left out on Thanksgiving day since it was not our turn to host the family. Instead of having a big Thanksgiving celebration with all the kids and grand-kids, we had a big after Thanksgiving family leftovers celebration.

img_5954_1

All the ladies were charged with coming up with a dish using leftovers from Thanksgiving. Besides being able to spend time with my kids and mom I got a few new ideas to share on my blog. Nat created a tasty pasta dish from leftover steamed broccoli. This was a very simple dish but was packed with flavor from the garlic, white wine and parmesan cheese. I knew Nat’s Broccoli and Pasta Remix would be a good recipe for my blog when my youngest grandson jumped right in and gobbled up the pasta. Who could argue with a pasta connoisseur like little Ant?

img_5955_1

Thanks Nat for creating a new family tradition and a way to still share the holidays with our kids and grand-kids.

img_5972_1

Nat’s Broccoli and Pasta Remix

Ingredients:

1 box gemelli pasta

4 garlic cloves chopped

2 shallots diced

1 small onion diced

1 lemon

3 cups leftover steamed broccoli or 2 lg broccoli heads cut into florets

1 cup white wine

½ cup shredded parmesan cheese

4 tbsp olive oil

1 ½ tbsp salt

½ tbsp black pepper

½ tsp oregano

½ tsp thyme

Prepare pasta according to package then set aside in a large bowl. Reserve ½ cup pasta water.

Place 6 cups of water along with 1 tbsp of salt and bring to a boil. Blanch broccoli then drain. Place into a cold water bath to stop the broccoli from cooking. Reserve ½ cup of the broccoli water.

Heat olive oil in a large skillet over medium high heat. Add onions and cook 3 – 5 minutes until onions begin to soften. Add shallots and cook for 1 minute then add garlic. Cook until vegetables begin to brown stirring constantly so that garlic does not burn. Pour in white wine and cook for 1 minute. Add broccoli to the pan season with salt and black pepper. Stir to mix then remove from heat.

Pour broccoli mixture to the pasta along with broccoli and pasta water. Sprinkle with parmesan cheese and gently toss together.

Optional: Red pepper flakes to add a little kick!

Follow my blog with Bloglovin

Roasted Tomato Salad

img_5064_1

Fruits and vegetables all have a “season”.  Meaning, there are certain times of the year when fruits and vegetables are at their best and taste fantastic. Living on the east coast, I find tomatoes are at their best during the summer and early fall months. I grow a lot of different types of tomatoes in the summer and miss them when they are gone.

img_5070_1

Of course, just because the seasons change it does not mean you cannot get good tasting vegetables. However, you have to be careful because “out of season” vegetables like tomatoes can lack flavor and may not have a nice texture inside. Even tomatoes imported from warmer climates may not live up to east coast summer tomatoes. For that reason, I sometimes like to roast tomatoes to bring out their natural sweetness. Roasted Tomato Salad is wonderful because the roasted tomatoes add a nice kick of flavor to the salad.

img_5100_1

My Roasted Tomato Salad is nutritious and full of savory and slightly sweet flavors. Salads are a very personal dish because you can combine all of your favorite vegetables, fruits, nuts and meats. Or, you can keep it simple with only lettuce and roasted tomatoes.

img_5090_1

Roasted Tomato Salad

Ingredients:

2 bunches romaine lettuce chopped

6 -8 plum tomatoes cut into wedges

3 slices prosciutto chopped (optional)

½ red onion sliced thinly

¼ cup black olives

¼ cup shaved parmesan cheese

¼ cup Gazebo Room Greek Salad Dressing and Marinade

2 tbsp olive oil

1 tbsp oregano

1 tsp salt

1 black pepper

Preheat oven to 425 degrees.

Toss tomatoes with red onion slices and season with olive oil, salt, black pepper and oregano. Spray a rimmed cookie sheet with cooking spray and then spread tomatoes and onions on the cookie sheet. Roast for 30 – 45 minutes until browned and/or slightly charred (based on your preference). Let cool for 10 minutes.

Toss cooled roasted tomatoes with the remaining ingredients in a large bowl. Serve as a main dish or nice appetizer.


Follow my blog with Bloglovin

Apple Bread Pudding

img_5797_1

I feel like bread pudding is one of those desserts you either love or hate. Okay,  maybe hate is a strong word. Dislike might be a better a description. Growing up, bread pudding was not one of those treats I liked to eat. My mom used to make it and folks raved over how delicious it was but I just could not find that taste bud that would make me say “oh yeah, that bread pudding was delicious”. No offense, Mommy. I know your bread pudding was probably wonderful.

img_5814_1

The bread puddings I have tried over the years (yes, I kept trying to find one that I liked) have all reminded me of wet bread. I know bread pudding is moist but it should not be wet and soppy. It usually reminded me of dunking donuts into coffee. I tried that too and did not like it. Fast forward many years later and my taste buds have changed. I am not totally in love with bread pudding but I must say it has grown on me.

img_5837_1

My first experience with a scrumptious bread pudding was at a local restaurant. I ordered it because I saw a beautiful plate of the dessert at the table next to us. The description on the menu made the bread pudding sound so good I thought I should give it another try. The dessert lived up to the description and looked absolutely wonderful. Now I am willing to eat and make bread pudding whenever the mood hits me.

img_5986_1

My version of bread pudding does not use regular bread like most bread puddings. I stepped it up and use butter croissants which makes the bread pudding both savory and a little sweet. Adding thinly sliced apples and walnuts just makes the bread pudding even more delicious. For those that don’t like apples, you can leave them out to make a more classic bread pudding or substitute peaches, pears or some other fruit you like. Any choice you make will be equally delicious.

img_5998_1

Apple Bread Pudding

Ingredients:

6 – 8 croissants broken into pieces

2 eggs + 2 egg yolks lightly beaten

1 cup milk

½ cup heavy cream

½ cup golden raisins

½ cup sugar

¾ cup chopped walnuts

¼ cup light brown sugar

½ stick butter melted

2 tbsp butter

2 tbsp water

1 tsp vanilla

½ tsp ground cinnamon

¼ tsp nutmeg

1 granny smith apple sliced thin

In a medium non-stick frying pan add 2 tbsp butter and melt over medium. Add apple slices, water, raisins and light brown sugar. Toss to coat apples with brown sugar then simmer until apples soften. Remove from heat and set aside.

Whisk eggs and egg yolks with sugar until smooth. Whisk in seasonings then add milk, cream and vanilla.

Place croissant pieces in a long buttered baking dish. Pour melted butter over bread then layer with cooked apples. Toss walnuts into the bread mixture. Pour custard mix over croissants. Press bread into the custard and make sure all pieces are covered with the custard (add a little more milk if necessary). Cover with plastic wrap and place in refrigerator for 2 – 3 hours or overnight.

Preheat oven to 350 degrees. Bake bread pudding for 30 minutes until set and golden brown. Let cool.


Follow my blog with Bloglovin

Mommys’ Pork Chop Sandwich

Yimg_5509_1Yes, I am over the age of 30 and I still call my mother “Mommy”. What can I say? I never made the transition from Mommy to mom and I could not see myself calling her mother. Mother seems much too formal to me but I don’t knock anyone that calls their mother – mother. Actually, a couple of my aunts called my maternal grandmother “Mother”. The rest of us called her Ma Dear. However, mother seemed to fit coming from my aunties.

img_5535_1

Okay, I digressed. Mommy’s Pork Chop Sandwich jumped into my head the other day when I was trying to come up with something for dinner other than chicken or beef. We had already had both during the week along with fish so I had to make a decision on which one would get a second turn for the week. Truth be told I love pork chops. The problem was that my hubby is not big on pork unless it’s bacon. So tentatively, I decided to make pork chop sandwiches like my mom did back in the day.  I wasn’t sure he would go for it. To my surprise, when hubby asked what were we having for dinner and I said Mommy’s Pork Chop Sandwich he only said what time do we eat. Now, I am not sure if he was just really hungry or was in the mood for pork. Either way, I was happy.

img_5537_1

Mommy’s Pork Chop Sandwich is fairly straightforward. Two slices of bread. Mustard. Hot sauce and on occasion a little mayo. This basic combination of flavors tastes wonderful – at least to me.

img_5340_1

As for my hubby, he jazzed up his pork chop sandwich by adding lettuce, tomato and the cole slaw I made to go with the sandwiches. After thinking about my hubby’s creation, I realized the sandwich he made was similar to another sandwich I make which has chicken instead of pork chops. Great minds think alike.

img_5349_1

Enjoy!

Mommy’s Pork Chop Sandwich

Ingredients:

2 – 3 pork chops

2 – 3 cibatta rolls sliced

1 medium tomato sliced (optional)

1 cup vegetable oil

1 cup flour

½ cup shredded lettuce (optional)

½ cup cole slaw (optional)

1 tsp mustard

salt

seasoned salt

black pepper

hot sauce

Adobo seasoning

smoked paprika

Heat oil in a large frying pan over medium high heat.

Place flour in a shallow dish and season with a little Adobo seasoning, seasoned salt and pepper.

Season pork chops with salt, pepper and Adobe seasoning. Sprinkle with smoked paprika. Dredge seasoned pork chops in flour. Shake off excess flour. Gently place chops in hot oil. Fry until golden brown and cooked all the way through. Approximately 5 minutes on each side. Drain on paper towels.

Spread mustard on one side of each sliced roll. Place one pork chop on each roll. Shake hot sauce over pork chop (you decide the level of spiciness). Top pork chop with the other slice of bread.

Optional: Add sliced tomato, lettuce and cole slaw.

Eat Up!


Follow my blog with Bloglovin

Tomato Soup

img_5469_1

My Tomato Soup is not like your popular brand of canned tomato soup. It is much better. At least that is what my hubby thinks. After eating two bowls of my Tomato Soup he proclaimed it was the best soup I had made to date and he enjoys all of my homemade soups.

img_5470_1

Using a combination of fresh and canned tomatoes makes this soup tasty and gives it texture. I like smooth soups but I also enjoy soups with a little texture which lets you know what kind of soup you are eating.

img_5494_1

A good test of whether or not a soup is blog worthy for me is if I want to dip a sandwich into it. At the very least, a good test is if I want to take that last piece of bread and run it around the bowl to get every last bit of soup. By those standards this soup was fantastic! Not only did I dip my sandwich into it, I licked my fingers to get the few drops that landed there after dipping. Yum! Yum!

img_5501_1

img_5506_1

Tomato Soup

Ingredients:

6 large vine ripened or plum tomatoes peeled

1 14 oz can fire roasted tomatoes

1 14 oz can spicy red tomatoes

2 scallions sliced

½ red onion sliced

½ white onion sliced

1 cup chicken broth

½ cup shaved Parmesan cheese

½ cup ½ and ½

¼ cup heavy cream

2 tbsp butter

1 tbsp seasoned salt

1 tbsp dried basil

1 tsp salt

1 tsp garlic powder

1 tsp dried parsley

½ tsp lemon pepper

½ tsp black pepper

½ tsp cumin

½ tsp thyme

½ tsp onion powder

½ tsp dried dill weed

pinch of sugar.

Boil about 4 cups of water. Place fresh tomatoes in a large pot and pour boiling water over tomatoes for easy peeling.  Rough chop the tomatoes.

Place peeled tomatoes and all other ingredients except the Parmesan cheese, heavy cream and ½ and ½ into a large pot. Simmer over medium heat for 25 – 30 minutes. Remove from the heat. Use an immersion blender to blend soup until it is smooth but still has some texture. You can also place the tomato mixture into a blender to smooth out the veggies then place back into the pot.

Stir in heavy cream and ½ and ½. Place pot back on the heat and reduce heat to medium low. Add parmesan cheese to the pot and stir for 1 – 2 minutes until the cheese melts and is incorporated into the soup. Simmer an additional 15 minutes.

Serve with a nice crusty piece of bread to sop up all the tomato soup goodness!

Follow my blog with Bloglovin

Roasted Butternut Squash and Apple Soup

img_2648_1

There are two foods I love to eat but until recently I never thought of putting them together into one recipe. I love eating apples and I really like butternut squash. Once I thought of combining them into a recipe I was on a roll. The first recipe I came up with was a Butternut Squash and Apple Soup. Soup seemed the most logical recipe to try since the day was crisp, cold and little windy. Days like that call out for soup and I just happen to have both butternut squash and granny smith apples on hand.

img_2664_1

Years ago squash was classified as either a winter squash or a summer squash. Butternut Squash is known as a winter squash because they are generally picked in the winter and have a thick skin. Summer squash is picked in the summer and has a delicate thin skin that is edible. During the summer months I love to make sauteed yellow squash with onions. I also like to make Zucchini and Tomatoes with onions. Both squashes have a thin skin and are wonderful when mixed with onions and/or tomatoes.

img_2668_1

Soup is very versatile which means you can toss almost any combination of vegetables together with a little broth and call it soup. This time around I tossed  veggies and fruit together and the result was delicious if I do say so myself. I have roasted butternut squash with apples in the oven to create a tasty side dish with turkey or pork so I imagined the combination might taste pretty good in soup. My imagination turned into reality which is always a thrill!

img_2677_1

Whether you decide to make this soup during the crisp days of fall or in the middle of summer I think you will be pleased. Soups fans enjoy soup no matter the season. Me? I am truly a fan of soup.

img_2684_1

Roasted Butternut Squash and Apple Soup

Ingredients:

1 granny smith apple – peeled and sliced

1 lb butternut squash – peeled and cubed

1 small onion sliced

1 small red pepper sliced

1 scallion thinly sliced

3 slices bacon crumbled

2 cups chicken stock

½ cup half and half

¼ cup heavy cream

2 tbsp olive oil

1 tsp black pepper

1 tsp salt

¼ tsp cinnamon

pinch nutmeg

cooking spray

Preheat oven to 400 degrees.

Place squash, apples, onions and red pepper in a large bowl. Drizzle with olive oil then sprinkle with salt and black pepper. Toss gently to coat. Spread out on a rimmed cookie sheet sprayed with cooking spray.

Place in oven and roast for 15-20 minutes until squash and apples softened. Remove from oven and place in a large pot. Add chicken broth and simmer for 5 minutes until is heated up. Remove from heat. Blend using an immusion blender or place in a blender until smooth. Stir in half and half along with heavy cream. Place back on low heat for 5 to 10 minutes until soup thickens. Ladle into bowls and sprinkle crumbed bacon and scalllions on top.

Follow my blog with Bloglovin

Kale and Sausage Soup

img_9414_1

Got leftover kale? Don’t throw it out. Whether it is from my Cannellini and Kale recipe, kale salad or some other kale dish you can turn it into a delicious soup. If you have been following my blog, you know I am a fan of soup. Creamy or brothy. I love soup any time of the year.

img_5254_1

Kale is one of those vegetables that has taken center stage in many kitchens whether at home or in restaurants. Kale has a beautiful vibrant green color and there are a few variations like common (curly) kale and Tuscan (Italian) kale and salad Savoy kale. The nutritional value is probably why kale has become so popular and can be prepared in multiple ways. Kale is a good source for protein, vitamin A, C and K. Plus, kale is considered to have cholesterol-lowering and cancer risk-lowering benefits.

img_5302_1

The other day I made kale as a side dish for dinner and had quite a bit leftover for the next day. I didn’t feel like eating it again as a side dish so I created a kale and sausage soup that was pretty tasty if I do say so myself. I think it helped that all of the seasonings I used in the kale the night before had a chance to meld together. Personally, I think soups, stews and certain other dishes taste better the next day just for this reason.

img_5294_1

The best part about making Kale and Sausage Soup is that half of the work is already done if you use leftovers. Add a few more ingredients and a tasty broth and you have a delicious meal or an appetizer to go with a delicious meal.

img_5323_1

Kale and Sausage Soup

Ingredients:

1 bunch of kale (stems removed) or 2 cups leftover kale

1 15 oz can small white beans (do not drain)

1 pkg chorizo sausage (casing removed)

2 cups chicken broth

1 cup water

1 cup fresh corn cut from the cob (scrap the cob) or 1 can of white corn strained

2 scallions sliced

1 small white onion diced

½ yellow pepper diced

4 tbsp olive oil

1 tsp salt

1 tsp black pepper

½ tsp thyme

¼ tsp cumin

Heat 2 tbsp of olive oil in a large pot over medium high heat. Add sausage. Break sausage with a spoon and brown. Remove from pot and drain on a paper towel. Pour off fat from sausage.

Add remaining 2 tbsp of olive oil to the pot along with diced white onion and yellow pepper. Sprinkle with salt and pepper then saute until vegetables are softened. Add chicken broth, water and sausage to the pot and reduce heat to medium. Let soup simmer for 3 minutes. Add kale, and remaining seasonings. Stir and cook for an additional 10 minutes is using fresh kale and 5 minutes if using leftover kale. Stir in corn and scallions to the soup. Simmer for 3 minutes then turn off heat.

Serve with a slice of crusty bread or cornbread.

Follow my blog with Bloglovin

Tostadas

IMG_4823_1

Tostadas remind me of an open faced taco or a burrito. I know burritos are not crunchy like a taco but the ingredients I put inside of my burritos are similar to what I put on top of my Tostadas. Not long ago at one of our office celebrations I discovered packaged tostada shells. A co-worker brought in the tostada shells with pulled pork ( a recipe I will try later). I was so excited to see the corn tostada shells I had to find out where she bought them. Unfortunately, she had purchased them at a local store near her house which happens to be far from where I live. Needless to say, I would not be traveling over the state line just for tostada shells.

IMG_4841_1

Of course I started searching for packaged tostada shells in every grocery store I visited. I finally hit pay dirt at a neighborhood grocery store where I shop on occasion for certain types of foods.

IMG_4831_1

Like I said earlier, Tostadas remind me of an open-faced taco. The difference is that I top the Tostadas with brown rice and beans. The rest of the toppings are pretty much the same as my tacos. Check out the Latin section of your local grocery store and you may find the packaged tostada shells. These babies are a big time saver but if you like making your own tostada shells go for it!

IMG_4849_1

This recipe turned out to be a winner with my friends and family because everyone could build their own Tostada from the “fixins bar” I set up. Shredded chicken, beef, beans, rice, tomatoes, fresh avocado, my homemade Guacamole and more made dinner both fun and good to eat.

IMG_4851_1

Tostadas

Ingredients:

4 – 6 tostada shells

1 cup cooked brown rice

1 cup chopped cherry tomatoes

1 lb ground turkey or beef

1 ½ cup queso cheese shredded

1 4 oz can green chiles

1 4 oz can chopped jalapenos

1 pkg taco seasonings

Preheat oven to 375 degrees.

Brown the meat in a medium-sized frying pan over medium high heat. Drain off fat then reduce the heat to medium low. Sprinkle in taco seasoning, green chiles, jalapenos and water. Stir to blend everything together then add browned meat.

Lay out tostada shells on a baking sheet. Sprinkle each shell with a little cheese then layer rice, meat mixture, tomatoes and top with more cheese. Place in oven for 3 – 5 minutes until cheese melts. Remove from oven. Top with sour cream, fresh avocado slices or guacamole.


Follow my blog with Bloglovin