All posts by dmariebates

Squash Casserole

Yellow squash is one of those vegetables I have loved since I was a kid. My mom would saute the squash with plenty of onions and bacon fat to make a simple side dish. I still like making yellow squash this way although I have cut down on the bacon fat and salt pork my mom used.

The other day I saw someone making a squash casserole on a cooking show which involved crackers, mayonnaise and sour cream. I liked the idea of a casserole but using such rich and high calorie ingredients was too much for me. Instead, I decided on ingredients that were a bit lower in fat content yet tasty and surprised even me.

The real surprised was my taste tester son who said “This is good mom”. I wasn’t sure he would like the squash since he was giving me the side eye while I was slicing it up. When he asked what was for dinner and I said Squash Casserole T did not have an excited look on his face. The only response was humph.

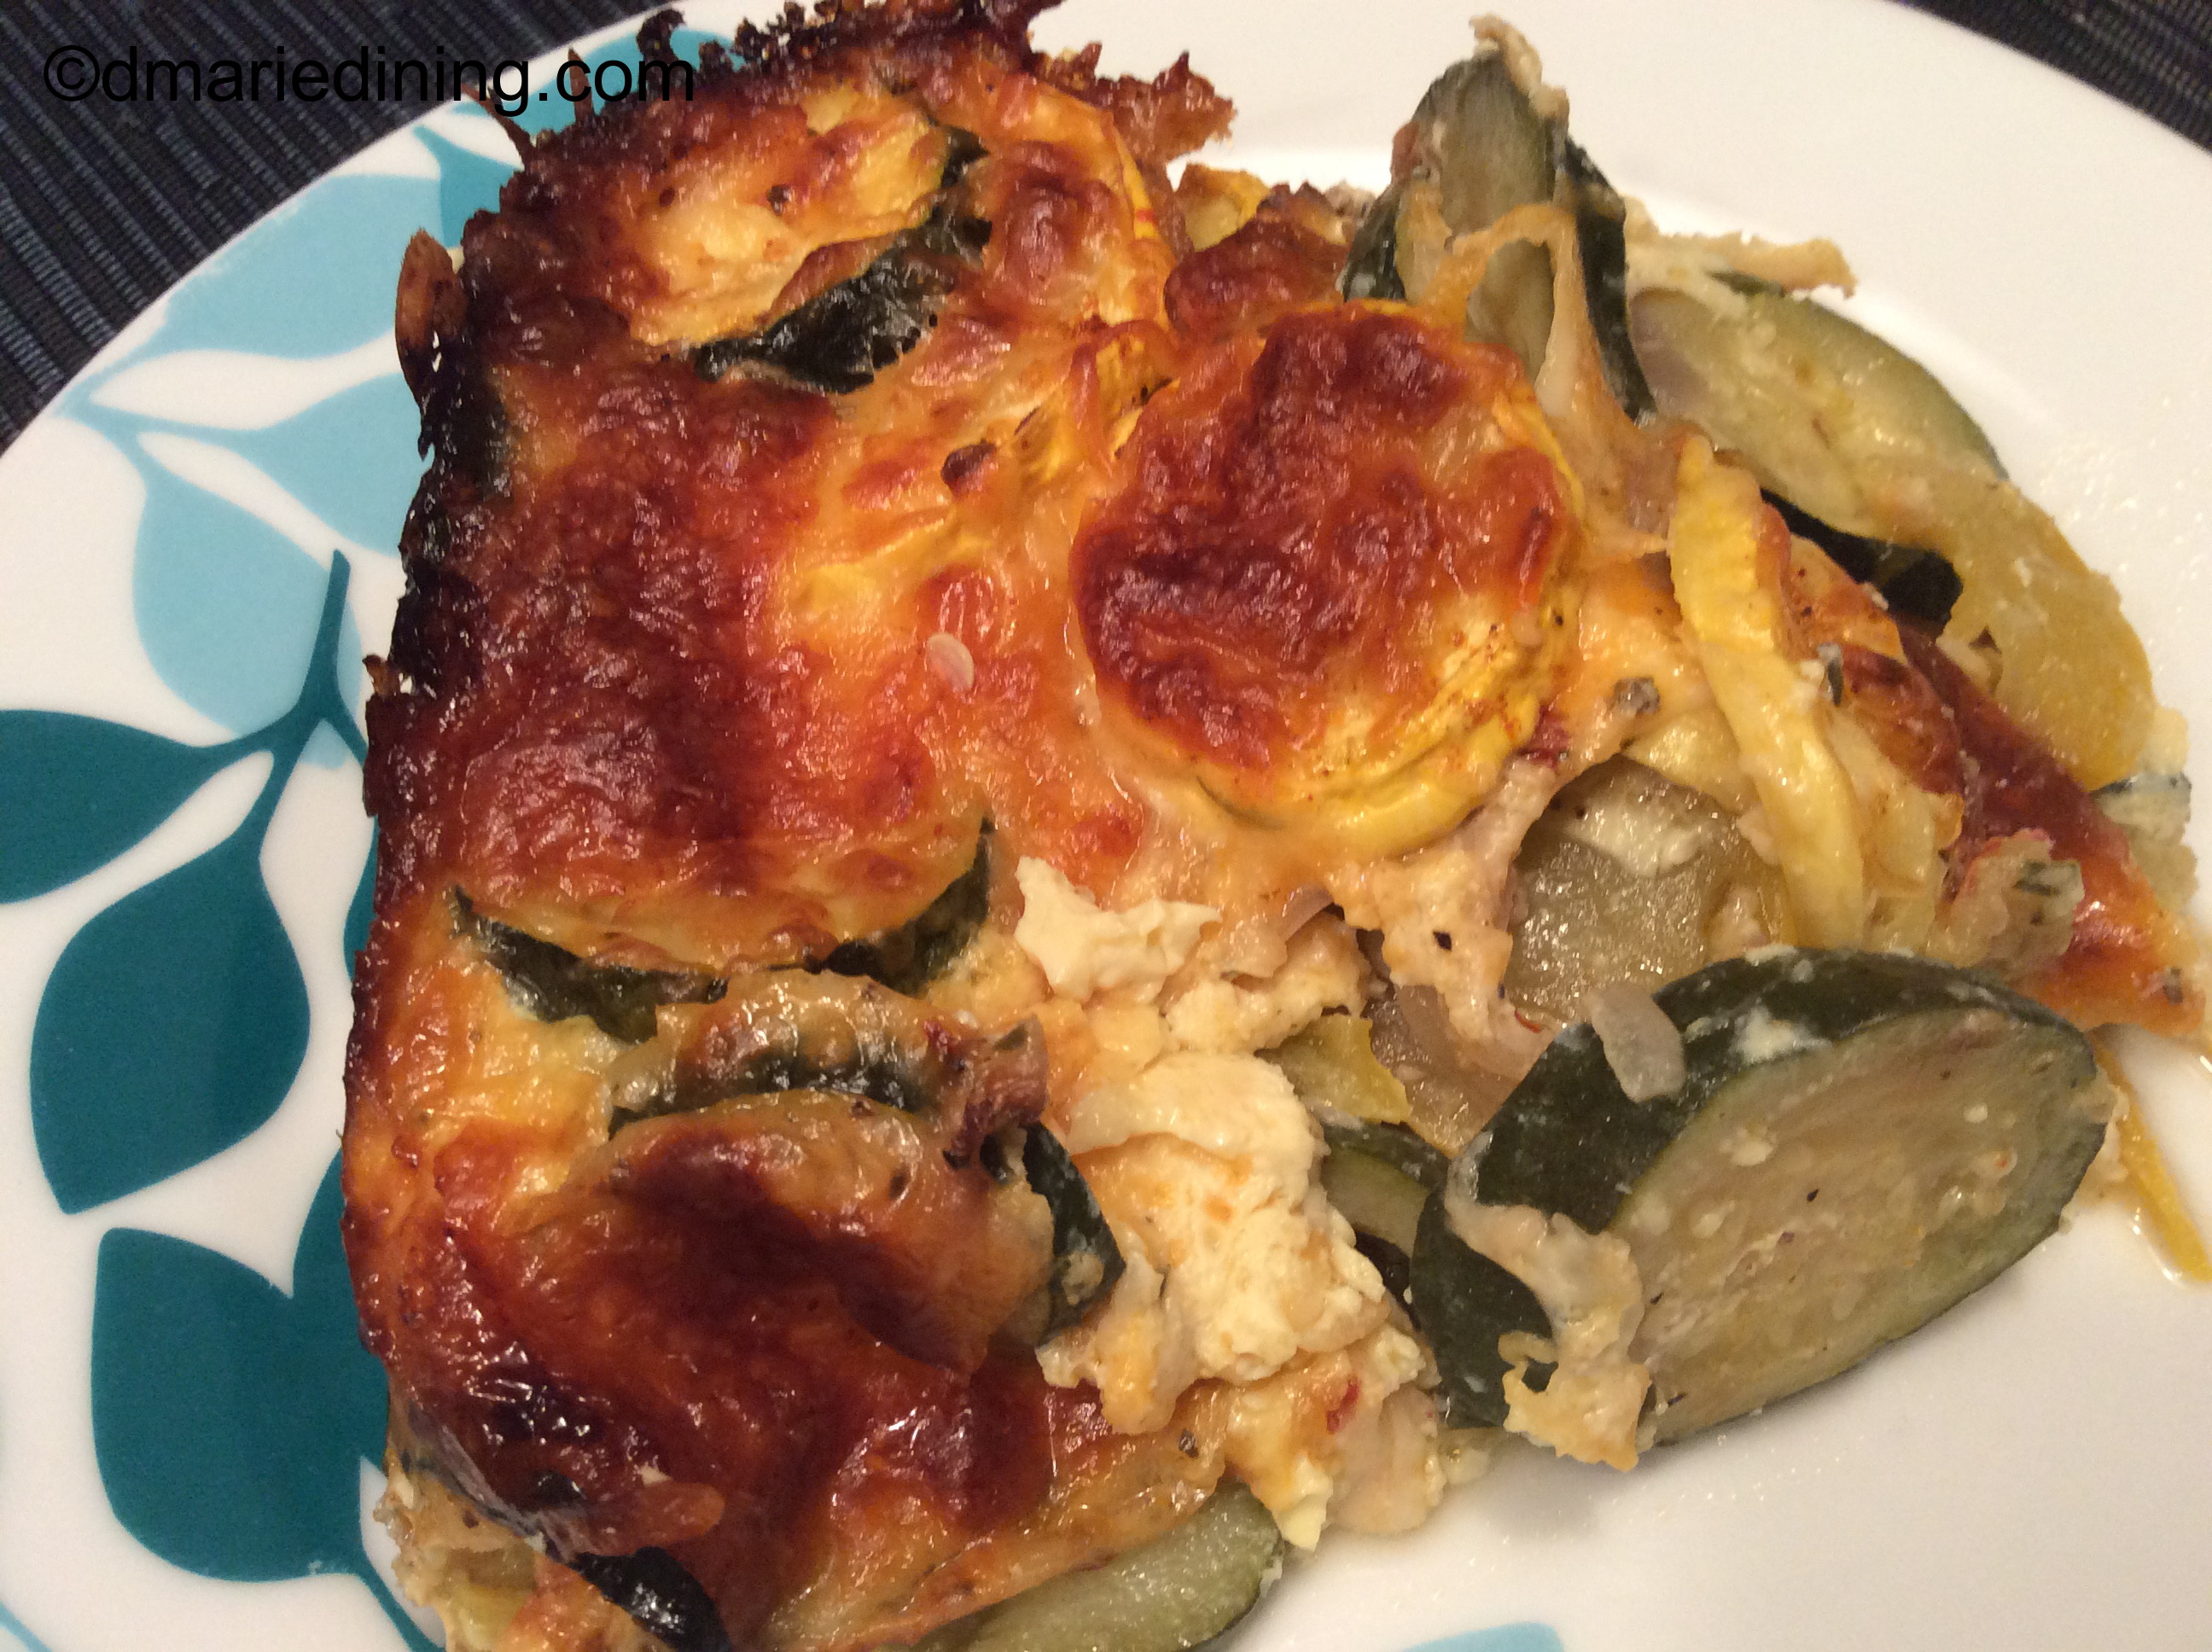
I am going to categorize this as a quick an easy dish. The hardest part of the recipe is waiting for the casserole to finish cooking in the oven. Before and after that piece of the process is easy peasy. With summer upon us and the bounty of squash at the local grocers and farmer’s markets, Squash Casserole is a repeat dish in our house!

Squash Casserole

Ingredients:

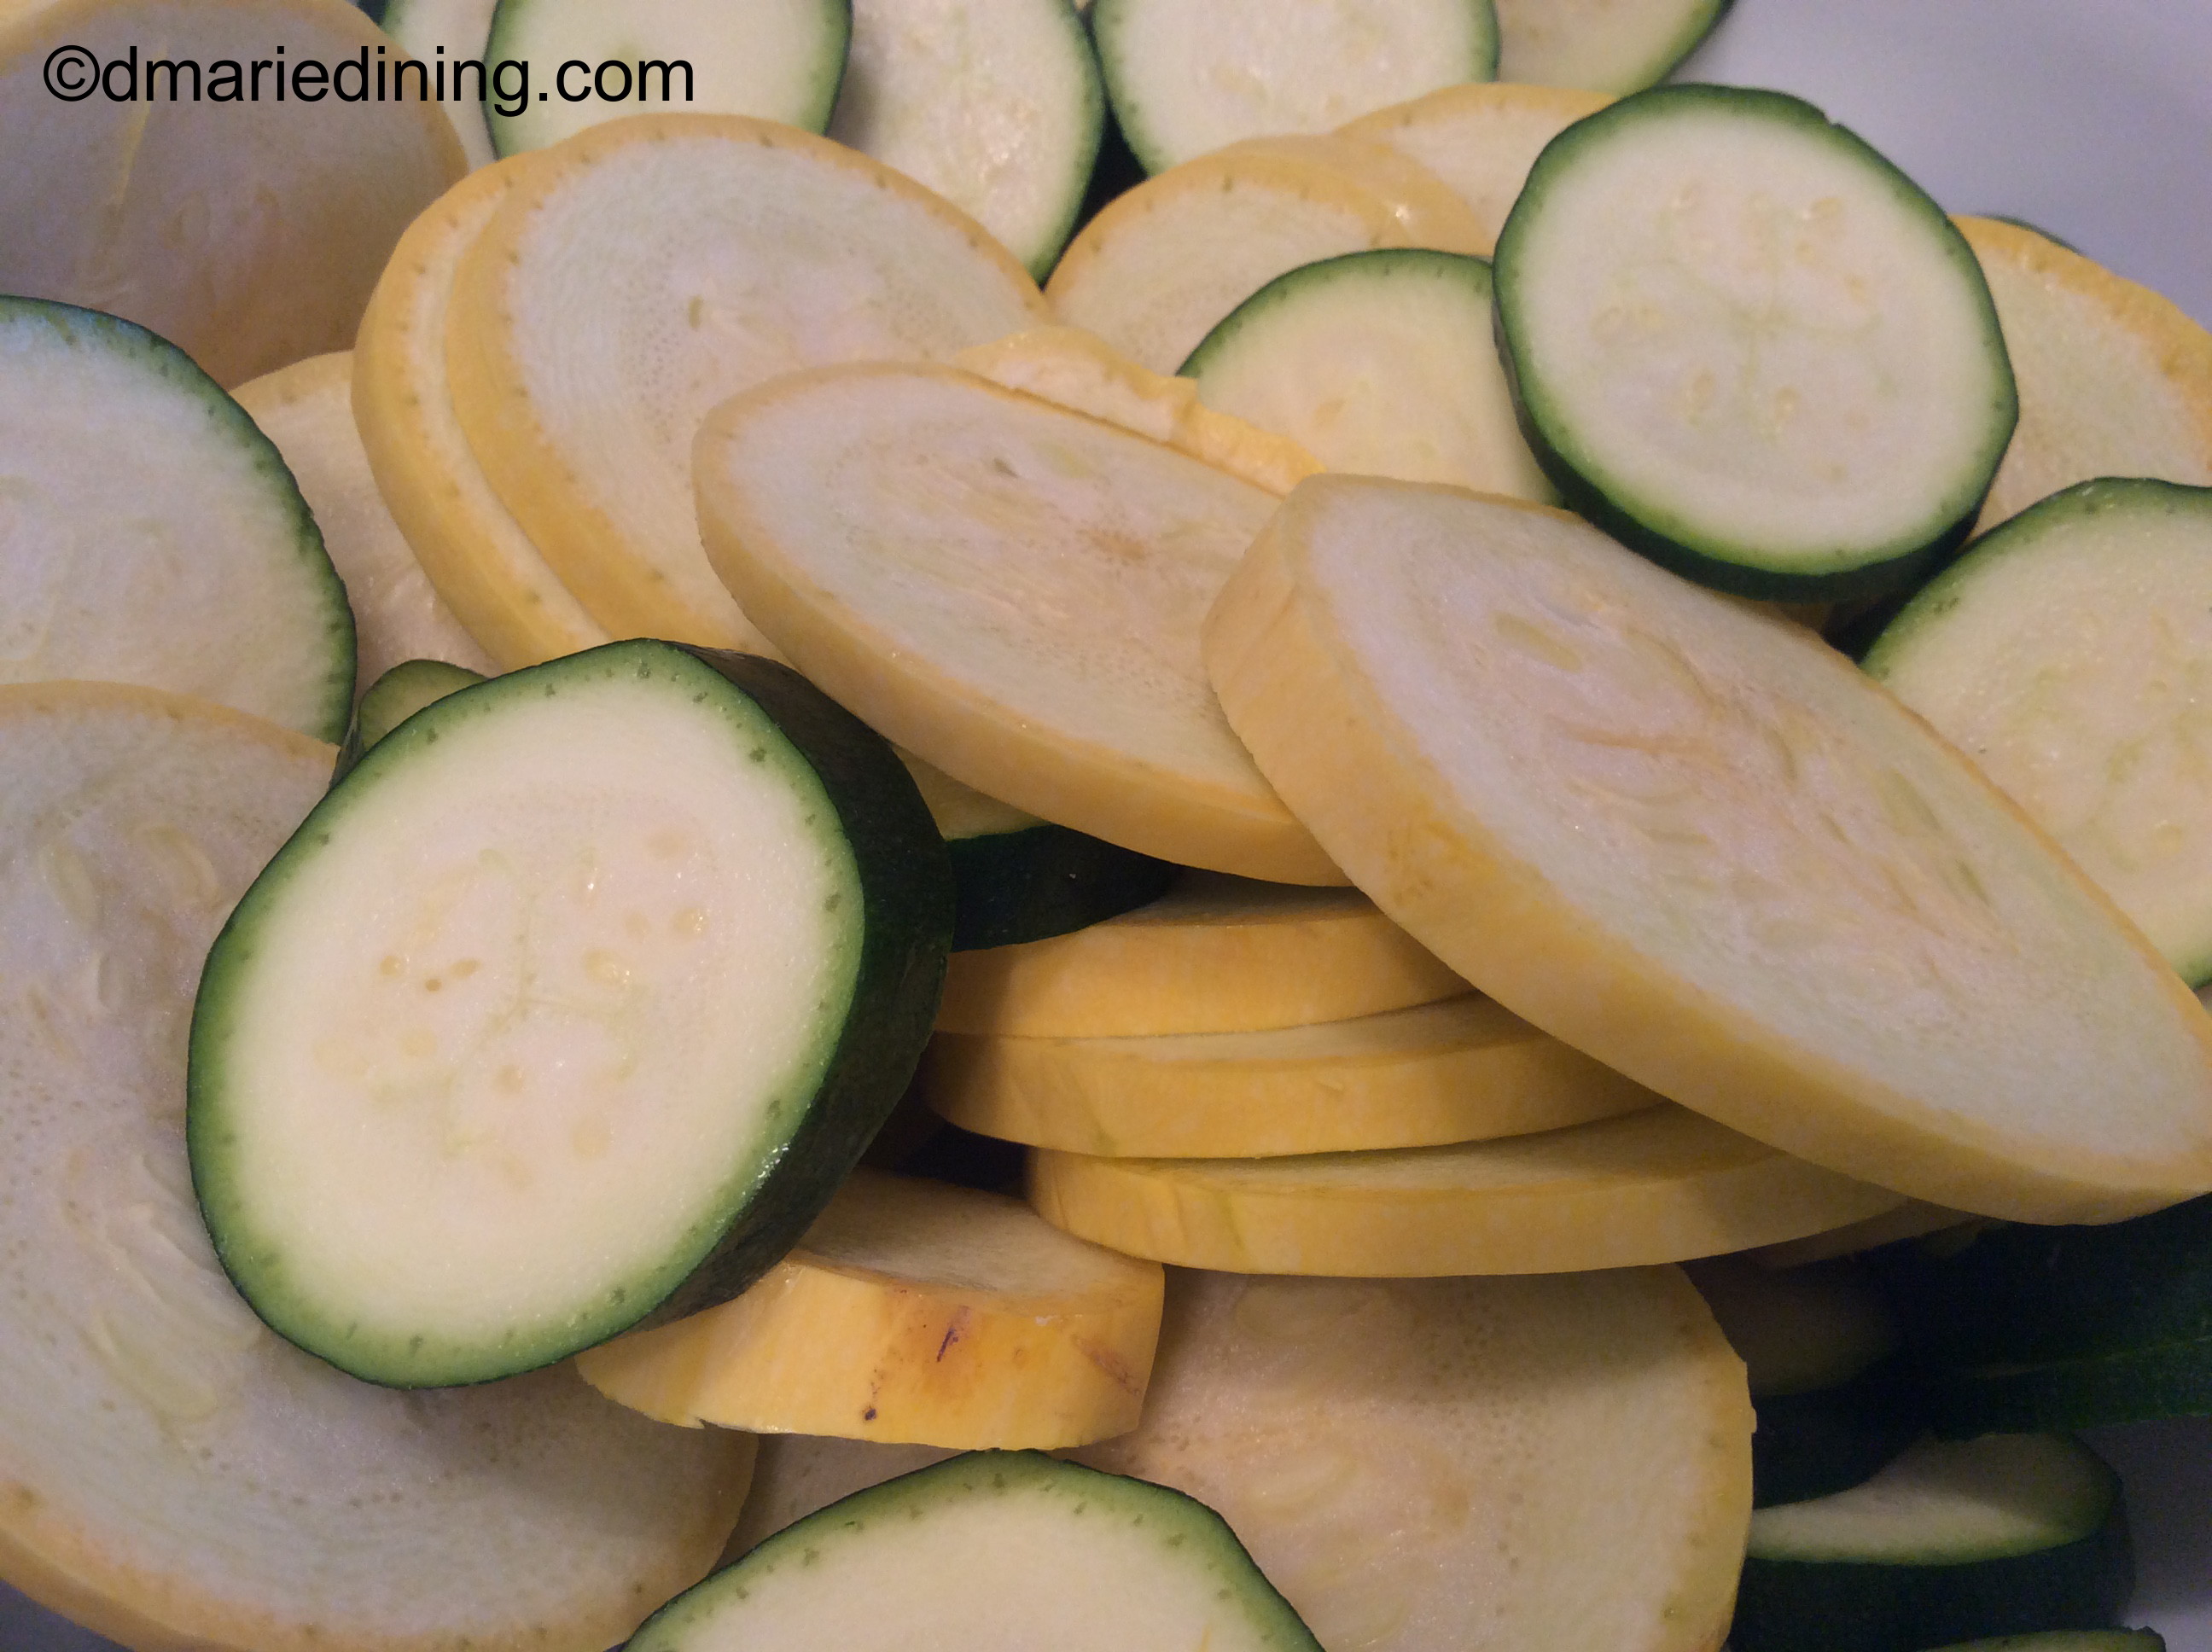
2 yellow squash sliced

2 zucchini squash sliced

2 eggs beaten

½ cup shredded mozzarella cheese

¼ cup shredded sharp cheddar cheese

¼ cup shredded Monterey Jack cheese

½ small red onion diced

3 tbsp butter

1 tbsp grape seed oil or olive oil

1 tbsp Kosher salt

½ tbsp ground black pepper

½ tbsp dried oregano

½ tbsp dried basil

½ tsp onion powder

Cooking spray

Preheat oven to 375 degrees.

Melt butter and grape seed oil in a large no-stick frying over medium heat. Add red onion and saute for approximately 1 minute. Add squash and season with salt, ground black pepper and onion powder. Stir and saute until squash slightly softens. Set aside.

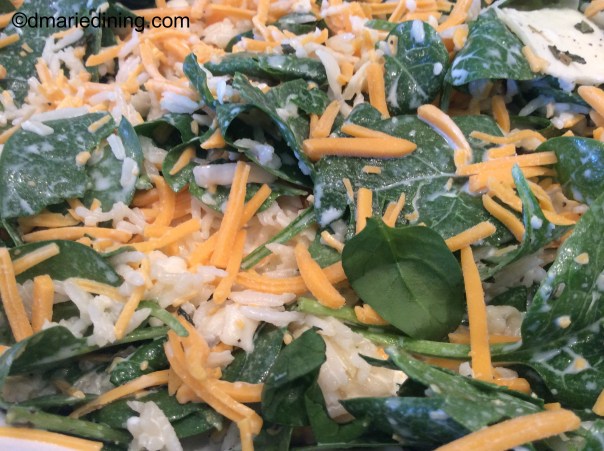
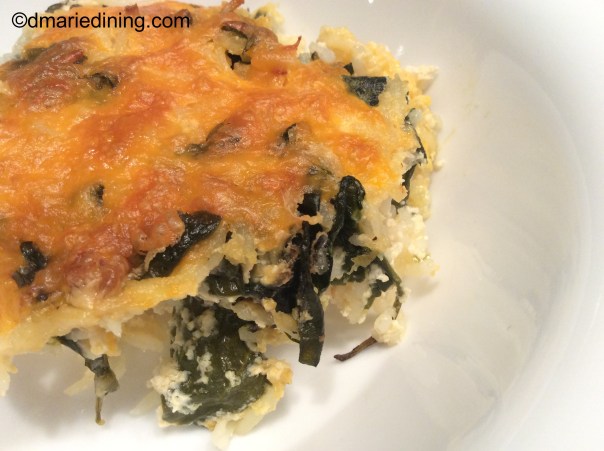
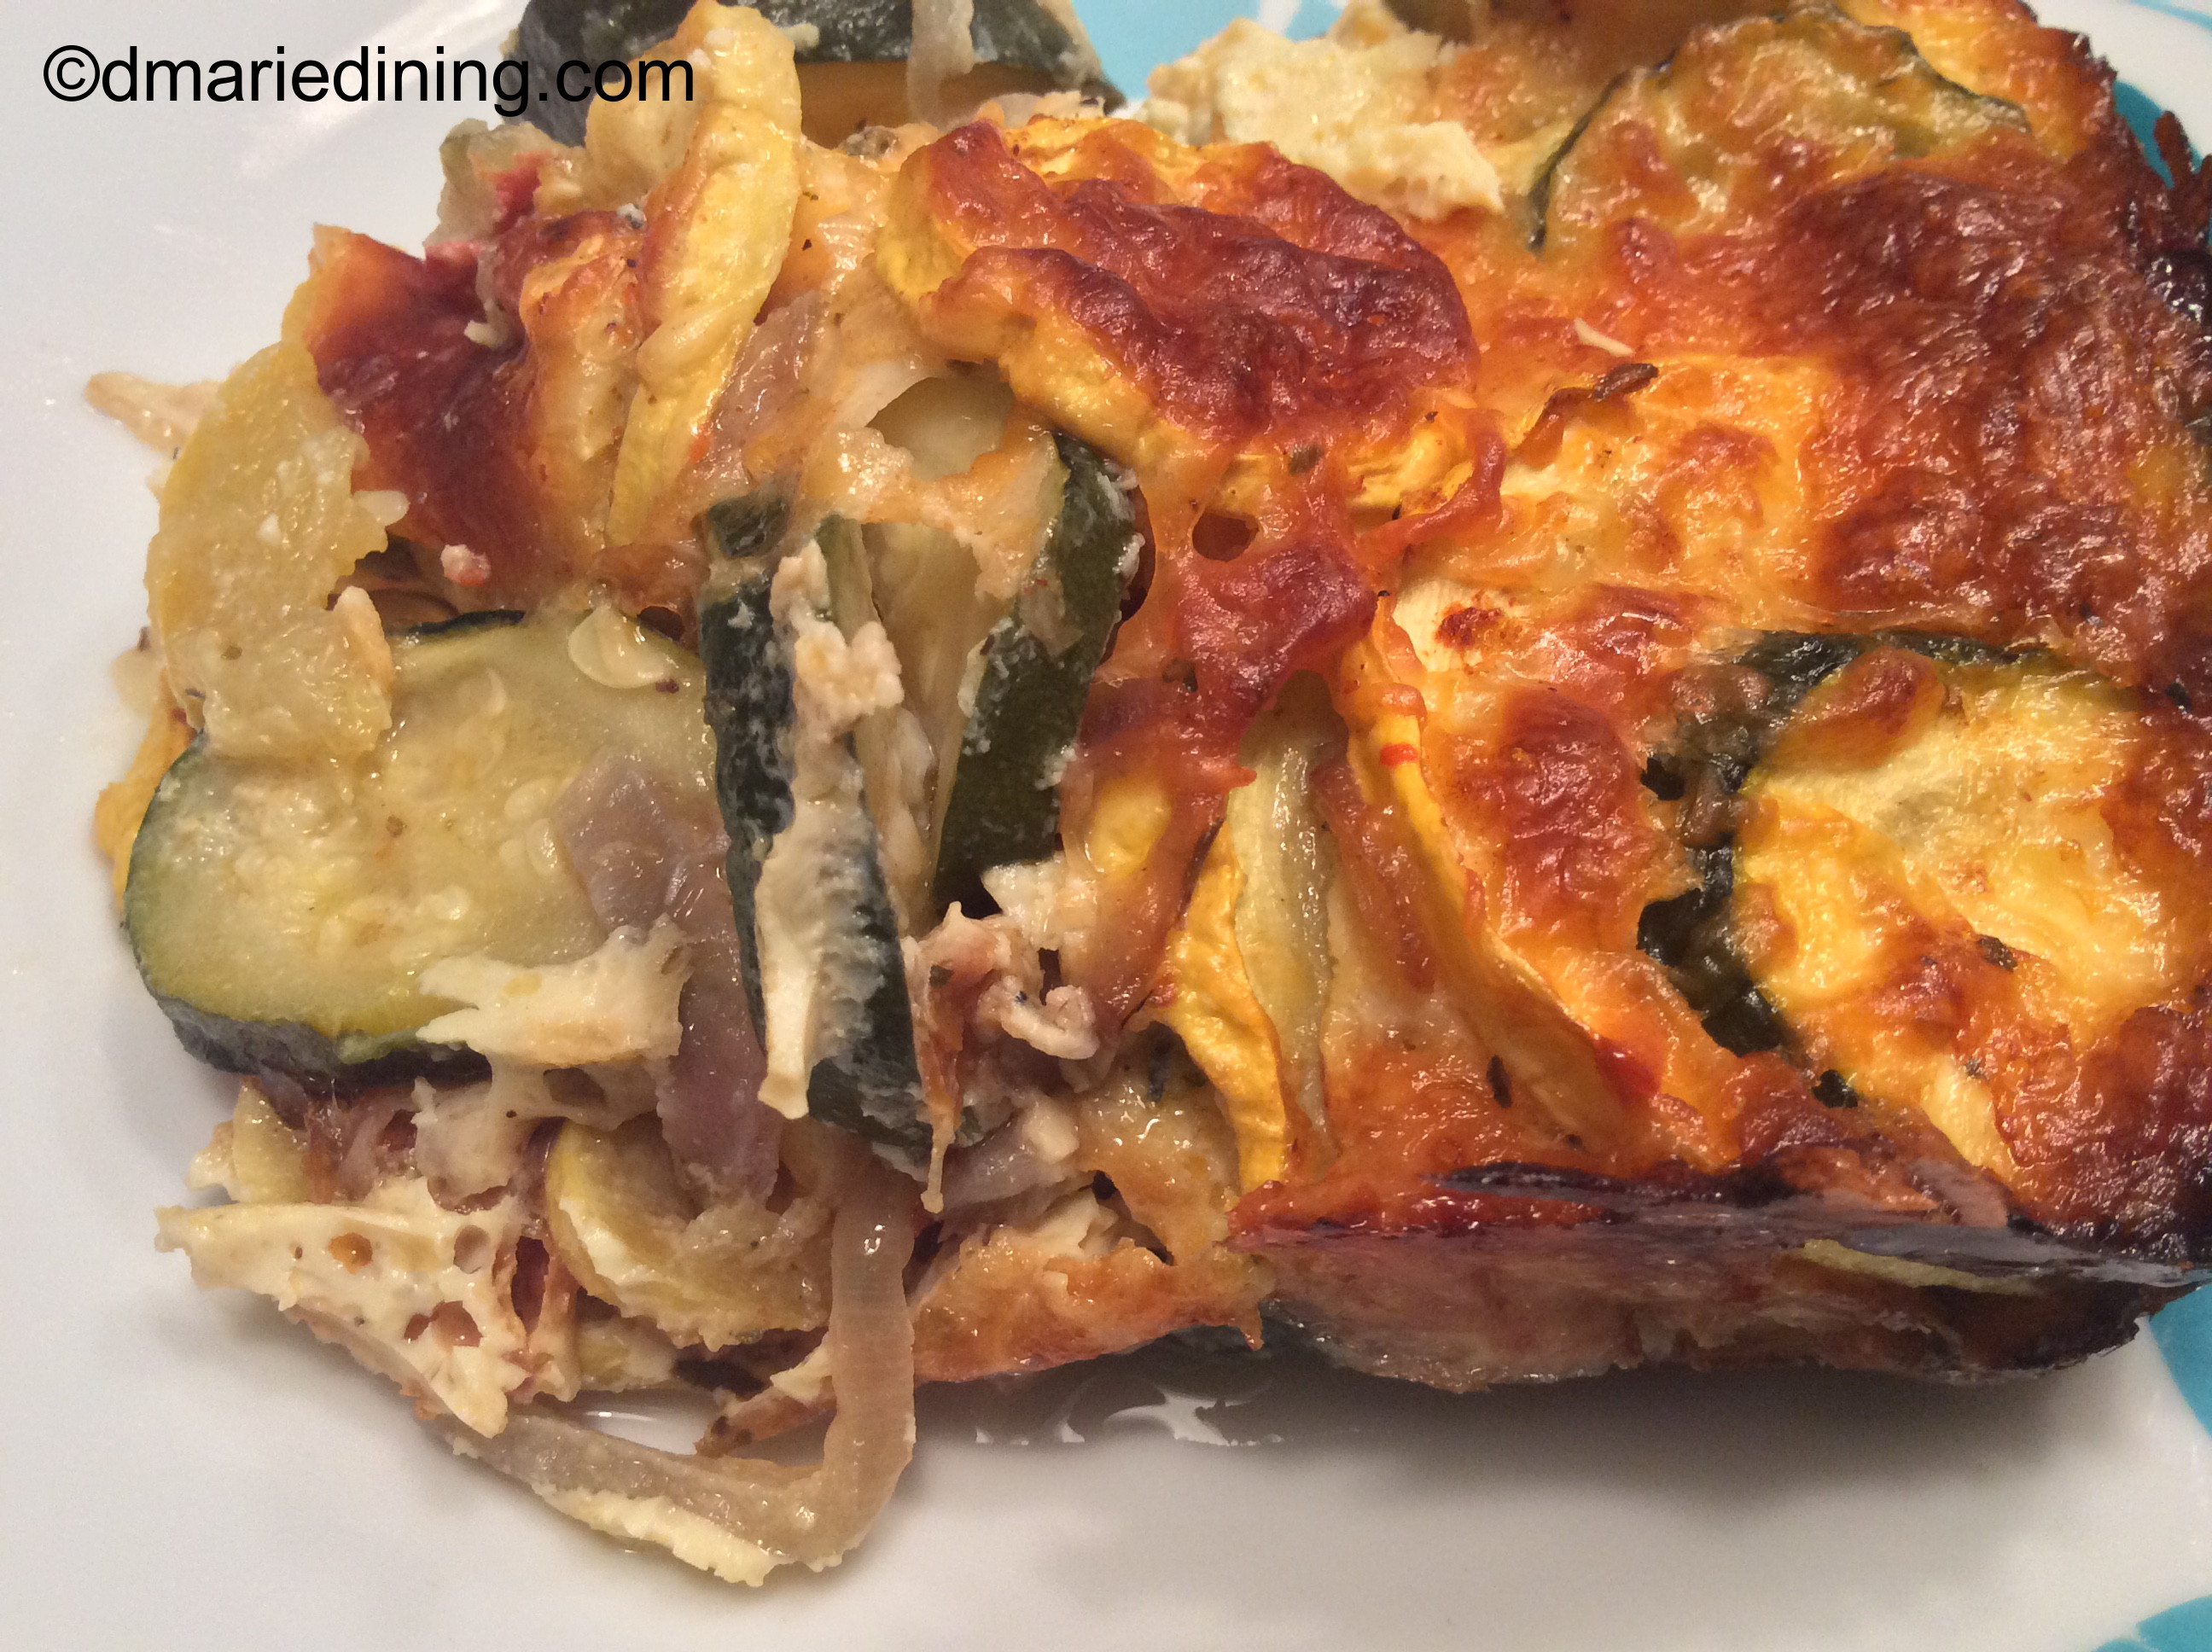
In a large bowl mix together eggs, oregano, basil and cheeses (reserve some cheese to sprinkle on top of casserole). Add squash and onions then stir until well mixed. Pour into a casserole dish sprayed with cooking spray. Top with remaining cheese and sprinkle with paprika.

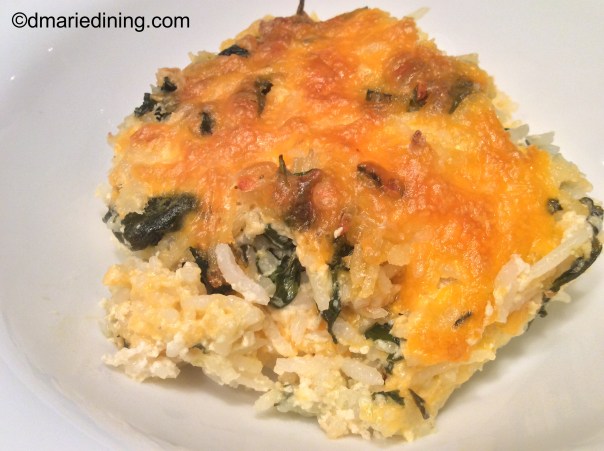
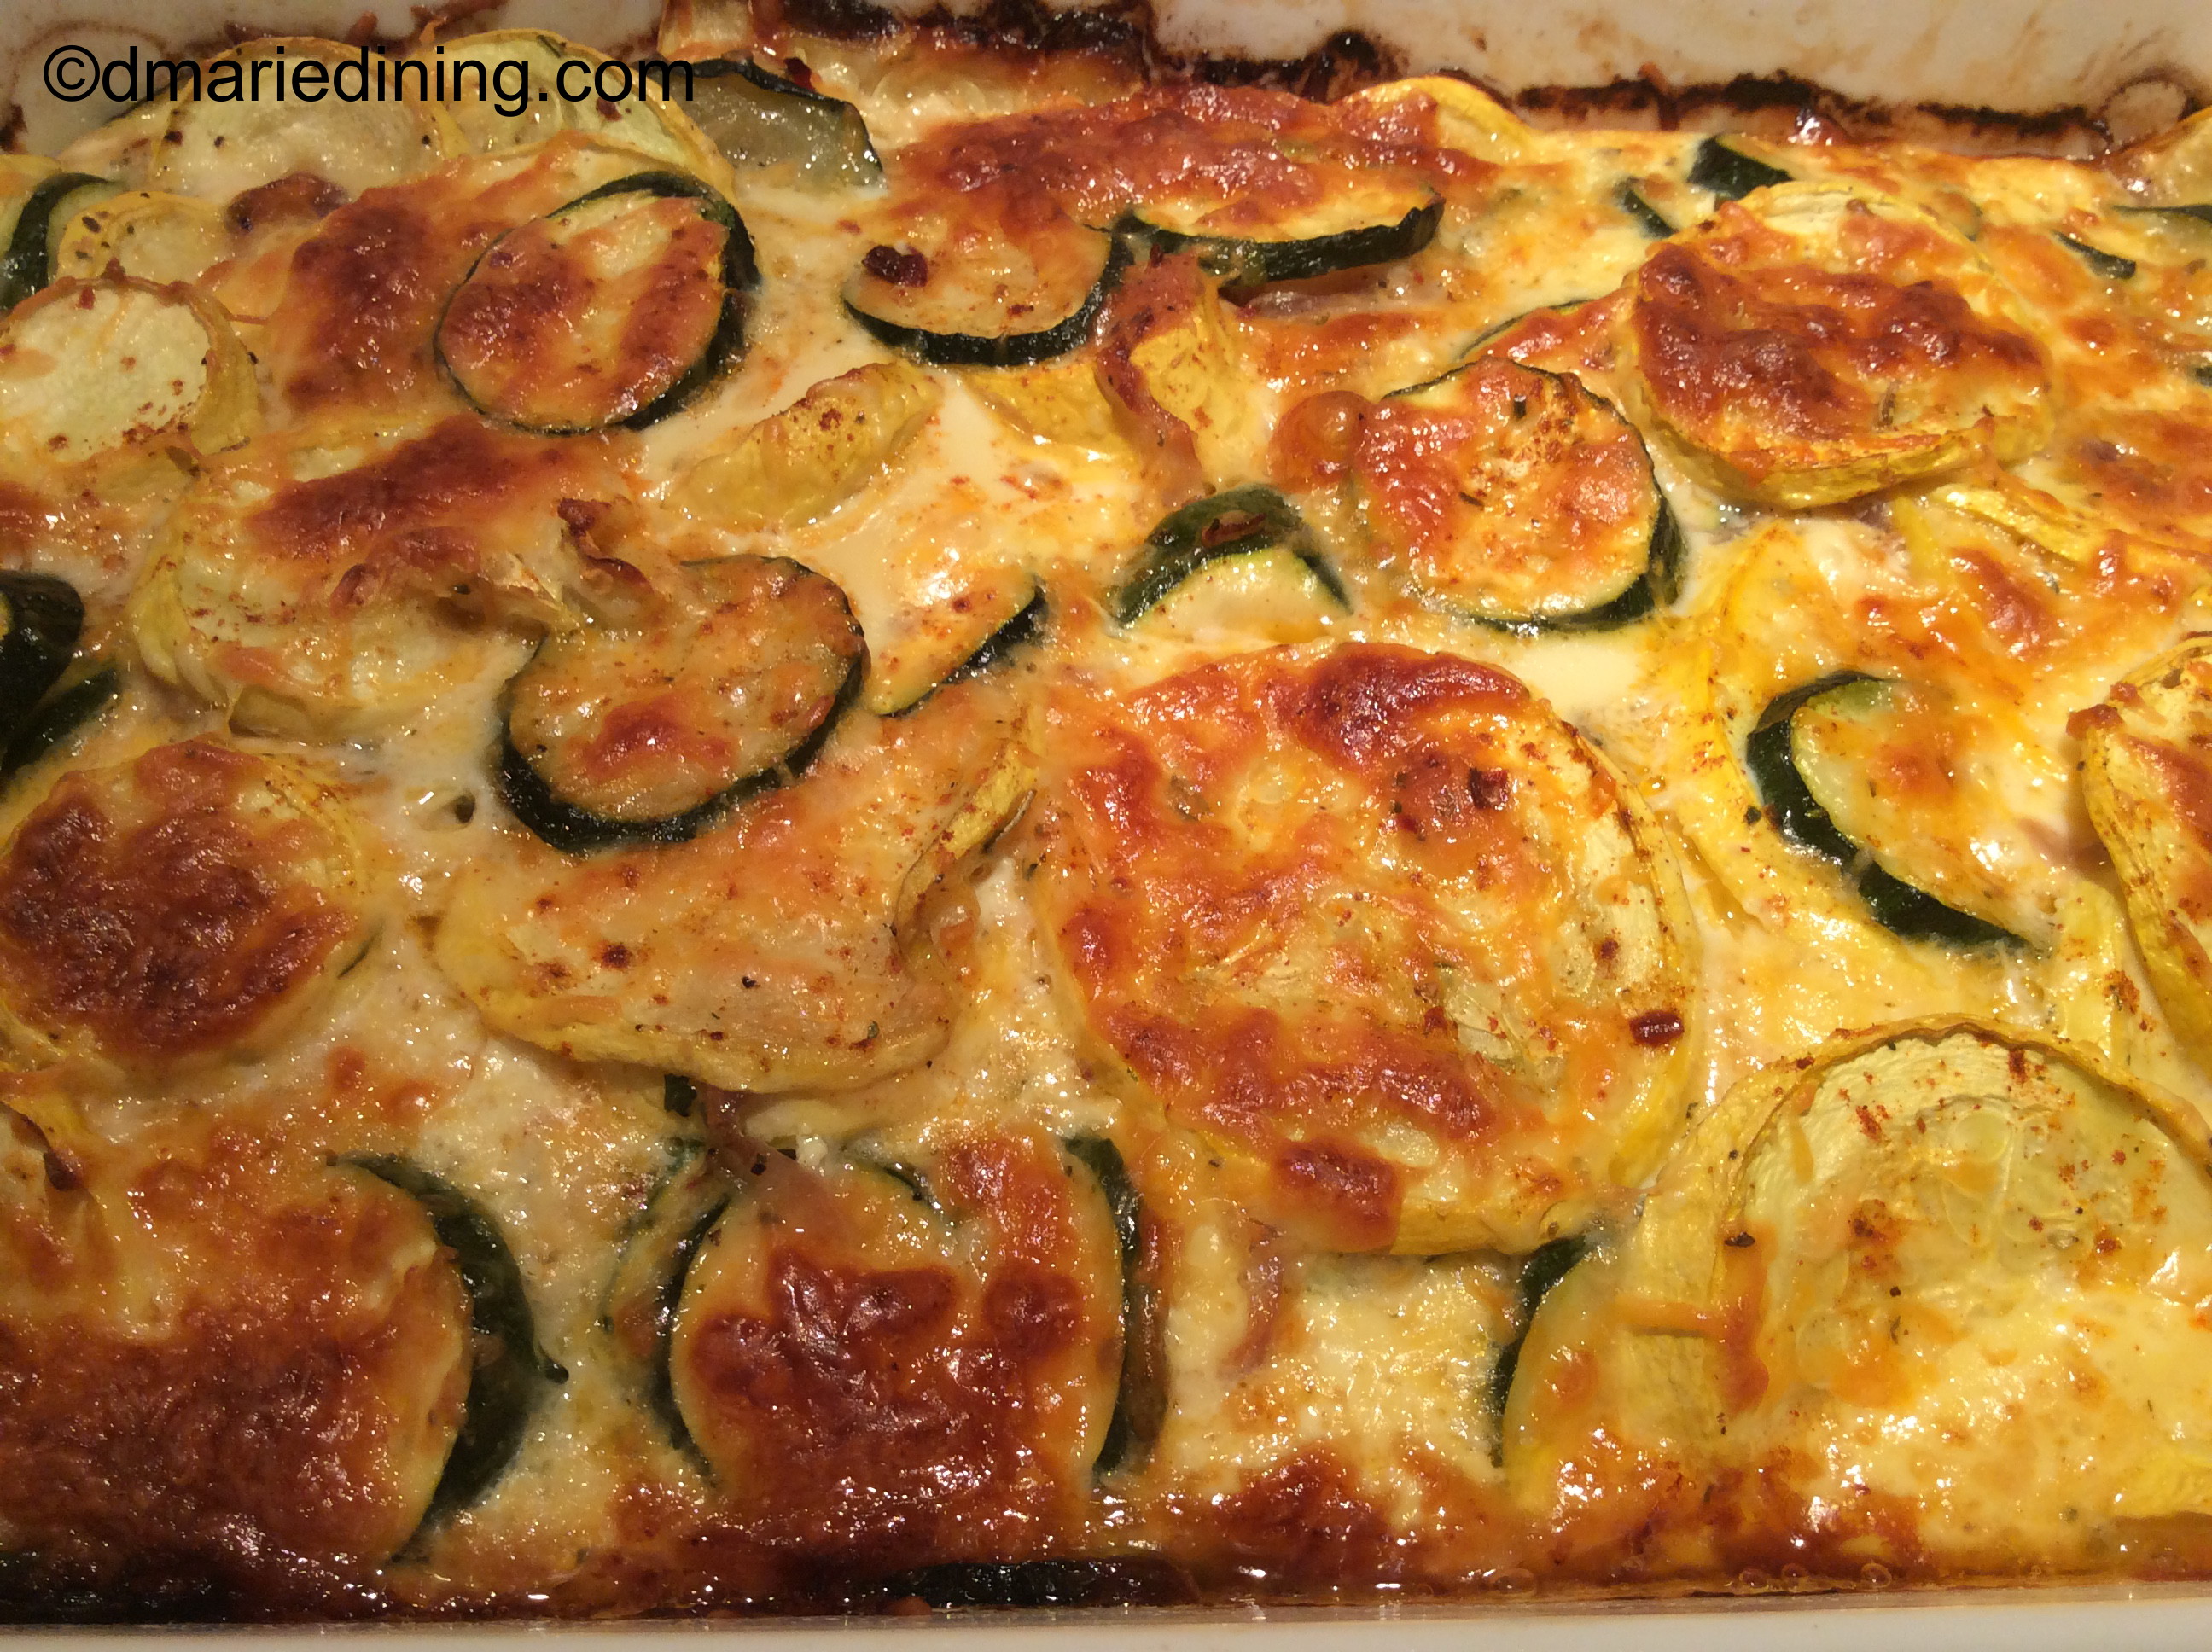
Bake for 30 – 35 minutes until the center is set and topping has turned light golden brown.

Follow my blog with Bloglovin

Advertisement

Double Dip Fried Chicken

Okay, who besides my vegan friends does not like good ol’ home cooked fried chicken? I don’t see any hands so I am guessing just about everyone likes fried chicken. Of course, fried chicken is not something you should have often and if you want to make it seem a little healthy it is better to oven fry the chicken. Less grease. Less hassle. But, when you have a taste for some good extra crispy fried chicken you should try my Double Dip Fried Chicken. Yes, I said double dip. You will be surprised just how crispy, flavorful and tender the chicken will be.

This recipe is a twist on a recipe I saw on a restaurant cooking show. I would never have thought to double dip my chicken before frying to make it real crispy. I always wondered how some chefs were able to make their chicken crispy enough to make a crunching sound without the chicken being dry. Now, I know.

The key to tenderness is marinating the chicken in seasoned buttermilk for a few hours. Usually, after the chicken had marinated I would toss the buttermilk. Oh no, not any more. That buttermilk is golden. Once the chicken is coated with a flour mixture I dip it back into the buttermilk then coat it again with more of the flour mixture. The buttermilk helps to keep the chicken tender and the extra coating creates a wonderful crispiness to the chicken.

Next time you get a taste for some good ol’ extra crispy fried chicken grab some buttermilk, seasoned flour and try out my Double Dip Fried Chicken. I think you will like it.

Double Dip Fried Chicken

Ingredients:

4 – 8 cleaned chicken thighs

4 cups vegetable oil

2 cups flour

1 1/2 cups buttermilk

1 tbsp salt

1 tbsp ground black pepper

1 tbsp smoked paprika

½ tbsp Chile lime seasoning (Trader Joe’s optional)

½ tbsp onion powder

½ tbsp Adobo (optional)

½ tbsp seasoned salt

¼ tsp cayenne pepper

Season the chicken on both sides with salt, ½ tbsp ground black pepper, Chile lime seasoning and smoked paprika. Place chicken in an air tight container then pour buttermilk over the chicken to cover it. Place container in the refrigerator for 2 – 4 hours or overnight.

When it is frying time, heat vegetable oil in a large dutch oven over medium high heat. Temperature should register at 360 degrees. To test the oil the old fashion way, put a small drop of water in the oil and stand back. If it starts popping the oil is ready.

While oil is heating up take the chicken out of the refrigerator and let it come to room temperature. Add flour, ½ tsp ground black pepper, seasoned salt, onion powder and Adobo to a large bowl and combine until well mixed.

Shake off excess buttermilk from a chicken thigh then place it in the flour mixture and coat both sides. Shake off excess flour and dip the floured chicken back into the buttermilk marinate. Again, shake off the excess buttermilk then place it back into the flour mixture. Shake off excess flour and place on a wire rack. Repeat steps with each piece of chicken.

Add 4 – 5 pieces of chicken to the hot oil and fry until golden brown and cooked through. Drain on a layer of paper towels. Repeat steps until all of the pieces are cooked. Serve with your favorite side dishes.

Rice and Spinach Casserole

Some days are harder than others to come up with side dish ideas. Potatoes, pasta and rice in various forms usually come to mind but can become boring or routine.

The other day I was trying to figure out what to do with the leftover rice in the fridge because I had made too much. Chicken and rice soup was one idea but we were still eating the Lentil and Carrot Ginger Soup I had made two days before. So, soup was out. Then I thought about making a casserole and maybe making it similar to my Macaroni and Cheese recipe. The idea morphed into a Rice and Spinach Casserole.

This recipe was so simple and quick to make because the rice was already cooked which meant it did not take long to pull the recipe together. I must say the Rice and Spinach Casserole did not come out exactly like my macaroni and cheese but it was doggone tasty. I think because rice and pasta have two different consistencies the rice did not come out as creamy as macaroni and cheese. Still the rice dish had a certain level of creaminess. It’s kind of hard to explain so I will just say you will have to try the recipe to see what I mean.

As always, I use my family as a guide to whether or not a recipe is blog worthy. Both my youngest son and hubby enjoyed my “new” side dish and happily had seconds of the Rice and Spinach Casserole. I will say a side dish tastes even better when the entire meal is good so that folks want to get just a little bit more of everything.

Rice and Spinach Casserole

Ingredients:

2 cups cooked rice (leftover rice works well)

1 ½ cups fresh baby spinach

1 cup shredded extra sharp cheddar cheese

½ cup shredded pepper jack cheese

½ cup half and half milk

1 can 2% evaporated milk

2 tbsp butter

cooking spray

Preheat oven to 400 degrees.

Spray a medium sized casserole dish with cooking spray. Set aside ¼ cup cheddar cheese.

Place cooked rice into the casserole dish. Pour evaporated milk and half and half over the rice. Add spinach, cheese and butter. Sprinkle with salt and pepper. Mix well then top with remaining ¼ cup of shredded cheddar cheese.

Bake for 45 minutes to 1 hour until the liquid is evaporated and a knife comes out clean when placed in the middle of the casserole.

Remove from oven and serve with your favorite dish.

Roasted Pork Loin

Although last year was a tough year dealing with the new corona virus Covid-19, we had a very Merry Christmas. Instead of making another traditional holiday meal with turkey and ham I decided to make a nice Roasted Pork Loin and indeed it was nice.

I must have hit the supermarket at the right time because I found a couple of beautiful pork loins on sale. One for Christmas and one for a later date. I have to admit I wasn’t sure my hubby would like pork loin since he is not a big pork fan except for bacon. Because of that I also made my Baked Chicken with a Mango Chutney Glaze in case he didn’t like the pork loin.

The first sign that the pork loin might go over well with hubby was the wonderful smell roaming through the house as it cooked. The next was when I pulled the pork loin out of the oven and let it rest before slicing and I saw several eyeballs checking out the pork loin. I even thought I heard the smacking of lips. While I was slicing up the meat hubby came over and said that looks really good and I’m hungry. I asked if he wanted to try a piece and he happily took it and gobbled it up. His first response was “Wow, that is tender. I like it”. Then he took another small piece of meat to tide him over until dinner.

After that hubby was hooked and at dinner he praised the roast pork loin. He even went back for seconds which is rare unless it is for salad. Looks like I have a new menu item to choose from for future holidays.

Roasted Pork Loin

Ingredients:

1 pork loin

½ small onion sliced

½ cup chicken stock or white wine

1 tbsp Cajun seasoning

1 tbsp olive oil

1 tbsp salt

½ tbsp ground black pepper

1 tsp dried oregano

1 tsp dried rosemary

1 tsp smoked paprika

Preheat oven to 350 degrees.

Place Cajun seasoning, rosemary, oregano and olive oil in a small bowl and mix until seasonings are wet. Set side.

Heat large skillet over medium high heat. Rinse the pork loin and pat dry. Sprinkle with salt and ground black pepper on all sides. Place in hot skillet and brown on all sides.

Place sliced onions on the bottom of a large casserole dish or Dutch oven and top with the browned pork loin. Top the pork loin with the wet seasoning mix and rub into the meat on all sides. Add the chicken stock to the casserole dish.

Place the pork loin into the oven (uncovered) and roast for approximately 45 minutes. Baste the pork loin then cover with foil and cook for another hour and 15 minutes. Baste the pork loin approximately every 20 minutes. Remove the pork loin from the oven (keep covered) and place on a platter to cool for 10 – 15 minutes before slicing..

Thai Curry Salmon Bowl

On the days I want to prepare a light simple meal I will usually turn to fish or specifically salmon. Salmon is my favorite fish and is very versatile and easy to make.

Today, I did not want to make Blackened Salmon Salad or Teriyaki Salmon. Instead, I wanted to test whether or not salmon would hold up in a Thai curry sauce. I have created curried fish recipes in the past but with slightly different flavors and seasonings. For my Thai Curry Salmon Bowl I used red Thai curry paste I found at the grocery store rather than adding curry powder to the dish. In my humble opinion, the red Thai curry paste had less of a bite than curry seasonings but still had intense flavor. An added bonus was that the house did not smell like curry the next day. I love curry but the seasoning when cooked lingers in the air for quite a while.

“Bowls” are very popular right now and I think eating from a bowl helps to limit portion sizes. Whatever you can fit into a bowl is all you need to eat unless you are starving or the meal is do delicious you just have to go for seconds.

My Thai Curry Salmon Bowl was ultra delicious per both hubby and me. If it had not been so filling on the first round, I would have gone for seconds. Yum!

Thai Curry Salmon Bowl

Ingredients:

1 – 2 salmon fillets cut into thick chunks

3-4 Shishito peppers diced

1 can lite coconut milk

1 can diced tomatoes

1 small jar red Thai Curry Paste

2 tbsp Kosher salt

2 tbsp ground black pepper

2 tbsp grape seed oil

1 tbsp lemon zest

1 tbsp ginger paste or diced fresh ginger

1 tsp onion powder

1 tsp chili lime seasoning (optional)

Place salmon chunks on wax paper and season with lemon juice, 1 tbsp Kosher salt and 1 tbsp ground black pepper.

Heat a large skillet over medium heat and add grape seed oil. Let oil heat for about 1 minute then add Thai Curry Paste, ginger paste and garlic. Stir to blend and continue to stir for 1 minute. Add tomatoes, Shishito peppers and lemon zest. Stir to mix. Sprinkle mixture with remaining salt, pepper, onion powder and chili lime seasoning and stir to blend. Slowly pour in coconut milk while constantly stirring. Turn hit down to medium low. Place salmon in the sauce and spoon some sauce over the salmon. Cover and let simmer for 15 to 20 minutes until salmon is cooked all the way through. While simmering spoon sauce over salmon periodically. Serve over a bowl of rice.

Optional Additions:

Sea Scallops

Steamed Cabbage

Roasted Asparagus

Sauteed Mixed Peppers


Follow my blog with Bloglovin

Chicken, Yellow Beets and Pasta

Yellow Beets. Until I decided to create a new chicken and pasta dish I had not seen nor had I tasted yellow beets. During one of my treks to Trader Joe’s I spotted the yellow beets after I saw another customer pick up a package in the vegetable aisle and it looked different from other vegetables. Of course, it could also have been the posted sign saying “New Try Me” that caught my eye.

To be specific, the package contained roasted yellow beets. Immediately, I started thinking about what kind of dish I could possibly make with roasted yellow beets. Since I planned to make chicken and pasta with the lemon chicken I had already thrown into the cart, I figured why not add the roasted yellow beets for more flavor and a pop of color. To add even more color I picked up a package of snap peas to liven up the dish.

I knew from the beginning it was going to be a little tricky to get my youngest son to eat beets. He professes not to like them but it could be because when I made beet salad and the dish turned pink. I thought the dish looked pretty but he thought it looked unappealing at least to his eyes. Even when I just served seasoned plain beets, T would scrunch up his face and gently remove them from his plate. Like I sometimes say, we often eat with our eyes.

Mixing up the yellow beets with the chicken and snap peas was distracting enough that T didn’t really mention the yellow looking thing in the dish. By the time I told him what it was he couldn’t make a face because he had eaten half the food on his plate. I guess blending in the yellow beets is like when my girlfriend added prunes to a cake and didn’t tell me until I had gobbled it up and said how moist and delicious it tasted. I don’t care for prunes but since the cake was good what can I say.

The next time you want to jazz up one of your chicken dishes try adding roasted yellow beets. It can be our little secret.

Chicken, Yellow Beets and Pasta

Ingredients:

1 box vermicelli pasta

1 pkg roasted yellow beets cut into ½ inch pieces

1 pkg fresh snap peas

1 pkg cooked lemon or grilled chicken

2 – 3 plum tomatoes cubed

2 scallions sliced

½ cup half and half milk

½ cup chicken broth

¼ cup grated Parmesan cheese

3 tbsp butter

1 tbsp Adobo

1 tbsp flour

1 tbsp salt

½ tsp ground black pepper

½ tsp olive oil

½ tsp dried oregano

½ tsp dried parsley

½ tsp dried cilantro

Prepare per package instructions and reserve ½ cup of pasta water. Melt 2 tbsp of butter in a large skillet along with olive oil over medium high heat. Add snap peas, salt and black pepper then stir to mix. Saute for 1 – 2 minutes then remove from skillet and place in a small bowl and set aside.

Place skillet back on the stove. Add 1 tbsp of butter to the skillet and let it melt. Add flour to the skillet and stir until smooth. Pour in milk and broth then whisk until the sauce is smooth. Add Parmesan cheese and remaining seasonings. Stir to combine. Add chicken, yellow beets, snap peas and scallions (reserve 1 tbsp of scallions). Gently stir to mix all ingredients. Add pasta water to thin out the sauce if necessary. Reduce heat to medium and let simmer for 5 minutes. Serve over pasta.

Follow my blog with Bloglovin

Pumpkin Cheesecake Bars

I missed the boat on making these Pumpkin Cheesecake Bars for our Thanksgiving dessert. My mom usually makes apple pie and sweet potato pie but since I knew she wasn’t going to make sweet potato pies I planned to make the cheesecake bars. I had also promised my friend Eb that I would bring him some the next time I came to get my hair done. Being a woman of my word, I was forced to make the Pumpkin Cheesecake Bares the day after Thanksgiving since I was going to see Eb on Saturday. The thought did cross my mind to see if I could push off making the bars until the following week but I would have felt bad not keeping my promise.

To be honest, I am so glad I followed through and made the Pumpkin Cheesecake Bars. This was my first attempt at making them and it was easier than I thought it would be to pull together. The warm flavors and spices along with the creaminess of the cheesecake made this dessert a winner. Plus, I added chopped walnuts to the graham cracker crust for a slight hint of nuttiness. Pecans would also work in the crust but the day I want shopping for ingredients the walnuts were on sale. Maybe next time I will try the pecans.

If something you cook smells good, it will often taste good too. I knew the Pumpkin Cheesecake Bars were probably going to be good when my son T asked how soon he could eat them when I pulled them out of the oven. Unfortunately for him, the bars had to cool down then chill for a minimum of two hours. Since it was kinda of late when I finished cooking it meant he had to wait until the next day. Hence the disappointed face I saw walk up the stairs.

In the end I was happy with the recipe and how the Pumpkin Cheesecake Bars looked and tasted. I was ever happier when Eb told me “You got something here!” after the first bite. He also said this was the kind of dessert I could sell in a cafe with a nice cup of coffee. Hmmm…. That might be a good idea.

Ingredients: 3 Layers

Preheat oven to 350 degrees.

Crust:

3 cups cinnamon graham cracker crumbs

½ cup chopped walnuts

1 stick + 2 tbsp melted unsalted butter

5 tbsp granulated sugar

Combine ingredients in a large bowl until crumbs are slightly moist. Press into a 9 x11 baking dish. Push some of the crumbs up along the sides of the dish. Set aside.

Pumpkin Layer:

2 large eggs

1 15oz can of pure pumpkin. (Do Not use canned pumpkin pie mix)

¾ cup heavy whipping cream

¾ cup granulated sugar

1 tsp vanilla extract

1 tsp pumpkin pie spice

½ tsp cinnamon

Whip all ingredients together until well blended and smooth. Pour over graham cracker crust and smooth into an even layer.

Cheesecake Layer:

1 brick softened cream cheese

1 large egg

1 egg yolk

½ cup granulated sugar

2 oz mascarpone cheese

1 tsp vanilla extract

Beat all ingredients together in a large bowl until smooth. Spoon mixture over pumpkin layer and smooth out. Take a butter knife and gently swirl the cheesecake into the pumpkin.

Place baking dish in the oven and bake for 45 minutes until the center is set. Remove from the oven and let the bars cool for 45 minutes to 1 hour. Cover with plastic wrap and refrigerate for at least 2 hours but overnight is better. Slice into bars and enjoy!

Follow my blog with Bloglovin

Chicken and Cabbage Stew

One pot dishes are good for both hubby and me. Good for me because I don’t have to fuss with a lot of different pots, pans and utensils. It’s good for hubby because he usually washes dishes since I cook so less clean up for him.

When I think about it, that is how my mom and dad operated in the kitchen. My mom is an excellent chef and since she did most of the cooking my dad would wash the dishes. Like my hubby, my dad could fix breakfast but that was about it for him. I can’t complain about hubby’s lack of culinary skills because besides washing dishes hubby vacuums and will wash clothes if I don’t get to them first. My in-laws did a great job raising two sons that are productive and aren’t afraid to help around the house. God Bless my dad and in-laws. I miss them everyday.

Okay, back to my Chicken and Cabbage Stew. This is a relatively quick meal and as previously stated the beauty of it is using only one pot. The one constant in our house is chicken. Yes, I sometimes go on and on about eating so much chicken but you really cannot beat it for the price and the health benefits compared to red meats. Adding a few light vegetables to the pot just enhances the nutritional value and cuts down on calories as well as fat.

Aside from the flavors of the Chicken and Cabbage Stew I liked the colors of the dish. The bright red of the peppers. The pop of orange from the carrots and turmeric broth. Plus, the contrast of green between the cooked green peppers and sprinkle of green onions on top. Eating with your eyes is just as important as enjoying the mixed flavors of any dish.

Chicken and Cabbage Stew

Ingredients:

4 – 6 drumsticks or boneless chicken thighs

2 celery stalks diced

1 green onion diced

1 small green pepper diced

1 small red pepper diced

1 small Napa cabbage shredded

1 bag baby carrots

2 cups chicken stock or broth

3 tbsp grape seed oil or olive oil

2 tbsp tomato paste

2 tbsp salt

1 tbsp seasoned salt

1 tbsp ground black pepper

1 tbsp turmeric

1 tsp onion powder

1 tsp cumin

½ tsp red pepper flakes (optional)

½ tsp dried parsley

Heat oil in a large dutch oven over medium heat. Season chicken with 1 tbsp salt, seasoned salt and ground black pepper. Brown chicken then remove from dutch oven and place on a plate to cool slightly. Remove meat from drumsticks and chop or cube chicken thighs. Set aside.

Reduce heat to medium and add onions (except for green onions), peppers and celery to the pot. Season with remaining salt, onion powder, cumin, dried parsley and red pepper flakes. Stir for 1 minute or until vegetables begin to soften. Add tomato paste and turmeric. Stir to blend with vegetables. Add chicken with juices along with chicken stock and carrots to the dutch oven. Let simmer for 10 – 15 minutes then add shredded Napa cabbage. Stir and continue to cook for an additional 20 minutes until the cabbage is cooked and tender.

Serve over rice and sprinkle with green onion.


Follow my blog with Bloglovin

Spinach Stuffed Mushrooms

What can be an easier side dish than Spinach Stuffed Mushrooms? Not too many things. Depending on what you are using to stuff your mushrooms the process can be easy or a little complicated. The process I used for this recipe was extremely easy.

Stuffed mushrooms were one of the my favorite appetizers back in the days when it was safe to sit down in a restaurant and enjoy a full course meal. In the days of Covid-19, my family and I are cautious about social distancing and staying as safe as possible. Although we miss dining out, we are definitely supporting our local restaurants by doing take out a couple of times each week. I enjoy cooking for the family but even I need a break now and then.

So, since I couldn’t have Spinach Stuffed Mushrooms at a restaurant I made my own version at home. Instead of sauteing baby spinach and chopping up onions along with other veggies, I used frozen creamed spinach to reduce my prep time. By adding a few seasonings along with some grated Parmesan cheese I created a quick filling. Viola! I made a lovely Spinach Stuffed Mushroom appetizer or side dish to compliment dinner.

Spinach Stuffed Mushrooms

Ingredients:

12 large mushrooms cleaned (chop stems and reserve)

1 pkg frozen creamed spinach

½ cup Panko bread crumbs

½ cup grated Parmesan cheese

¼ cup shredded mozzarella cheese

½ tsp Kosher salt

¼ tsp ground black pepper

¼ tsp garlic powder

Grape seed oil or olive oil

Pinch of cayenne powder or red pepper flakes (optional)

Preheat oven to 400 degrees.

Thaw creamed spinach in a medium sized bowl. Add salt, ground black pepper, garlic powder, cayenne, ½ of the bread crumbs and cheeses. Stir to mix well.

Rub mushrooms with a little grape seed oil them place in a rectangular baking sheet lined with foil or a casserole dish. Stuff each mushroom with the creamed spinach filling then top with remaining bread crumbs. Drizzle a little grape seed oil over the bread crumbs and sprinkle with paprika then place in oven. Bake for 15 – 20 minutes until the mushrooms are softened and golden brown.

Follow my blog with Bloglovin

Baked Chicken with a Mango Chutney Glaze

Truth be told… baked chicken is not very exciting on its own. Yeah, you can add a few seasonings besides salt and black pepper to make it taste good. Plus, sometimes you can kick it up a notch by adding BBQ sauce. But…..

Nothing against BBQ sauce. It is always on hand when I am tired of fixing plain baked chicken. But, today I decided to make Baked Chicken with a Mango Chutney Glaze. I have been thinking about this simple recipe for awhile. The problem was I always forgot to look for chutney sauce when I went to the grocery store. It may have helped if I had put it on the shopping list and then actually looked at the list on my trips to the grocery store. Yes, I do make a list but I don’t always check it while I am shopping. Okay, moving on.

Fortunately, on a recent grocery store run I spotted a jar of mango chutney at Trader Joe’s while perusing jars of different sauces and new spices. Chutney is one of those things you have to try to know if you will really like it. There are so many varieties of chutneys it can be hard to choose which one will compliment a dish. My research showed that chutneys are a staple in Indian cultures. Often it is used as a side relish or condiment and helps bring balance to a dish. Most chutneys are a combination of vegetables, fruits, herbs, vinegar, sugar and spices. However, some chutneys are just fruits or vegetables or even minty.  I thought the chutney would be delicious if used as a glaze on baked chicken .

Spicy, sweet or minty, there is surely a chutney you will find to satisfy your tastes. For my baked chicken I added cayenne to the mango chutney sauce to spice it up a bit more. The hot spice and the sweetness of the mango helped to balance each other out to create a really flavorful dish. If you have never considered adding chutney to an old time favorite chicken dish, give it a try and see just how non-boring your chicken will taste.

Baked Chicken with Mango Chutney Glaze

Ingredients:

4 – 6 chicken drumsticks or chicken thighs

1 small onion sliced

1 jar mango chutney

4 tbsp butter

2 tbsp water

1 tbsp grape seed oil or olive oil

1 tbsp Adobo

1 tbsp salt

1 tsp ground black pepper

1 tsp cayenne (optional)

smoked paprika

cooking spray

Preheat oven to 350 degrees. Melt butter together with grape seed oil in a small pot and set aside.

Spray a baking dish with cooking spray. Layer the backing dish with sliced onions and place chicken over the onions skin side down. Sprinkle chicken with half of the seasonings except for the cayenne then flip and sprinkle then season the skin side of the chicken. Pour melted butter over the chicken. Place in the preheat oven and bake for 1 hour.

While the chicken is baking place chutney in a bowl and add water and cayenne seasoning. Mix until the mango chutney is loose but has a thick soup consistency. Add more water if necessary.

After an hour of baking remove the chicken and spoon the mango chutney over the chicken. Place the chicken back in the oven and bake for another 45 minutes to 1 hour until the chicken is thoroughly cooked and nicely browned.

Serve with your favorite side dishes.

Follow my blog with Bloglovin