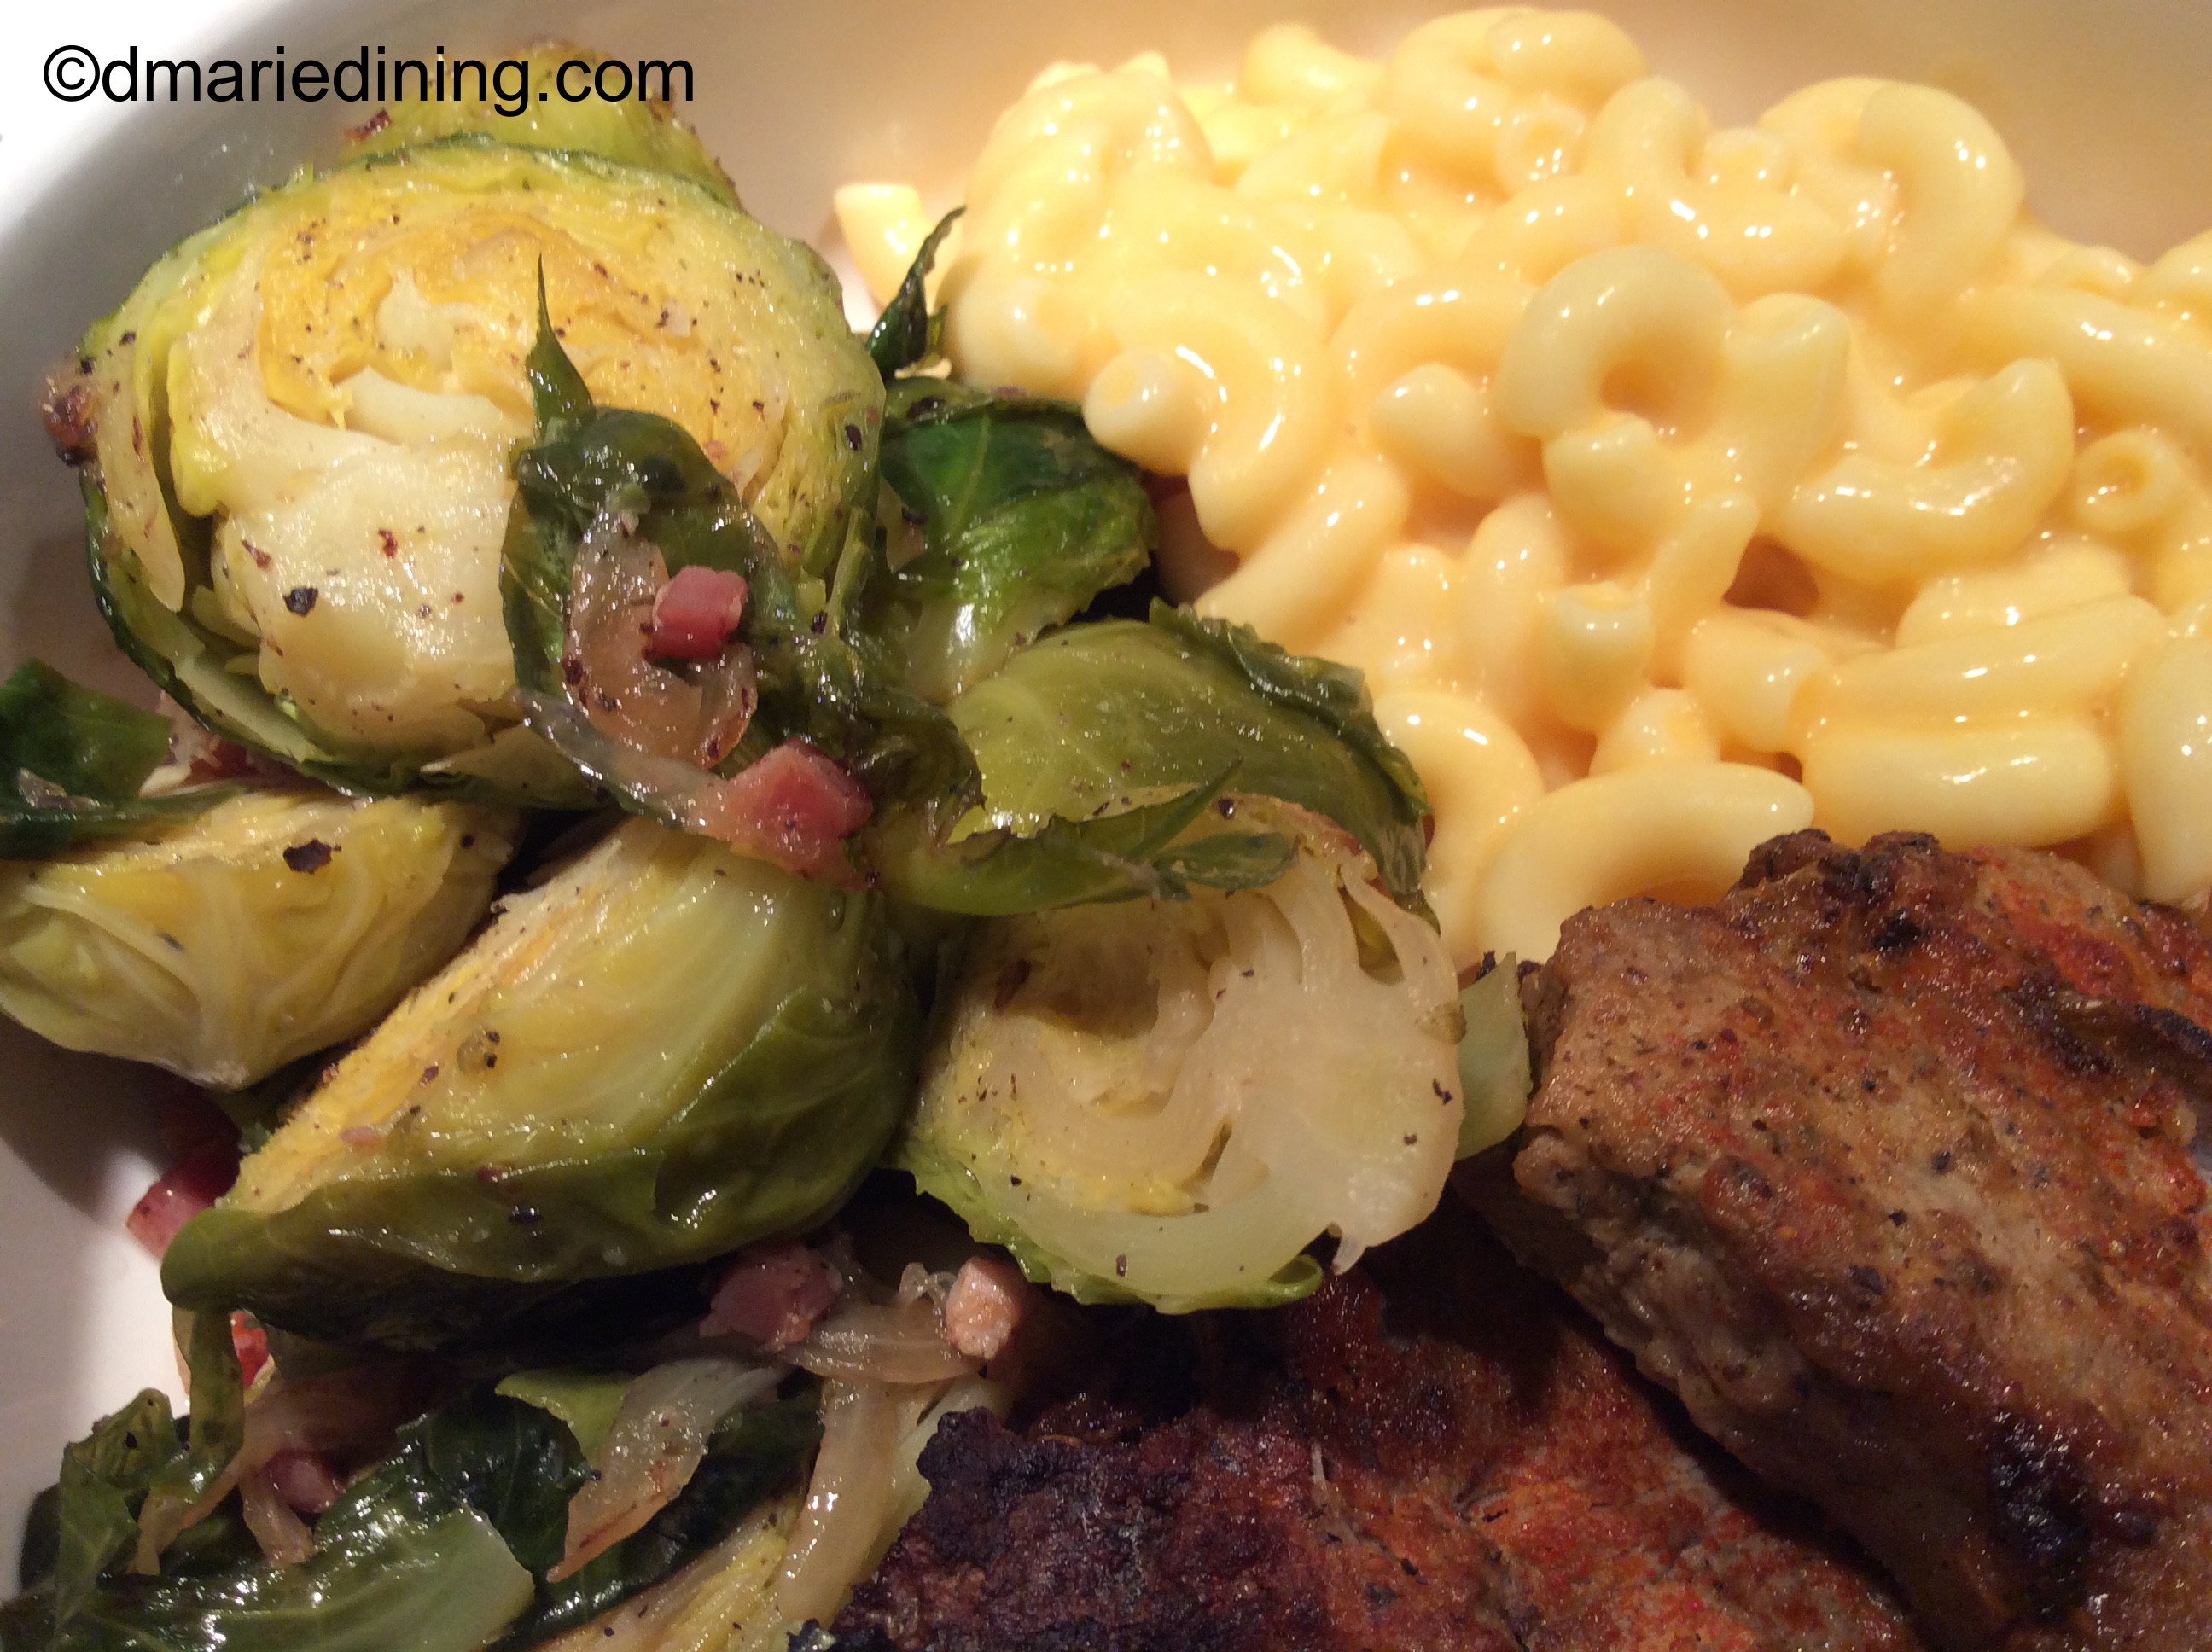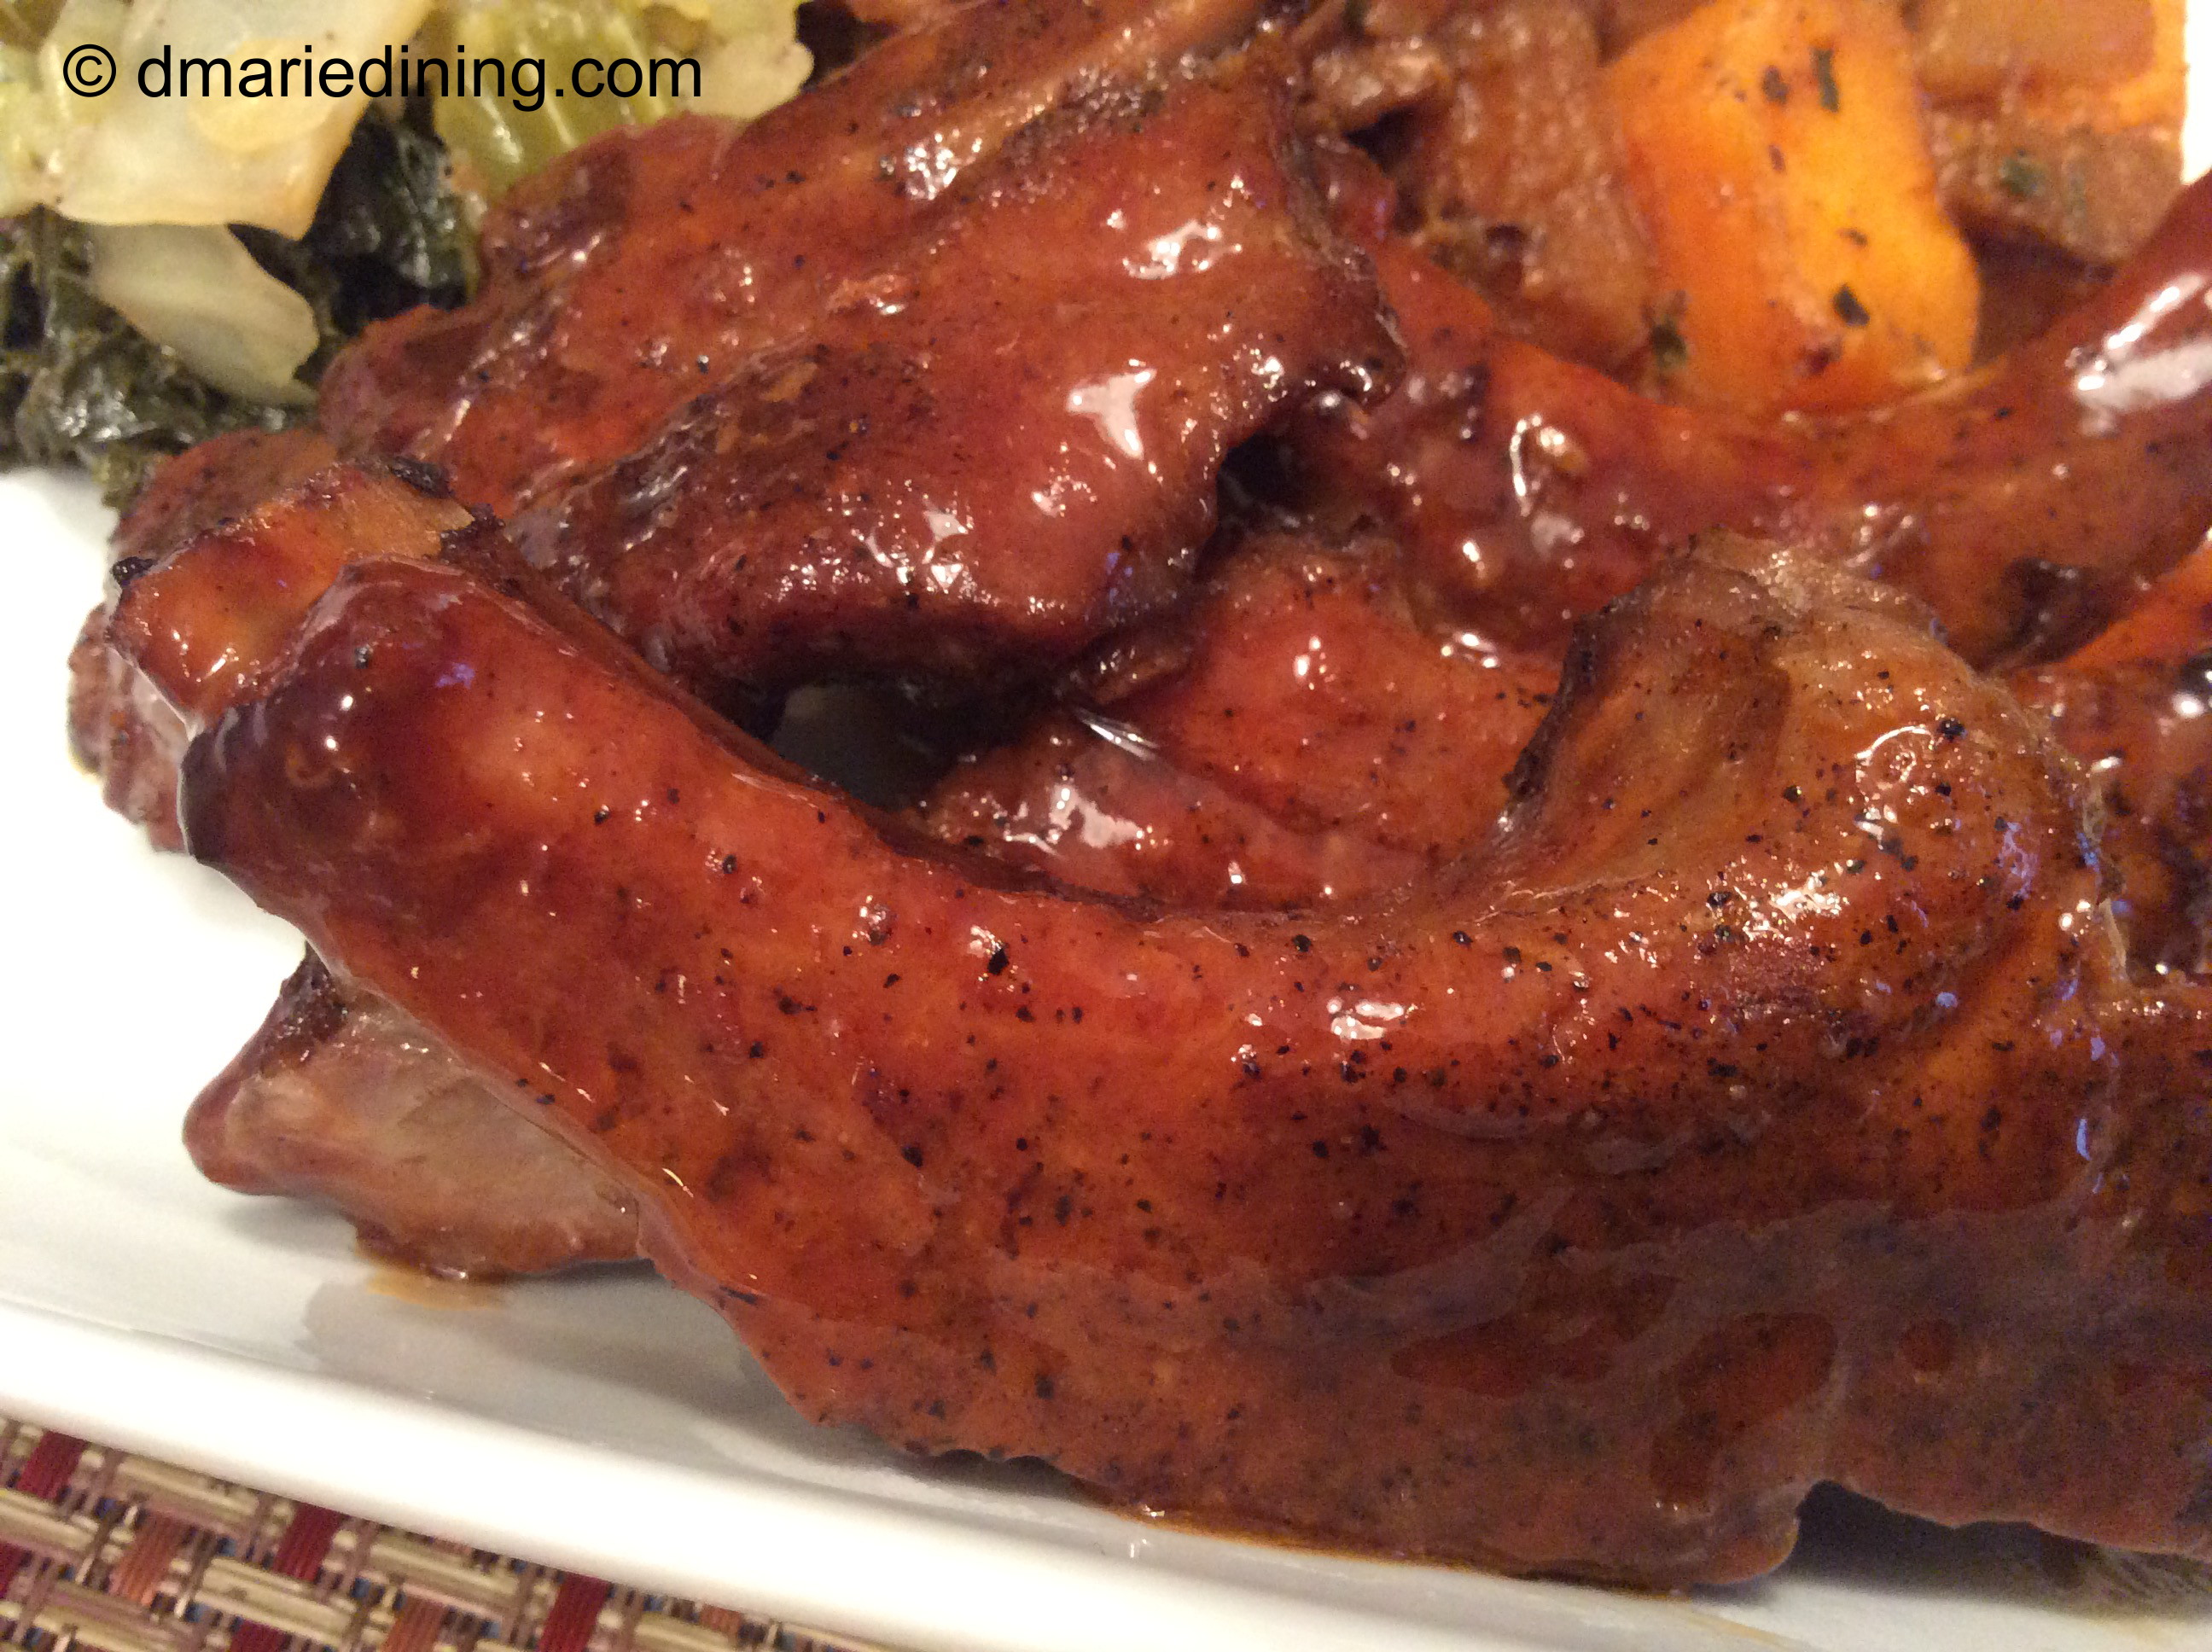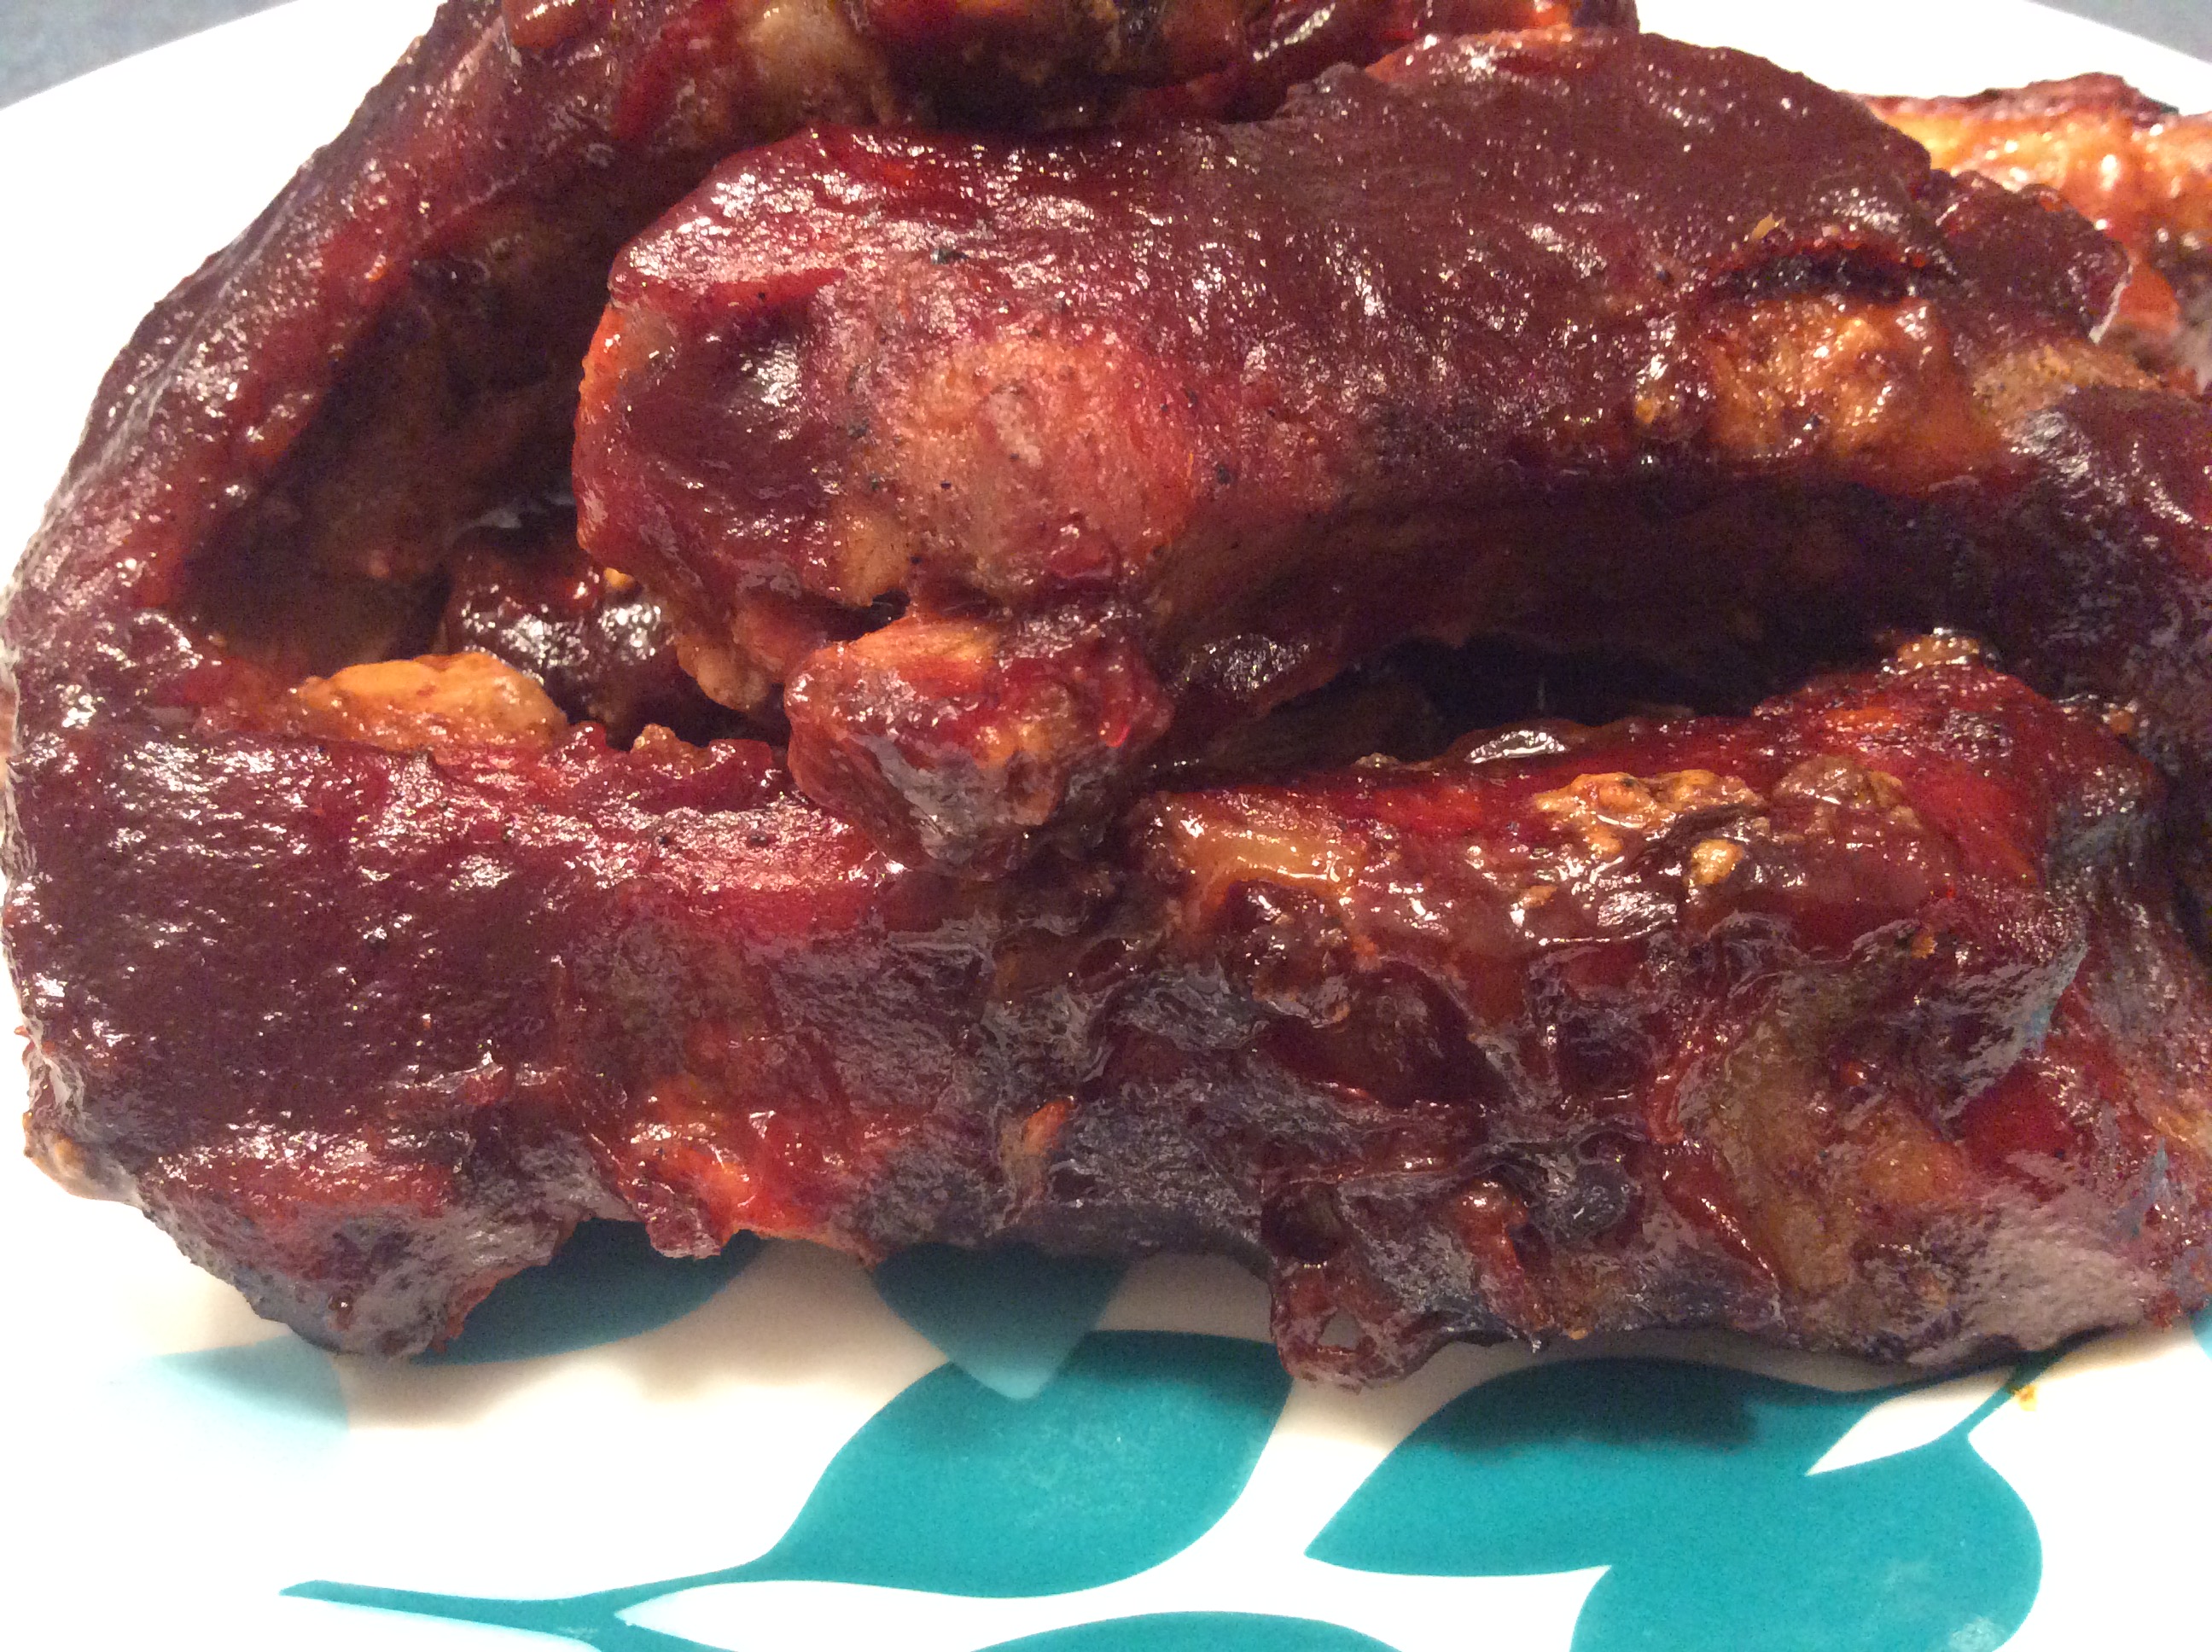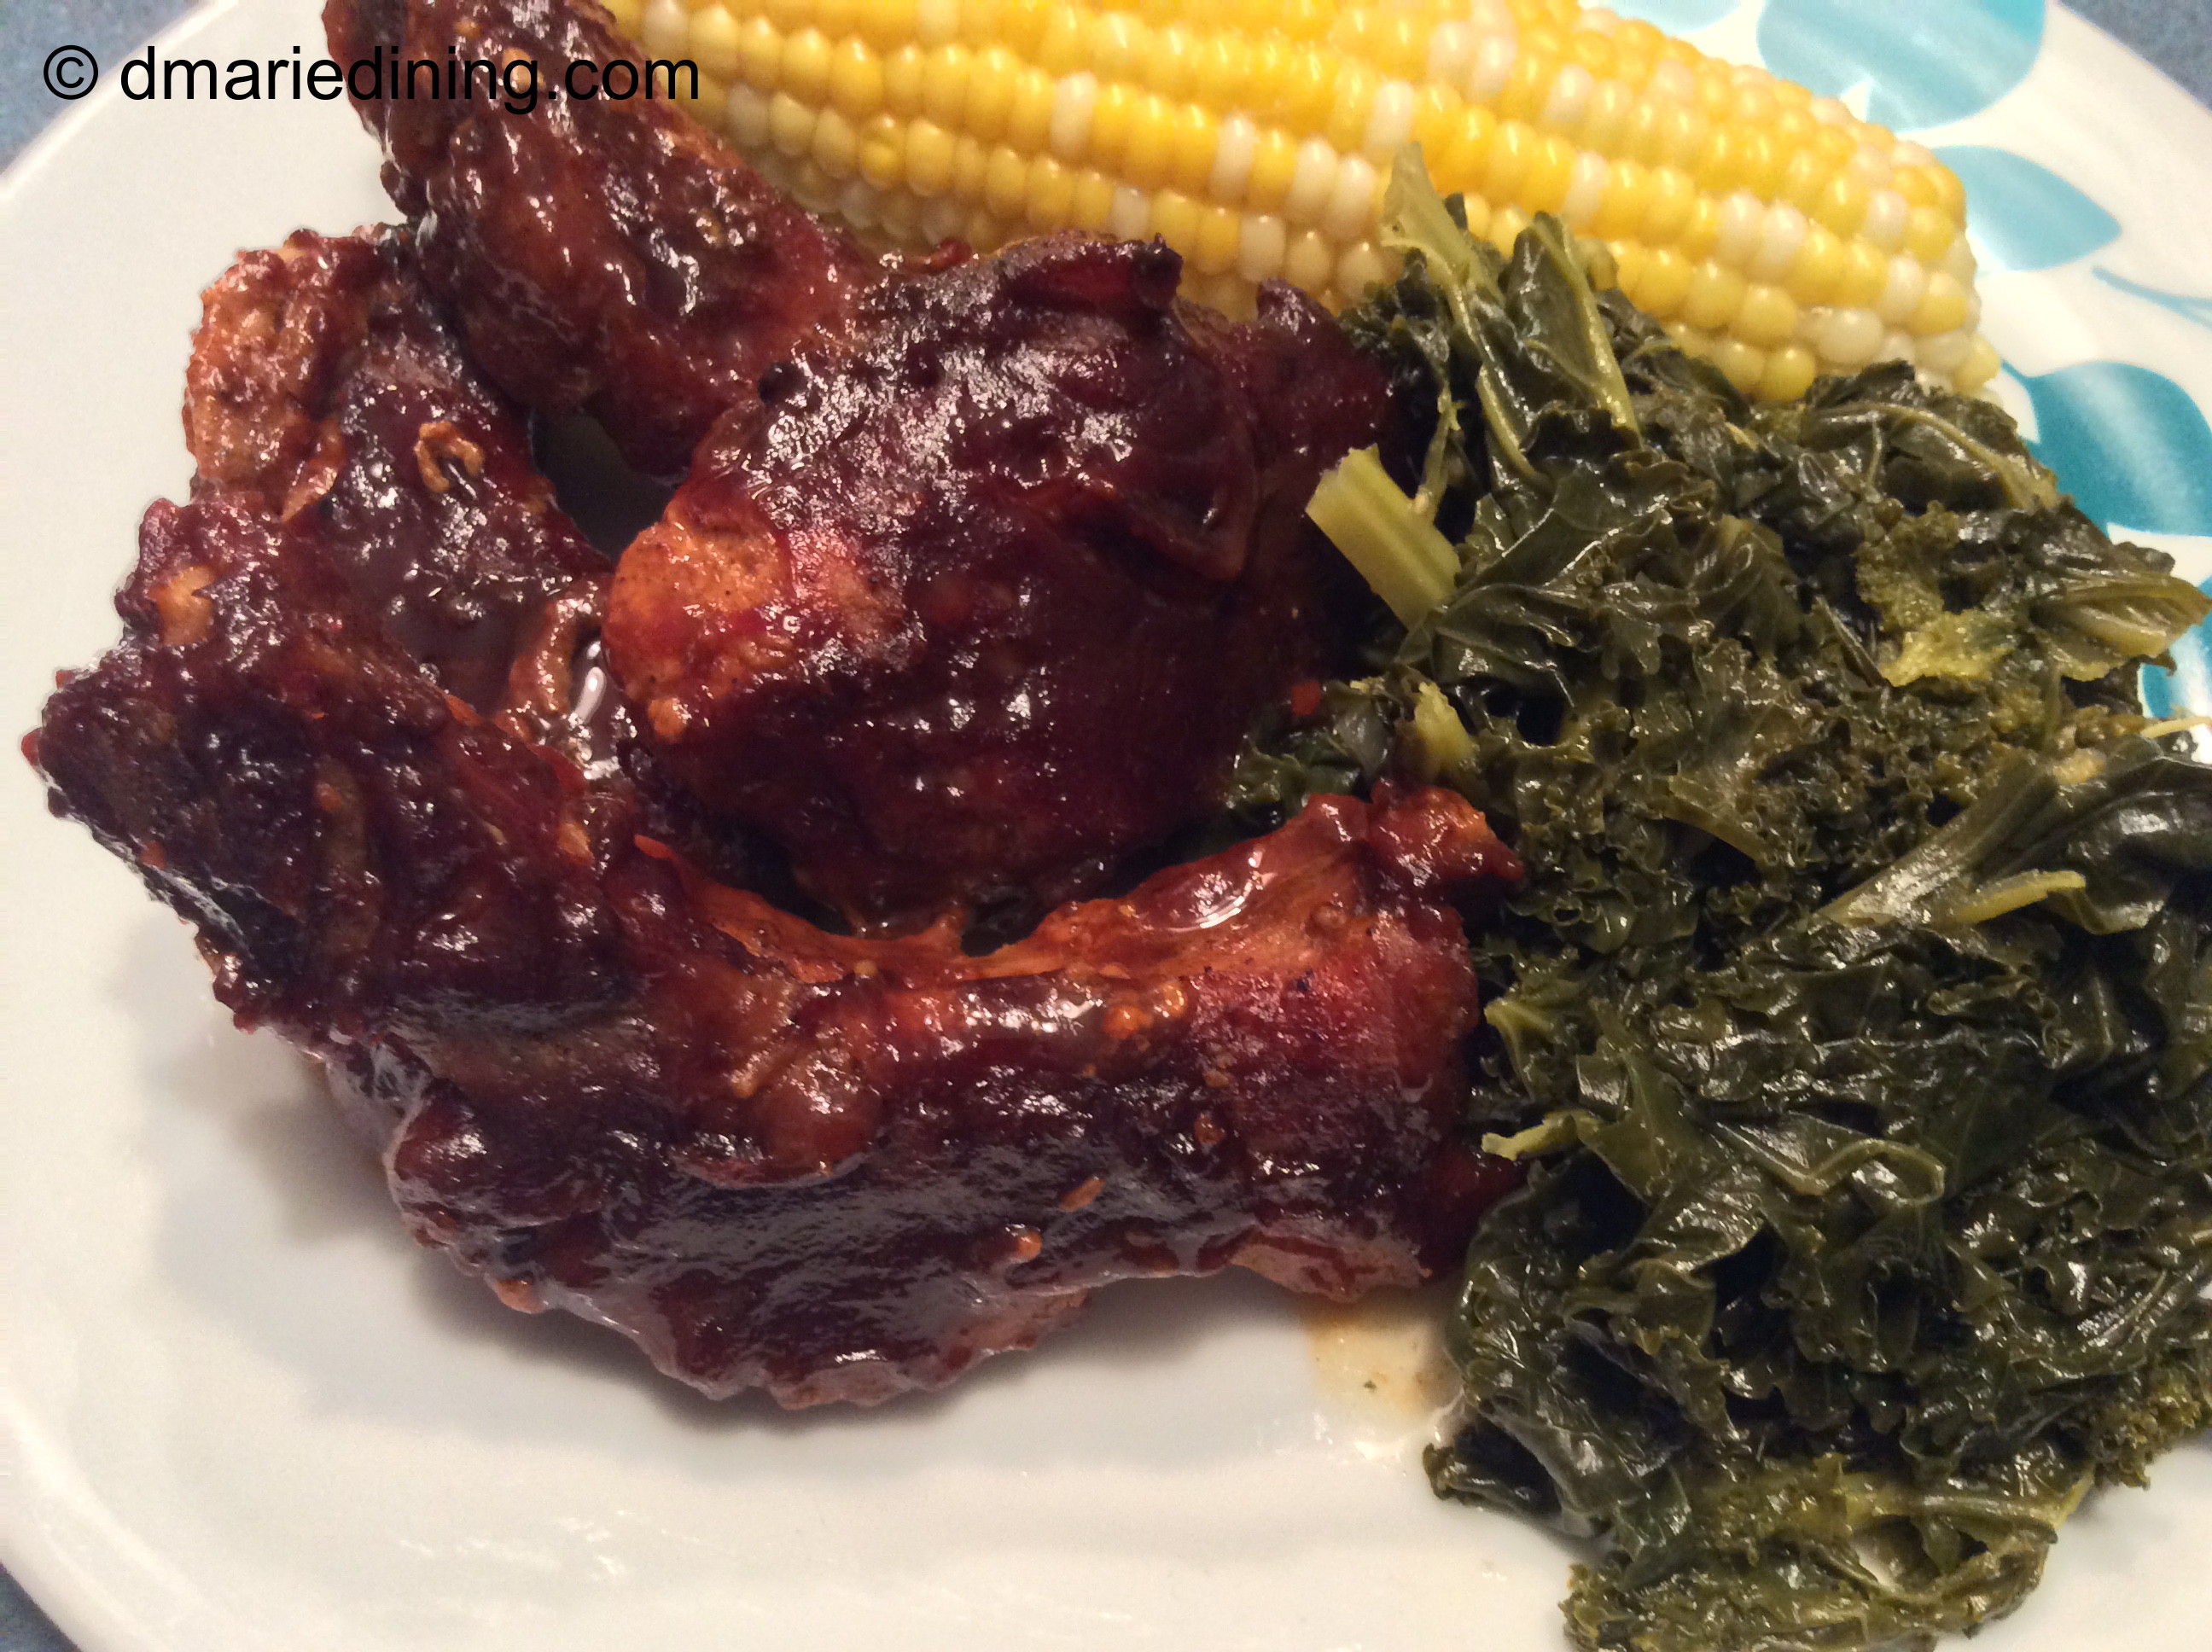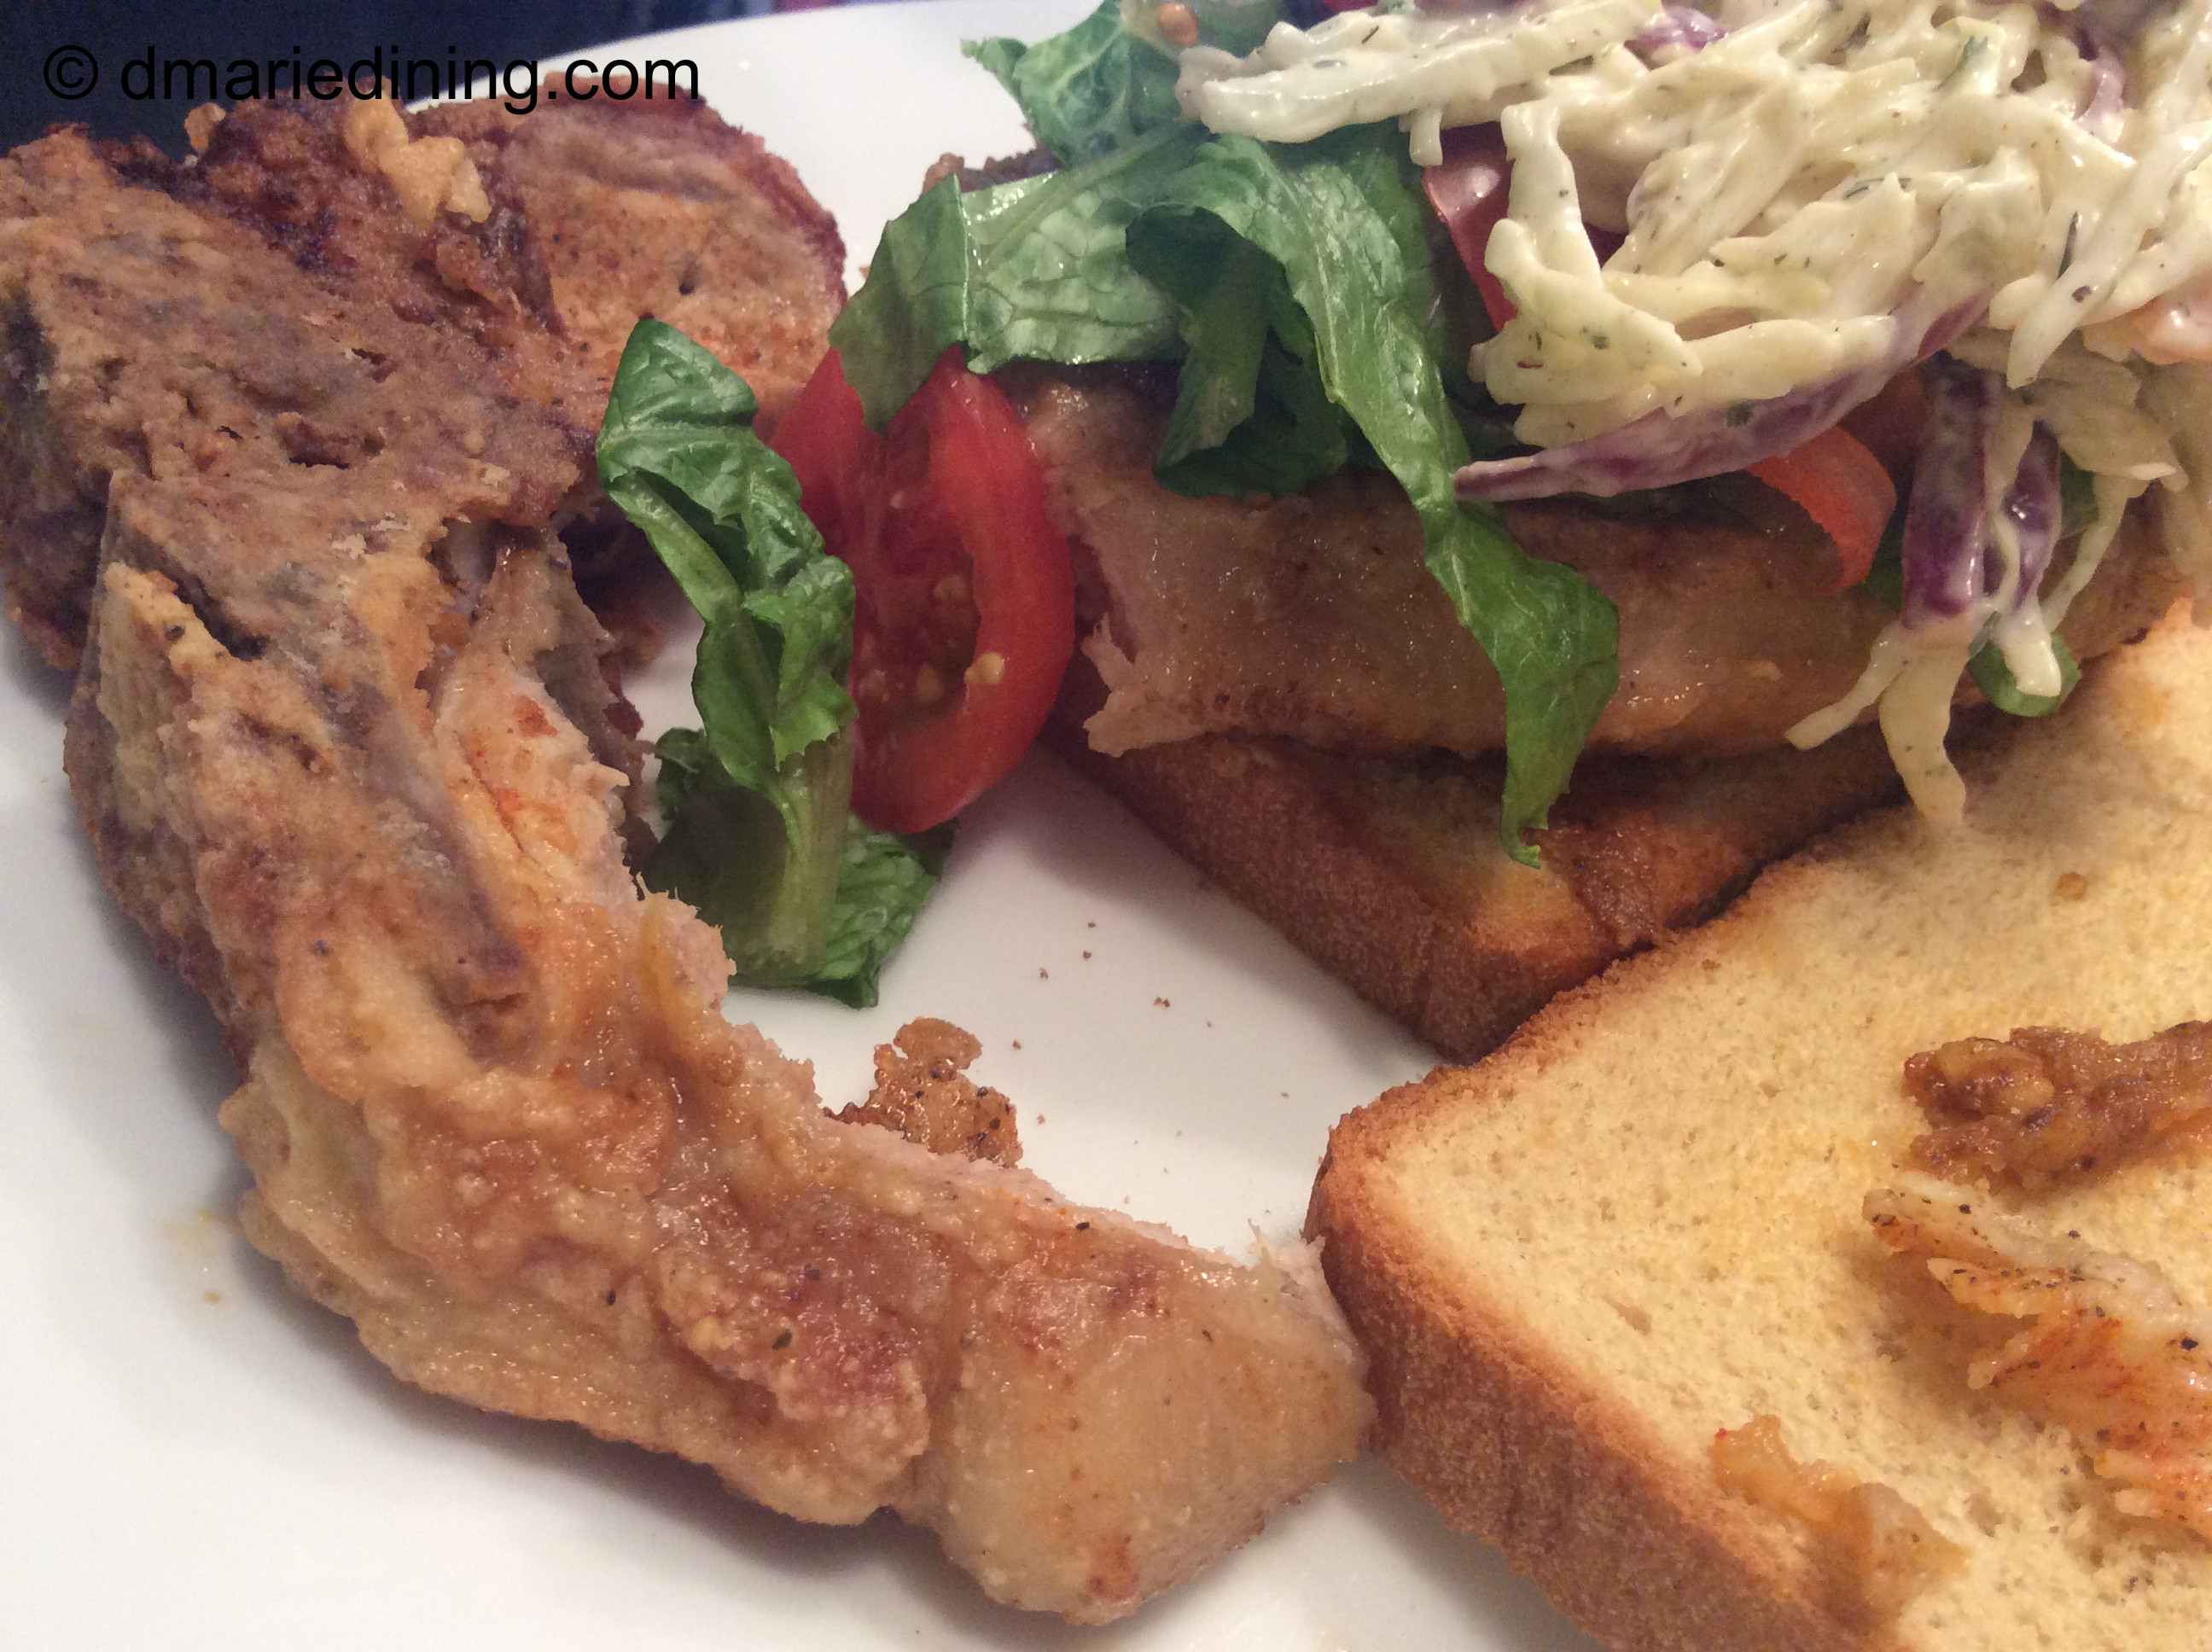
Although last year was a tough year dealing with the new corona virus Covid-19, we had a very Merry Christmas. Instead of making another traditional holiday meal with turkey and ham I decided to make a nice Roasted Pork Loin and indeed it was nice.
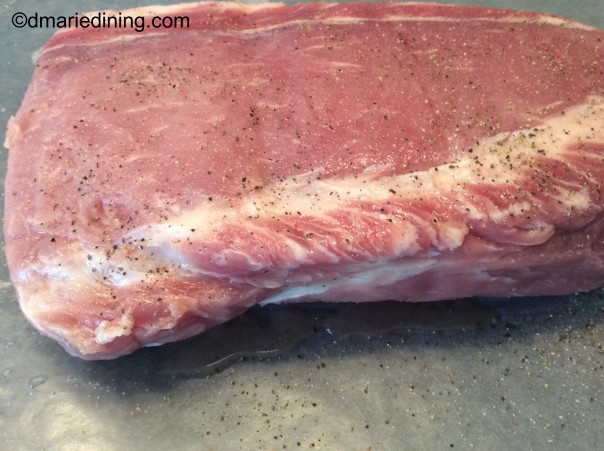
I must have hit the supermarket at the right time because I found a couple of beautiful pork loins on sale. One for Christmas and one for a later date. I have to admit I wasn’t sure my hubby would like pork loin since he is not a big pork fan except for bacon. Because of that I also made my Baked Chicken with a Mango Chutney Glaze in case he didn’t like the pork loin.
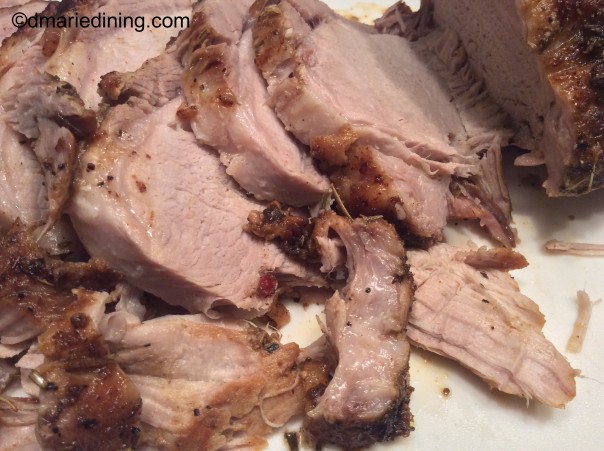
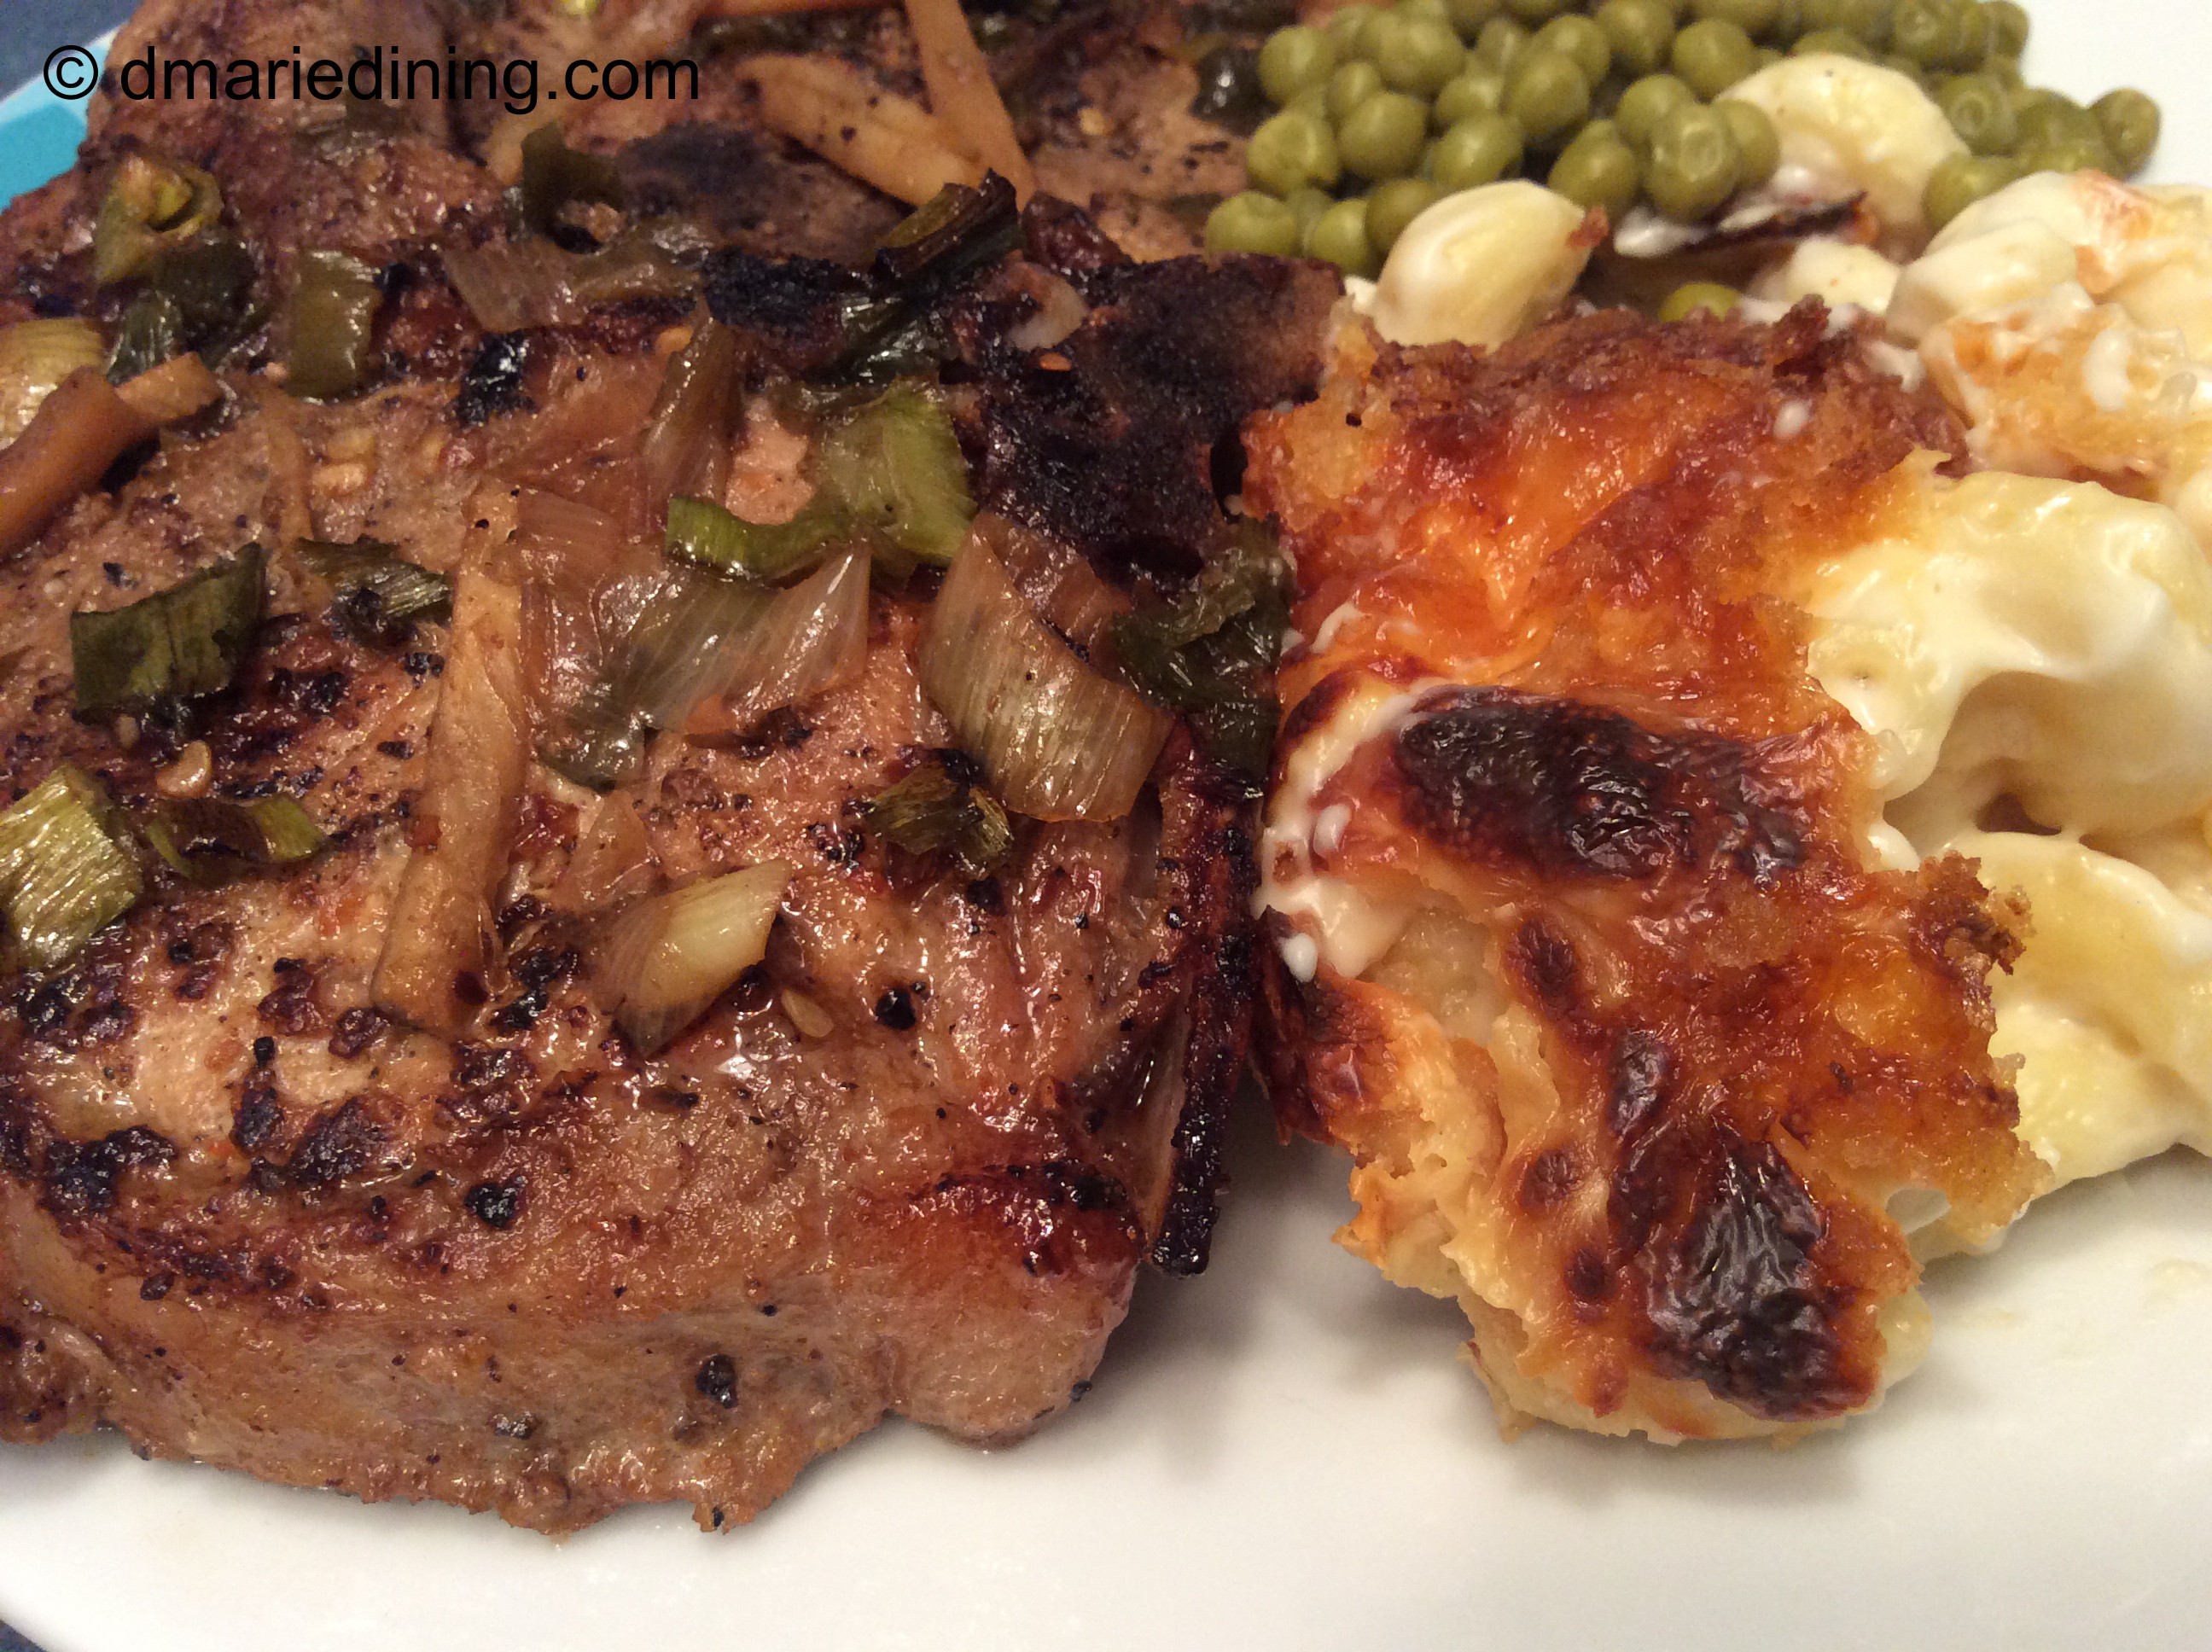
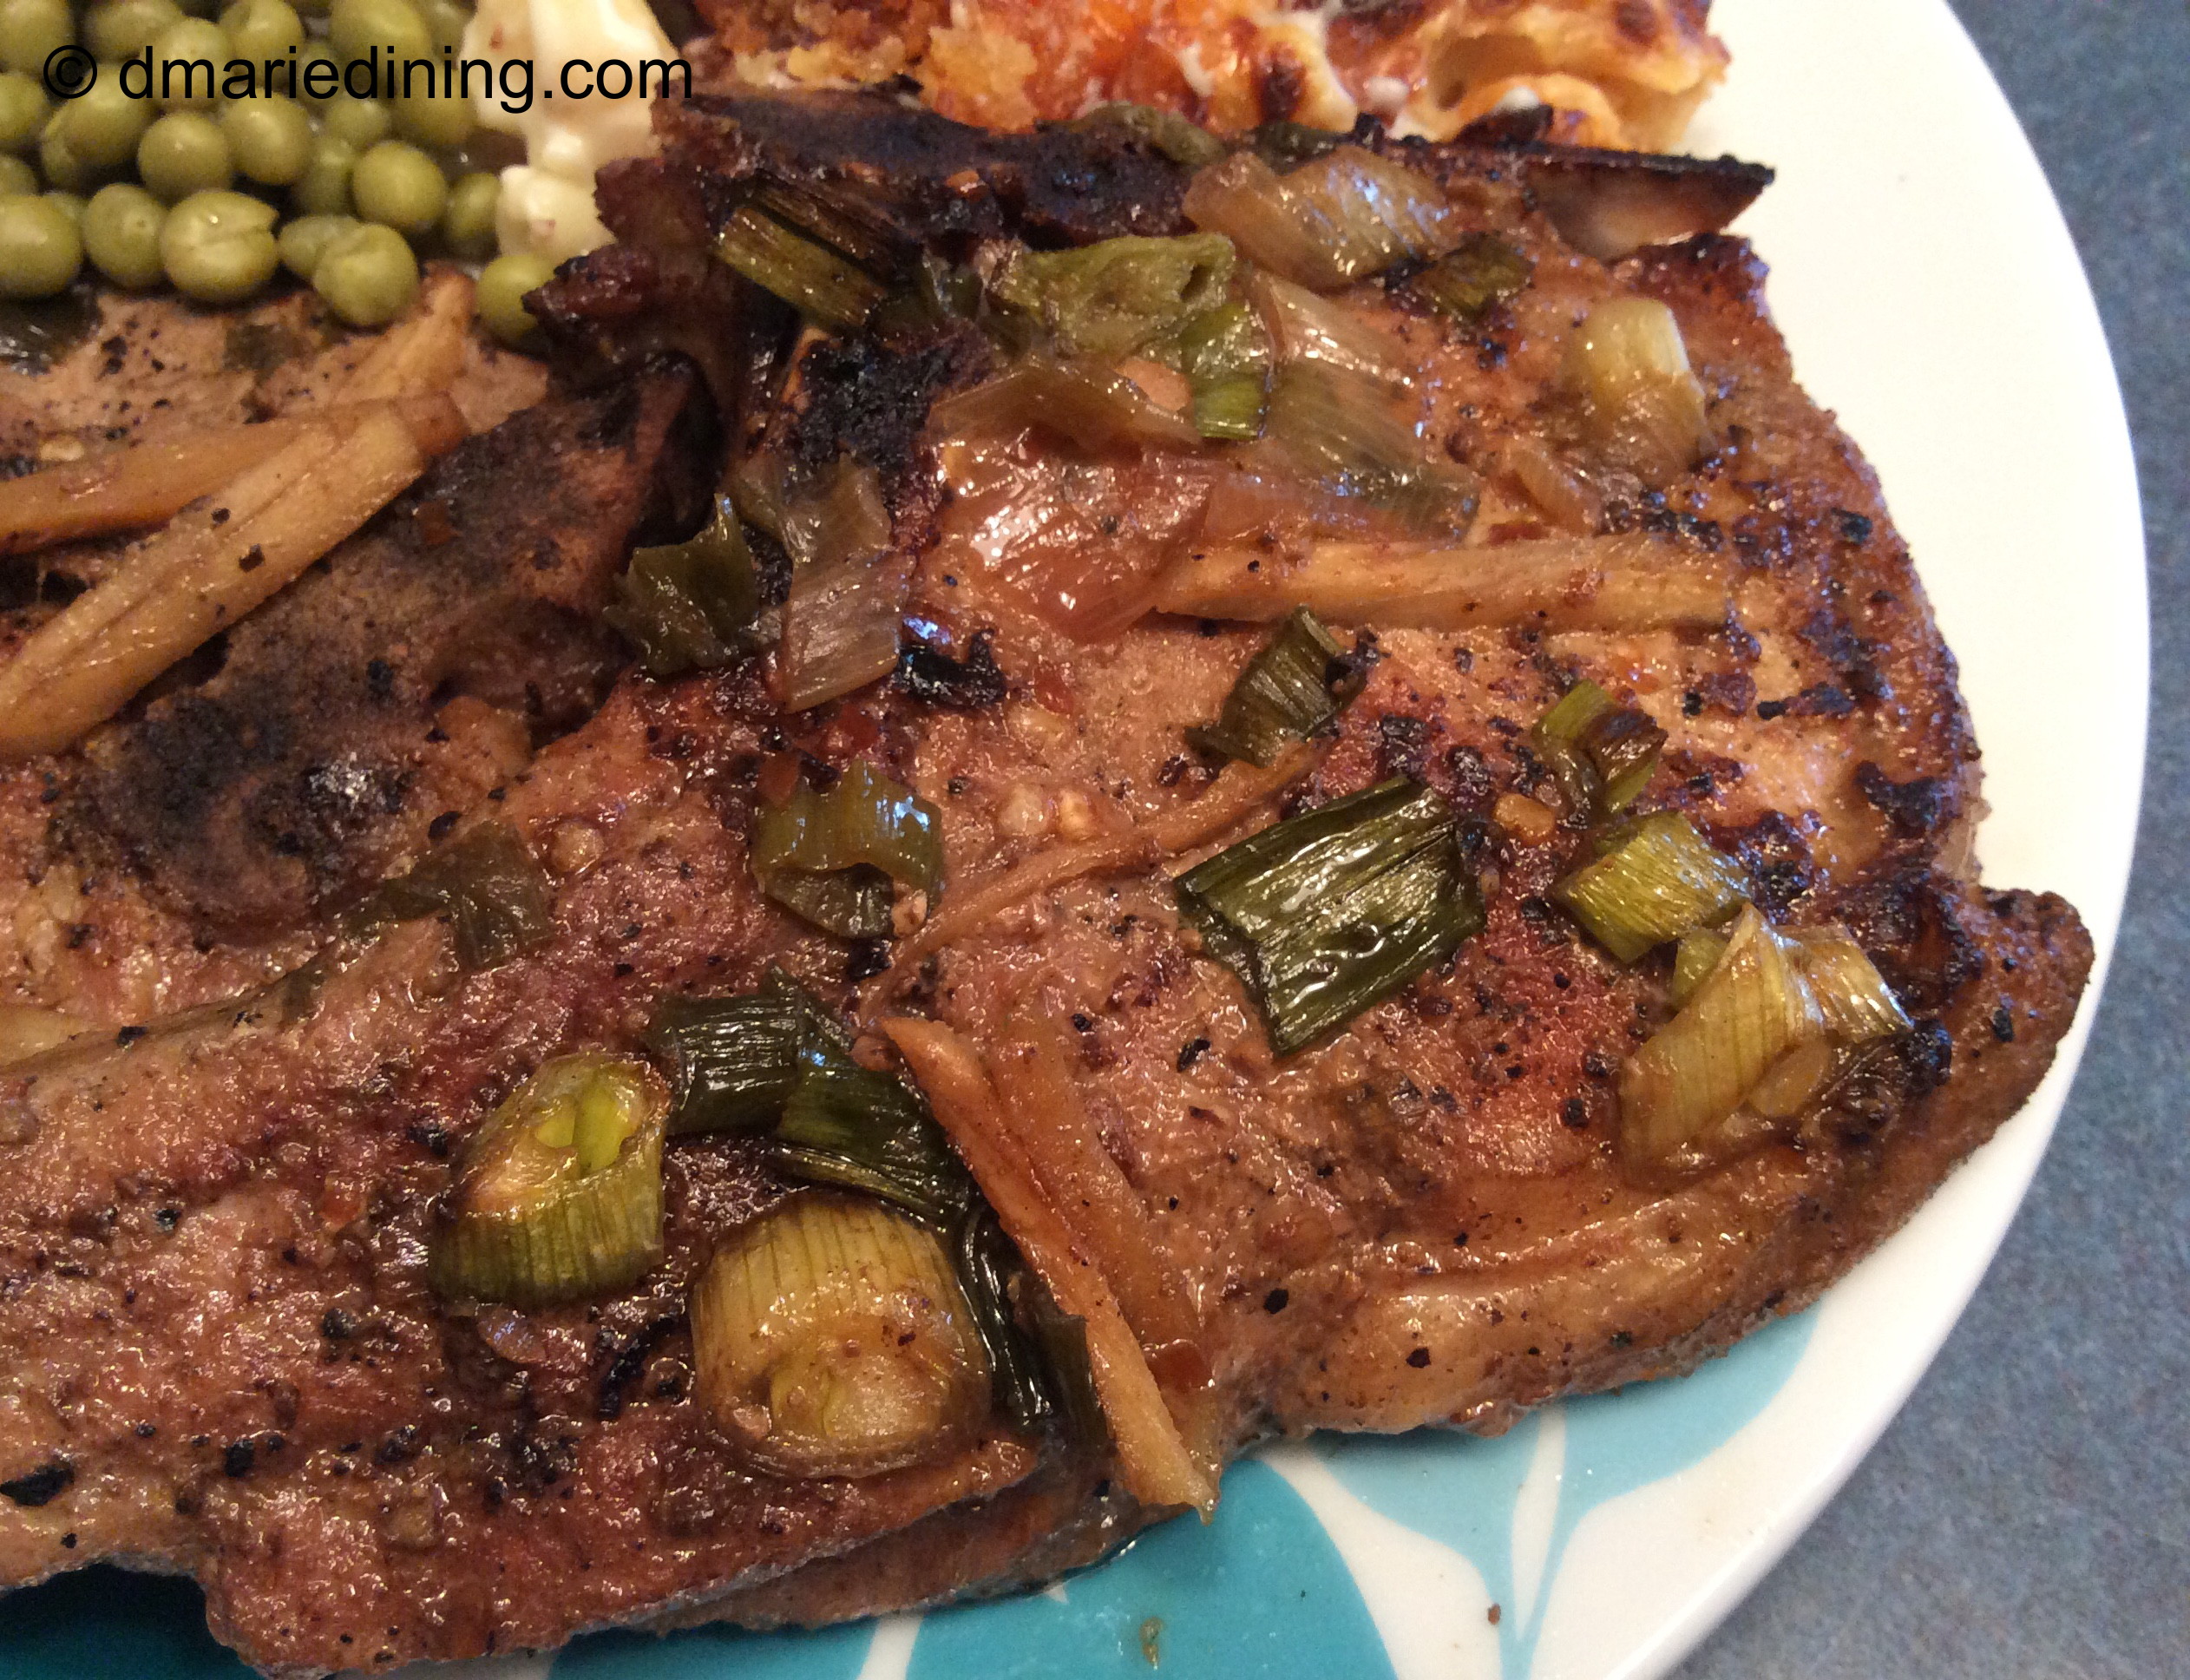
The first sign that the pork loin might go over well with hubby was the wonderful smell roaming through the house as it cooked. The next was when I pulled the pork loin out of the oven and let it rest before slicing and I saw several eyeballs checking out the pork loin. I even thought I heard the smacking of lips. While I was slicing up the meat hubby came over and said that looks really good and I’m hungry. I asked if he wanted to try a piece and he happily took it and gobbled it up. His first response was “Wow, that is tender. I like it”. Then he took another small piece of meat to tide him over until dinner.
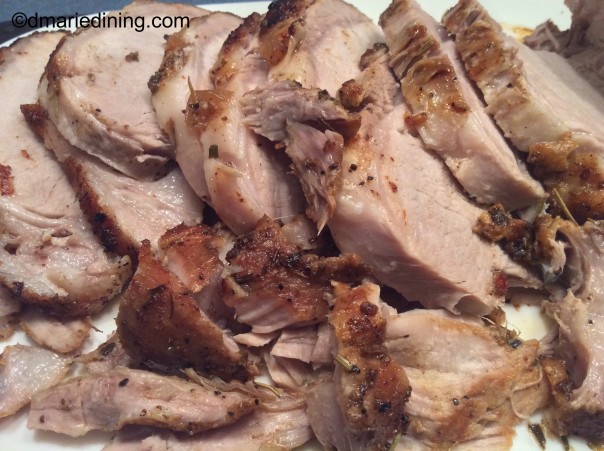
After that hubby was hooked and at dinner he praised the roast pork loin. He even went back for seconds which is rare unless it is for salad. Looks like I have a new menu item to choose from for future holidays.
Roasted Pork Loin
Ingredients:
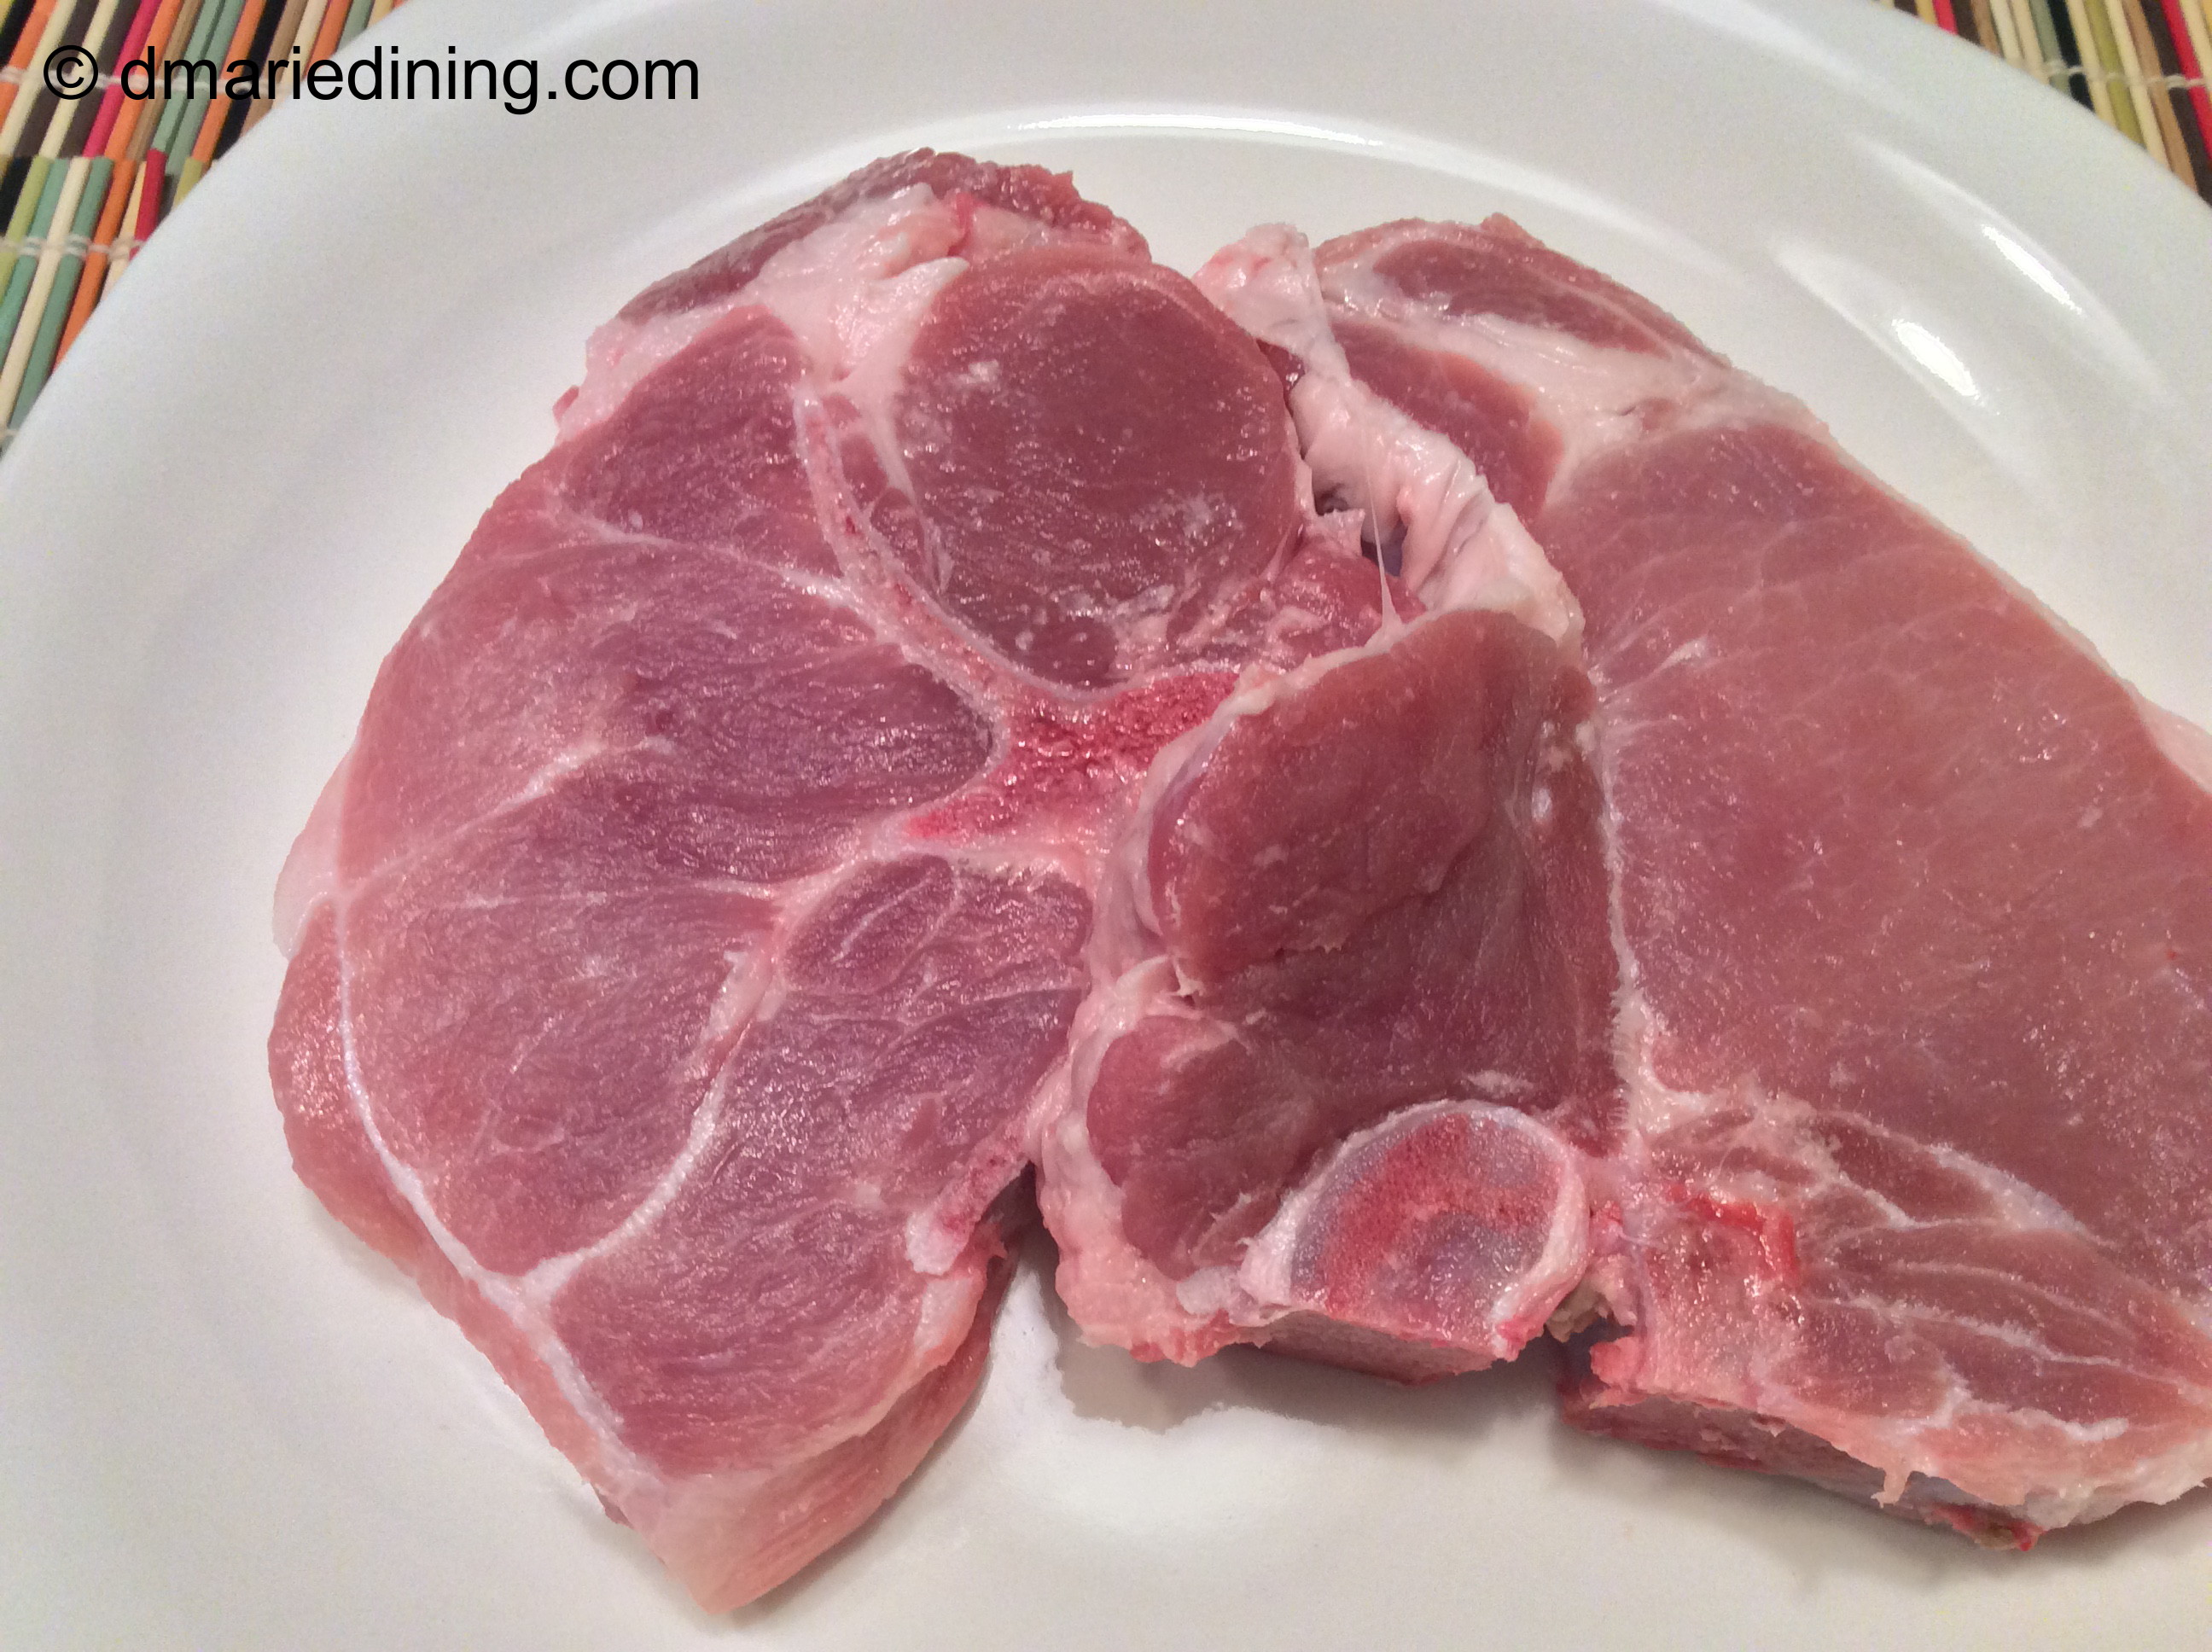
1 pork loin
½ small onion sliced
½ cup chicken stock or white wine
1 tbsp Cajun seasoning
1 tbsp olive oil
1 tbsp salt
½ tbsp ground black pepper
1 tsp dried oregano
1 tsp dried rosemary
1 tsp smoked paprika
Preheat oven to 350 degrees.
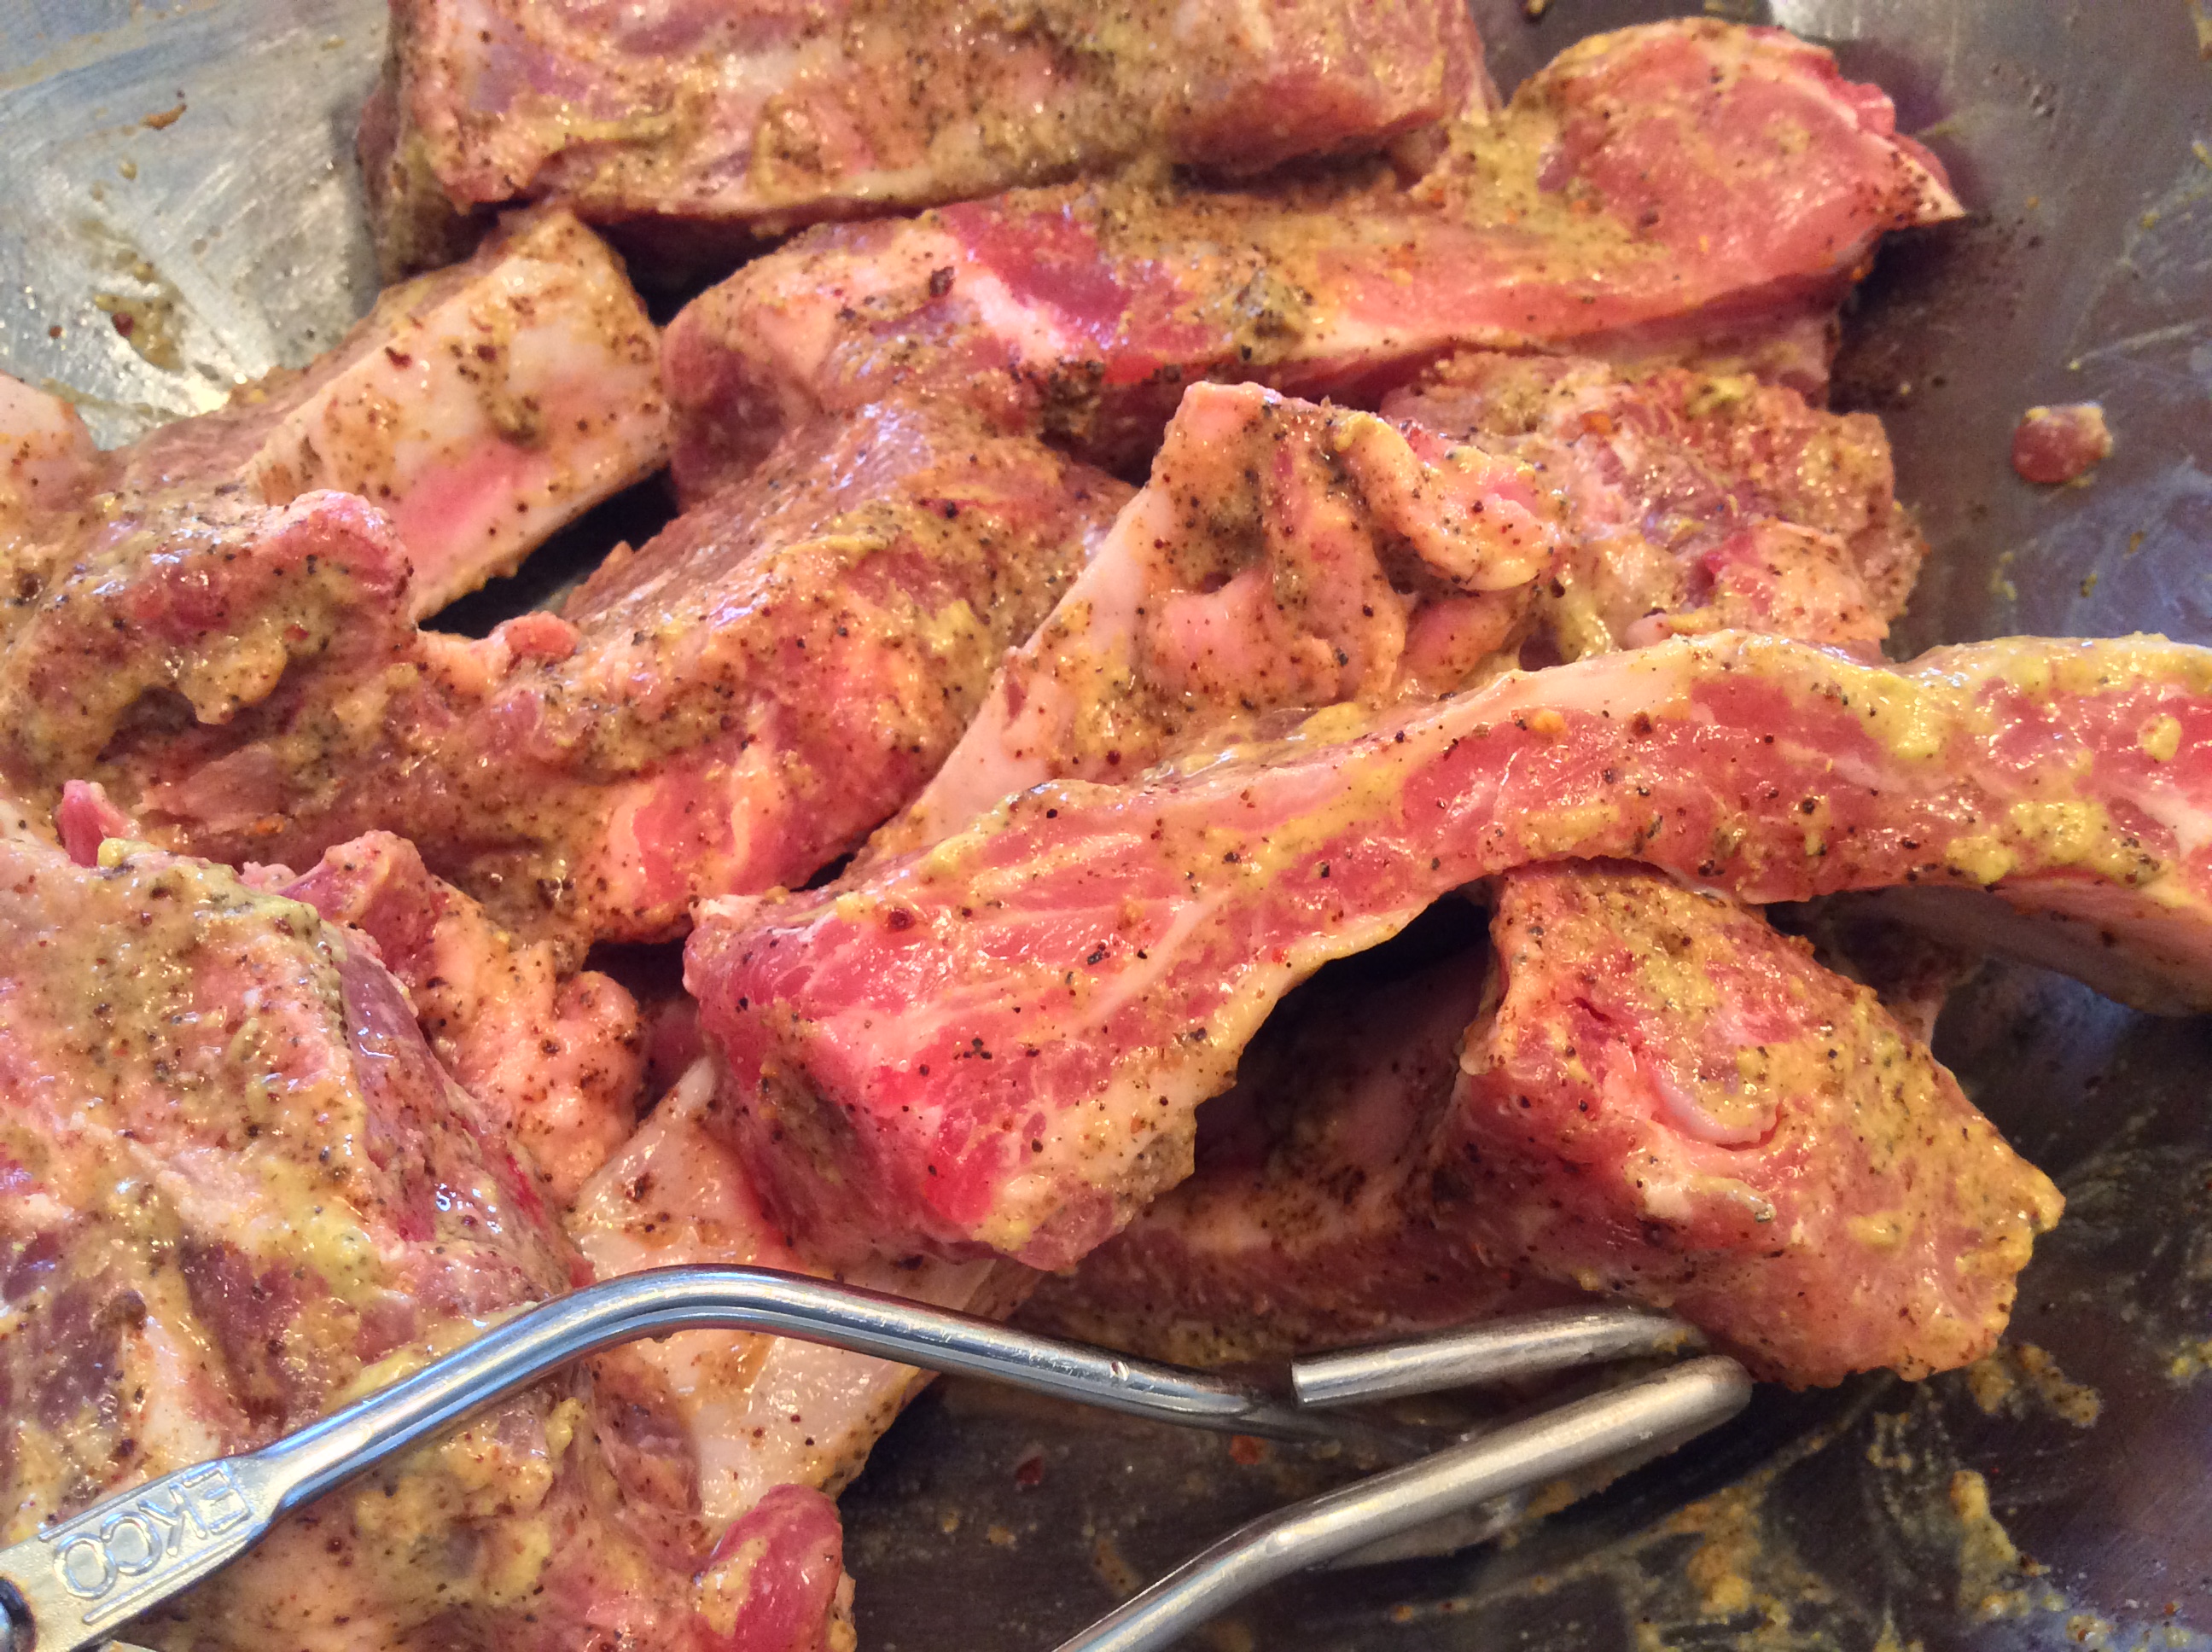
Place Cajun seasoning, rosemary, oregano and olive oil in a small bowl and mix until seasonings are wet. Set side.
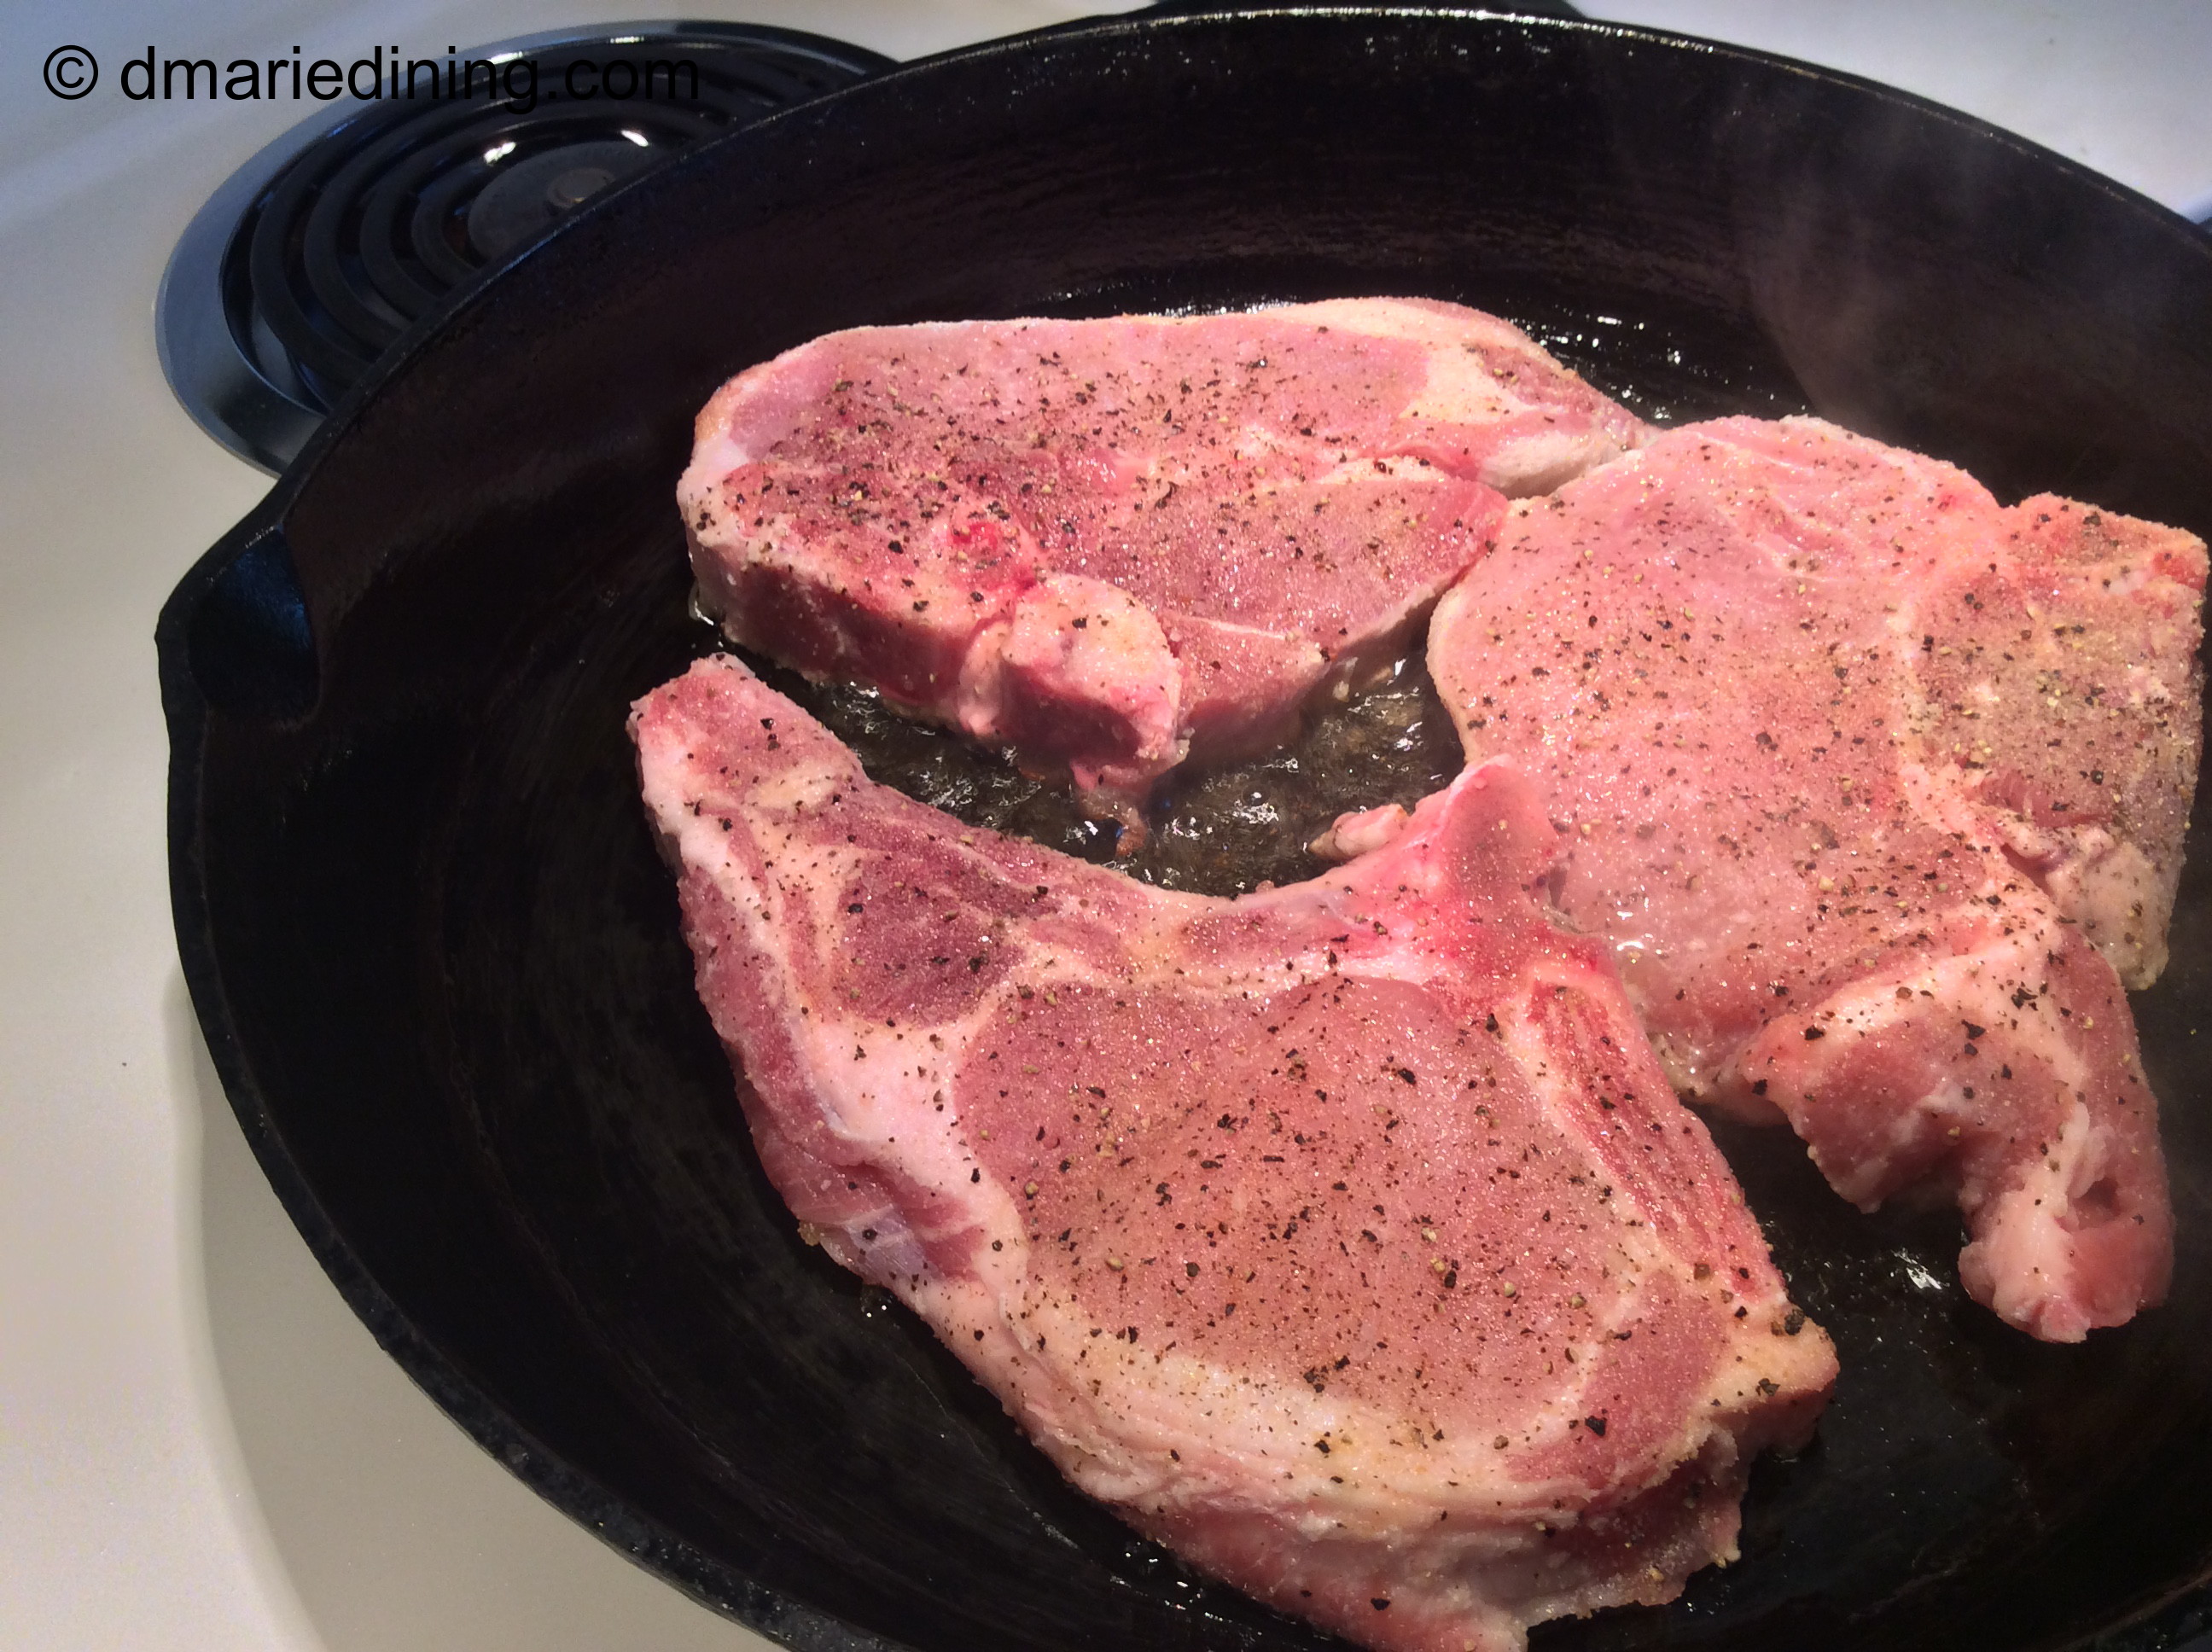
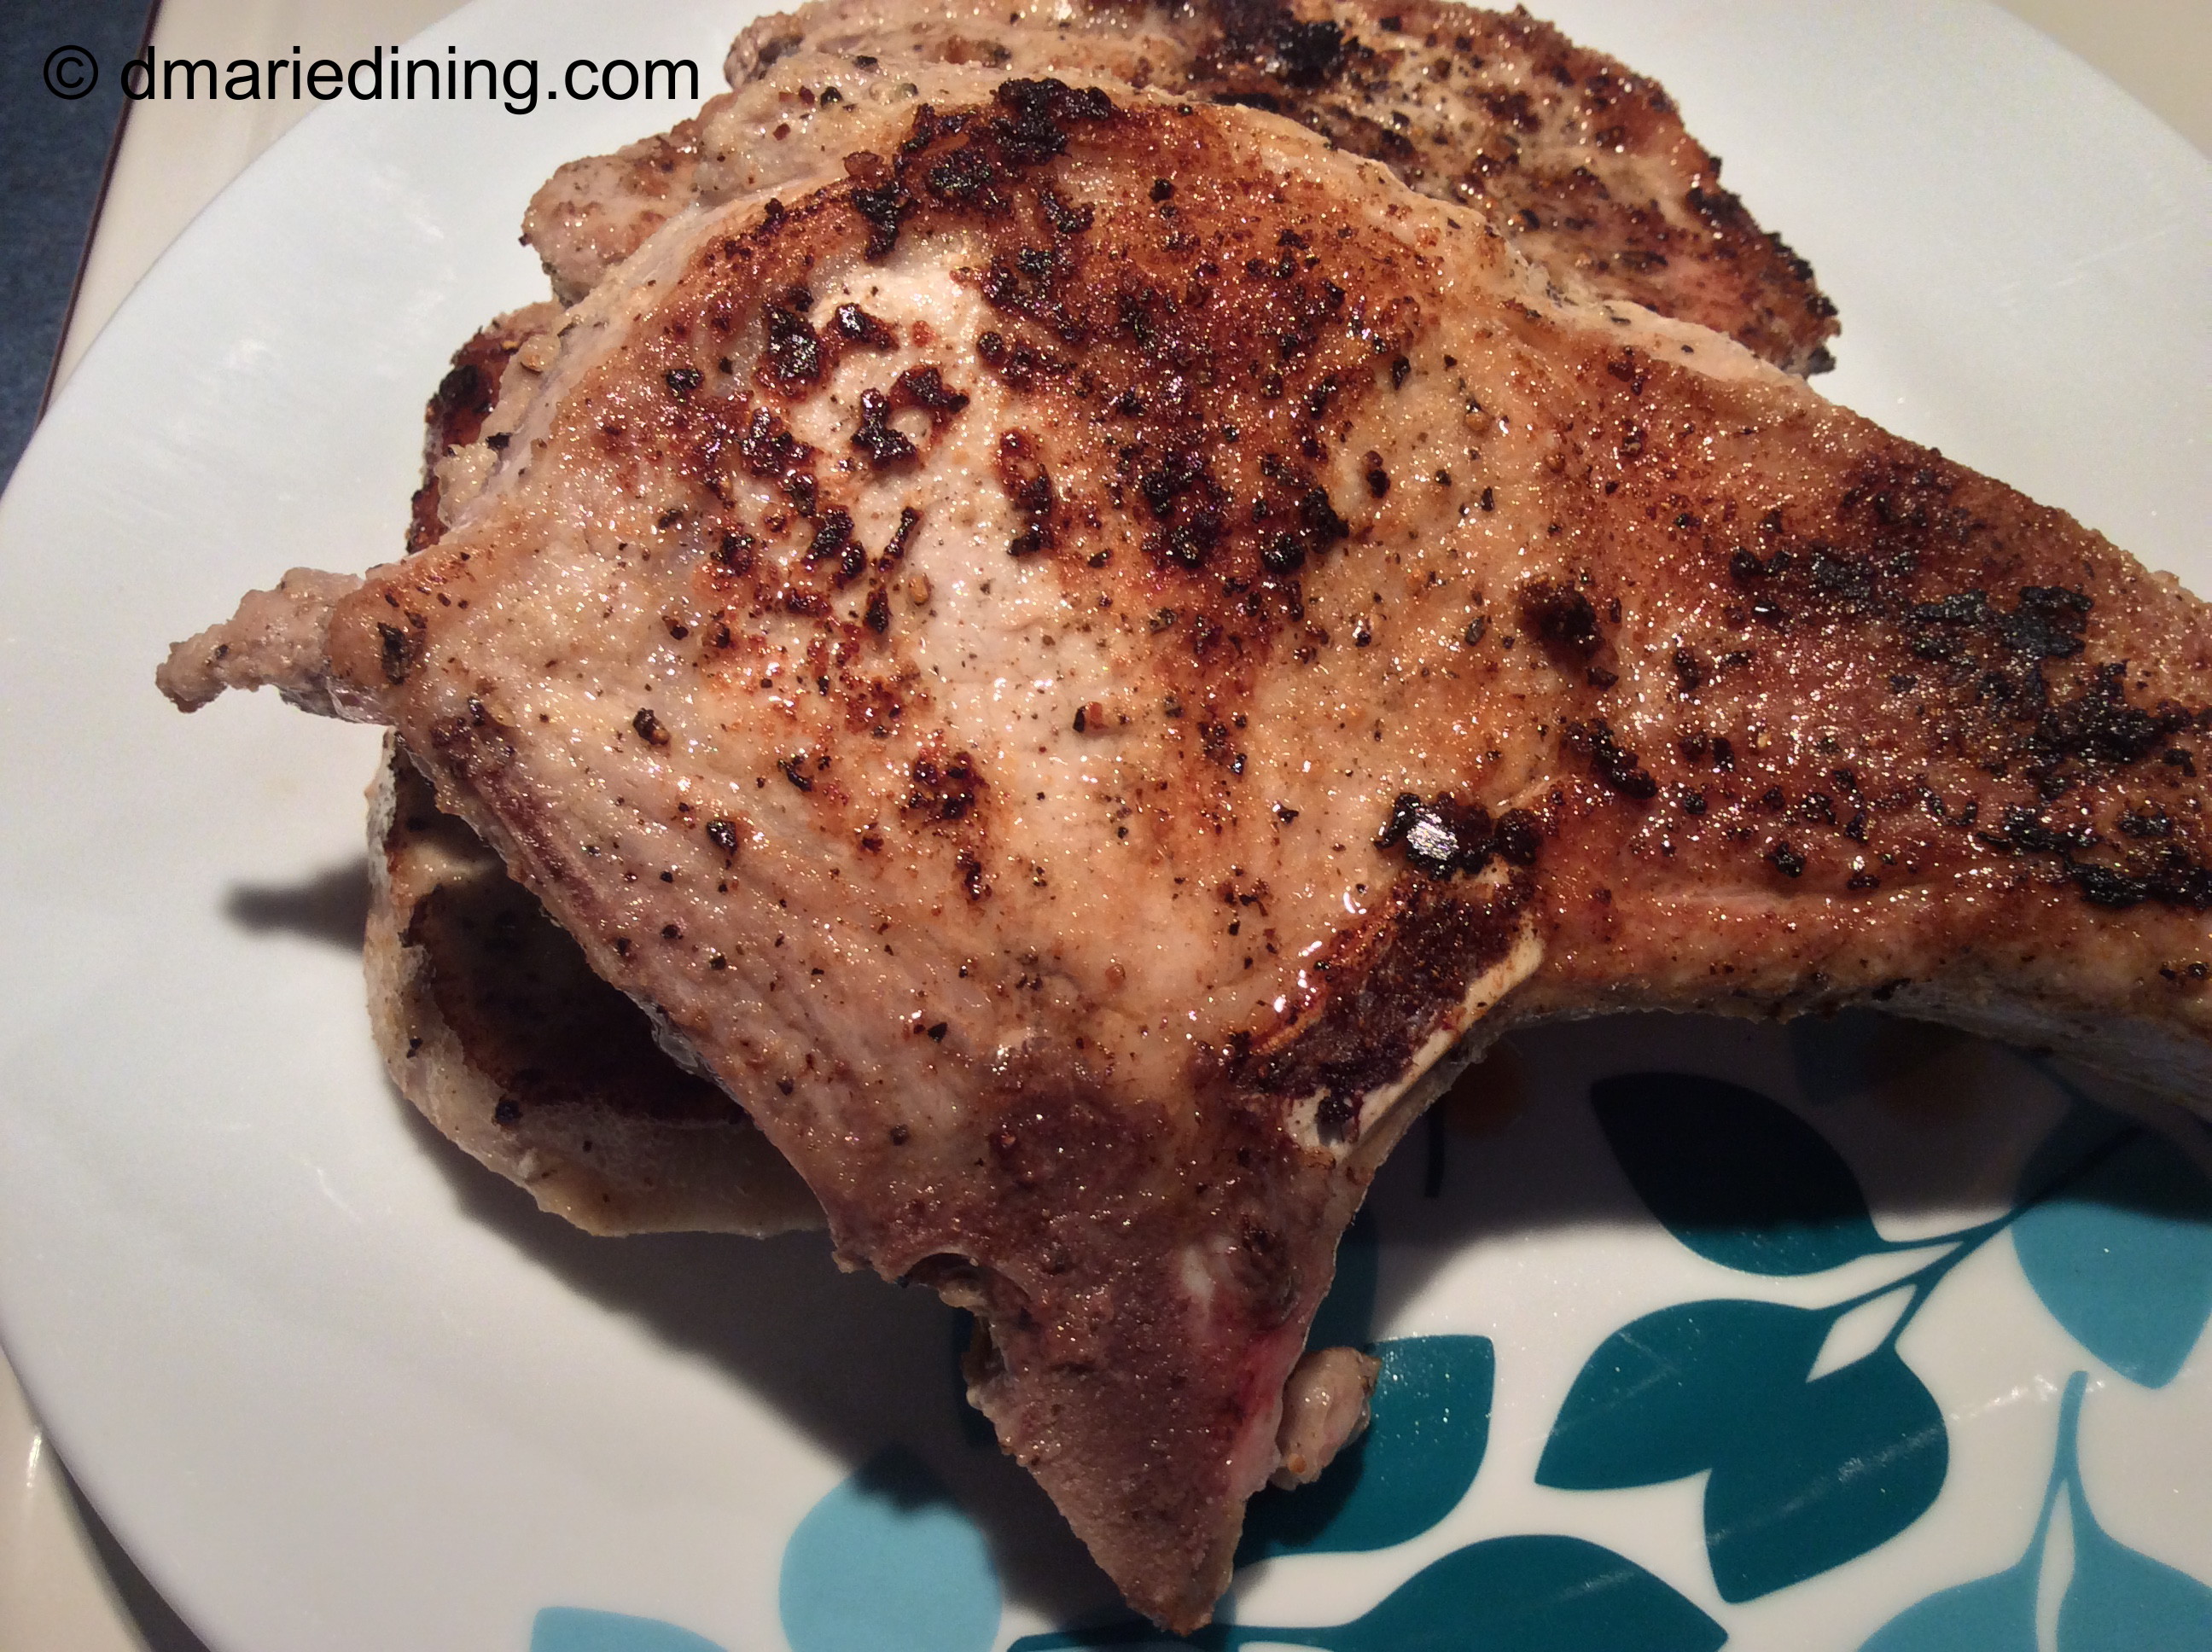
Heat large skillet over medium high heat. Rinse the pork loin and pat dry. Sprinkle with salt and ground black pepper on all sides. Place in hot skillet and brown on all sides.
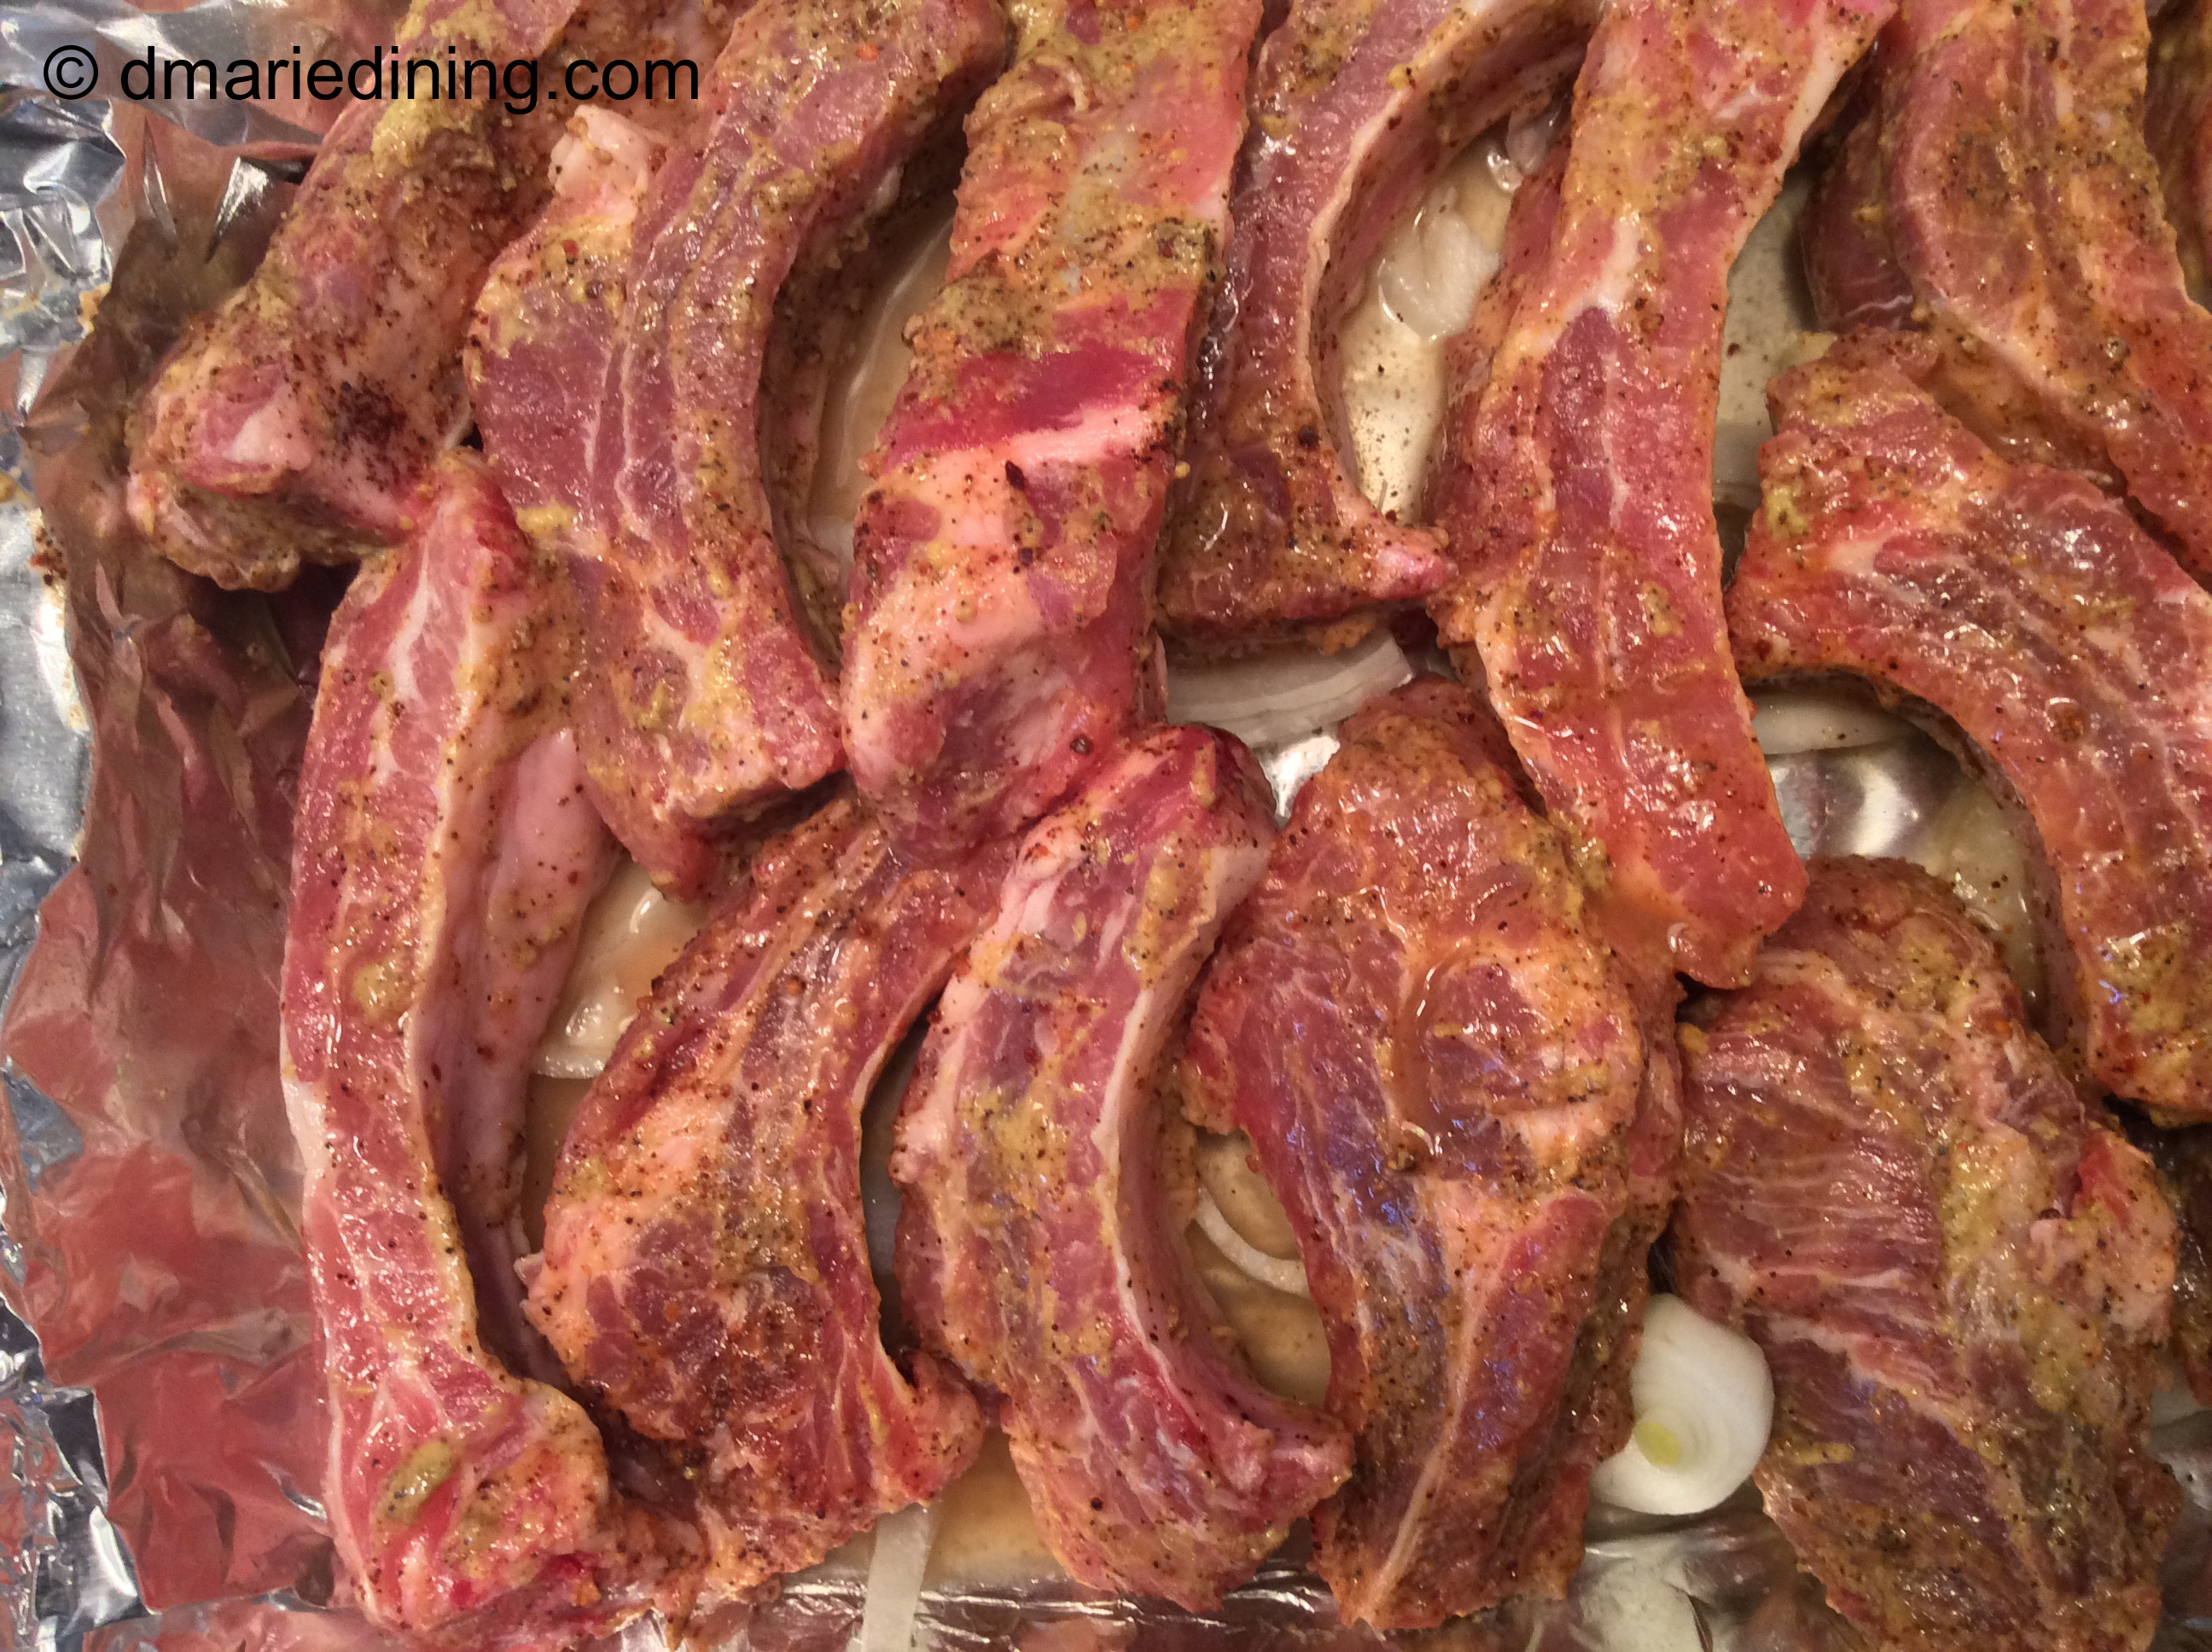
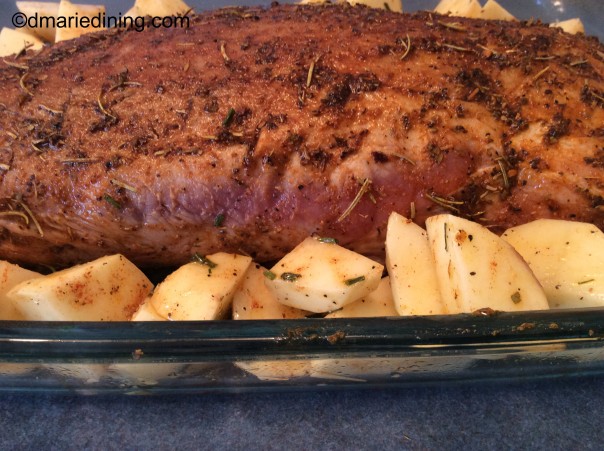
Place sliced onions on the bottom of a large casserole dish or Dutch oven and top with the browned pork loin. Top the pork loin with the wet seasoning mix and rub into the meat on all sides. Add the chicken stock to the casserole dish.
Place the pork loin into the oven (uncovered) and roast for approximately 45 minutes. Baste the pork loin then cover with foil and cook for another hour and 15 minutes. Baste the pork loin approximately every 20 minutes. Remove the pork loin from the oven (keep covered) and place on a platter to cool for 10 – 15 minutes before slicing..