The idea for Banana Bread Bars came to me when I was thinking of making more of my Fruit Nut Bars but I had two ripe bananas crying out for me to do something with them. I have only recently started using ripe bananas in various recipes. Before I started dmariedining.com I would just freeze overly ripe bananas for smoothies because I don’t like to eat mushy bananas. Fortunately for the bananas, I was in an aventerous mood and decided I could try making banana bread but in the shape of bars instead of a loaf.
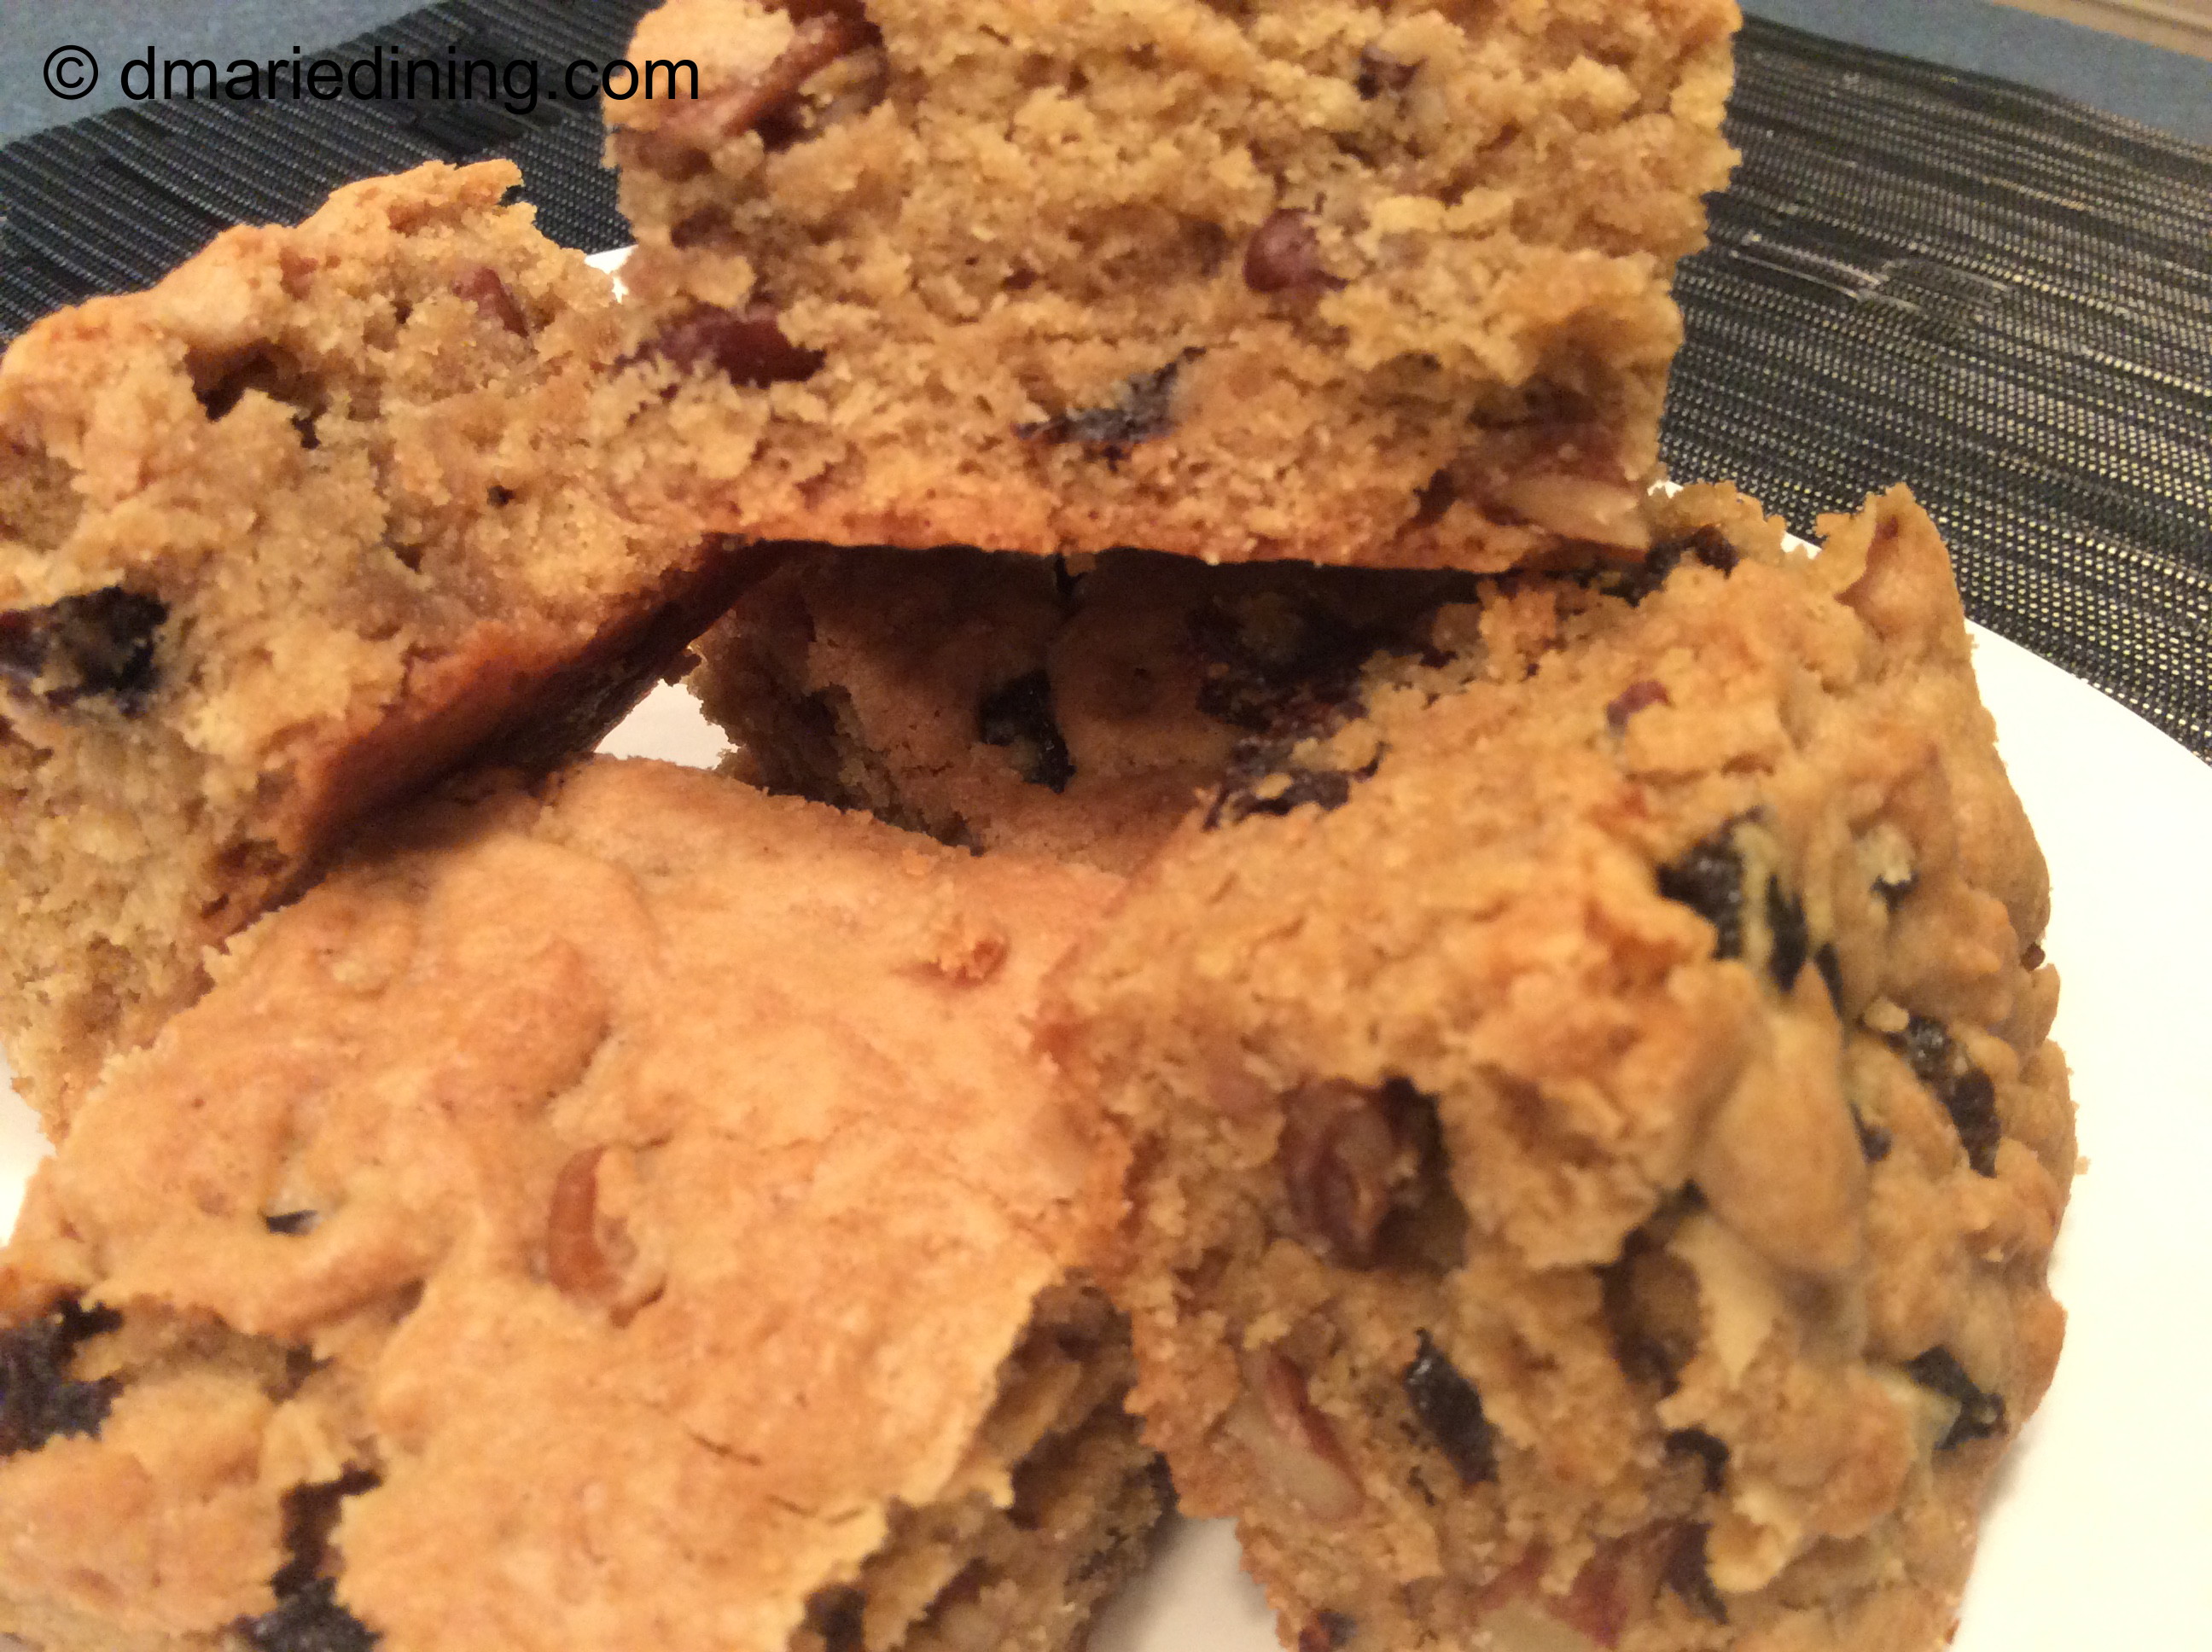
Making banana bread is not too different from making banana muffins but I found that the texture and flavor was slightly different. The Banana Bread Bars were firmer but still very moist. As always, my family and friends are my taste testers and truly honest judges of my cooking. If something does not quite meet their level of expectation or does not tickle their taste buds, they have no problem in letting me know without hurting my feelings. I also know I have not hit the mark if my son does not let me know how much he will miss my cooking when he goes to college or he does not brag to his friends that I can make dirt taste good. No, I have never tried to make dirt taste good but I figure that was a very high compliment coming from my youngest son.
On the few occasions that we have unexpected company or I don’t feel like making a complicated dessert for a family gathering, I can make Banana Bread Bars in a little over an hour. That is my kind of cooking. The next time your bananas start turning brown don’t toss them or freeze them. Turn them into Banana Bread Bars. Pretty Quick and Pretty Easy.


Banana Bread Bars
Ingredients:
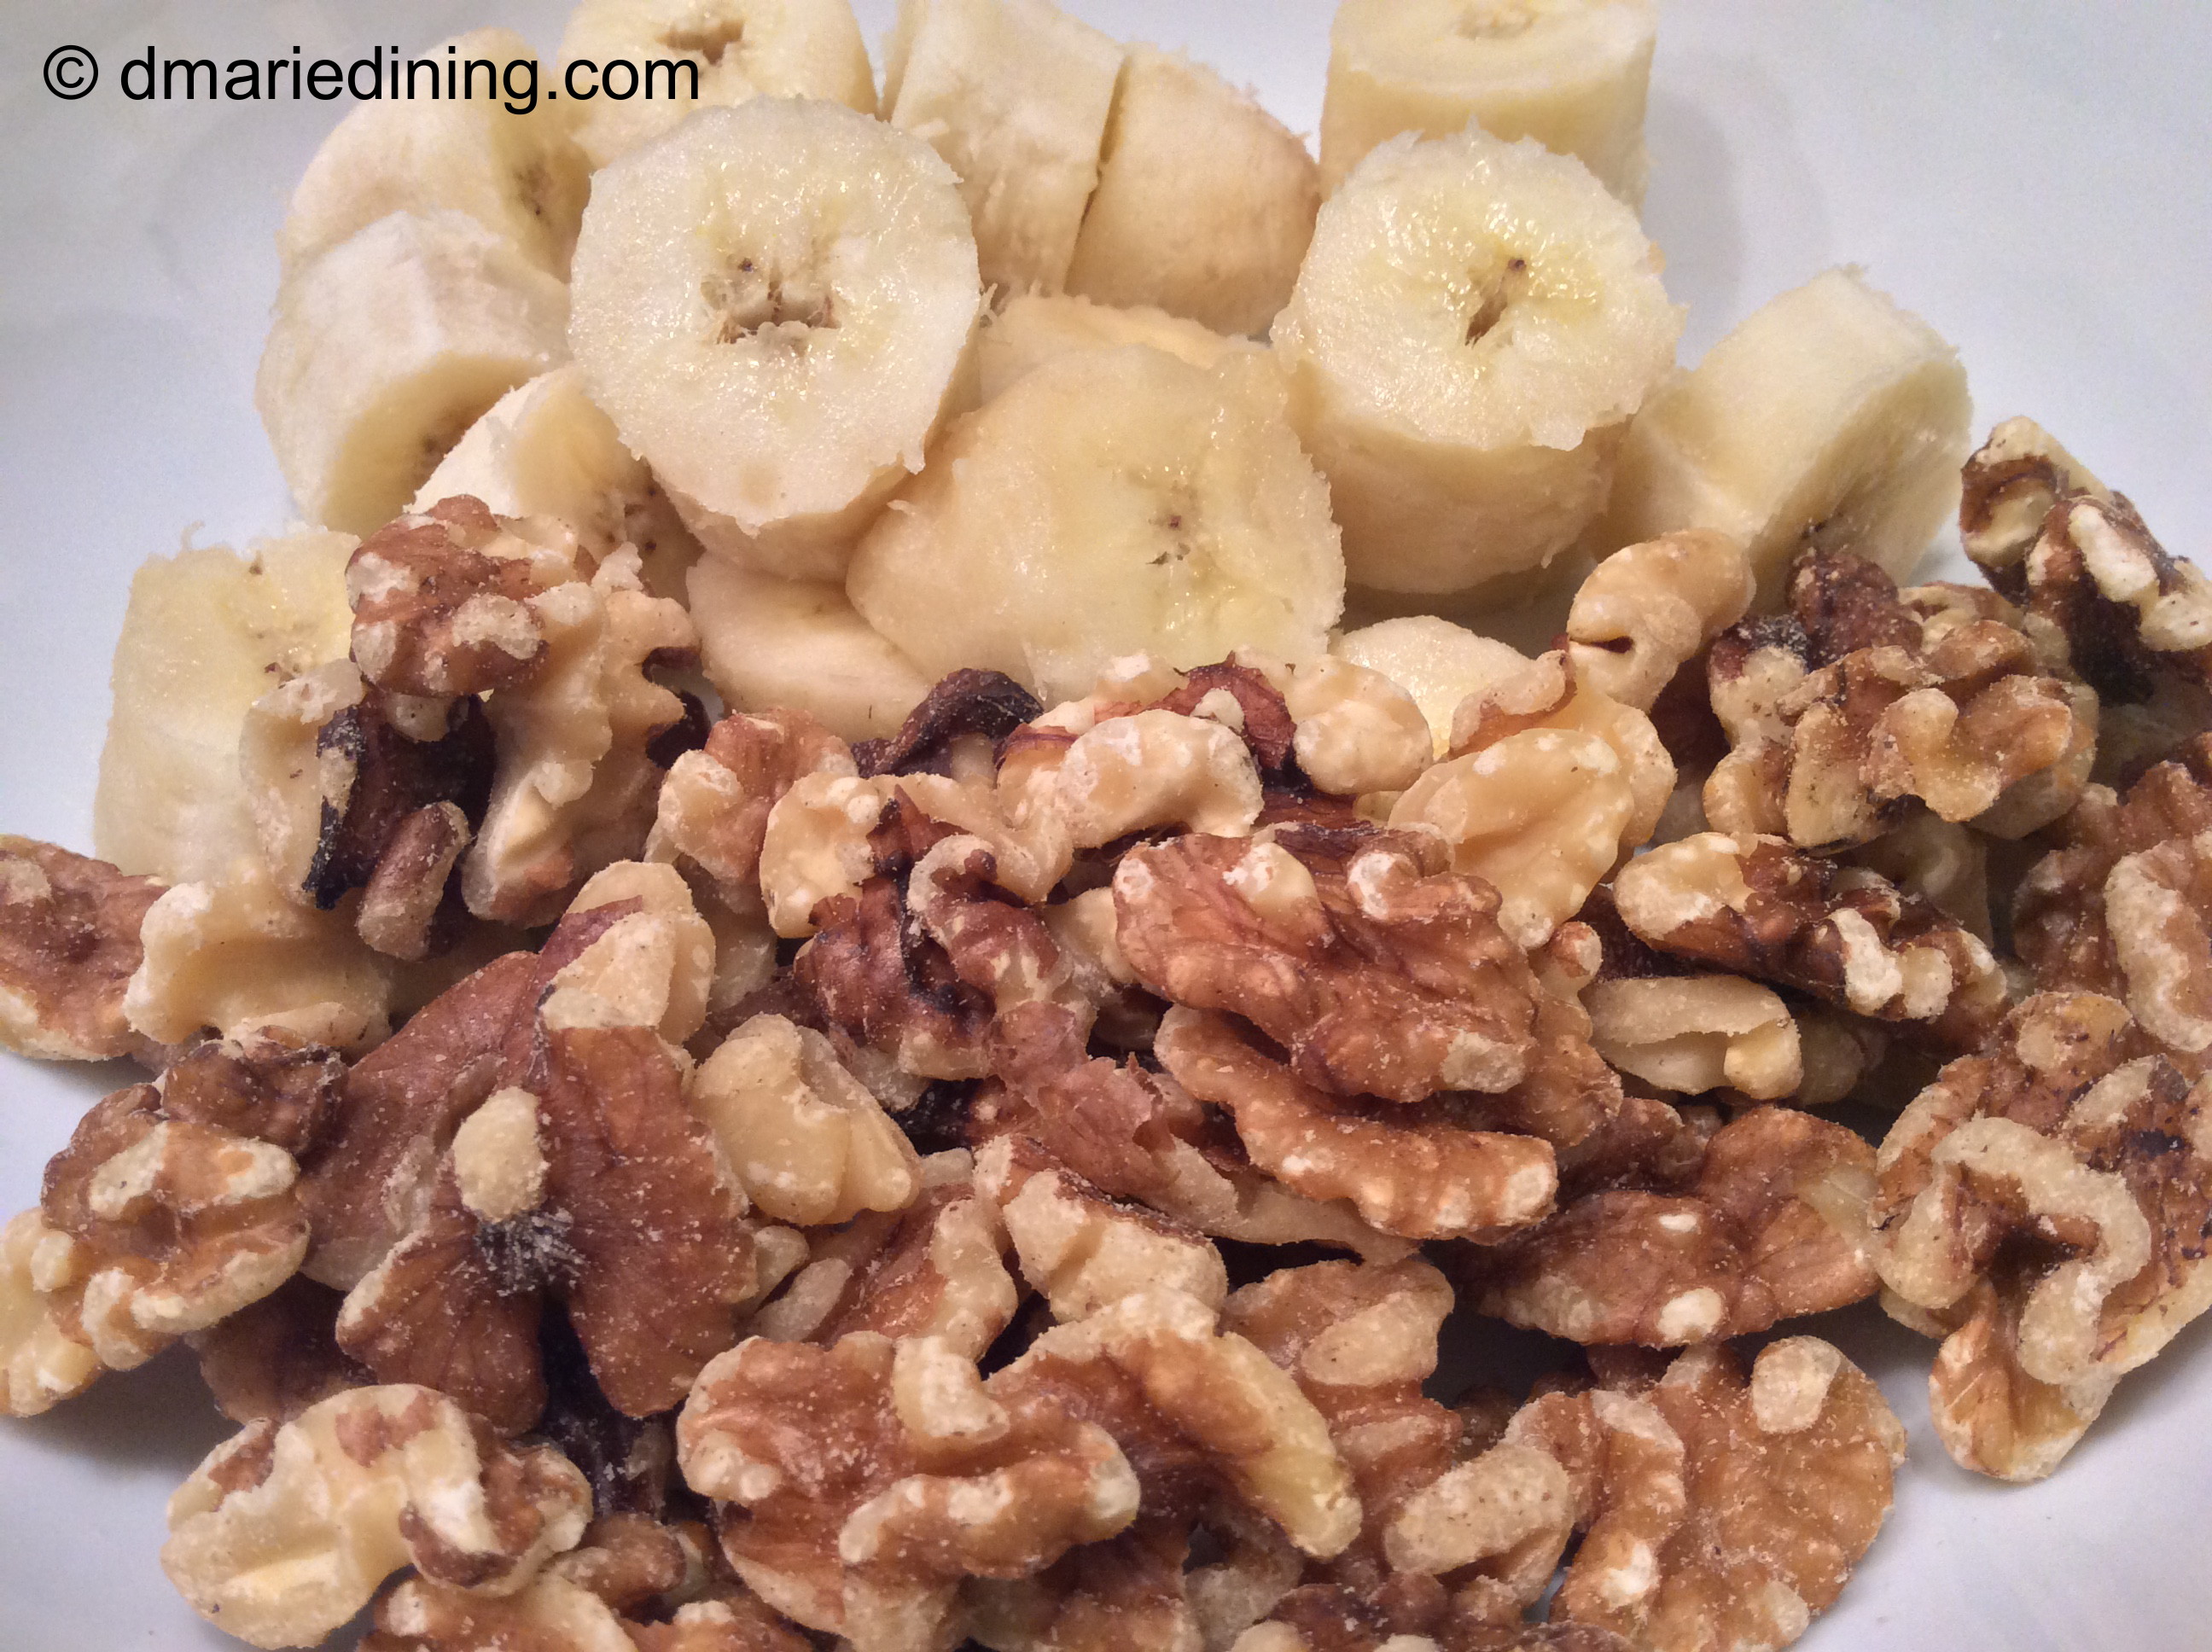
2 ripe bananas
2 large eggs
3 cups flour
1 cup unsalted butter
1 cup light brown sugar
¾ cup sugar
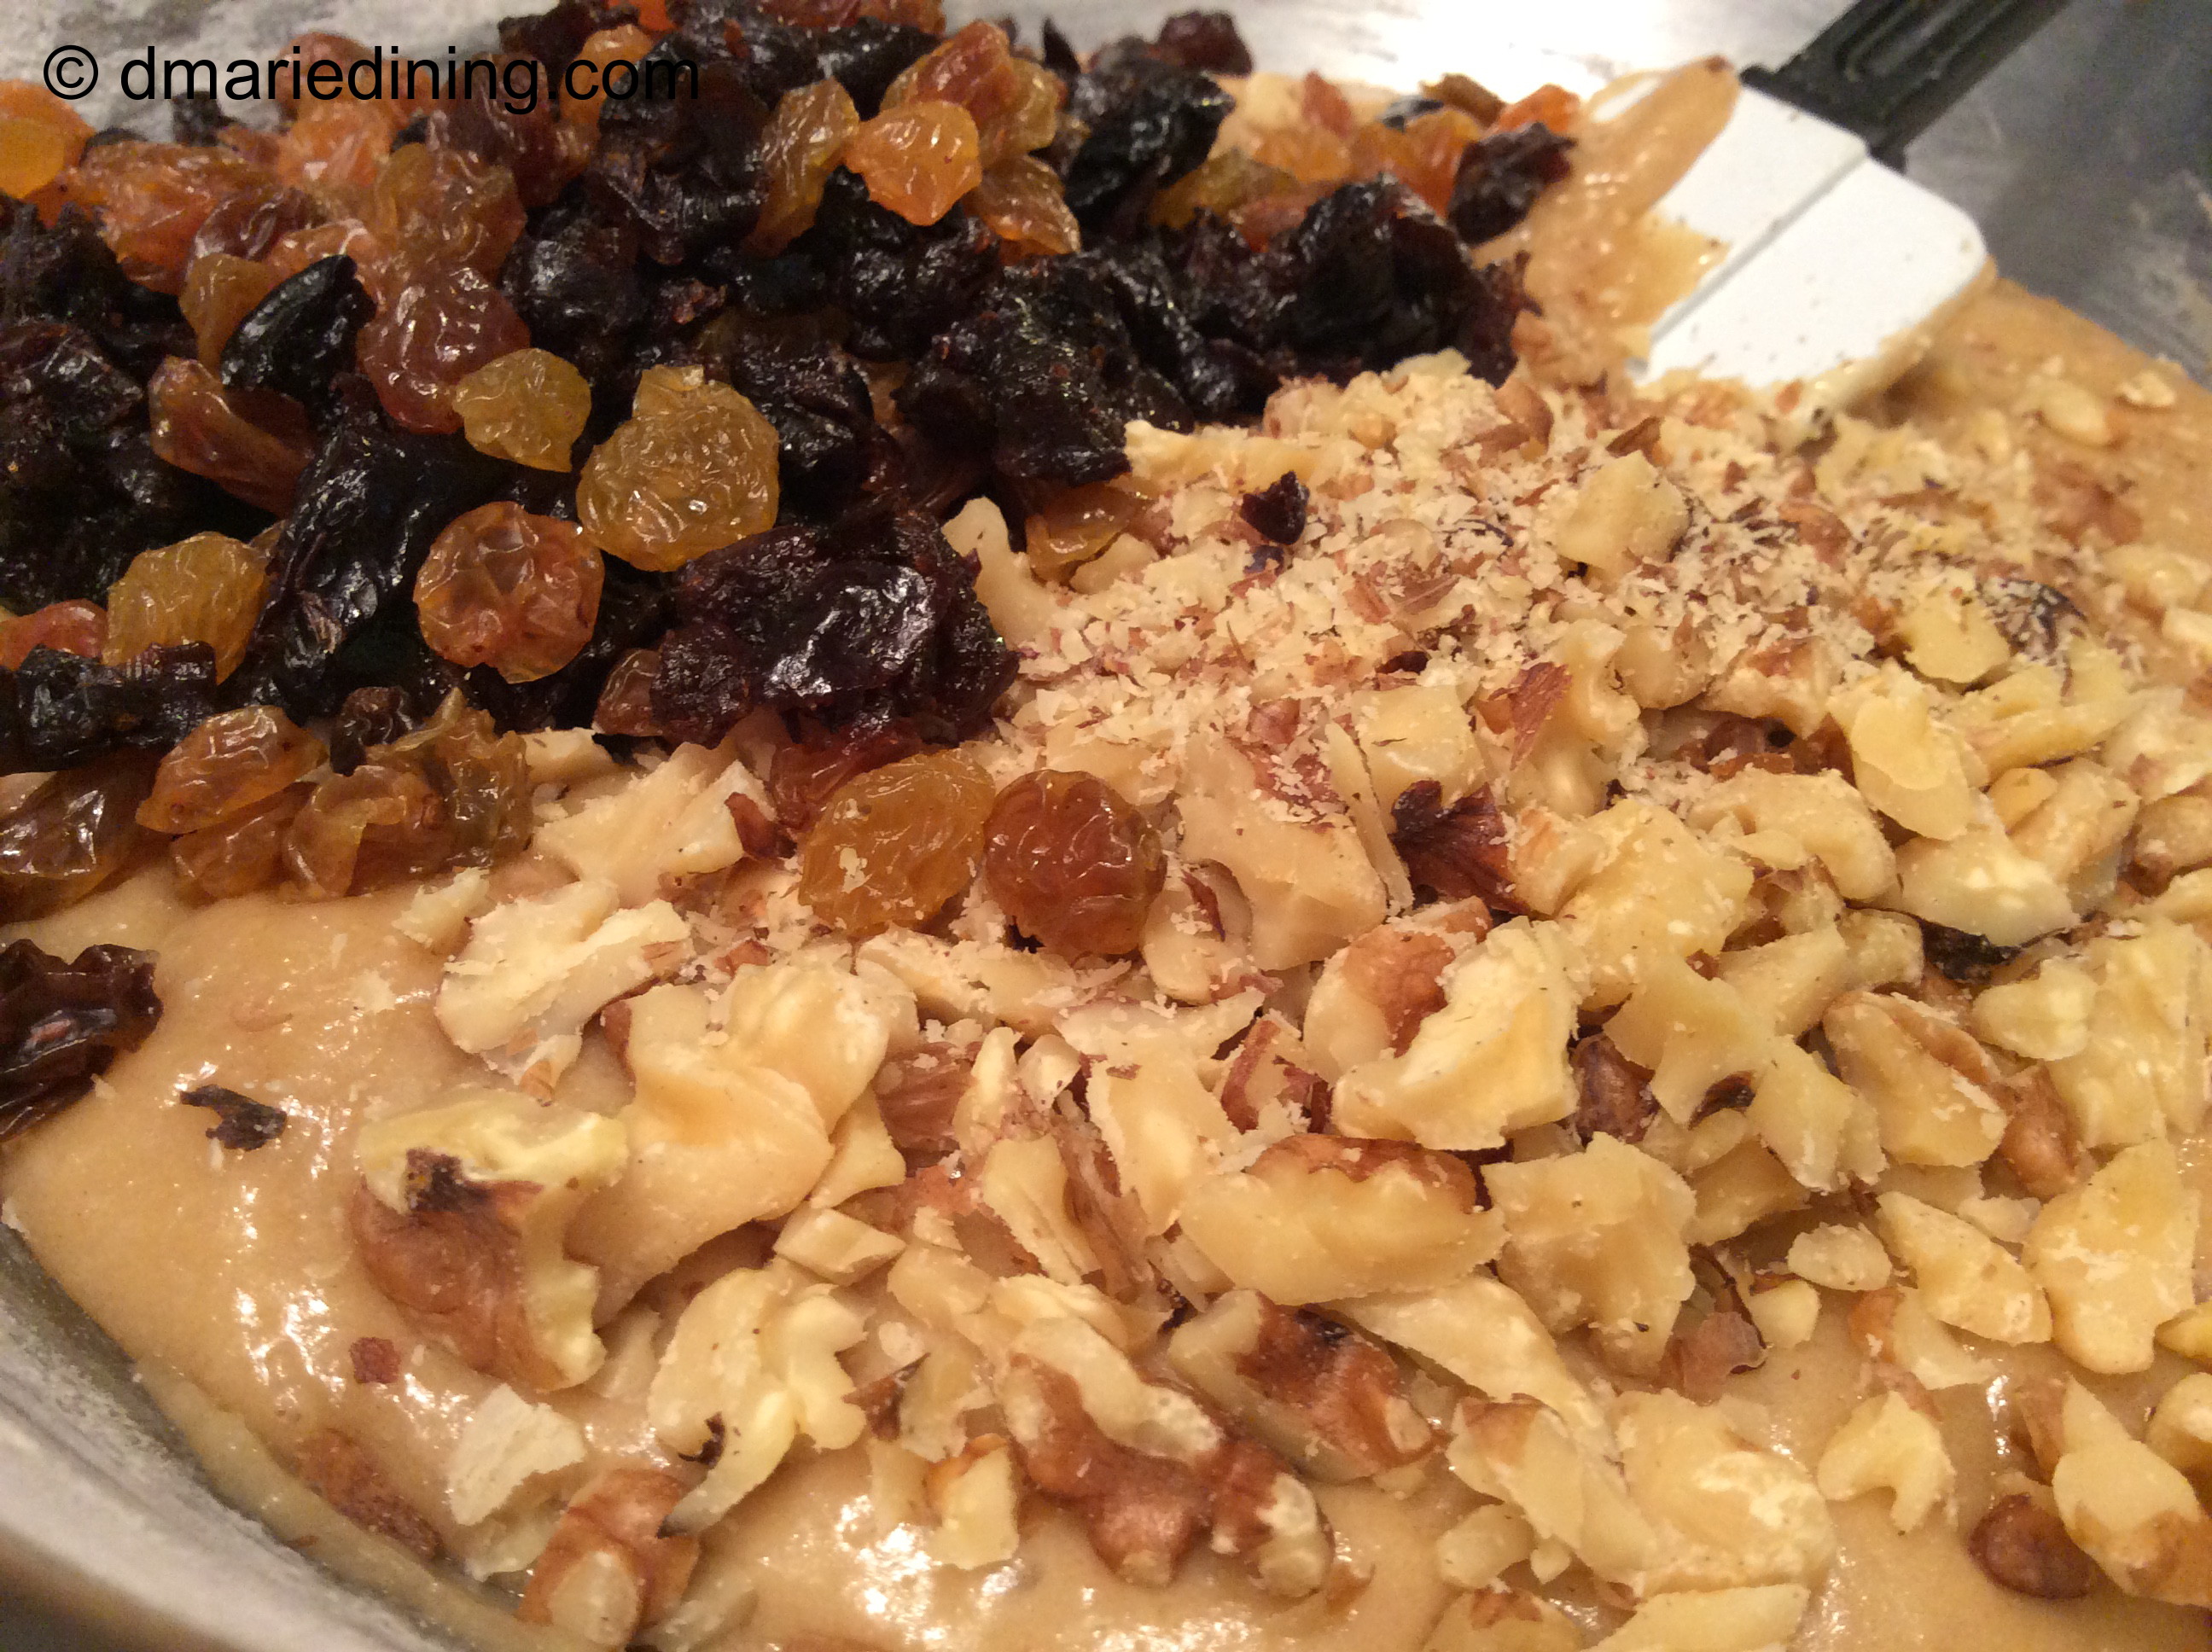
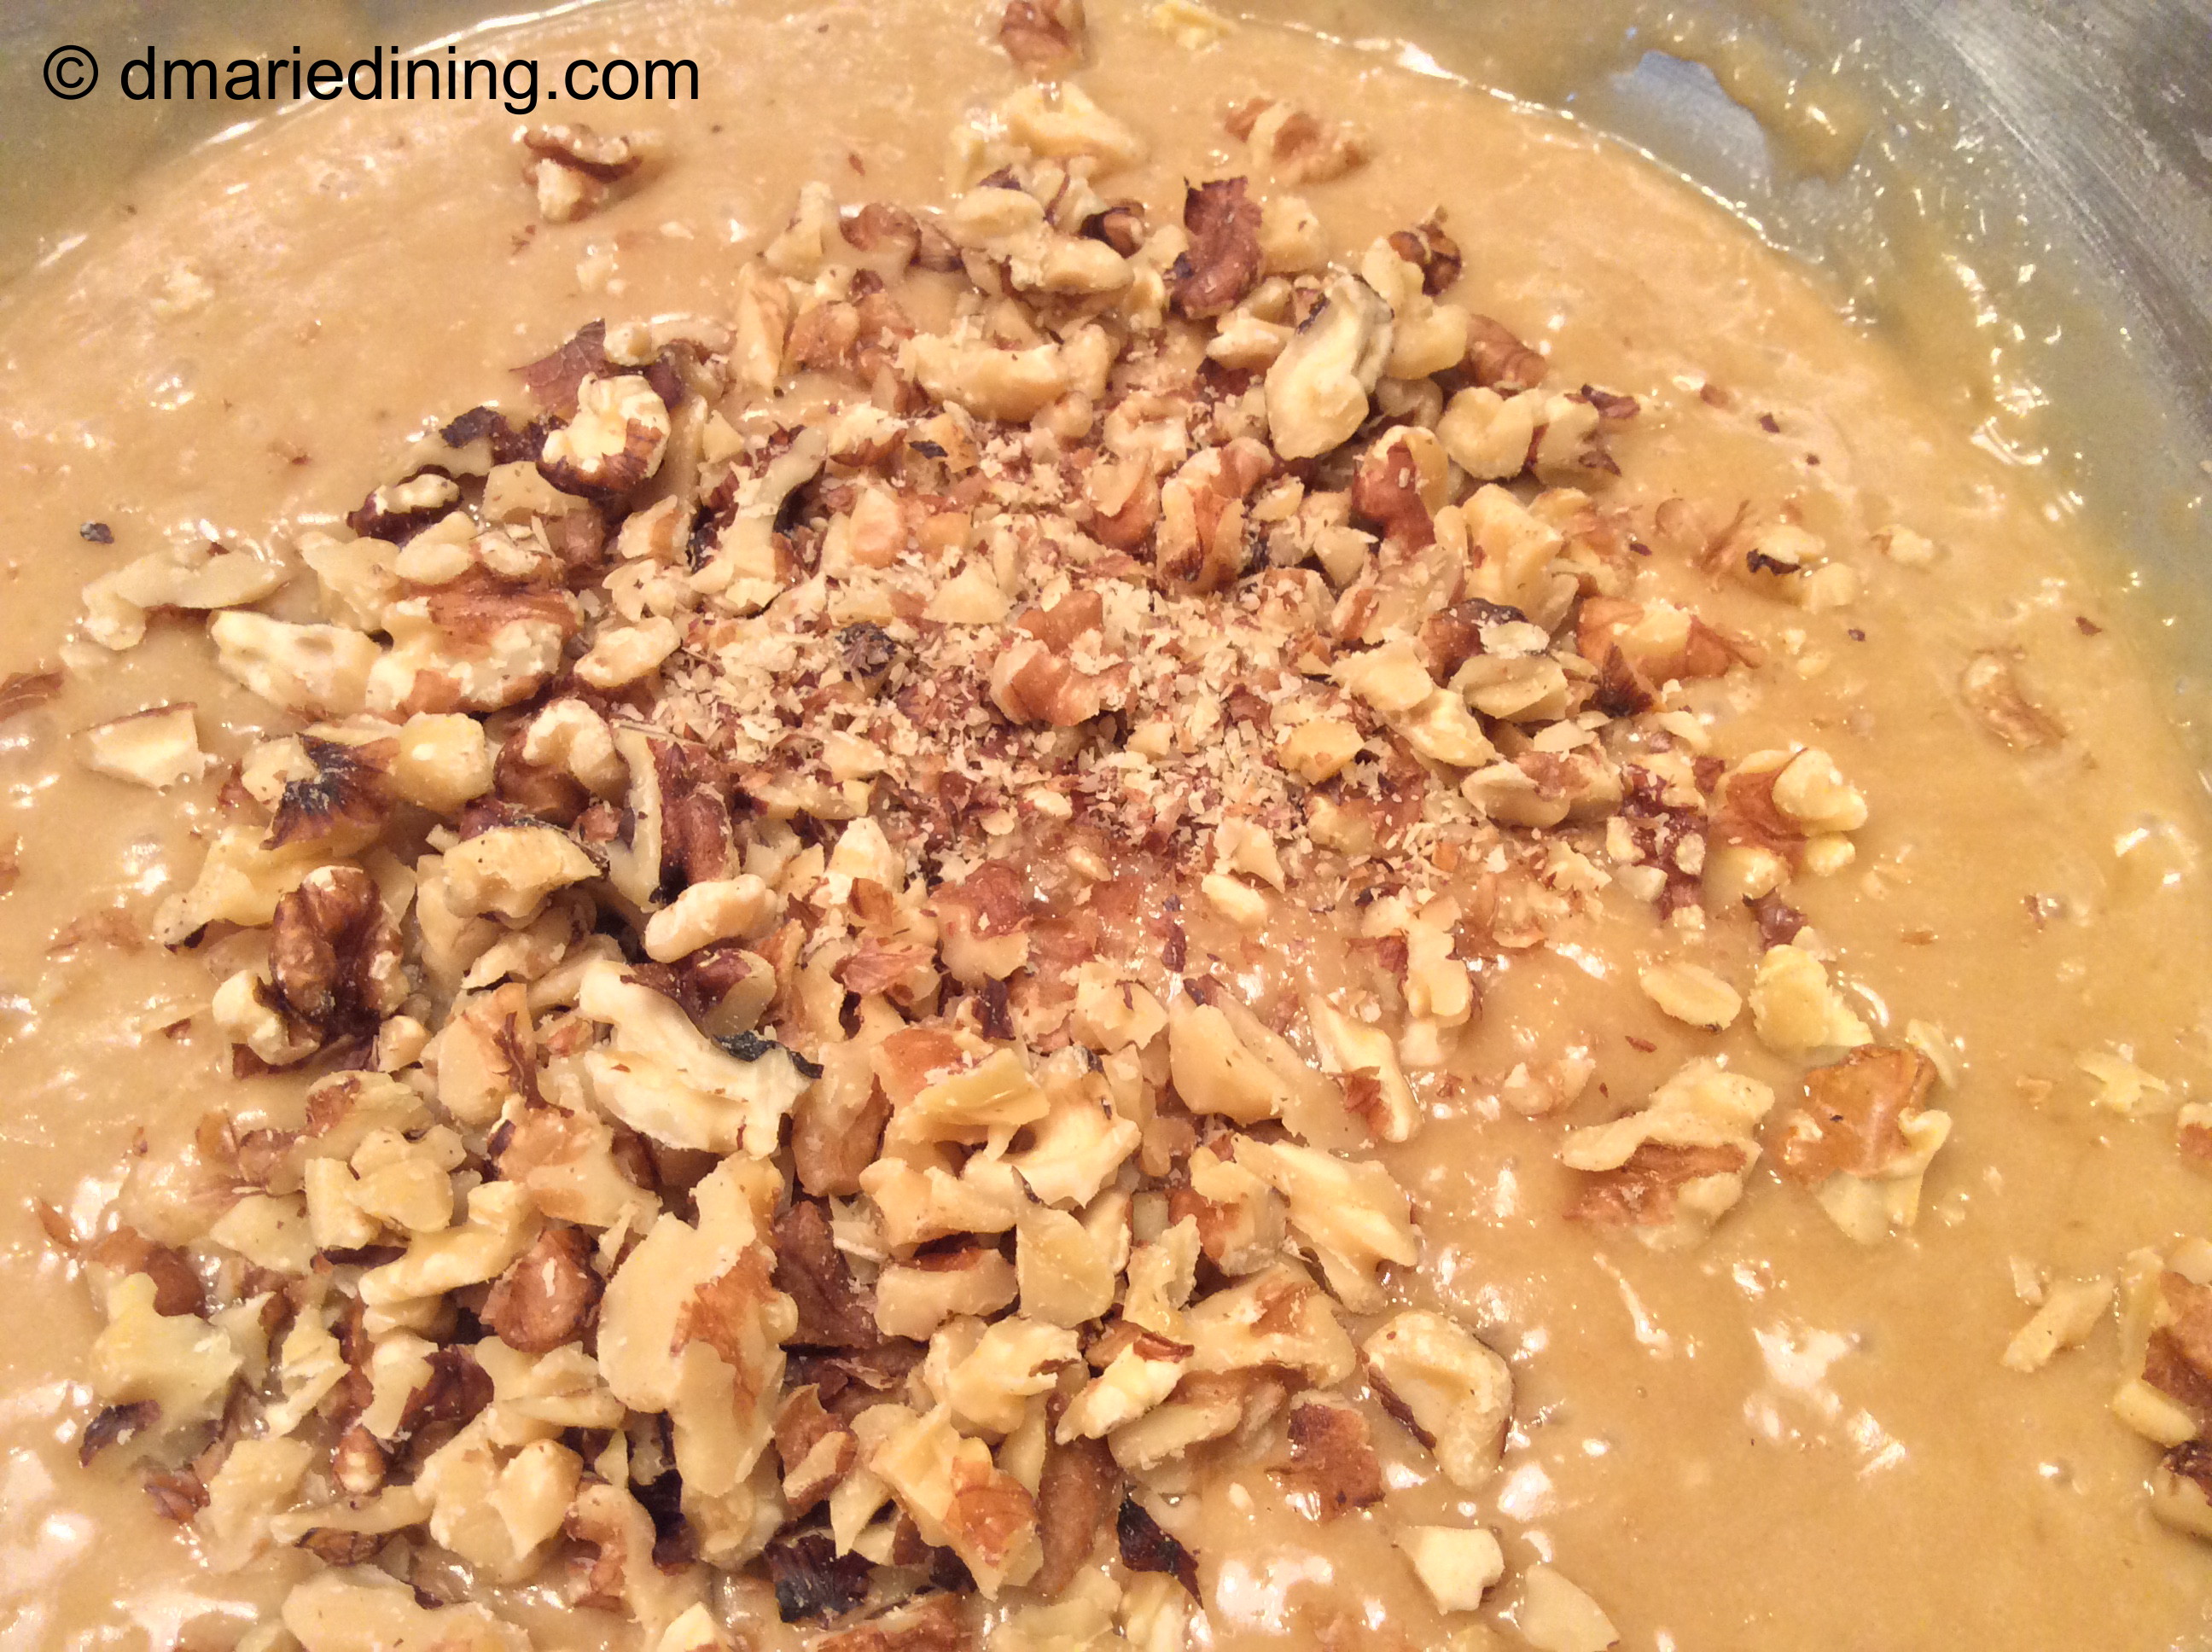
½ cup chopped walnuts
8 oz mascarpone cheese
1 tbsp vanilla extract
1 tsp baking soda
½ tsp salt
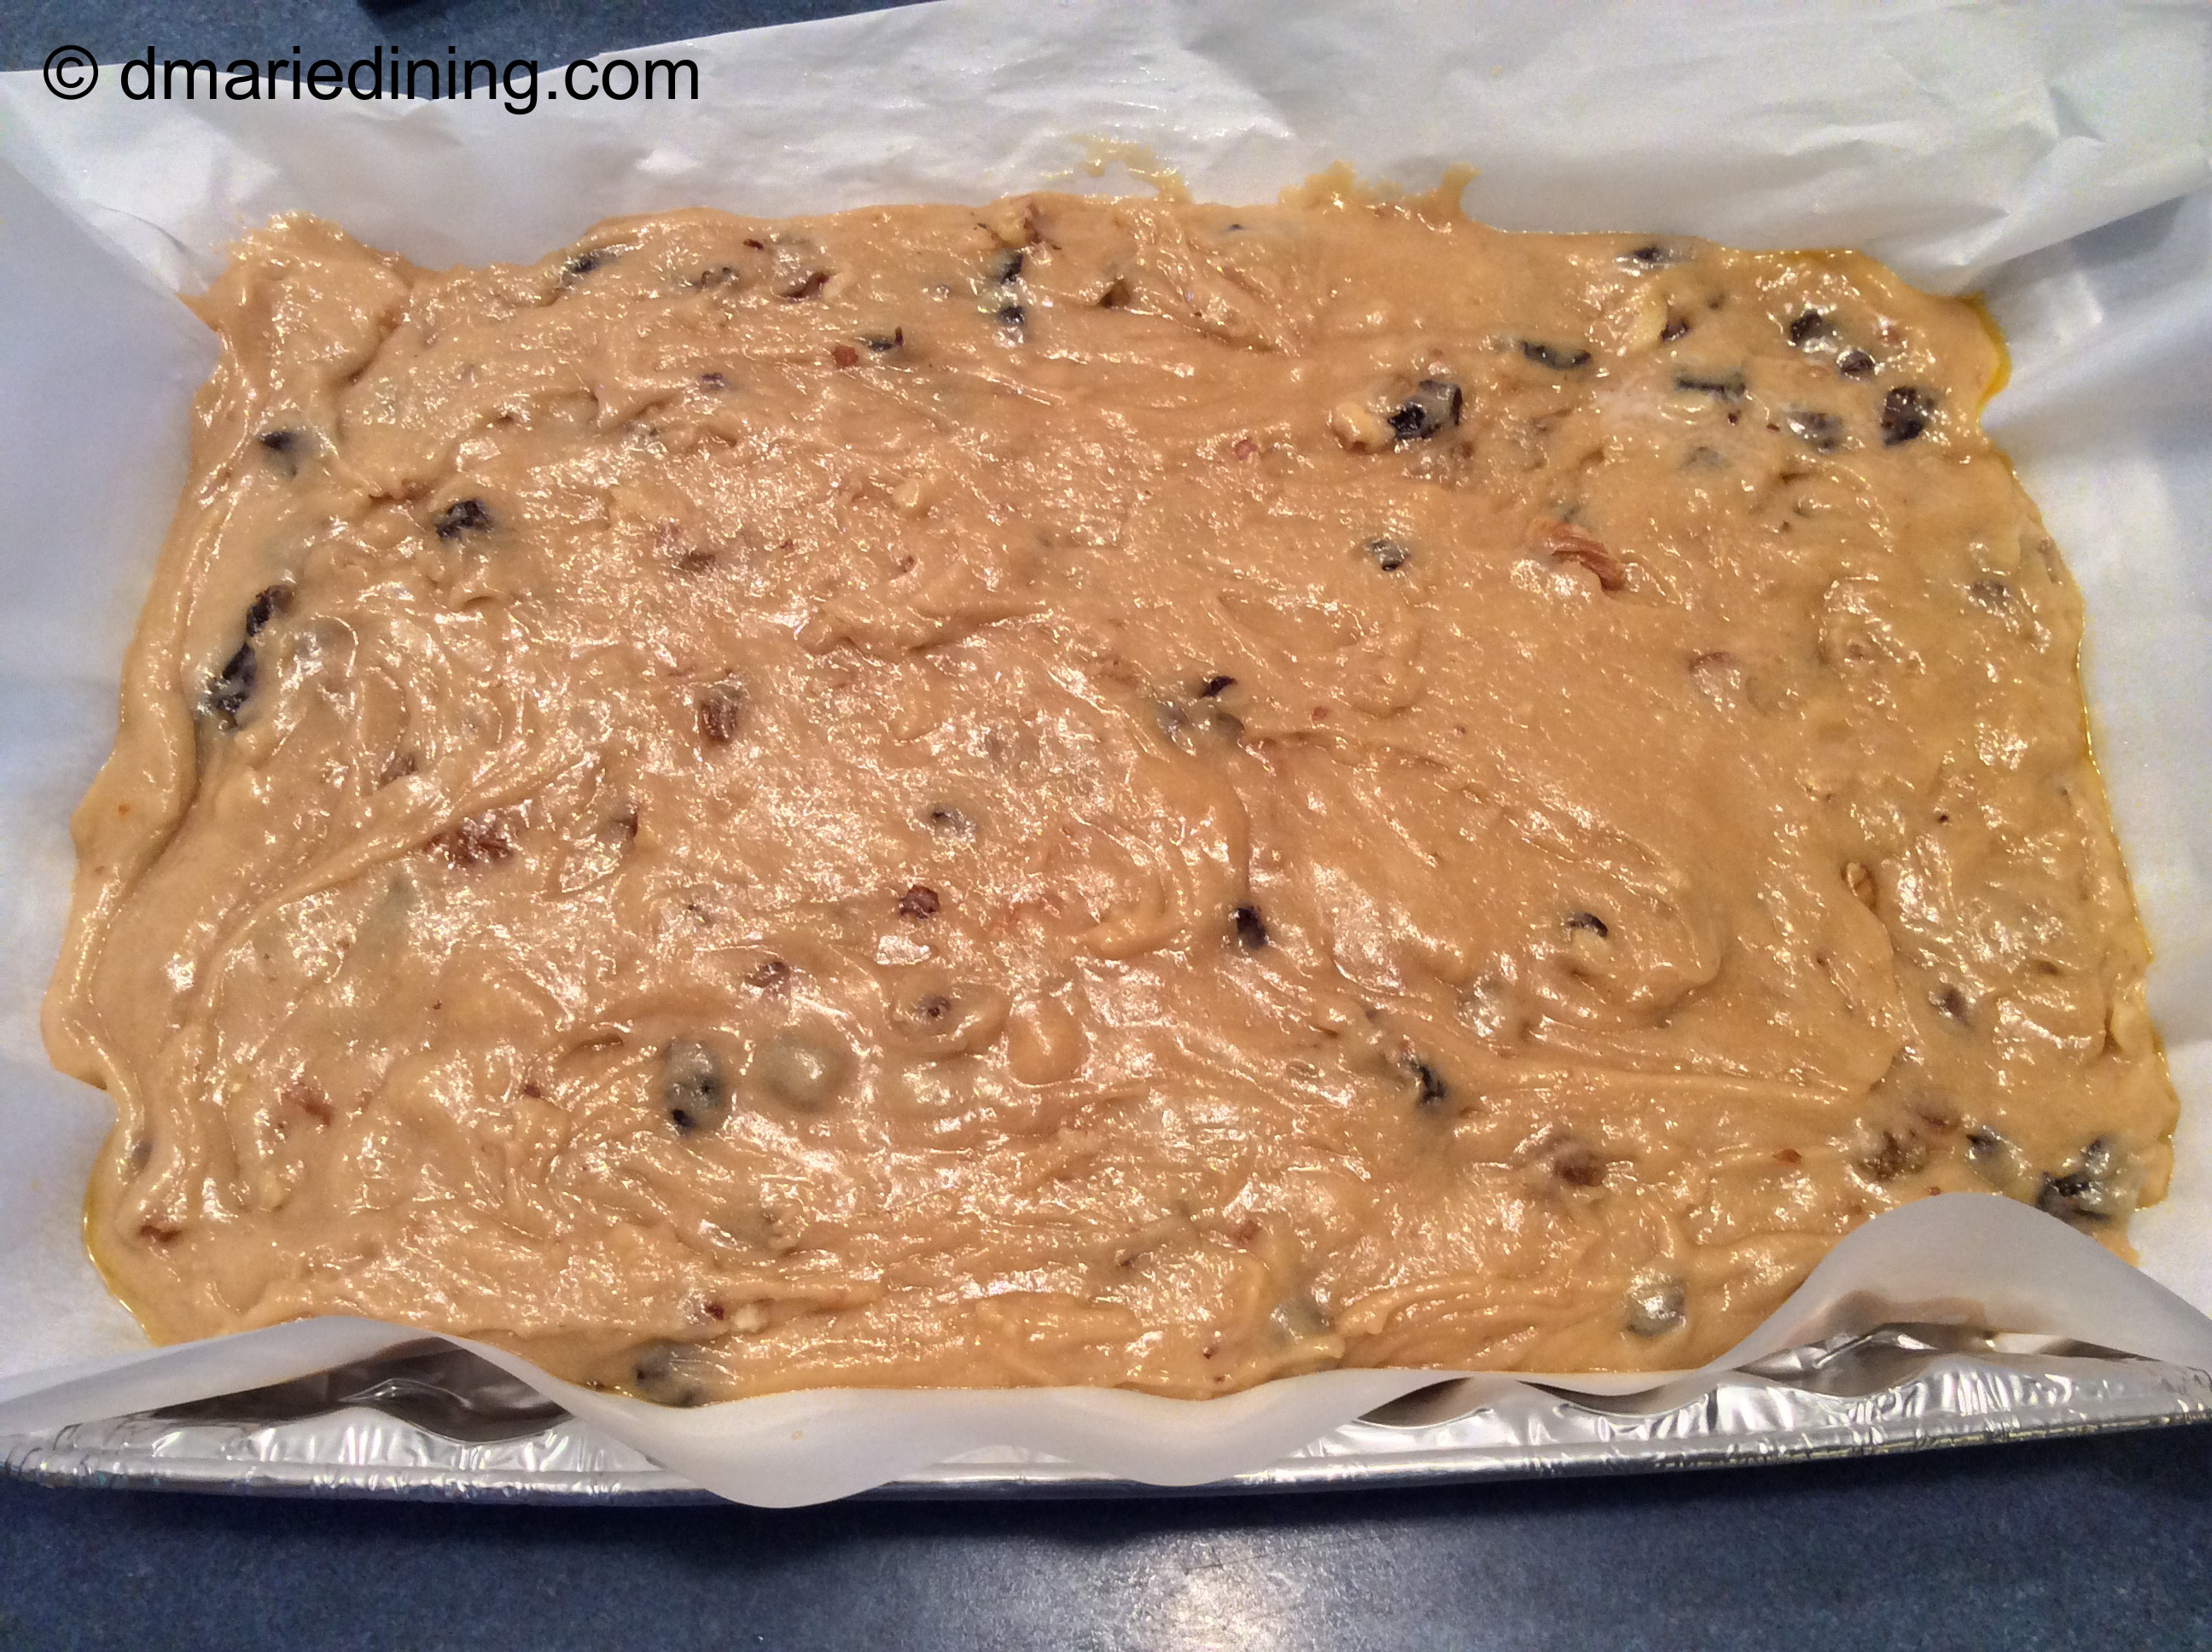
parchment paper
Preheat oven to 350 degrees.
Shift flour, baking soda and salt together into a small bowl and set aside.
Place bananas in a large bowl and mash. Mix in vanilla extract and eggs. Set aside.
Melt butter in a medium size sauce pan over medium high heat. Add sugars. Stir until sugars melt and are smooth. Remove from heat and let cool for 8 – 10 minutes.
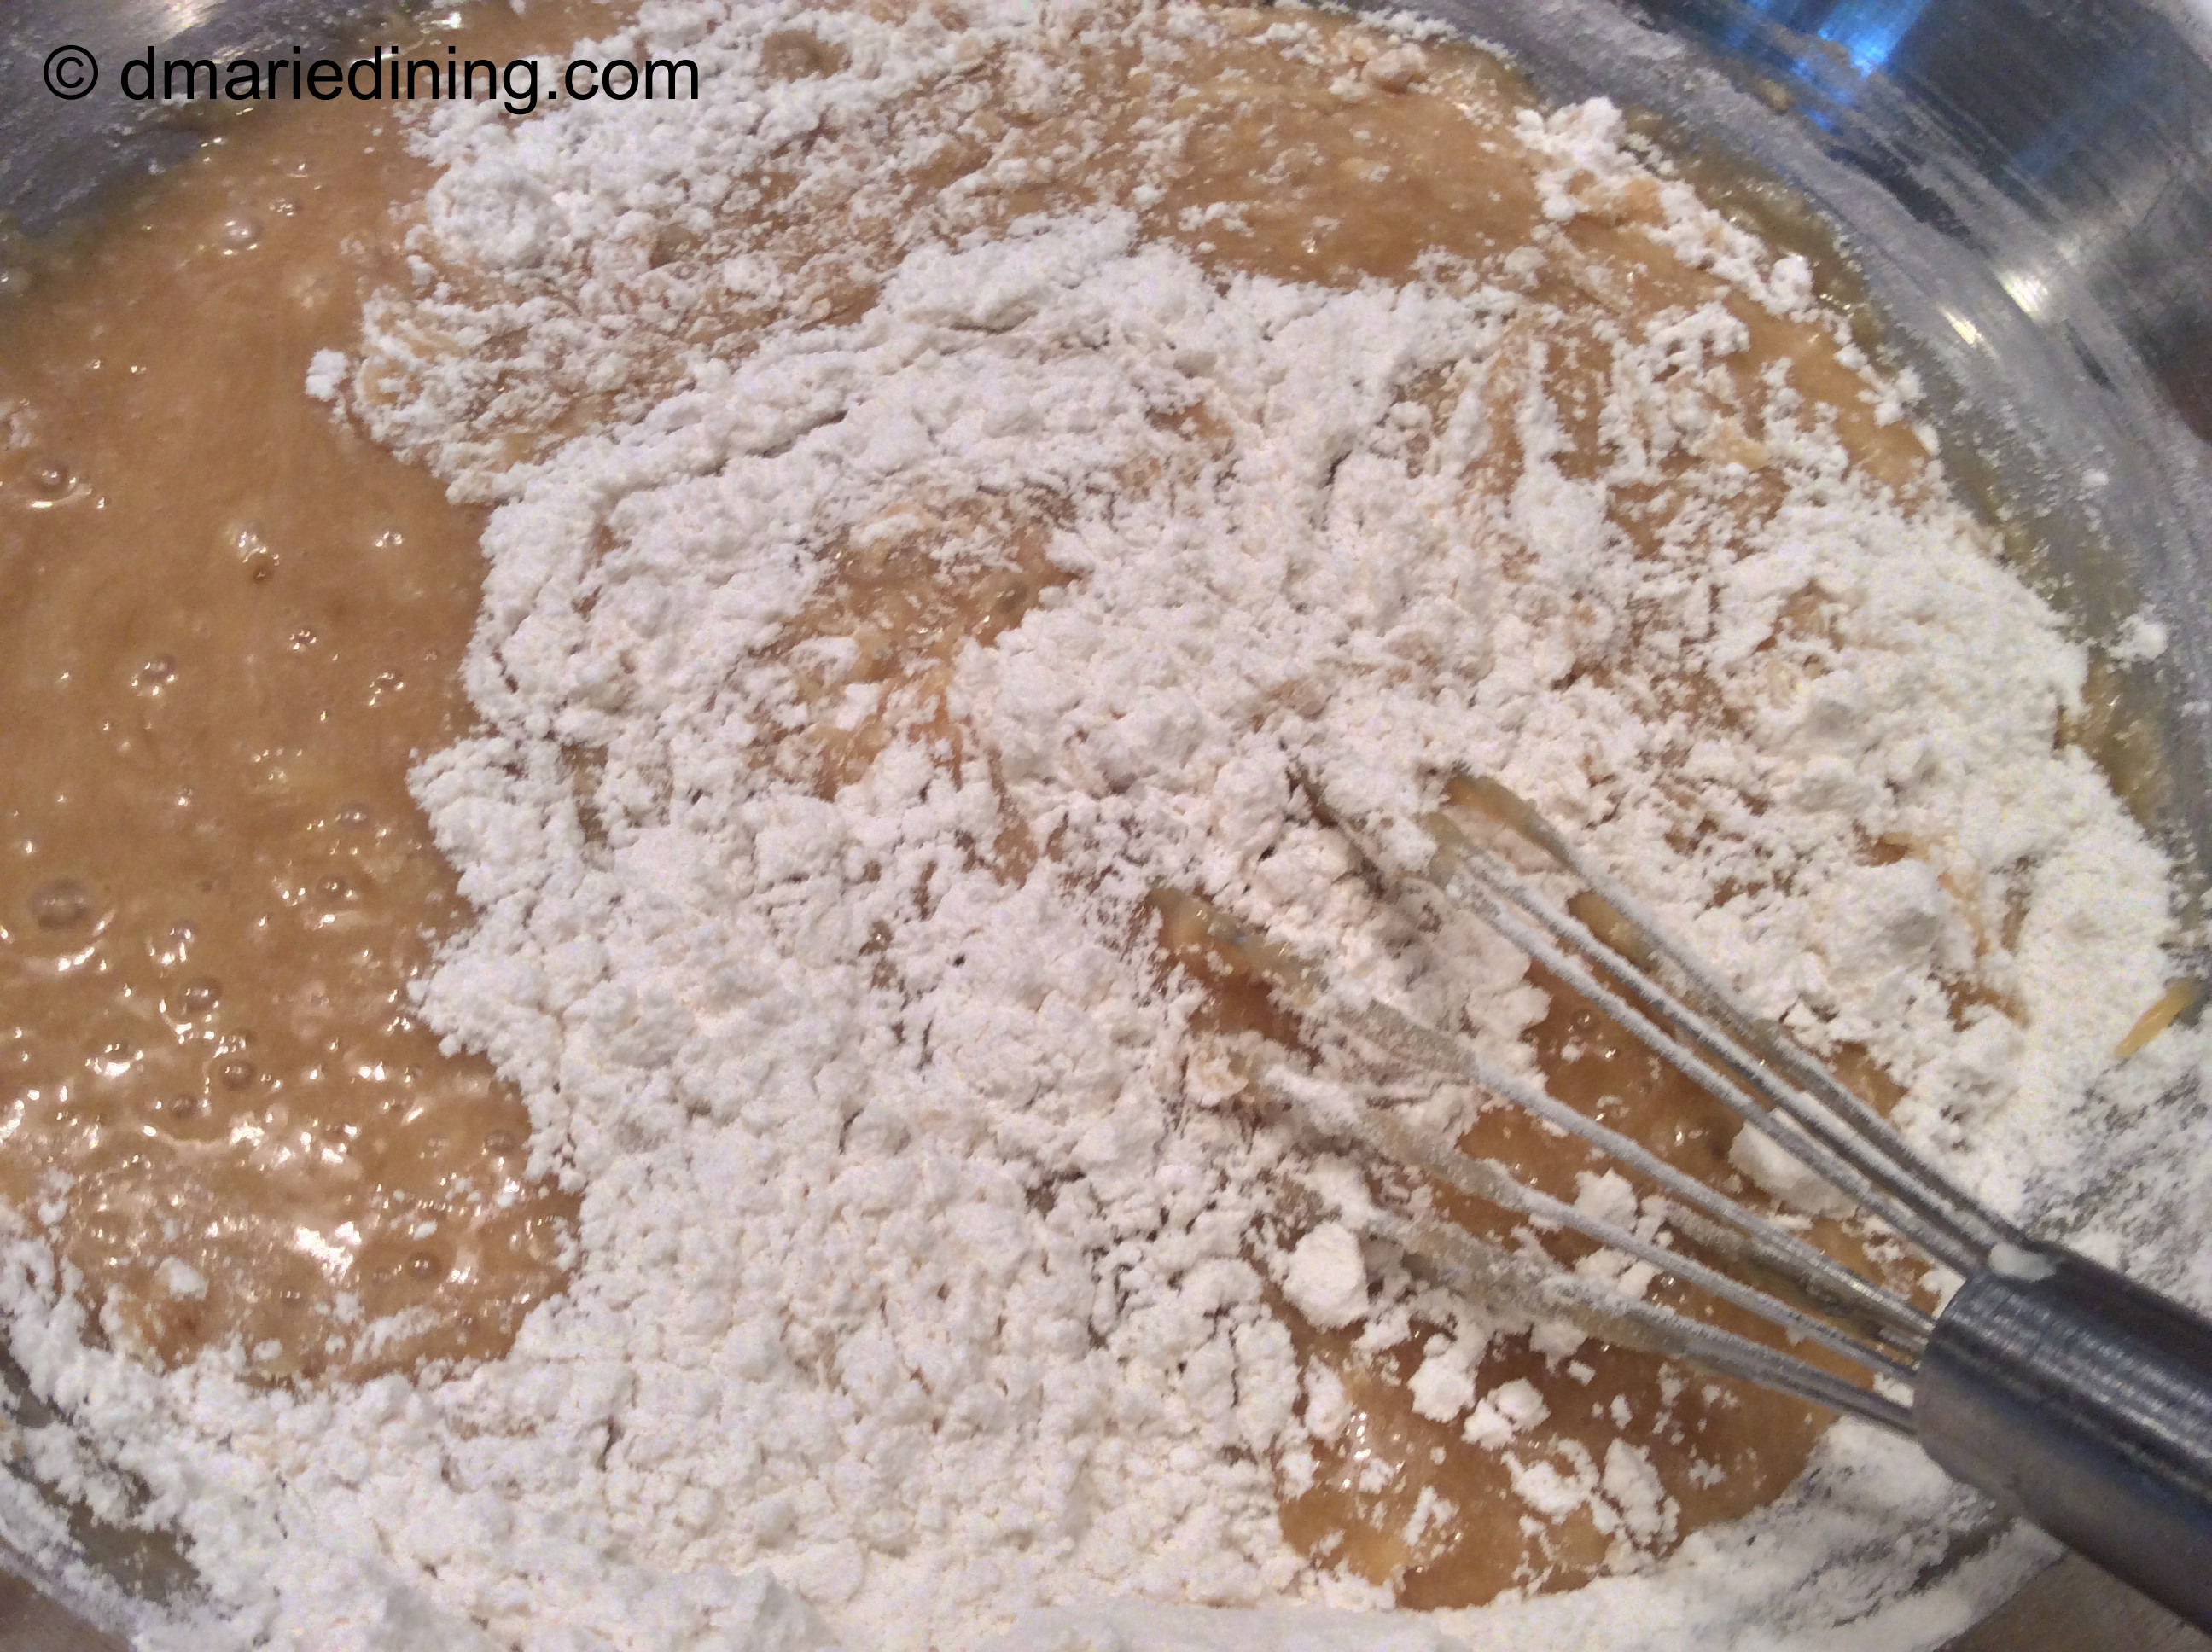
Add cooled sugar mixture to bananas. Slowly whisk flour with bananas and sugar until totally blended. Fold in walnuts. Pour mixture onto a rimmed baking pan lined with parchment paper. Spread out evenly in the pan. Chill in the frig for 15 minutes then bake for 40 – 45 minutes. Stick a toothpick in the center of the banana bread to see if center is cooked. If it comes out clean the banana bread is done. Let cool then cut into squares and store in an airtight container.