Category Archives: Vegetables

Guacamole

IMG_4940_1

My hubby has been trying to get me to make Guacamole for years. He has even brought home recipes from co-workers who he said made “the best” guacamole for office parties. To say I was intimidated by his “the best” statement would be an understatement. My past attempts at making Guacamole never quite hit the mark. It was either too lemony, too salty, too garlicky or too yuck!

IMG_4951_1

Yep, I don’t mind saying I made some terrible Guacamole in my earlier days of cooking. Now? Now, I can say I have finally pulled together a recipe that is simple and full of flavor. Keeping it simple is the key to making Guacamole. Having only a few ingredients and seasonings helps to keep the avocado the star of the recipe. After all, it is not really Guacamole without the avocado.

IMG_4961_1

Speaking of avocado, did you know that avocados are rich in fiber with about 10 grams in a medium-sized avocado. One of the things I love about avocados is that they are versatile. I use them in salads, toppings for my tacos and tostadas or in spreads or dips. I think some folks even use avocados as a hair conditioner and as a facial mask to improve their complexion. I would rather eat avocados than wear them.

IMG_4971_1

So, for anyone out there that has been intimidated by the idea of making good Guacamole try my version. I no longer feel like a wimp and neither will you.

IMG_4973_1

Guacamole

Ingredients:

1 small container of fresh salsa drained

4 ripe avocados cubed

1 4oz can of jalapenos drained

½ tsp cilantro

½ tsp black pepper

½ tsp salt

¼ cup olive oil

Dressing:

In a small bowl whisk together olive oil, salt, black pepper, cilantro and garlic powder.

Place drained salsa in a medium-sized bowl. Pour lime juice over salsa and let it sit for 5 minutes.

Add avocado and jalapenos to the salsa. Pour dressing mixture over avocado. Gently toss salsa and avocado together. Let chill at least 15 to 30 minutes to allow flavors to blend. Serve with tortilla chips or thin slices of french bread.

Follow my blog with Bloglovin

Riced Cauliflower and Brussel Sprouts

IMG_4624_1

As she often does, my daughter turned me on to a new food I had never tried or heard of before. This time it was riced cauliflower. When she first told me about it I thought it was some kind of rice that had been processed out of dried cauliflower. So, when I asked one of the folks at Trader Joe’s if they had it riced cauliflower they said no based on my description. My daughter said it could be hard to find so I was not really surprised when Trader Joe’s looked but could not find it among the rice and pasta nor in the freezer section. Of course, when I told D about my trip to Trader Joe’s she put me on the right path and let me know that riced cauliflower isn’t really rice. Instead, the fresh cauliflower is “riced” and cut down to resemble rice. On my next trip to Trader Joe’s I found riced cauliflower in the fresh vegetable section.

IMG_4645_1

Cauliflower is plentiful in the warmer months and is great in salads and soups. I decided to create a different kind of recipe for my cauliflower by pairing it with brussel sprouts. Hence, my Riced Cauliflower and Brussel Sprouts recipe. If I do say so myself the dish was pretty tasty on the first try. One thing to remember when preparing cauliflower is to not overcook it. I learned the hard way just how mushy cauliflower can get if you cook it too long. Riced cauliflower cooks even quicker than cauliflower florets so this is definitely a quick and easy recipe to make.

IMG_4655_1

For my vegetarian friends this recipe is wonderful as both a side dish or a main course (just leave out the bacon). I had a nice sized bowl of Riced Cauliflower and Brussel Sprouts for lunch which was quite filling all by itself. The next time you are searching for a new cauliflower recipe take a chance on making Riced Cauliflower and Brussel Sprouts. I think you will be pleasantly surprised at how delicious it tastes.

IMG_4671_1

Riced Cauliflower and Brussel Sprouts

 Ingredients:

1 16 oz pkg of riced cauliflower

6 – 8 brussel sprouts sliced thin

2 shallots sliced thin

2 slices bacon cubed

½ tsp salt

½ tsp cracked black pepper

¼ tsp lemon zest

¼ tsp garlic powder

juice from ¼ of a lemon

Place bacon in a large non stick skillet over medium high heat. Brown bacon until crisp then drain on paper towels. Set aside.

Drain off all but 1 tbsp of bacon fat. Reduce heat to medium then add shallots and brussel sprouts. Cook until slightly softened. Add riced cauliflower and stir to mix. Sprinkle with bacon (reserve enough bacon to garnish dish). Cook cauliflower until tender but slightly al dente. Top with reserved bacon.

Bon Appetit!

Follow my blog with Bloglovin

Broccoli and Cauliflower Salad

IMG_4395_1

Lately, I have been eating a lot of cauliflower which means I have to come up with different ways to fix it so that we don’t get bored with cauliflower. I really like broccoli salad so I thought I would add cauliflower and a few other ingredients to my standard recipe to create a new fresh salad.

IMG_4403_1

The spring and summer seasons call for light flavorful dishes. Cauliflower is big, pretty and plentiful during this time of year. As the seasons progress, cauliflower becomes less expensive so it usually ends up in my shopping cart.

IMG_4416_1

My biggest surprise after making my Broccoli and Cauliflower Salad was that my youngest son really liked it. He can be picky when it comes to eating raw vegetables so I was taken aback when he dipped his fork into the bowl and scooped out some of the salad. His reaction surprised me even more and I suddenly realized I may not have any Broccoli and Cauliflower Salad left to take to work for lunch. No worries. I would rather see T enjoy eating raw veggies than worry about lunch the next day. Besides, I quickly put aside a little salad in a container then put it way back in the frig before hubby and T could polish it off.

IMG_4410_1

This is one recipe I am sure I will be making all summer long. Bring on the BBQ!!! I have a dish I think everyone will love.

IMG_4419_1

Broccoli and Cauliflower Salad

 Ingredients:

1 large broccoli crown cut into small florets

1 large head of cauliflower cut into small florets

6 slices bacon fried and crumbled

1 cup carrots shredded

1 cup red cabbage shredded

½ cup sour cream

½ cup mayo

½ cup golden raisins

¼ cup Colby jack cheese shredded

½ tbsp seasoned salt

½ tsp cracked black pepper

½ tsp sugar

¼ tsp chopped parsley

Combine broccoli, cauliflower and raisins in a large bowl. In a medium bowl blend together sour cream, mayo and seasonings. Pour over veggies and gently mix to coat. Sprinkle with bacon (reserve a little bacon for garnish) and cheese then gently toss.

Chill 30 minutes. Serve chilled or at room temperature. Top with bacon crumbs before serving.

Follow my blog with Bloglovin

Rainbow Salad

IMG_3317_1

Salad is one of those foods that my hubby and I can eat almost everyday for lunch, dinner or both. On most days when I cook I will add a salad as a start to our meal. Actually, I throw together a salad first thing when I get home to keep hubby out of the kitchen while I try to get dinner ready. Hubby always acts like he is starving when he gets home from work so I make a salad to keep him busy and then he won’t hover while I finish preparing dinner. Sneaky right? Yeah, but it works!

IMG_3344_1

Of course having a salad everyday can be a little boring if you just add the basics of iceberg lettuce, tomatoes and cucumbers. Personally, I don’t care too much for iceberg lettuce. There is no real nutritional value in iceberg lettuce because it is mostly water. I prefer other types of greens in my salads and I often mix them up just so my salads are not boring.

IMG_3346_1

Spring inspired me to make a Rainbow Salad because of the bright new colors of budding trees, daffodils and other vegetation I recently noticed waking up from a too long winter. I love the rich purple color of red cabbage. The pop of orange from shredded carrots and the pale green of Napa cabbage. Mixed together with a few other veggies, Rainbow Salad is a treat for your eyes and tasty to your mouth.

IMG_3358_1

Rainbow Salad

Ingredients:

2 Roma tomatoes cut into wedges

1 small Napa cabbage shredded

½ head red cabbage shredded

½ zucchini sliced

½ cup shredded carrots

¼ cup golden raisins

½ tsp basil

¼ tsp cilantro

Mix all ingredients in a large bowl. Top with your favorite salad dressing.

Follow my blog with Bloglovin

Bean Soup

IMG_3465_1

There are signs of spring everywhere as the grass begins to turn greener and the daffodils begin to bloom. Still, there is a chill in the air and even threats of snow from the weatherman as winter tries to hang on. All that means I am not quite finished making soups to warm my body and nourish my soul.

IMG_3479_1

Bean Soup does both of those things. A very simple soup with only a few ingredients, Bean Soup is packed with delicious flavors from the beans, vegetables and ham hock broth. I really like making this recipe when I want a bowl of soup that will fill me up but won’t me feel heavy like a full meal does.

IMG_3494_1

This soup practically prepares itself. Once you cook the ham hocks and add the broth to a pot with the other ingredients you can turn it on low and forget about it for 30 to 45 minutes. To jazz up the soup I sometimes add a big buttered biscuit or a wedge of cornbread. No matter what you decide to do, I know you will enjoy this Bean Soup recipe. Spring may be here based on the calendar but winter has yet to say good-bye.

IMG_3501_1

Bean Soup

Follow my blog with Bloglovin

Dee’s Veggie Soup

IMG_2865_1

My mom loves to make vegetable soup in the winter or if there is a slight chill in the air. I really like her vegetable soup but when I cannot get to her house I have to make my own soup. Usually, I make chicken corn chowder or some version of chicken noodle soup. Today, I thought I would try my hand at creating my own vegetable soup. Besides, it was a cold snowy day and I couldn’t get to my mom’s house.

IMG_2867_1

My version of vegetable soup (Dee’s Veggie Soup) did not include any meat. My mom uses ham or smoked meats to help season her soup. I wanted mine to be purely vegetarian. The natural sweetness of the vegetables along with a few choice seasonings gave the soup the punch of flavor I desired. As for the vegetables I used in the soup, they were both traditional and non-traditional. Like my mom I used tomatoes, onions and cut green beans. But, instead of adding celery and peas I used sliced fennel and kale. I also used a can of creamed corn to make the soup a little more savory.

IMG_2910_1

Dee’s Veggie Soup had several depths of flavor from the mix of vegetables and seasonings. I thought it was delicious and the soup definitely took the chill out of my bones. Hubby liked the soup too. Once he started dipping into his bowl of soup I don’t think he stopped until it was all gone. To me, that is one of the nicest compliments you can get when you cook.

IMG_2934_1

IMG_2925_1

Dee’s Veggie Soup

Ingredients:
1 small fennel bulb sliced (white part only)
1 small bunch of curly kale chopped
1 small onion diced
1 ½ cups cut french green beans
1 14 oz can fire roasted tomatoes
1 14 oz can creamed corn
2 14 oz cans small white beans drained and rinsed
1 tbsp salt
1 tsp black pepper
1 tsp onion powder
1 tsp garlic powder
1 tsp basil
1 tsp thyme
1 tsp parsley (fresh or dried)
32 oz chicken stock
32 oz water

Place all ingredients except for kale into a large pot over medium heat. Cover and simmer for 30 minutes. Add kale. Stir and simmer for an additional 30 to 45 minutes until kale is tender.

Mixed Baked Beans

IMG_2697_1

Summertime is usually the time when folks make baked beans for every picnic, bar-b-que (yes, there is a difference between the two) or outdoor kids birthday party. But, we like to have baked beans year round because they taste so darn good. Plus, baked beans pair well with a lot of different meats like hot dogs, kielbasa, hot sausages and burgers. The list goes on and on.

IMG_2709_1

Now that I have said how wonderful baked beans can be I think I should add that they sometimes need to be “doctored up”. I came up with Mixed Baked Beans because I wanted to make a slightly different side dish to go with some oven baked spare ribs I was fixing for dinner. I had a shelf full of a variety of beans so I decided to mix them all together to see how it would taste. If I do say so myself, they tasted absolutely delicious. The flavors of the cannellini, black beans and the homestyle baked beans blended together very well and were fantastic with the ribs.

IMG_2733_1

The next time I tried making Mixed Baked Beans  I added some kielbasa and andouille sausage to the beans to kick up the flavors even more. Imagine all those wonderful flavors mixing together all in one simple dish. Hmmm…. I think I know what we are having for dinner tonight. Mixed Baked Beans with a few added surprises. Excellent!

IMG_2722_1

Mixed Baked Beans

Ingredients:
1 15 oz can cannellini beans drained and rinsed
1 15 oz can black beans drained and rinsed
1 15 oz can homestyle baked beans
1 14 oz can fire roasted tomatoes
½ cup diced onion
½ cup diced green pepper
2 tbsp brown sugar
2 tbsp butter
½ tbsp dijon mustard
1 tsp salt
½ tsp onion powder
½ tsp black pepper
½ diced jalapeno pepper

Optional:
2 slices of bacon diced
kielbalsa sausage
andouille sausage

Preheat oven to 350 degrees

Spray casserole dish with cooking spray. Combine all ingredients into the casserole dish. Stir to mix well. Bake for 30 – 35 minutes until hot and bubbly.

Follow my blog with Bloglovin

Jalapeno Poppers with Bacon

IMG_2149_1

On a whim I thought I would try making Jalapeno Poppers. Not the type of poppers that are breaded and fried. I wanted to make oven baked poppers with a twist. I wrapped them in bacon. Yummy!

IMG_2147_1

Making the Jalapeno Poppers with Bacon was a quick and semi-easy task. I was a little gun shy in making them at first because I had recently tried making roasted stuffed poblano peppers and it was a disaster. But, I made lemonade out of those lemons by adding the collapsed roasted poblano peppers to a brown rice dish I decided to create. More on that one later.

IMG_2165_1

The most difficult task in preparing the poppers was cleaning the jalapeno peppers. After slicing off a little piece of the pepper I had to remove the seeds and membrane. Both are the hottest part of the jalapeno pepper just like any other hot pepper. Removing the seeds and membrane helped to tone down the heat of Jalapeno Poppers but they were still a little hot. I guess stuffing the peppers with pepper jack cheese may have contributed to the level of heat also (ya think !?!). Of course, if you are not a fan of really hot foods, you could use a milder cheese like cheddar or monterey cheese. However, if you are willing to make Jalapeno Poppers I doubt heat is really an issue for you.

IMG_2174_1

Bacon. Who besides non meat eaters does not like bacon? Bacon adds a lot of flavor to most dishes (even ice cream if you are truly adventurous) and it definitely adds another level of flavor to the Jalapeno Poppers.

IMG_2186_1

Fast, easy and tasty. Three words I like to hear whenever I have to cook. I think this recipe fits the bill for all three.

IMG_2178_1

Jalapeno Poppers with Bacon

Ingredients:
8 – 10 jalapeno peppers with stems
4 – 8 slices of bacon sliced in half
½ cup shredded pepper jack cheese
¼ cup whipped cream cheese
8 – 10 toothpicks

Optional Stuffing:
Crumbled browned Italian sausage and cheese
Sauteed veggies and cheese
Preheat oven to 400 degrees.

Combine pepper jack cheese and cream cheese in a small bowl. Okay to use your fingers. Set aside.

Slice jalapeno peppers lengthwise to remove part of the pepper without removing the stem. Prepare only a few at a time so that you do not mix up the different sections of the peppers.

Stuff peppers with cheese then place cut slice over cheese. Wrap a slice of bacon and secure with a toothpick. Place on a rimmed baking sheet and back for 20 – 25 minutes until bacon is crispy. Drain on paper towels.

Optional:

To stretch the peppers just cut them in half and stuff each half then wrap in bacon.  The peppers are great whether you serve them whole or in halves.

Follow my blog with Bloglovin

Potato Squishes

IMG_2038_1

My friend Doll and I were discussing food the other day (as we usually do) and she told me about a great potato recipe she saw on the show “The Chew”. Since I am a potato lover my ears perked up when Doll said the recipe started with Yukon Gold Potatoes.

IMG_2047_1

The recipe turned out to be simple so it was right up my alley. The most intriguing part of the recipe called for squishing the potatoes after boiling them until they were fork tender. Potatoes? Squishing? Sold! I knew this was recipe I wanted to make into my own. With just a few additions to the recipe Doll conveyed to me I created Potato Squishes.

IMG_2050_1

As I said earlier, this is a very simple recipe that will go great with any beef, pork fish or fowl entree. My first adventure into making Potato Squishes was to pair them with steak. Like my daughter often says “shut the front door”! What goes better with steak than potatoes? Nothing! My family was a bunch of happy campers when I served up a nice tender steak, salad and the newly created Potato Squishes.

IMG_2060_1

Doll – you are my new foodie hero. Thank you the idea and for sharing such wonderful recipes.

Potato Squishes

Ingredients:
10 – 12 baby Yukon Gold Potatoes
3 tbsp olive oil
2 tbsp diced chives (optional)
1 tbsp salt
½ cup sour cream
½ cup shredded sharp cheddar cheese or pepper jack cheese
water (enough to cover the potatoes)

Place potatoes in a large pot with water and salt. Boil potatoes until they are fork tender but do not over cook. Remove potatoes from the pot and place on a flat surface. Gently squish the potatoes with the palm of your hand until they are slightly flattened.

Heat olive oil in a medium size non-stick frying pan over medium high heat. Place potatoes in the frying pan and brown on one side. Flip the potatoes over and sprinkle with cheese. Lower heat to medium and cover until cheese melts. Place a dollop of cream cheese on top of the melted cheese then sprinkle with chives.

Follow my blog with Bloglovin

Collard Greens

IMG_1431_1

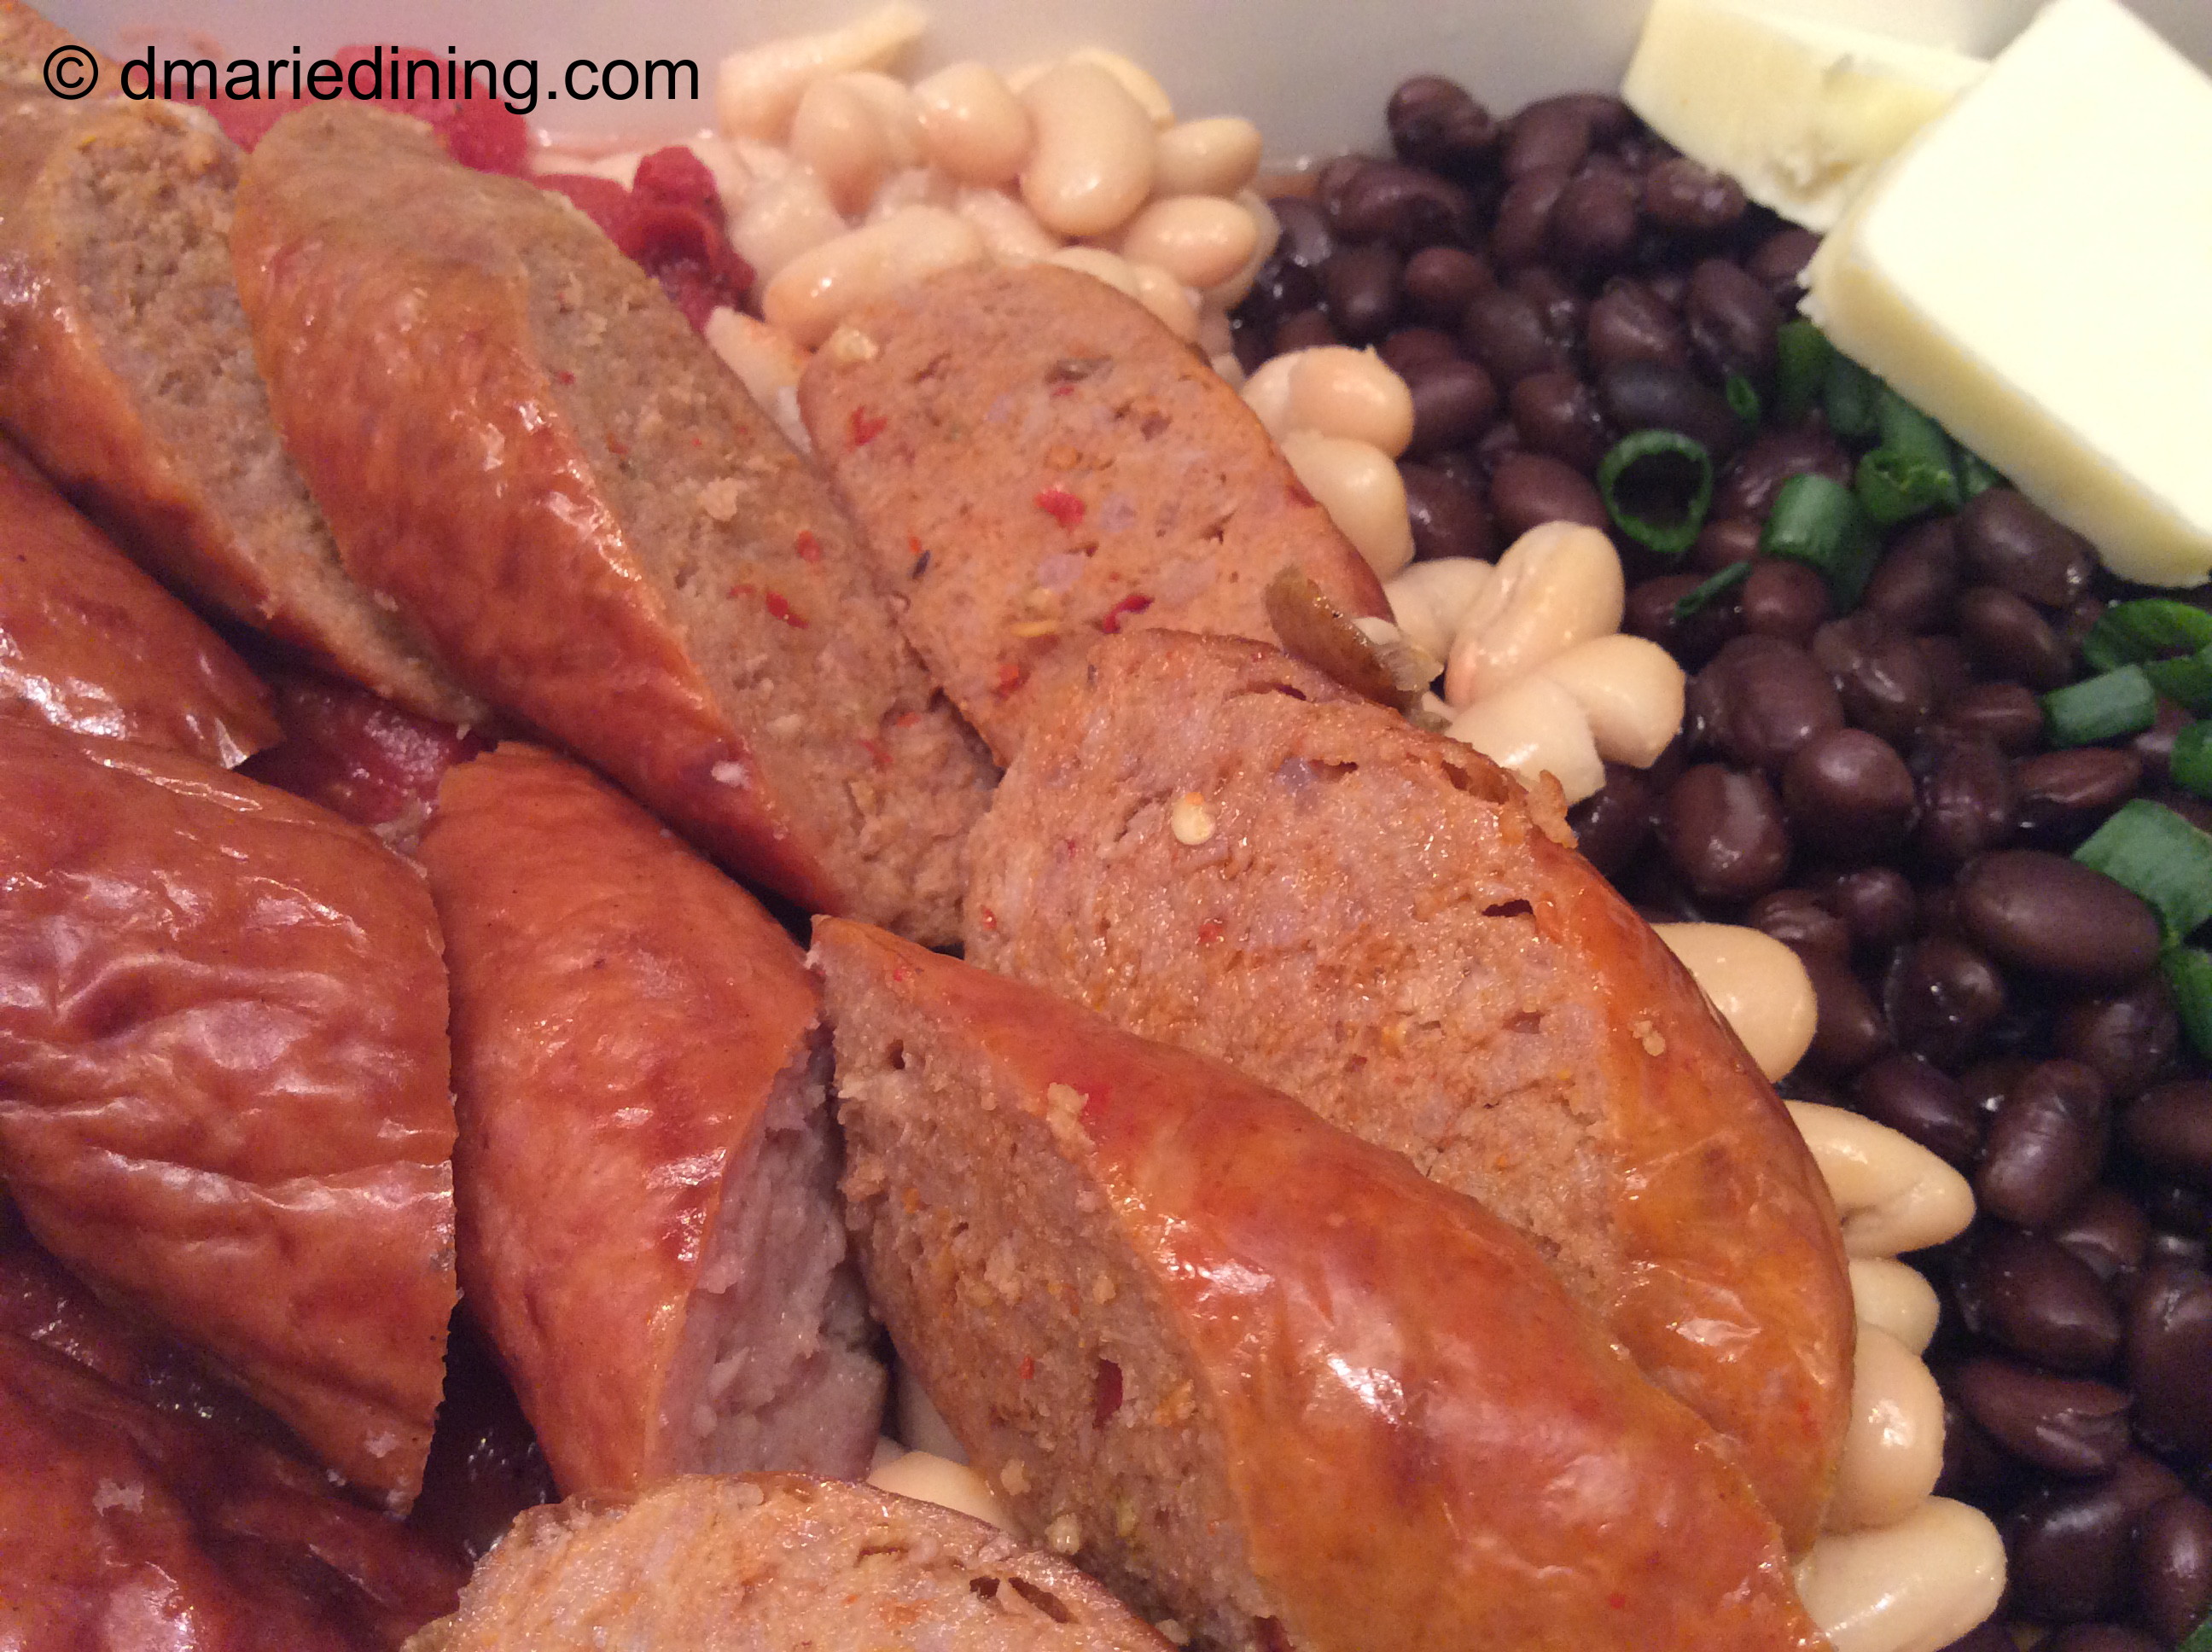
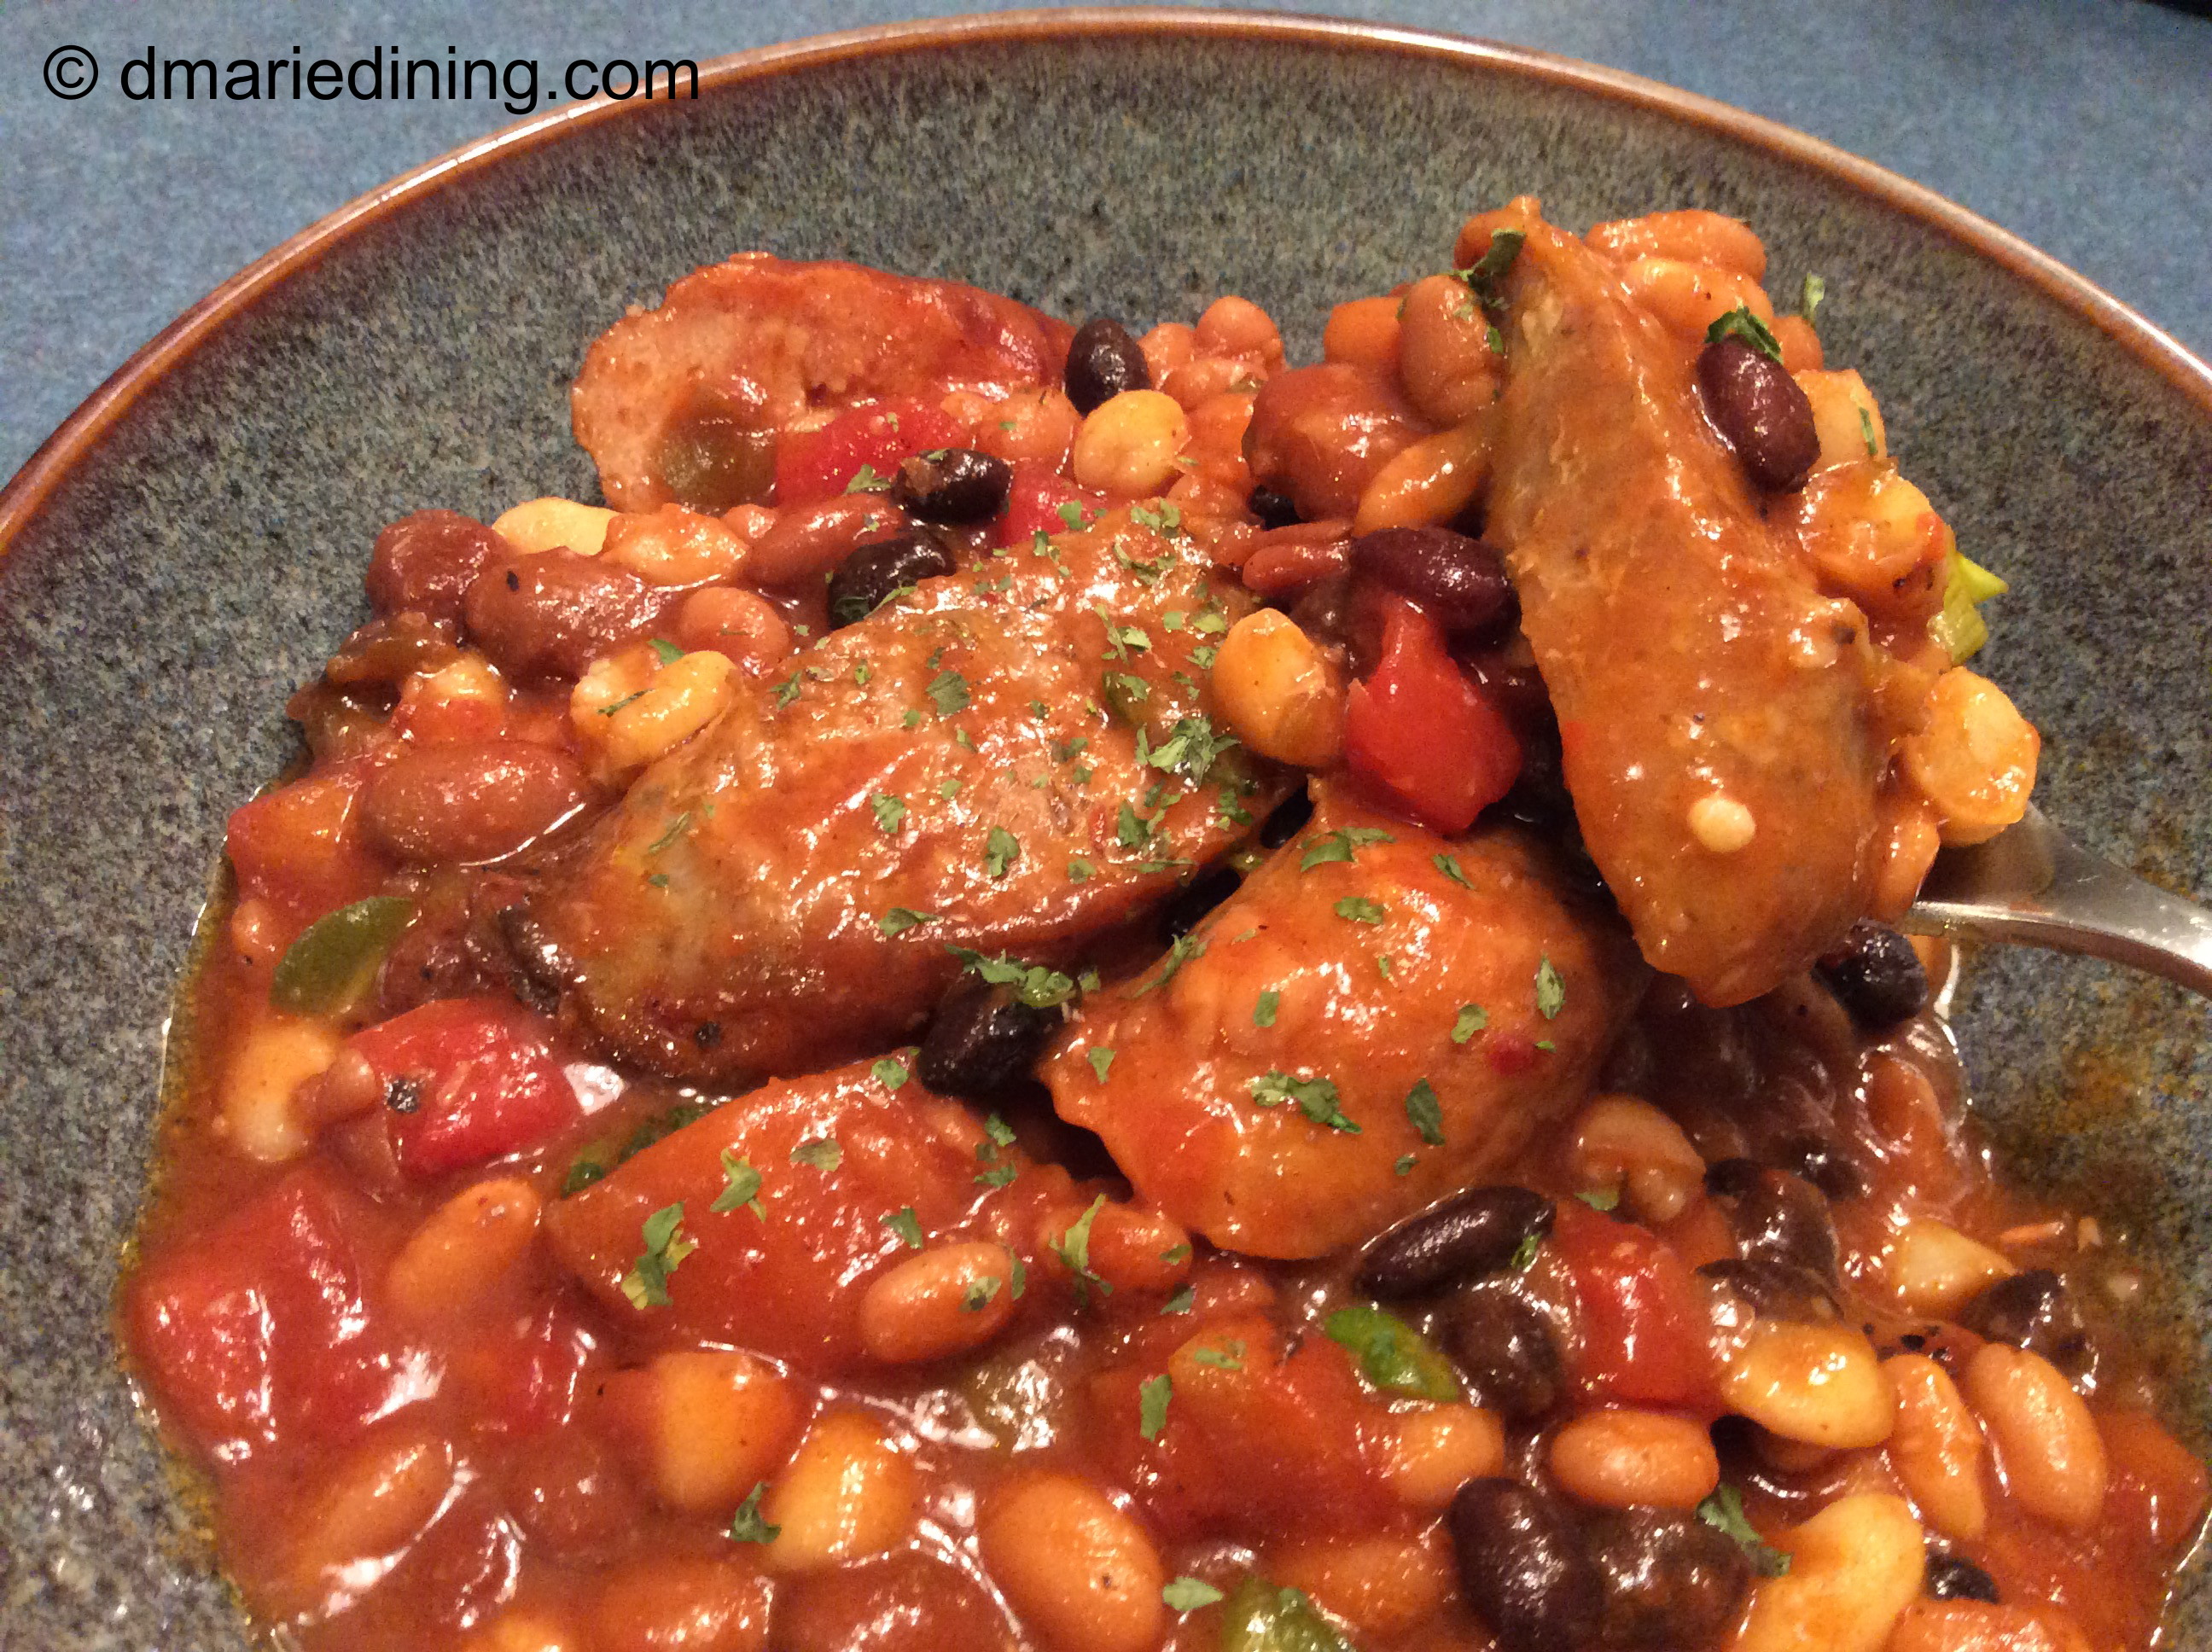
No matter what kind of greens you are preparing the key to making delicious greens is the seasoning. I don’t mean just salt and pepper. I mean down home kind of seasonings. Ham hocks, smoked turkey parts or fat back. Take your pick. I have used them all at some point in time to season both my greens and different kinds of beans.

IMG_1456_2

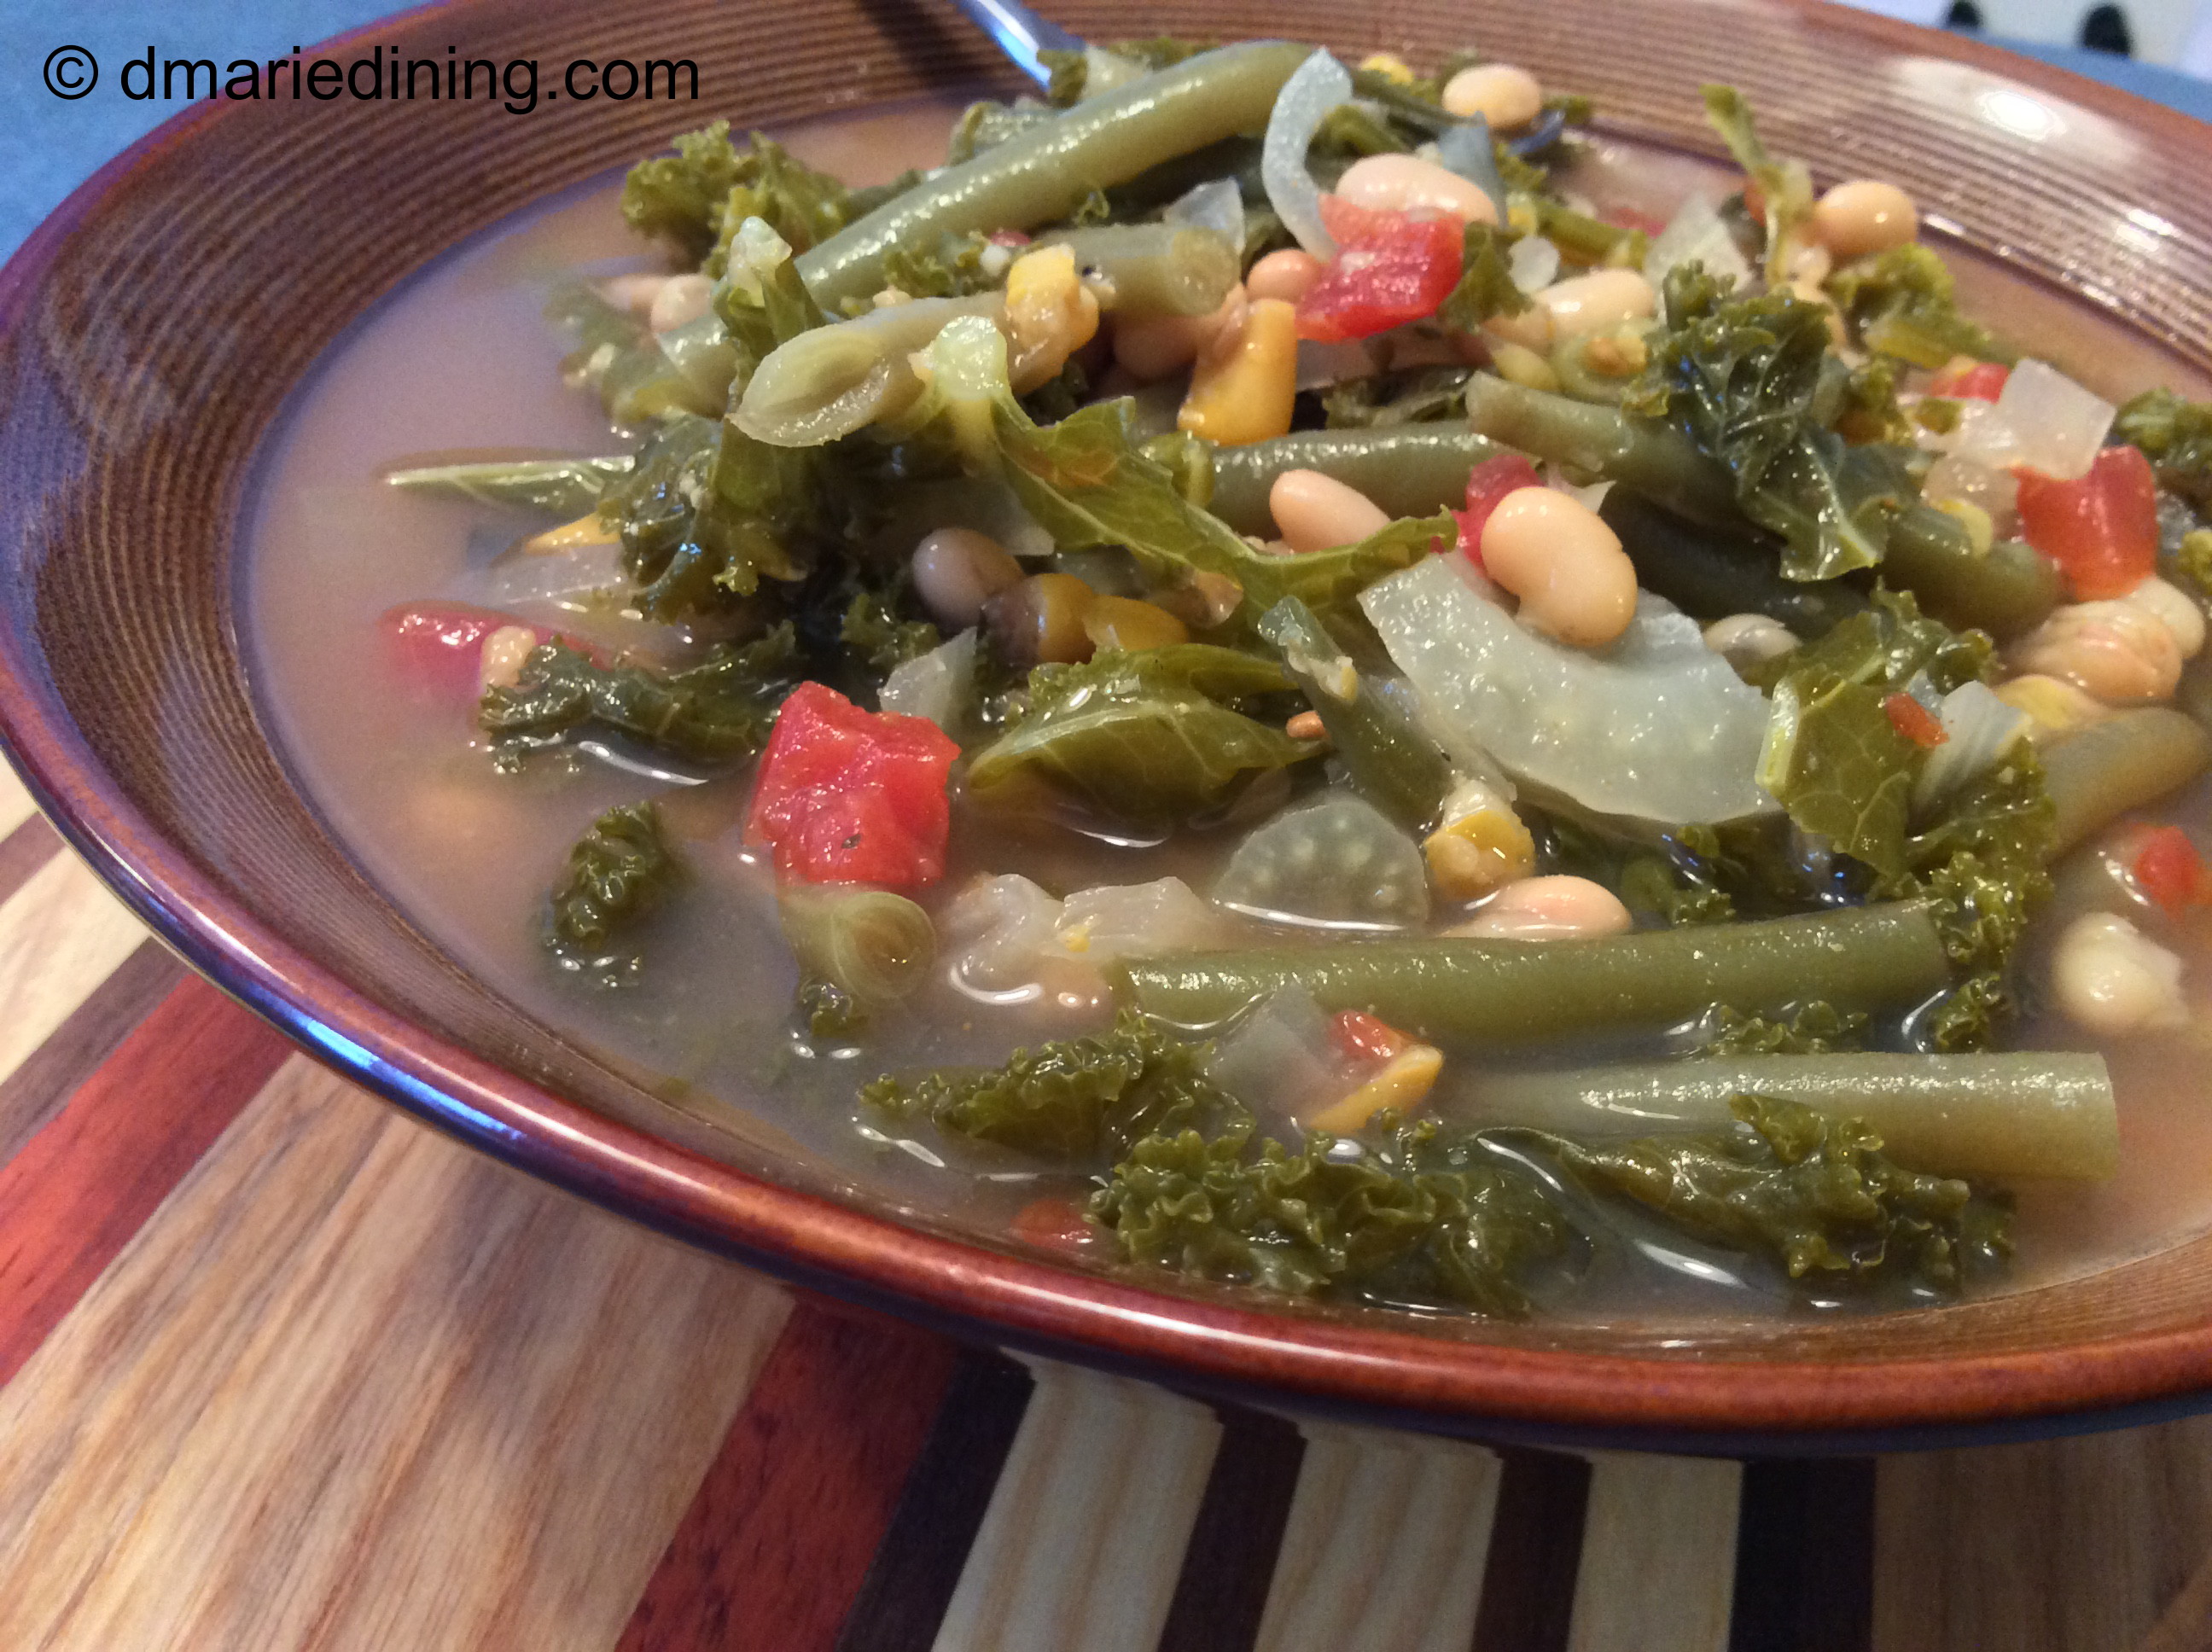
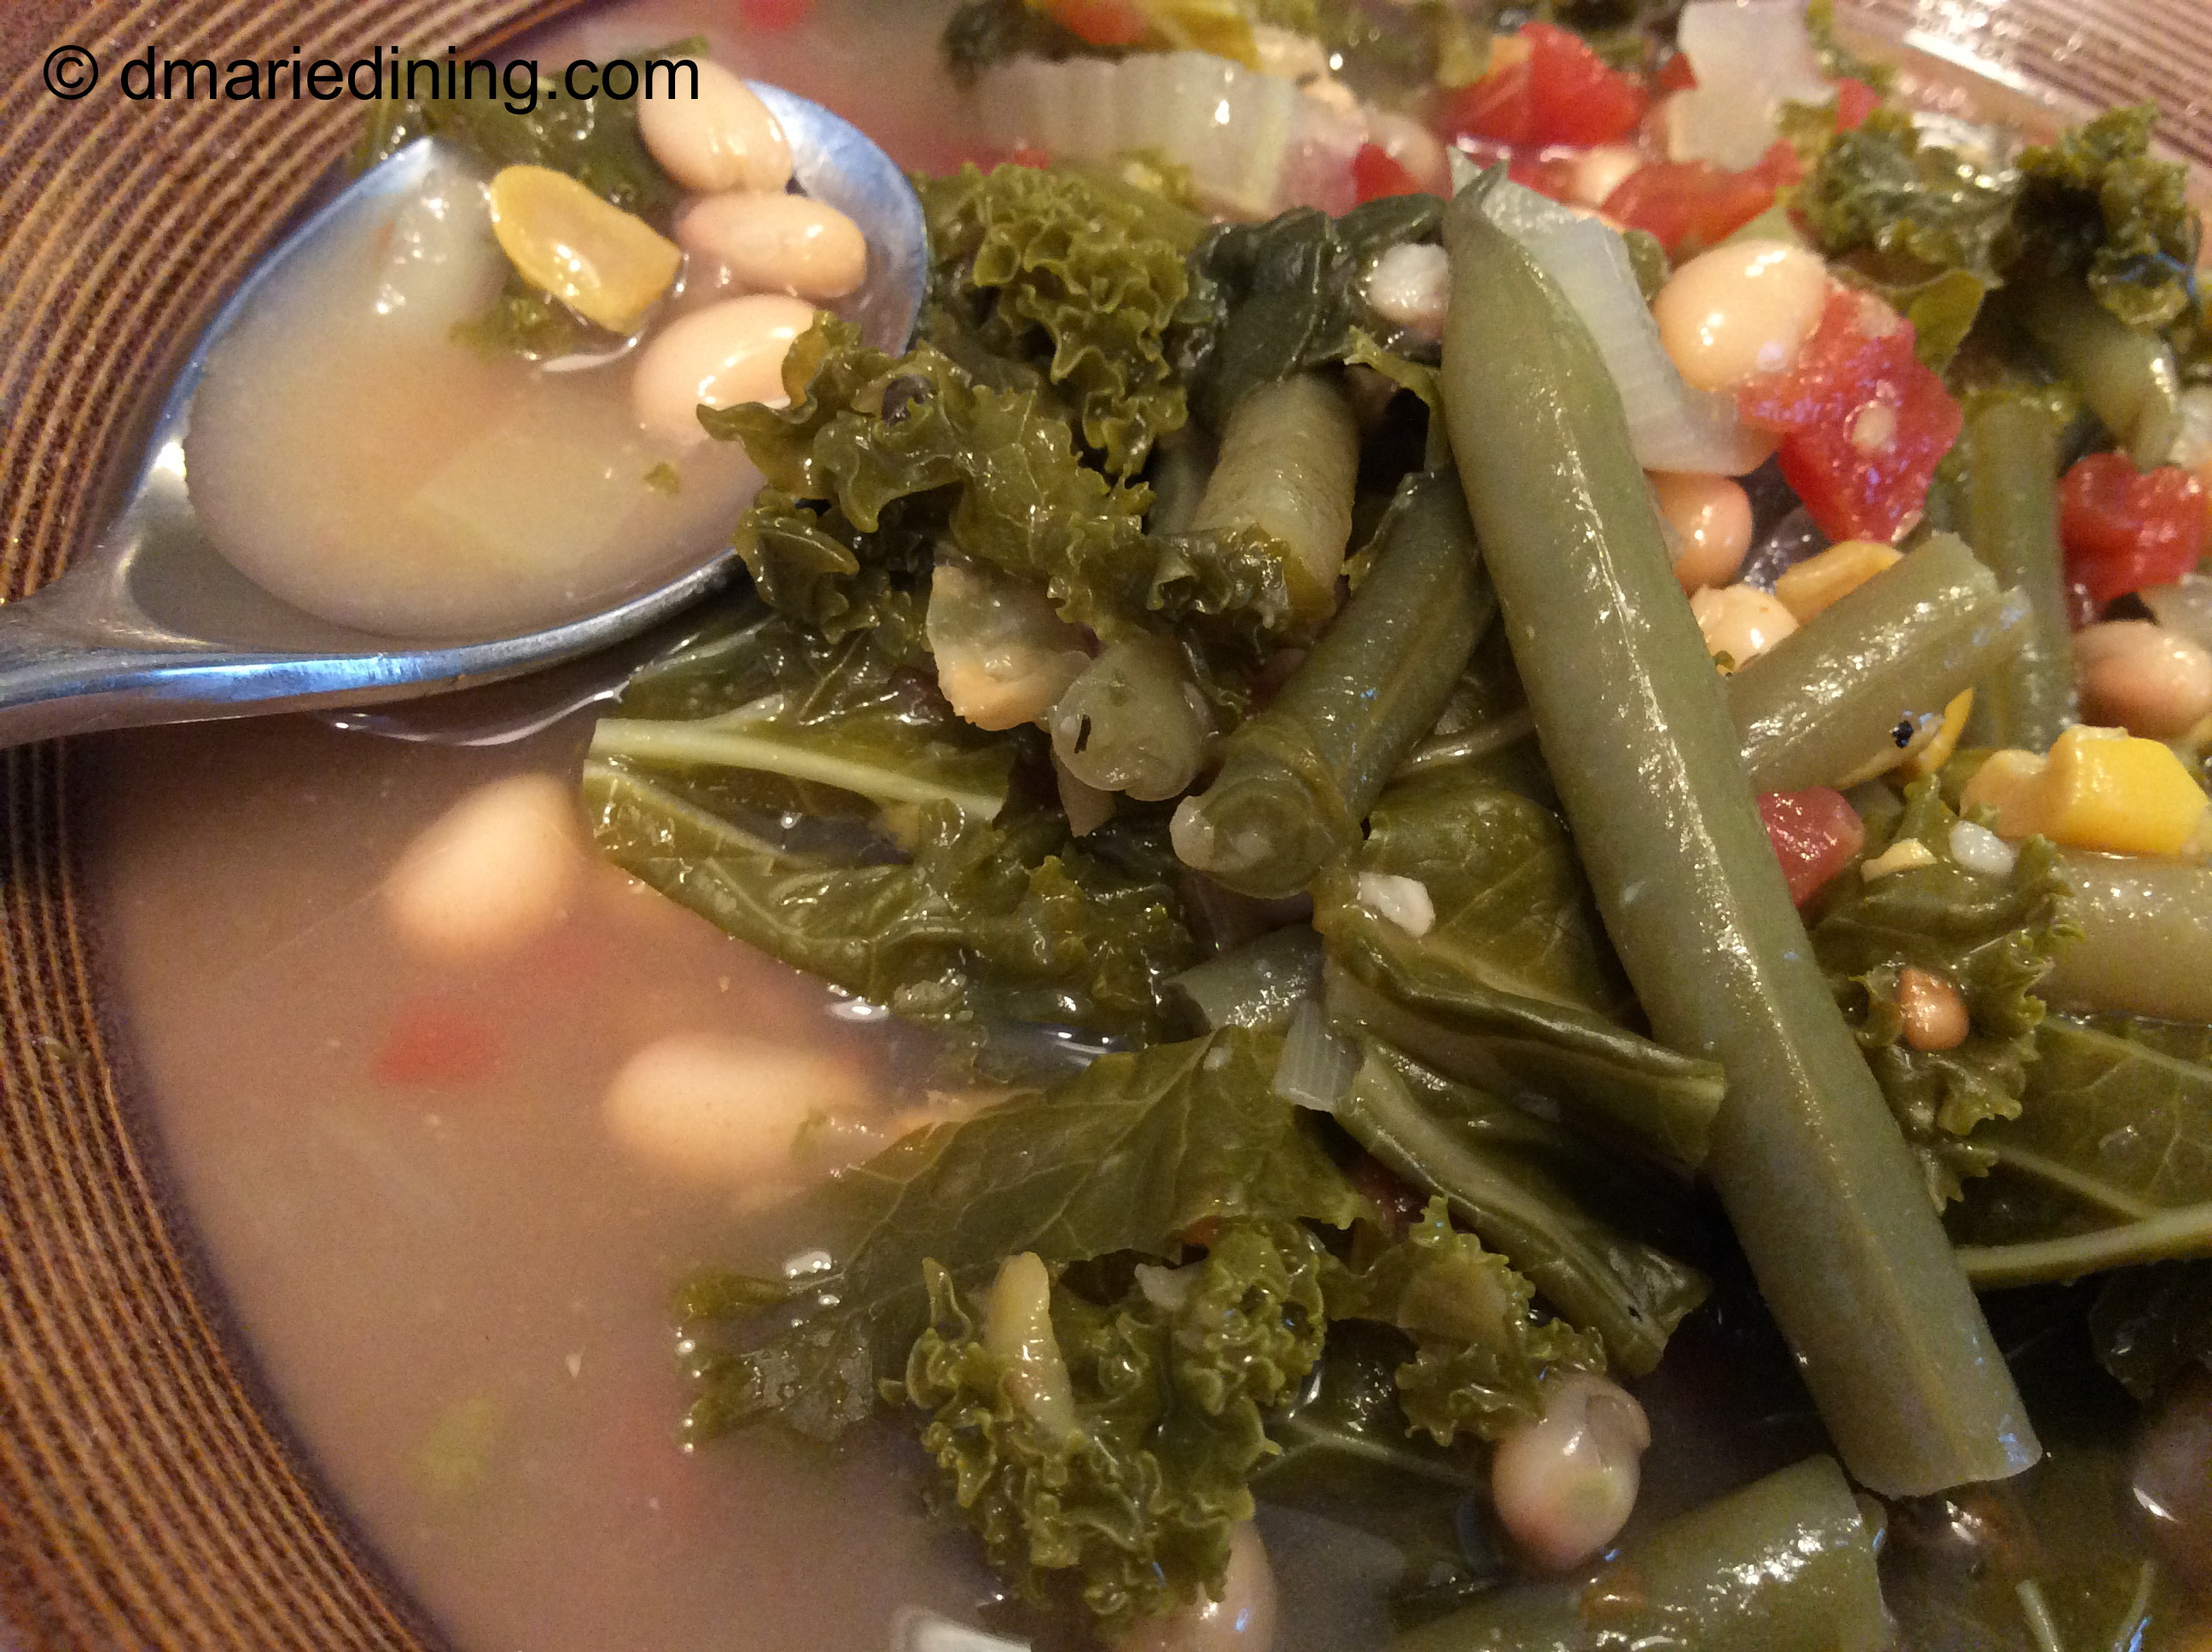
Collard greens, turnip greens, mustard greens and kale each have their own unique flavor. To me, kale has a very mild flavor that is sweeter than other types of greens. Plus, kale is a very tender green that has become popular as a substitute for salads or is prepared as a crispy snack. Turnip, mustard and collard greens on the other hand have a much stronger taste than kale. In the case of turnip and mustard greens I think they are on the bitter side so I often mix them with cabbage or with collard greens to balance the flavor. I love to pair collard greens with pork or if I am making a real southern Sunday dinner, I will make collard greens, fried chicken and macaroni and cheese. Throw in some skillet cornbread and my family is in heaven.

IMG_1479_2

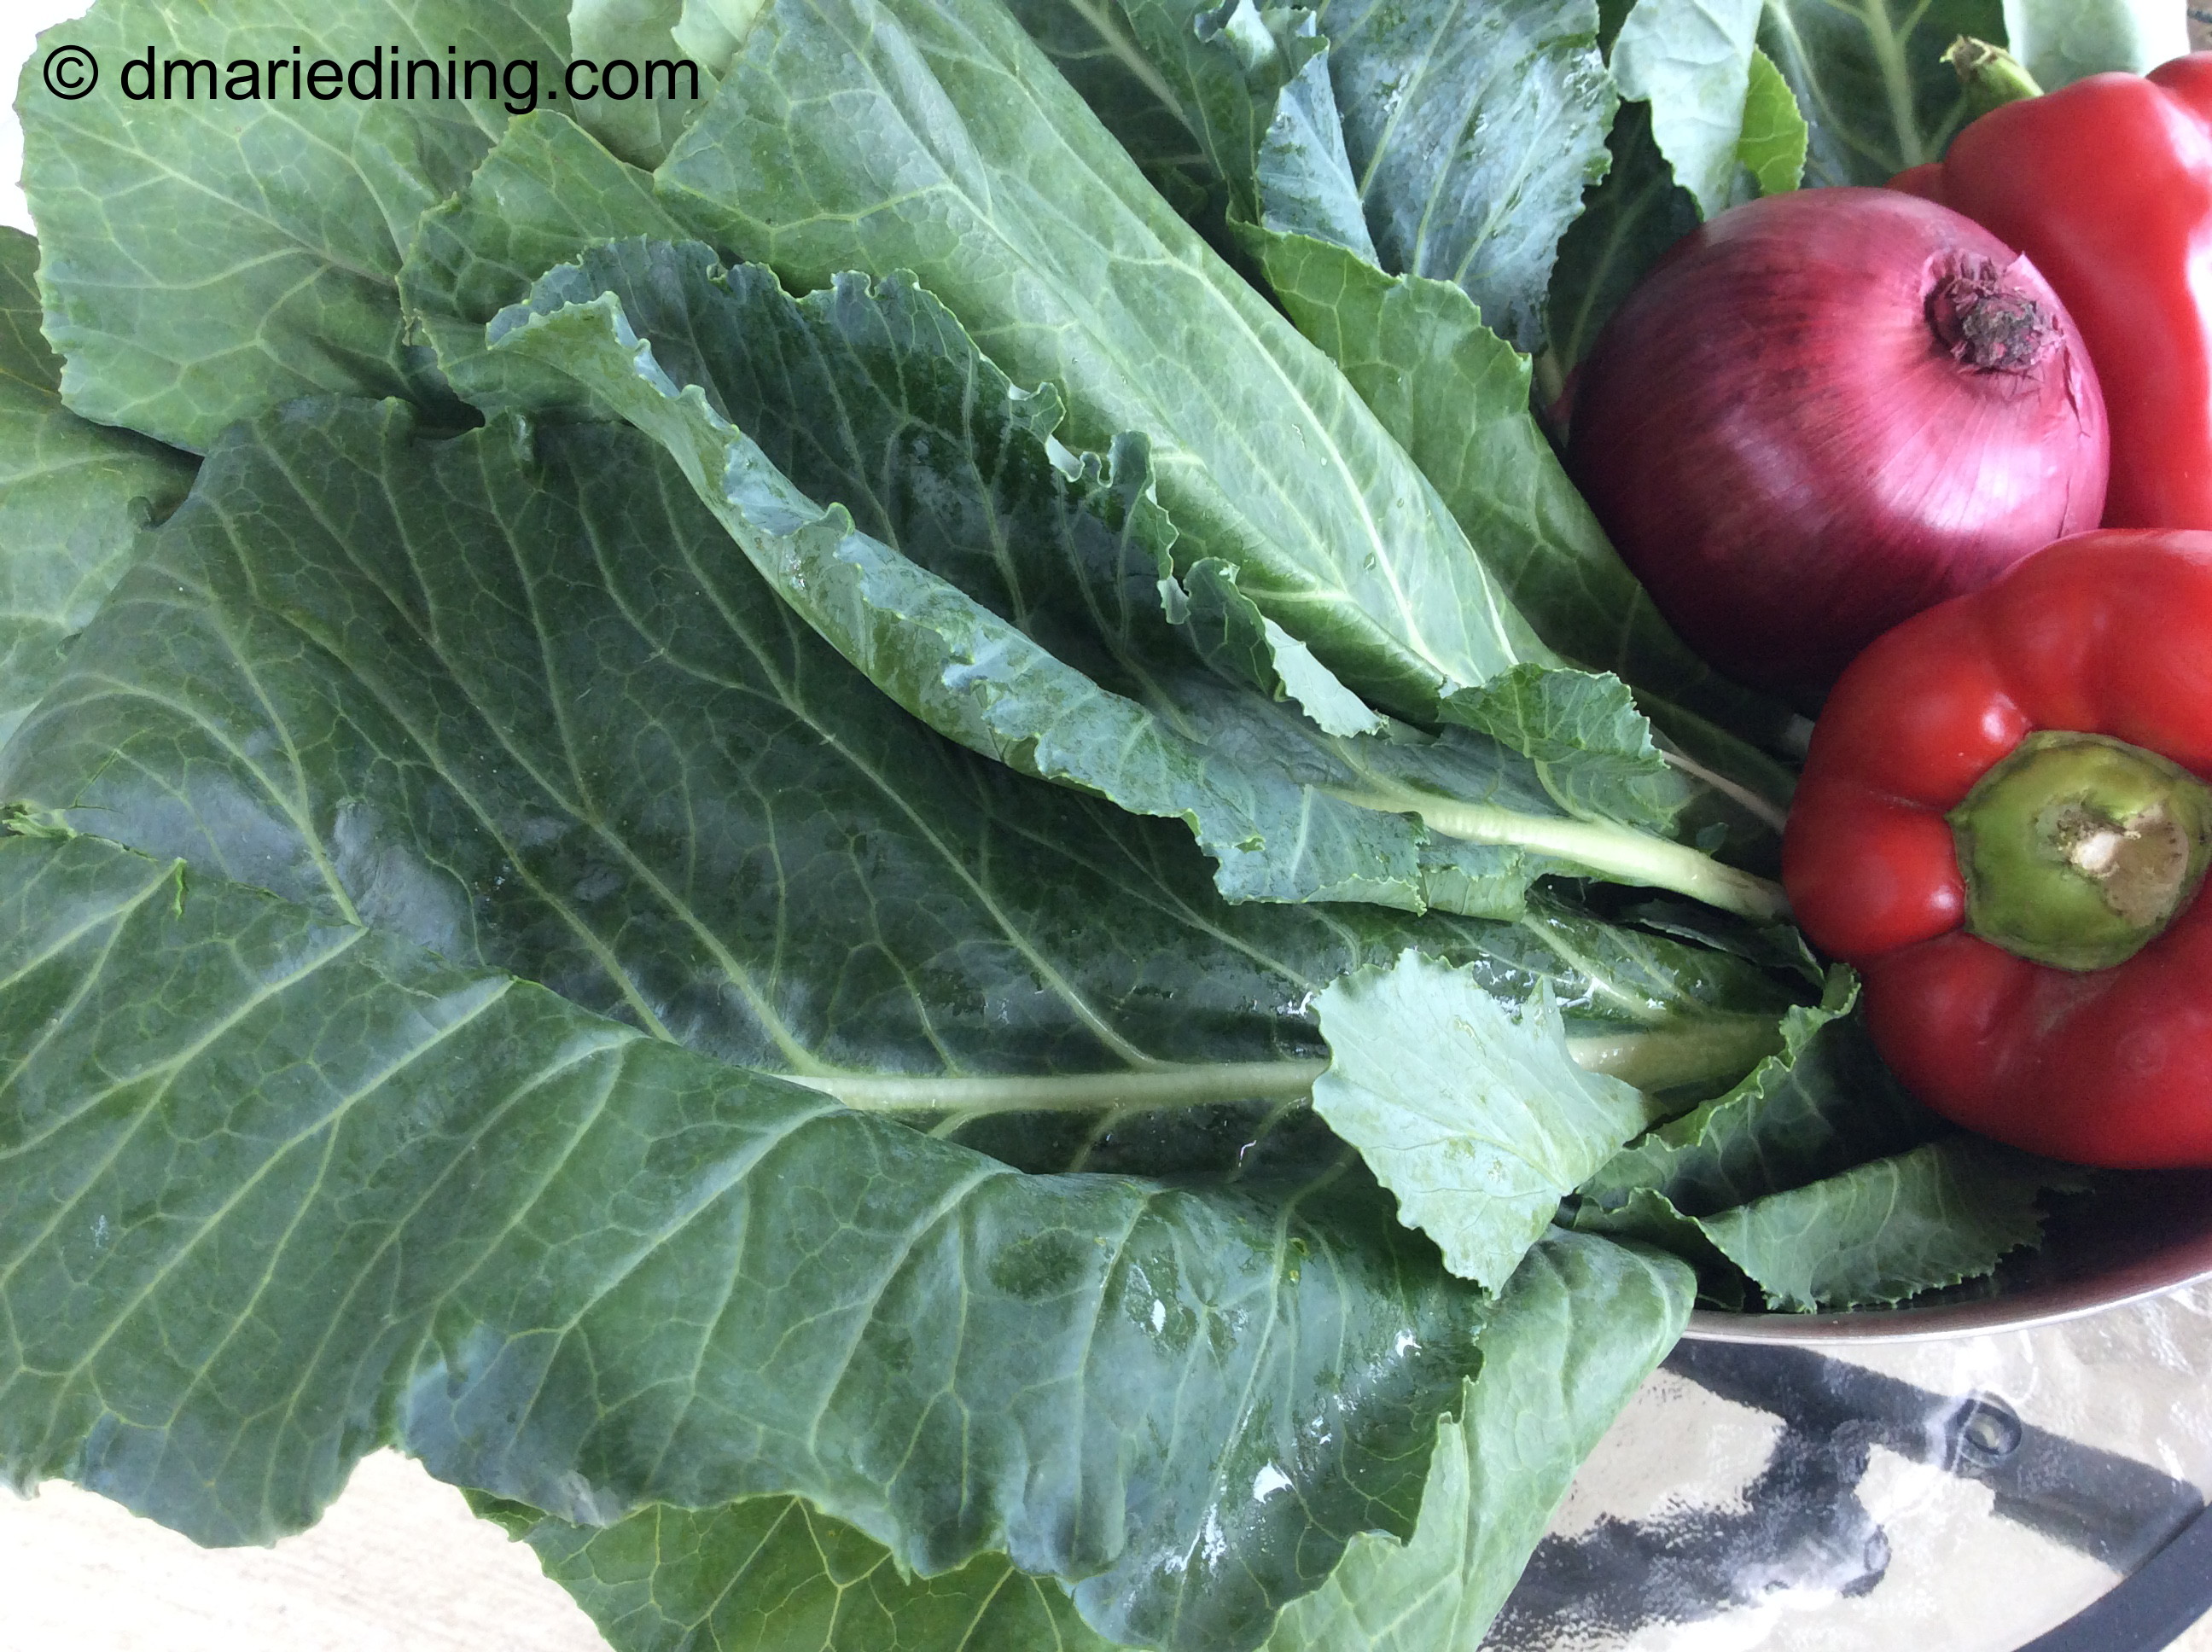
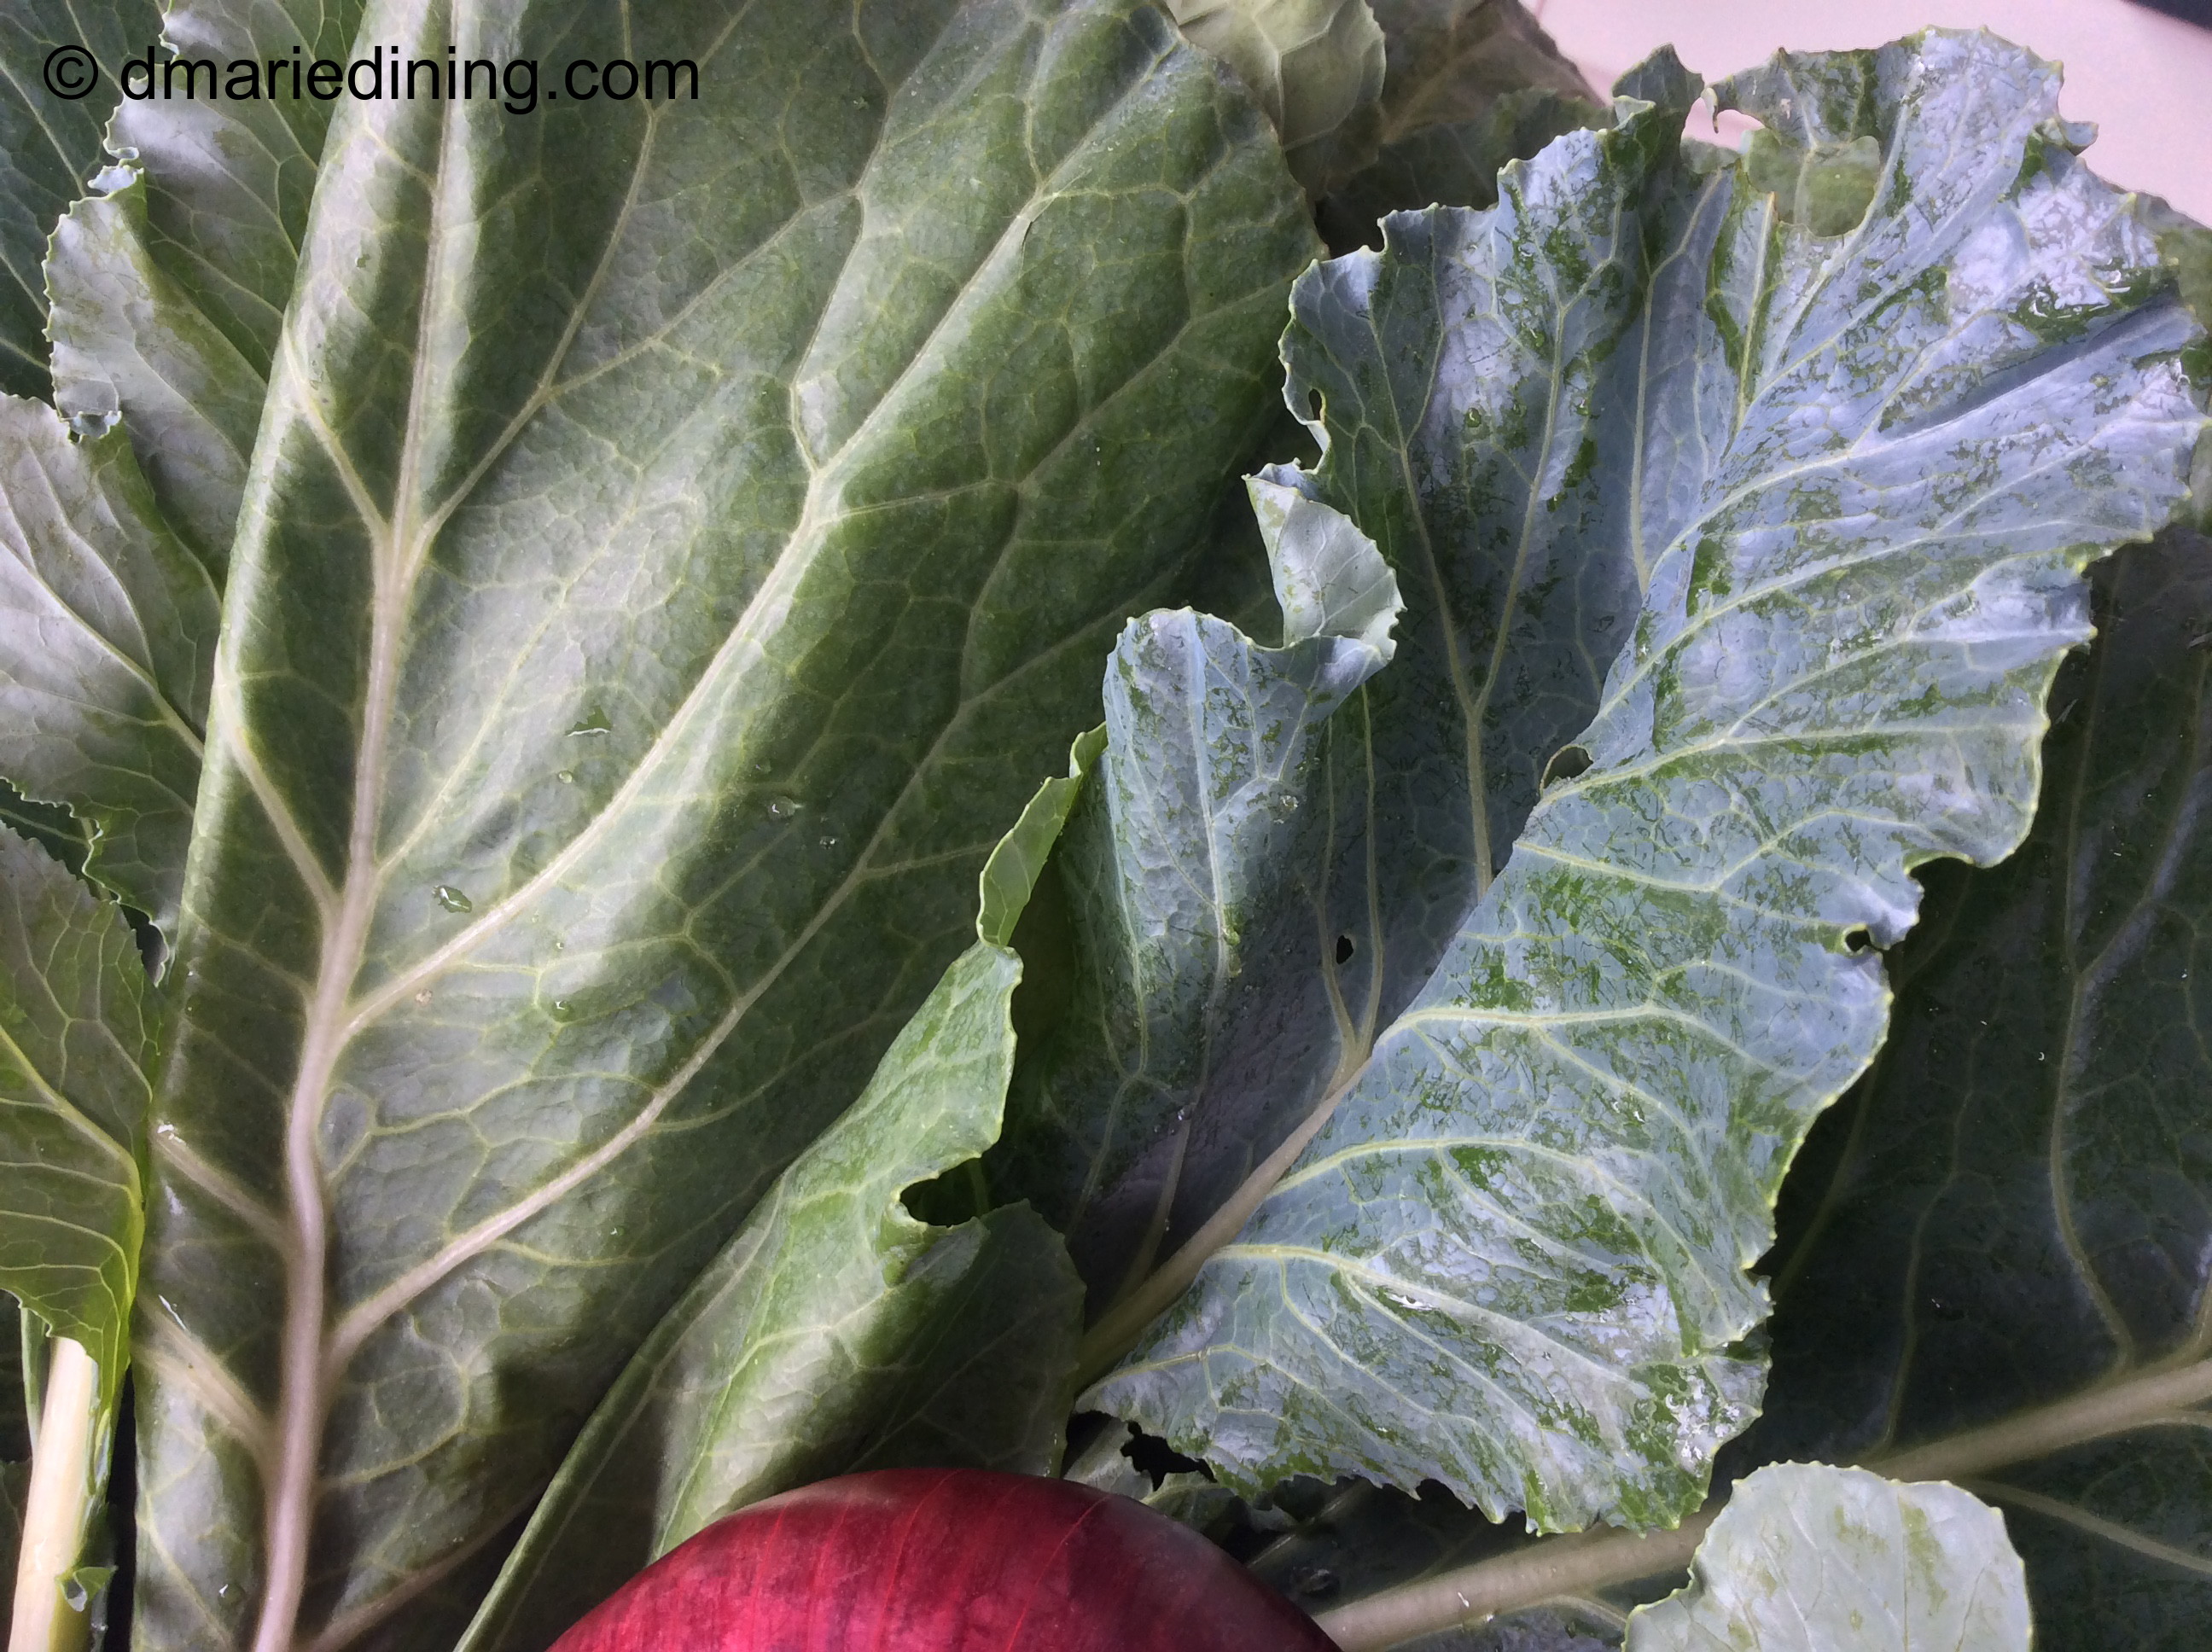
Every year until he passed away my dad would plant a garden in the backyard and on one side of the house. He enjoyed planting tomatoes, peppers, okra, beans and collard greens. The collard greens were for my mom and me since he really did not like them but he would grow them just for us. I don’t know how he did it but each year he grew some of the prettiest collard greens I ever saw. I always envied the nice large leaves and when I bought my first house my dad gave me a couple of plants to try in my backyard. The collard greens never quite turned out like his and were often a little puny so I would go over to my parent’s house and pick a few from their garden to supplement my pot of greens.

IMG_1487_2

IMG_1494_2

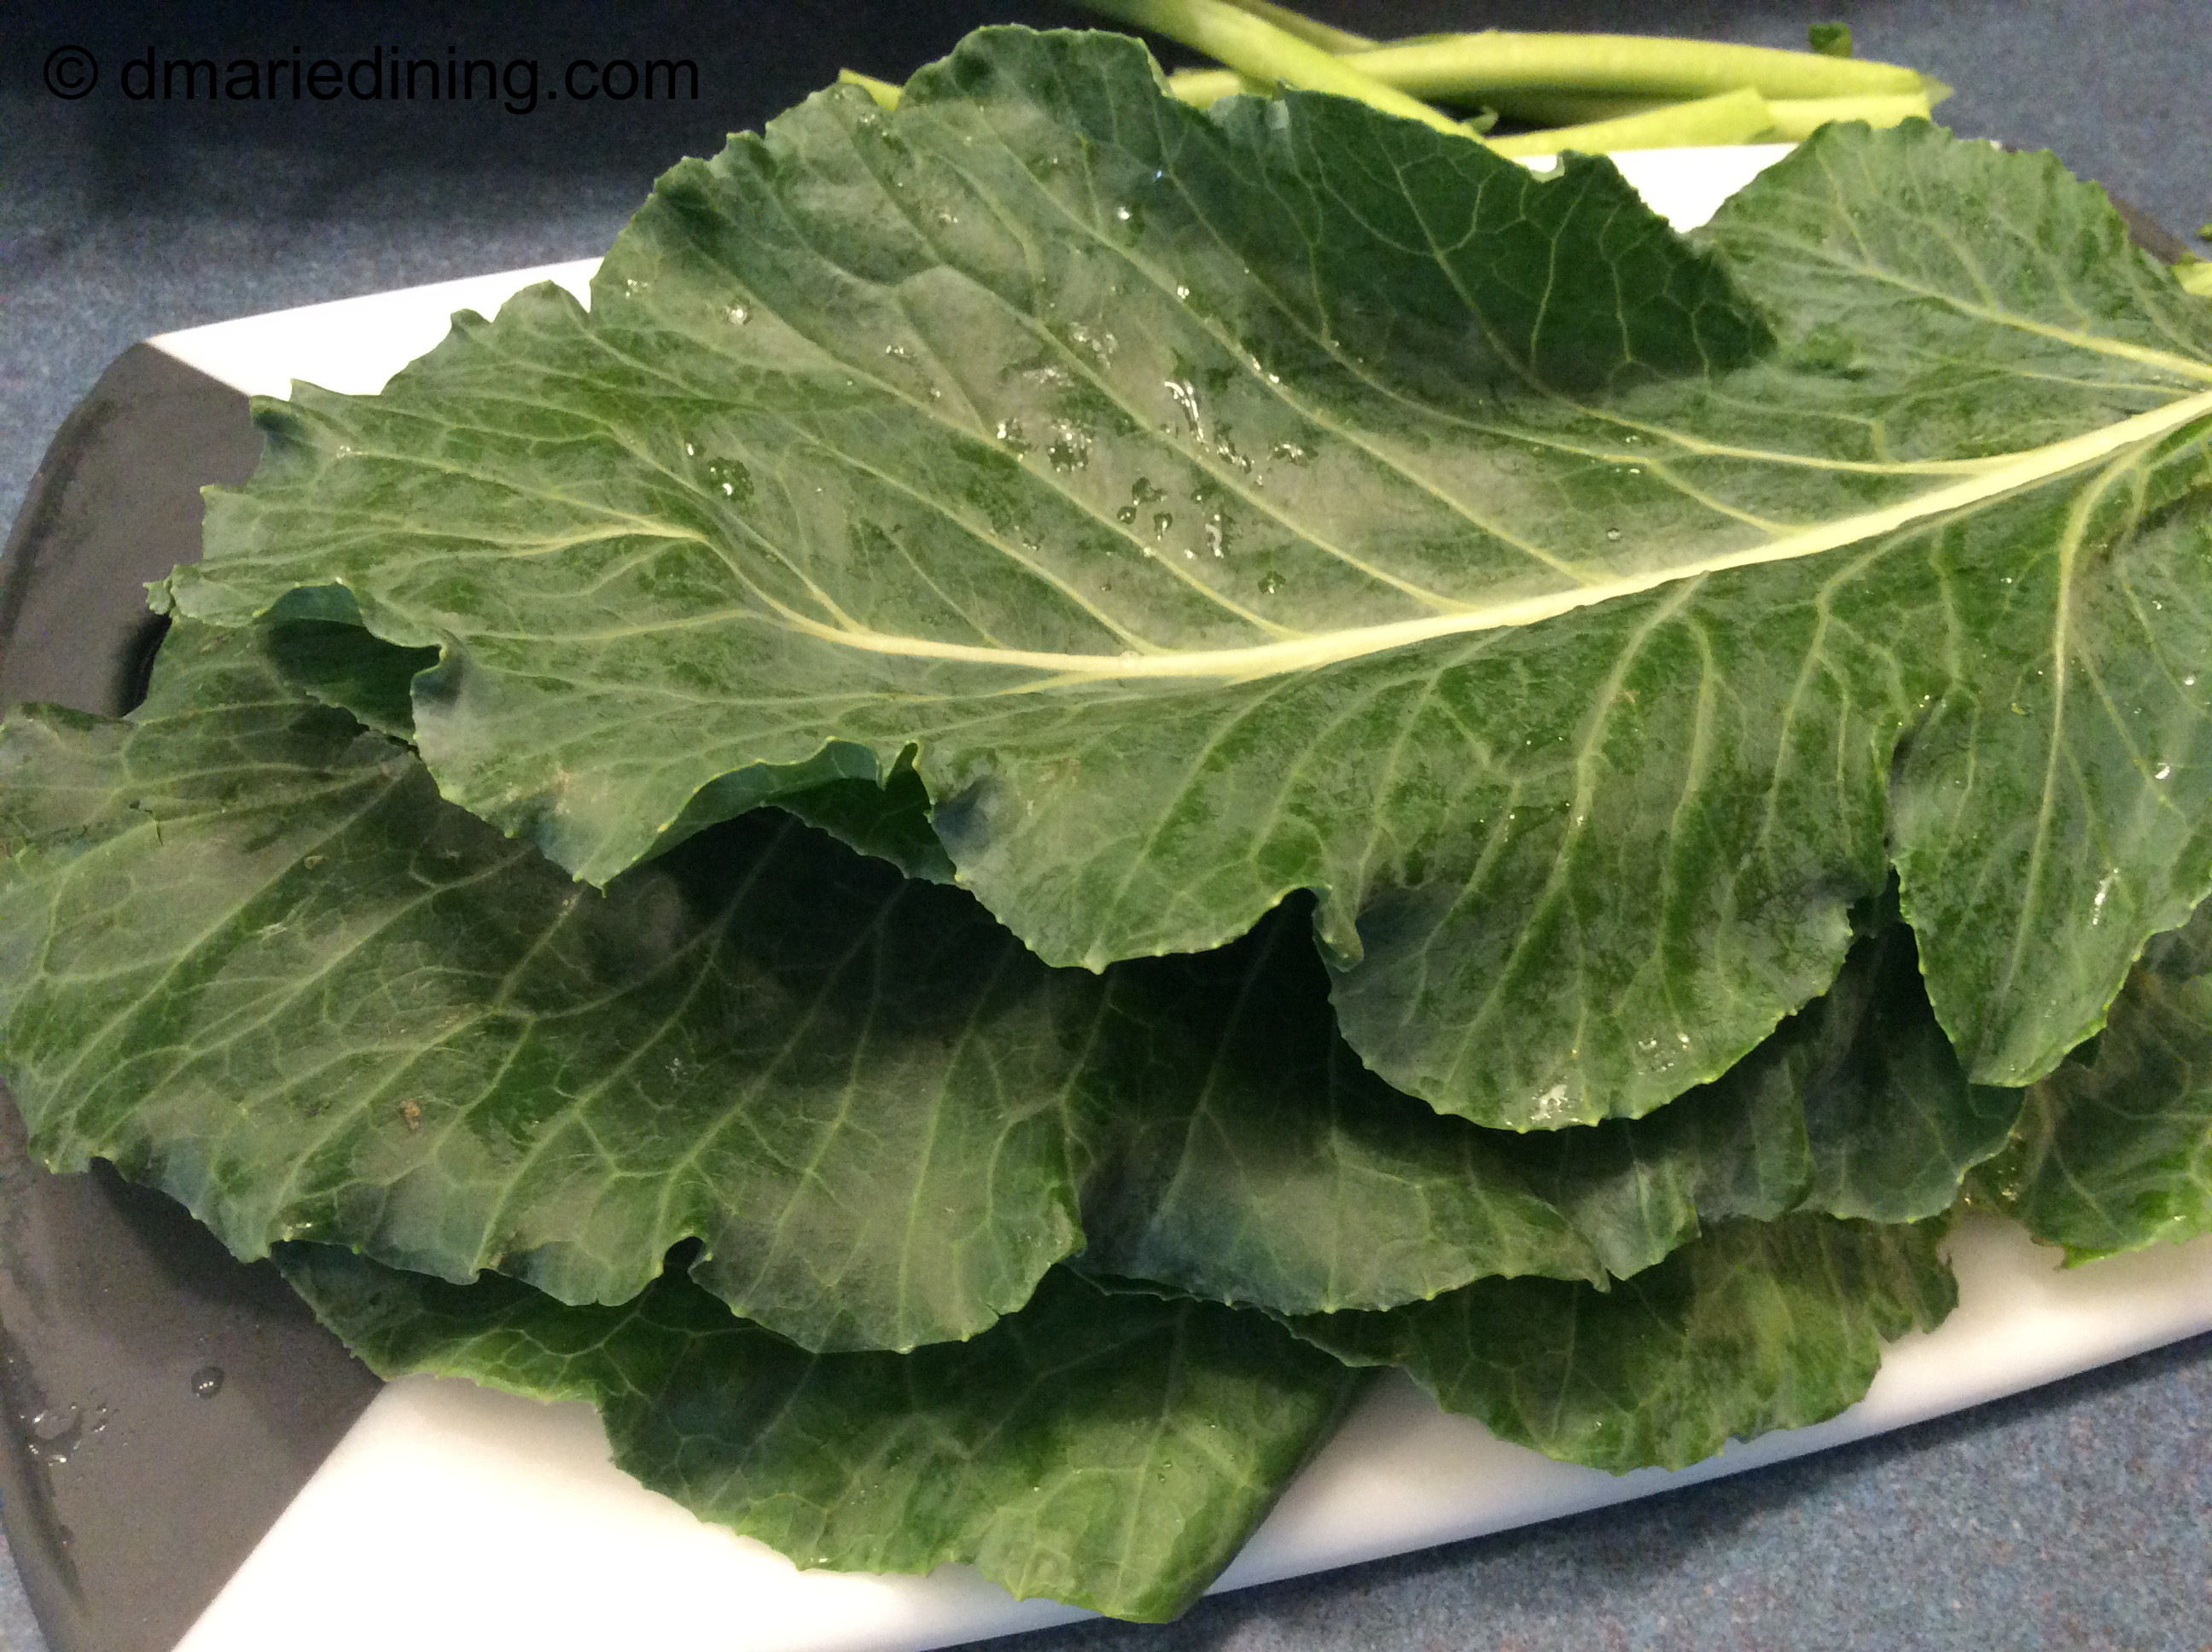
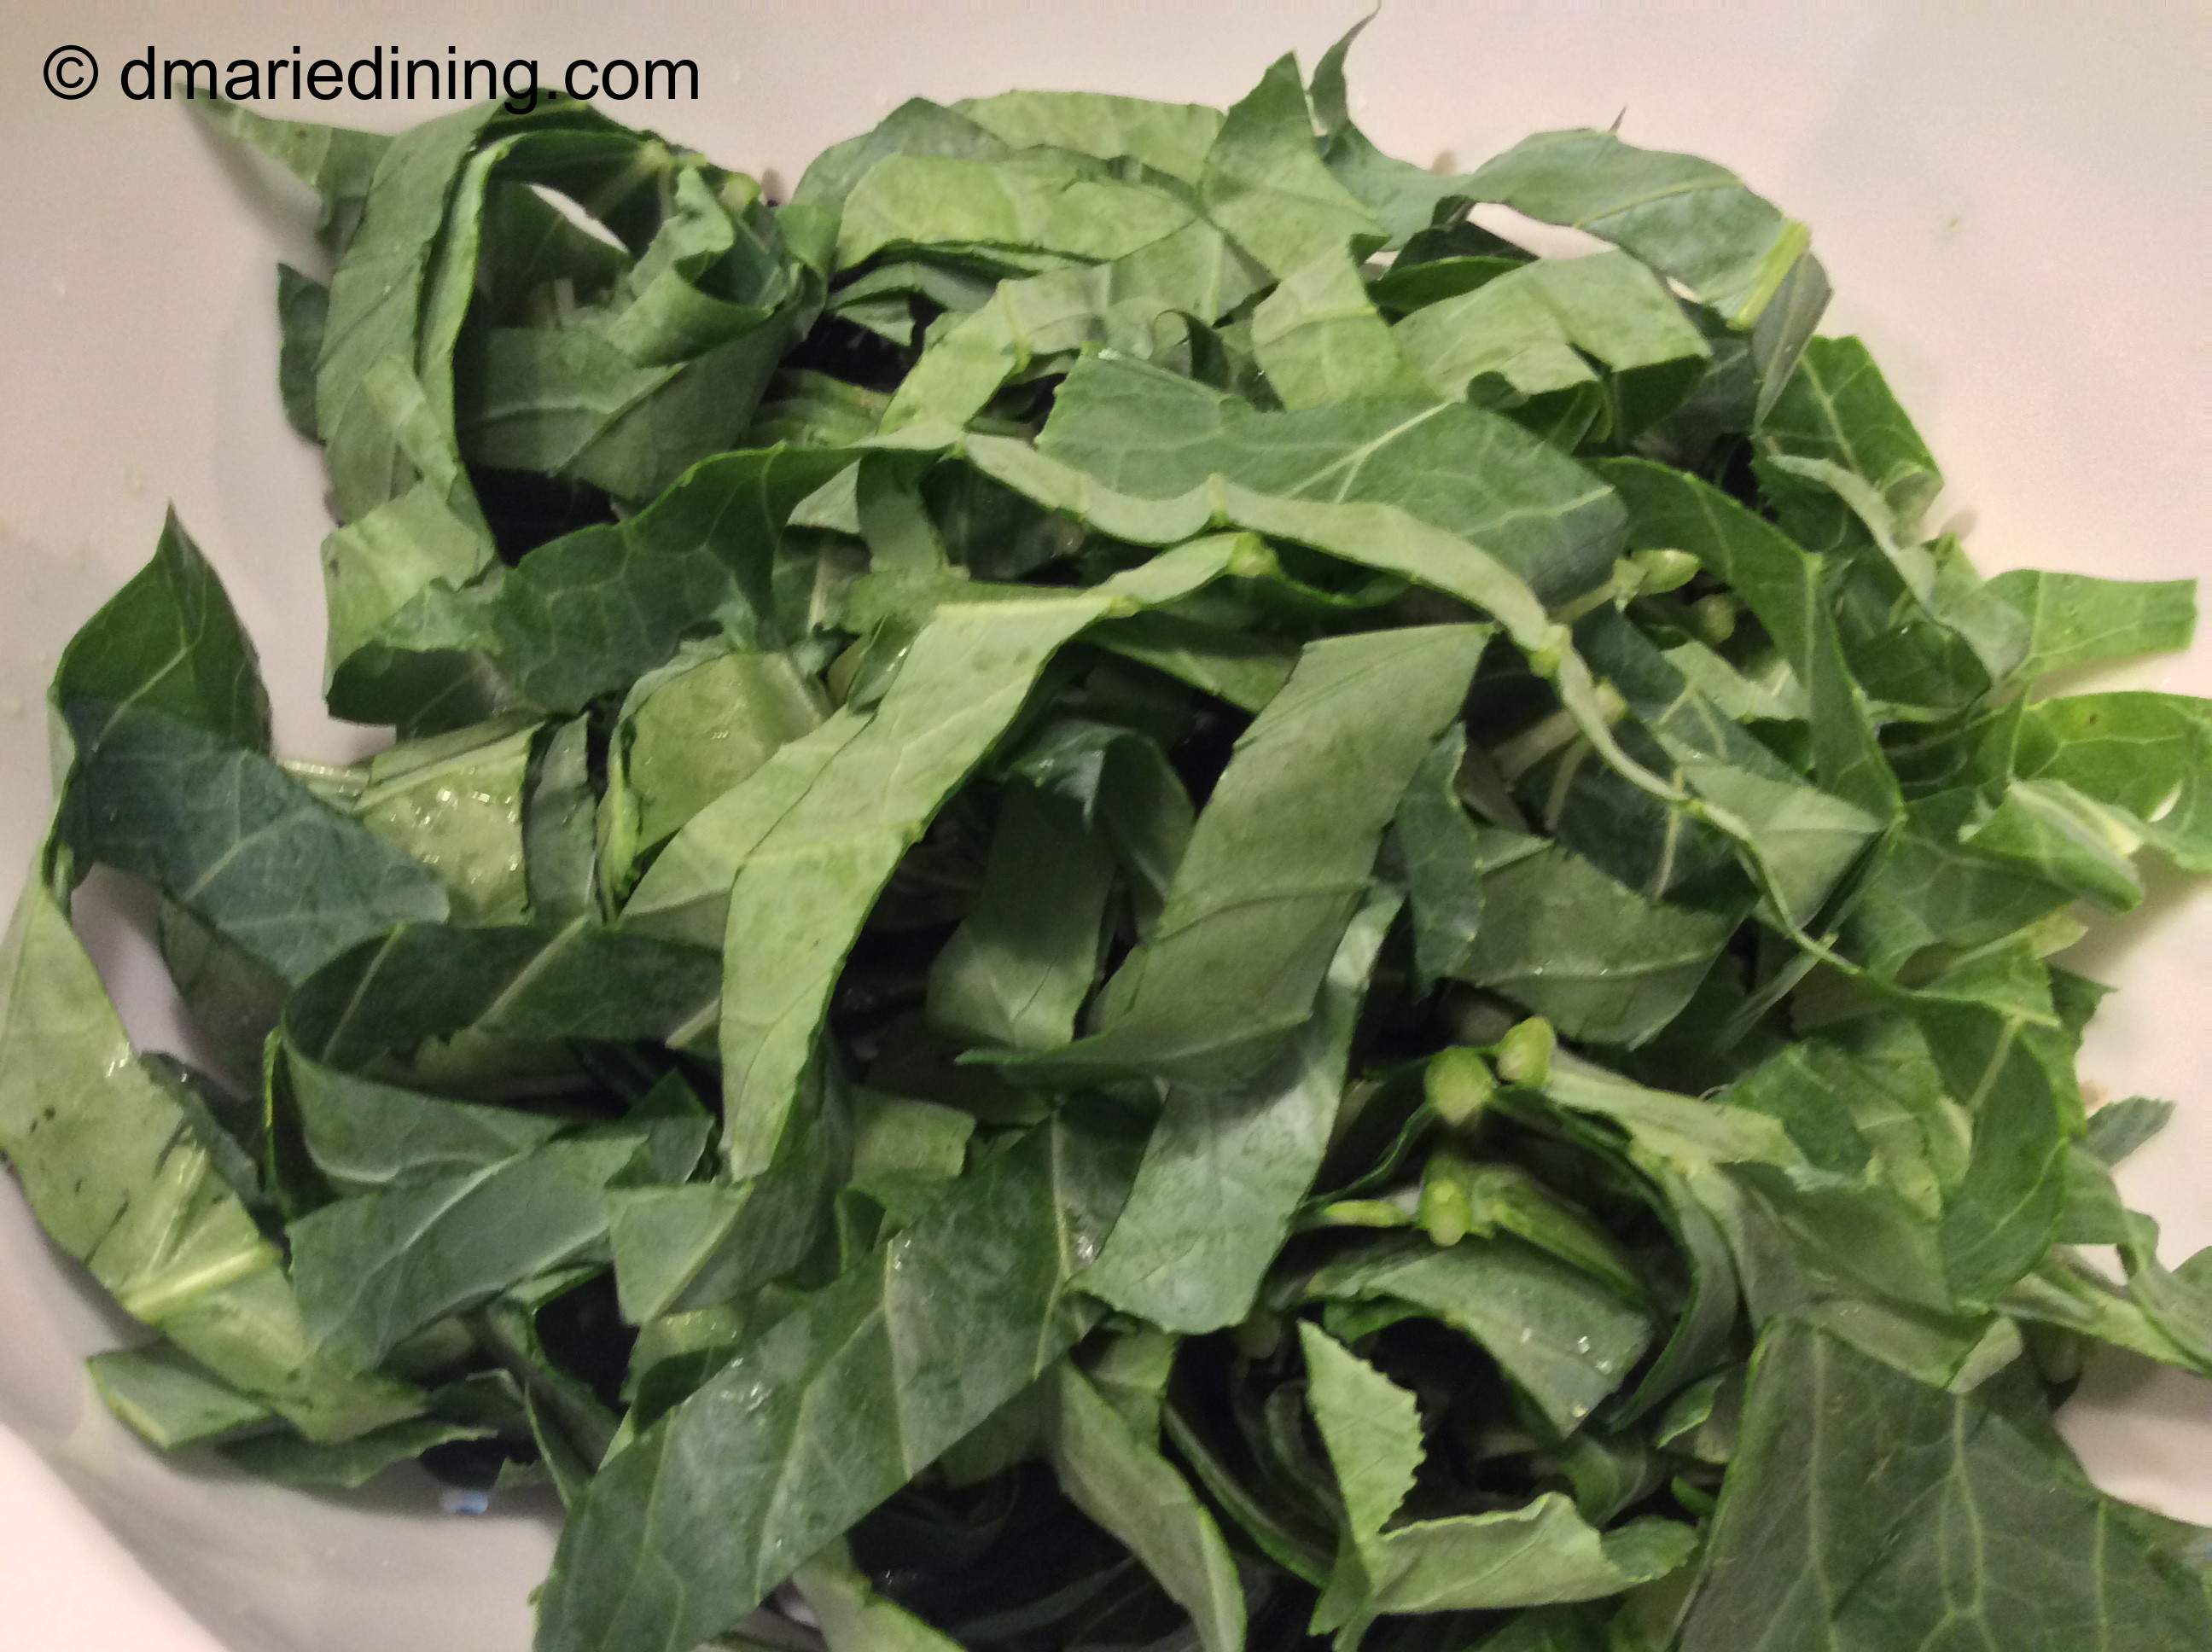
One trick my mom taught me when cooking Collard Greens was to strip the greens from the stem then layer a few into a pile. Next, you roll them up like a cigar and then slice them into ribbons. For whatever reason, my greens seem more tender when cut them up this way. I also add a little sliced onion and my mom’s secret ingredient to my pot of greens. One or two (depending on how spicy you want the greens) hot peppers. Do Not mix the peppers into the greens and break them up. You also don’t want to lose the peppers in the greens when you stir them up . The person that finds the pepper will have a nice hot surprise. Back in the day I use to be that person whenever my mom forgot to take the pepper out. Now, it is my daughter that finds the pepper on the few occasions I forget to take it out. Remember to just lay the pepper on top of the greens and be careful when stirring them.

Ummm …… talk about good southern cooking!

IMG_1570_2

Collard Greens

Ingredients:
2 bunches collard greens
2 ham hocks or 2 smoked turkey legs
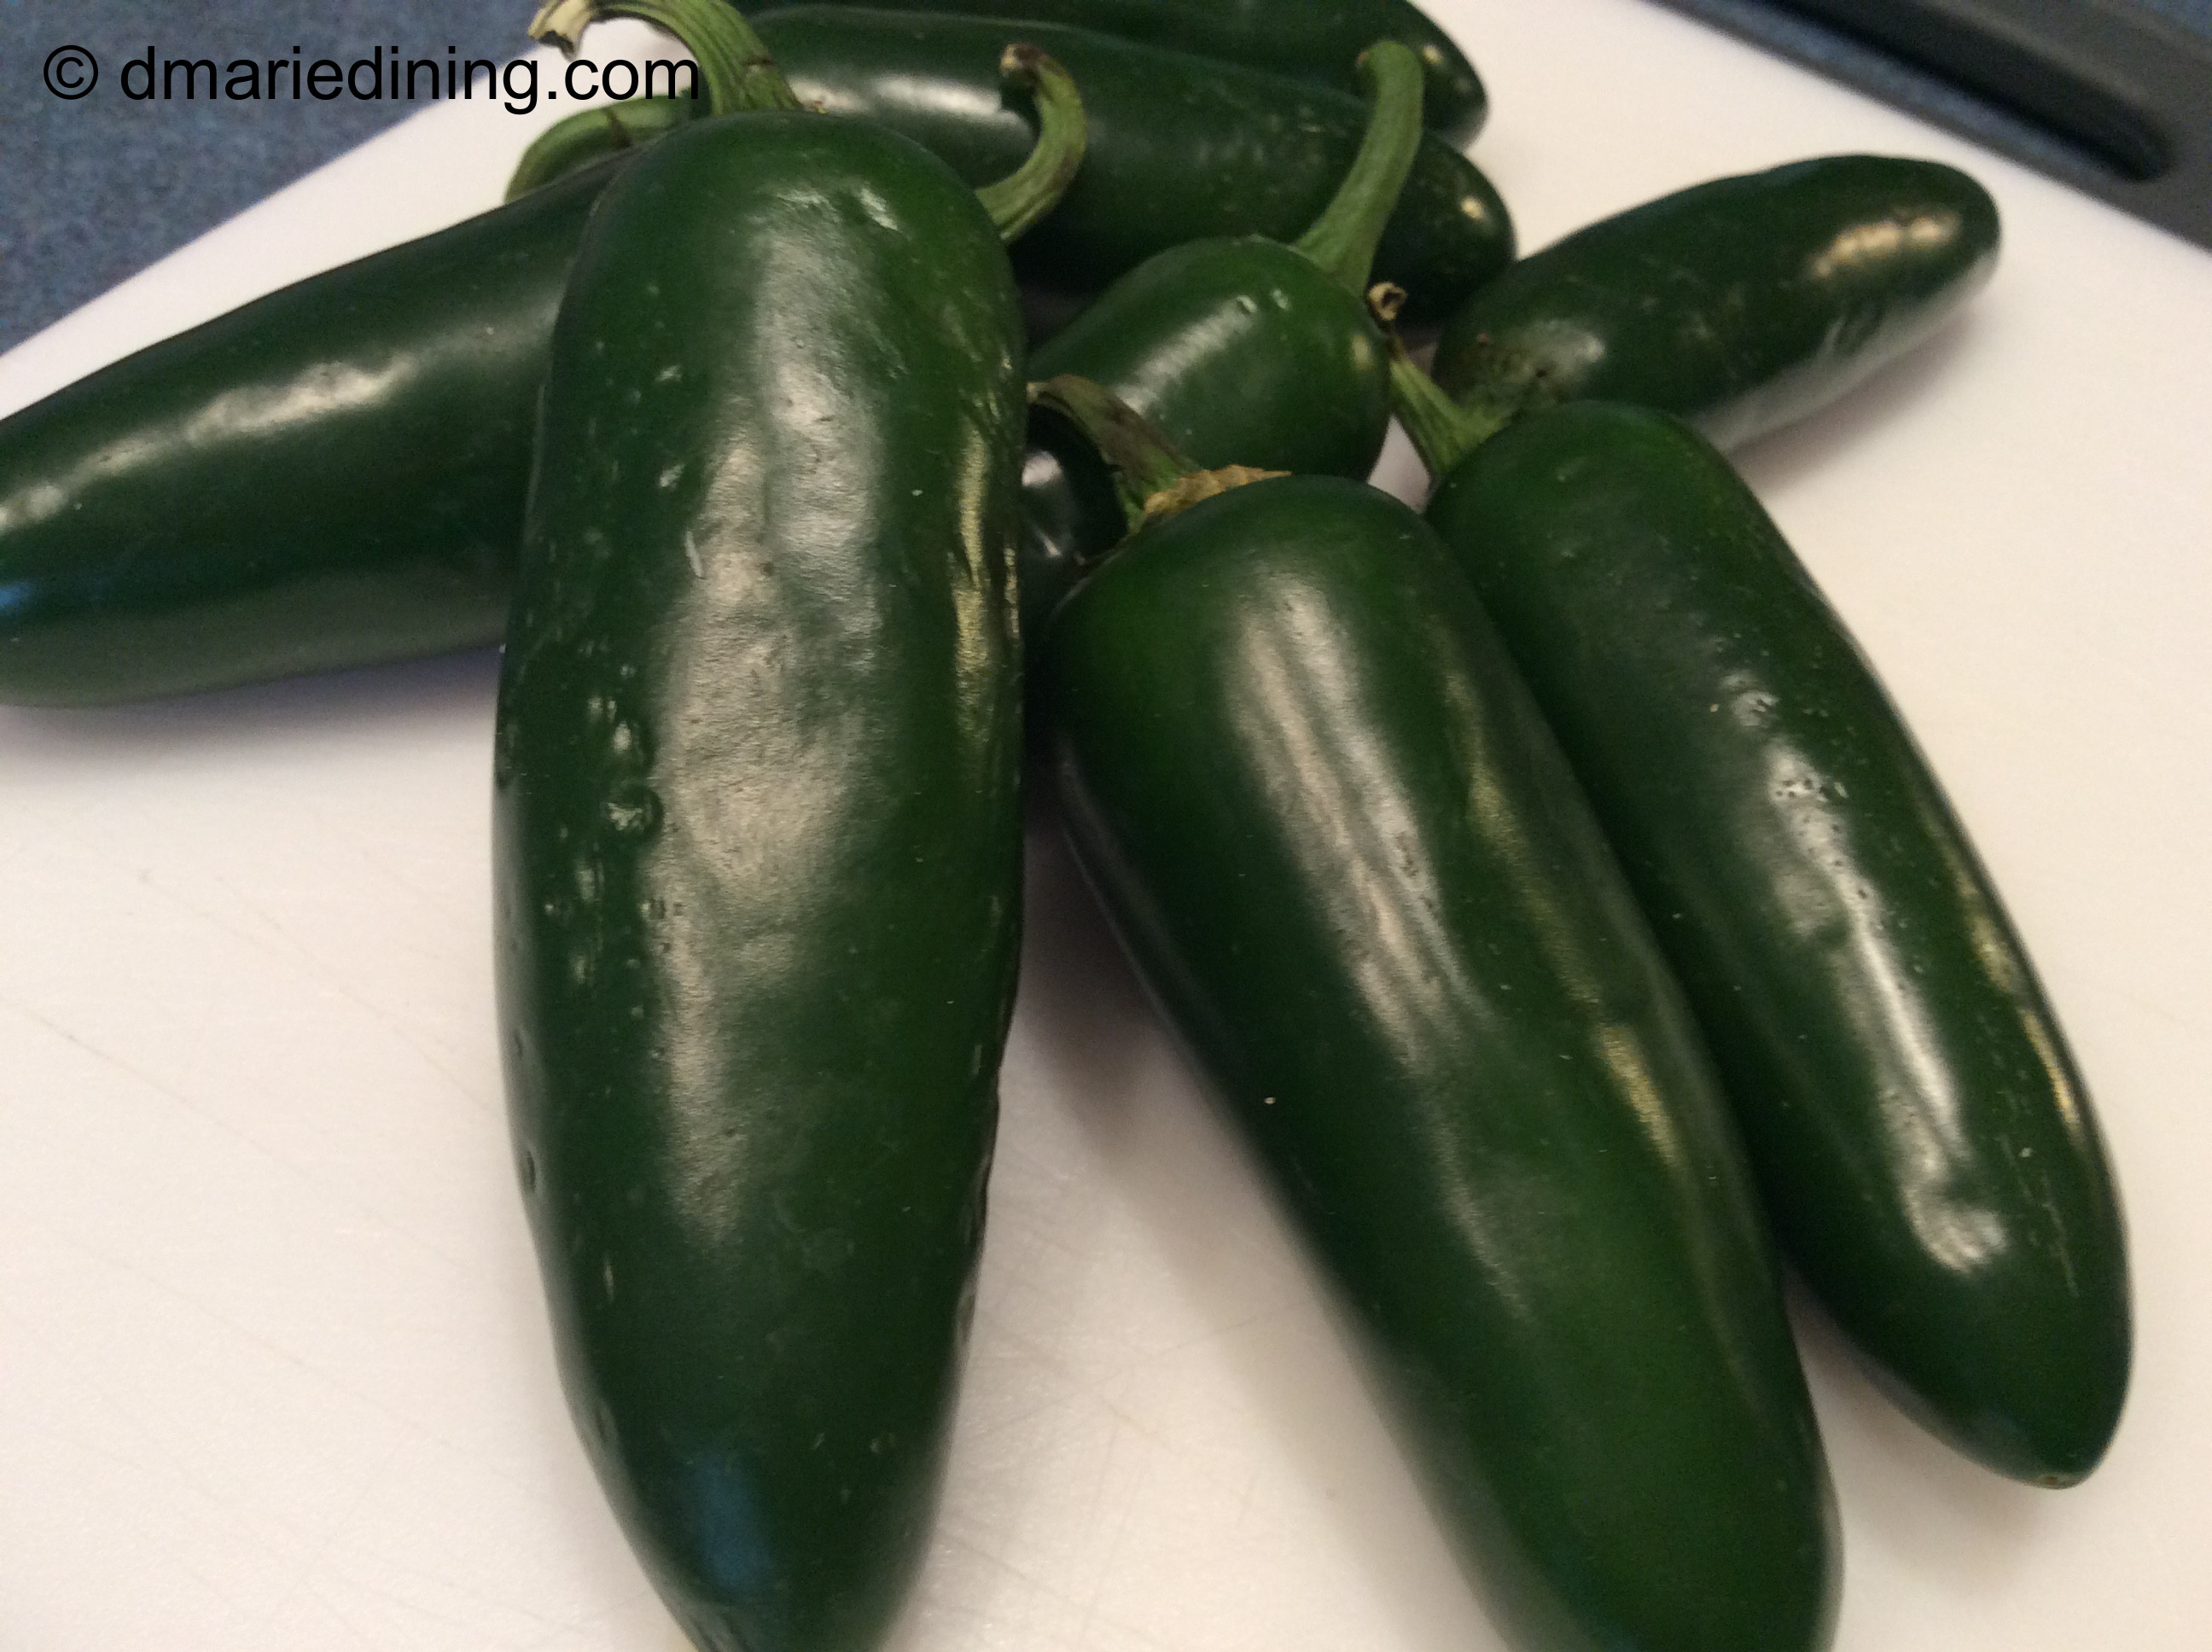
1 hot pepper
4 cups water
1 cup chicken broth
1 cup diced onions
1 tbsp bacon fat
1 tbsp salt
1 tsp black pepper
1 tsp onion powder
1 tsp Adobo (optional)

Place ham hocks or smoked turkey legs into a pressure cooker with 4 cups of water with ½ cup of diced onion. Cook for 35 – 40 minutes. Cool down pressure cooker by running under cold water so that pressure is released. Remove meat. Drain broth and set aside. If you are not comfortable using a pressure cooker, place the ham hocks or smoked turkey legs in a large pot with 4 cups of water. Cook for 1 to 1 ½ hours on medium high heat until meat is tender. Remove meat and drain broth.

Remove stems from collard greens. Layer collards in a stack of 4 – 5 leaves then roll up like a cigar. Slice collard greens into ribbons. Set aside.

Heat bacon fat in a large pot over medium high heat. Add onions and saute for 1 minute. Add meat, broth, water and collard greens to the pot then sprinkle with seasonings. Lay hot pepper on top of the greens. Reduce heat to medium and let greens cook for 1 ½ hours until they are tender. Stir occasionally but be careful not to break up the hot pepper. Add more water if necessary. Remove the hot pepper prior to serving.

Follow my blog with Bloglovin