Category Archives: Meat/ Poultry

Pasta with Sweet Italian Sausage in Sauce

Let me say from the start that even though this recipe is about pasta and sweet Italian sausage this is not necessarily an Italian recipe. It is more of a combination of Italian and Mexican flavors.

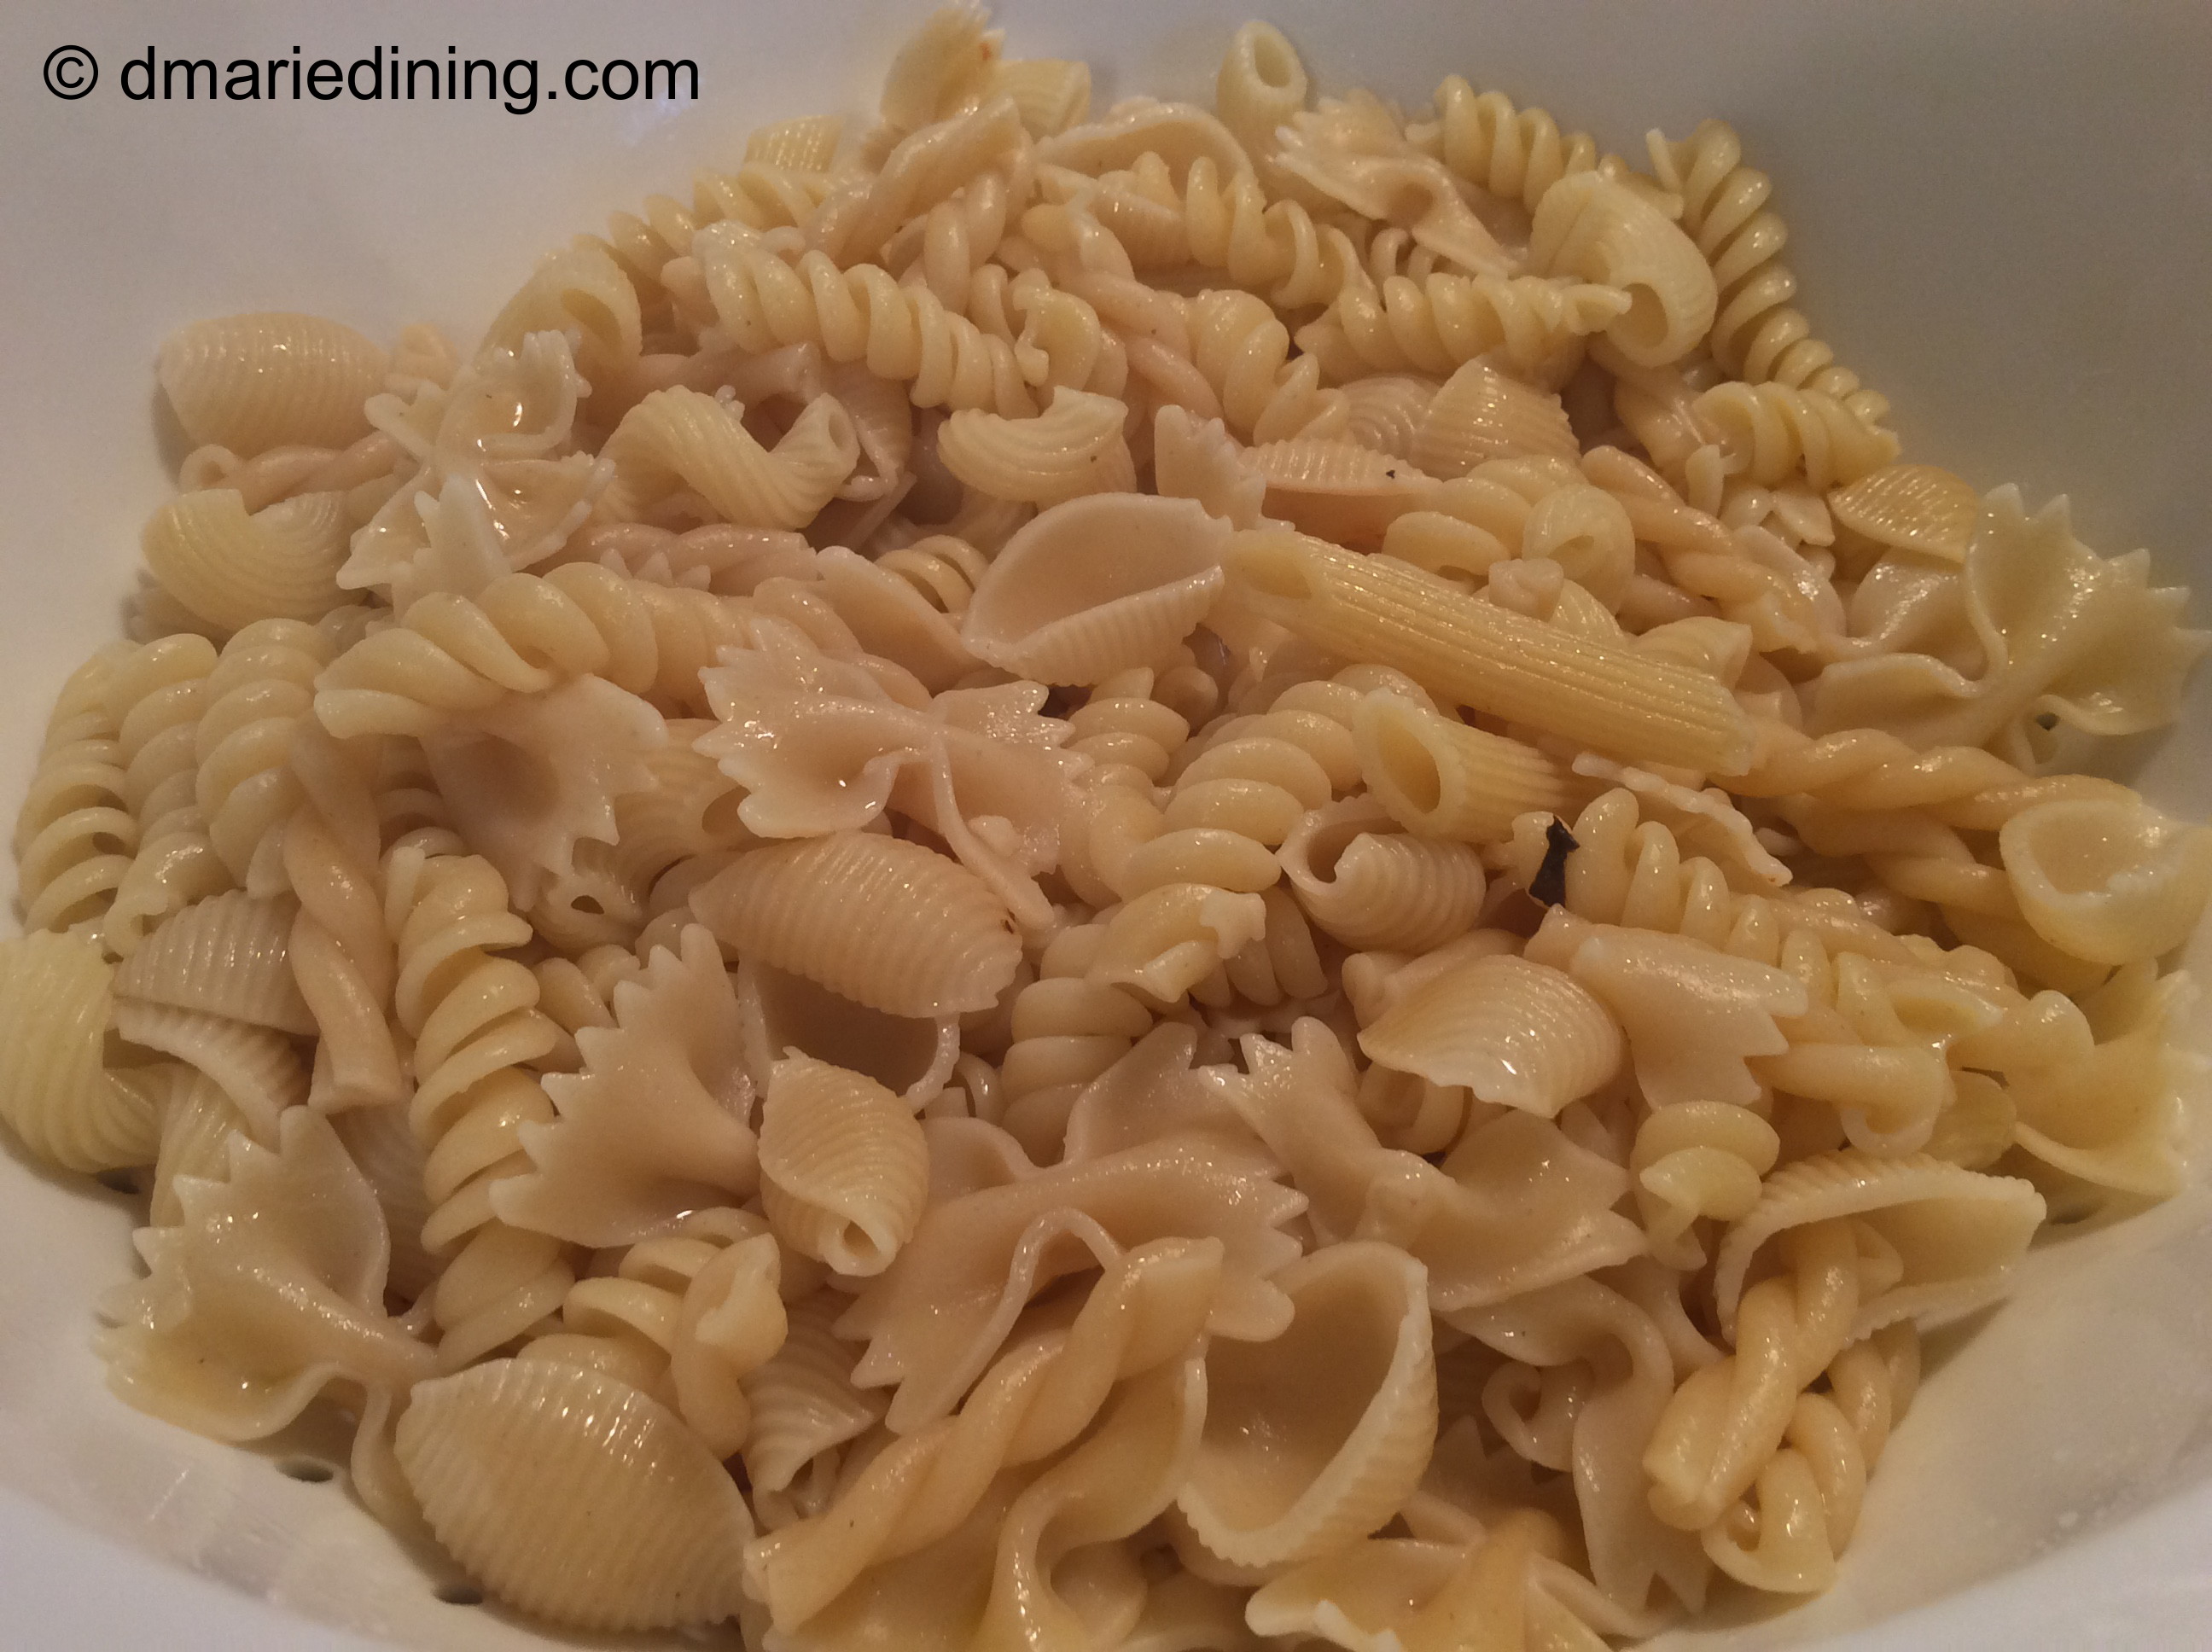
Whenever my youngest son asks what’s for dinner and I say pasta he breaks into his happy dance with sound effects. I have said this more than once in my blog… my family loves pasta. Maybe the next time I make pasta I’ll see if I can film the dance and share it on my blog.

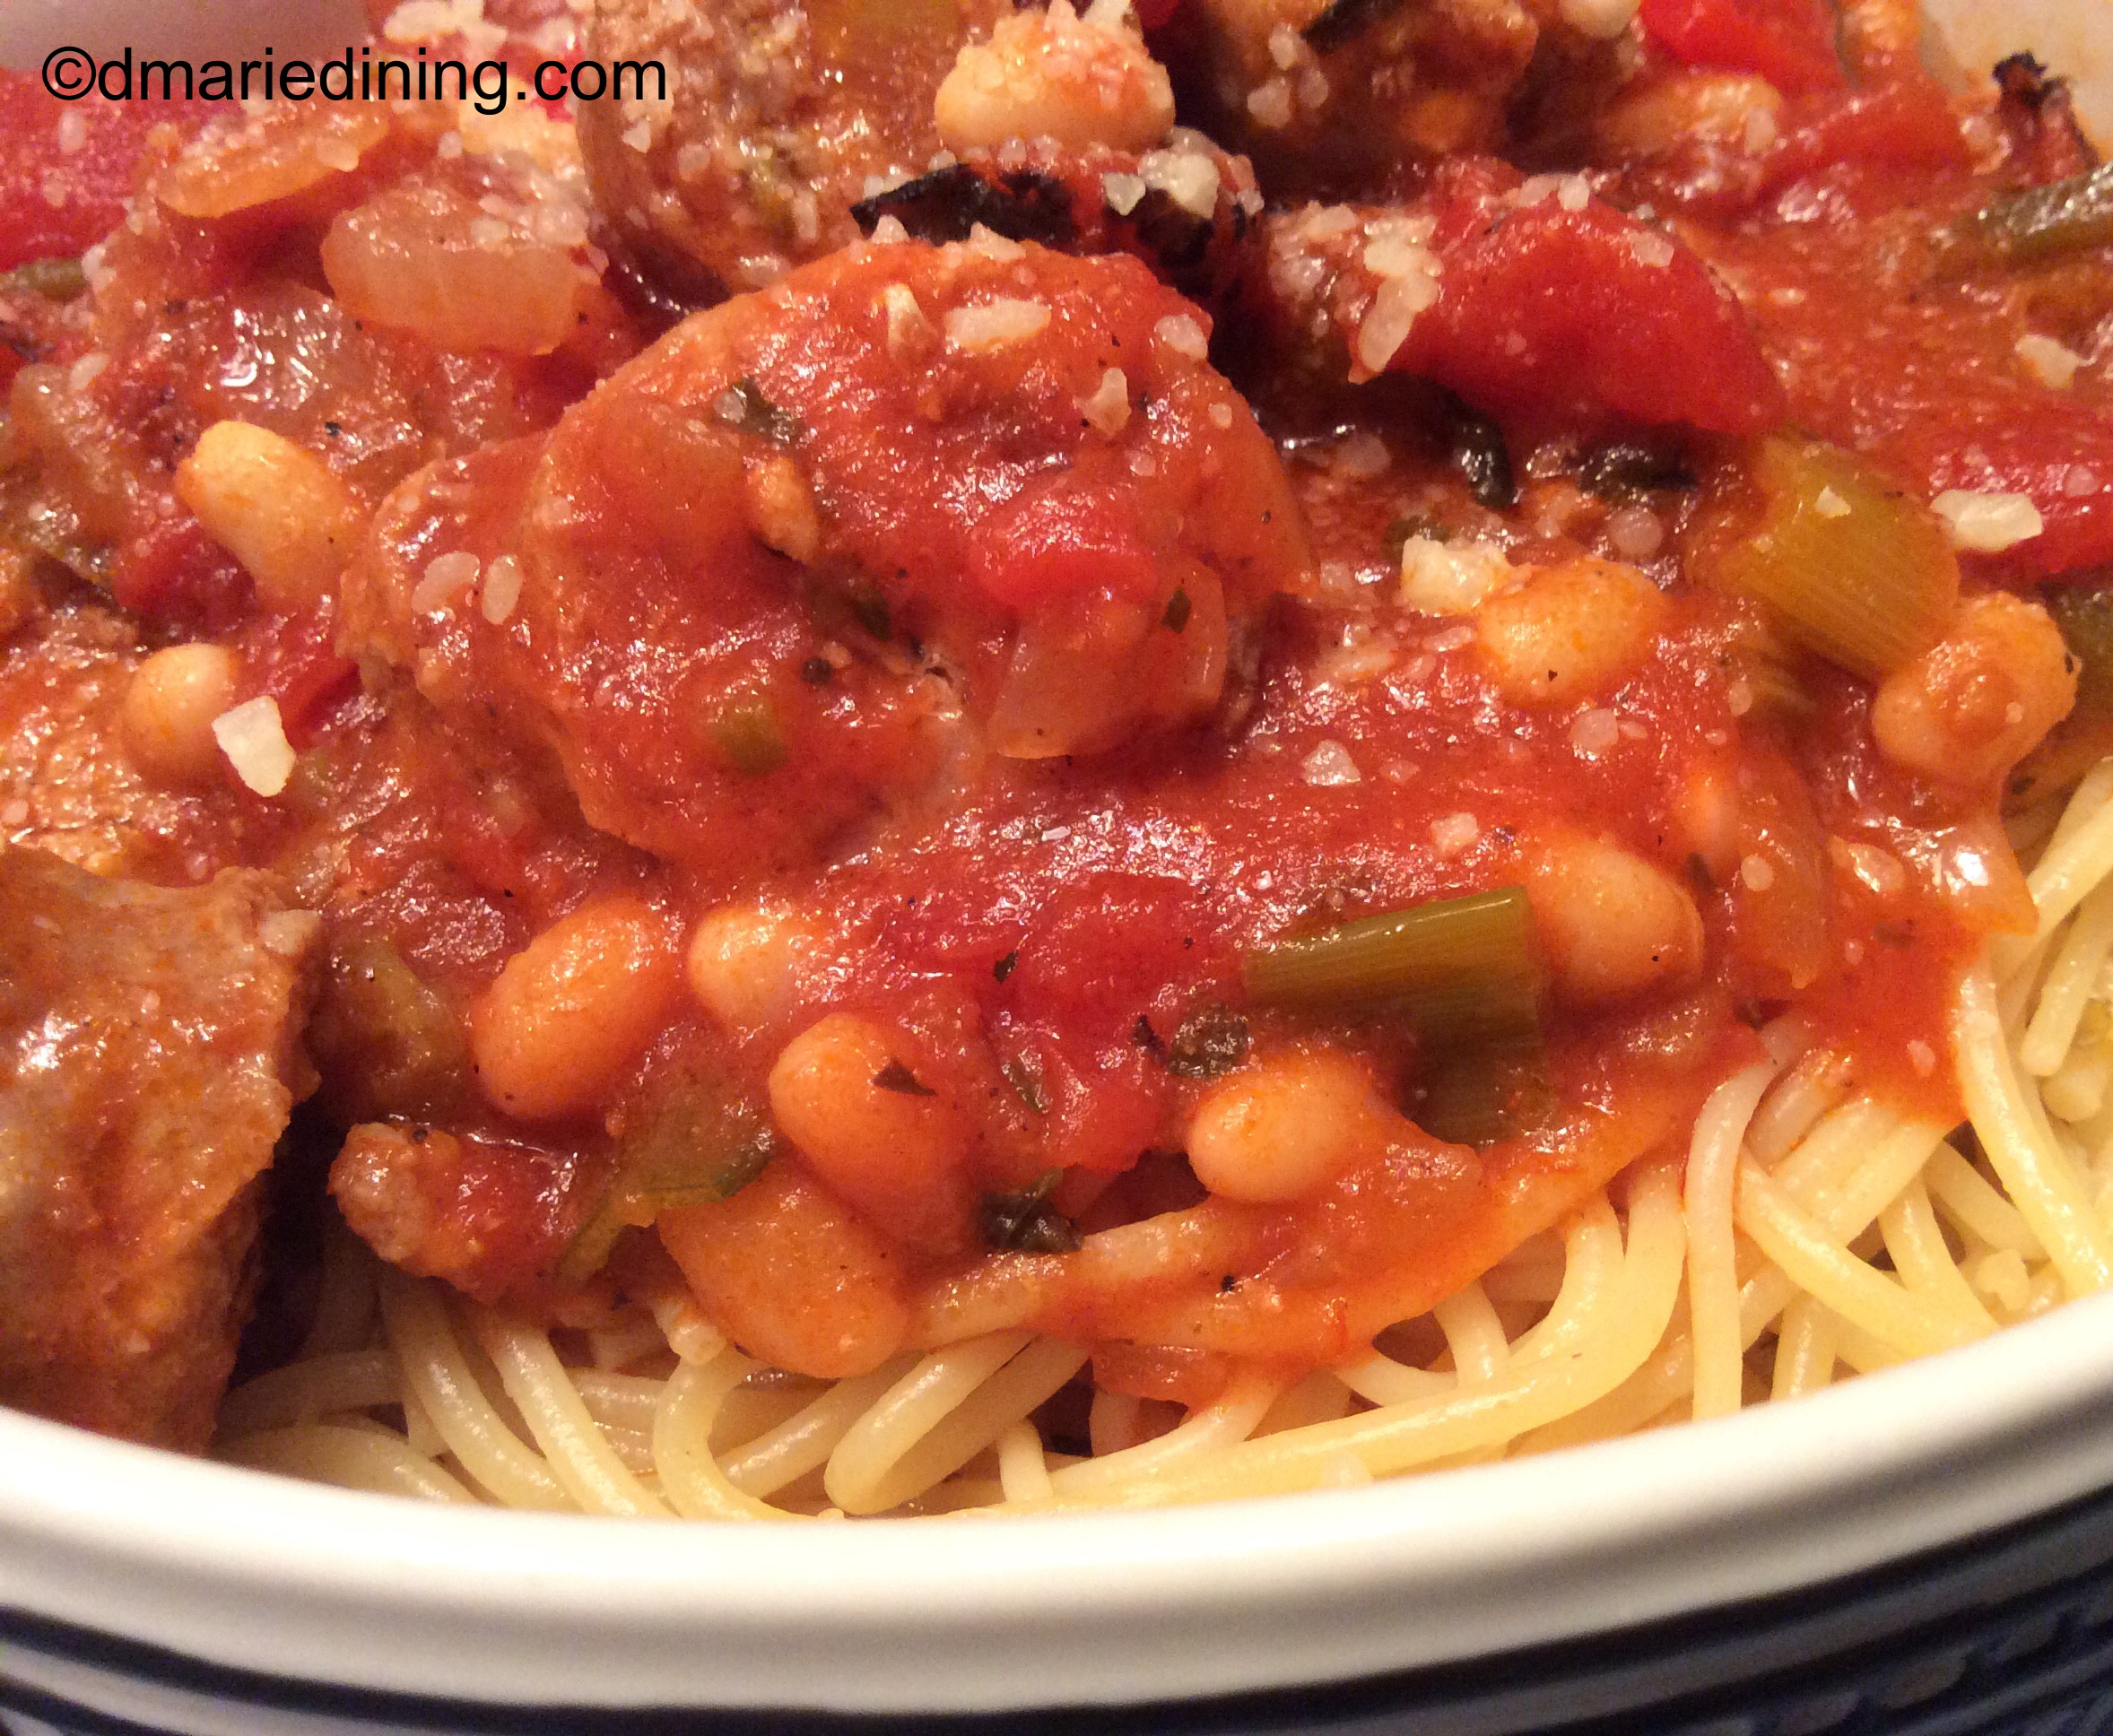
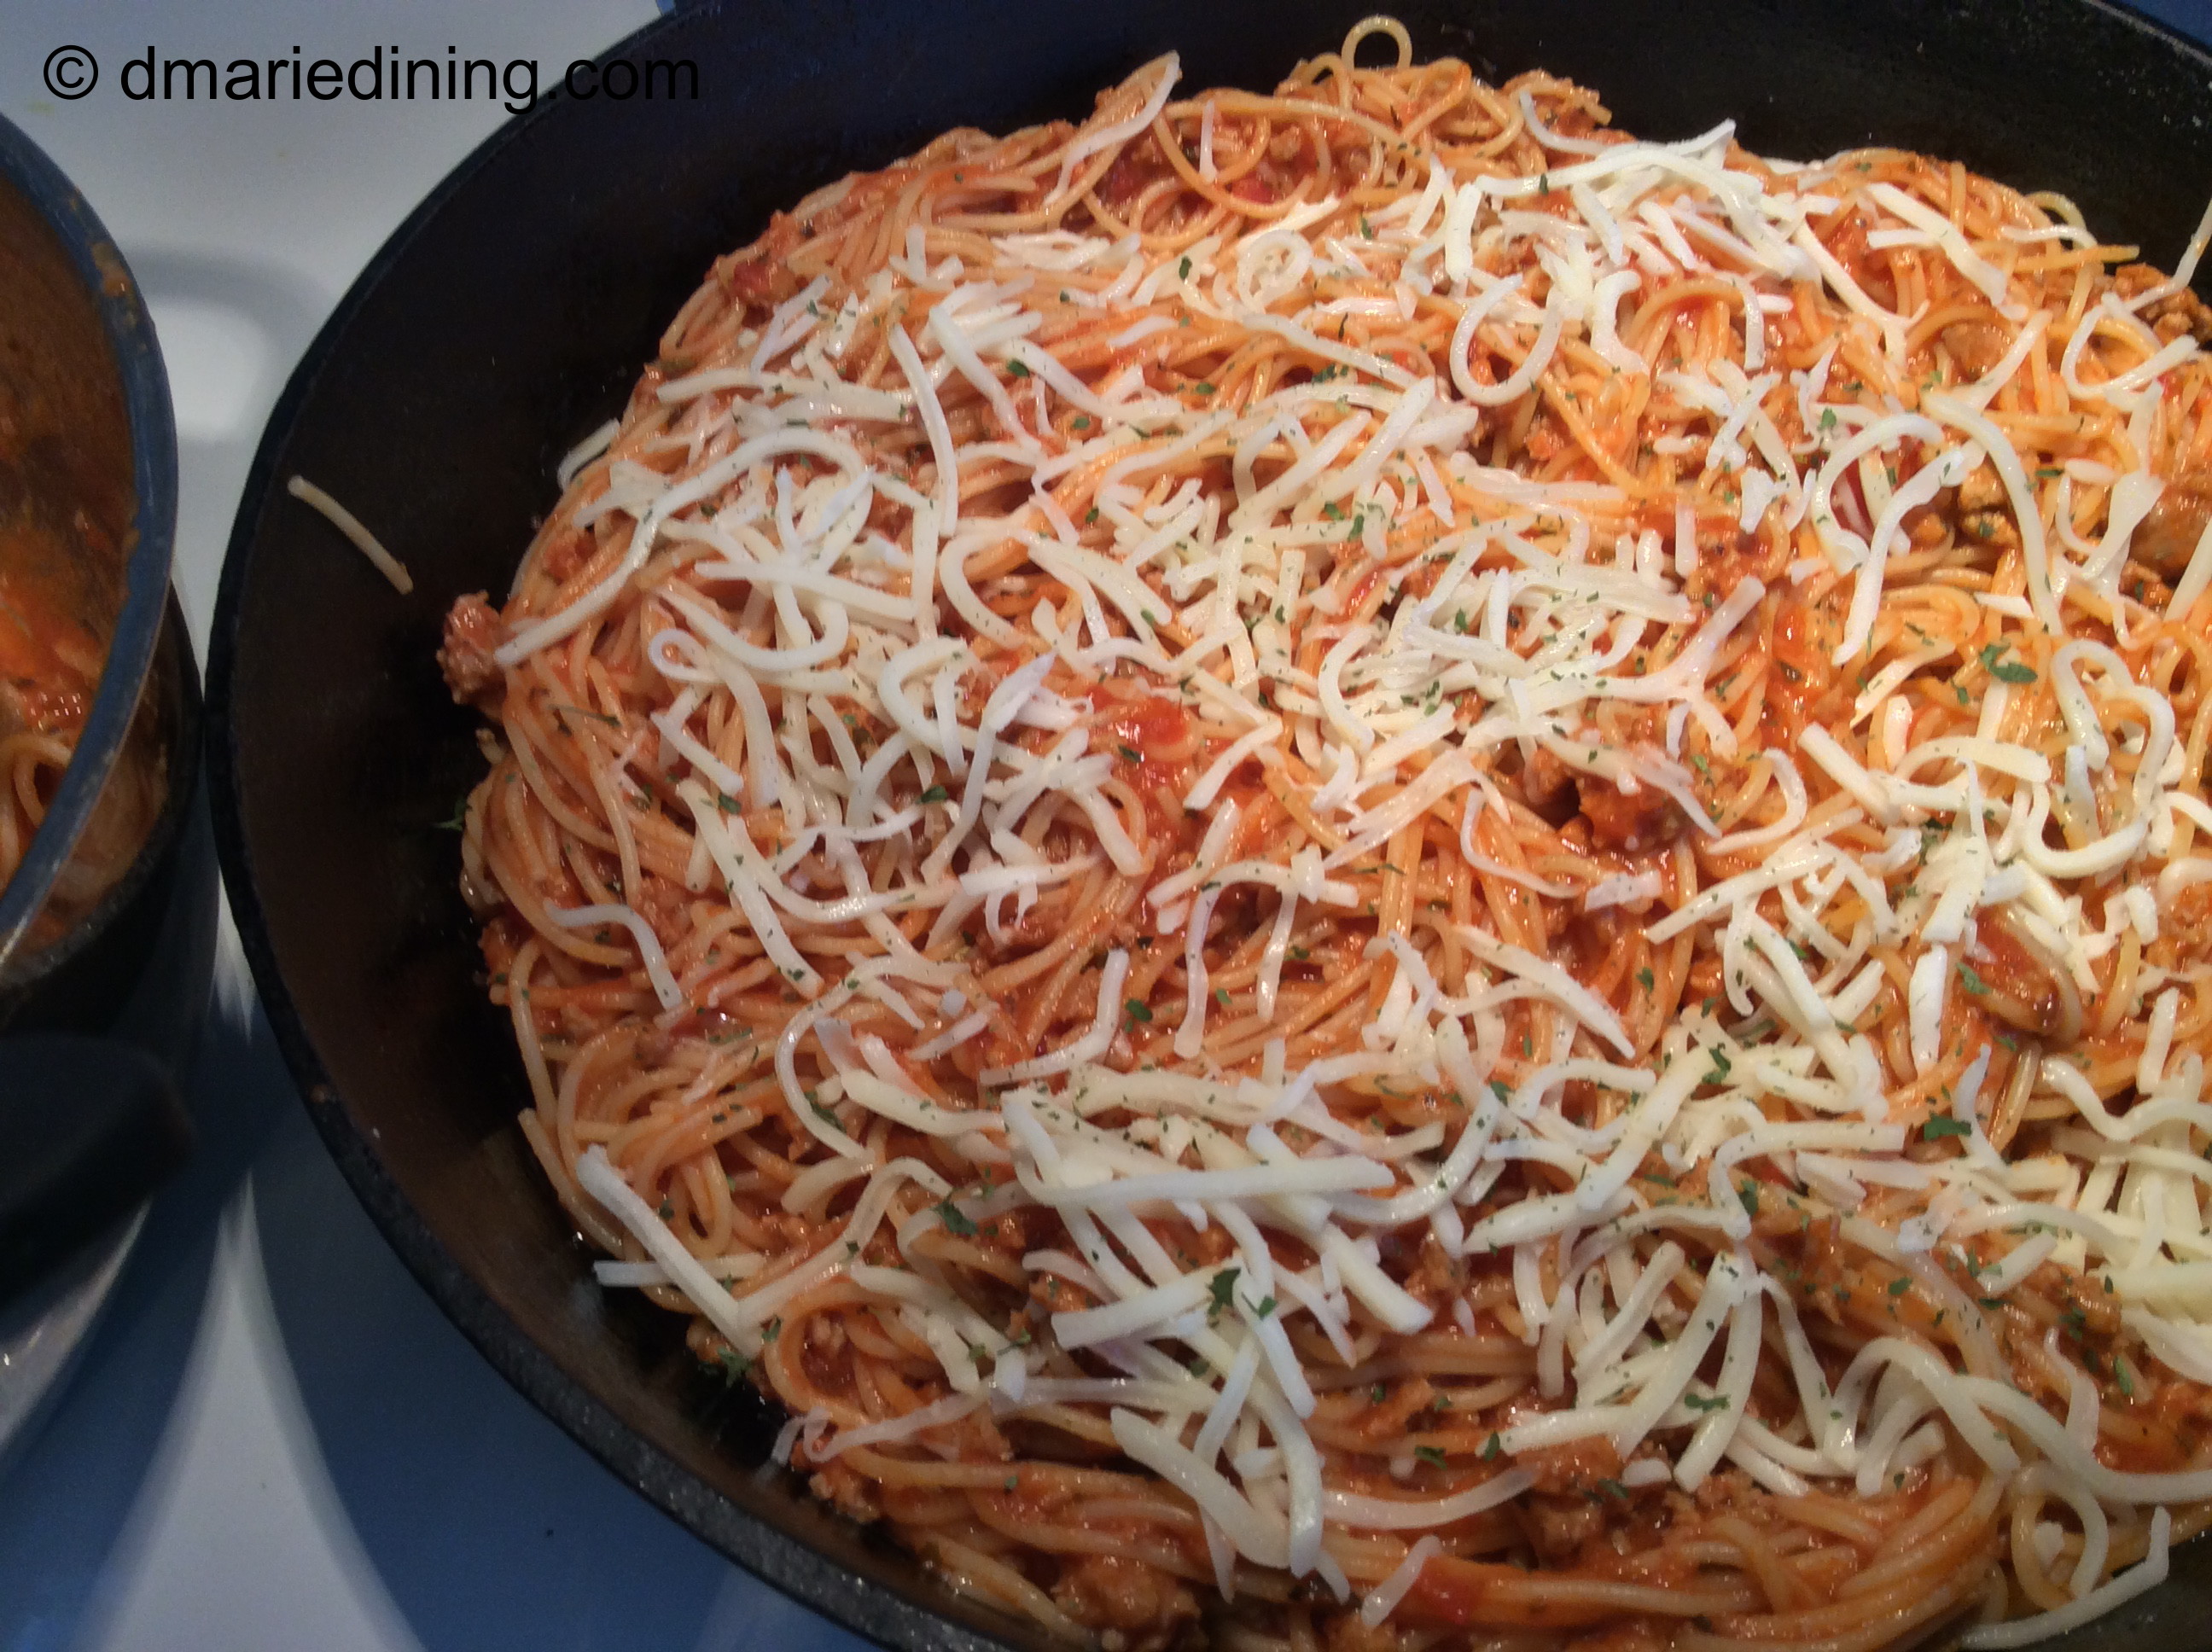
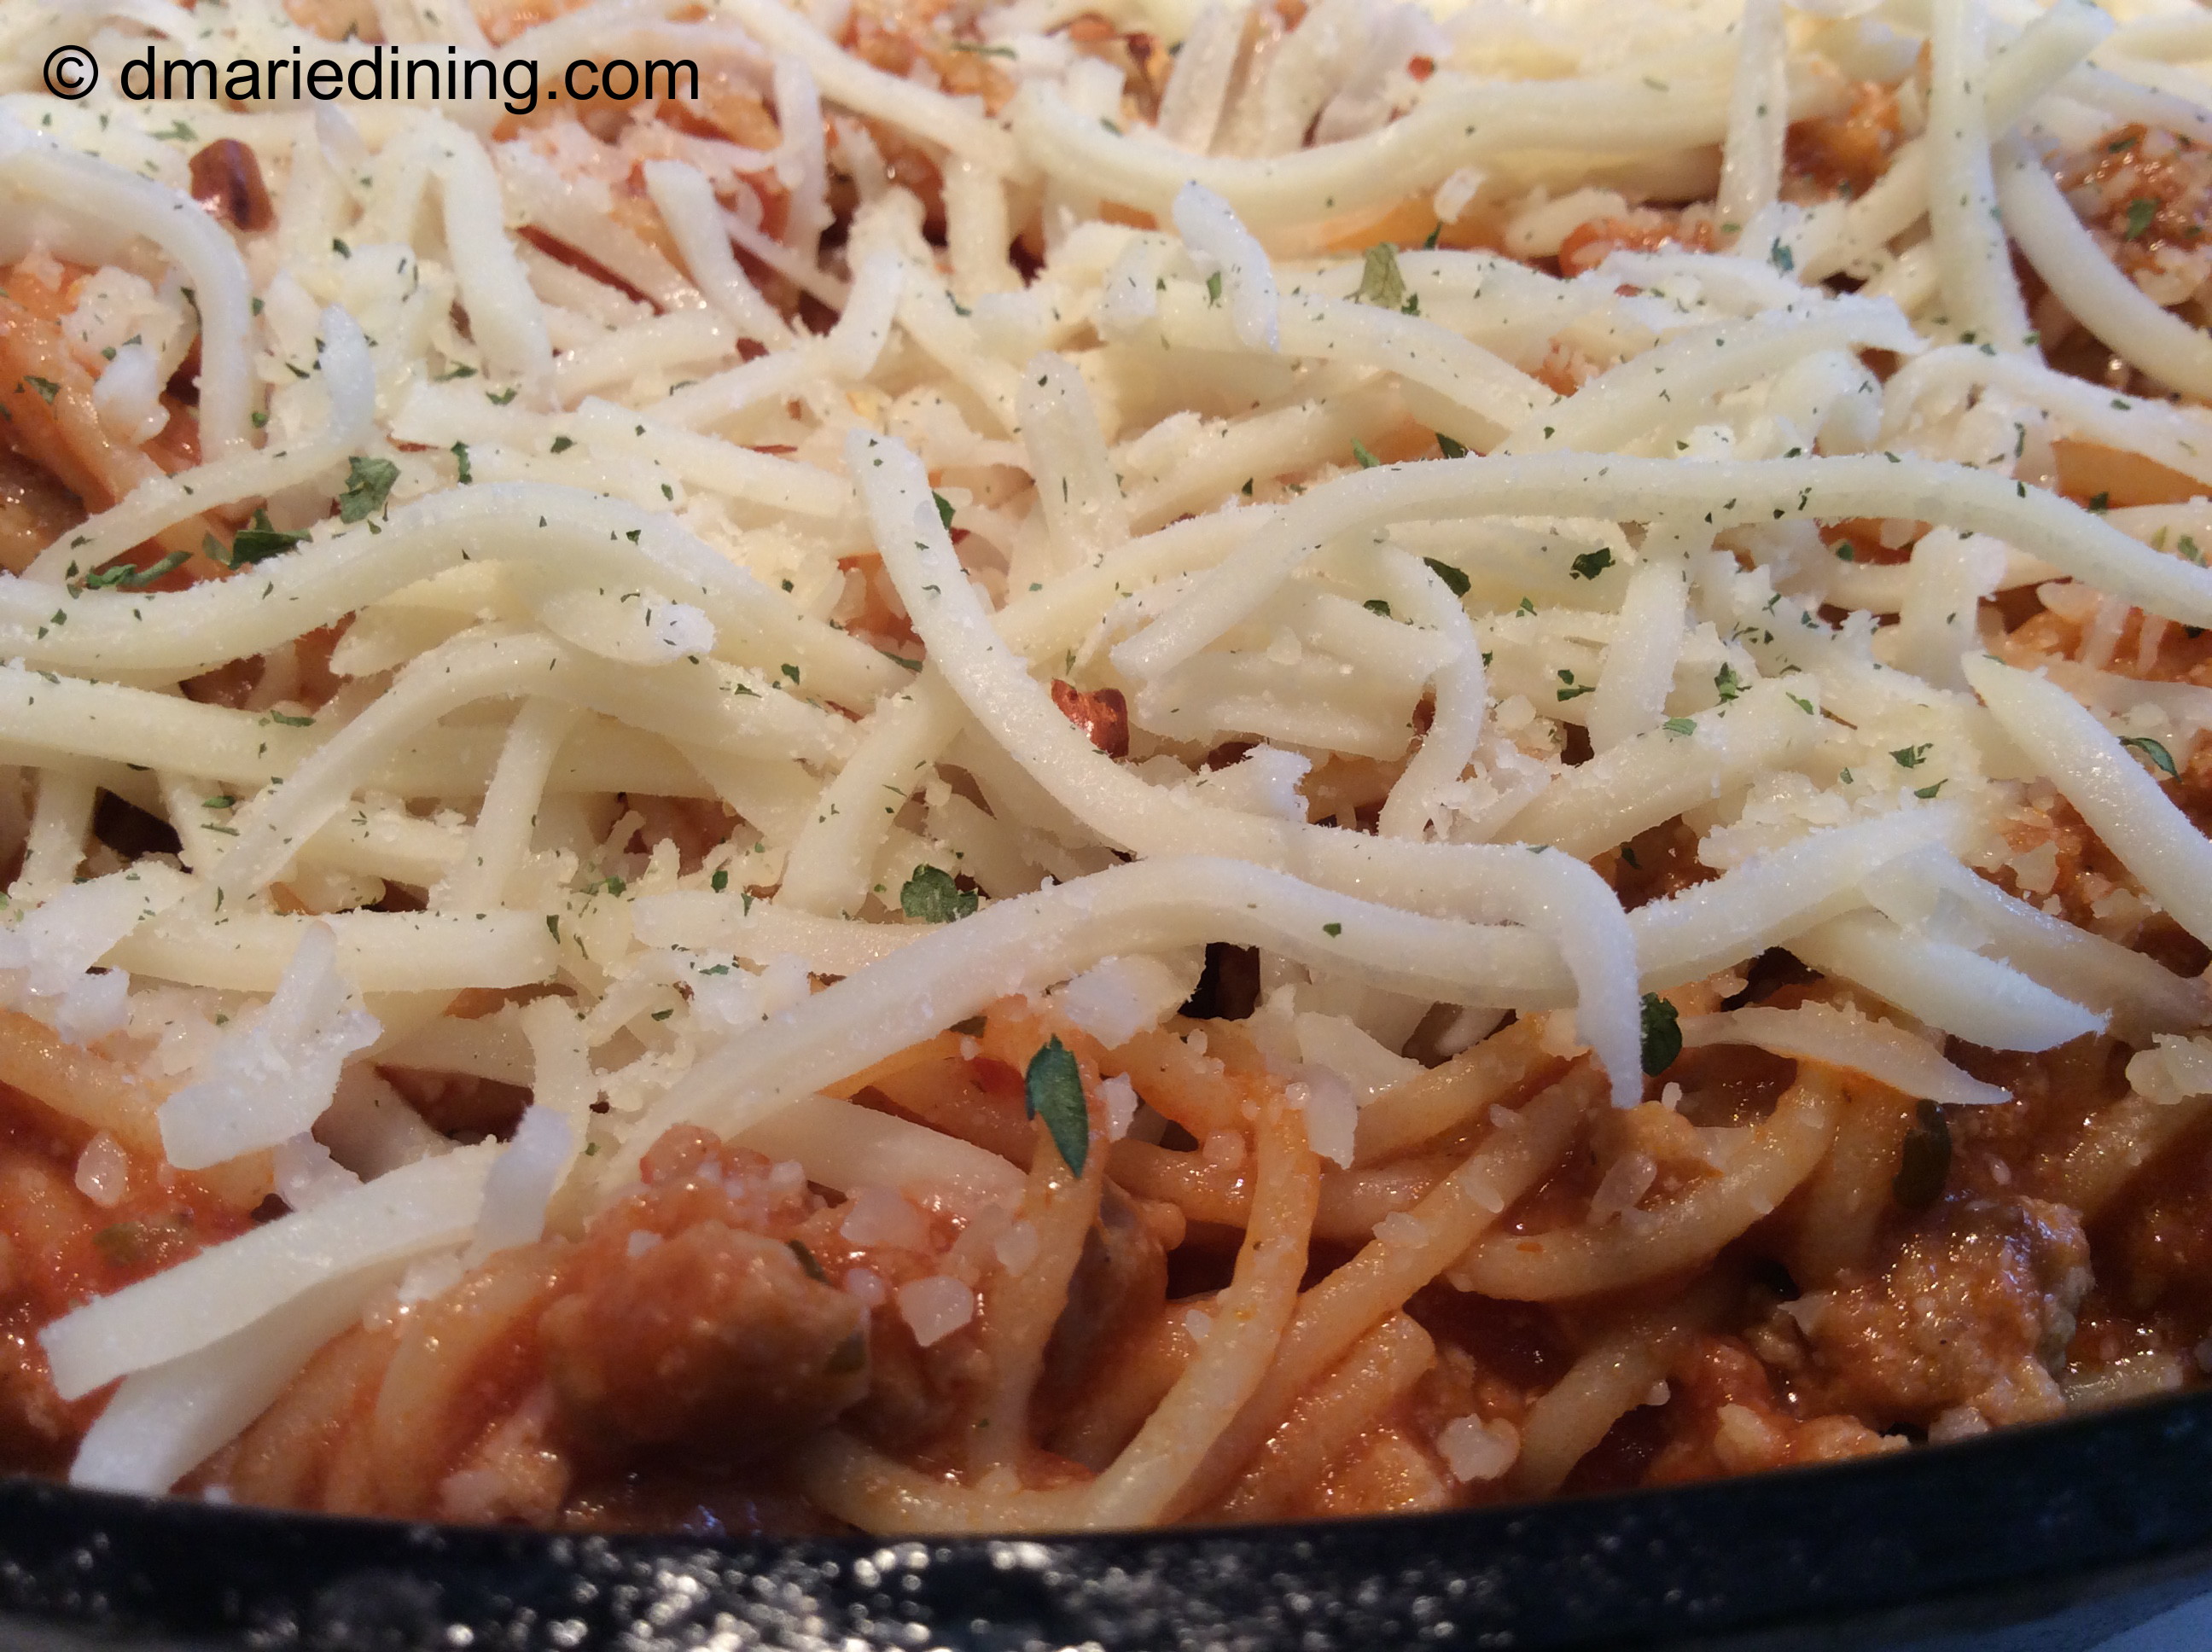
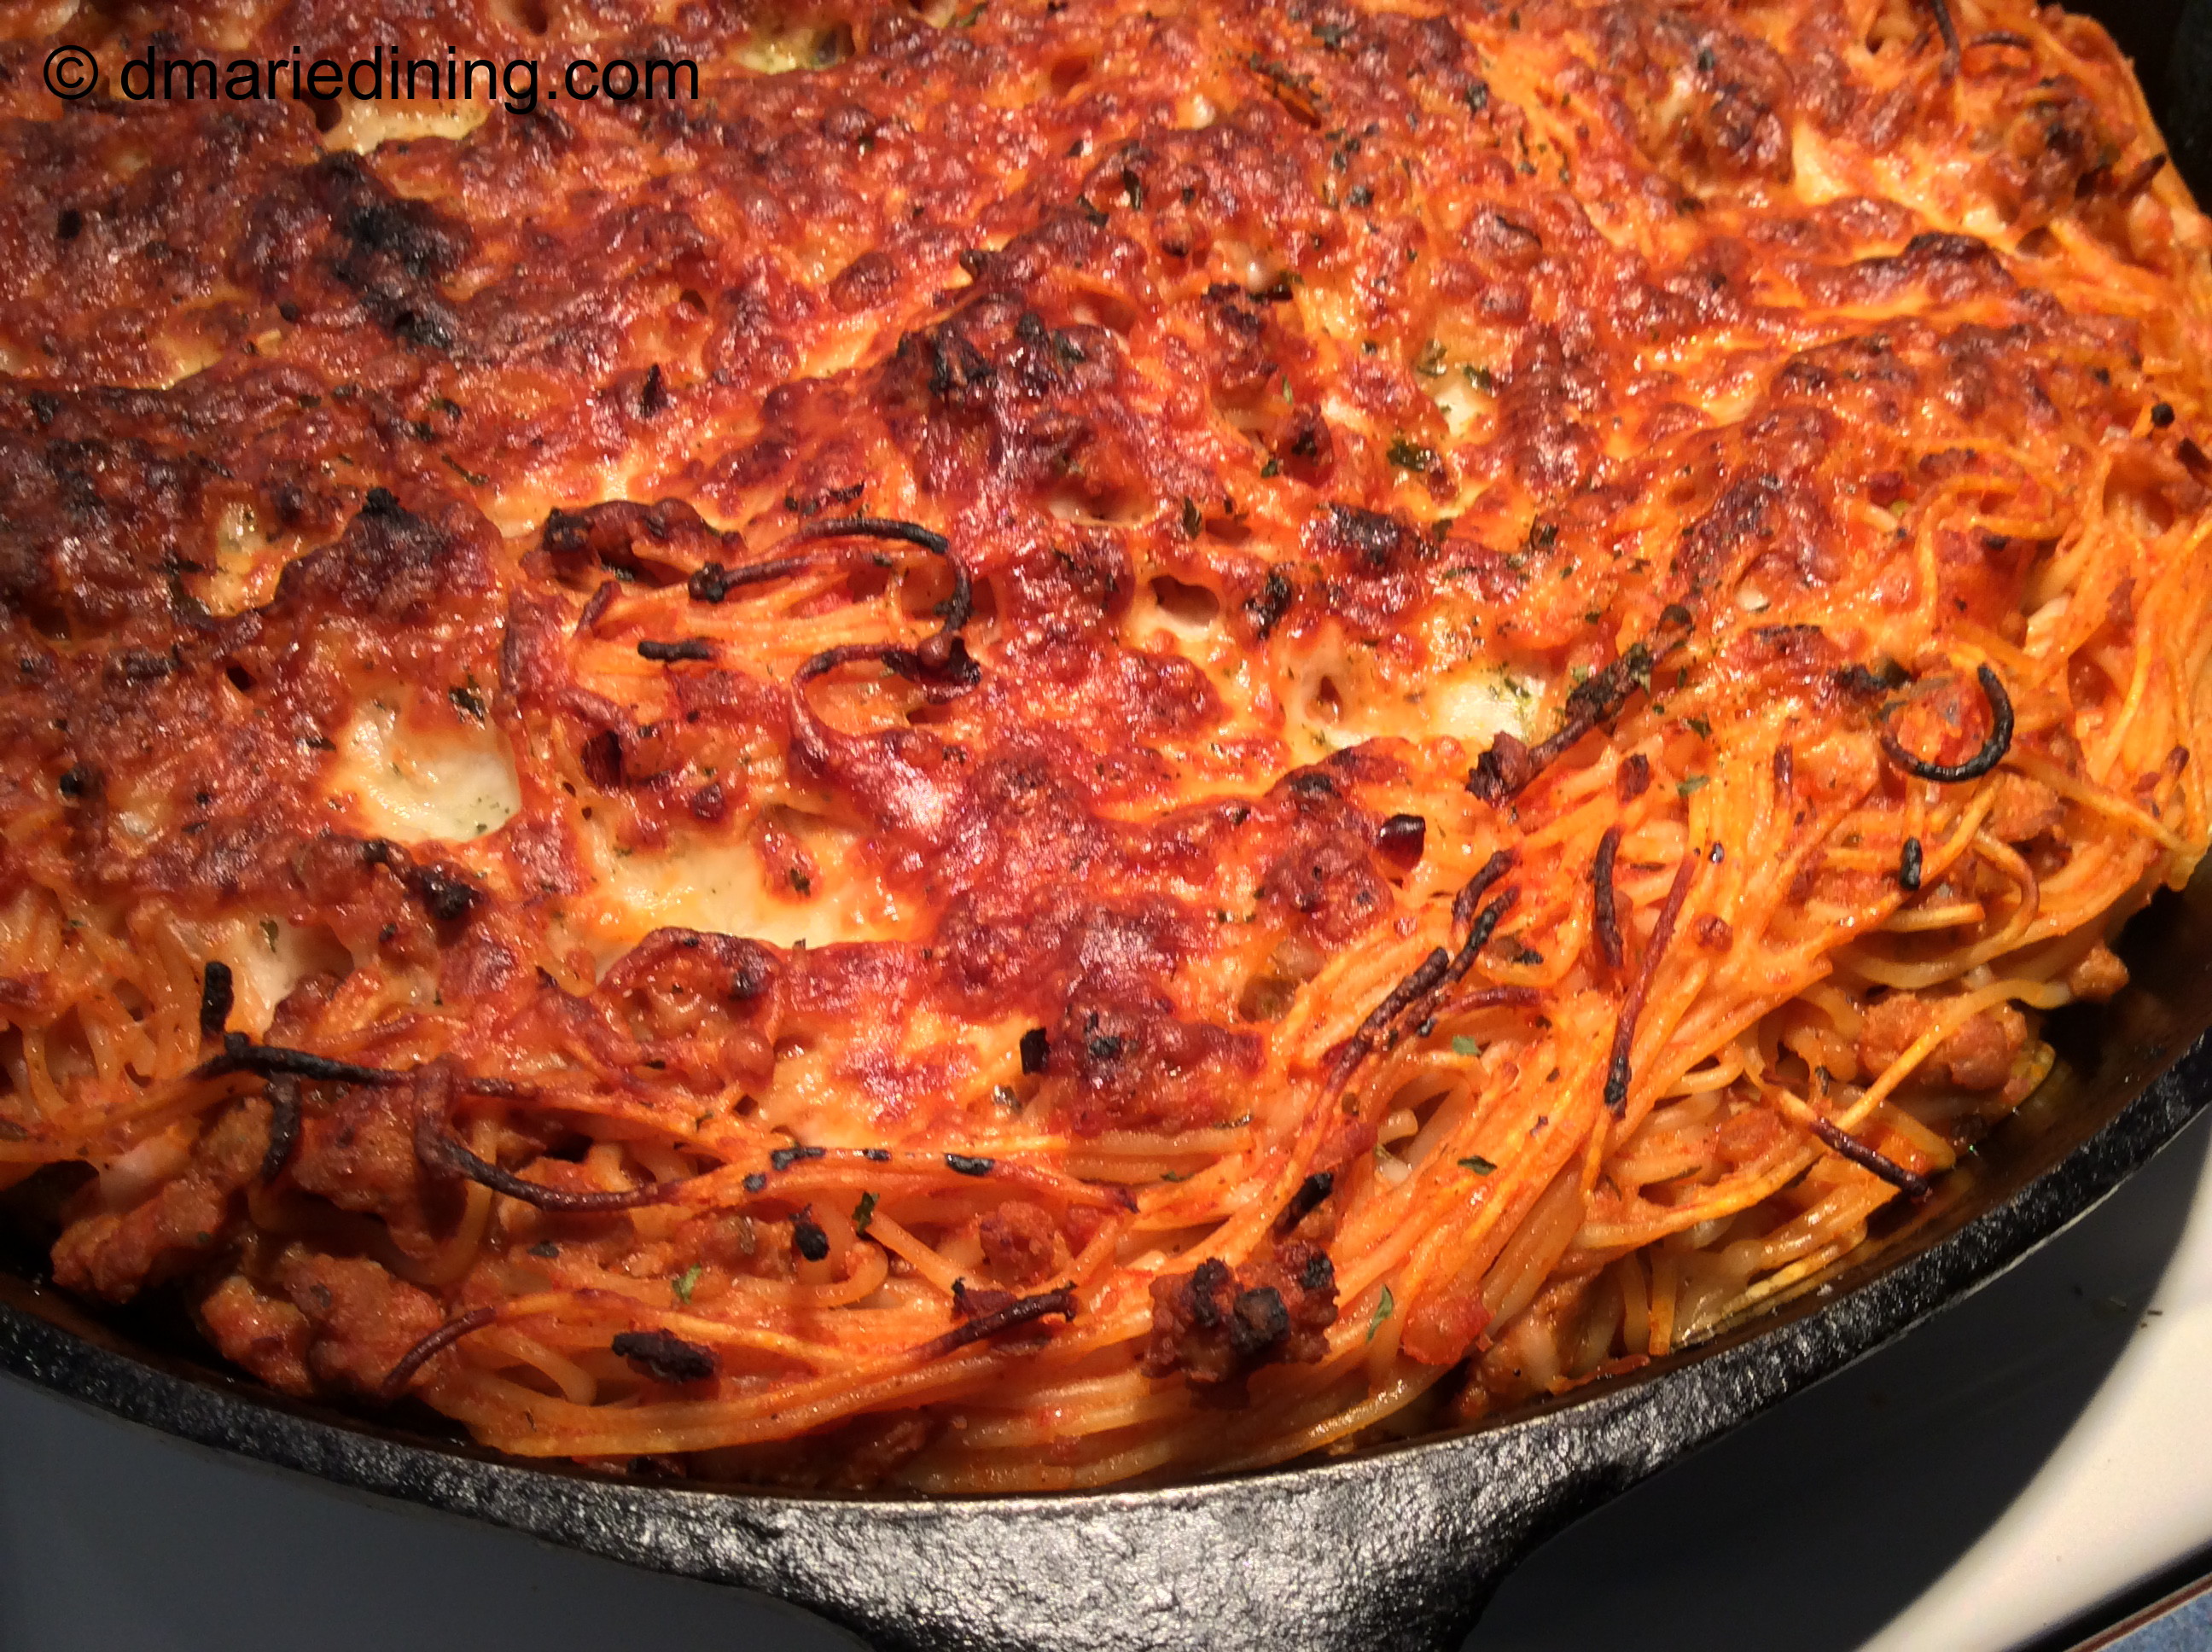
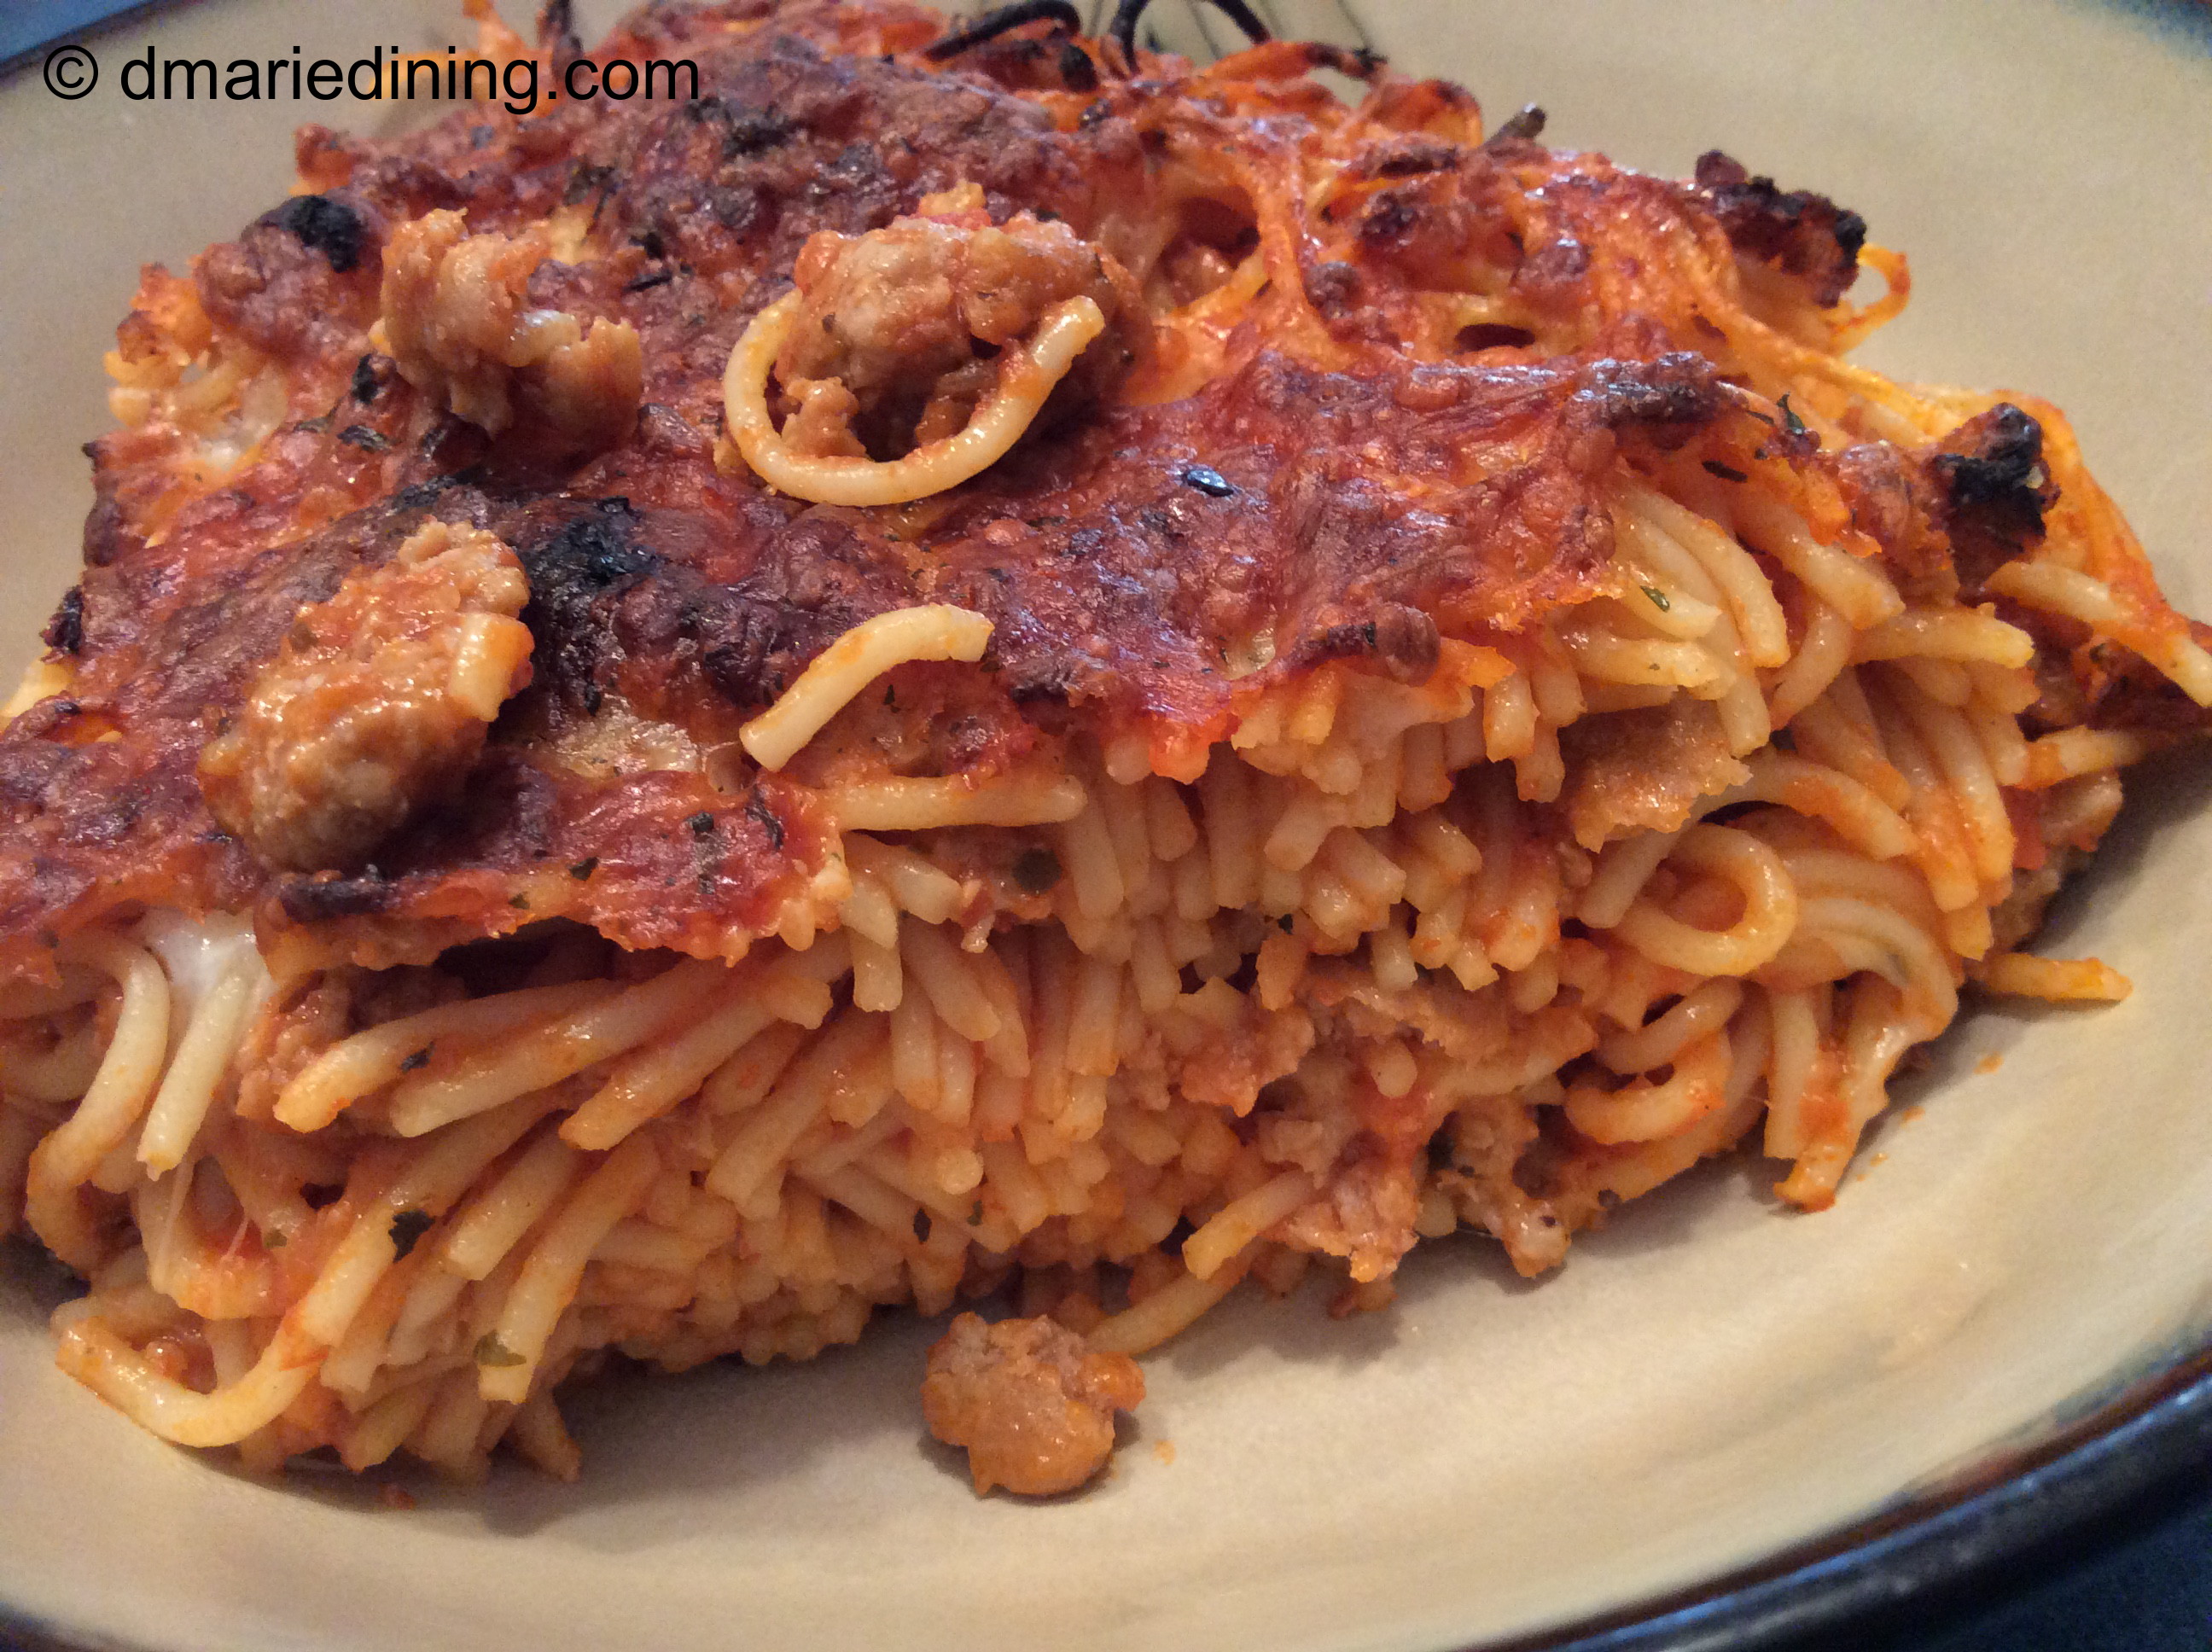
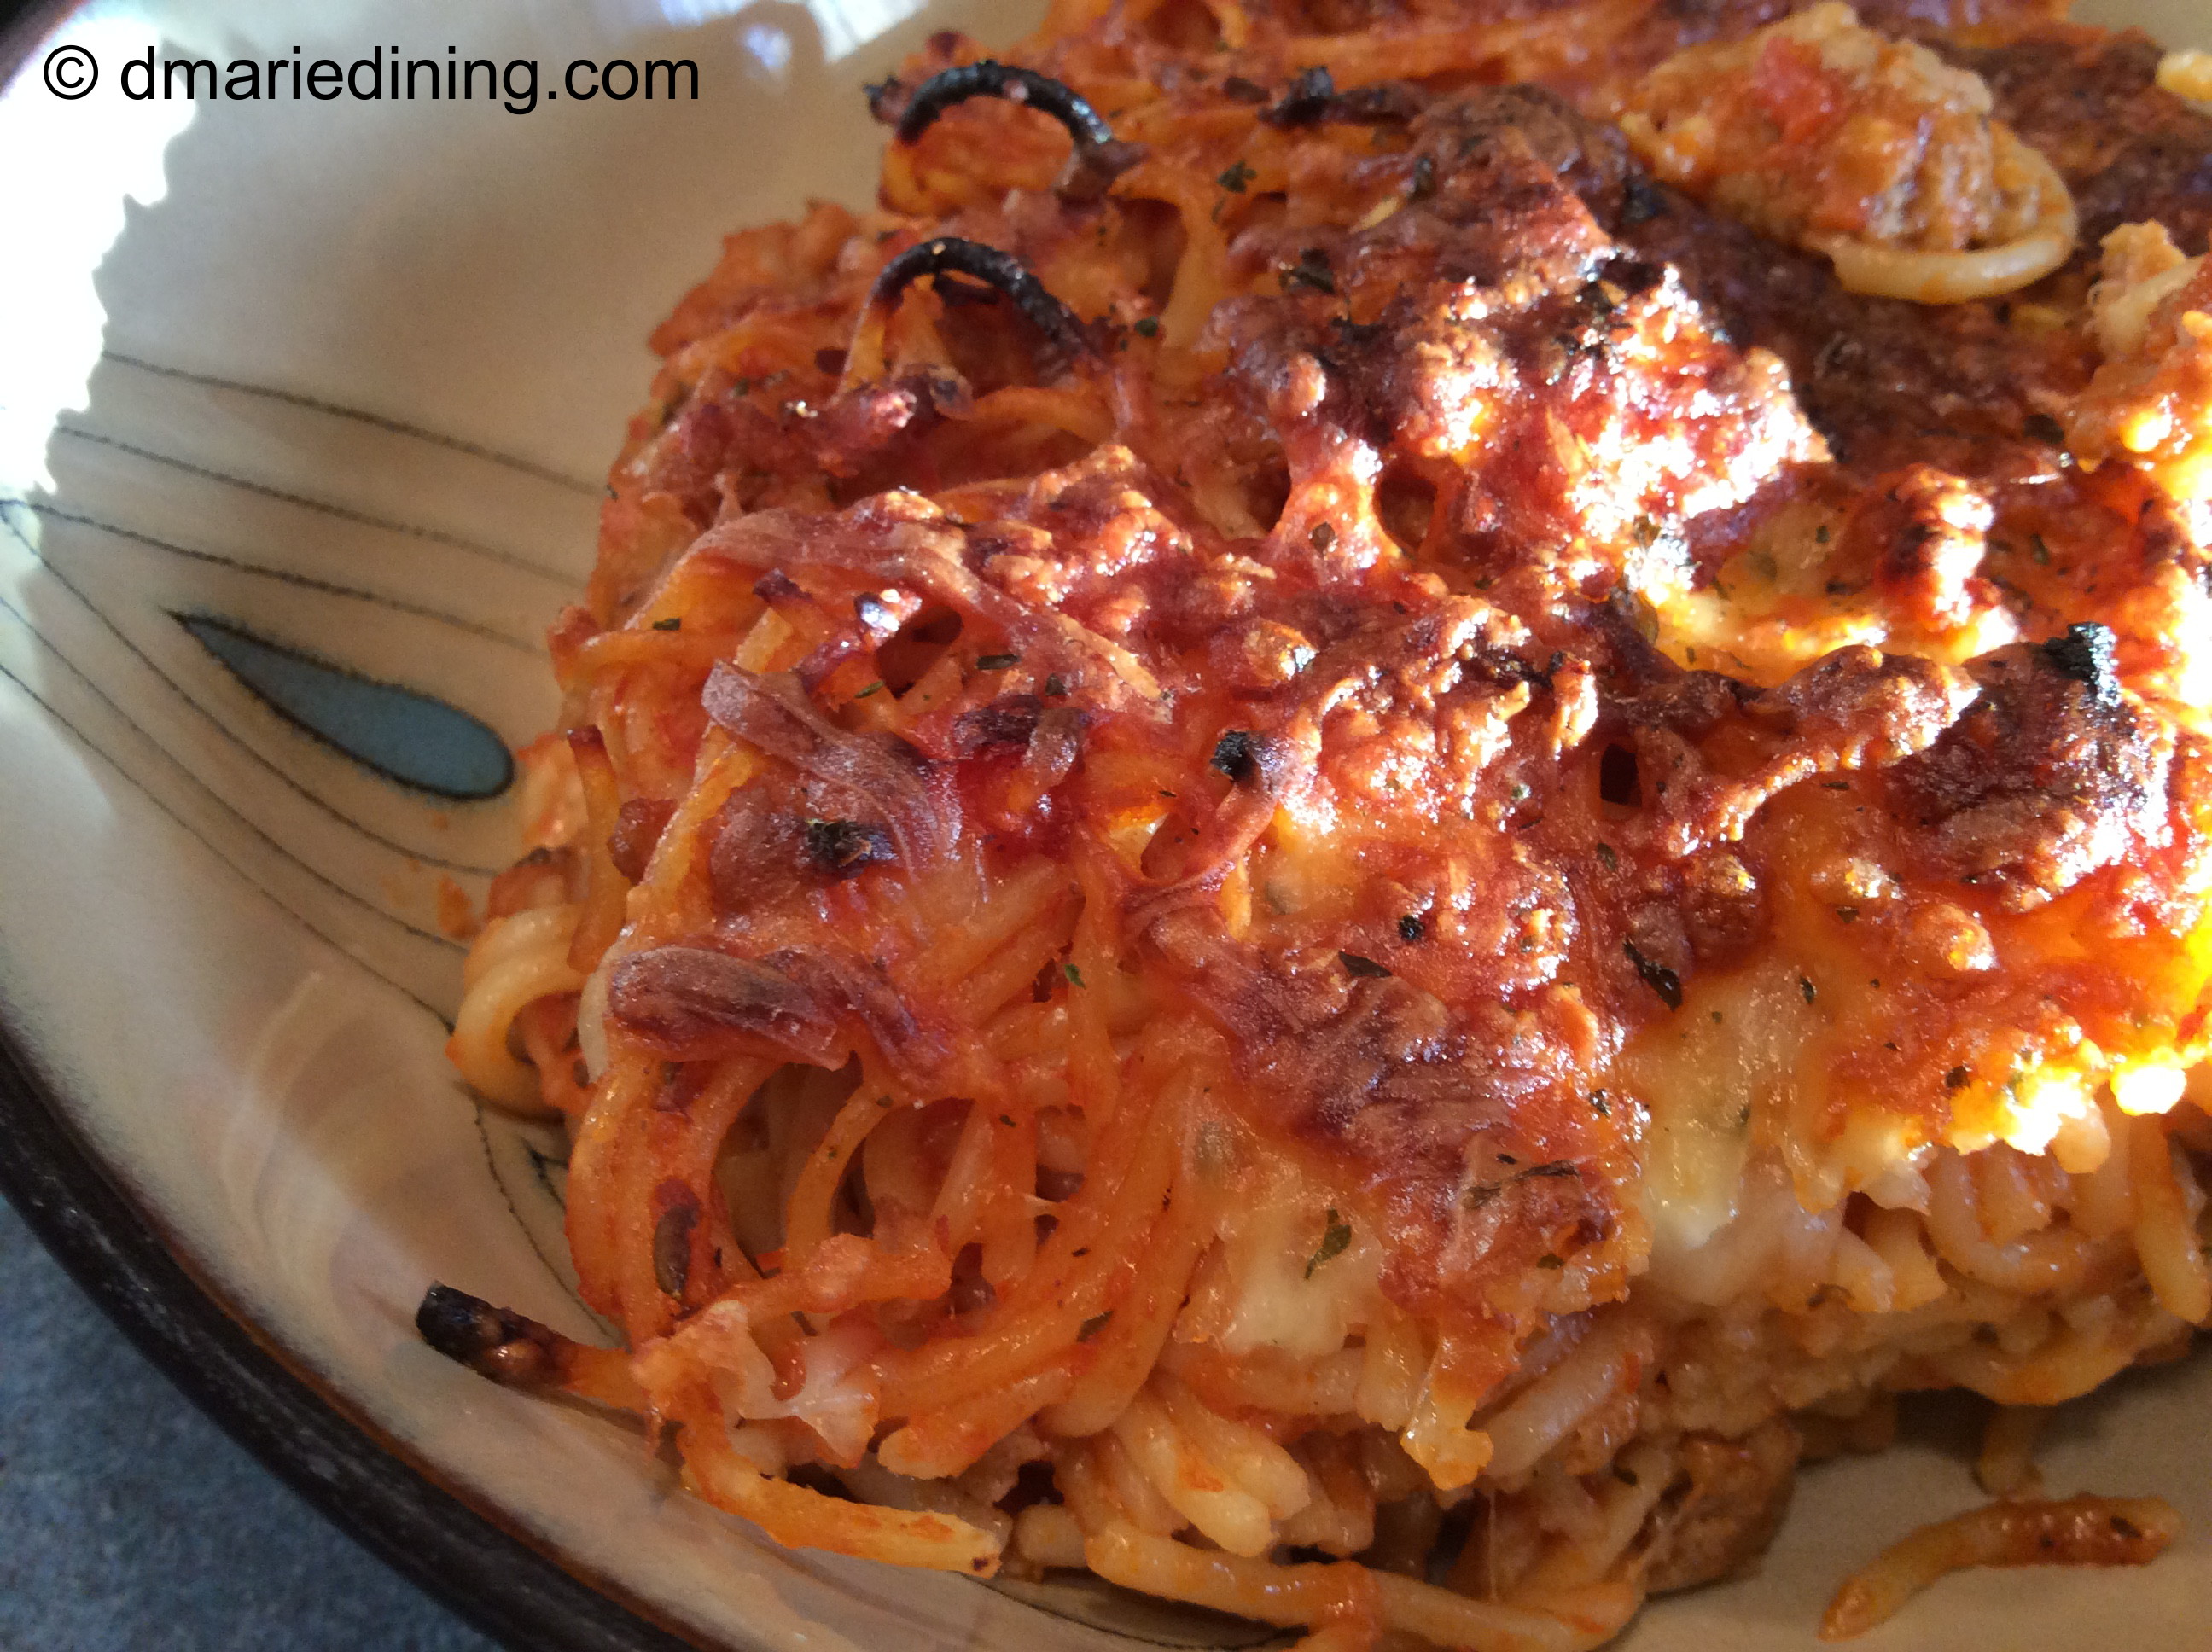
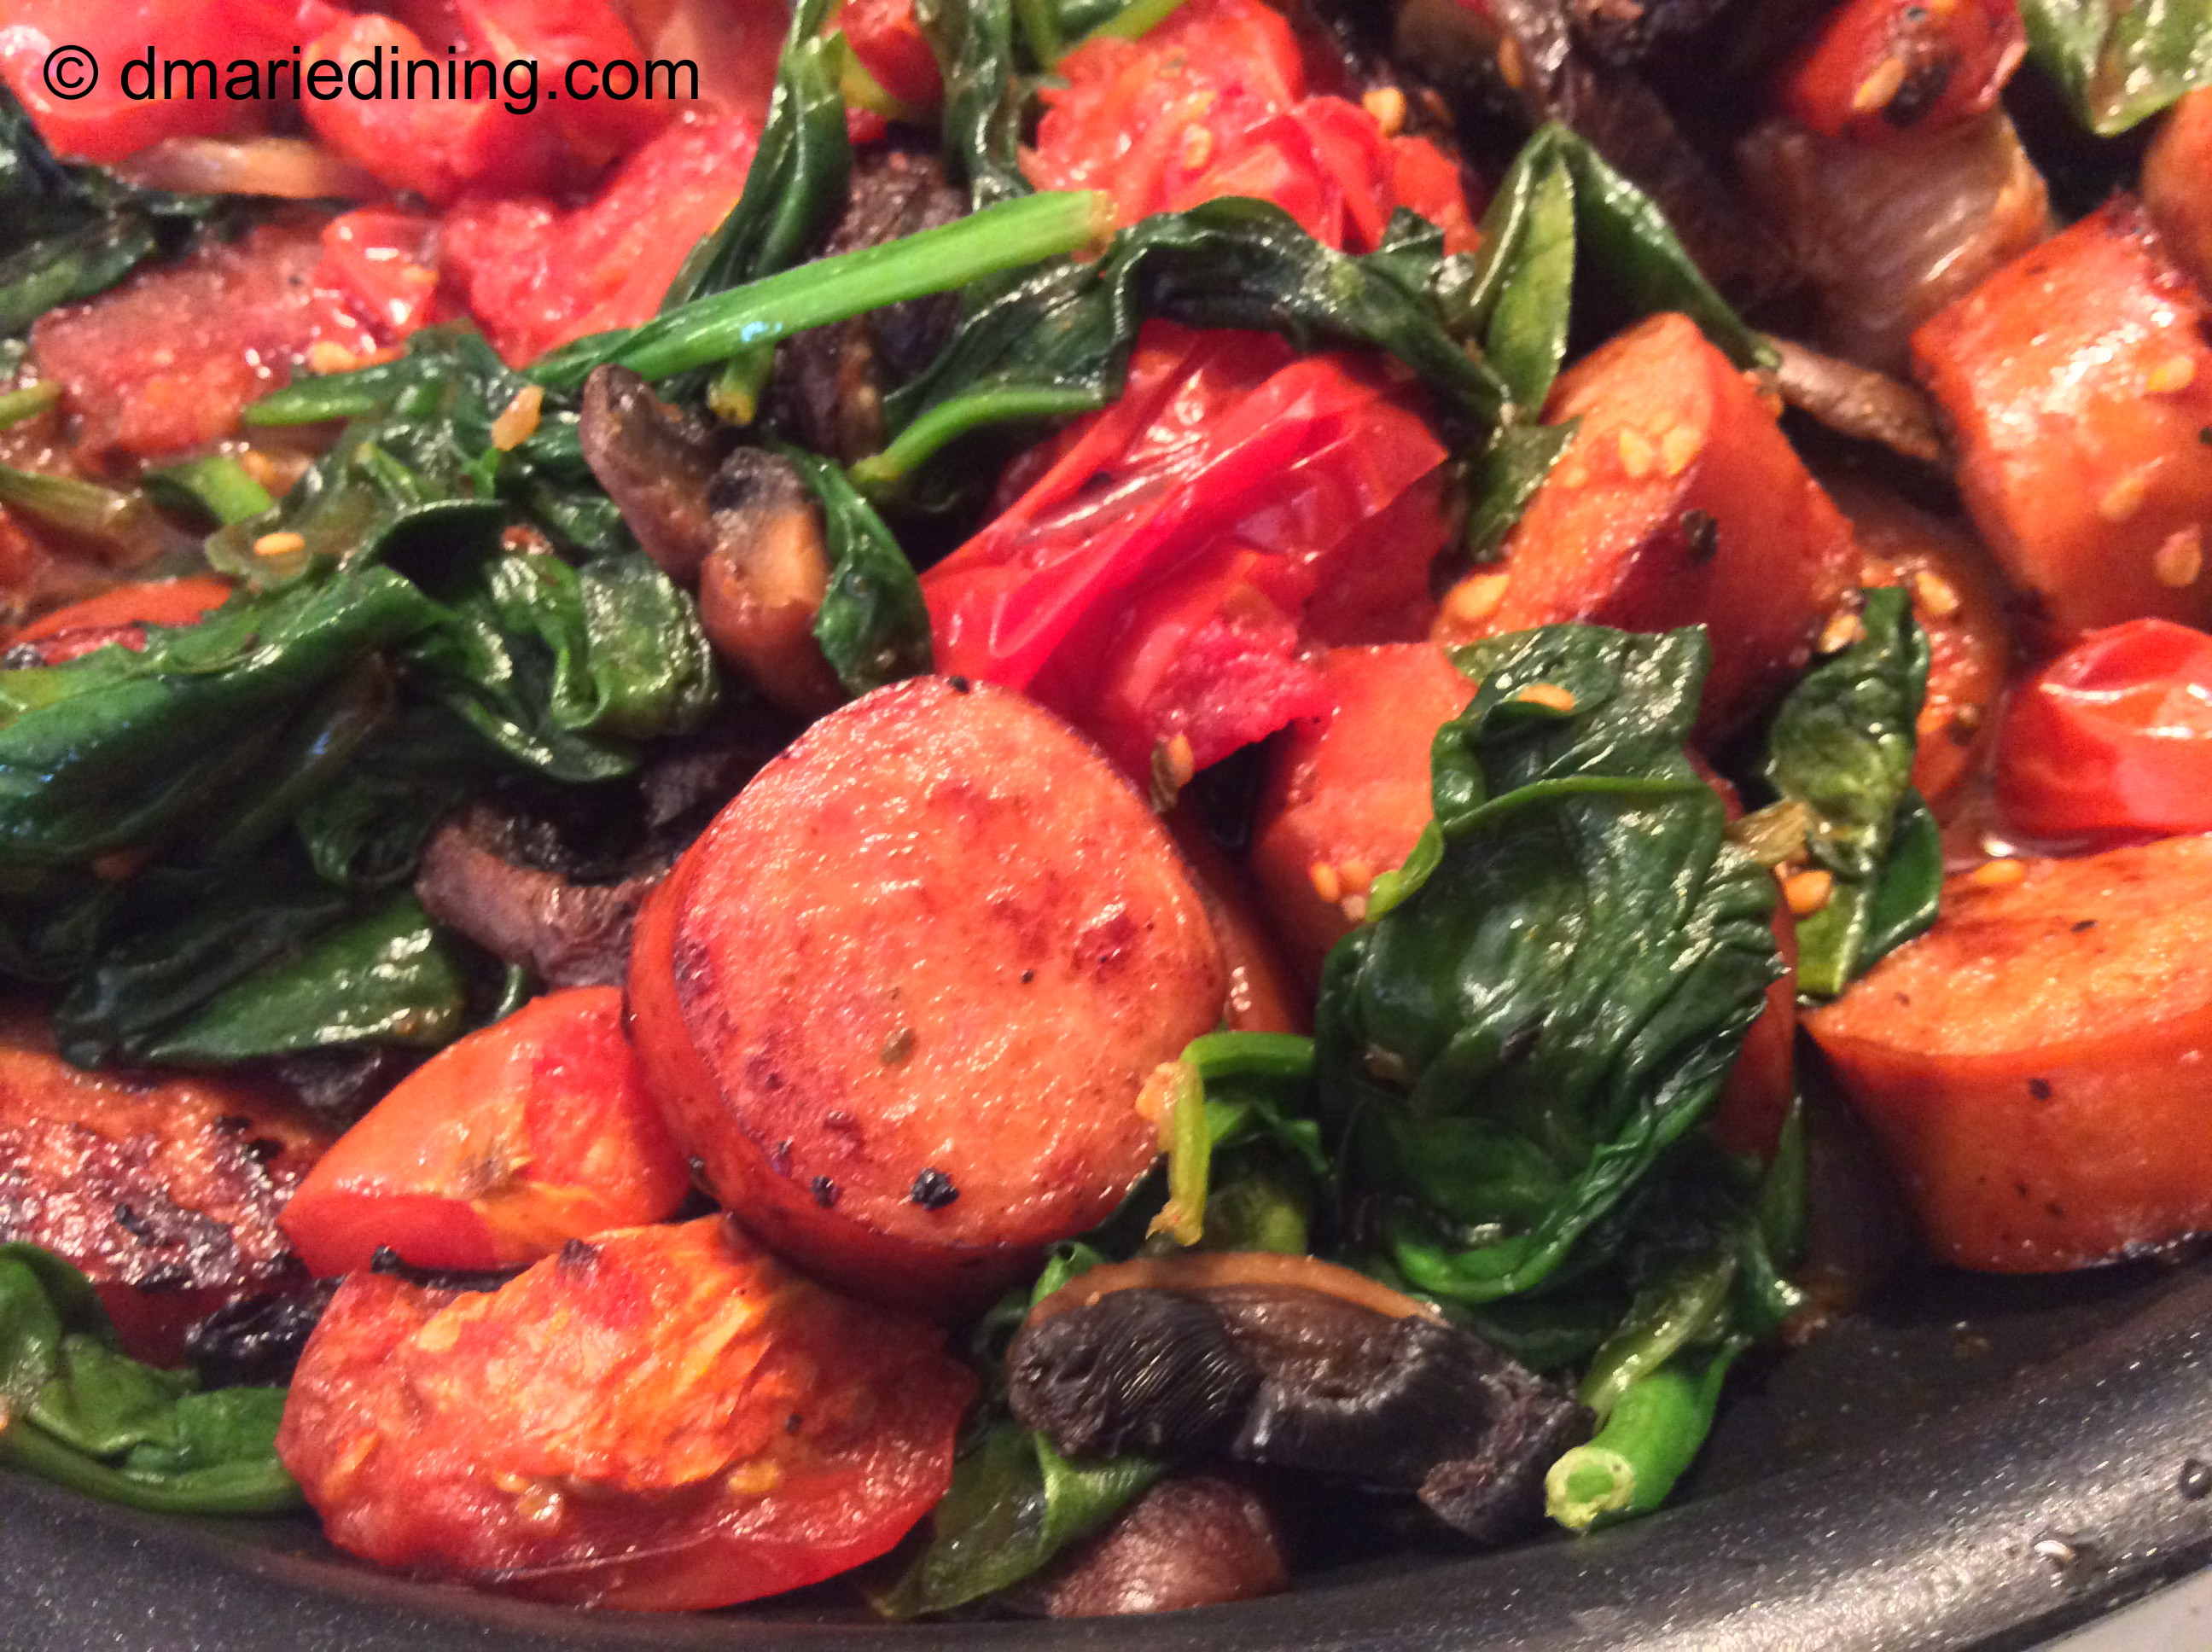
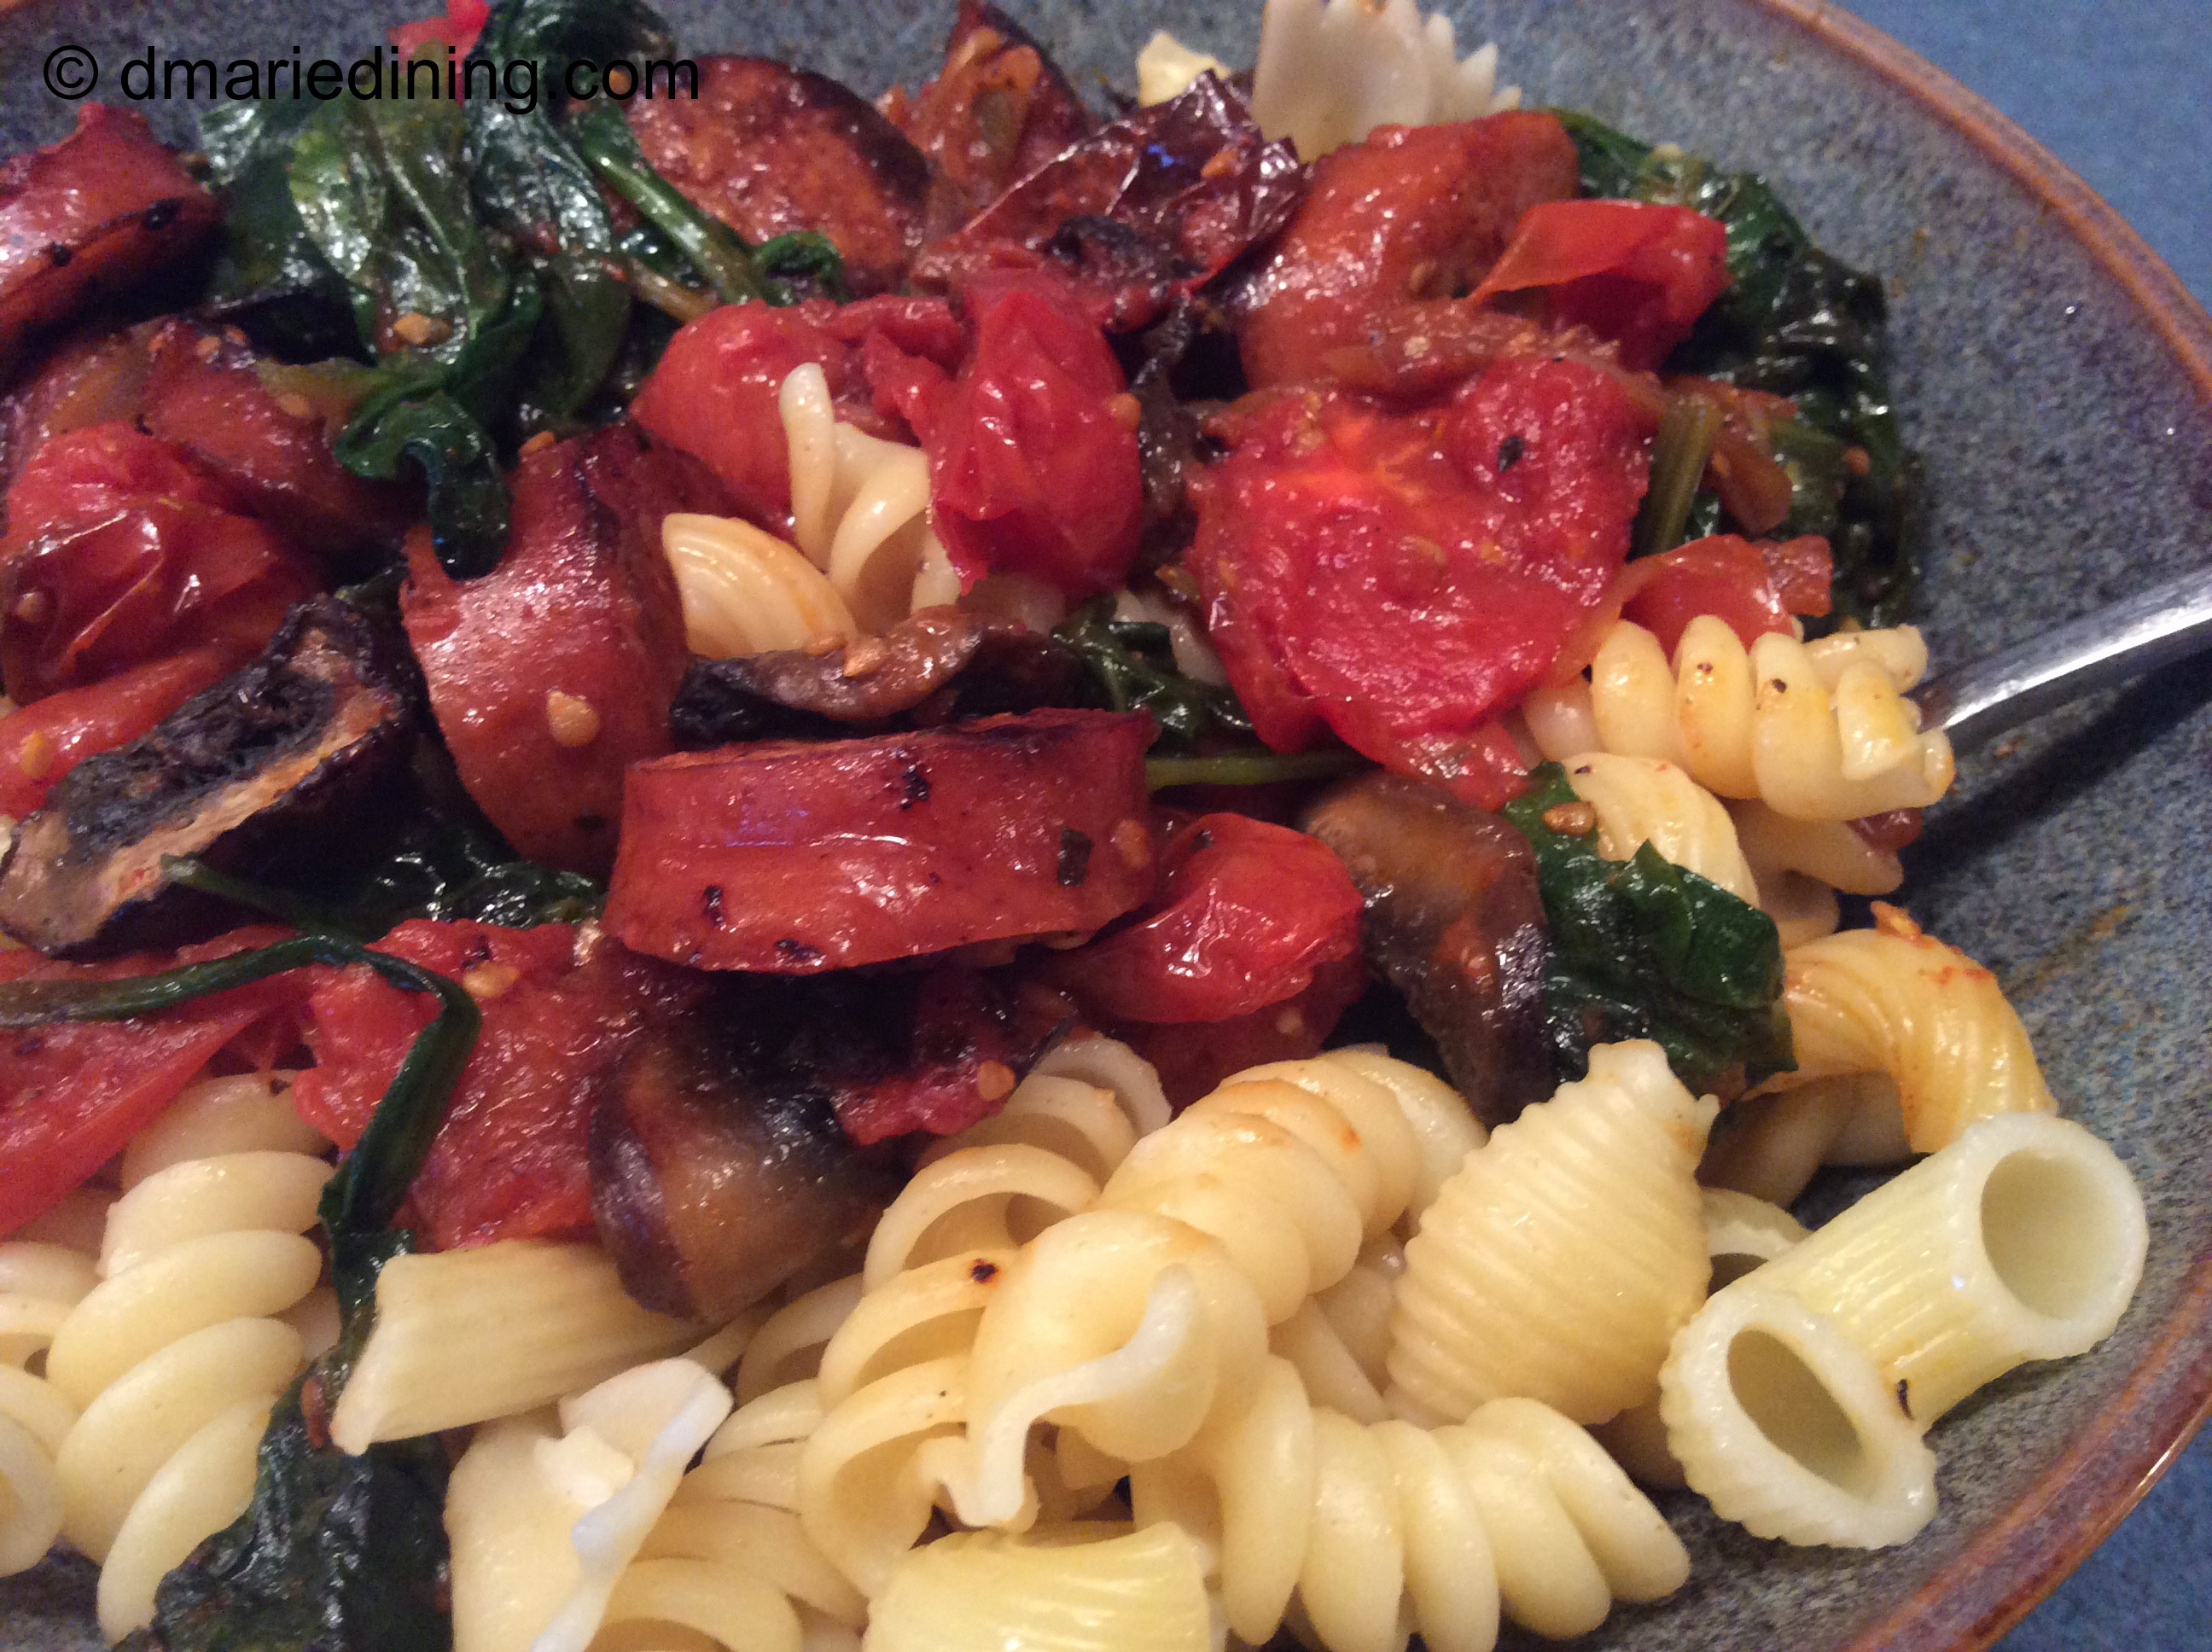
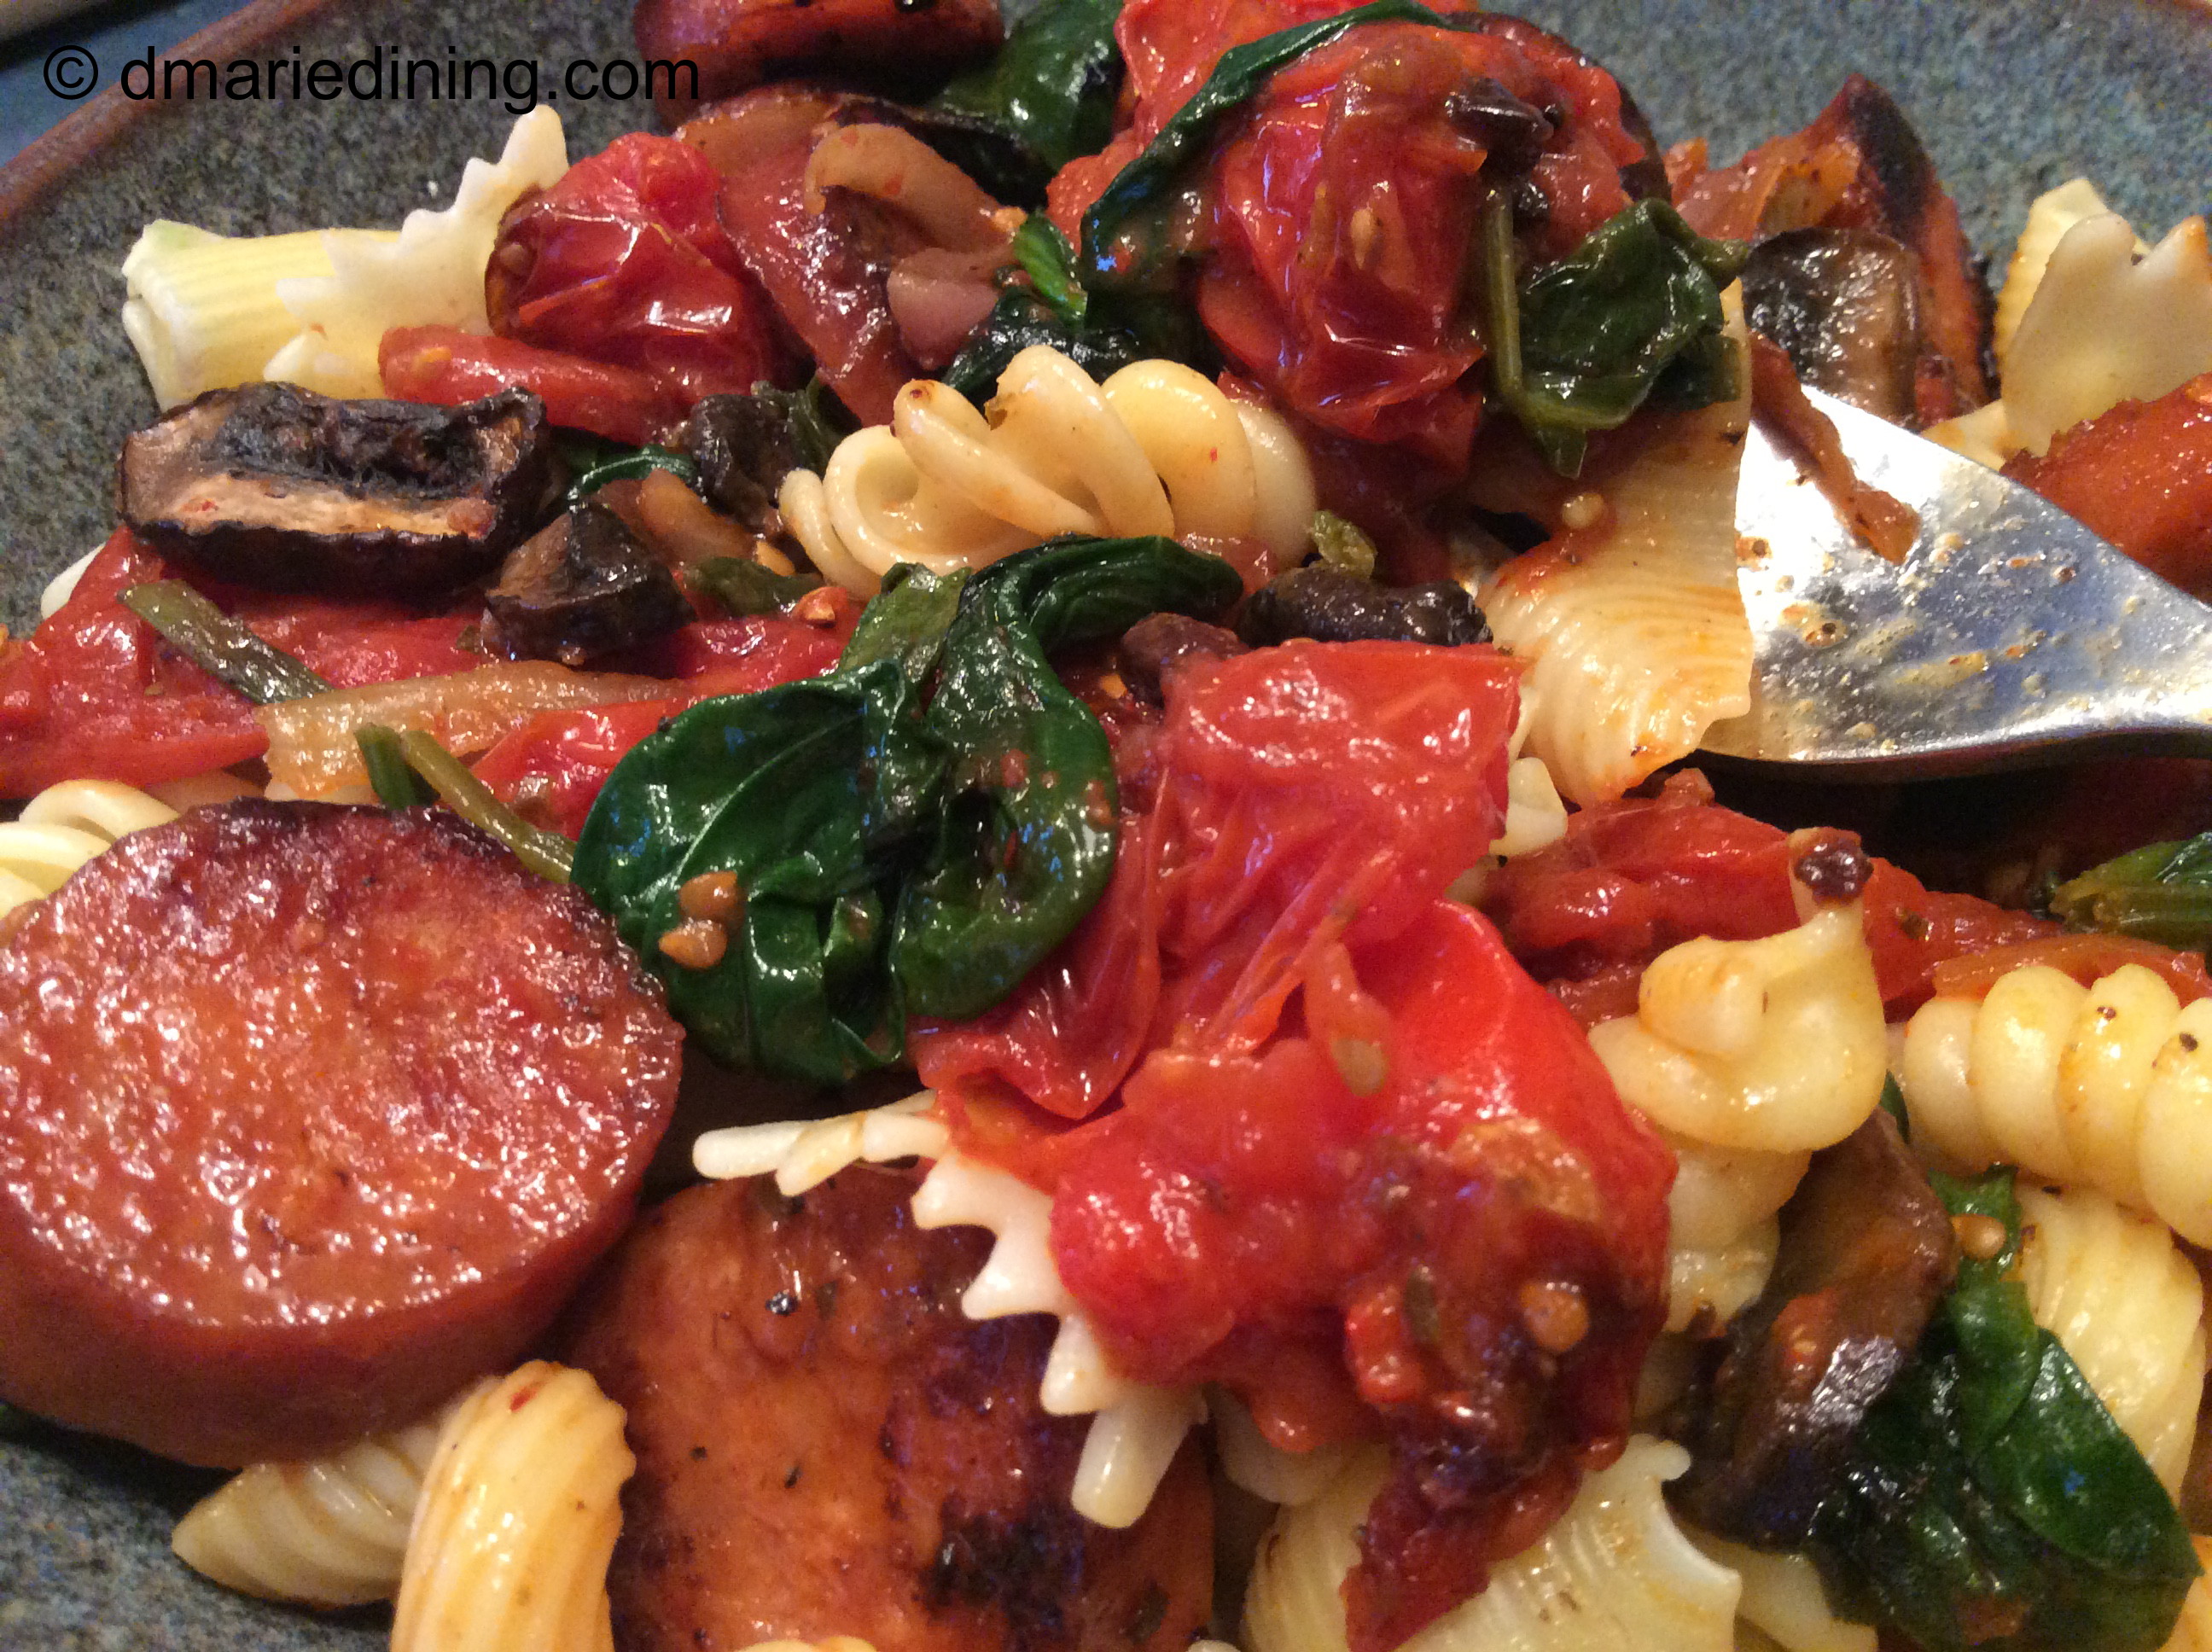
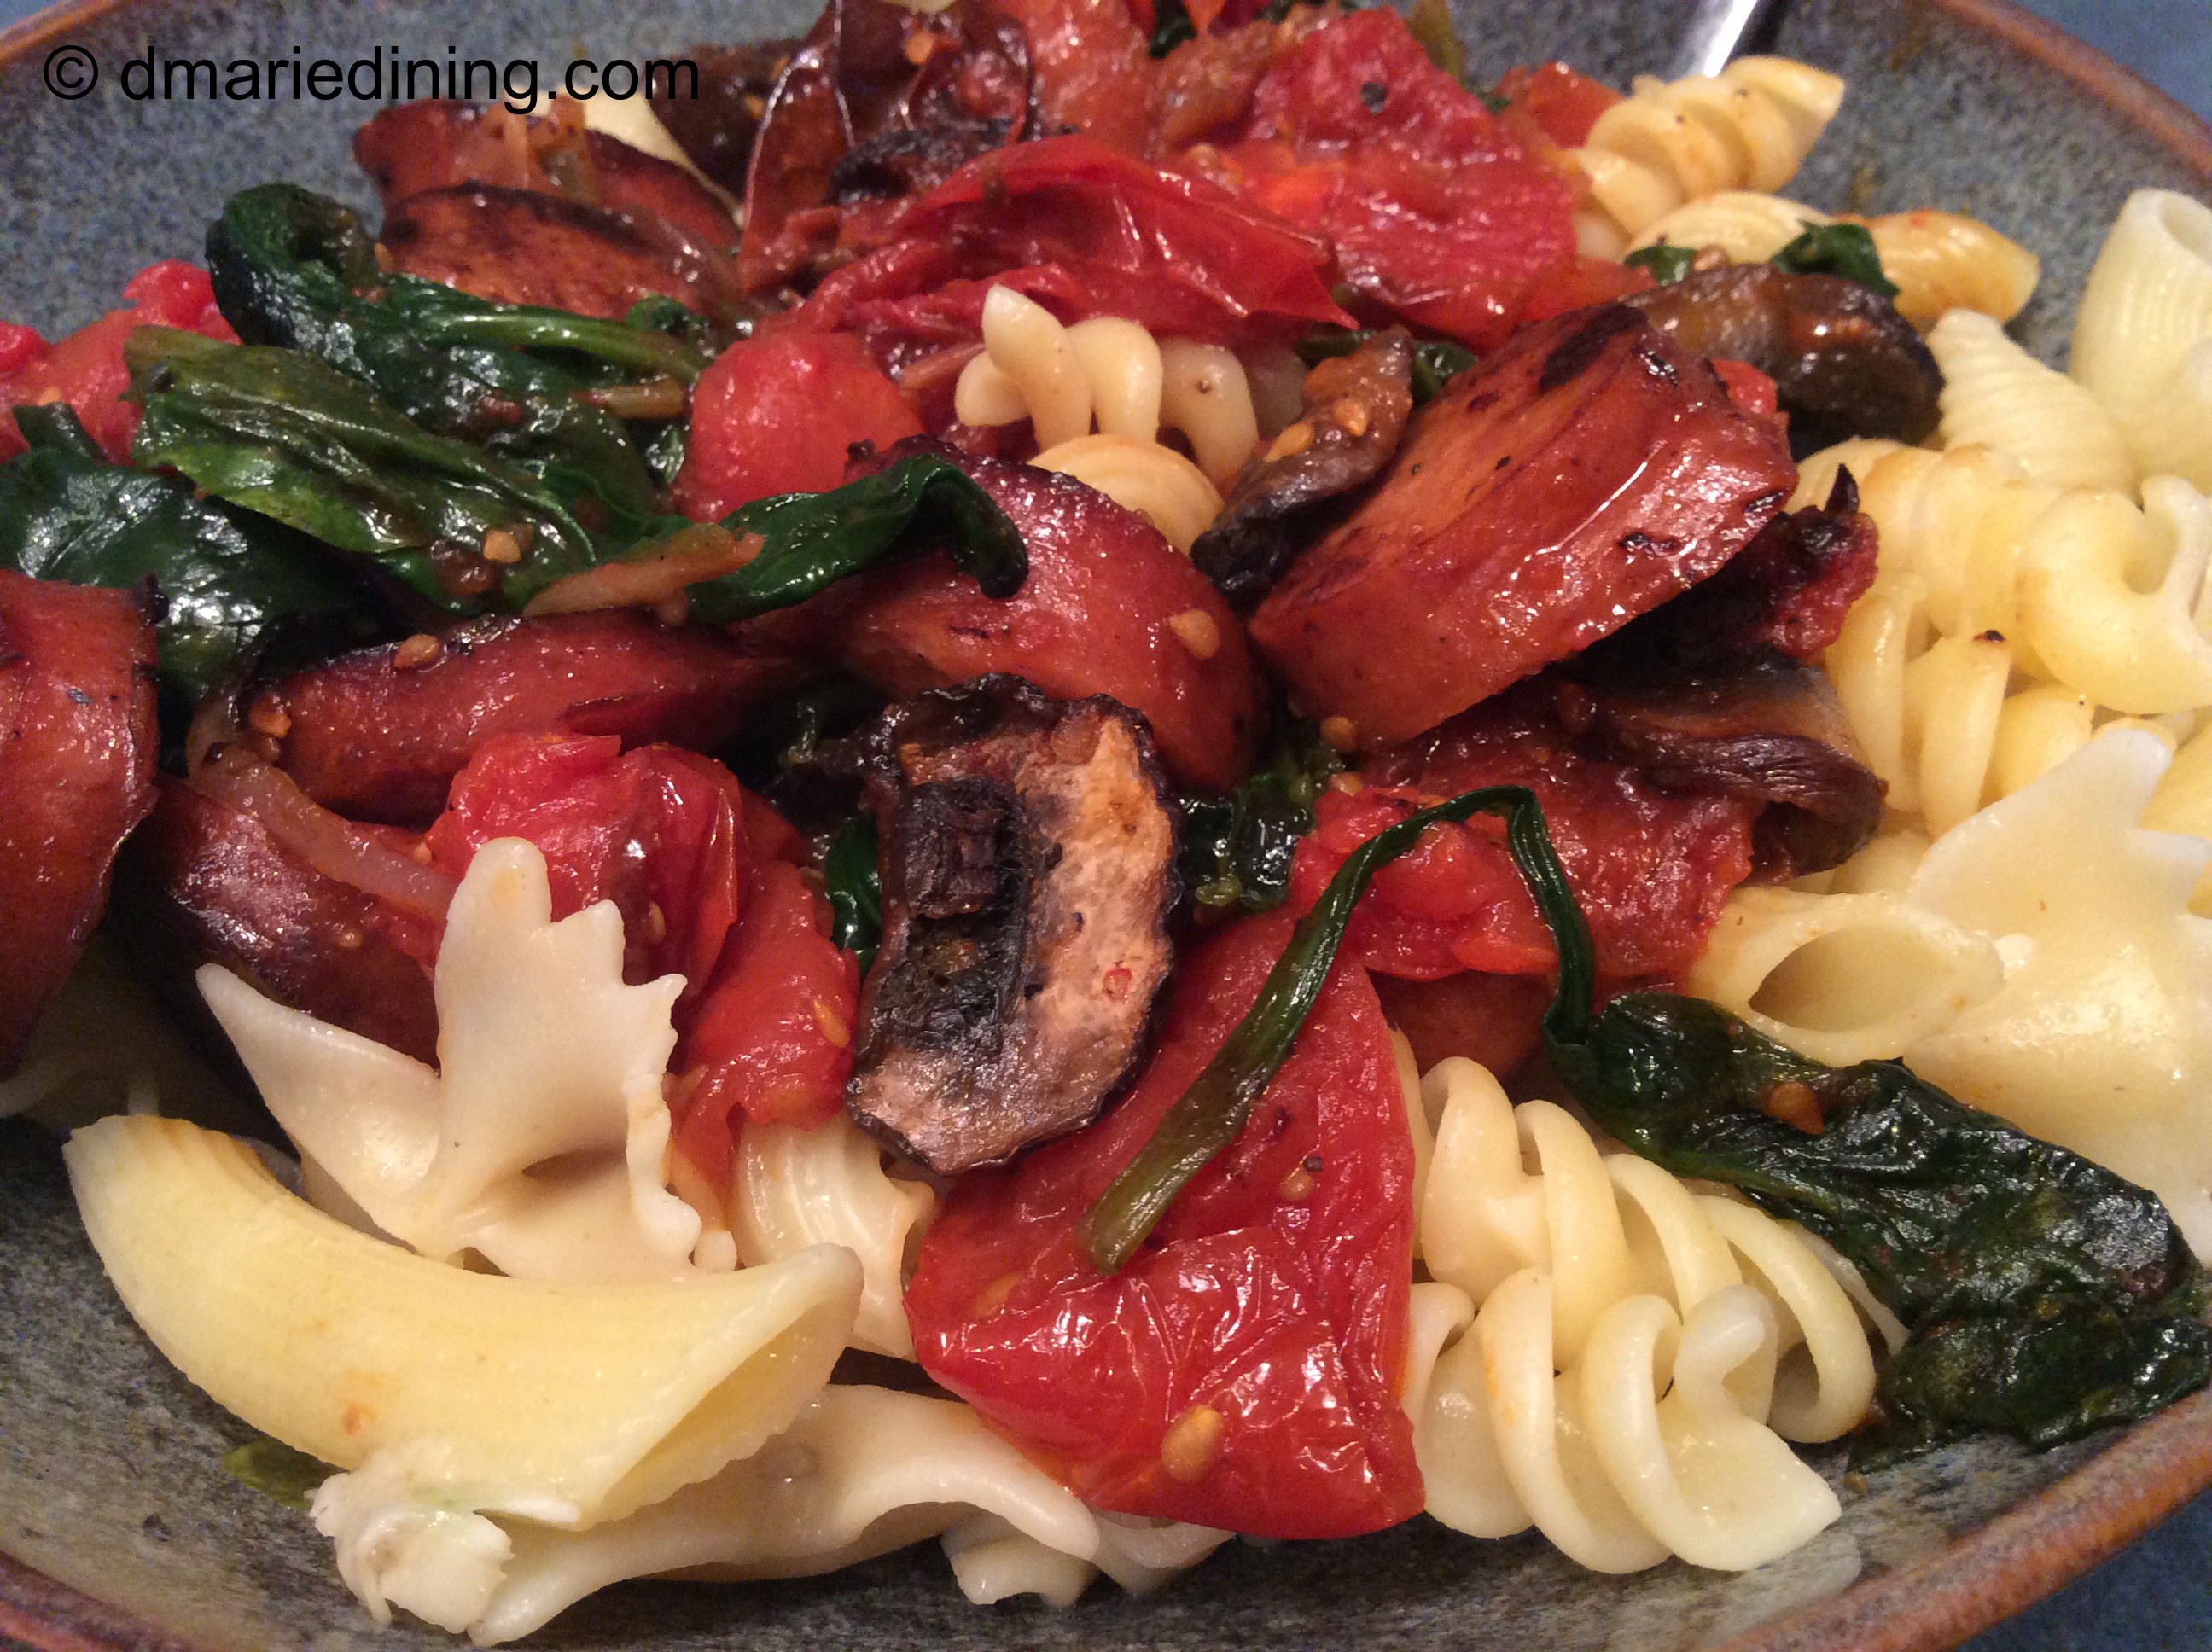
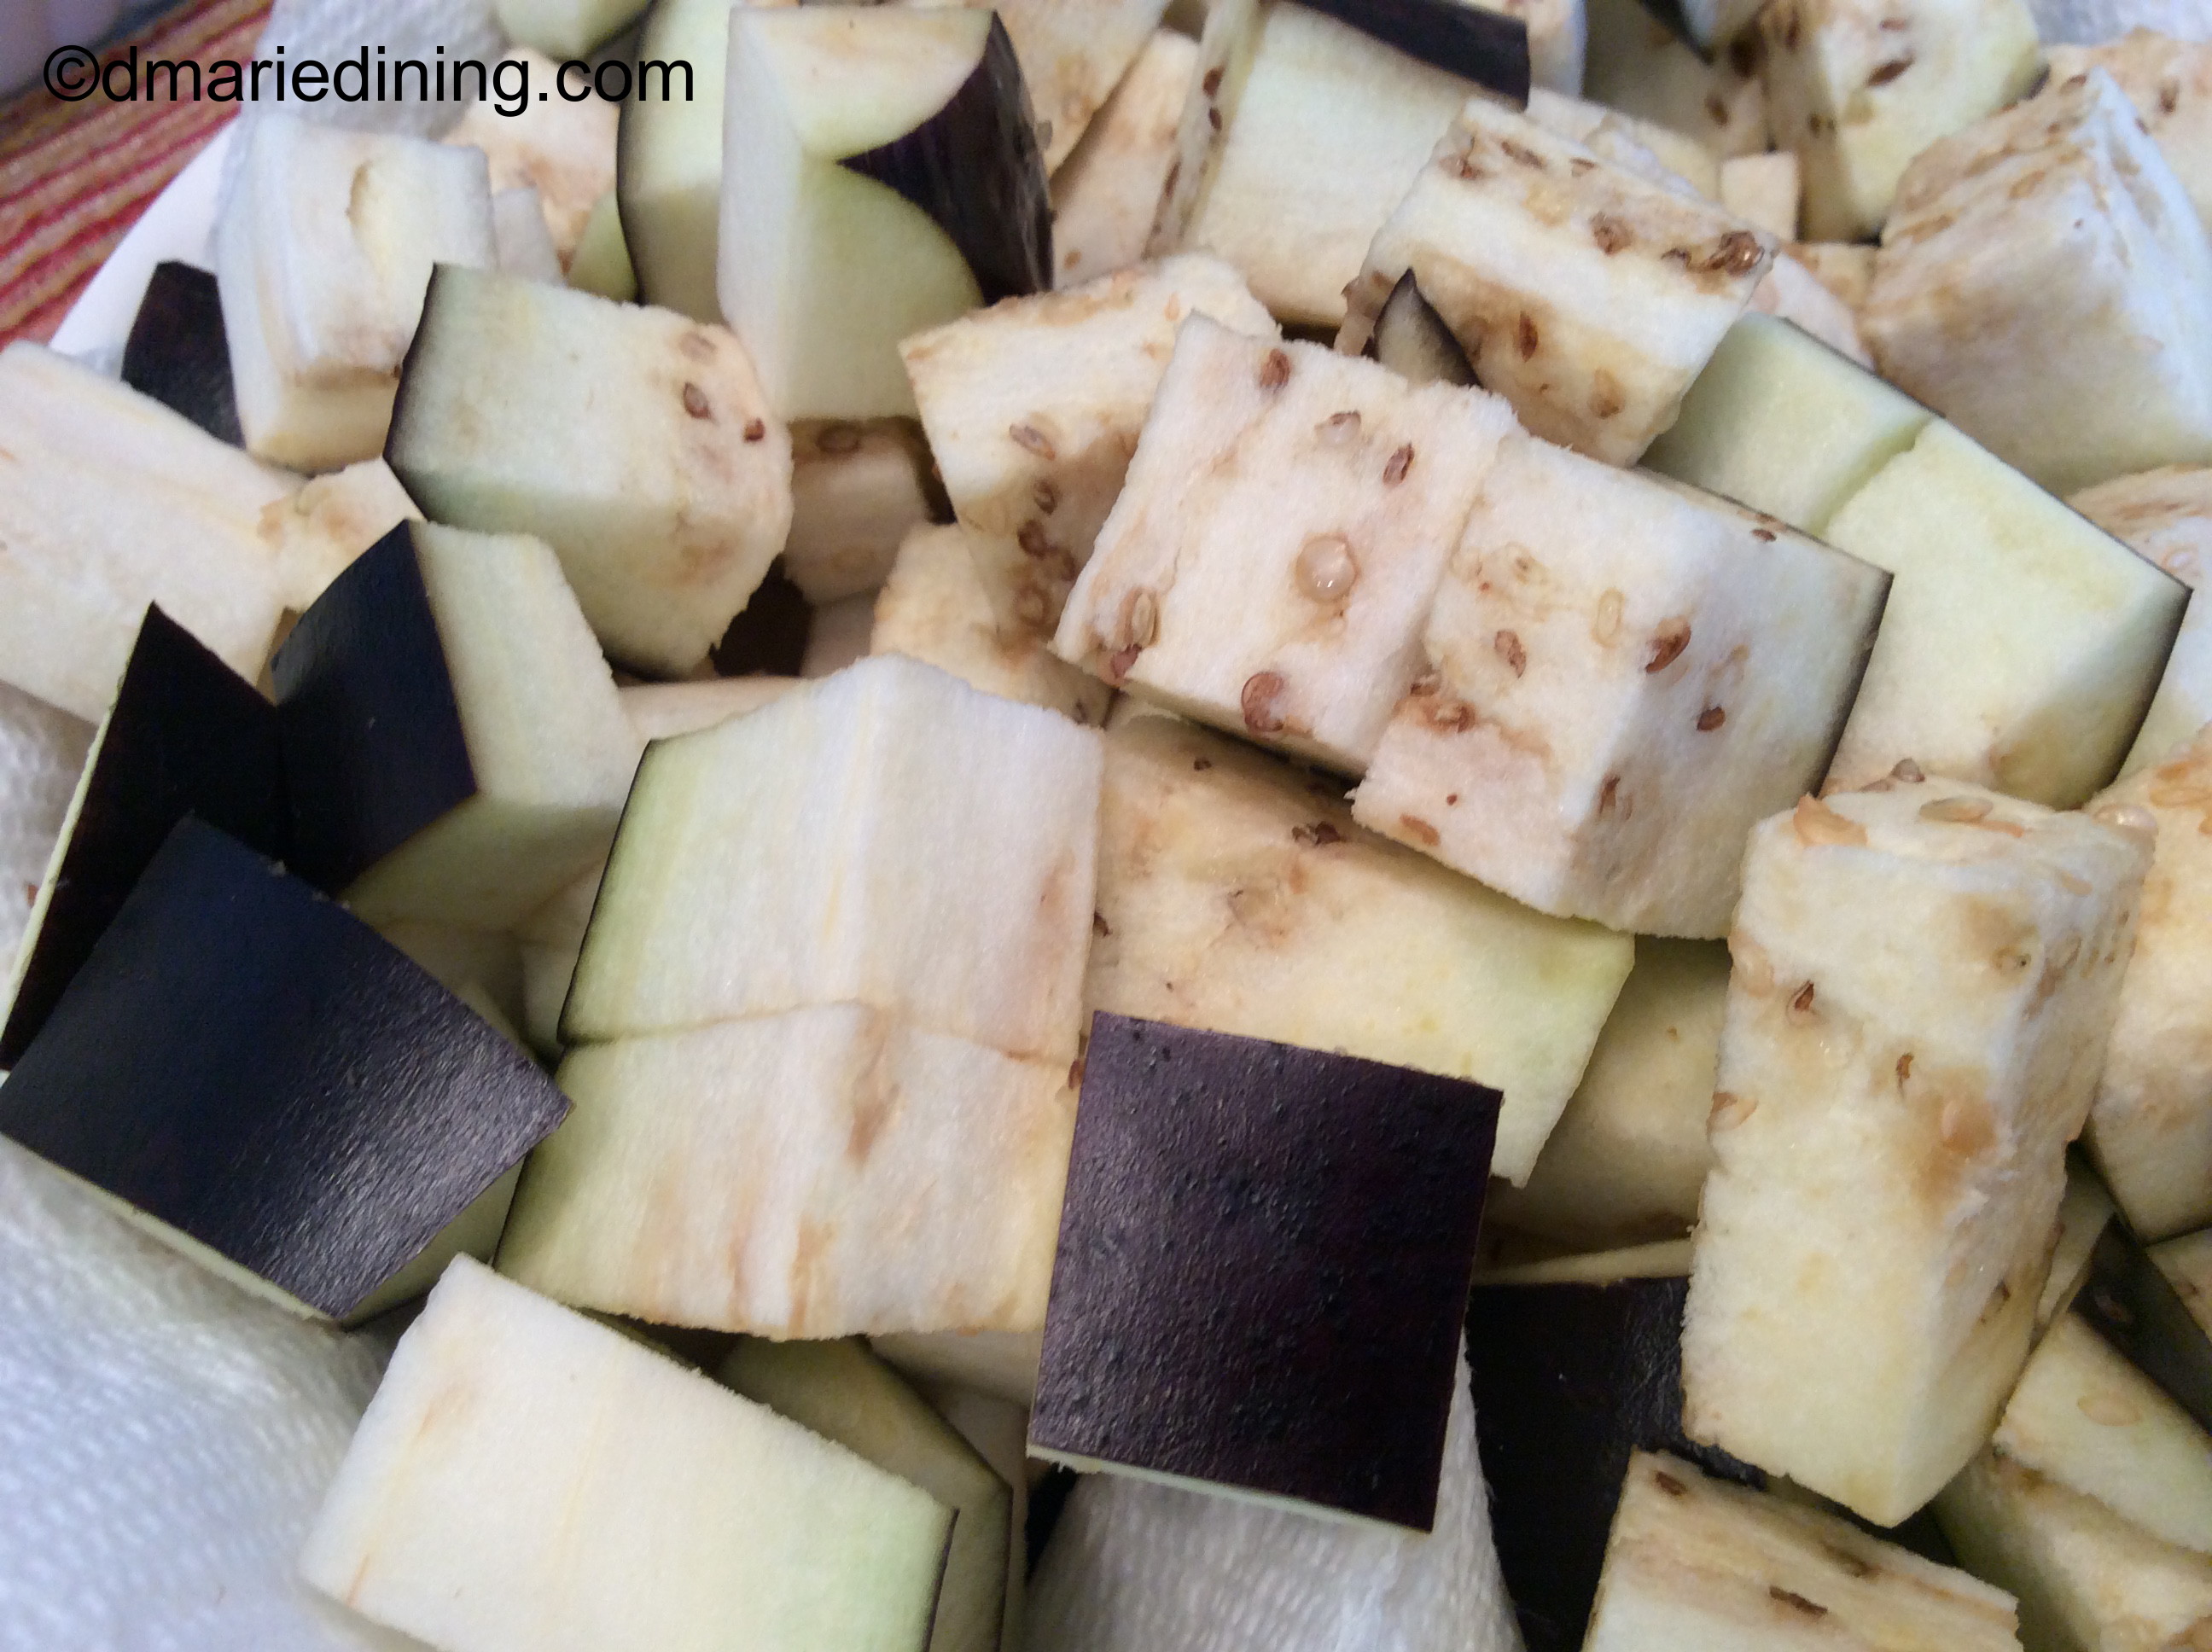
Today, I decided I didn’t want to make the usual spaghetti meat sauce using sauce from a jar. Instead, I opted to make my own sauce using canned tomatoes, veggies and sweet Italian sausage. I also wanted to create a few different textures in the sauce so I added white beans which provided both texture and more flavor. Although everything was soft in the sauce, there were different levels of softness if that makes sense. The pasta was al dente. The beans were creamy. The veggies were smooth and the sausage had a nice soft chew. Fortunately, it all worked together and had me doing my own happy dance.

Pasta with Sweet Italian Sausage in Sauce

Ingredients:

2 packages Sweet Italian Sausage links

1 can small white beans drained and rinsed

1 can Mexican stewed tomatoes

1 can fire roasted tomatoes

1 small can tomato paste

1 small green pepper diced

1 small red pepper diced

2 cups water

2 tbsp grape seed oil

2 tbsp fresh hot salsa

½ tbsp ground oregano

½ tbsp dried basil

½ tbsp Adobo

1 tsp Kosher salt

1 tsp ground black pepper

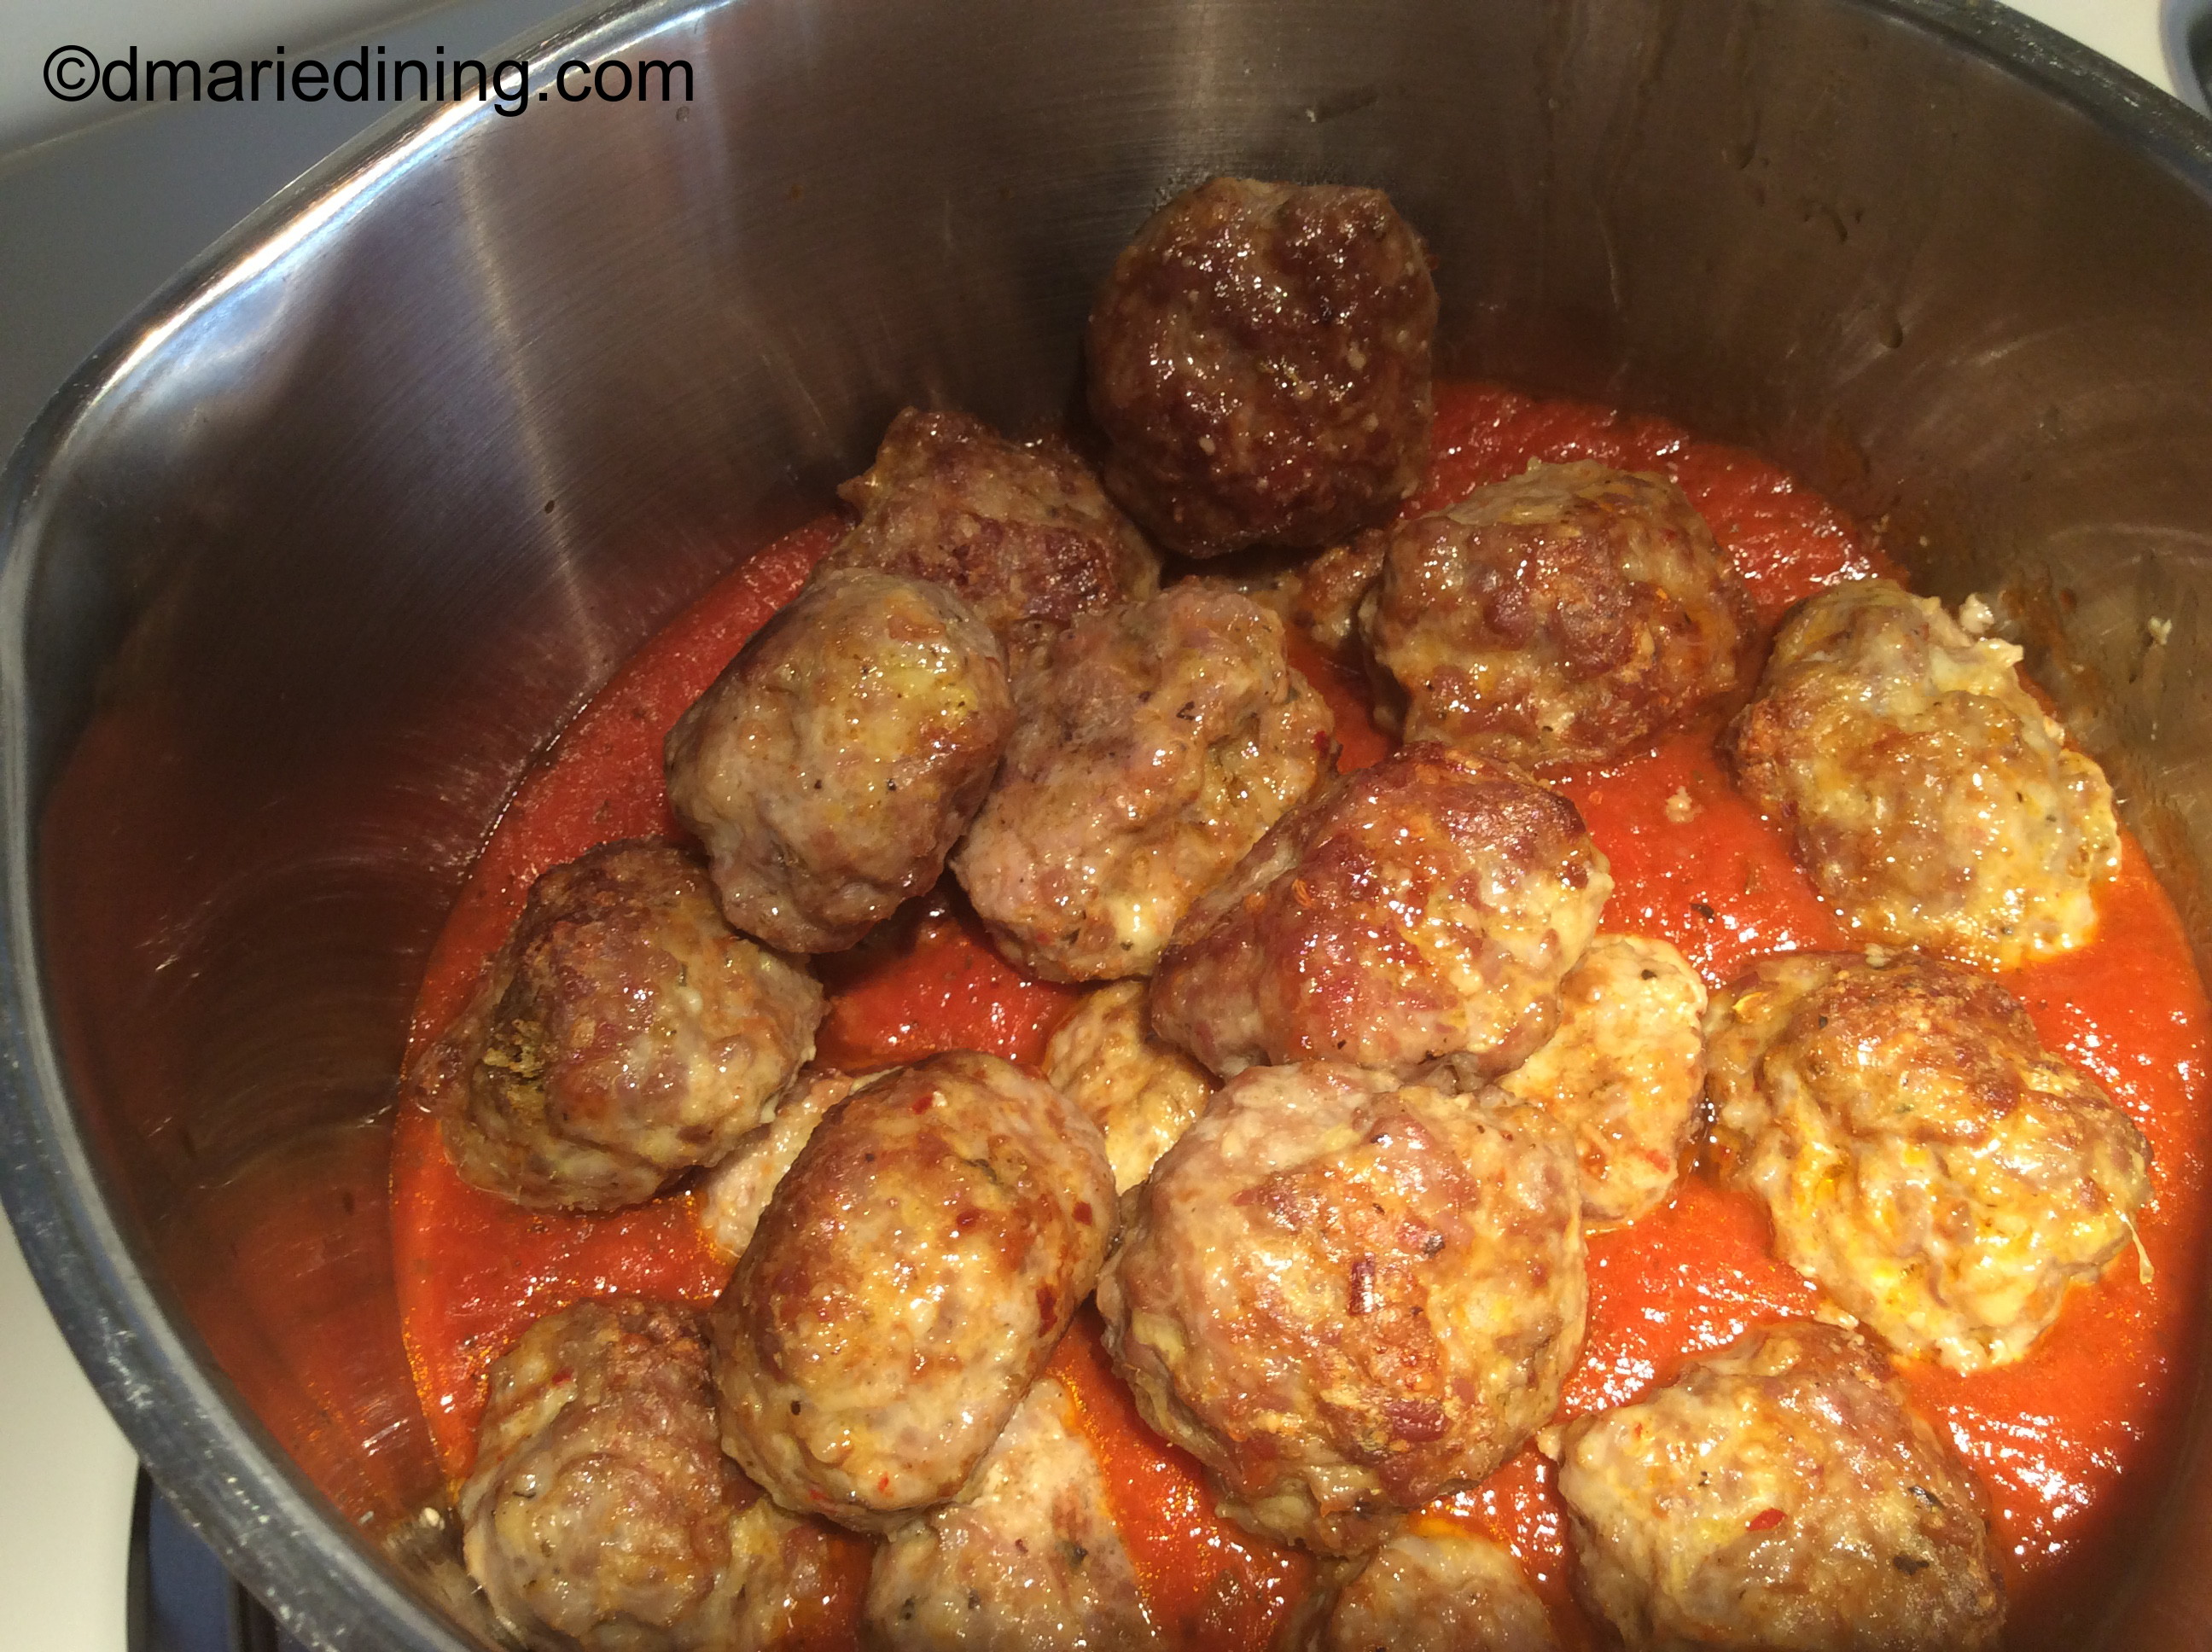
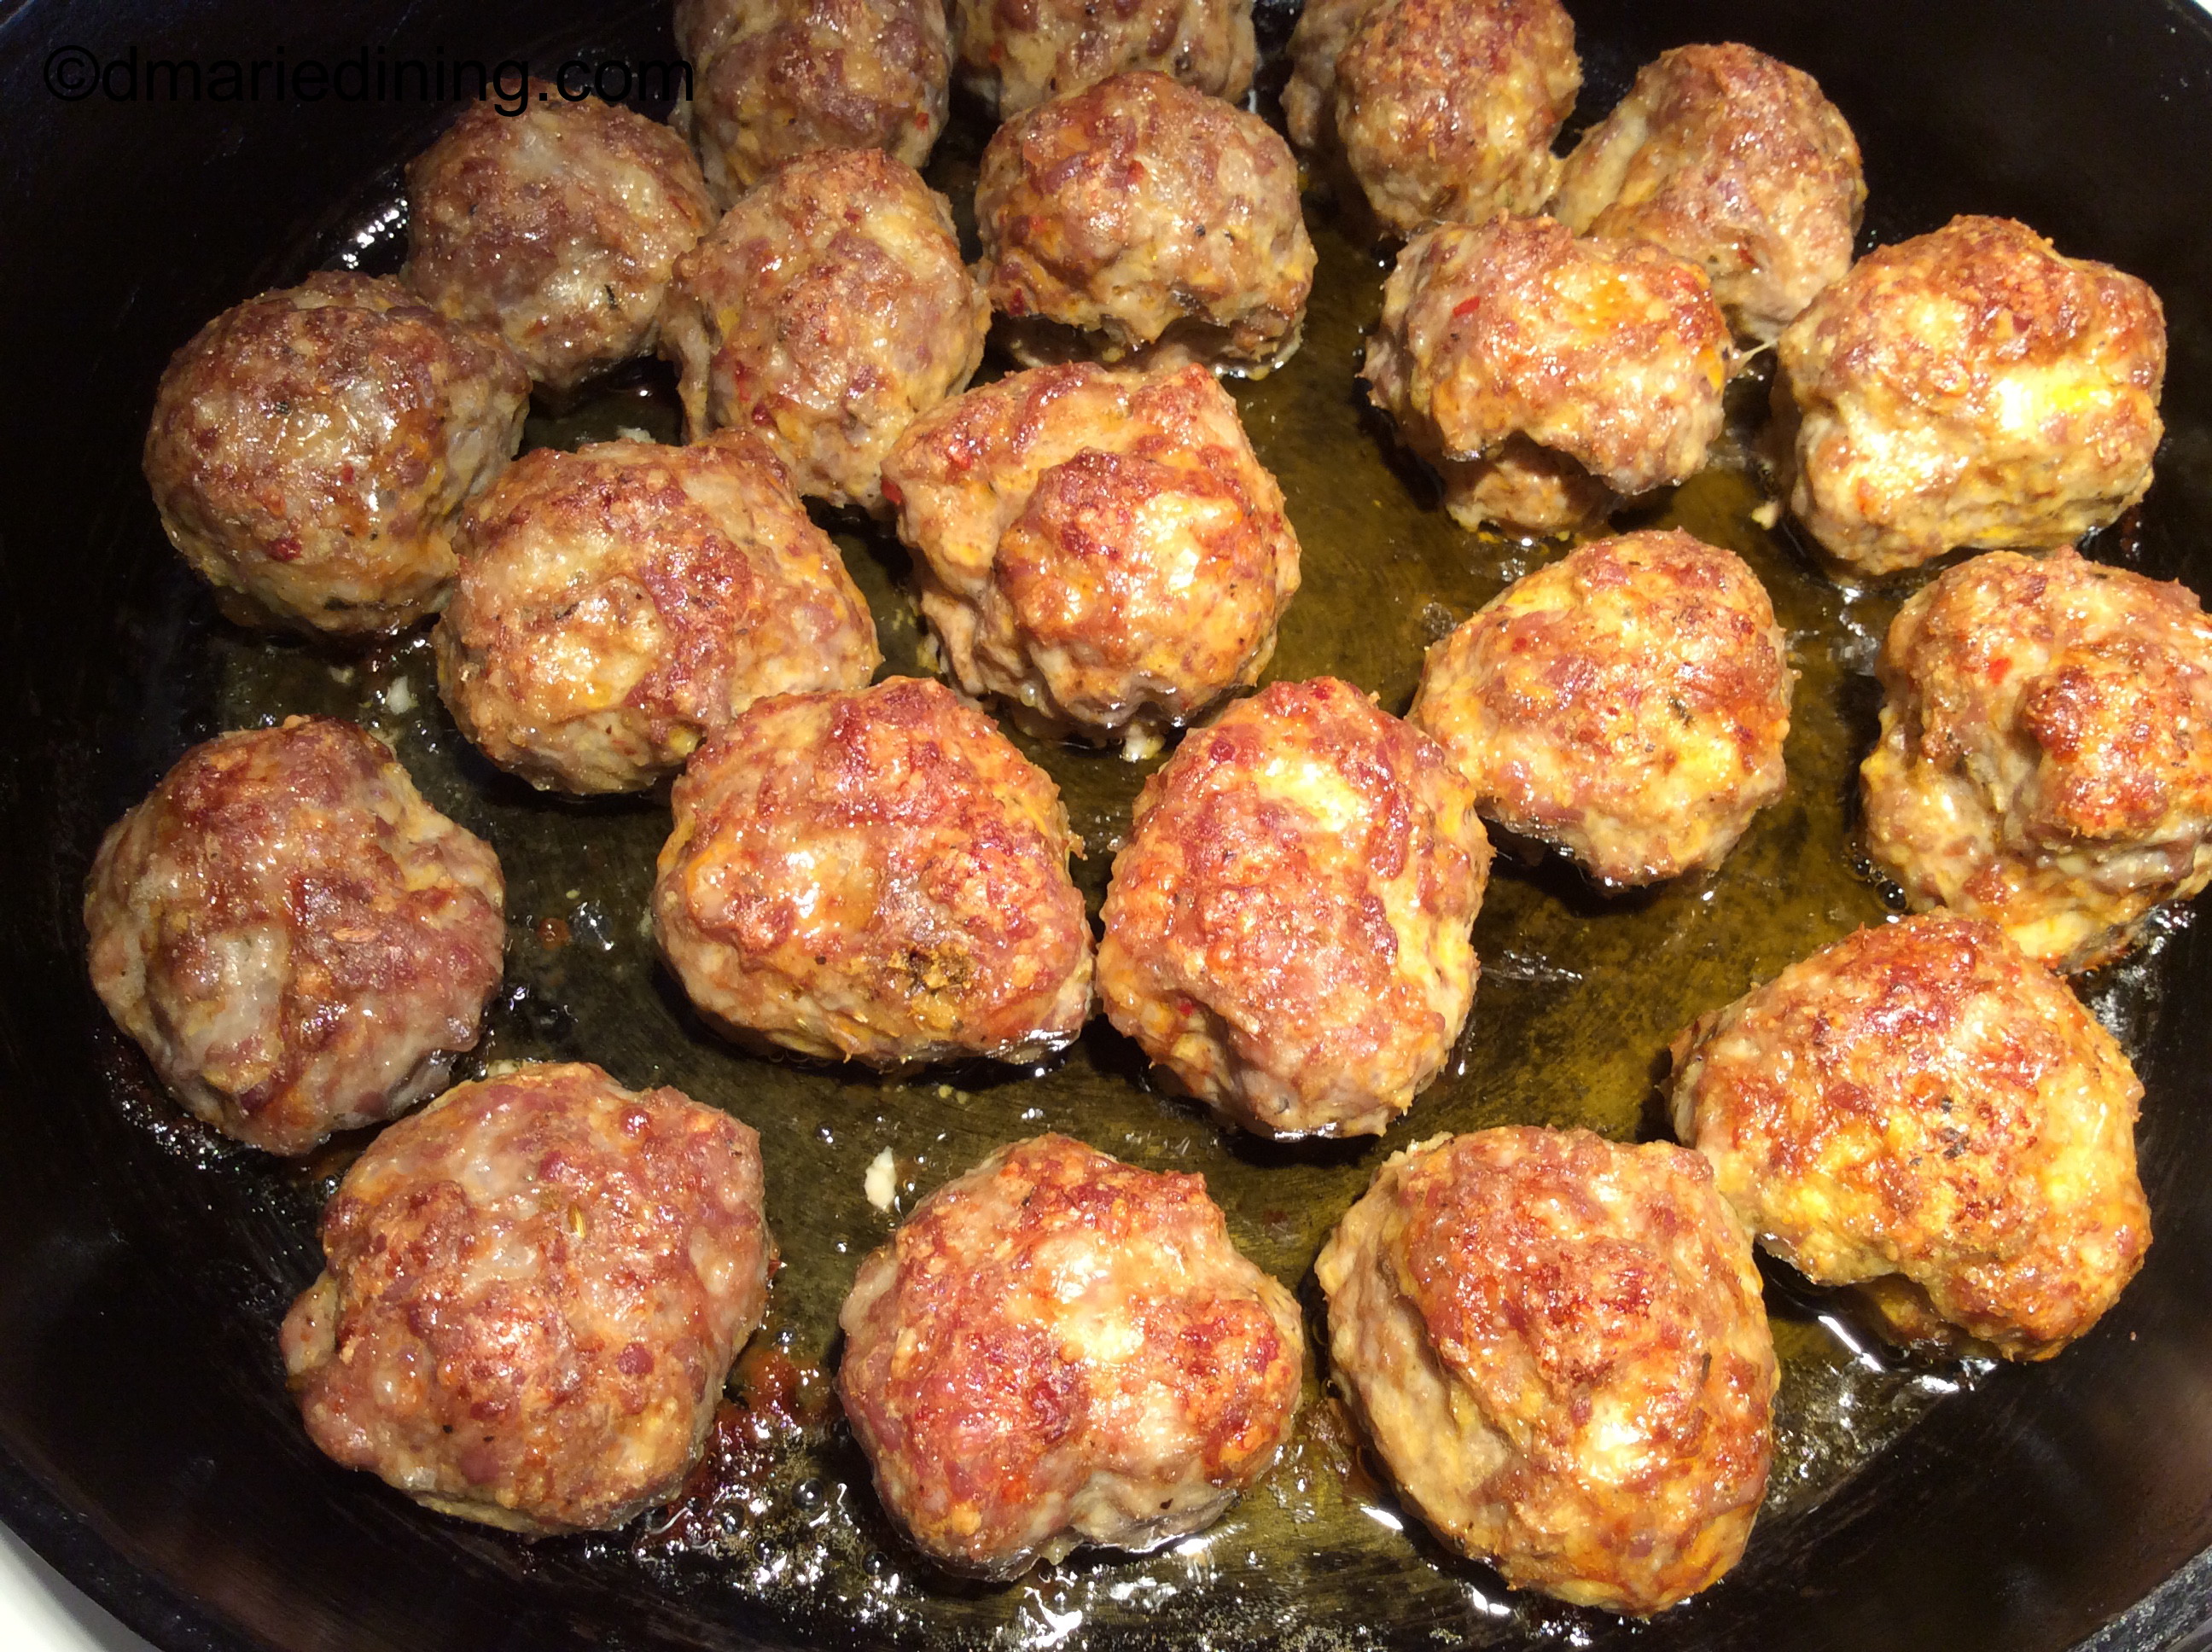
Heat grape seed oil in a large dutch oven over medium high heat. Add sausages in batches and brown on each side. Slice the browned sausages then set aside. Wipe out the dutch oven if the bottom is too brown. Lower the temperature to medium. Add a little more grape seed oil to the pot then add onions ad peppers along with the seasonings. Stir and cook for approximately 2 – 3 minutes. Add both cans of tomatoes, white beans and tomato paste to the pot and stir until well blended with the onions and peppers. Cook for 3 minutes then add the sausages to the pot. Stir and let simmer for 20 – 25 minutes over medium low heat to allow the sauce to thicken.

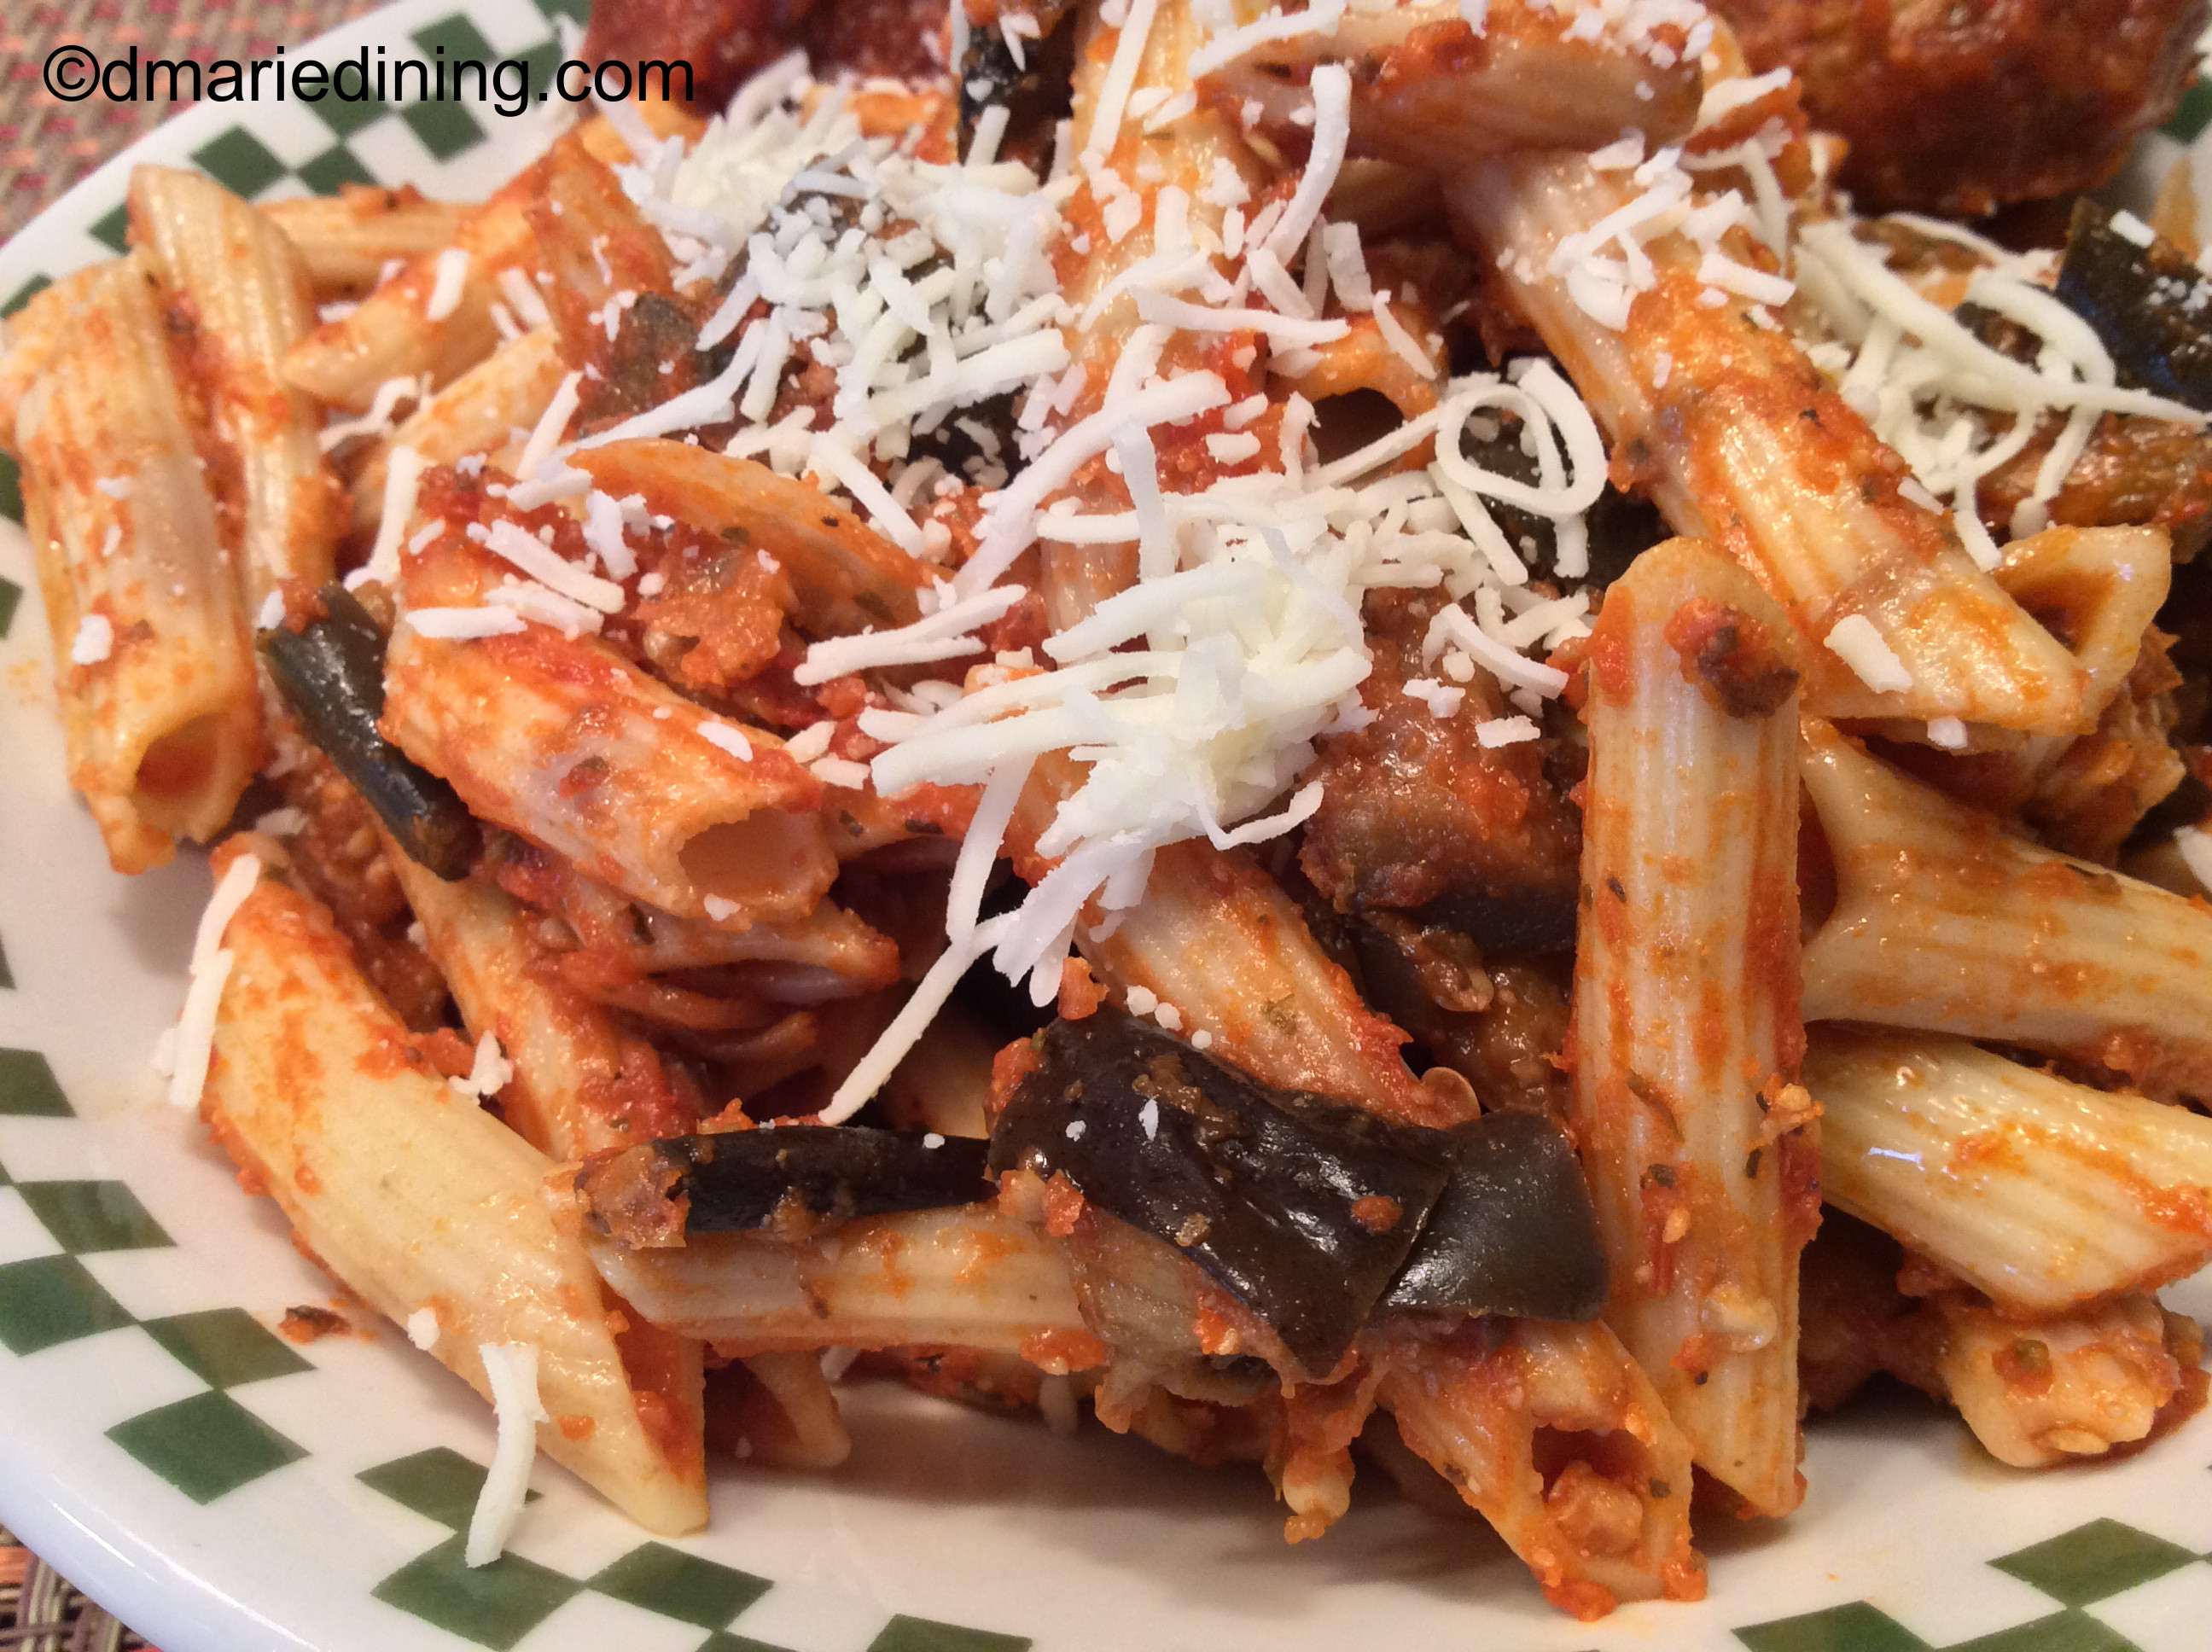
While sauce is simmering cook pasta according to the package. Spoon sauce over a bowl of pasta and sprinkle with freshly grated Parmesan cheese. Enjoy!


Follow my blog with Bloglovin

Advertisement

Quiche

During warmer weather I shy away from always fixing meals that require me to be around the stove for any length of time. One pot meals and meals that go into the oven are my favorite things to prepare when it is hot.

Quiche is one of those meals you can quickly prepare then stick it in the oven to do its thing while you do something else. Quiche is also versatile because you can use anything you want for the filling whether it is veggies, meat, cheese or a combination of all three. The only thing I haven’t tried in a quiche is pasta. But who knows, that might work too. I’ll let you know if I ever get bold enough to try it.

I have two quiche recipes you can try for my vegetarian friends and meat eaters like me. I encourage you to experiment with the ingredients to make this your own favorite recipe.

P.S. Crab quiche is wonderful too. I’ll write a recipe on that one too sometime soon.

Quiche

Basic Quiche Recipe

Ingredients:

6 extra large eggs

1 ready made pie crust (roll out to fit in pie pan)

½ cup shredded Gruyere cheese

¼ cup shredded sharp cheddar cheese

¼ cup fresh grated Parmesan cheese

¼ cup half and half

1 tbsp butter or olive oil

½ tsp mushroom seasoning (Trader Joe’s)

¼ tsp salt

¼ tsp cracked black pepper

¼ tsp dried parsley

¼ tsp dried thyme

2 dashes of hot sauce (optional)

cooking spray

paprika

Preheat oven to 350 degrees.

Place pie crust in a pie pan sprayed with cooking spray. Gently tap the bottom of the pie crust with a fork to prevent puffing. Set aside.

Beat together eggs, seasonings and half and half until well blended. Fold cheeses into the egg mixture. Sprinkle with a little paprika. Place pie pan on a baking sheet and place in the oven. Bake for 30 to 45 minutes. Test to make sure the quiche is cooked thoroughly by placing a butter knife in the center after 30 minutes. Cook a few minutes more if not completely done. Let the quiche cool for about 5 to 10 minutes then serve with nice soup or salad.

Additional Ideas:

Mushroom Quiche:

Saute 1 package each of baby portobella mushrooms and white button mushrooms in 1 tbsp of butter or olive oil. Place on the bottom of the pie crust then pour egg and cheese mixture over the mushrooms. Bake according to basic the recipe.

Chicken and Broccoli Quiche:

Season one package of cooked diced white meat chicken with a little salt, onion powder and pepper.  Set aside.  Blanche 1 package of broccoli florets in salted water for about 3 minutes. Remove from water and place in a bowl of ice cold water to stop the cooking process. Drain and sprinkle broccoli with a little salt. Place chicken and broccoli in the bottom of the pie crust then pour egg and cheese mixture over the filling. Bake according to the basic recipe.


Follow my blog with Bloglovin

Sticky Ginger Pork Chops

During the coronavirus pandemic I have had to be a little more creative with putting dinner on the table. Since most of us are shut up in the house it means cooking a lot more. Especially for those of us who had college kids return home. My youngest had to come home to complete his senior year of college (Congratulations to T on his graduation 5/21/20). The traditional mom side of me makes me want to have a nice dinner every day for the family. When it was just hubby and me I bailed on cooking dinner and opted for healthy take out food more than I probably should have done. Sorry hubby! Don’t worry, hubby really didn’t suffer because the take out was usually his favorite meal from a Korean BBQ restaurant EB told me about. Hubby could eat their food every other day if I was so inclined.

Anyway, back to the Sticky Ginger Pork Chops. Growing up, pork chops were one of my favorite foods. My dad used to tell people I could eat five pork chops in one sitting. Yes, he was exaggerating because my mom usually only made two pork chops per person. So, unless someone else was giving up their pork chops I couldn’t eat five of them at one time. Granted, I am a meat eater and if I only had a plate of pork chops for dinner and no side dishes, I might have been able to eat at least three chops in my younger days. Today, I eat only one unless I am super hungry then I could eat two.

Sticky Ginger Pork Chops came from a recipe I saw on the Test Kitchen show. They showed how to make Sticky Pork Spareribs instead of pork chops. I used pork chops because my local grocer had a fantastic sale on a large package of chops for less than $4.00 so I couldn’t pass them up. When it came time to cook the pork chops I decided to tweak the Sticky Pork Spareribs to create my own recipe.

My recipe has the basics of the Test Kitchen recipe but with a few changes based on what I had in the refrigerator and pantry. The end result was a thumbs up so I knew the recipe was blog worthy. Enjoy!

Sticky Ginger Pork Chops

Ingredients:

4 – 6 bone in pork shops

3 scallions diced

½ cup chicken stock or broth

2 tbsp sea salt

2 tbsp olive oil

2 tbsp honey

2 tbsp soy sauce

2 tbsp slice fresh ginger

2 tbsp rice vinegar

2 tbsp rice wine

1 tbsp garlic powder

½ tbsp cracked black pepper

1 tsp red pepper flakes (optional)

Preheat oven to 350 degrees.

Season pork chops with sea salt, garlic powder and cracked black pepper. Heat olive oil in a large cast iron skillet over medium high heat. Add pork chops in batches and brown on both sides (place browned pork chops on plate while cooking other pork chops). Lower heat to medium and place all pork chops back in the skillet. Sprinkle with red pepper flakes and ginger slices. Drizzle with honey, soy sauce, rice wine and rice vinegar. Sprinkle with scallions and then pour in chicken stock. Bring to a boil then remove from heat. Cover the skillet with foil then place in the oven to bake. Baste the pork chops after the first 15 minutes and cook for 15 minutes more. Remove the foil then baste again and cook for another 30 minutes. Serve with your favorite side dishes.

Follow my blog with Bloglovin

Skillet Baked Spaghetti

I am dedicating this post to my hubby and mother-in-law (may she rest in peace).

Hubby and I were discussing our childhoods the other day and reminiscing about the comfort foods our mothers would make. One of the comfort foods my hubby mentioned was the baked spaghetti his mom would prepare for the family. Mom B. had a special frying pan with rings in the bottom that she would use to bake the spaghetti in. I kind of remembered a similar pan from my childhood my mom would use but I don’t think she used it for baking.

Skillet Baked Spaghetti was pulled together based on how Mom B. would make her baked spaghetti. As always, I added my own twist to the recipe but hubby said my version did remind him of his mom. What a great compliment. I was happy that we could share a moment from his childhood and feel the same warmth and comfort his mom’s cooking would bring to the family.

Fast forward to today and now I have a recipe I can share with my kids and grand kids that makes them feel the comfort we felt from old family recipes. Pasta is usually a hit with my family. Add spice to the mix and a crispy cheesy topping and it’s a home run.

Thanks Mom B. for leaving hubby with a wonderful memory and giving me a delicious recipe.

Skillet Baked Spaghetti

Ingredients:

1 box vermicelli pasta (prepare per package instructions and save ½ cup pasta water) al dente and drained

1 pkg hot sausage links (casing removed)

1 pkg Italian sausage links (casing removed)

1 large jar spaghetti sauce

1 cup shredded mozzarella cheese

¼ cup freshly grated Parmesan cheese

2 tbsp salt

1 tbsp ground black pepper

1 tbsp ketchup

1 tsp dried oregano

1 tsp dried basil

½ tsp turmeric

½ tsp onion powder

¼ tsp red pepper flakes (optional)

Preheat oven to 350 degrees.

Brown the sausages in medium non-stick skillet over medium high heat. Remove most of the grease from the skillet then add the spaghetti sauce, ketchup and seasonings (except for the red pepper flakes). Stir to mix then reduce heat to medium low and simmer for 5 – 10 minutes.

After preparing pasta drain it and reserve ½ cup of the pasta water. Place the pasta back in the pot and add the spaghetti sauce. Mix well and add a little pasta water if the spaghetti seems dry. Spray a large cast iron skillet with cooking spray and drizzle a little olive oil on the bottom of the pan.

Place have of the spaghetti in the skillet then top with ½ of the shredded mozzarella and ½ of the Parmesan cheese. Top with the remaining spaghetti and sprinkle with the remaining cheese along with the red pepper flakes. Bake for 15 – 20 minutes until the top is slightly crispy and golden browned.

Follow my blog with Bloglovin

Mixed Pasta with Kielbasa

Roasting vegetables is one of my favorite ways to prepare vegetables because it is a quick process that brings out a lot flavor. Before I started my blog I never thought about roasting unless it was chicken. Instead, I would just saute vegetables in a pan. Believe it or not the two techniques of sauteing vs. roasting will affect the nutritional value and flavor depending on the vegetable.

I did a little research and found that both roasting and sauteing are healthy methods of preparing vegetables. Steaming is the best way to go and grilling is better than frying when trying to maintain nutrition. Both tomatoes and onions maintain their antioxidant capacity after baking but green peppers tend to lose antioxidant capacity when baked. No, that has not stopped me from baking peppers because I like the taste. It’s just good information to know when preparing them.

Mixed Pasta and Kielbasa was a last minute recipe I came up with based on what I had on hand for dinner. I keep a jar of dried mixed pasta which are the remnants of different boxes of pasta. Elbow, penne, bow tie – whatever! Pasta is pasta. All that really matters is what you add to the pasta. On the night I made Mixed Pasta with Kielbasa I had some baby spinach, tomatoes and a package of kielbasa I needed to cook.

The end result was pretty tasty and definitely a hit with my pasta eating crew. It is hard for me to mess up pasta when dealing with an audience that loves pasta in any shape or form. But, I know just how delicious my pasta dishes are when they go for seconds and this one certainly hit the mark. Seconds all around!

Mixed Pasta with Kielbasa

Ingredients:

1 ring of smoked kielbasa sliced

1 small onion sliced thin

1 pkg baby leaf spinach

1 pkg vine ripe tomatoes quartered

½ green pepper seeded and sliced

1 cup mixed pastas (penne, twists, cavatappi, etc) cooked al dente per package

½ cup chicken broth

¼ shredded mozzarella cheese

3 tbsp olive oil

2 tsp salt

1 tsp Adobo

½ tsp onion powder

½ tsp ground black pepper

¼ tsp red pepper flakes

Preheat oven to 400 degrees.

Add tomatoes, onions and green peppers to a rimmed baking sheet. Season with 1 tsp of salt and pepper. Sprinkle with 2 tbsp oil and toss to coat. Roast in oven for 20 – 25 minutes until slightly charred. Set aside.

Brown kielbasa in 1 tbsp of olive oil over medium high heat. Add chicken broth, roasted vegetables and remaining seasonings to the kielbasa. Stir to mix well. Toss in pasta and stir. Cook until pasta is heated up then sprinkle with cheese. Serve immediately.


Follow my blog with Bloglovin

Brussel Sprouts with Pancetta (or Turkey Bacon)

My hair stylist Eb (and little brother) and I often discuss anything from family, food and sports to politics while I am sitting in his chair. A while ago we talked about a couple of the dishes he makes for Mother’s Day. He showed me a picture of one recipe in particular he had created which consisted of brussel sprouts and turkey bacon. I must say it looked absolutely delicious and of course made me want to create my own brussel sprout recipe. So this post is dedicated to Eb and all the brussel sprout lovers of the world.

Brussel sprouts are one of those vegetables I found that people either love or hate. I am on the side of loving them. Not just because I love most foods but because they are very low in fat and have a high percentage of potassium and vitamin C. Plus, they have a nice little bite in flavor. Contrary to what some folks think, brussel sprouts are not baby cabbages. Where as cabbage grows out of the ground and we eat the head of the cabbage, brussel sprouts are buds that grow on thick long stalks. Both vegetables are in the same cruciferous family along with kale, collard greens, bok choy and other types of greens.

The haters of brussel sprouts have given this vegetable a bad rap. Probably because whomever prepared them were not totally sure how to cook them. Take frozen brussel sprouts off your list. Once frozen they are not quite as delicious as they could be. Brussel sprouts need to be cooked fresh. The smaller the brussel sprout the sweeter the taste. Larger brussel sprouts tend to be more bitter but if they are prepared the right way large sized brussel sprouts will taste wonderful too. Lightly browning or caramelizing the brussel sprouts enhances the nutty flavor and cuts down on the bitterness in my opinion. Pairing the brussel sprouts with other wonderful flavors like pancetta and onions also brings out the savory taste of the sprouts.

However, you decide to fix them just make sure you give brussel sprouts the tender love and care they deserve. I think if given another chance, even haters will grow to love brussel sprouts.

Brussel Sprouts with Pancetta

Ingredients:

10 – 15 small brussel sprouts cut in half

1 pkg pancetta

1 clove garlic minced

½ small onion sliced thin

¼ cup chicken broth

2 tbsp olive oil

1 tbsp butter

1 tsp salt

½ tsp cracked black pepper

½ tsp onion powder

Heat olive oil and butter in a medium sized non-stick skillet over medium high heat. Add onion and pancetta and cook for 5 minutes stirring occasionally until the onion softens and pancetta slightly browns. Add brussel sprouts and seasonings. Stir to mix the pancetta, onions and brussel sprouts. Lightly brown the brussel sprouts for approximately 3 minutes then add the chicken broth, reduce heat to medium and cover. Cook until the brussel sprouts are fork tender but do not over cook. Serve with your favorite fish or meat.

Follow my blog with Bloglovin

Spicy Meatballs

Spicy Meatballs are one of the simplest dishes I have ever made.  Most good chefs/ cooks know how to make a meatball.  Whether you are adding them to pasta or making a meatball sandwich, meatballs are pretty easy to make. The trick is to make them flavorful. This meatball recipe was created to go with my Penne Pasta and Eggplant with Spicy Meatballs on the side.

Follow the link for another delicious recipe.

Spicy Meatballs

Ingredients:

1 package fresh Italian sausage

1 package ground pork

1 package fresh hot sausage

1 egg

¼ cup Parmesan cheese

¼ cup panko bread crumbs

¼ cup milk

2 tsp salt

1 tsp ground black pepper

1 tsp dried basil

1 tsp dried oregano

½ tsp onion powder

Preheat oven to low broil.

Combine Parmesan cheese, egg and milk in a small bowl. Place meats and seasonings in a large bowl along with panko bread crumbs. Add egg mixture to the meat. Mix well to combine but do not over work the meat. Form into golf ball sized balls (or whatever size you like) and place meatballs in a large iron skillet. Place in the oven and brown the meatballs for about 15 minutes.

Remove the meatballs and place in a large pot with marinara sauce. Simmer over medium low heat for 30 to 40 minutes until meatballs are cooked all the way through.

These are good for spaghetti and meatball dishes, meatball sandwiches, appetizers and of course Penne Pasta and Eggplant with Meatballs on the side.

Follow my blog with Bloglovin

Penne Pasta and Eggplant with Spicy Meatballs on the side

This post is dedicated to Kashana who is a foodie like me. Kashana and I met at one of my favorite places – Starbucks. We happen to strike up a conversation about food and since then she has been a visitor to my blog. It is nice when someone outside of family appreciates many of the recipe ideas I have shared over the years.

I have to admit that this recipe was adapted from another recipe I saw on a cooking show. I thought it would be a nice recipe for the days when I wanted a meatless dish that was also quite filling. Adding spicy meatballs on the side was a way for me to please others that liked a meatless dish as well as those that are true carnivores no matter what.

This recipe really came in handy recently when my sister, who is a vegetarian, and brother-in-law joined us for dinner at our house. I was surprised that night when my sister shared that she no longer eats pasta, flour, sugar, etc. Fortunately, I had also prepared blackened salmon because I knew she liked salmon which I figured would go with the pasta. So all was not lost with my dinner menu which included a delicious salad (per the family) along with steamed broccoli topped with melted cheese.

Okay, back to the Penne and Eggplant. Talk about easy. Preparing pasta is usually quick and quite easy by just following the directions on the box. I made sure the pasta was al dente so that it would not be a pile of mush after I baked it a little. Eggplant can be quite watery when you cook it. So, the trick to reducing the amount of moisture in the eggplant is to microwave the cubed eggplant for about 8 minutes on a paper towel. This method worked like a charm. I think I might try this when I make another eggplant lasagna to make it less watery too.

Spicy meatballs on the side allowed me to have a vegetarian dish and the ability to satisfy the carnivore in me and some of my family. The meatballs were also a big hit along with the Penne Pasta and Eggplant. Two for one! Man…. I’m on a roll.  Thank you Kashana for your support.

Penne Pasta with Spicy Meatballs on the side

Ingredients:

2 large eggplant cubed (do not peel)
½ small onion sliced thin

1 box Penne pasta cooked al dente according to package

1 ½ jars marinara sauce

1 cup shredded mozzarella

1 cup grated fresh Parmesan

2 tbsp olive oil

1 tsp sea salt or Kosher salt

1 tsp dried basil

1 tsp dried oregano

¼ tsp onion powder

Cooking Spray

Preheat oven to 350 degrees.

Line a large microwaveable bowl with paper towels. Place cubed eggplant in the bowl and sprinkle with sea salt. Microwave eggplant for 8 minutes. Heat olive oil in a large skillet over medium heat. Add eggplant and sprinkle with black pepper, oregano, basil and onion powder. Saute the eggplant until softened stirring constantly so that it does not burn.

Remove the eggplant from the heat. Spray the bottom of a casserole dish with cooking spray. Pour a little marinara sauce on the bottom of the dish and spread around. Add the Penne pasta to the dish and top with the eggplant, thinly sliced onions and Parmesan cheese. Pour marinara sauce over the top and gently mix to combine the eggplant, pasta and cheese. Add more sauce if the pasta seems too dry. Top with the shredded mozzarella cheese then bake for 20 to 30 minutes until the cheese has melted and pasta is heated throughout. Serve immediately with the Spicy Meatballs and a healthy salad.

Follow my blog with Bloglovin

Parmesan Chicken Fingers

One of my youngest son’s favorite meals is Parmesan chicken. He likes chicken and he loves pasta. Put the two together and he is extremely happy with dinner. I also enjoy Parmesan chicken (light on the pasta) but sometimes a big fat chicken breast is too much for me. Okay, I will admit I go for the chicken breast first when I eat fried chicken but that is a different kind of meal.

I decided to alter my recipe for Parmesan chicken by substituting chicken fingers for a full chicken breast. Thus, Parmesan Chicken Fingers was born. Using the chicken fingers allows everyone to choose exactly the right portion of meat for their appetites rather than filling their plates with a large single chicken breast.

To add an extra layer of crispiness to the chicken fingers I mixed in a little ground cornmeal with the panko bread crumbs for the coating. I wasn’t sure I could pull this one off with my taste testers but the guys loved it. Sometimes you just have to sneak in something new to a recipe and then sit back and wait for the reactions. I got the idea to add fine ground cornmeal from one of the many cooking shows I like to watch. I think the chef was making fried chicken (yeah, I went back to talking about fried chicken) and added cornmeal to the coating to add an extra layer of crunch. It looked so good on the plate I figured it would be good on my Parmesan Chicken Fingers too.

Bottom-line …. it worked! Such an easy recipe and thankfully a tasty one too.

Parmesan Chicken Fingers

Ingredients:

2 packages chicken fingers

2 eggs

1 jar spaghetti sauce

1 cup shredded mozzarella cheese

½ cup panko bread crumbs

½ cup flour + 1 tbsp

½ cup frying olive oil or vegetable oil

¼ cup finely ground cornmeal

¼ cup grated Parmesan cheese

2 tbsp milk

1 tbsp flour

1 tbsp salt

½ tbsp ground black pepper

½ tsp red pepper flakes (optional)

Preheat oven to 350 degrees.

Season chicken fingers with salt and pepper. Place ½ cup flour on a plate and set aside. Beat eggs with milk and set aside.

Mix panko bread crumbs, cornmeal, 1 tbsp flour, grated Parmesan cheese and red pepper flakes in a bowl.

Dredge chicken in flour (shake off excess) then dip in egg mixture. Roll in bread crumbs and place on a cookie sheet to rest.

Heat oil in a no stick frying pan over medium heat. Test the oil to see if it is hot by place the thick end of a chopstick in the center of the pan. It you see rapid bubbles then the oil is hot (Thanks for the tip Mama Noi). Fry the chicken in batches until lightly golden brown. Drain on a paper towel.

Place chicken in a casserole dish and drizzle with spaghetti sauce and top with mozzarella cheese. Bake for 15 – 20 minutes until cheese is melted and golden. Serve with pasta.

P.S. For the grand kids I make Parmesan Chicken Fingers with a honey mustard or BBQ dipping sauce.

Follow my blog with Bloglovin

No Bun Needed Bacon Cheese Burger

Part of my new journey and change in eating habits is to minimize the amount of carbs we eat on a daily basis. Instead of eating bread for breakfast and having a sandwich for lunch then pasta for dinner, we have fruit smoothies or oats for breakfast. Lunch may be a variety of homemade soups that are quick and easy to make. Dinner is the usual chicken or fish with beef or pork thrown in a couple of times a month to break up the monotony of eating chicken. We also changed from eating white rice to mainly eating brown rice. Brown rice can be bland but I kick up the taste with teriyaki sauce and scallions.

Okay, back to my No Bun Needed Bacon Cheese Burger. Since we are doing our best to eliminate carbs as much as possible I tossed the bun on our turkey cheese burgers ad put the burgers on a bed of mixed greens then topped them off with a fried egg. If you are like my hubby, you will enjoy a soft fried egg so that when you dig into it the yolk runs over the burger and makes the meal even more delicious.

Who needs bread when you can create a delicious No Bun Needed Burger!

No Bun Needed Bacon Cheese Burger

Ingredients:

1 lb ground turkey meat

6 slices of bacon cooked, cut in half

4 eggs (fried to your liking)

4 slices pepper jack cheese

2 plum tomatoes sliced

1 pkg mixed greens

½ small onion diced

2 tbsp olive oil

1 tbsp Worcestershire sauce

1 tsp salt

1 tsp black ground pepper

½ tsp onion powder

Saute onions in 1 tbsp olive oil over medium high heat until softened. Set aside.

Place ground turkey in a large bowl. Add onions, Worcestershire sauce and seasonings. Mix together well then form 4 turkey patties.

Add remaining olive oil to the same pan used to saute the onions and turn heat to medium high. Cook turkey patties for 2-3 minutes on each side until burgers are nicely browned and cooked all the way through. Remove from the heat and top each with a slice of pepper jack cheese. Cover the burgers then fry the eggs to your liking.

Place mixed greens into four bowls. Place a turkey burger in the middle of each bed of greens then top it with a fried egg. Add bacon and tomatoes around the bowl and dress the greens with your favorite salad dressing. I recommend Gazebo Room Greek Salad Dressing and Marinade. You cannot go wrong with this fantastic dressing.

Enjoy!

Follow my blog with Bloglovin