Category Archives: Appetizers

Guacamole

IMG_4940_1

My hubby has been trying to get me to make Guacamole for years. He has even brought home recipes from co-workers who he said made “the best” guacamole for office parties. To say I was intimidated by his “the best” statement would be an understatement. My past attempts at making Guacamole never quite hit the mark. It was either too lemony, too salty, too garlicky or too yuck!

IMG_4951_1

Yep, I don’t mind saying I made some terrible Guacamole in my earlier days of cooking. Now? Now, I can say I have finally pulled together a recipe that is simple and full of flavor. Keeping it simple is the key to making Guacamole. Having only a few ingredients and seasonings helps to keep the avocado the star of the recipe. After all, it is not really Guacamole without the avocado.

IMG_4961_1

Speaking of avocado, did you know that avocados are rich in fiber with about 10 grams in a medium-sized avocado. One of the things I love about avocados is that they are versatile. I use them in salads, toppings for my tacos and tostadas or in spreads or dips. I think some folks even use avocados as a hair conditioner and as a facial mask to improve their complexion. I would rather eat avocados than wear them.

IMG_4971_1

So, for anyone out there that has been intimidated by the idea of making good Guacamole try my version. I no longer feel like a wimp and neither will you.
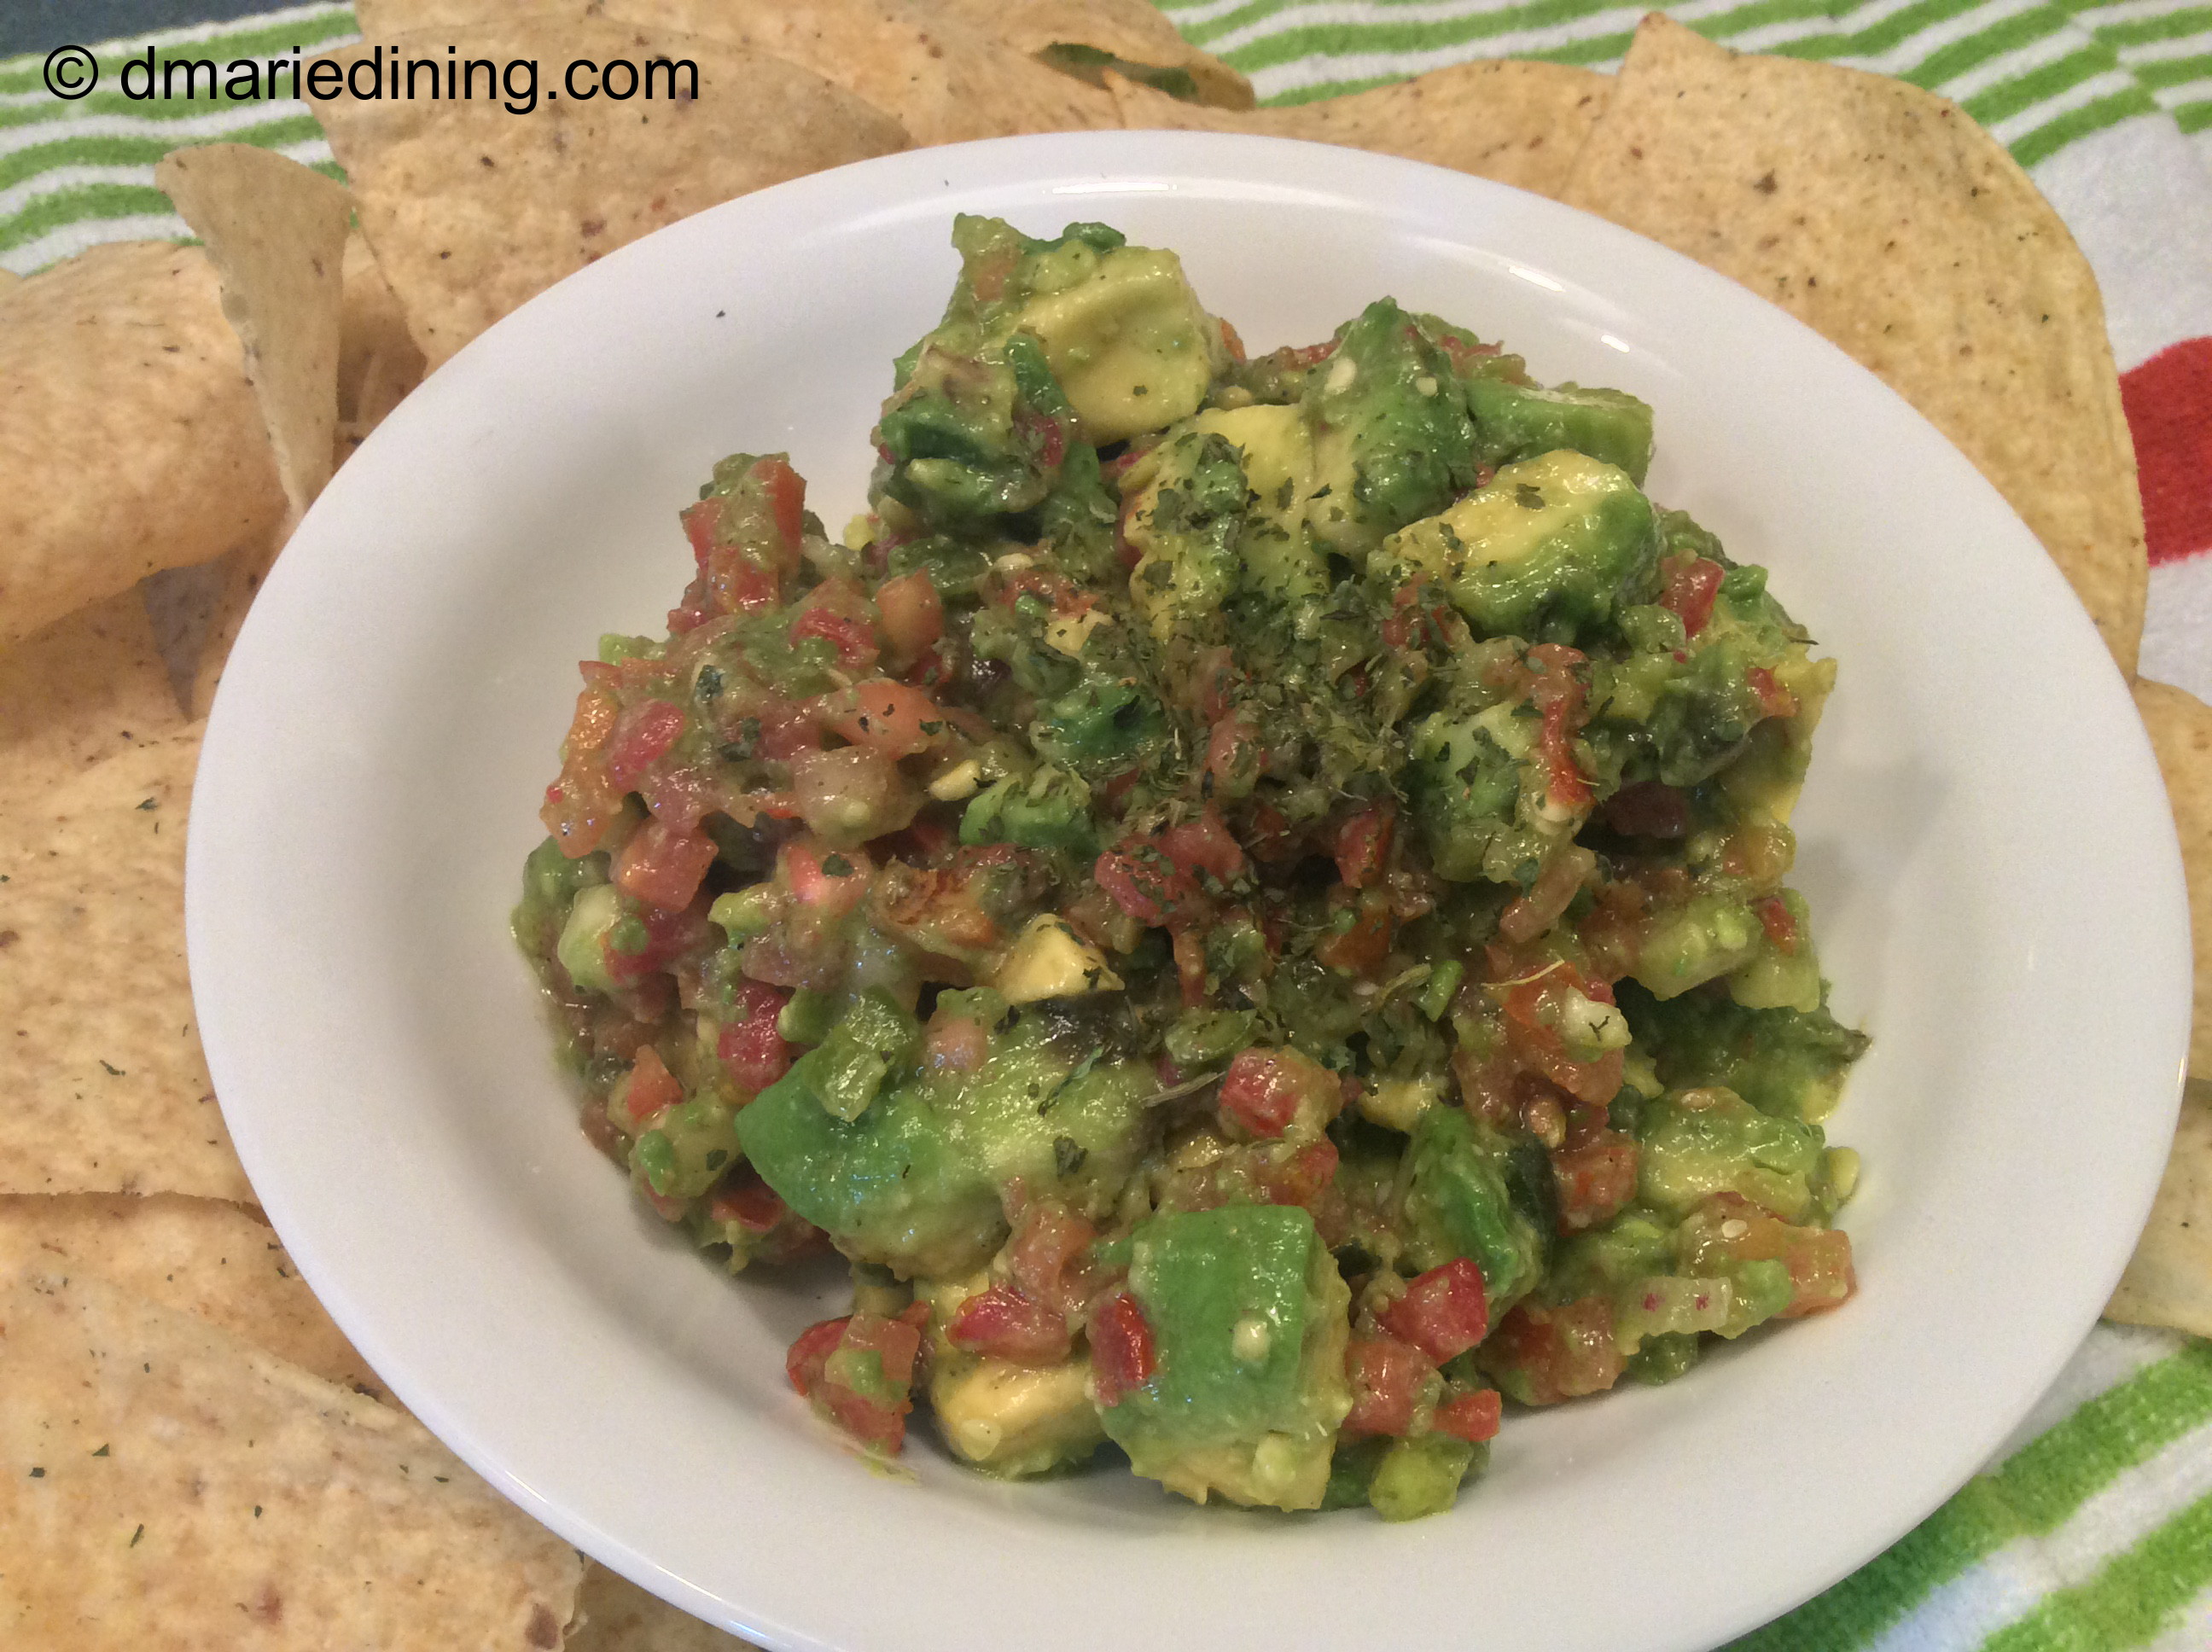
IMG_4973_1

Guacamole

Ingredients:

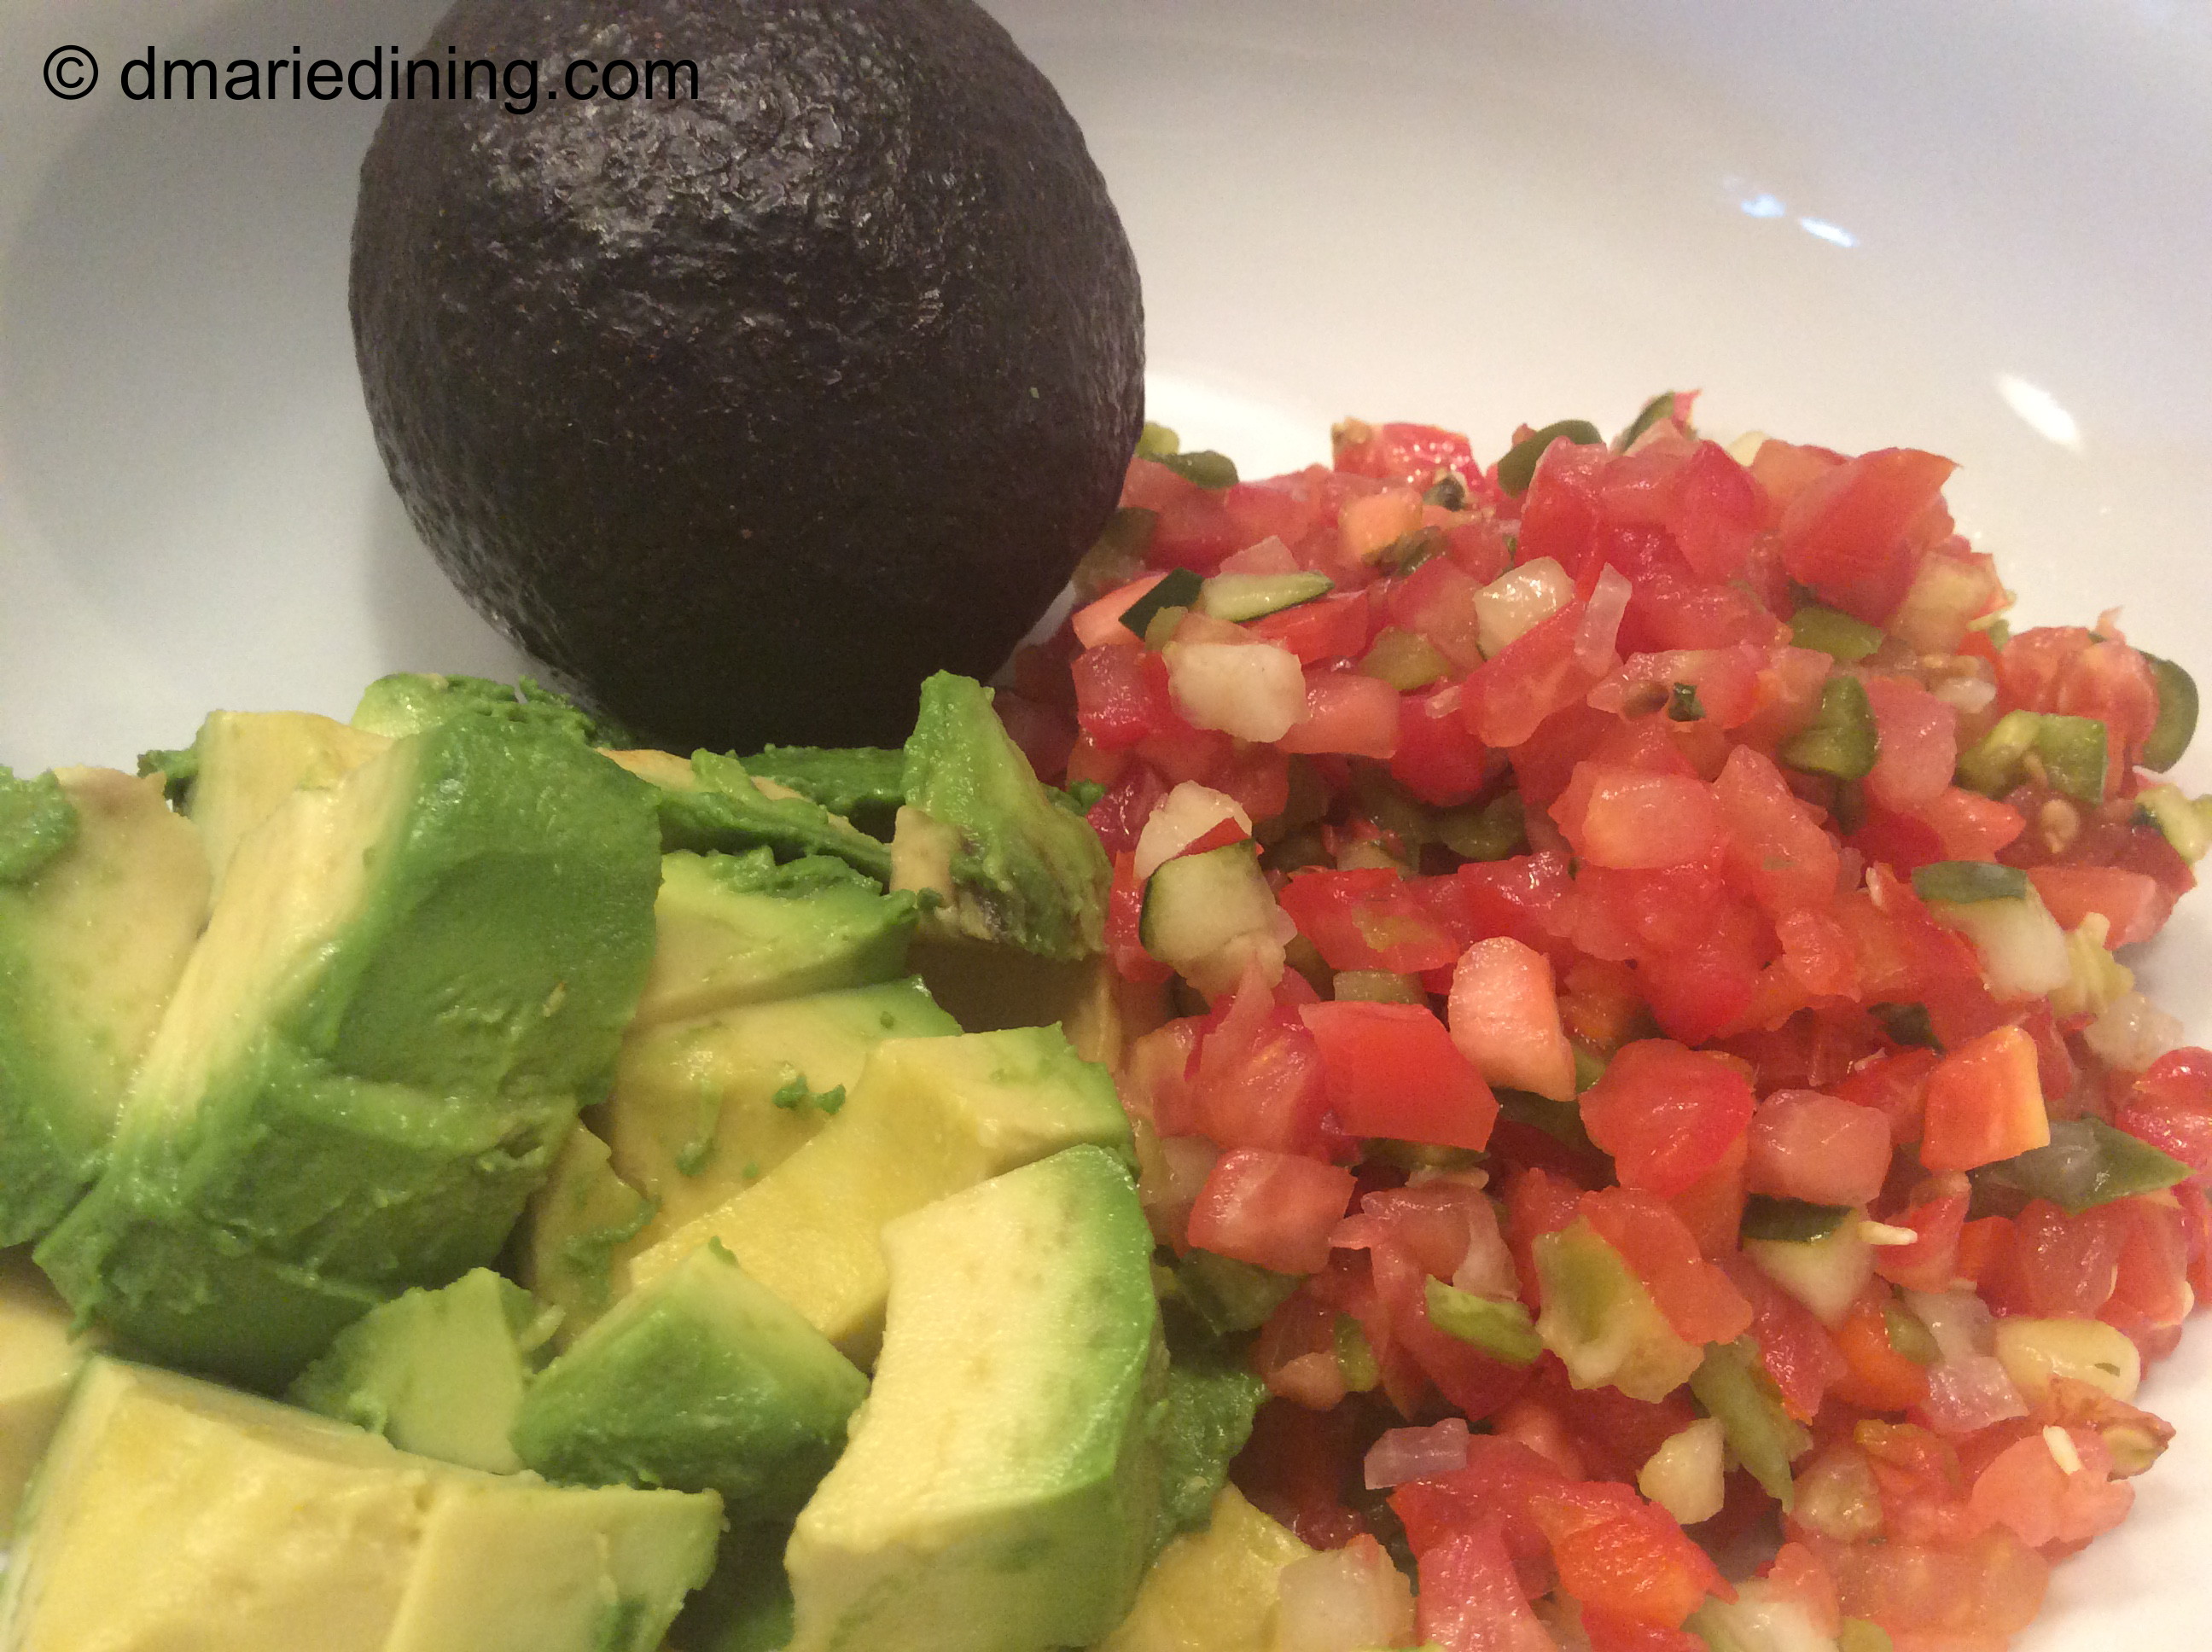
1 small container of fresh salsa drained

4 ripe avocados cubed

1 4oz can of jalapenos drained

½ tsp cilantro

½ tsp black pepper

½ tsp salt

¼ cup olive oil

Dressing:

In a small bowl whisk together olive oil, salt, black pepper, cilantro and garlic powder.

Place drained salsa in a medium-sized bowl. Pour lime juice over salsa and let it sit for 5 minutes.

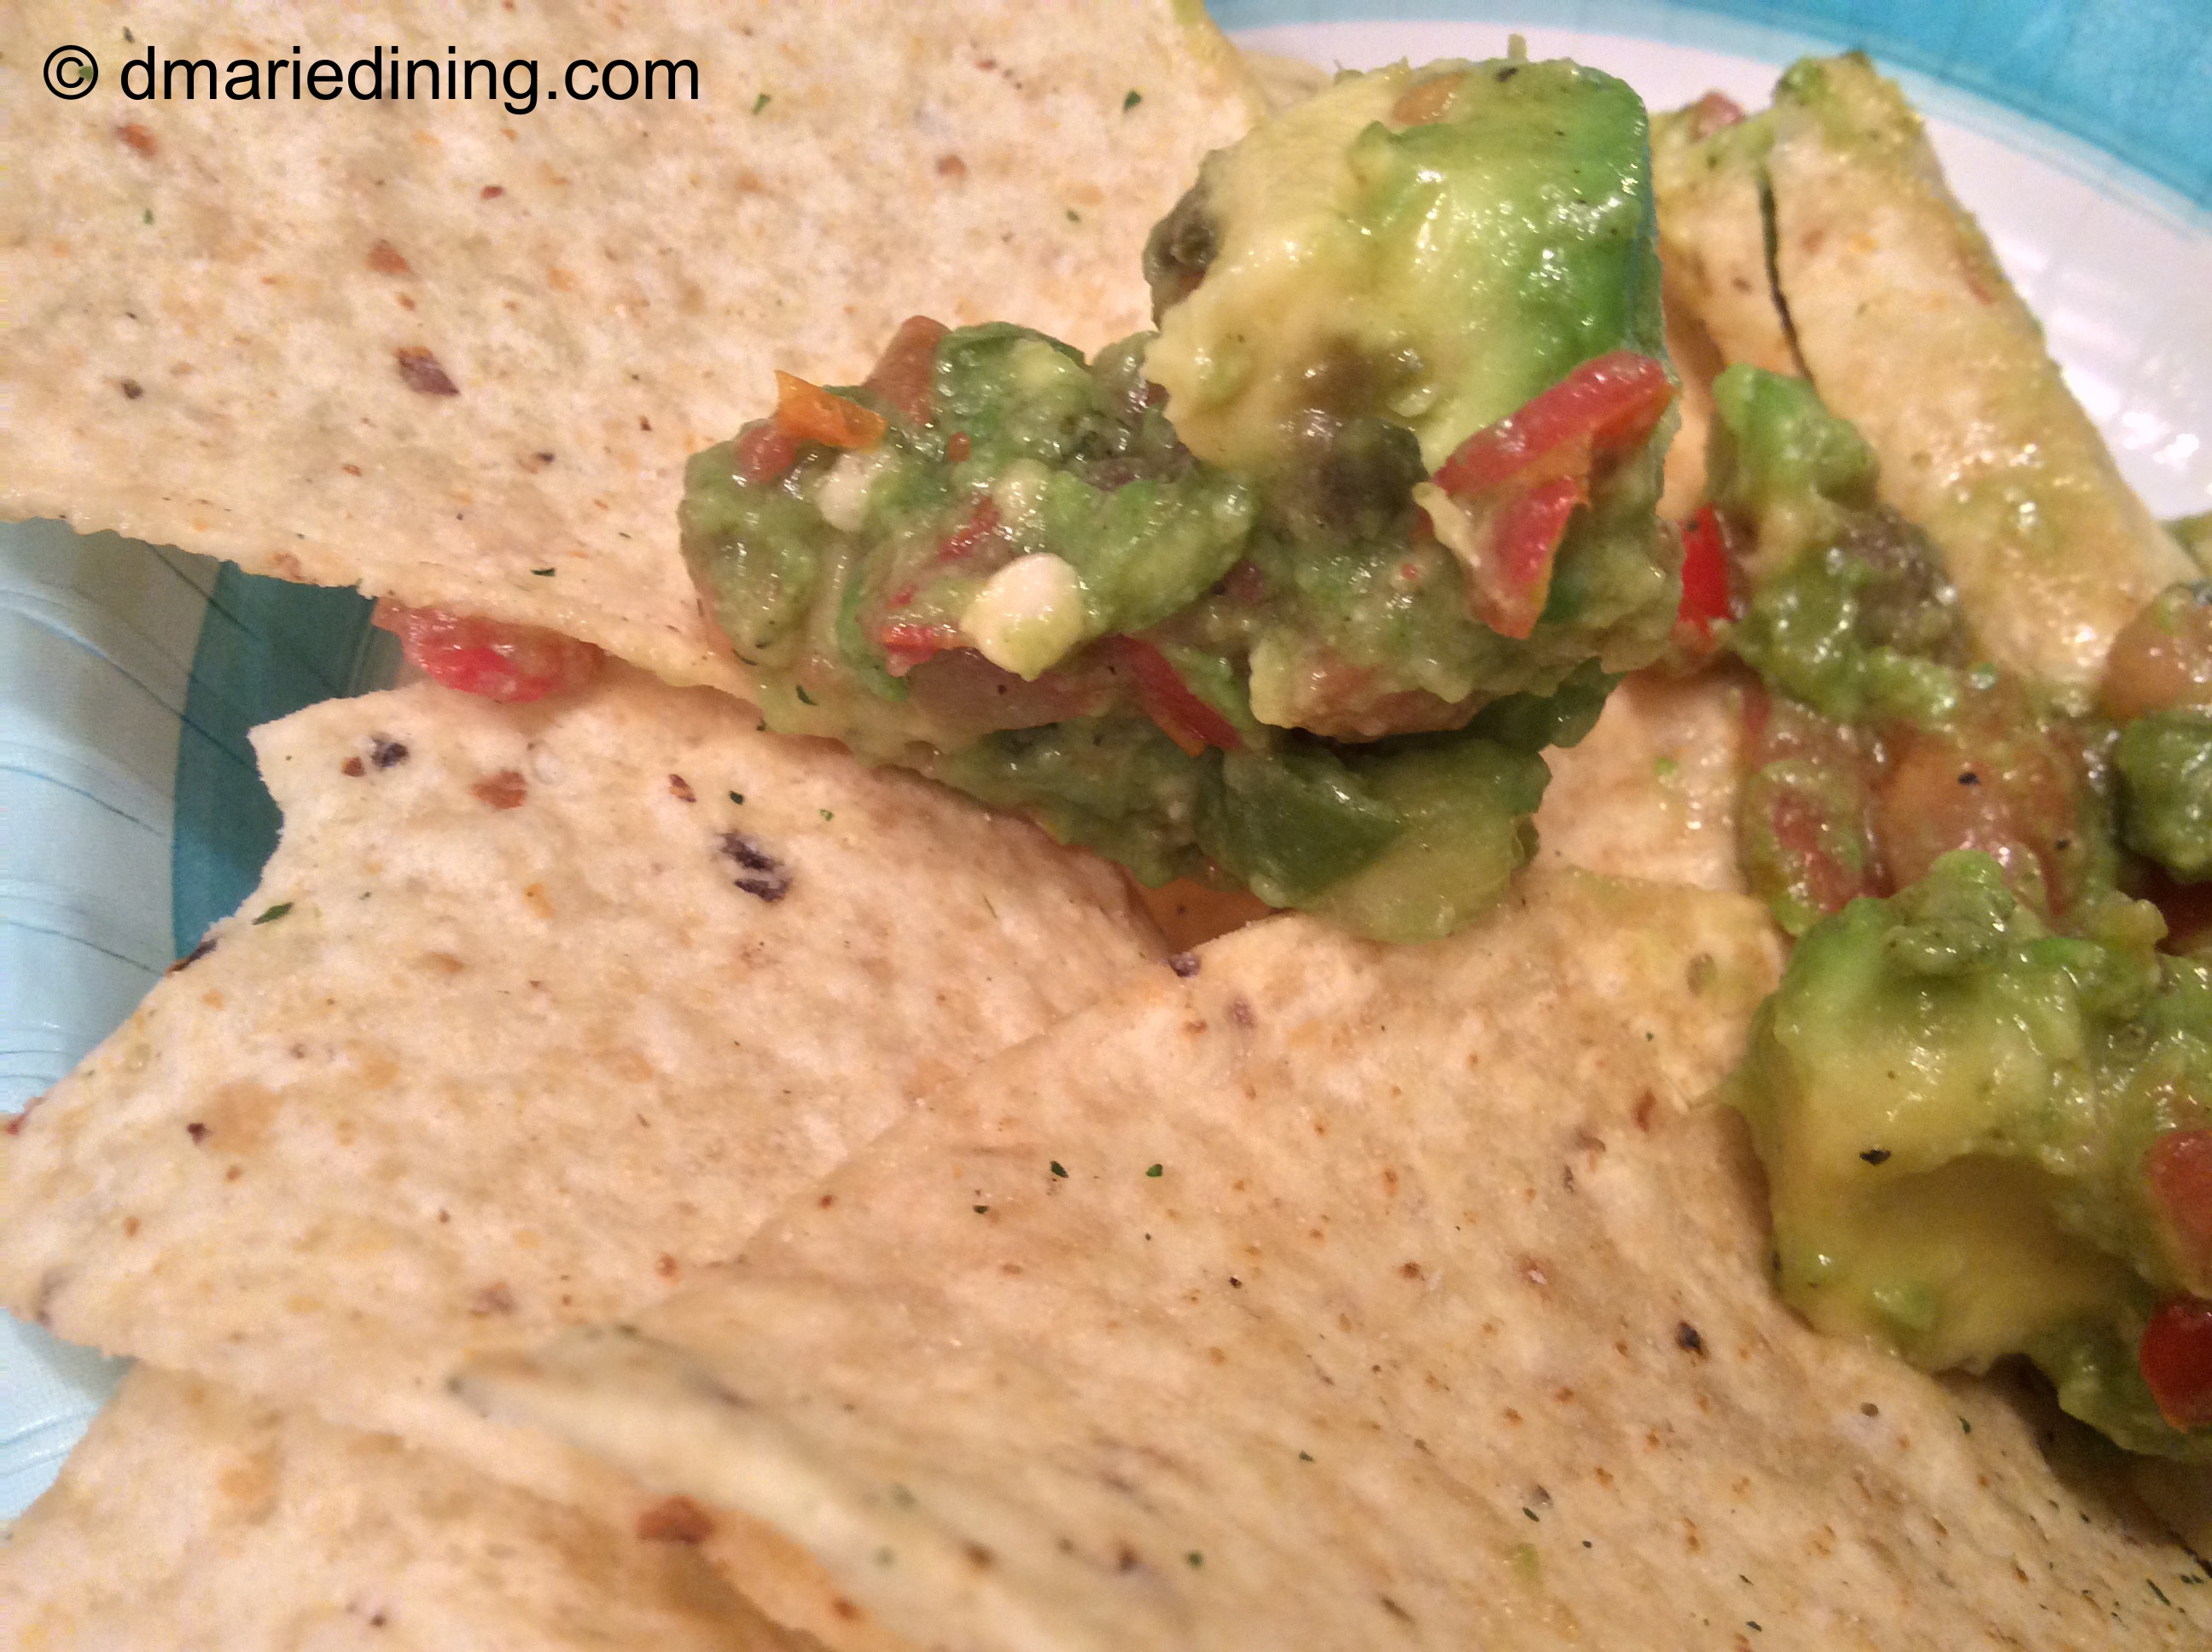
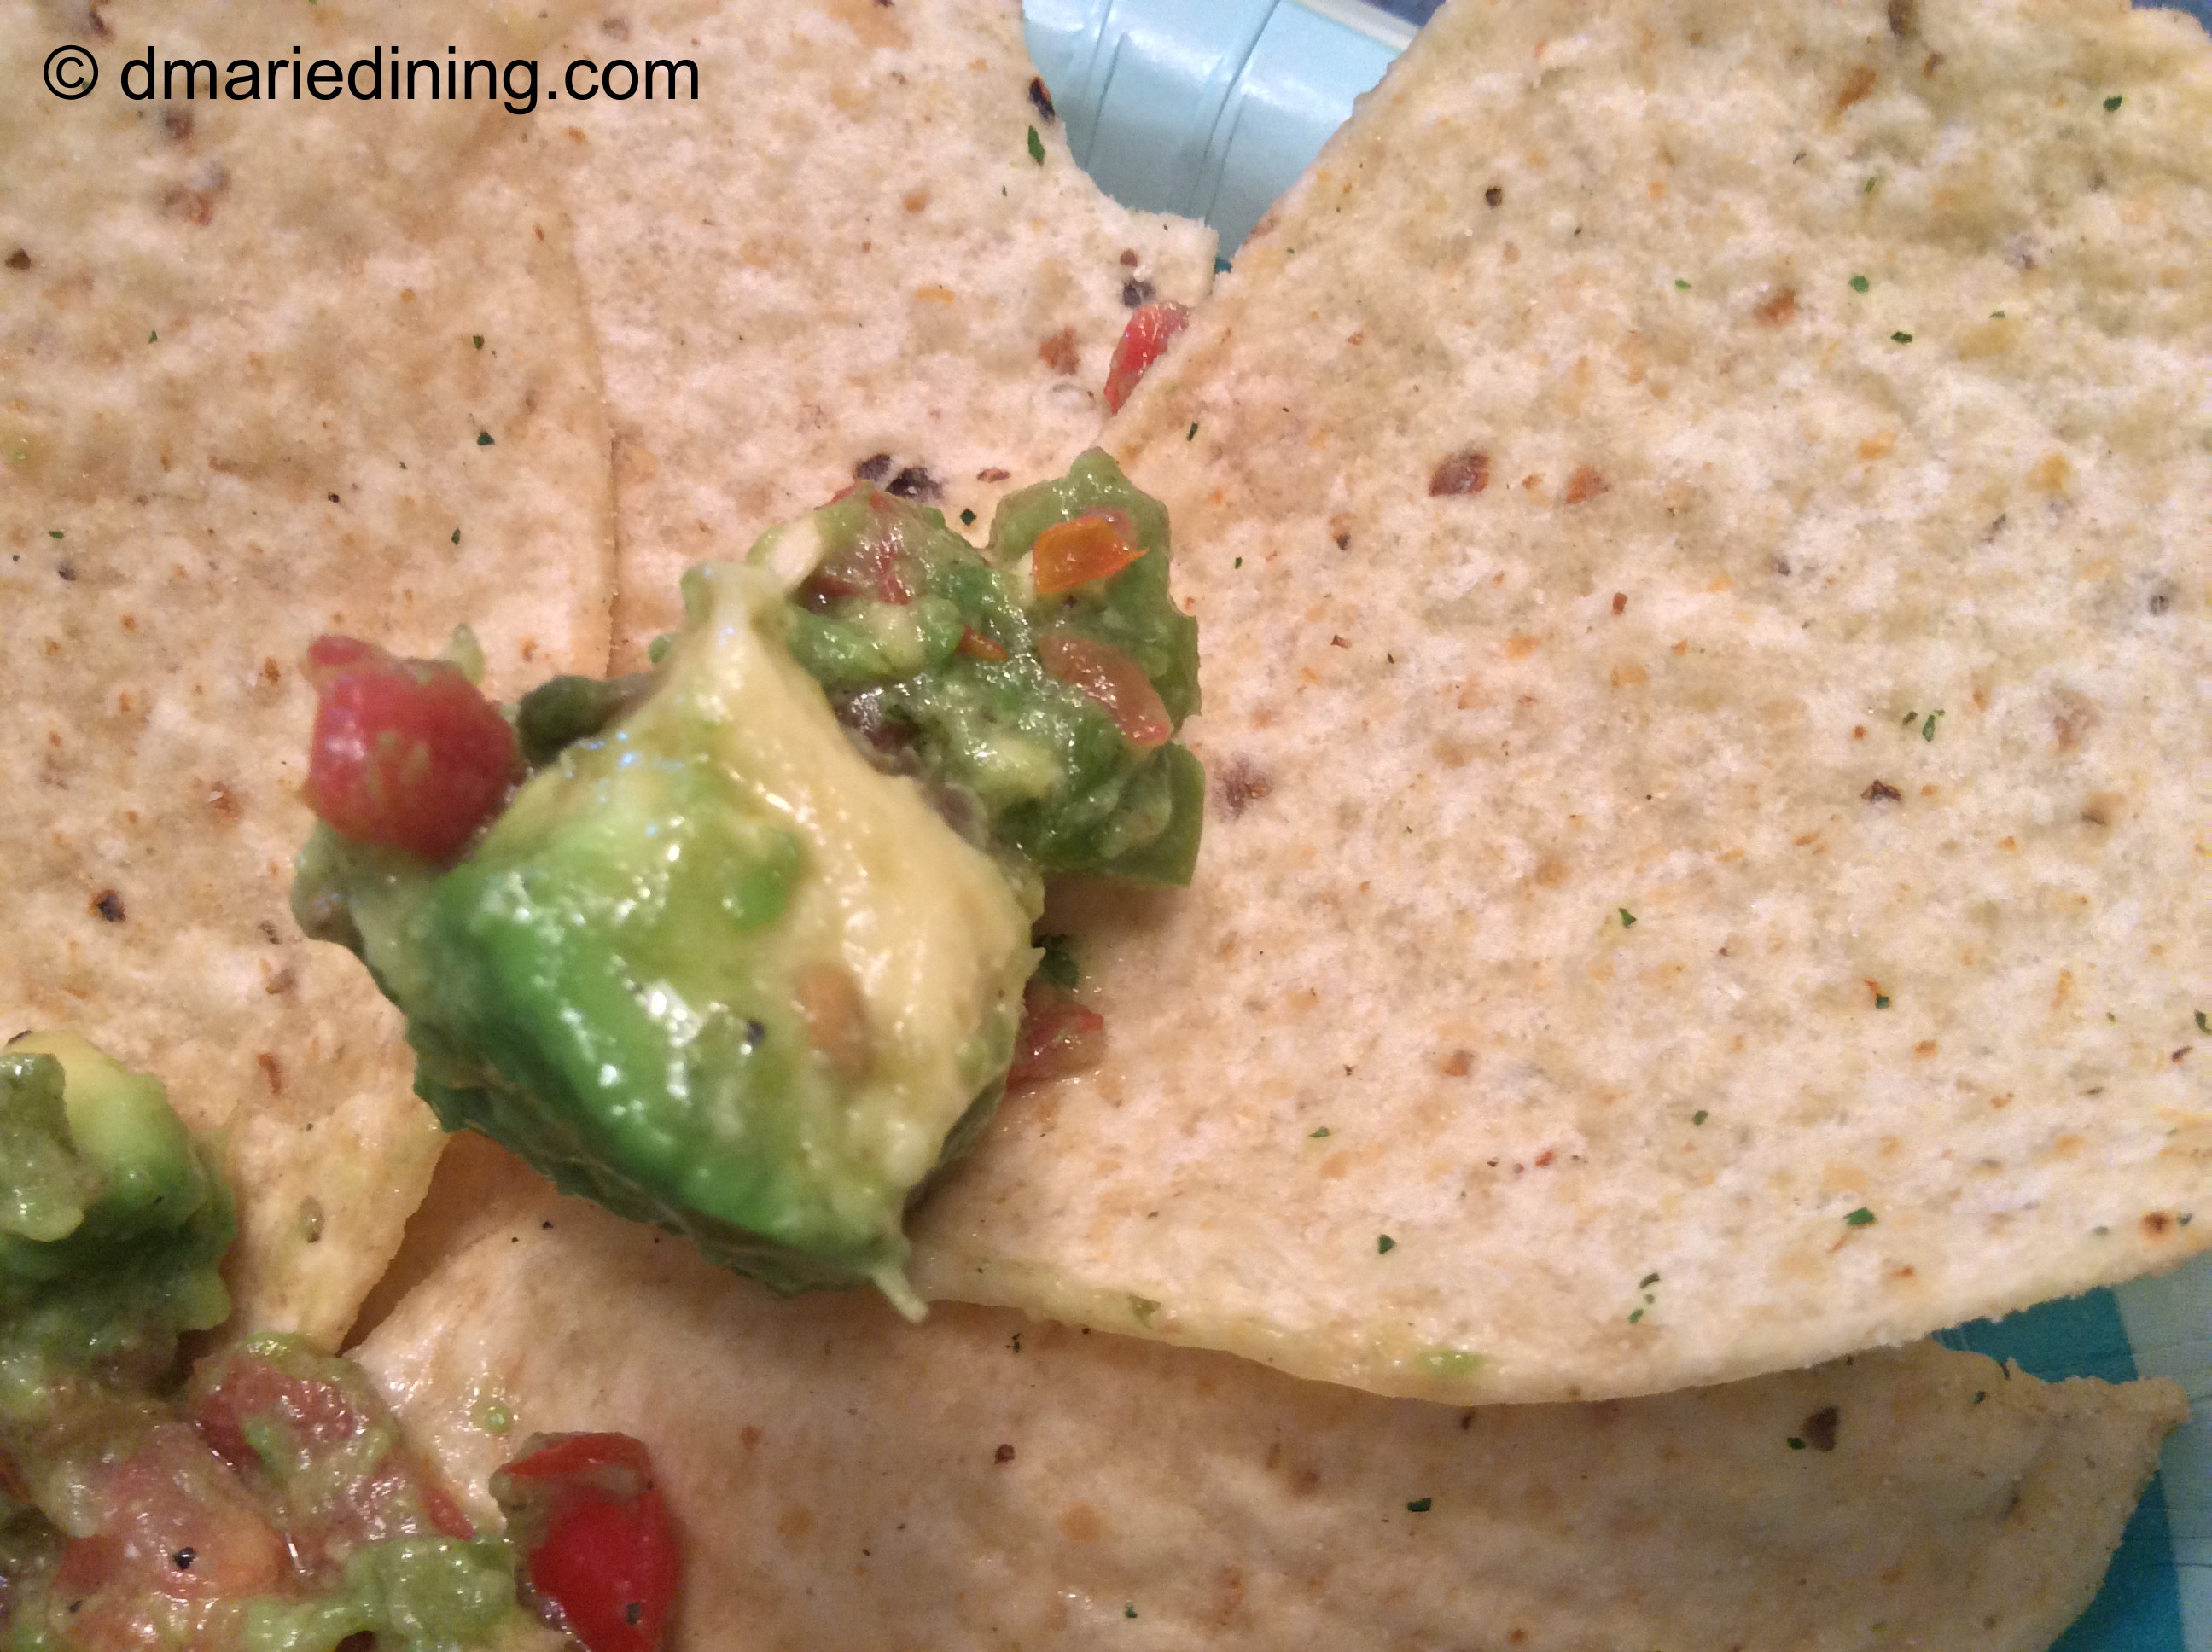
Add avocado and jalapenos to the salsa. Pour dressing mixture over avocado. Gently toss salsa and avocado together. Let chill at least 15 to 30 minutes to allow flavors to blend. Serve with tortilla chips or thin slices of french bread.

Follow my blog with Bloglovin

Queso Fundido

IMG_3264_1

Tortillas are a staple in my kitchen.  Between making chicken burritos, breakfast burritos , tortilla chips and soft tacos as a quick meal I make sure I always have tortillas on hand.  I was searching for a new way to use tortillas when I just happen to come across a delicious looking Mexican dish that included tortillas.  I had never heard of Queso Fundido which means “melted cheese”.  I discovered that Queso Fundido is actually a very popular dish even in the states.

IMG_3276_1

In most areas Queso Fundido is made as an appetizer but my research showed some folks like to turn it into a sandwich.  Since I was new to making the recipe I thought I had better stick to making it an appetizer.  There were so many different recipes out in the cooking sphere I decided to find a basic recipe then add my own little twist.  The standard ingredients for any Queso Fundido is spicy sausage, tomatoes and cheese.  After that you can add whatever seasonings you like.  Chorizo is the sausage of choice in most recipes because of the level of heat and spice.  If you are not into spicy sausage, you can still make this dish but use a milder Italian sausage.  Nobody will care.  Use whatever makes you happy.  But if you want the Queso Fundido to be authenic, use the chorizo.

IMG_3298_1

Be prepared for this dish to disappear quickly.  If you have cheese lovers in your house, they will definitely love Queso Fundido.  Serve it up while it is hot and bubbly along with warm tortillas.  Talk about Yummy!

IMG_3309_1

IMG_3315_1

Queso Fundido

Ingredients:

1 pkg ground chorizo or spicy Italian sausage

6 flour tortillas

1 jalapeno seeded and chopped

1 clove garlic chopped

2 plum tomatoes seeded and chopped

2 cups mozzarella or Mexican cheese

¼ cup diced onion or scallions

1 tbsp olive oil

1 tbsp cilantro chopped

1 tsp salt

½ tsp black pepper

¼ tsp ground cumin

Preheat oven to 425 degrees.

Heat olive oil in medium sized skillet. Brown chorizo until cooked and slightly crisp. Remove sausage from the pan and drain on paper towels. Add garlic, onions, jalapeno tomatoes and seasonings to the skillet. Stir to mix well. Reduce heat and cook for 3 – 5 minutes until veggies are soft. Add sausage to the mixture and stir to combine.

Spray a pie dish with cooking spray. Sprinkle ½ of the cheese in the bottom of the dish. Layer ½ of the chorizo and vegetable mixture over cheese. Sprinkle a little more cheese over the chorizo mixture then top with remaining cheese.

Bake for 20 – 25 minutes until cheese melts and dish is slightly browned and bubbly. Serve with warmed tortillas.

Follow my blog with Bloglovin

Jalapeno Poppers with Bacon

IMG_2149_1

On a whim I thought I would try making Jalapeno Poppers. Not the type of poppers that are breaded and fried. I wanted to make oven baked poppers with a twist. I wrapped them in bacon. Yummy!

IMG_2147_1

Making the Jalapeno Poppers with Bacon was a quick and semi-easy task. I was a little gun shy in making them at first because I had recently tried making roasted stuffed poblano peppers and it was a disaster. But, I made lemonade out of those lemons by adding the collapsed roasted poblano peppers to a brown rice dish I decided to create. More on that one later.

IMG_2165_1

The most difficult task in preparing the poppers was cleaning the jalapeno peppers. After slicing off a little piece of the pepper I had to remove the seeds and membrane. Both are the hottest part of the jalapeno pepper just like any other hot pepper. Removing the seeds and membrane helped to tone down the heat of Jalapeno Poppers but they were still a little hot. I guess stuffing the peppers with pepper jack cheese may have contributed to the level of heat also (ya think !?!). Of course, if you are not a fan of really hot foods, you could use a milder cheese like cheddar or monterey cheese. However, if you are willing to make Jalapeno Poppers I doubt heat is really an issue for you.

IMG_2174_1

Bacon. Who besides non meat eaters does not like bacon? Bacon adds a lot of flavor to most dishes (even ice cream if you are truly adventurous) and it definitely adds another level of flavor to the Jalapeno Poppers.

IMG_2186_1

Fast, easy and tasty. Three words I like to hear whenever I have to cook. I think this recipe fits the bill for all three.

IMG_2178_1

Jalapeno Poppers with Bacon

Ingredients:
8 – 10 jalapeno peppers with stems
4 – 8 slices of bacon sliced in half
½ cup shredded pepper jack cheese
¼ cup whipped cream cheese
8 – 10 toothpicks

Optional Stuffing:
Crumbled browned Italian sausage and cheese
Sauteed veggies and cheese
Preheat oven to 400 degrees.

Combine pepper jack cheese and cream cheese in a small bowl. Okay to use your fingers. Set aside.

Slice jalapeno peppers lengthwise to remove part of the pepper without removing the stem. Prepare only a few at a time so that you do not mix up the different sections of the peppers.

Stuff peppers with cheese then place cut slice over cheese. Wrap a slice of bacon and secure with a toothpick. Place on a rimmed baking sheet and back for 20 – 25 minutes until bacon is crispy. Drain on paper towels.

Optional:

To stretch the peppers just cut them in half and stuff each half then wrap in bacon.  The peppers are great whether you serve them whole or in halves.

Follow my blog with Bloglovin

Apple, Brie and Prosciutto Appetizer

IMG_2003_1

Apples are a marvelous fruit that is transformed throughout the year into delicious recipes for snacks, drinks and desserts. Some recipes are seasonal like warm apple crisp in the warmer months or mixed into fruit salads in the cooler months. My simple recipe for Apple, Brie and Prosciutto Appetizer can be made anytime of the year and may be transformed by the type of apple you decide to use.

IMG_1989_1

In the fall , the best kinds of apples are honey crisp, Swiss gourmet and granny smith. When my youngest son was a little guy we would gather some friends to go apple picking before the weather turned too cold. There was a local farm not far from out neighborhood that allowed you to pick seasonal fruits by the pound. The kids loved it because they could ride a wagon down to the apple orchard then fill their bags to the brim. Granted, it was a little more expense than store bought apples but to see the kids running around having fun was well worth it. Plus, there was a petting zoo, face painting and pony rides that the kids all loved.

IMG_2014_1

My apple of choice for this recipe was a granny smith apple. We did not have time to pick any so I had to settle for apples from the grocer. Still, the apples were juicy and delicious. Anyway, I used granny smith apples because I wanted a contrast of flavors between the Apples, Brie and Prosciutto.

IMG_2022_1

Hubby thought the Apple, Brie and Prosciutto Appetizer was sweet and rich but not too rich. Sour, salty and sweet is how I would describe the flavors. Sour, because of the granny smith apples. Salty, because of the slightly salty prosciutto and sweet because of the nice creamy brie. Adding a few crackers to the mix made my hubby and I agree this was an appetizer our family, friends and my blog followers would enjoy. This recipe will definitely be on my menu for the holidays. To make it look festive during the holidays I think I will use both red and green apples. Maybe I should make an apricot fruit dip to go along with the apples. Hmmm….. stay tuned for that one.

IMG_2029_1

Apple, Brie and Prosciutto Appetizer

Ingredients:
1 – 2 granny smith apples sliced into wedges
1 – 2 pkgs prosciutto sliced in half lengthwise
8 oz brie sliced cut into bite sized pieces

Place a piece of brie on each apple slice then wrap with prosciutto. Serve with crackers.

Follow my blog with Bloglovin

Shrimp Summer Rolls

IMG_0148_1

My family and I love Asian cuisine and the spicier the better for my hubby and youngest son. I have limited experience making Asian style foods but thought I would try my hand at making Shrimp Summer Rolls. We often eat Vietnamese spring rolls whenever we go to the Cheesecake Factory and recently found handmade spring rolls at one of our local grocers that sells fresh sushi daily.

IMG_0153_1

I wasn’t sure what kind of wrap to use for the spring rolls but discovered Blue Dragon Rice Pancakes which are used for summer rolls. Turns out spring rolls are not too hard to make. Although the rice pancakes are delicate, they roll easily. Once I rolled a couple of spring rolls I really got the hang of it. The test of whether or not I had done a good job of making Shrimp Summer Rolls was in the taste. In my opinion and fortunately the opinion of my family they tasted as good as the fresh summer rolls we get at the local grocer.

IMG_0169_1

Since this was my first attempt at making Shrimp Summer Rolls I took that as a very nice compliment. My next goal is to make fresh Shrimp Summer Rolls as good as the Cheesecake Factory. Now that is saying something! In the meantime, I can at least say my Shrimp Summer Rolls are pretty tasty. Next time I think I will try frying the summer rolls. Stay tuned.

IMG_0189_1

IMG_0195_1

Shrimp Summer Rolls

Ingredients:
1 lb large shrimp peeled and deveined
1 pkg Chinese noodles
1 pkg rice pancakes
1 pint snap peas
1 cup shredded carrots
2 heads butter lettuce
3 cups cold water
1 tbsp sriracha sauce
2 tbsp olive oil
4 tbsp oyster sauce
½ tsp black pepper
½ tsp salt
¼ tsp cayenne pepper (optional)
juice from ½ lemon

Prepare Chinese noodles according to package. Drain and set aside.

Heat olive oil in a medium size non-stick frying pan over medium high heat. Add shrimp, sriracha sauce and lemon juice. Season with a little salt and pepper. Stir shrimp until they turn pink. Remove shrimp from pan and set aside in a small bowl. Add carrots, snap peas and a little more salt and pepper (add cayenne pepper if you really like heat) to the frying pan. Stir and let cook for 1 minute. Add oyster sauce and mix with veggies until they are well coated. Reduce to low heat and cook for another 2 minutes. Remove from heat and let cool for a few minutes.

Dampen a clean dish cloth. Add water to a large bowl. Place 1 rice pancake in the cold water until it softens and becomes pliable (about 10 – 15 seconds). Lay rice pancake on the dish cloth and add two pieces of butter lettuce to the pancake. Place a small amount of Chinese noodles in the center of the lettuce. Top with a little bit of the snap peas and carrots mixture then layer three shrimp on the veggies. Fold one end of the rice pancake towards the center over the shrimp then fold the sides towards the center as well. Gently roll up the pancake like a cigar. The pancake will seem delicate but should roll easily. Tuck in the sides as you roll the pancake if necessary. Chill for 30 minutes or serve immediately.

Follow my blog with Bloglovin

Black Bean and Corn Gazpacho

IMG_0404_1

I am one of those people that enjoys soup year round. Similar to my Auntie M who drinks hot tea 365 days a year no matter what the temperature is outside. Of course on the hottest of days in the summer when I have a craving for soup, I prefer a gazpacho style soup.

IMG_0478_1

Gazpacho is a soup made with raw veggies and is usually served chilled but can be warmed. Most gazpacho soups have a tomato base with multiple layers of flavor and textures. The ingredients and thickness of the gazpacho often depends on the region in which it is made. While researching the history of gazpacho I learned that in Spain some of the original recipes included bread, vinegar, water,oil and garlic. Other recipes added fruits and nuts to the recipes.

IMG_0484_1

I decided to create a very simple version of gazpacho that would be delicious whether served chilled or slightly warmed. Black Bean and Corn Gazpacho fits that description as both black beans and corn are good when served hot or cold. The best thing about this soup is that it is relatively light and is very flavorful with fresh corn. So, the next time you have a craving for a nice healthy soup in the middle of a hot summer day think about making some Black Bean and Corn Gazpacho. Hot or cold you can’t go wrong with this soup.

IMG_0492_1

Black Bean and Corn Gazpacho

 Ingredients:
3 15.5 oz cans black beans rinsed
1 small onion diced
4 cups chicken broth
1 ½ cups fresh corn kernels
½ cup fresh salsa or diced tomatoes
¼ cup half and half
2 tbsp sour cream
1 tsp cilantro
1 tsp black pepper
1 tsp salt
1 tsp parsley
½ tsp red pepper flakes (optional)

Place beans, onions, broth and seasonings in a large pot over medium high heat. Cook for 20 minutes until beans and onions are tender. Remove from heat and puree beans using a hand blender or in a regular blender. Place pot back on the heat and reduce to a simmer. Stir in sour cream and half and half. Simmer for another 5 minutes then stir in corn and salsa. Continue simmering for 10 minutes. Remove from heat and let cool.

Follow my blog with Bloglovin

Smoked Salmon and Cucumber


IMG_7798_1I am always looking for new appetizers and snacks for parties or just to have on the weekends. I try to incorporate veggies as much as possible to keep the appetizers light. One appetizer I really like to make is a smoked salmon spread. I use light cream cheese and reduced fat sour cream to lessen the calories but maintain flavor.

IMG_7829_1

The other day I had an English cucumber leftover from another recipe that I did not want to waste so I decided to make a quick appetizer by filling the cucumber with my smoked salmon spread. I just tweaked the recipe a little by adding the scooped out center of the cucumber to the spread to add another layer of texture. My hubby is big on textures when it comes to food which has made me more aware of including different textures when I cook. I think it helps to enhance most dishes when you can have layers of flavor and layers of textures. What better way to create a party in your mouth and keep the experience of eating interesting than by tickling your taste buds with variety of textures and flavor!

IMG_7849_1

To me, smoked salmon and cucumbers is a fancier version of celery filled with pimento cheese or peanut butter. A great appetizer or snack that is easy to make and wonderful to eat.

IMG_7853_1

Smoked Salmon and Cucumber

Ingredients:
1 pkg smoked salmon diced
1 English cucumber (strip skin to decorate with stripes)
½ tsp old bay seasoning
½ tsp dill
½ tsp lemon zest
½ tsp seasoned salt
½ tsp cracked black pepper
½ cup softened cream cheese
¼ cup sour cream
juice of 1lemon
paprika

Scoop out the center of cucumber and reserve.  In a medium bowl cream together the reserved cucumber center, cream cheese and sour cream. Add lemon juice, zest, dill and seasonings to cream cheese mixture. Blend together until well mixed. Gently incorporate the salmon into the mixture.

Cut the cucumber in half lengthwise.  Cut into bite-size pieces. Spread salmon mixture into the center of each cucumber bite.  Arrange on a tray and then refrigerate until ready to serve. Sprinkle with smoked paprika prior to serving.

Follow my blog with Bloglovin

Fried Spare Ribs

IMG_8569_1

Last Christmas my brother “O” insisted on making Fried Spare Ribs as an appetizer. I will admit I was skeptical for two reasons. One, because he wanted to make ribs as an appetizer prior to a big Christmas dinner. Two, because he wanted to fry the ribs. I had never heard of fried spare ribs and could not imagine what they would look like or how they would taste.

IMG_8581_1

Usually, when I fix ribs it takes hours in the oven or on the grill. I figured that frying ribs would make them tough. Well, I was wrong. I was surprised at how tender the ribs were and even more surprised at how everyone gathered in the kitchen waiting for the ribs  drooling. As fast as as the ribs came out of the pot they were gobbled up.

IMG_8583_1

Compliments to my brother “O” for giving me a new idea for ribs even if he did not share his exact recipe. Of course, since I am a decent cook it didn’t take much for me to figure out how to make my own delicious Fried Spare Ribs. I can say with confidence that once you try fried ribs you may not look at BBQ ribs the same way any more.

IMG_8573_1

Fried Spare Ribs

Ingredients:
2 pkgs baby back ribs or 1 slab of ribs cut up
4 cups vegetable oil
1 ½ cups flour
1 tbsp seasoned salt
1 tbsp black pepper
1 tbsp Adobo seasoning
1 tbsp salt
1 tbsp onion powder
1 tbsp smoked paprika

Heat oil in a large dutch oven over medium high heat until lightly smoky.

Combine flour, Adobo seasoning, onion powder, seasoned salt and paprika in a large plastic zip lock bag then shake to mix ingredients.

Season ribs with salt and black pepper. Drop 5 – 6 ribs into the plastic bag then shake to coat ribs. Shake off excess flour and gently drop ribs into hot oil. Cook for 10– 15 minutes turning ribs mid-way through cooking process. Drain on paper towels and serve immediately.

Follow my blog with Bloglovin

Chili Nachos

IMG_8377_1

Get ready to get messy and grab a fork! I just made chili nachos and they were wonderful. I first made Tex-Mex chili using ground turkey instead of beef but feel free to use any meat you prefer to make chili. I liked the idea of a Tex-Mex chili because the flavors are bolder (in my opinion) than regular chili. Because I planned to use the chili as a topping for nachos I did not add all of the veggies I sometimes use in my chili. I kept this one simple by using only onions instead of adding various peppers and shredded carrots.

IMG_8381_1

Long ago I made all kinds of nacho dishes for the family usually when I was fixed for time to get dinner on the table. I would search the refrigerator for leftovers I could use as a topping for nachos that would not make my hubby and kids look at me like I had two heads.

IMG_8391_1

The idea of combining chili and nachos came to mind while watching a food show about restaurants and their specialties. There was one restaurant that served chili nachos but piled so much stuff on the nachos that you forgot there were nachos some where in the giant mound of food sitting on the table. I liked the concept but not all of the stuff!

IMG_8403_1

Chili Nachos are made to be messy as I said in the beginning. So, if nobody is looking, you can eat them with your fingers. Just let the juices and cheese drip down your fingers. If you aren’t into flavorful fingers, grab a fork and scoop up the chili and nachos without missing a drop. I personally like eating chili and nachos using both my fingers and a fork to make sure I don’t miss anything on my plate … or fingers!

IMG_8399_1

Chili Nachos

Ingredients:

Chili:
2 lbs ground turkey
1 15 oz can black beans (undrained)
1 15 oz can small white beans (undrained)
1 15 oz can small kidney beans (undrained)
1 15 oz can fire roasted tomatoes
1 small can tomato paste
1 pkg Tex Mex chili seasoning
½ onion diced
½ cup water
1 tbsp worcestershire sauce
½ tbsp salt
½ tbsp black pepper
½ tbsp Adobo seasoning
½ tbsp cilantro
½ tsp nutmeg
10 dashes hot sauce

Nachos/ Toppings:
1 bag Tostitos Nacho Chips
2 plum tomatoes seeded and sliced into strips
1 small pkg Velveeta cheese cubed1 small jar salsa (hot or mild)
1 small jar sliced jalapeno peppers
1 avocado sliced
½ cup shredded cheddar or Monterey Jack cheese
¼ cup sliced olives

Preheat oven to 300 degrees.

Season turkey with salt, pepper and worcestershire sauce over medium high heat and drain. Add beans, remaining seasonings, hot sauce, fired roasted tomatoes and water to a large pot. Let simmer over medium heat for 10 minutes. Add browned turkey to the pot and stir. Simmer and additional 15 minutes.

Add cubed Velveeta cheese and ½ cup of salsa to a microwave safe bowl. Place in microwave for 2 minutes then stir to mix salsa and cheese. Microwave for an additional 1 ½ minutes until bubbly.

Layer an aluminum pie tin or an oven safe plate with nacho chips. Using a slotted spoon scoop chili over nachos then layer with Velveeta mixture. Add a little more chili, jalapeno peppers, fresh tomatoes, olives and shredded cheese. Place in oven until cheese melts. Top with sliced avocados.


Follow my blog with Bloglovin

Mixed Wild Mushrooms with Goat Cheese

IMG_6743_1

Not everyone is a fan of mushrooms in any way, shape or form whether they are button, shiitake, portabella or something else. Fortunately, that is not true in my household so I have room to experiment when it comes to preparing mushrooms. The day I came up with my Mixed Wild Mushrooms with Goat Cheese recipe I wanted to make a quick appetizer that would be healthy and tasty.

IMG_6757

Goat cheese is not one of my go to cheeses when I am cooking. I like goat cheese in salads but I did not know if I could actually cook with it so I had to do a little research to see if what I wanted to do would work. I was surprised to learn goat cheese has a lot less sodium and has about 40 fewer calories than than cheddar cheese. I thought goat cheese would have more calories since it is so creamy. Besides the nice health benefits of goat cheese it softens easily when heated and blends well into other foods.

IMG_6816_1

Hubby was my taste tester for this recipe only because he wandered into the kitchen while I was setting up the dish for pictures. Fortunately, I was able to snap a couple of pictures before he gobbled up most of mushrooms. Always a good sign for a recipe when the taste testers clean their plates and leave with a smile on their face.

IMG_6806_1

Mixed Wild Mushrooms with Goat Cheese

Ingredients:
2 pkgs mixed wild mushrooms
3 oz crumbled goat cheese
1 tbsp butter
1 tbsp olive oil
2 tbsp water
½ tsp salt
½ tsp cracked black pepper
½ tsp cilantro
½ tsp oregano
½ tsp parsley
5 dashes hot sauce
1 dozen crostini slices

Place butter and olive oil in a medium non-stick frying pan. Allow butter to melt then add mushrooms. Saute mushrooms until they brown slightly. Add seasonings, water and goat cheese. Stir constantly until goat cheese blends into the mushrooms. Serve on toasted crostini slices.

Follow my blog with Bloglovin