All posts by dmariebates

Sweet Cake Sandwiches

IMG_6063_1

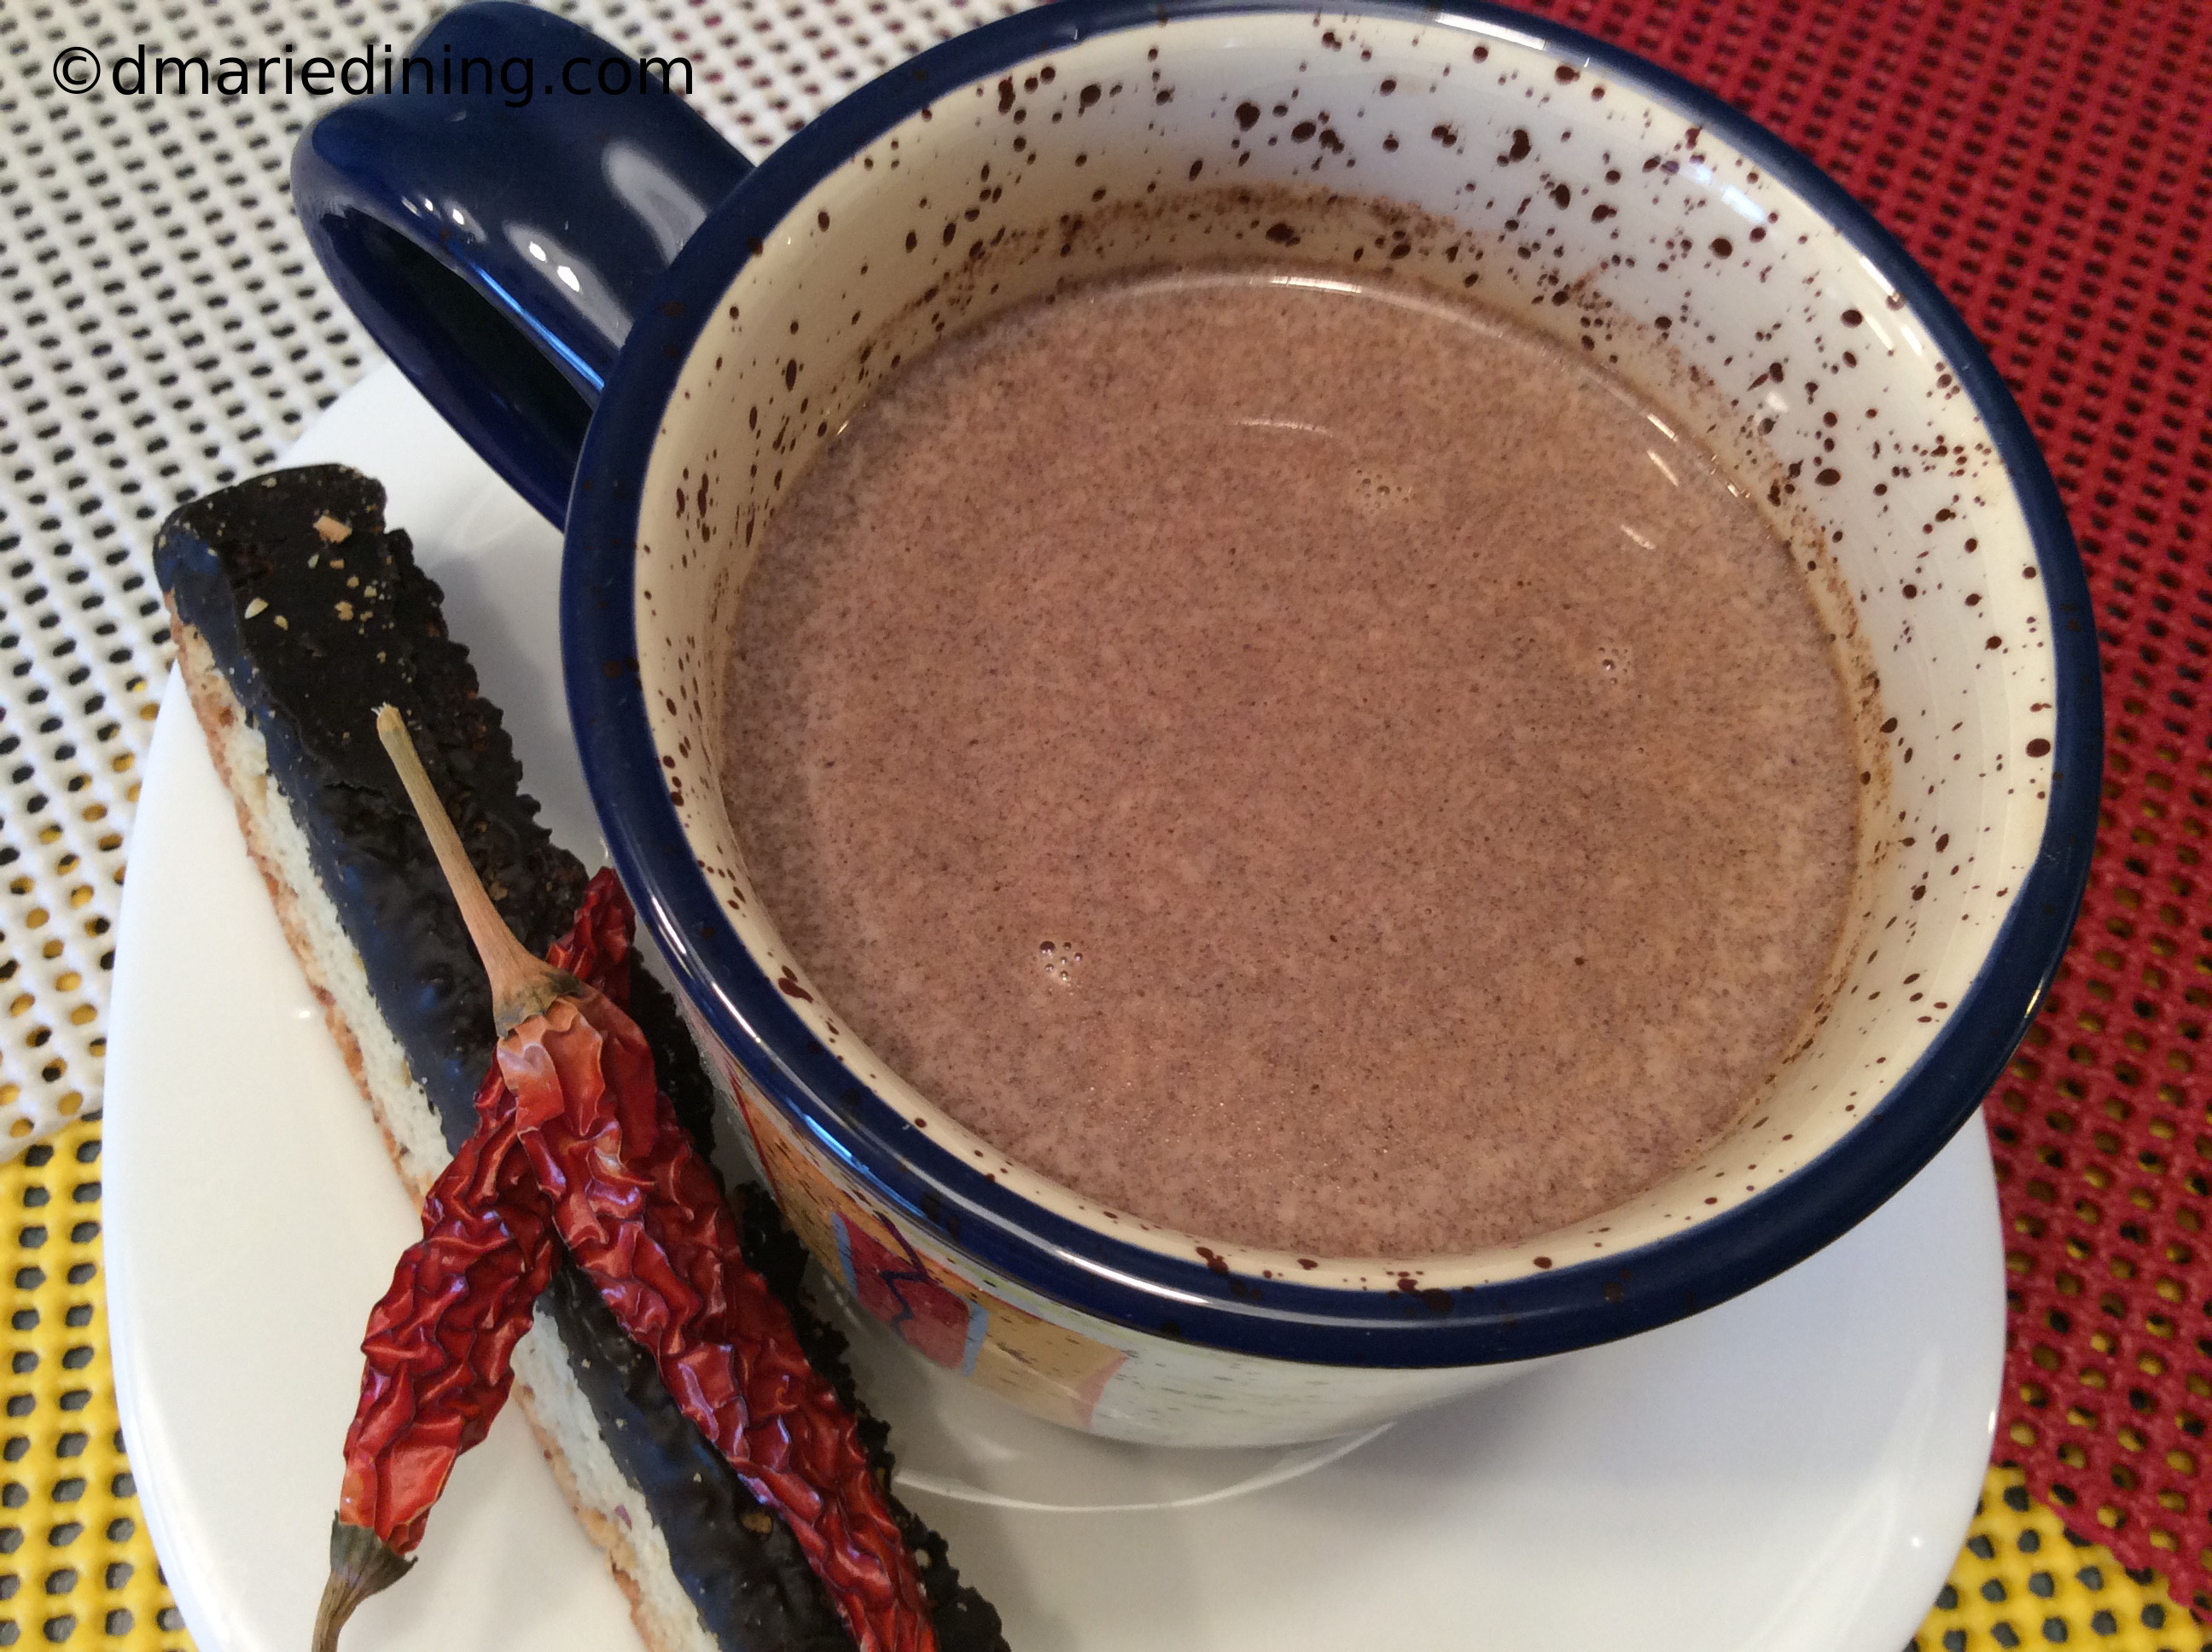
Sweet cake sandwiches. Don’t panic! These are not your typical sandwiches. They are really sandwich treats. I was working on another dessert recipe when I got distracted and started thinking about sweet cake sandwiches.

IMG_6095_1

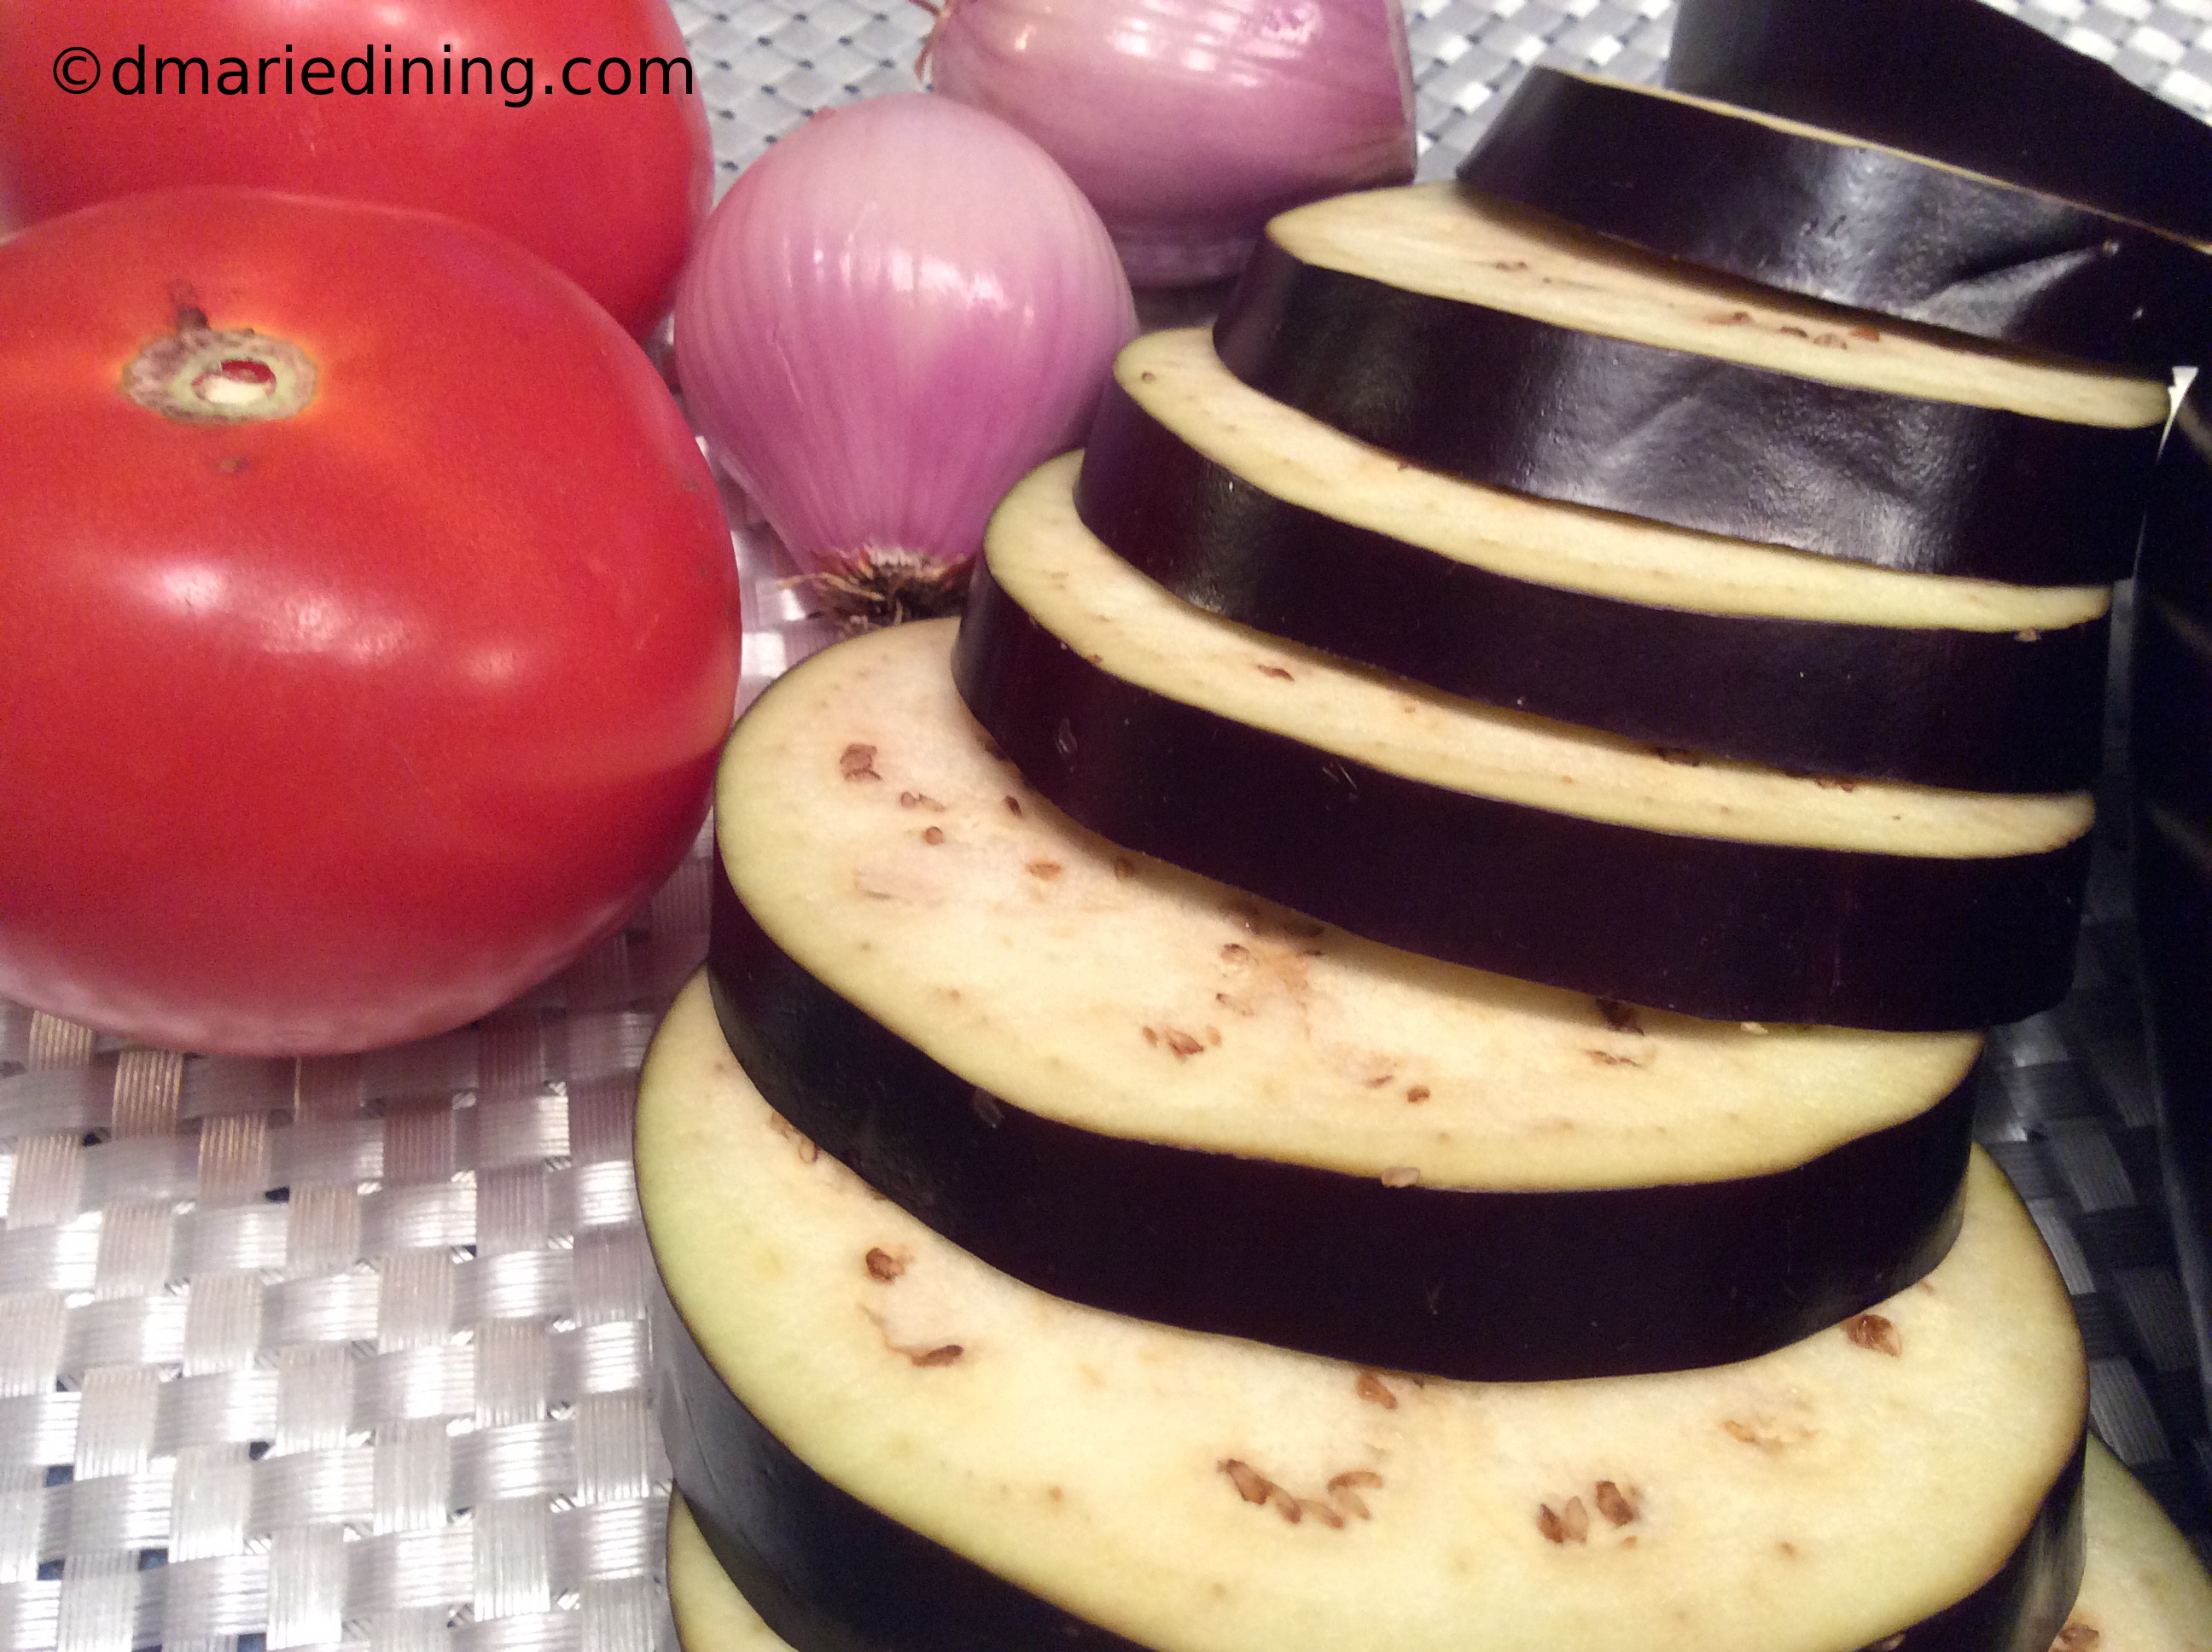
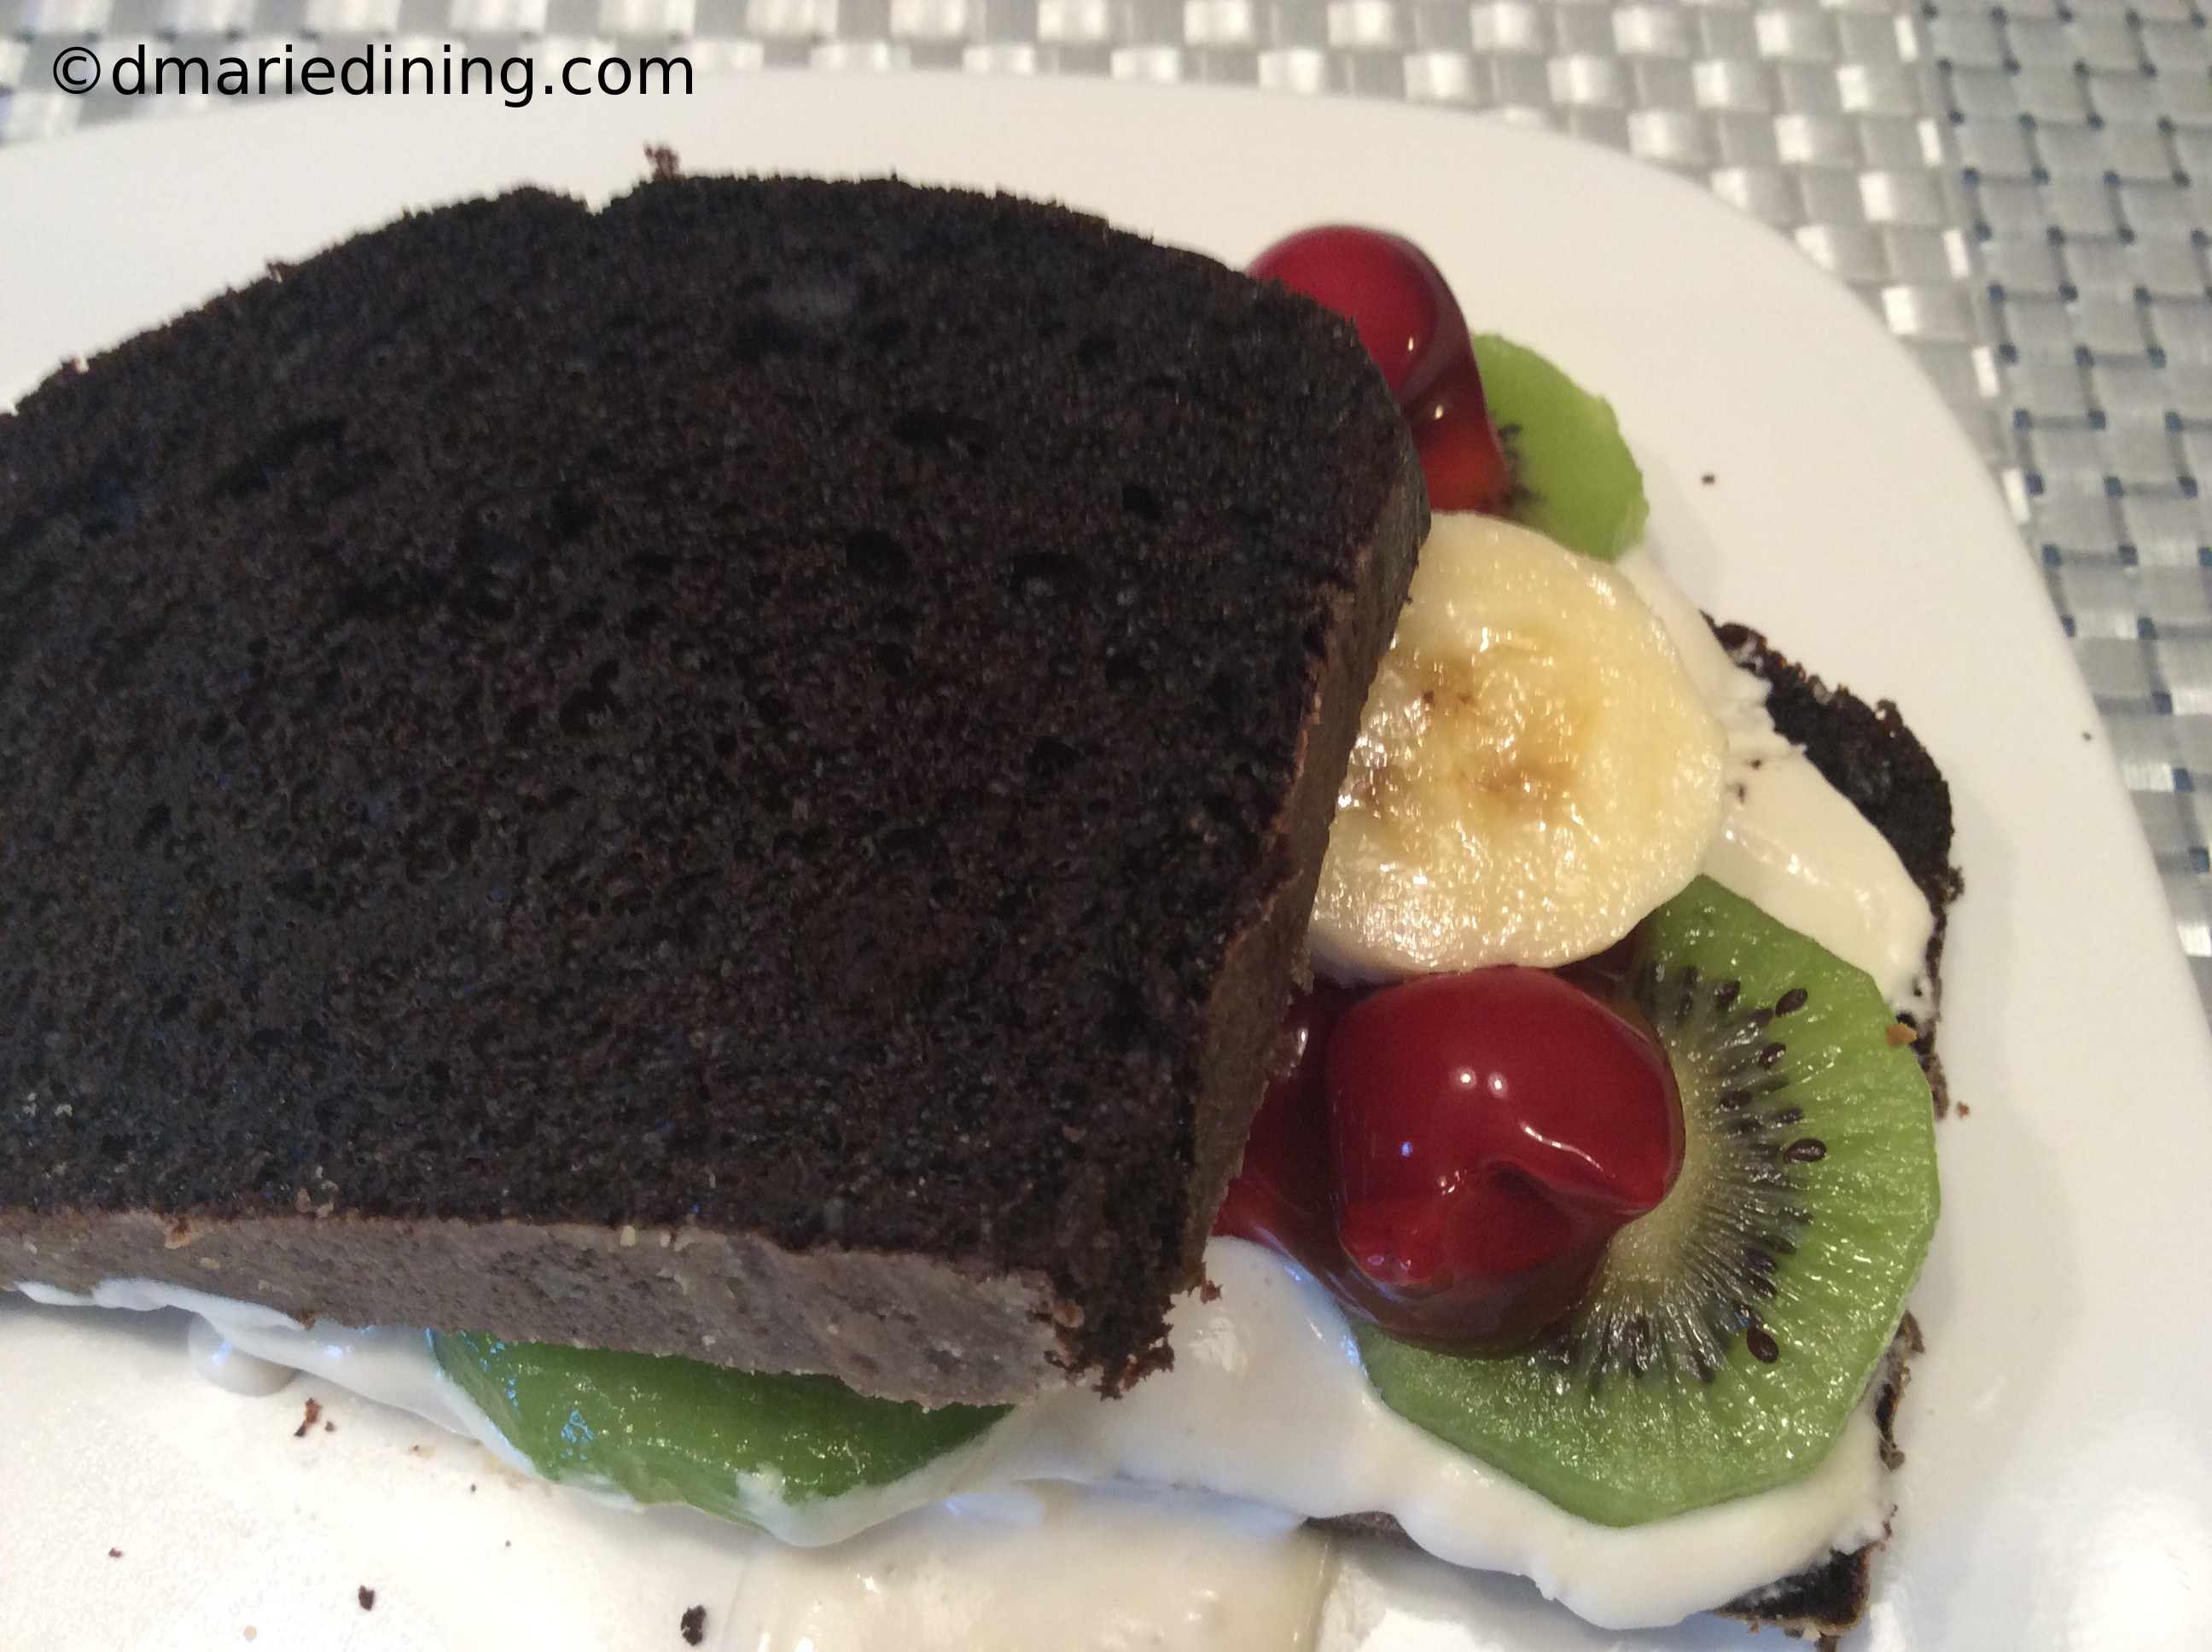
I envisioned slices of dark chocolate cake topped with various fillings that represented things we usually put on a sandwich. Things like cherry tomatoes (cherry pie filling), cucumbers (kiwi) and mayo (whipped cream). Of course you can use any kind of cake you like as the “bread” of your sandwich. I am just a really big fan of dark chocolate.

IMG_6117_1

Sweet Cake Sandwiches are a nice dessert that can be turned into family fun and even great for a party. Little kids and big kids like me will love to make their own special sandwiches using simple ingredients. Granted this dessert may not be totally healthy but it sure is fun to create.

IMG_6123_1

Sweet Cake Sandwiches

Ingredients:
1 box of your favorite cake mix

Sandwich Filling:
1 small can cherry pie filling (*cherry tomatoes)
2 tbsp lemon curd (*mustard)
2 kiwi peeled and sliced (*cucumbers)
1 banana sliced
1 cup whipped cream or Greek yogurt (*mayonnaise)

Prepare cake mix according to package. Pour into a greased and floured 9x 11 inch meatloaf pan. Bake per the cooking times indicated on the package. Let cool.

Slice cake then spread lemon curd, Greek yogurt or whipped cream on a slice of cake. Add your favorite fruit filling to the slice. Top with a second slice of cake. Yummy…..

Follow my blog with Bloglovin

Chicken Quinoa Soup with Napa Cabbage

IMG_5988_1

Light, bright soups are fun to make and wonderful to eat. I recently wanted to make a light chicken soup to take away the chill on a cold winter day. I didn’t want to use pasta and thought Quinoa would be a great substitute for noodles.

IMG_5977_1

Quinoa has a unique texture and is easy to use in recipes. I have made salads using Quinoa and even created a Spinach Quinoa Cake that was delicious (check it out at dmariedining.com). Adding Quinoa to the chicken soup definitely kept it light and adding Napa Cabbage helped kick up the flavor and nutritional value.

IMG_6012_1

Next time you have a desire for a quick tasty soup or just want to use the leftover chicken in the frig think about making a nice Chicken and Quinoa Soup with Napa Cabbage.

IMG_6049_1

Chicken and Quinoa Soup with Napa Cabbage

Ingredients:
2 cups chicken pre-cooked
2 cups Napa cabbage shredded
4 cups chicken broth
1 ½ cups Quinoa rinsed
1 bay leaf
½ cup baby carrots thinly sliced
½ cup slice celery
¼ cup red peppers thinly sliced into strips
¼ cup red onion chopped
½ tbsp salt
½ tbsp seasoned salt
½ tsp black pepper
½ tsp Adobo seasoning
½ tsp thyme
½ tsp parsley
½ tsp cilantro
½ tsp onion powder
½ tsp red pepper flakes (optional)

Cook Quinoa according to package. Set aside.

Place chicken in a small bowl and season with seasoned salt and onion powder. Set aside.

Add chicken broth, onions, peppers, celery, carrots, bay leaf and seasonings to a large pot on medium high heat. Let simmer for 5 minutes. Reduce heat to medium then stir in chicken, Quinoa and cabbage. Let simmer for 20 minutes. Turn off heat and let stand for 10 minutes. Serve with crackers.

Follow my blog with Bloglovin

Mushroom and Spinach Quiche

IMG_5762_1

Since I have a busy schedule between family stuff, work and dmariedining.com I am always looking for easy recipes that are packed with flavor. I think quiches are one of the simplest dishes to make when you don’t have a lot of time or you don’t feel like fussing over dinner. A quiche can be a full meal paired with a nice salad or it can be an appetizer (smaller portion) at the start of a meal.

IMG_5783_1

Mushroom and spinach quiche is one of my favorite meals to make. It has lots of protein and is very filling even though there is no meat in the dish. Mushrooms and spinach seem to go together well whether in a salad or a quiche.

IMG_5790_1

For all the moms out there that want to teach their kids how to cook, you may want to introduce them to the world of quiches. Because they are so versatile, you can turn quiches into a vegetarian dish, a seafood dish or a meat dish. Think about how it easy it would be to teach your kid how to cook a little spinach, beat a couple of eggs and add some cheese to a pie shell. I know I make it sound a little too easy but it is easy enough for a teenager to make.

IMG_5817_1

If you have young adults at home who have limited cooking skills (like my son), a mushroom and spinach quiche would be a good dish to teach them how to make for those independent days of cooking. This one will might even be an impressive meal for a date.

IMG_5820_1

Mushroom and Spinach Quiche

Ingredients:
1 9 inch deep dish pie shell thawed
1 10 oz bag baby leaf spinach
1 10 oz pkg sliced button mushrooms
2 tbsp butter
1 tbsp olive oil
1 tbsp salt
½ tsp black pepper
¼ tsp parsley
¼ tsp red pepper flakes (optional)
¼ tsp cumin
¼ cup half and half
¼ cup fontina cheese shredded
½ cup Gruyere cheese shredded
4 eggs
2 shallots sliced thin
paprika

Preheat oven to 350 degrees.

Melt 1 tbsp of butter with olive oil in a non-stick frying pan. Add spinach, ½ tsp salt, and black pepper. Saute until spinach is wilted but bright green. Remove spinach from the pan and set aside. Add 1 tbsp of butter to the pan along with mushrooms, shallots and ½ tsp of salt. Saute until mushrooms are slightly browned.

Poke the bottom of pie shell with a fork. Bake for 10 minutes until lightly brown. Remove from oven. Layer spinach on the bottom of the pie shell. Sprinkle half of the cheeses over the spinach. Layer the mushrooms over the cheese then top with the remaining cheese.

Beat together eggs, red pepper flakes, cumin, parsley, a pinch of salt and half and half. Pour into pie shell, sprinkle with paprika.  Bake for 25 – 35 minutes until the middle of the pie is set. Test with a knife. It should come out clean. Let the pie rest for 10 minutes.


Follow my blog with Bloglovin

Black Eyed Peas

IMG_5450_1

In honor of our southern roots my family always rings in the New Year with black eyed peas. It is a tradition I hope will pass on to my children. Black Eyed Peas are suppose to bring you good fortune for the New Year. I say good fortune because I do not believe in luck. To me, everything happens for a reason whether or not we understand the reason why it happens.

IMG_5447_1

So on New Year’s day, black eyed peas are guaranteed to be on the menu. Of course, they can be delicious anytime of the year. The key is to season the peas with a nice meaty ham hock or flavorful smoked turkey leg. For my vegetarian friends you will need to pack in a lot of other seasonings to produce a wonderful flavor in the peas.

IMG_5458_1

The hardest part of preparing black eyed peas is to tenderize the meat before adding it the peas. I am comfortable with using a pressure cooker so that is how I quickly tenderize any meat that would other wise take hours to cook to get tender. If you are not comfortable using a pressure cooker, you will need to cook the meat for a few hours until it feels tender. Taking the time to tenderize your meat makes a big difference in how the dish tastes. No matter when you decide to fix a pot of black eyed peas, I am sure good fortune will shine upon you.

IMG_5507_1

Don’t forget the cornbread!

IMG_5487_1

Black Eyed Peas

Ingredients:
2 10 oz bags of frozen black eyed peas
1 small onion diced
1 small jalapeno pepper seeded and diced
1 large ham hock or smoked turkey leg/ wing
3 cups broth from ham hock or smoked turkey
1 cups water
1 tbsp salt
½ tsp black pepper
½ tsp onion powder
3-4 dashes of hot sauce

Place ham hock or smoked turkey in a pressure cooker and cover with water. Secure top of pressure cooker and cook for 30 to 40 minutes. Let cool before removing top of pressure cooker. Reserve 3 cups of broth from the cooked meat.

Place the meat, black eyed peas, onions, jalapeno pepper and seasonings into a large pot. Add the reserved broth and place lid over the pot. Simmer over medium heat until peas are tender. Approximately 30 minutes.

Follow my blog with Bloglovin

Ravioli with Butternut Squash and Roasted Tomatoes

IMG_5334_1

Inspiration for new recipes come from many different resources. Sometimes it comes from walking through the grocery store and seeing items in a fellow shopper’s cart. Sometimes it comes from a cooking show or a sudden desire for a certain type of food.

IMG_5349_1

I was inspired to create a ravioli dish with a butternut squash and roasted tomato sauce after speaking with a co-worker. It seems I interrupted his lunch one day so I asked him what he was eating. He told me it was ravioli with butternut squash which sounded good to me. I didn’t have any idea of how the squash was incorporated into the ravioli but it gave me an idea. I envisioned beautifully roasted tomatoes blended with soft butternut squash topped with shaved parmesan cheese smothering the ravioli.

IMG_5395_1

I turned that vision into a recipe I think folks will enjoy. Cheese ravioli and spinach ravioli were two winners in my household. However, I am sure this recipe will work with whatever is your favorite ravioli.

IMG_5391_1

Ravioli with Butternut Squash and Roasted Tomatoes

Ingredients:
1 pint cherry tomatoes medley
1 pint red cherry tomatoes
1 lb butternut squash cubed
4 tbsp olive oil
2 tbsp butter
1 tbsp sea salt
1 tbsp cracked black pepper
1 tbsp shaved parmesan cheese
1 tsp thyme
¼ tsp cumin
½ tsp basil
½ tsp parsley
½ tsp red pepper flakes
½ tsp oregano
½ cup water

Preheat oven to 375 degrees.

Prepare ravioli according to package. Drain and drizzle a little olive oil over the ravioli. Set aside. Reserve 2 tbsp of pasta starch to add to butternut squash.

Place tomatoes on a rimmed baking sheet and drizzle with 3 tbsp of olive oil. Sprinkle with sea salt and black pepper. Roast for 35 to 40 minutes.

Melt butter along with 1tbsp of olive oil in a large frying pan. Add butternut squash, water and pasta water. Sprinkle with remaining seasonings including a little salt and black pepper. Cook over medium heat until squash is soft and tender. Add roasted tomatoes to butternut squash and gently mash both with a fork leaving some small chunks of butternut squash whole tomatoes. Spoon over ravioli and top with shaved parmesan and parsley.

Follow my blog with Bloglovin

Carrot Salad

IMG_5112_1_2

Cool and refreshing is how I would describe carrot salad. It is the kind of side dish that compliments chicken, beef or pork and is good any time of the year.

IMG_5093_1

I was first introduced to carrot salad at an office party many, many years ago. The ingredients looked pretty simple so I figured it couldn’t taste too bad. I learned early on that not everyone can cook and sometimes pretty dishes are just that – pretty. Pretty does not always equal tasty so I was still hesitant when I put a spoonful of carrot salad on my plate. I was both grateful and pleasantly surprised at how good the carrot salad tasted. From that point on I looked forward to having carrot salad at our office parties.

IMG_5127_1_2

I think I make a rather tasty carrot salad and thought it worthy of sharing with the world. Carrots, golden raisins, cranberries, nuts and pineapple. A great combination of flavors and healthy to boot.

IMG_5155_1

Who wouldn’t love carrot salad?

IMG_5139_1

Carrot Salad

Ingredients:

1 10oz bag shredded carrots
1 14 oz can crushed pineapple well drained
1 tbsp mayonnaise
3 tbsp sour cream or Greek yogurt
½ tbsp sugar
½ tsp seasoned salt
½ cup golden raisins
½ cup cranberries
¼ cup walnuts chopped
¼ cup pecans chopped

Place all ingredients in a large bowl and mix until well blended. Let chill for 30 minutes or overnight before serving. Enjoy!

Follow my blog with Bloglovin

Salmon and Penne Pasta

Teryaki Salmon 10

On days I want to be really healthy and stay away from red meat or pork “the other white meat”, I turn to my one true favorite – salmon. Since my hubby and son love pasta so much I knew if I added salmon to a pasta dish they would love it.

IMG_4431_1

Preparing pasta is simple and so is fixing salmon. As long as you pick out a nice salmon fillet and have the right seasonings you will be golden.

IMG_4437_1

The right seasonings means you need to pull together a combination of spices that will make the dish pop and your taste buds do a little dance in your mouth. A little heat from red pepper flakes or cayenne will usually wake up the taste buds but to make them dance you need more.

IMG_4447_1

Garlic, capers, mixed peppers and lemon juice. Bitter, salty, sweet and sour. Something to tickle each taste bud and brighten up the dish. Splash a little cream into the mix and you will not be sorry you decided to make something healthy.

IMG_4465_1

Salmon and Penne Pasta

Ingredients:
4 salmon fillets
1 box penne pasta
2 garlic cloves chopped
5 tbsp olive oil
2 tbsp starchy water from pasta
1 bag fresh baby leaf spinach
5 tbsp butter
1 tbsp capers
1 tbsp parsley
¼ tsp nutmeg
½ tsp seasoned salt
½ tbsp salt
½ tbsp black pepper
½ tsp garlic powder
½ tsp smoked paprika
½ red pepper sliced thin
½ green pepper sliced thin
½ yellow pepper sliced thin
½ cup half and half
½ cup heavy cream
Juice from one lemon
½ tbsp lemon zest

Preheat oven to 400 degrees.

Prepare pasta al dente as directed on box. Set aside. Reserve 2 tbsp of starchy water from pasta.

Season salmon with salt, black pepper, garlic powder and smoked paprika. Place 1 tbsp butter on each salmon fillet. Bake for 15 to 20 minutes until cooked through but still moist. Set aside to rest.

Heat 1 tbsp olive oil to a small frying pan. Add fresh peppers and saute until slightly browned.

Melt 1 tbsp butter in a large frying pan along with olive oil over medium high heat. Add garlic and saute for 1 minute stirring constantly. Reduce heat to medium then pour in heavy cream along with half and half and starchy water. Simmer for 2 minutes then add sauteed peppers, capers, parsley, lemon juice, lemon zest and remaining seasonings. Stir to blend. Add spinach and let it wilt. Once spinach wilts stir in pasta to coat with sauce.

Place pasta in a bowl and top with salmon. Pour a little sauce over the salmon then enjoy.

Follow my blog with Bloglovin

Mexican Hot Chocolate

IMG_5522_1

At the request of my daughter I came up with a recipe for Mexican Hot Chocolate. I had never heard of Mexican Hot Chocolate but I was game for trying out a recipe. I did some research on various types of Mexican Hot Chocolate and developed a version that is satisfying and tasty.

IMG_5531_1

The secret to making Mexican Hot Chocolate is to have a balance between the sweetness of the sugar and the heat of the chili and cayenne. Mexican hot chocolate should initially taste sweet on the tongue and then create a tingle at the back of your throat from the heat of the chili. After a few seconds the tingle goes away and you want to sip some more. If you add too much cayenne, the tingle will be will be an out and out ache at the back of your throat. Trust me, that is not a good feeling. While testing out my recipe I thought I would add more cayenne to the hot chocolate to make sure it had a Mexican flair. The result was not pleasant and I got a thumbs down from the family. Of course, everyone has their own idea of what tastes good. I would suggest that if you follow my recipe but you want heat add it to your own individual cup.

IMG_5543_1

Don’t forget the orange zest! The orange flavor mixed with the chocolate and cinnamon sticks is absolutely delicious. While the cayenne tingles the back of the throat, the orange zest flavor will linger on your tongue. Top the whole thing off with marshmallows and what more could you ask for on a cozy night.

IMG_5559_1

Mexican Hot Chocolate

Ingredients:
2 cups milk
½ cup half and half
¼ cup chocolate liqueur
4 oz bittersweet chocolate chopped
2 cinnamon sticks
4 tbsp sugar
1 tbsp dark brown sugar
1 tsp vanilla
1 tsp orange zest
½ tbsp cayenne (add more if you like a lot of heat but be careful with it)

In a large pot whisk together milks, sugars, cayenne, chocolate liqueur, zest and vanilla over medium low heat. Simmer for 10 minutes. Add chopped chocolate and whisk until melted. Add cinnamon sticks and continue simmering for 10 minutes until nice and hot. Strain into mugs and top with marshmallows if desired.

Follow my blog with Bloglovin

Grandma Dee’s Chicken and Dumplings

IMG_5226_1

Chicken and Dumplings is the ultimate grandma comfort food. If made like my grandmother use to make it, it is packed with chunks of meat, sweet vegetables, potatoes and plenty of dumplings. The dumplings are my favorite part. I love almost anything made with dumplings whether it is a main course or a sweet treat like cobbler.

IMG_5278_1

Now that I am a grandma, I thought I should come up with my own chicken and dumplings recipe that my grand kids would love. Since I prefer quick and easy to long and difficult I used preformed dumplings along with fresh veggies and chicken to shorten the prep and cooking time.

IMG_5286_1

The end result was a dish I was proud to call “Grandma Dee’s Chicken and Dumplings”.

IMG_5260_1

Grandma Dee’s Chicken and Dumplings

Ingredients:
8 boneless skinless chicken thighs
2 celery stalks, sliced
2 carrots peeled, sliced
1 small onion chopped
1 small jalapeno pepper seeded and chopped (optional)
1 box frozen peas
1 10 oz can cream of chicken soup
5 cups water
½ box Anne’s frozen dumplings
½ tsp poultry seasoning
½ Adobo seasoning
1 tbsp salt
1 tsp black pepper
1 tsp basil
1 tsp parsley
1 tsp onion powder
1 bay leaf

In a large pot add water, chicken, 1 stalk of celery, 2 tbsp onions and seasonings. Cook at medium high temperature until chicken is tender and cooked all the way through. Remove chicken. Chop chicken into big chunks and set aside.

Strain broth then add broth back to the pot. Add carrots, remaining onions, celery, jalapeno pepper and a little more salt. Cook for 10 minutes then add peas and dumplings. Cook for another 8 minutes gently stirring the dumplings.

In a small bowl add cream of chicken soup and ½ cup of the hot broth. Whisk them together then add to the pot along with the chicken. Reduce heat to simmer and cook an additional 5 minutes to heat chicken and soup mixture.

To prepare in a crock pot:
Add chicken, water, celery, onions, carrots, jalapeno pepper and seasonings to a crock pot. Cook on high for 1 hour. Add carrots and dumplings. Gently stir in the dumplings and cook an additional 15 minutes. In a small bowl add cream of chicken soup and ½ cup of the hot broth. Add mixture and peas to the crock pot. Reduce to low heat and cook for 10 more minutes.

Follow my blog with Bloglovin

Eggplant Casserole

IMG_5672_1

I am an eggplant lover. Back in my single days I use to make eggplant parmesan and it became one of my specialties. Over the years I have forgotten my original recipe so I decided to just make a simple eggplant casserole recipe. Although I love eggplant, I was not too sure how my family would like it. They like fried eggplant but a casserole? I was imagining that I would be eating the casserole the entire week for lunch and dinner.

IMG_5702_1

I love it when I am wrong about how one of my recipes will be received by my test team. I was the first one to try it out. Usually, I don’t brag a whole lot about the dishes I make but I had to say out loud “this tastes good!”. My exclamation of how good the eggplant tasted made my hubby curious so he was the next one to dive into the dish. Like I said in the beginning, I love it when I am wrong about how one of my recipes will be received. Hubby was delighted and said he loved the different flavors.

IMG_5712_1

Eggplant casserole is a wonderful side dish or you can make it into a meal. It is filling and I am sure once you taste it you will go for seconds.

IMG_5735_1

Eggplant Casserole

Ingredients:
2 small eggplants sliced thin
2 shallots sliced thin
1 14 oz can fire roasted tomatoes
1 cup shredded mozzarella cheese
½ cup fontina cheese shredded or sliced thin
½ stick butter sliced
2 tbsp oregano
1 tbsp seasoned salt
1 tbsp black pepper
cooking spray

Preheat oven to 400 degrees.

Spray a rimmed cookie sheet with cooking spray. Add 2 tbsp of olive oil and spread around the cookie sheet. Place the sliced eggplant on the cookie sheet. Season with salt and black pepper on both sides. Bake for 10 – 15 minutes on each side until lightly browned.

Melt 1 tbsp of butter in a small frying pan then add shallots. Season with a little salt and pepper. Saute shallots until softened and slightly browned. Set aside.

Spray a small casserole dish with cooking spray. Put a large spoonful of fire roasted tomatoes on the bottom of the casserole dish. Layer the bottom with the eggplant overlapping each ring. Sprinkle a little oregano over the eggplant. Spoon some of the fire roasted tomatoes over the eggplant then add a layer of mozzarella cheese. Place another layer of eggplant and sprinkle with the seasonings then layer the shallots over the eggplant. Place fontina cheese over the shallots then add another layer of eggplant. Sprinkle with seasonings then spoon on more tomatoes. Layer more mozzarella cheese. Finish with a layer of eggplant, seasonings, tomatoes and mozzarella cheese.

Reduce oven heat to 350 degrees. Bake eggplant casserole for 25 to 30 minutes until cheese is melted and slightly browned. Remove from oven and let stand for 5 – 10 minutes before serving.


Follow my blog with Bloglovin