Tag Archives: recipe

Caramel Popcorn Balls

IMG_1896_1

One of the best things about going to the movies is the buttered popcorn. I have not been able to recreate the flavor of movie popcorn at home although I have tried. The smell of theater popcorn is intoxicating. But, the smell of microwave popcorn is another story for me. I do not like the smell of microwave popcorn. My hubby is a fan of all types of popcorn especially microwave popcorn so I keep it as a staple in the pantry.

IMG_1910_1

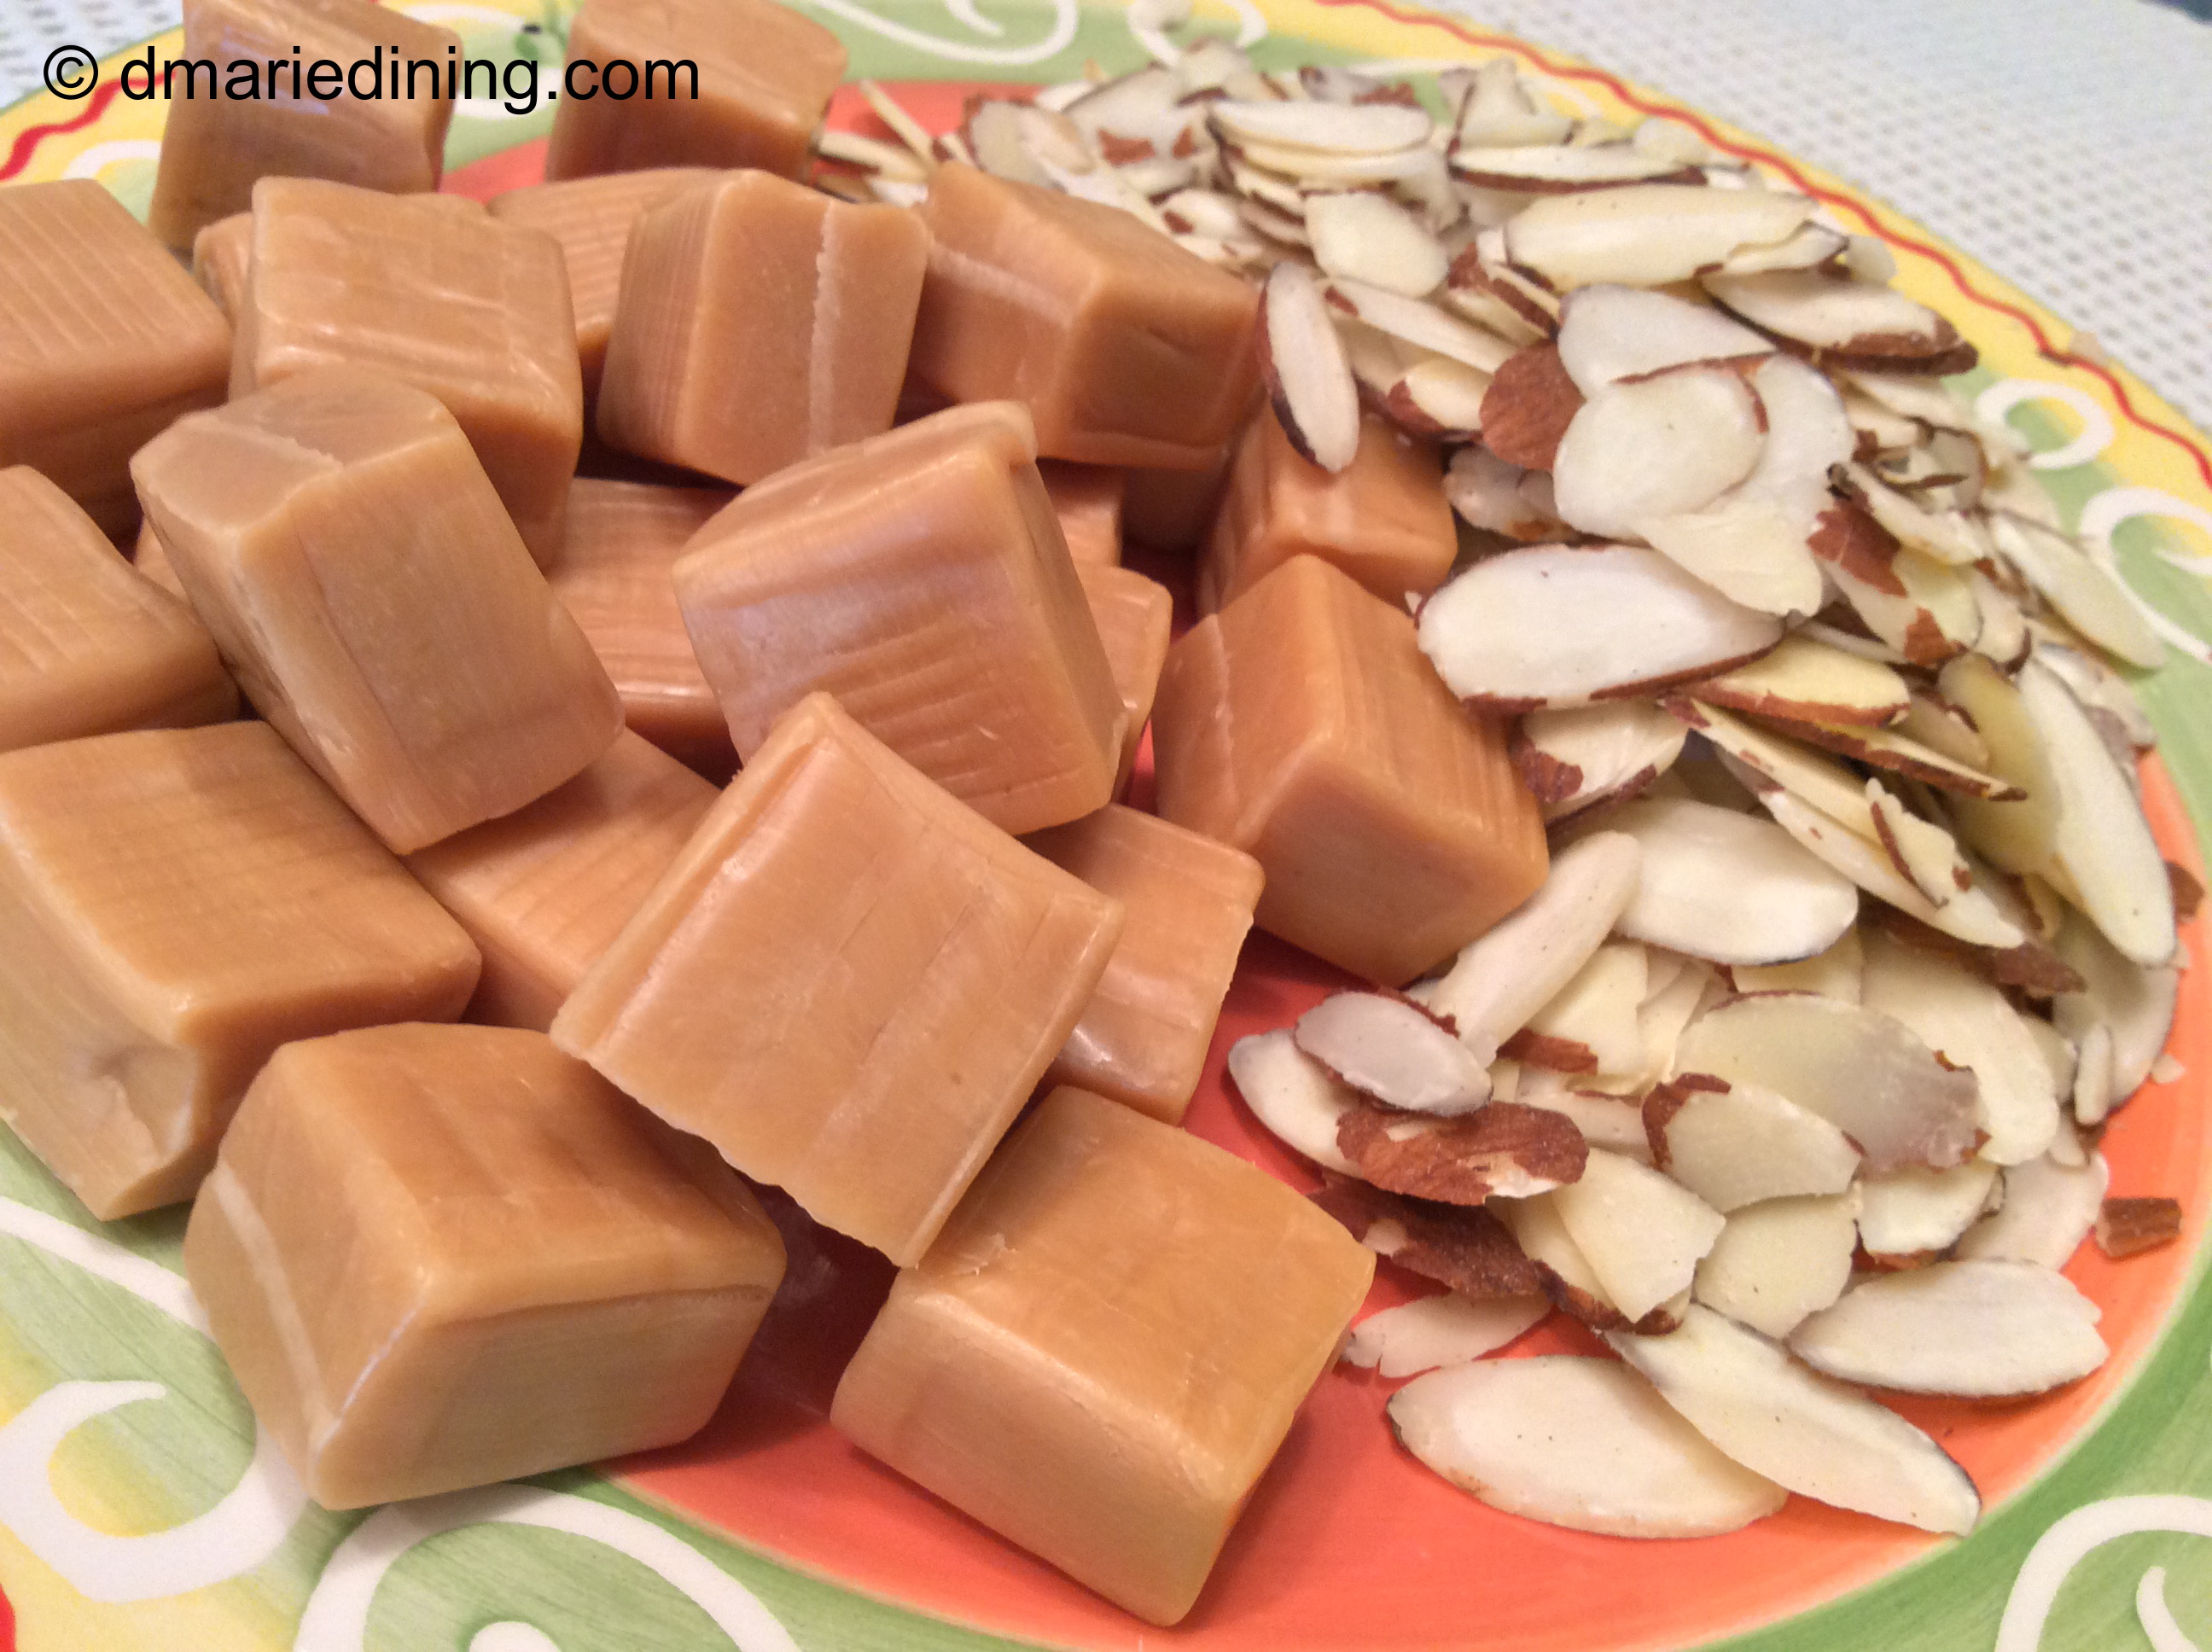
The other day when I was searching through the pantry for some pasta I ran across a few boxes of microwave popcorn. I started wondering what I could do to the microwave popcorn to make it more appealing. The first thing that came to mind was the big bin of caramels I saw at the grocery store the last time I was there. Usually, I would just use caramels to make caramel apples or apple crisp. However, the thought of mixing the caramels with popcorn and sliced almonds seemed like a pretty good idea. Instead of making caramel corn (which is a little too sweet for me), I decided to make Caramel Popcorn Balls which had only a hint of caramel and nuts.

IMG_1918_1

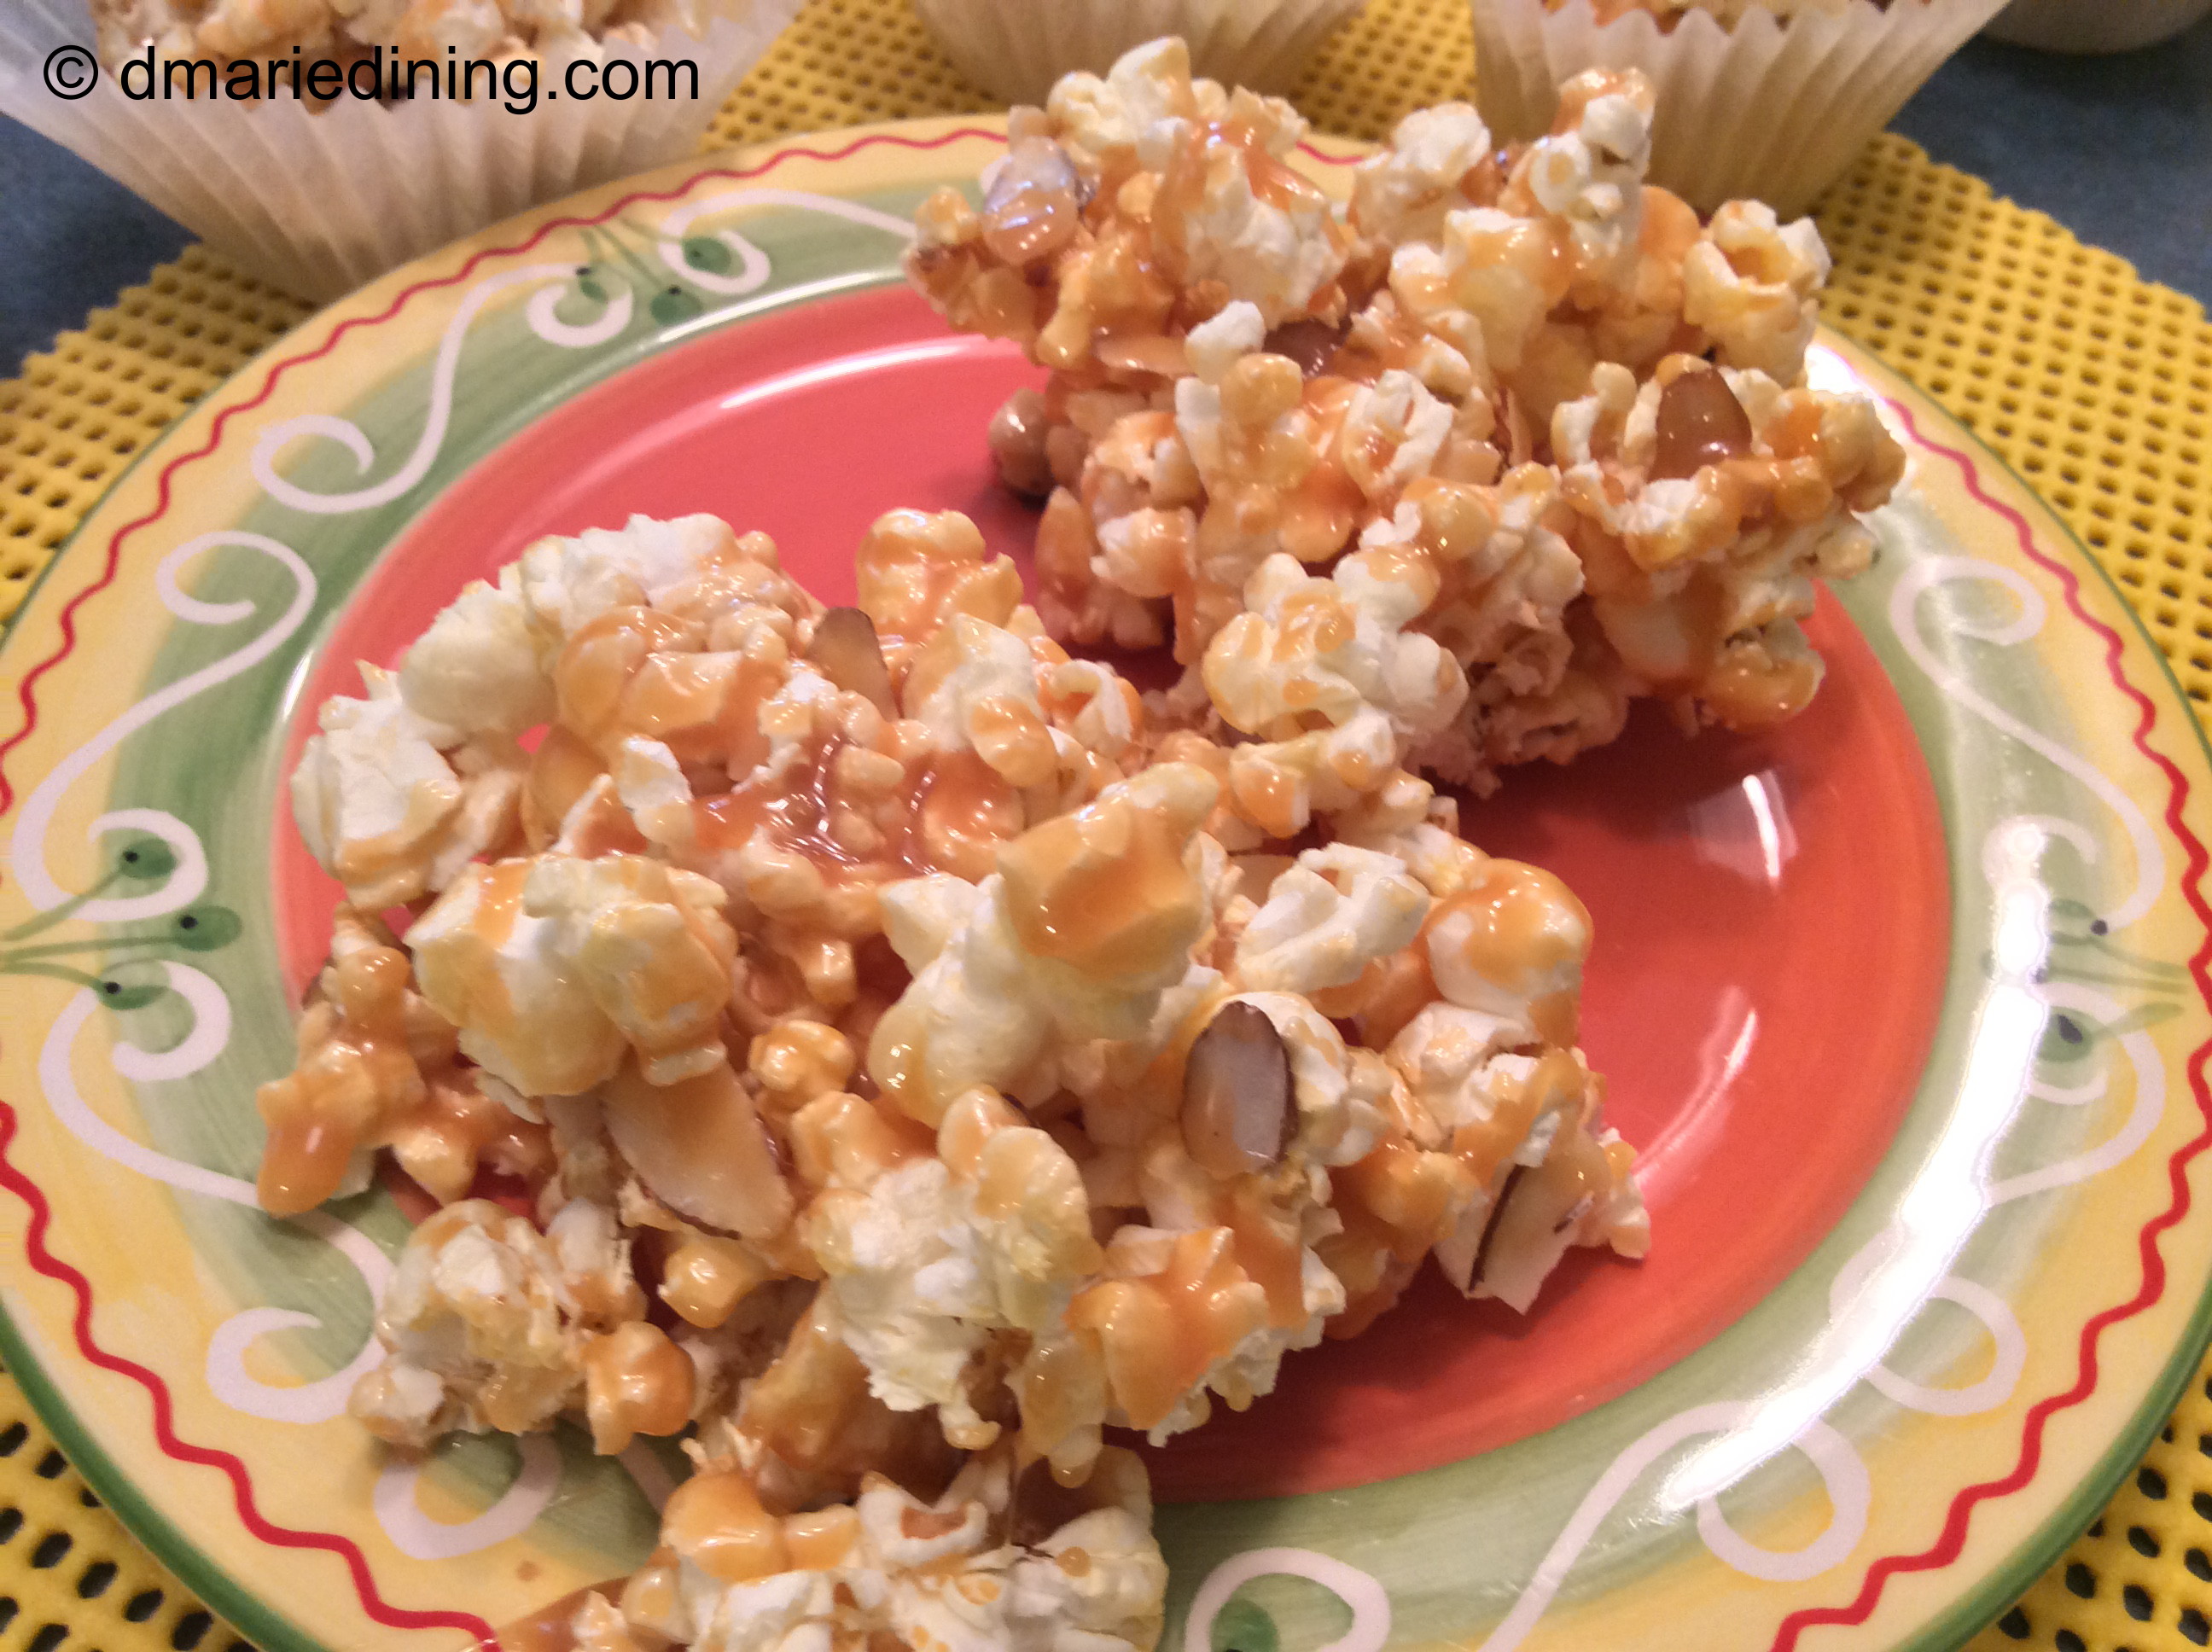
The result was a nice little treat. I can even say I did not even mind the smell of the microwave popcorn while it was popping because I was so excited to try out the recipe. Light, slightly crunchy, savory and sweet. The caramel was just sweet enough to satisfy my sweet tooth and savory enough to make me want more.

IMG_1925_1

Caramel Popcorn Balls

Ingredients:
2 bags microwave popcorn popped
1 11 oz caramels unwrapped
¼ cup light corn syrup
2 tbsp water
½ cup sliced or whole almonds
cooking spray

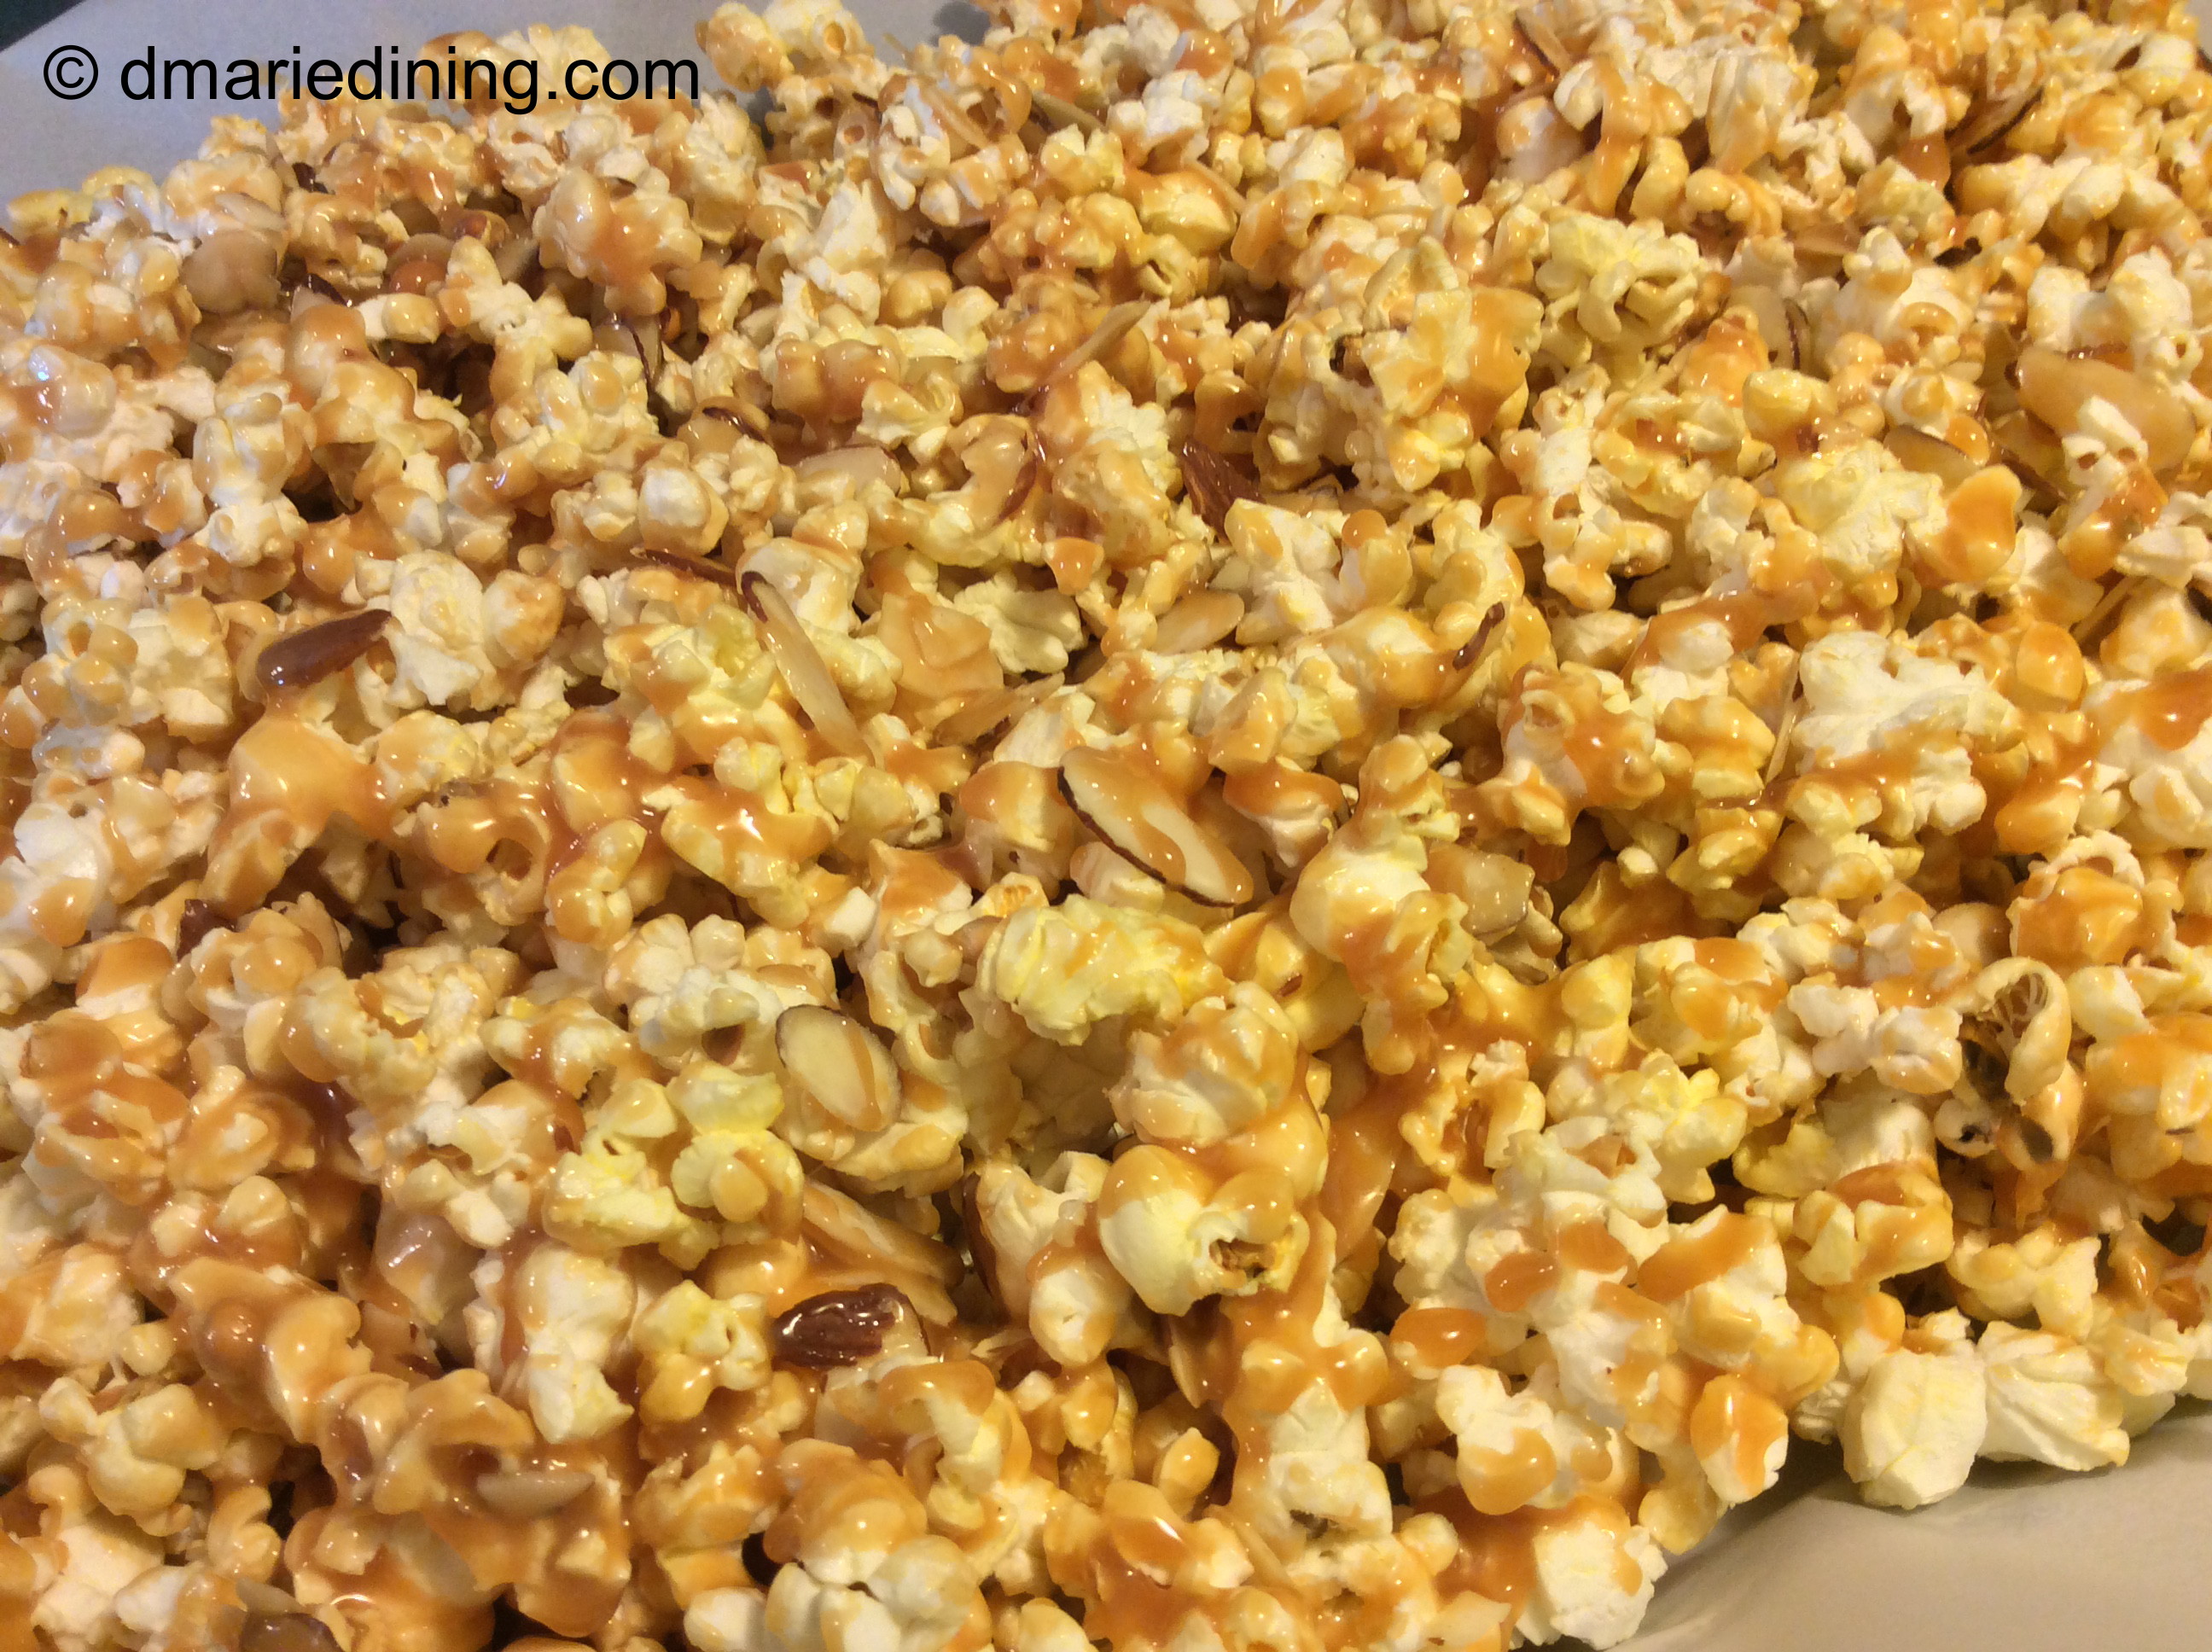
Place popped popcorn in a 200 degree oven while melting caramels. Be sure to remove all unpopped kernels.

Melt caramels, corn syrup and water in a medium sized pot over medium heat. Spray a large bowl with cooking spray. Place popcorn and nuts in bowl and drizzle warm caramel over popcorn and nuts. Quickly mix until popcorn is well coated. Form popcorn balls by hand. Spray hands with a little cooking spray prior to forming balls so that they do not stick to your hands. Wrap balls in plastic wrap and place in an air tight container. Popcorn will keep fresh for a few days.

Follow my blog with Bloglovin

Sticky Granola Clusters

IMG_1367_1

Once in a while I have a sweet tooth for something other than chocolate. Cookies, cakes, pies and ice cream don’t always hit the mark for me. Instead, I just want a small treat that will satisfy my desire for sweets but will not make me feel too guilty or bloated.

IMG_1378_1

Looking around my kitchen on one of those days of having a sweet tooth I found a container of granola. I know. Granola as a treat does not sound very exciting when you have a sweet tooth and I wanted more than plain ol’ granola. To jazz up the granola and make it into a really delicious treat I added a few extra ingredients to a basic granola bar recipe and created Sticky Granola Clusters.

IMG_1381_1

Naturally sweetened from the whipped honey I used along with the dried fruit, this easy treat satisfied my sweet tooth and kept me from feeling too guilty or bloated. I liked the nice crunch of the granola, toasted almonds and walnuts plus the chewiness of the dried plums, mango and cranberries. The whipped honey made it all sticky and fun to eat.

IMG_1422_2

Usually, I use my family as taste testers but this time I took my recipe directly to the public and asked my co-workers what they thought of the Sticky Granola Clusters. Sometimes you have to go outside of your own bubble to make sure you are on the right track when cooking. Judging by their comments and the fact that a few folks came back for seconds I know this recipe is a hit. The next time you have a sweet tooth make a batch of Sticky Granola Clusters. Not a lot of fuss and a lot less guilt than most treats.

IMG_1394_2

Sticky Granola Clusters

Ingredients:
14 oz granola (I used Aurora Natural Vanilla Crunch)
½ cup sliced almonds
½ cup chopped walnuts
½ cup dried chopped plums
½ cup dried chopped mango (optional)
½ cup shredded coconut
½ cup whipped honey or regular honey
¼ cup dried cranberries
¼ cup light brown sugar (lightly packed)
3 tbsp butter
2 tbsp vanilla extract

Preheat oven to 350 degrees.

Spread coconut and almonds on a rimmed baking sheet and toast for 10 minutes. Check coconut to make sure it does not burn. Remove from oven and set aside to cool. Lower oven temperature to 300 degrees.

Place granola, cooled coconut, almonds and walnuts in a large bowl.

In a small pot heat brown sugar, butter, honey and vanilla in a small pot over medium heat. Bring to a boil. Remove from heat and pour over granola mixture and stir. Add dried fruit and stir until well mixed.

Line a rimmed baking sheet with parchment paper and spray with cooking spray. Pour granola mixture onto baking sheet and gently press to spread out the granola evenly. If necessary, wet your fingers before handling to prevent mixture from sticking to you.

Bake for 25 – 30 minutes. Remove from oven and let cool for 3 hours to set. You can cool in the refrigerator the last 30 minutes. Break into clusters or cut into squares. Store in an air tight container. Refrigerate if necessary.

Follow my blog with Bloglovin

Naan Style Pizza

IMG_1011_1

Tonight I made Naan Style Pizzas. I found small individual sized Naan at Trader Joes’s. I was looking for small regular flatbread but spotted the Naan flatbread instead. I wanted to make something quick for dinner and thought homestyle pizzas would be a good choice for a quick meal. Hubby and my youngest son are pizza lovers so they usually like any kind of pizza you throw in front of them. I on the other hand prefer non traditional style pizzas.

IMG_1028_1

Passing by the deli meats and cheeses I had a light bulb moment and decided to make a variety of pizza toppings like pre-cooked chicken, prosciutto, salami and capicola instead of pepperoni or sausage. Since the pizzas were individual sized we were each able to try a different type of topping. To make the pizzas even more non-traditional I slathered the Naan with pesto instead of a basic pizza sauce. This gave the pizzas more of a savory taste rather than the acidic flavor you get with tomato sauce.

IMG_1032_1

The best thing about pulling together the Naan Style Pizzas is that it took all of 15 minutes. That is my kind of recipe. Baking took about another 15 minutes to melt the cheese and make it golden brown. Total time for me to get dinner on the table was about 45 minutes which included me explaining to my hubby what I was making.

IMG_1050_1

After a few bites and a couple of umm hmmm’s I knew the Naan Style Pizzas were blog worthy. So there you have it. Another quick and easy meal with a healthy twist. Try it and I am sure you and others will like it.

IMG_1040_1

Naan Style Pizza

Ingredients:
1 small jar pesto
1 pkg Tandoori Naan flatbread (Trader Joe’s)
1 pkg pre-cooked slices of chicken
8 slices salami
8 slices prosciutto
8 slices capicola
1 bag baby leaf spinach
4 small tomatoes sliced
6 slices of jalapeno pepper cheese
¼ cup buffalo wing sauce
1 tbsp oregano

Preheat oven to 350 degrees.

Pull cheese apart and set aside. Place pre-cooked chicken in a bowl and drizzle buffalo chicken wing sauce over chicken. Toss until chicken is well coated with sauce. Set aside.

Spread about 1 tbsp of pesto on each slice of Naan flatbread then layer with baby spinach leaves. Next on 1 -2 pieces of flatbread layer the chicken then a few slices of tomato and sprinkle with oregano. Top with cheese.

Follow the same steps creating the salami flatbread pizza. Alternate the prosciutto and capicola together on one flatbread when layering.

Place Naan Style Pizzas on a rimmed baking sheet. Bake for 15 minutes until cheese melts and is golden brown.

Follow my blog with Bloglovin

Buffalo Chicken and Spinach Flatbread

IMG_8944_1

Cooking with flatbreads is an easy way to get a meal on the table when you don’t have a lot of time to prepare something more complex. I am not a big “pizza” fan but I do enjoy them now and then. The rest of the family can eat pizza any time. If I am going to eat pizza, I want it to be special and not the basic cheese or pepperoni pizza you find every where.

IMG_8948_1

One of my son’s favorite pizza choices is Buffalo Chicken so I thought I would try making my own version. The great thing about flatbreads is that they are versatile. You can use just about any topping you like on the flatbread and it will taste wonderful. Of course you need to add a few seasonings to give it an extra kick. We like spicy flavors in my family so besides using Buffalo wing sauce on the chicken I also added pepper jack cheese and red pepper flakes to the toppings. Depending your tolerance for “heat” you can add or subtract the amount of spice you use.

IMG_8965_1

The first time I made my Buffalo Chicken Flatbread we had it for lunch. This turned out to be a very hearty meal with the thick slices of chicken, spinach, onions and cheese. Protein, veggies and dairy! What more could you ask for in a meal? As you can imagine we had a very light dinner that night.

IMG_8979_1

Look for more flatbread recipes on dmariedining.com. You cannot beat them for a healthy, quick and easy meal!

IMG_8988_1

Buffalo Chicken Flatbread

Ingredients:
1 14oz flatbread (Trader Joe’s Ciabatta Flatbread)
1 pkg pre-cooked sliced chicken (Trader Joe’s)
1 cup shredded mozzarella cheese
1 cup baby leaf spinach
½ cup buffalo wing sauce
½ cup shredded pepper jack cheese
½ cup thinly sliced red onion or shallots
¼ cup crumbled blue cheese (optional)
1 tbsp olive oil
½ tbsp red pepper flakes
salt
black pepper

Preheat oven to 425 degrees.

Place chicken in a medium sized bowl. Drizzle buffalo wing sauce over chicken then toss to coat the chicken.

Place flatbread on a cookie sheet then brush flatbread with olive oil. Sprinkle ½ cup mozzarella cheese over flatbread. Layer flatbread with spinach then sprinkle with a little salt and black pepper. Next layer chicken, onions and remaining cheeses over the spinach. Bake for 12 – 15 minutes until cheese melts and turns slightly brown. Let cool for a few minutes then cut with a pizza slicer.

For a crispier crust place the flatbread directly on a rack in the oven. Check flatbread package for full instructions on cooking crust.

Follow my blog with Bloglovin

Andouille Sausage with Tomato Gravy

IMG_0094_1

Tonight I fixed andouille sausage with tomato gravy over pasta. I used chicken andouille sausage and made a rue with beer then added fire roasted tomatoes. I am not sure why or how I decided to make a tomato gravy. The idea just came to me on my long drive home from work. I was racking my brain to come up with something quick for dinner because I no longer felt like making the seafood salad I had planned. I knew I had andouille sausage at home and thought they would be good in a gravy so tomato gravy was born.

IMG_0103_1

Tomato gravy is really just a rue made with beer and fire roasted tomatoes. I don’t make gravy too often because it can be very heavy and of course fattening if made the way my grand-mom use to make it. Her gravy was delicious and good for twirling your biscuits in but now that I am older I cannot have a lot of biscuits and gravy. My hips will not allow it.

IMG_0113_1

Anyway, the andouille sausage and tomato gravy was good. One of those turn up the bowl to your lips so you can get every drop kind of good. You know what I mean. Everyone (I hope) has experienced at least once in their lifetime a dish that made you want to lick the bowl but you settled for secretly lifting the bowl to your lips and sucking up the juices. If you have not had that experience I feel sorry for you. Maybe this will be one of those dishes for you.

IMG_0117_1

The slight heat from the sausage and the smokiness of the fire roasted tomatoes was a wonderful combination. The beer added another level of flavor because of the lemon grass, coriander and orange spices in the beer. I am not a real beer drinker but I do like to cook with it so I look for different flavors of beer that might elevate a dish. Beer can add a subtle punch to any recipe instead of overpowering the dish like other types of alcohol.

IMG_0126_1

I am sure I will be making andouille sausage with tomato gravy again and again judging by the two bowls my hubby had tonight. Quick and easy is still my motto.

IMG_0125_1

Andouille Sausage with Tomato Gravy

Ingredients:
8 chicken andouille sausage links
2 15 oz cans fire roasted tomatoes
1 bag baby leaf spinach (optional)
1 bottle good beer / ale
¼ cup vegetable oil
½ cup water
3 tbsp flour
1 tsp salt
1 tsp black pepper
1 tsp Adobo
1 tsp worcestershire
1 tsp onion powder
½ tsp gumbo file (optional)
½ tsp cilantro
¼ tsp nutmeg
¼ tsp cayenne

Preheat oven to 425 degrees.

Cut a few slits in each andouille sausage link and place them on a rimmed baking sheet and cook for 15 minutes until browned. Remove from oven and set aside.

In a large frying pan add vegetable oil and flour over medium high heat. Whisk together until smooth and continue whisking until mixture turns a light cocoa brown. Be careful not to burn the rue so whisk constantly. Slowly pour in beer while continuing to whisk the rue. Add water, tomatoes and seasonings. Reduce heat to a simmer then add spinach. Stir to coat spinach with gravy then add sausage. Cook for an additional 15 minutes. Serve over curly pasta, mash potatoes or rice.

Follow my blog with Bloglovin

Brussel Sprout Hash

IMG_9212_1

Okay, let’s all admit it. Brussel sprouts can be a little stinky when you cook them. Not everyone can enjoy the strong taste of brussel sprouts but if you are adventurous I say give it a try. Brussel sprouts have great qualities one of which is they are healthy. Brussel sprouts are packed with vitamins C and K. While reading up on the benefits of eating brussel sprouts I found out that they help support the body’s detox system, our antioxidant system and our inflammatory/ anti-inflammatory system. Not many veggies are able to bring such benefits all at once.

IMG_9229_1

I came up with my brussel sprout hash recipe the same way I come up with quite a few of my creations. I needed to do something with the fresh brussel sprouts I threw into my shopping cart earlier in the week hoping I would be inspired by their presence in my frig. This time I actually was inspired by the brussel sprouts. I couldn’t bear to just boil them or simply roast them. But, I did want to bake them along with onions, peppers and potatoes and turn them into a hash. This recipe was created with just me in mind because neither my hubby nor my youngest son likes brussel sprouts. Me? I love them. I just don’t prepare them often because like I said in the beginning they can be a little stinky.

IMG_9242_1

On the day I made the brussel sprout hash my hubby came home and asked if I smelled something funny in the house. It wasn’t a strong smell but he could smell something different in the air. Of course I couldn’t say no and had to admit I had cooked brussel sprouts. After wrinkling up his nose he pulled out the the air freshener and sprayed the whole house. Totally unnecessary but what can I say. Brussel sprouts have their own unique aroma but they sure do taste good.

IMG_9247_1

Brussel Sprout Hash

Ingredients:
1 lb brussel sprouts cut in half
3 small red potatoes diced
2 shallots sliced
½ red pepper diced
3 tbsp olive oil
2 tbsp balsamic vinegar
1 tsp basil
1 tsp parsley
1 tsp salt

Preheat oven to 350 degrees.

In a large bowl toss brussel sprouts and balsamic vinegar. Coat a rimmed baking sheet with 1 tbsp olive oil. Add brussel sprouts, potatoes, peppers and shallots to baking sheet. Sprinkle with seasonings and toss. Pour remaining olive oil over veggies. Bake approximately 1 hour until veggies are soft and golden.

Follow my blog with Bloglovin