I was eating a small Italian sub the other day and started thinking about my promise to cut back on eating bread. As we all know, eating too many carbs is not good for you. I was feeling guilty since I had already eaten a bagel for breakfast and I was trying to limit my bread intake to once per day if at all.
While eating my sandwich I was thinking of ways I could ditch the roll and just eat what was inside the roll. Then I thought why not turn my sandwich into a salad. Viola! I could still have the ingredients of an Italian sub but no bread. I decided to create a Salad (Italian Sub Style) with lots of romaine lettuce and a sprinkling of meats, cheeses, tomatoes and Italian seasonings. This salad can be either a nice small portioned start to a meal or a meal unto itself. Either way I think you will enjoy it.
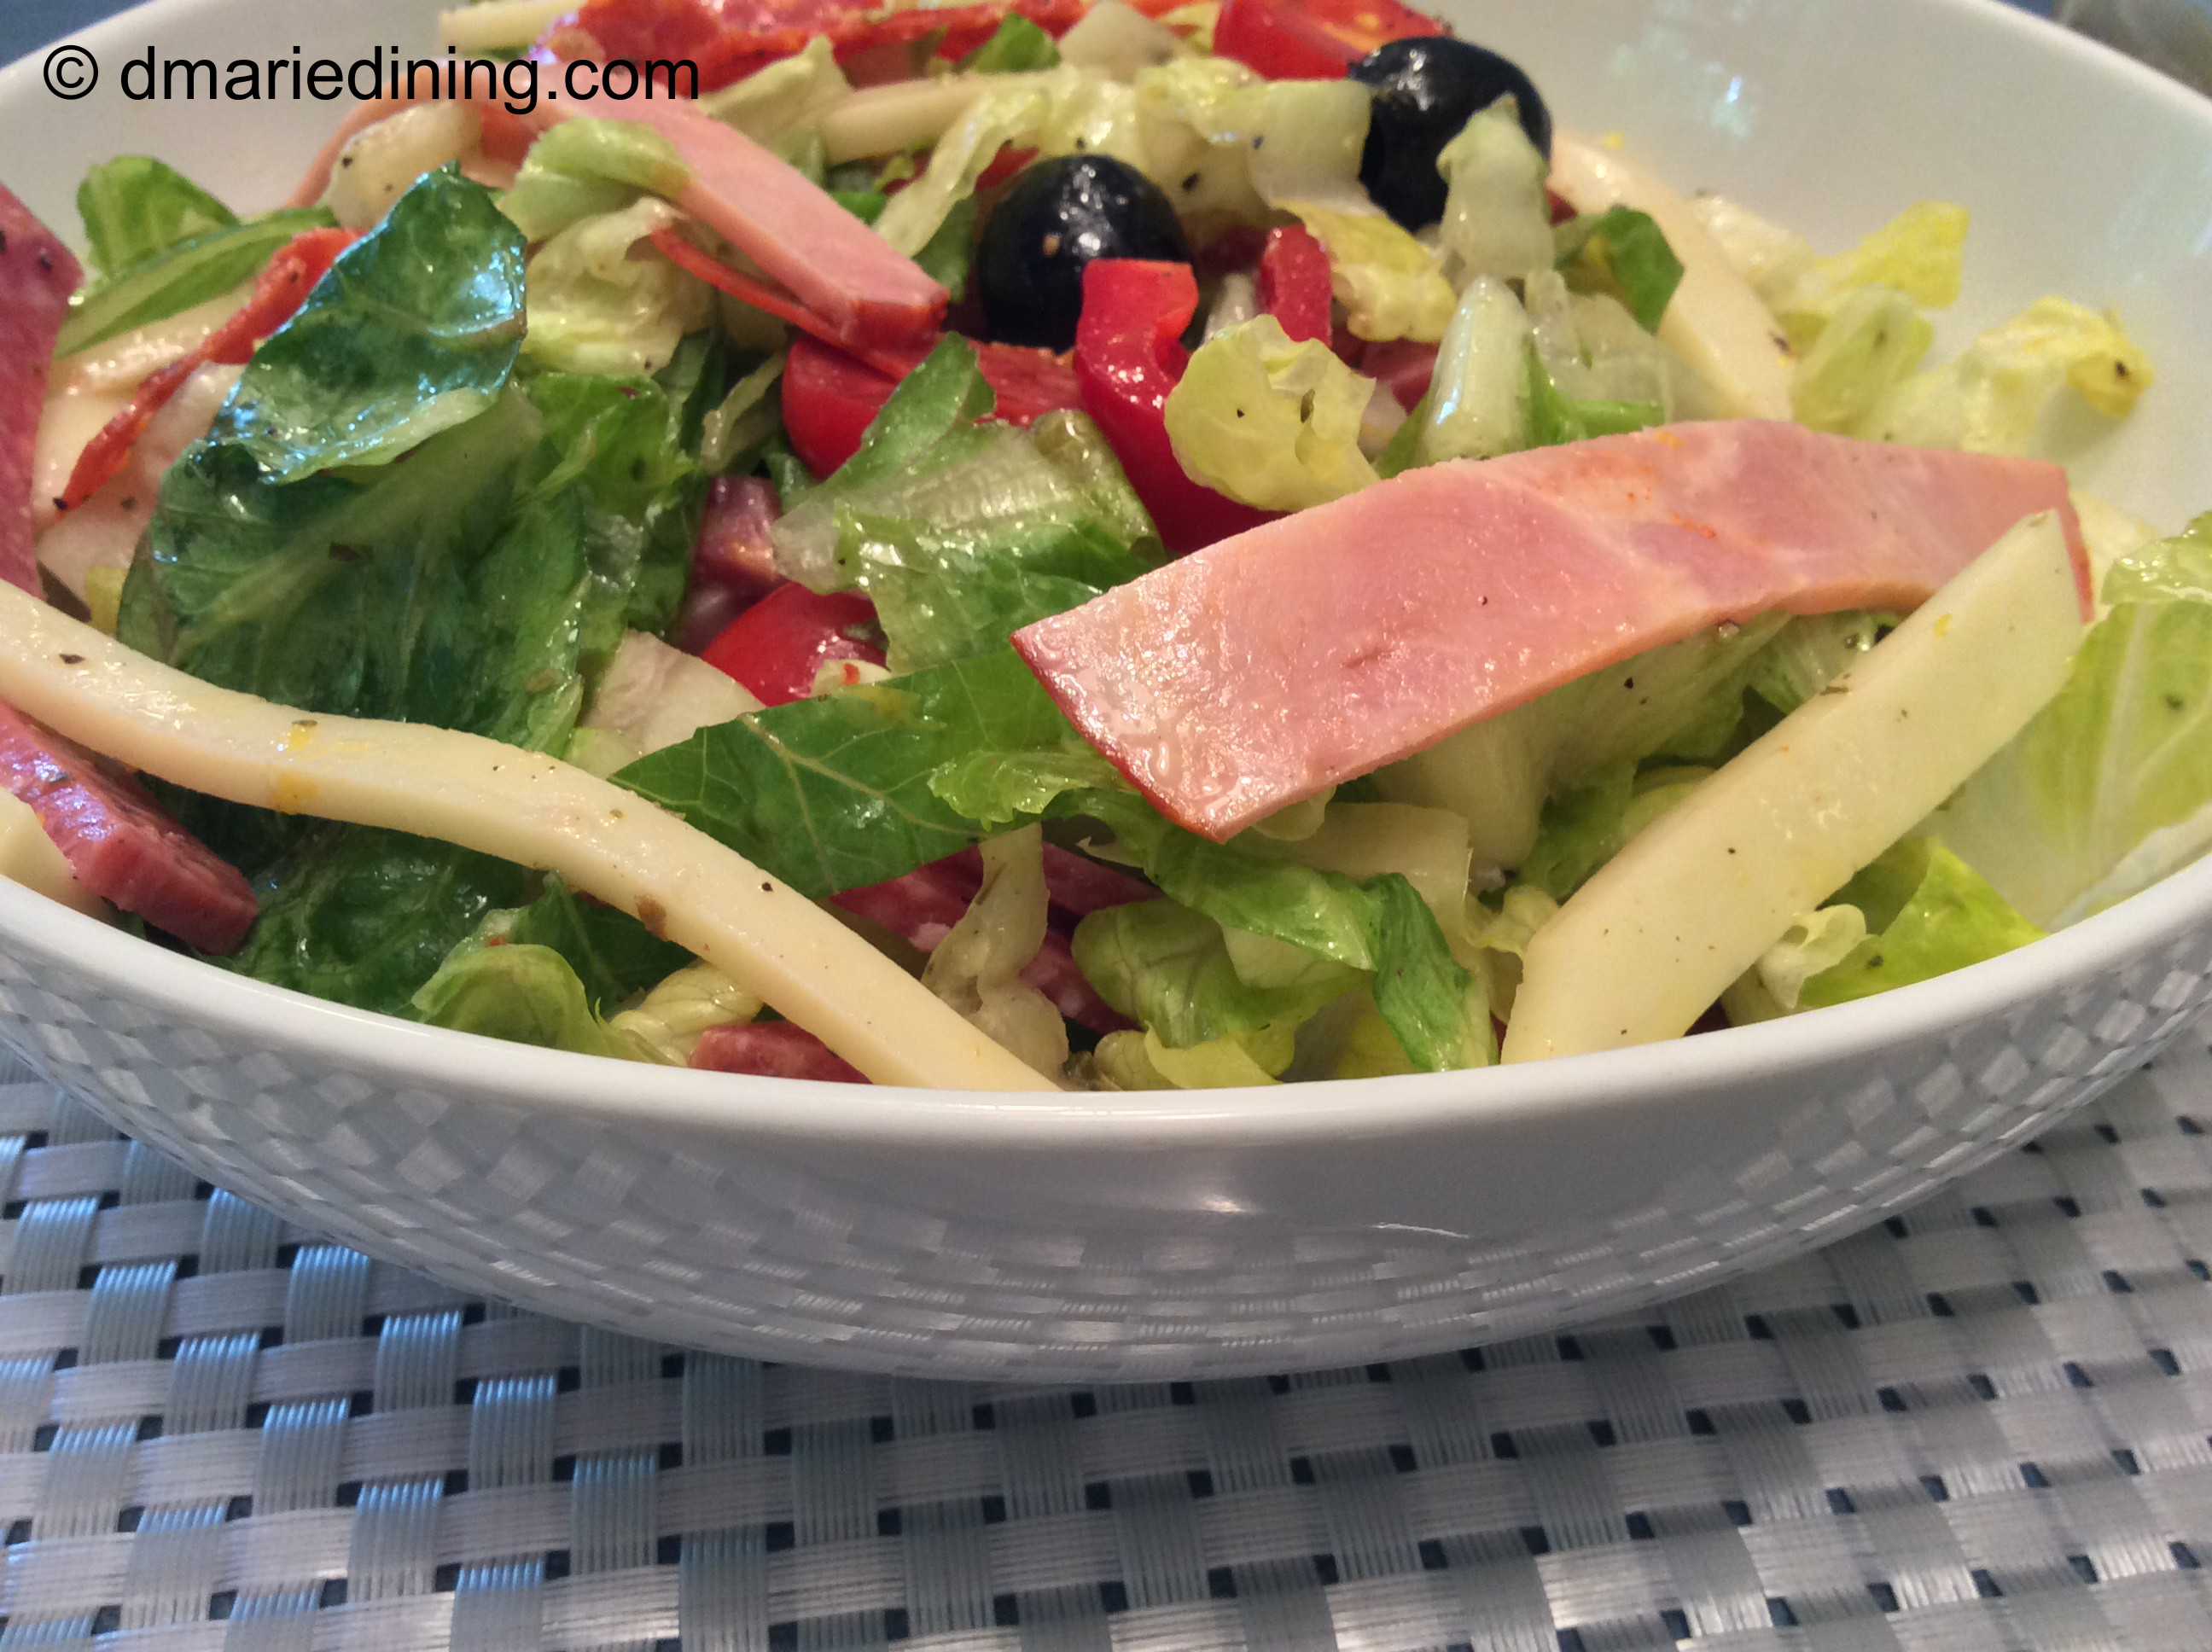
Salad (Italian Sub Style)
Ingredients:
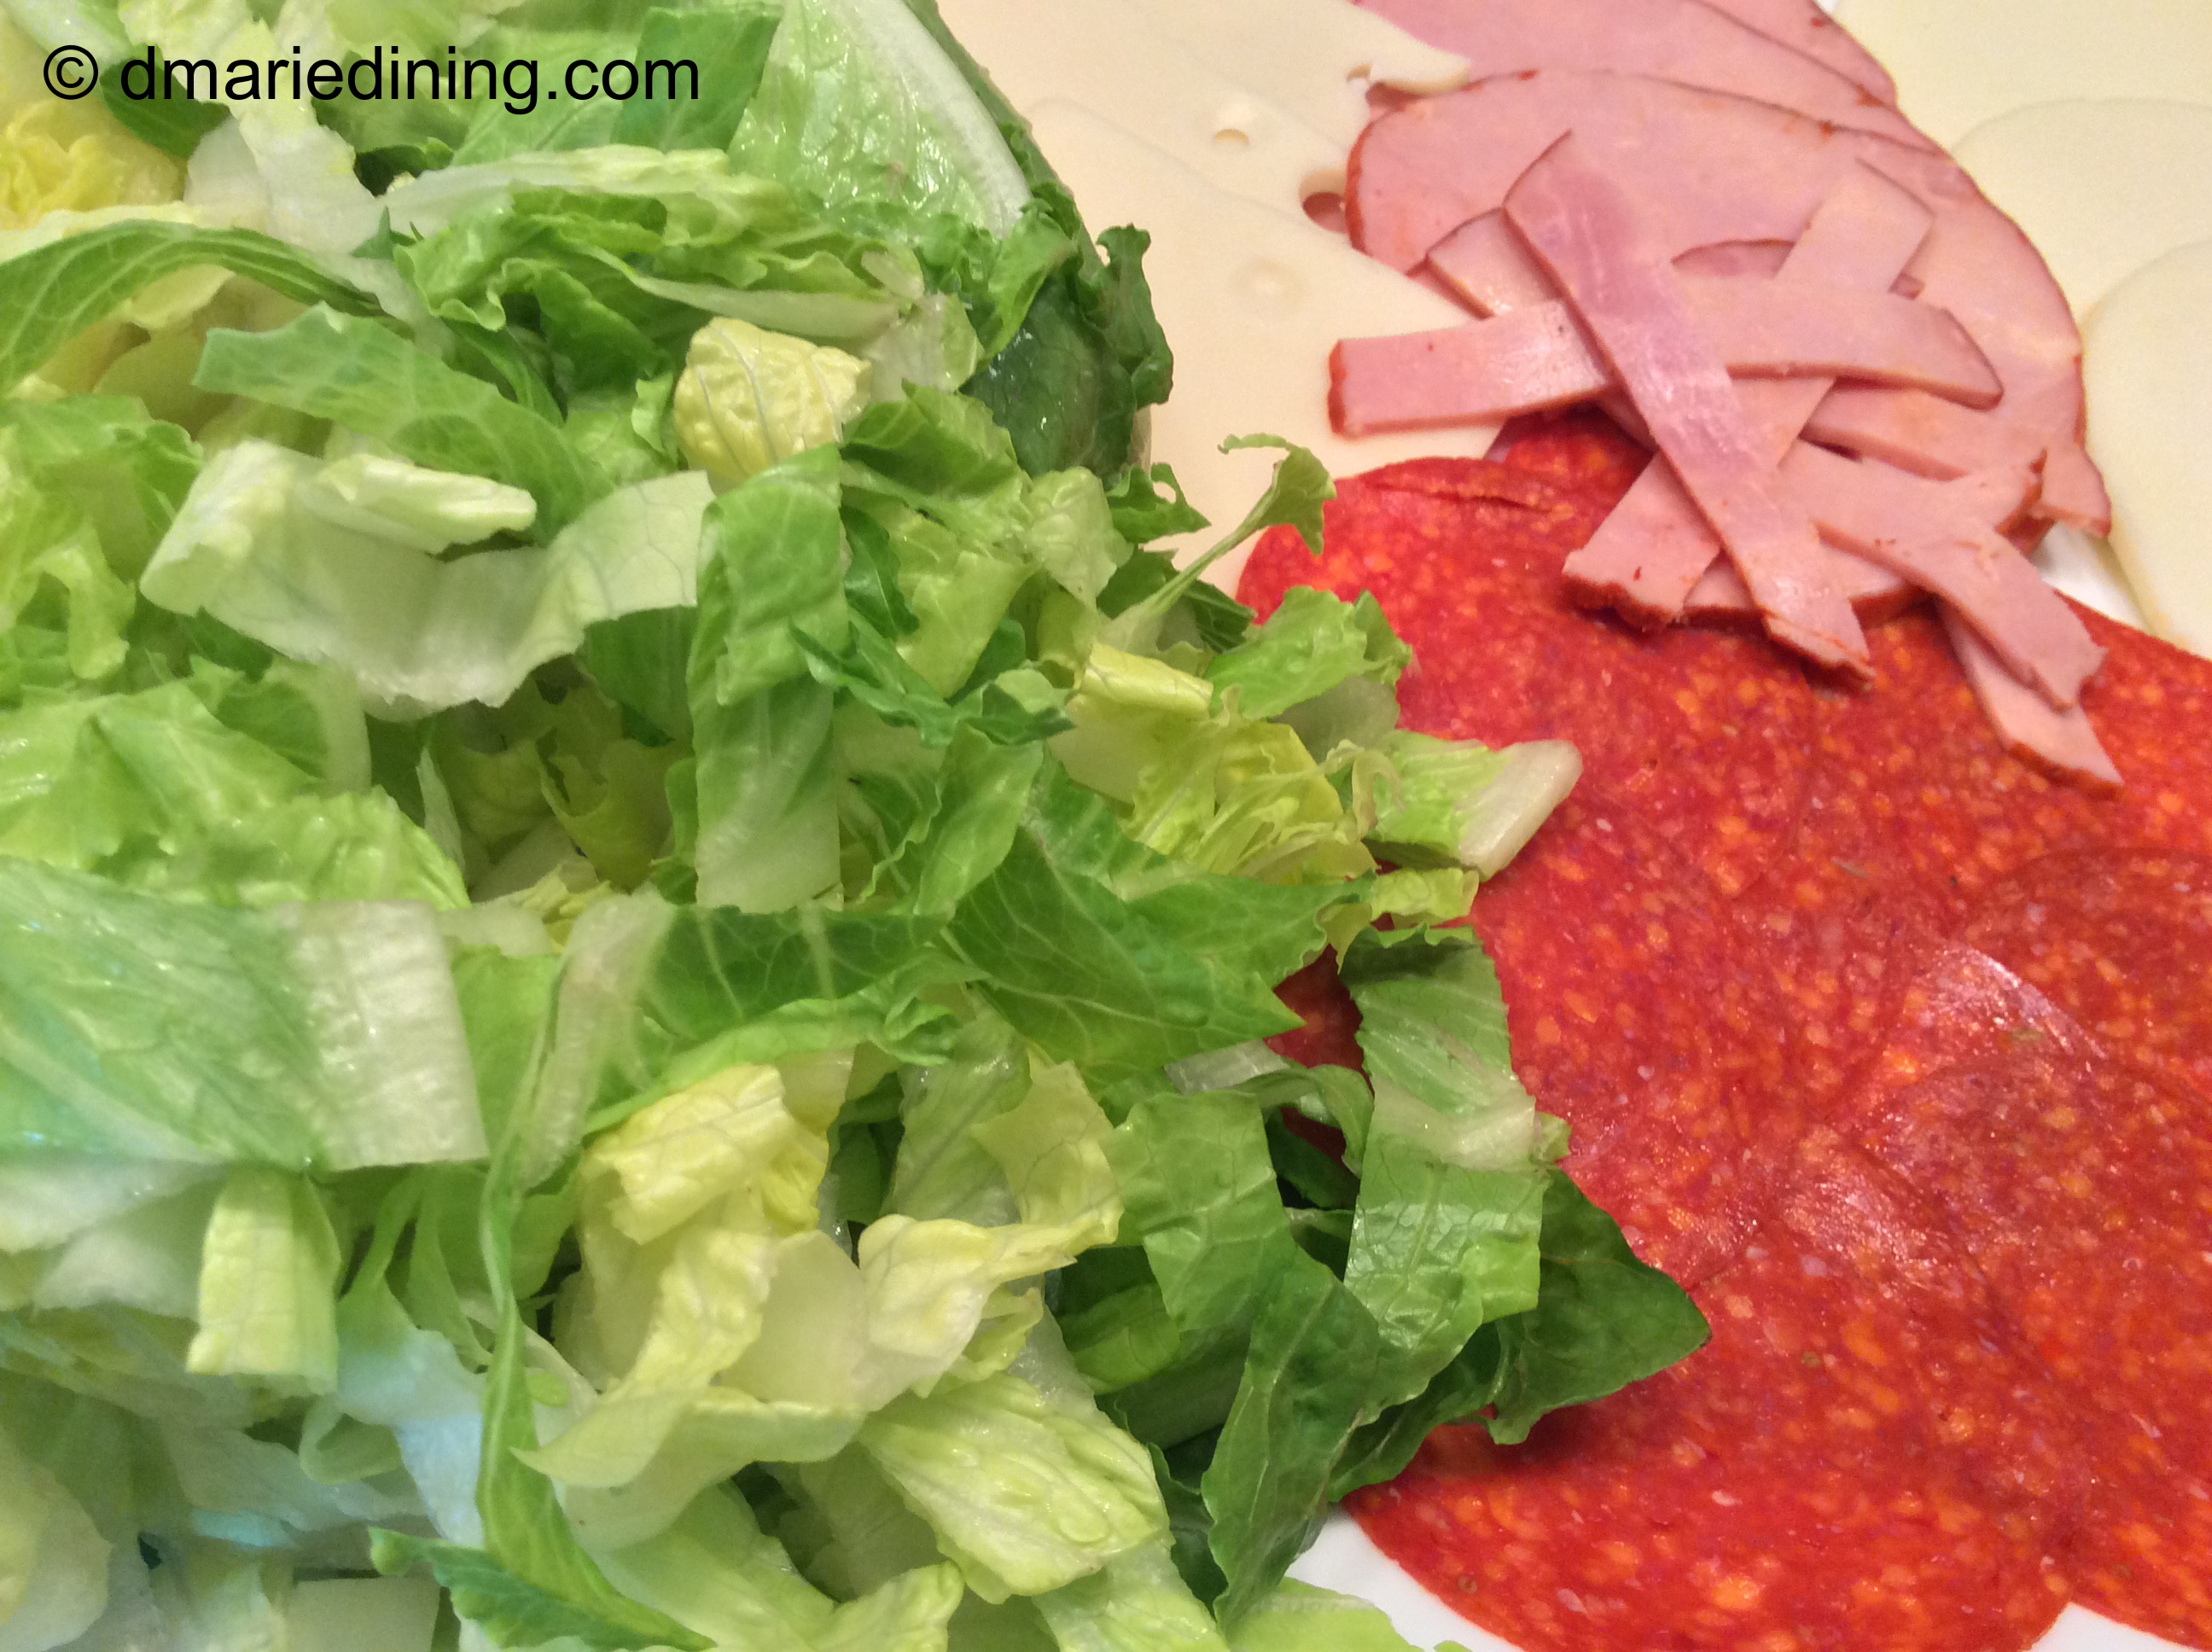
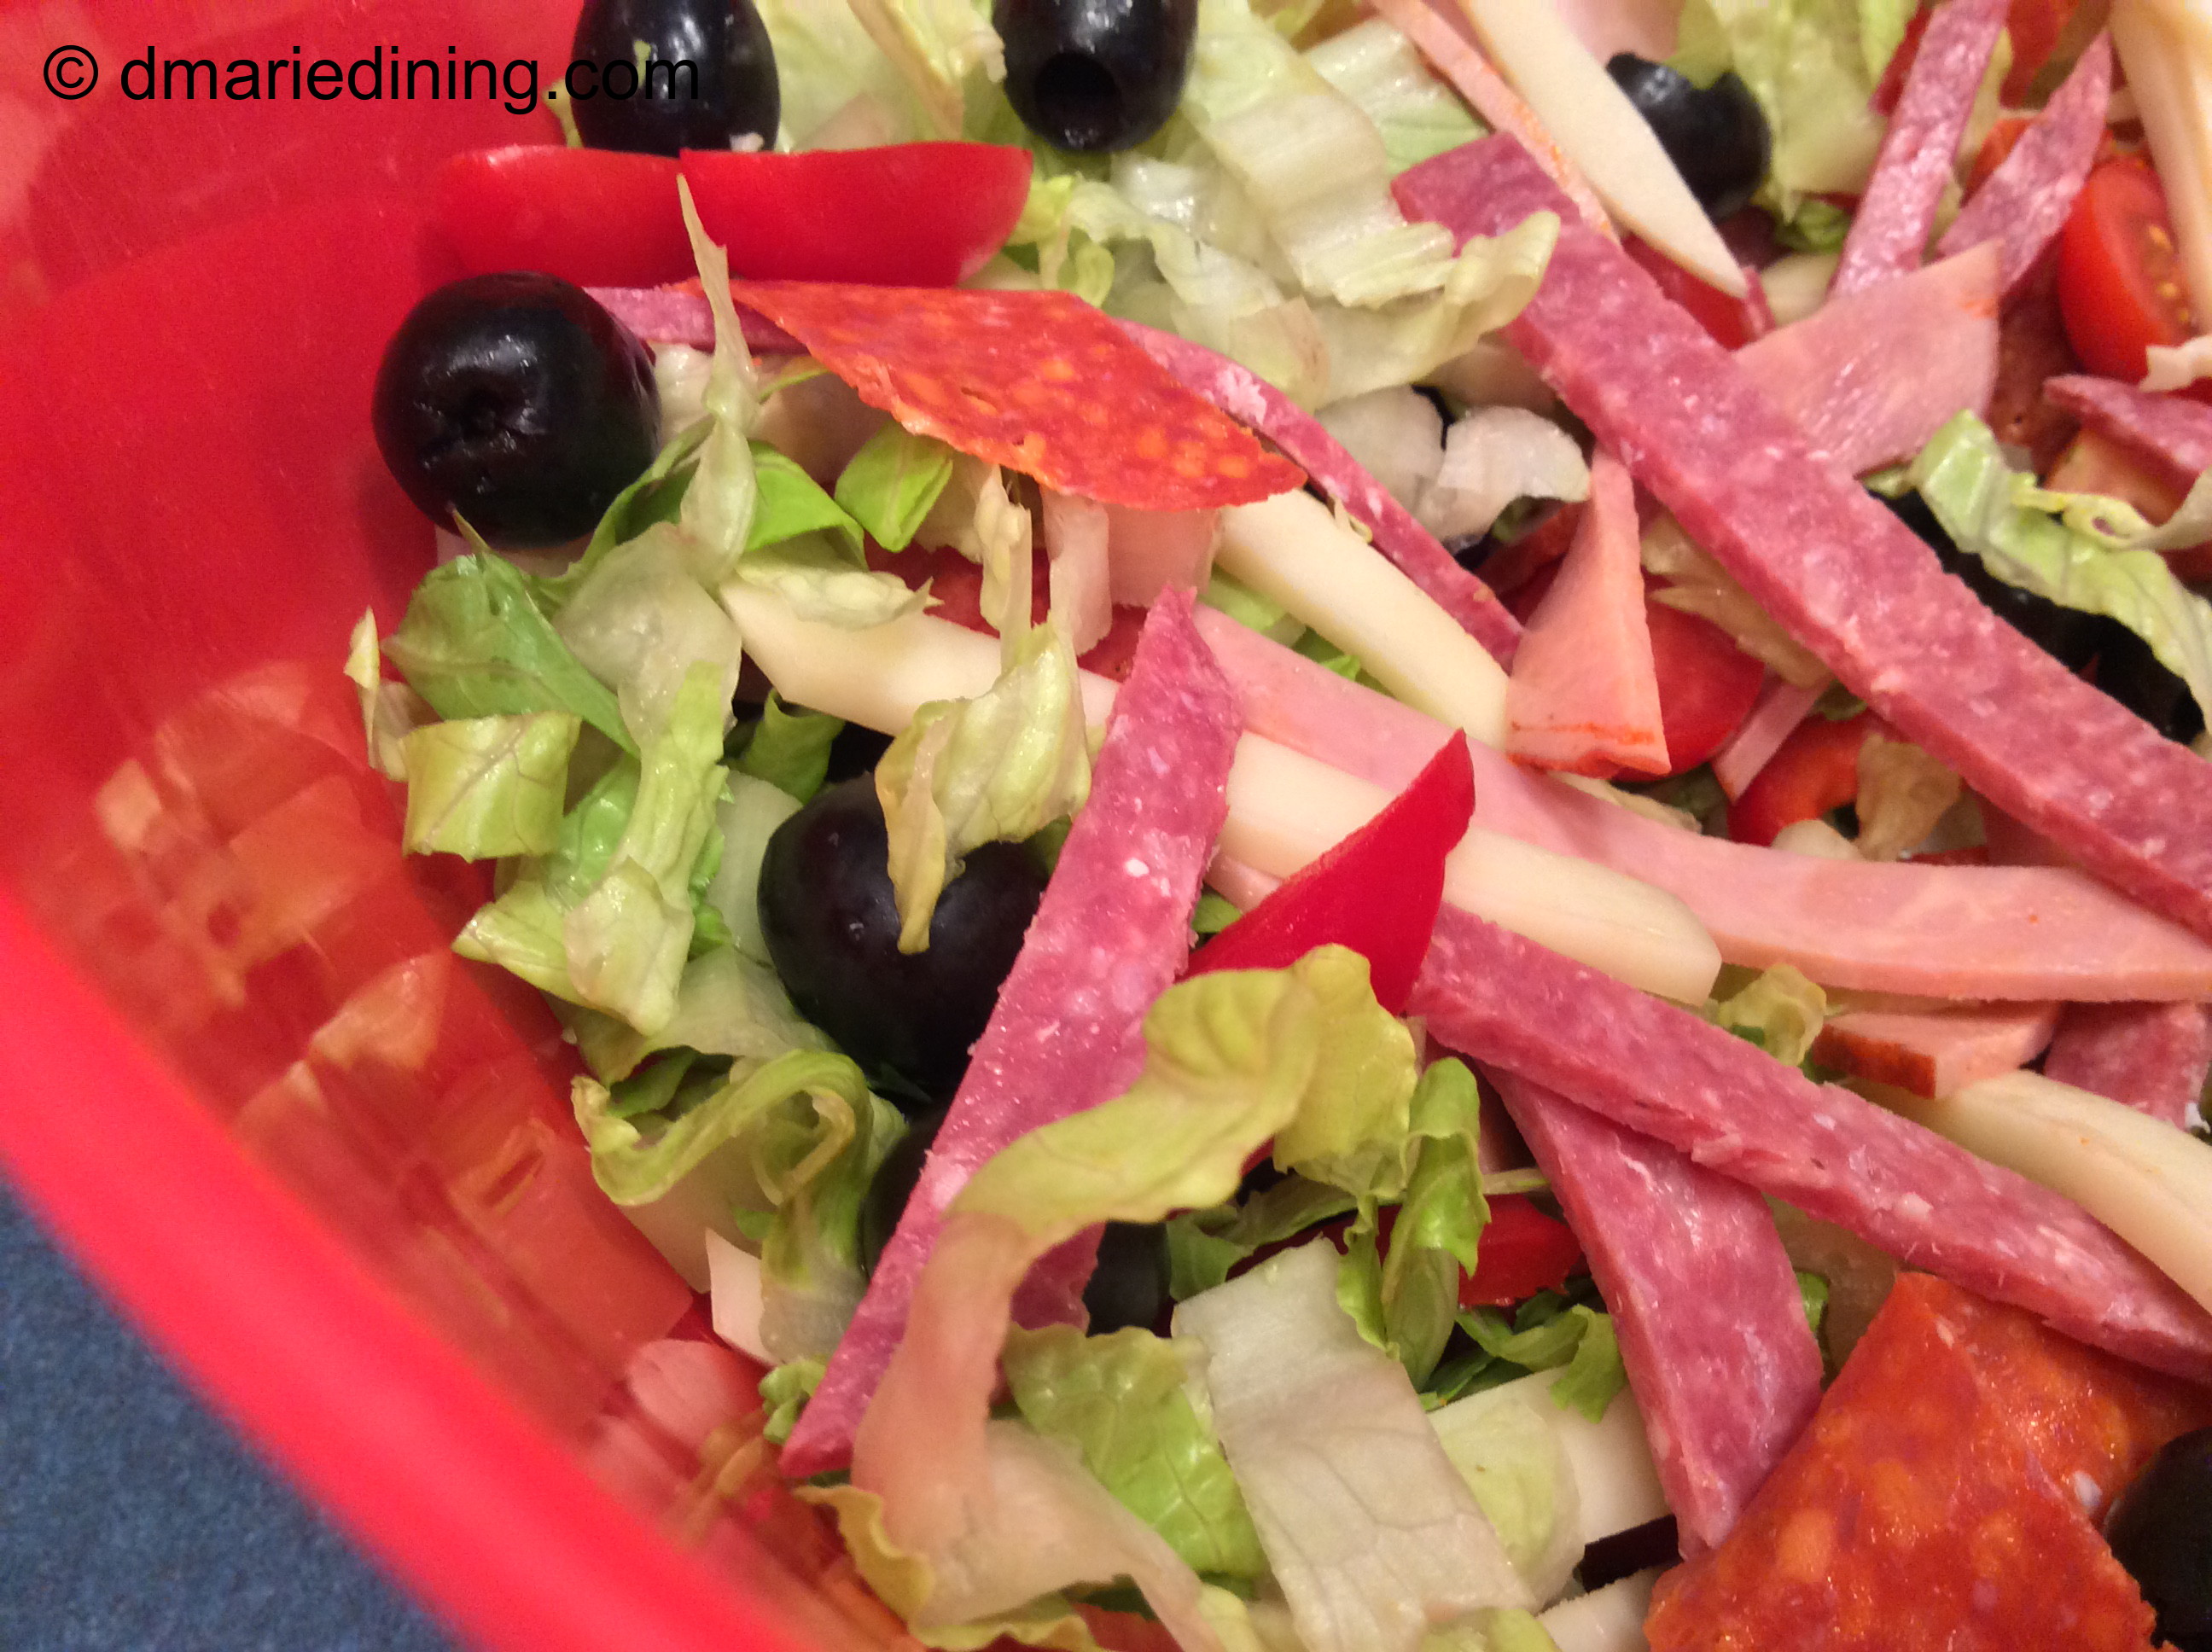
1 bunch romaine lettuce chopped
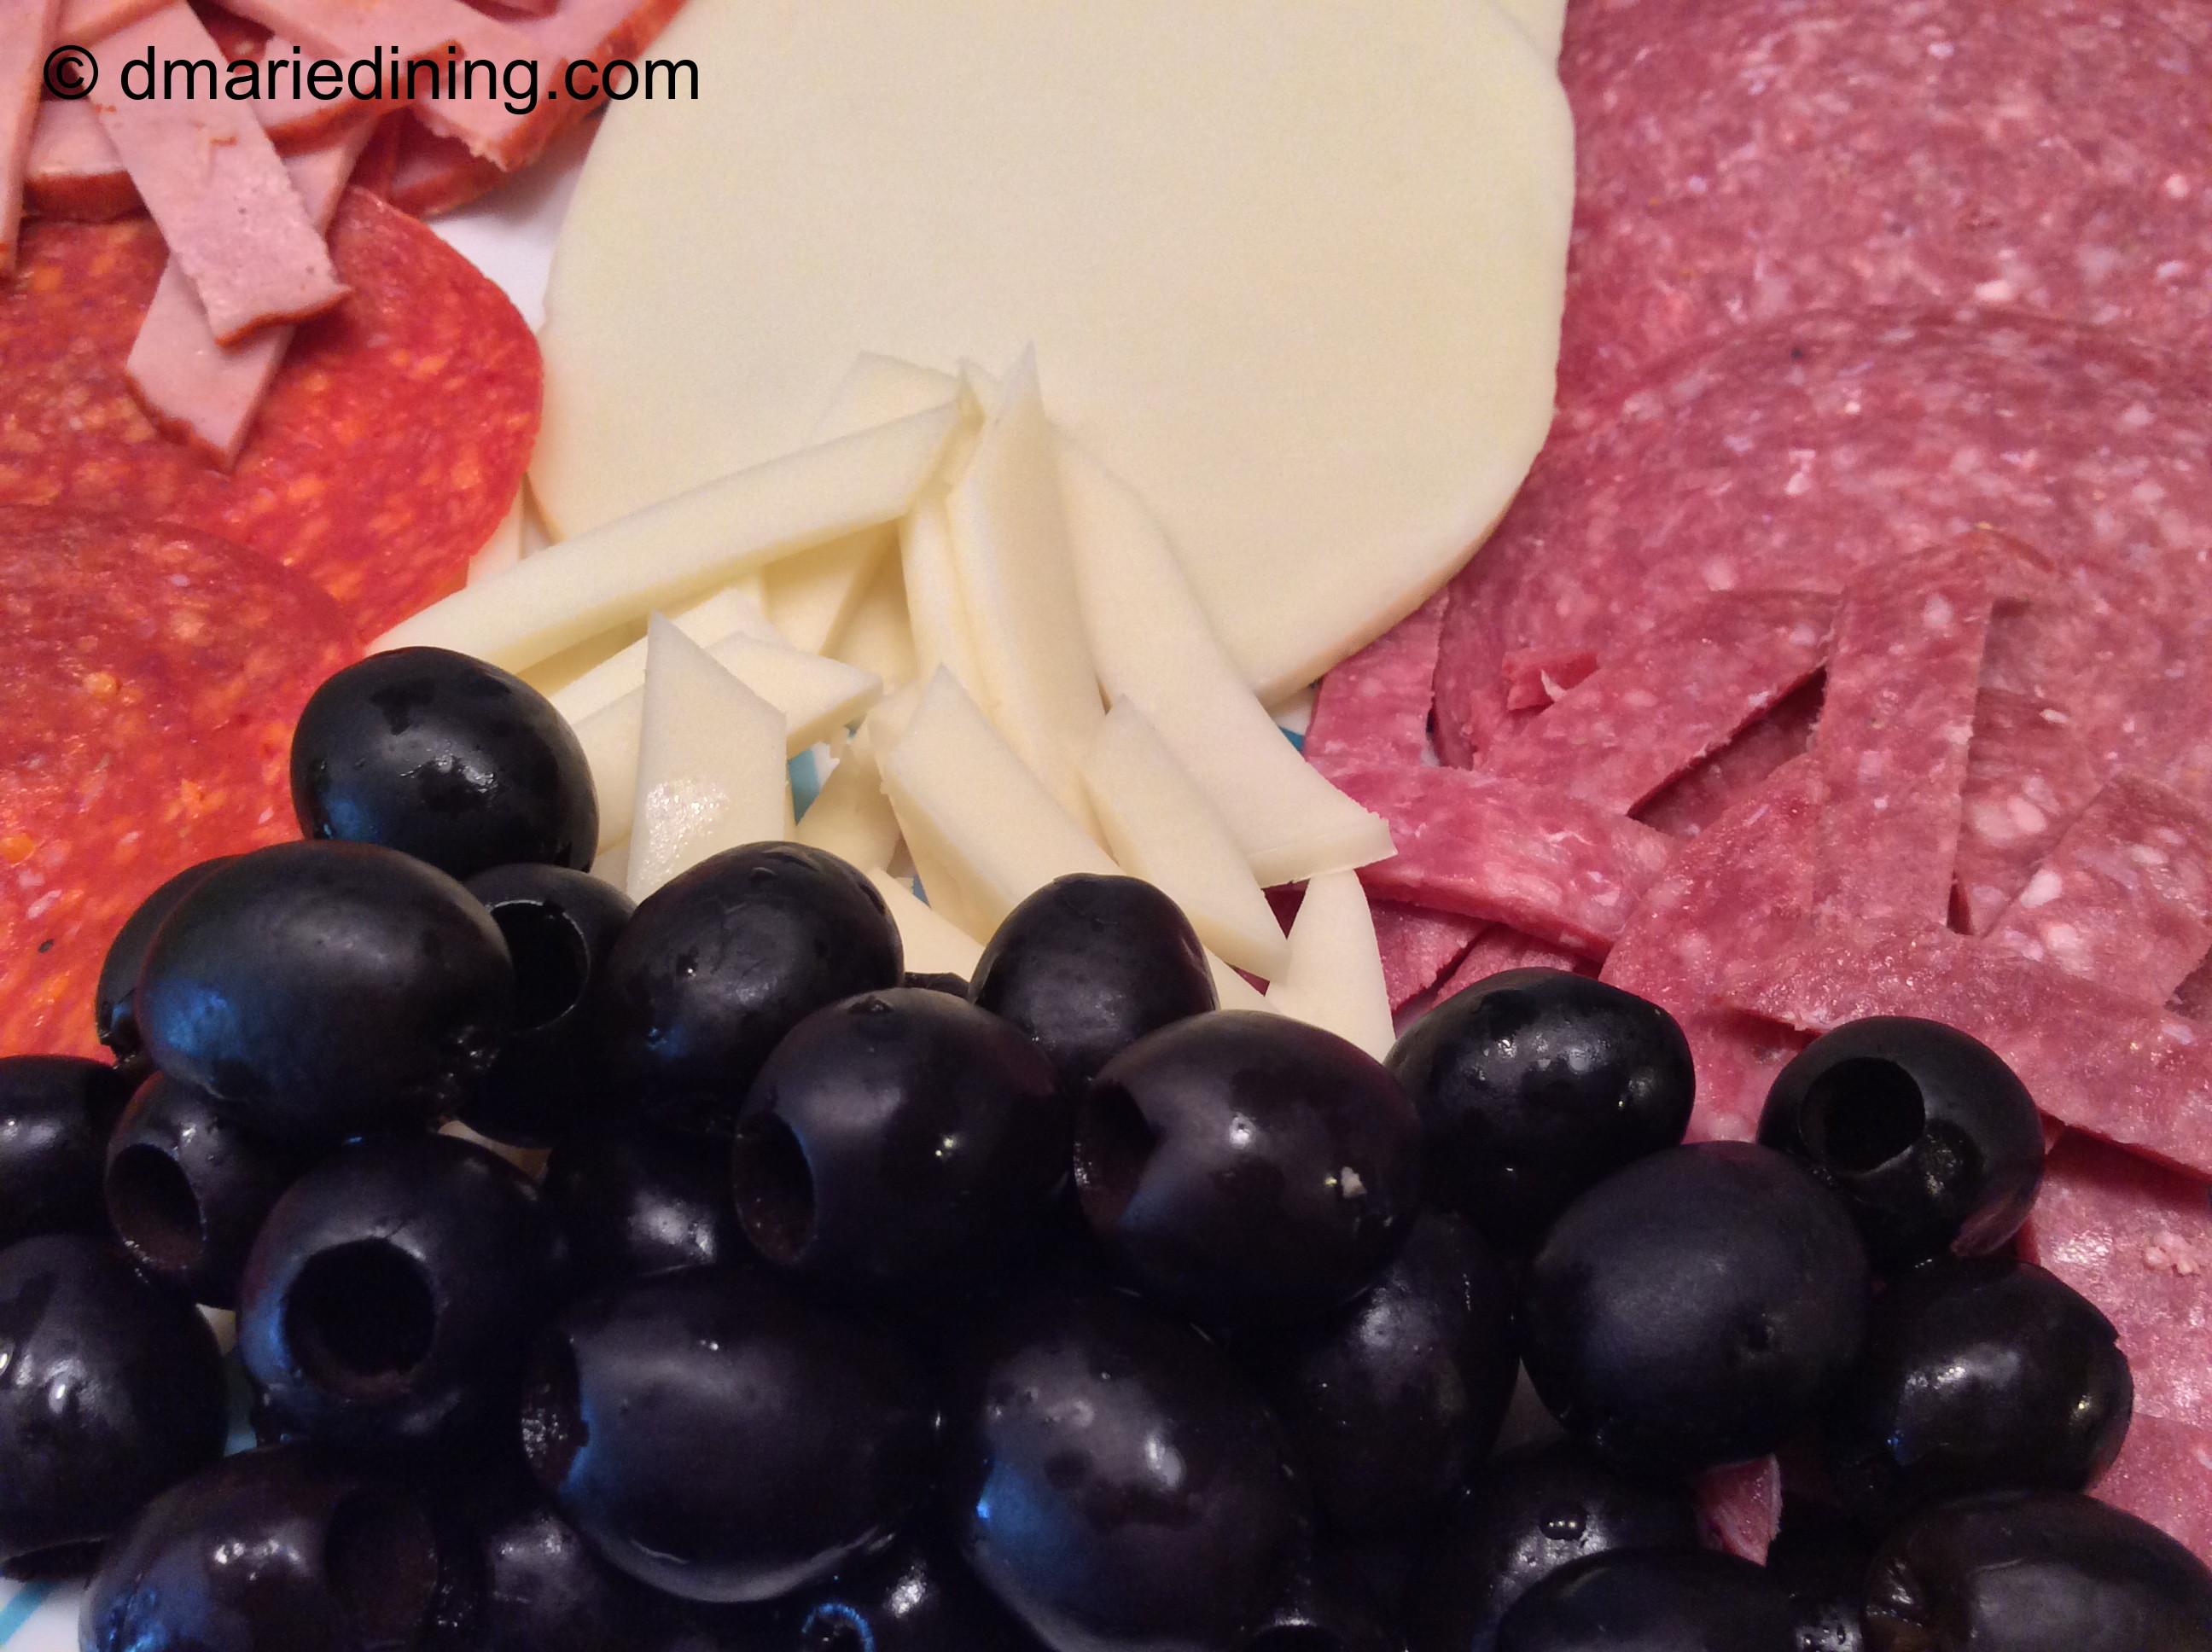
½ cup pepperoni sliced into strips
½ cup capicola sliced into strips
½ cup salami sliced into strips
½ cup cherry tomatoes cut in half
½ cup provolone cheese sliced into strips
¼ cup sweet peppers (optional)
½ tbsp parsley chopped
½ tbsp red onion chopped small (optional)
¼ cup black olives sliced
¼ cup olive oil
Seasonings:
2 tbsp Italian salad dressing
½ tbsp lemon zest
½ tbsp oregano
½ tsp onion powder
½ tbsp dill
½ tsp black pepper
½ tsp red pepper flakes
¼ tsp salt
1 tsp lemon juice
Whisk together oil, lemon juice, lemon zest, salad dressing, salt, black pepper, oregano and dill. Set aside.
Combine romaine, tomatoes, red onion, black olives, sweet peppers, meats and cheeses in a large bowl. Whisk olive oil dressing then drizzle over salad. Toss gently. Enjoy!