Apples are a marvelous fruit that is transformed throughout the year into delicious recipes for snacks, drinks and desserts. Some recipes are seasonal like warm apple crisp in the warmer months or mixed into fruit salads in the cooler months. My simple recipe for Apple, Brie and Prosciutto Appetizer can be made anytime of the year and may be transformed by the type of apple you decide to use.
In the fall , the best kinds of apples are honey crisp, Swiss gourmet and granny smith. When my youngest son was a little guy we would gather some friends to go apple picking before the weather turned too cold. There was a local farm not far from out neighborhood that allowed you to pick seasonal fruits by the pound. The kids loved it because they could ride a wagon down to the apple orchard then fill their bags to the brim. Granted, it was a little more expense than store bought apples but to see the kids running around having fun was well worth it. Plus, there was a petting zoo, face painting and pony rides that the kids all loved.

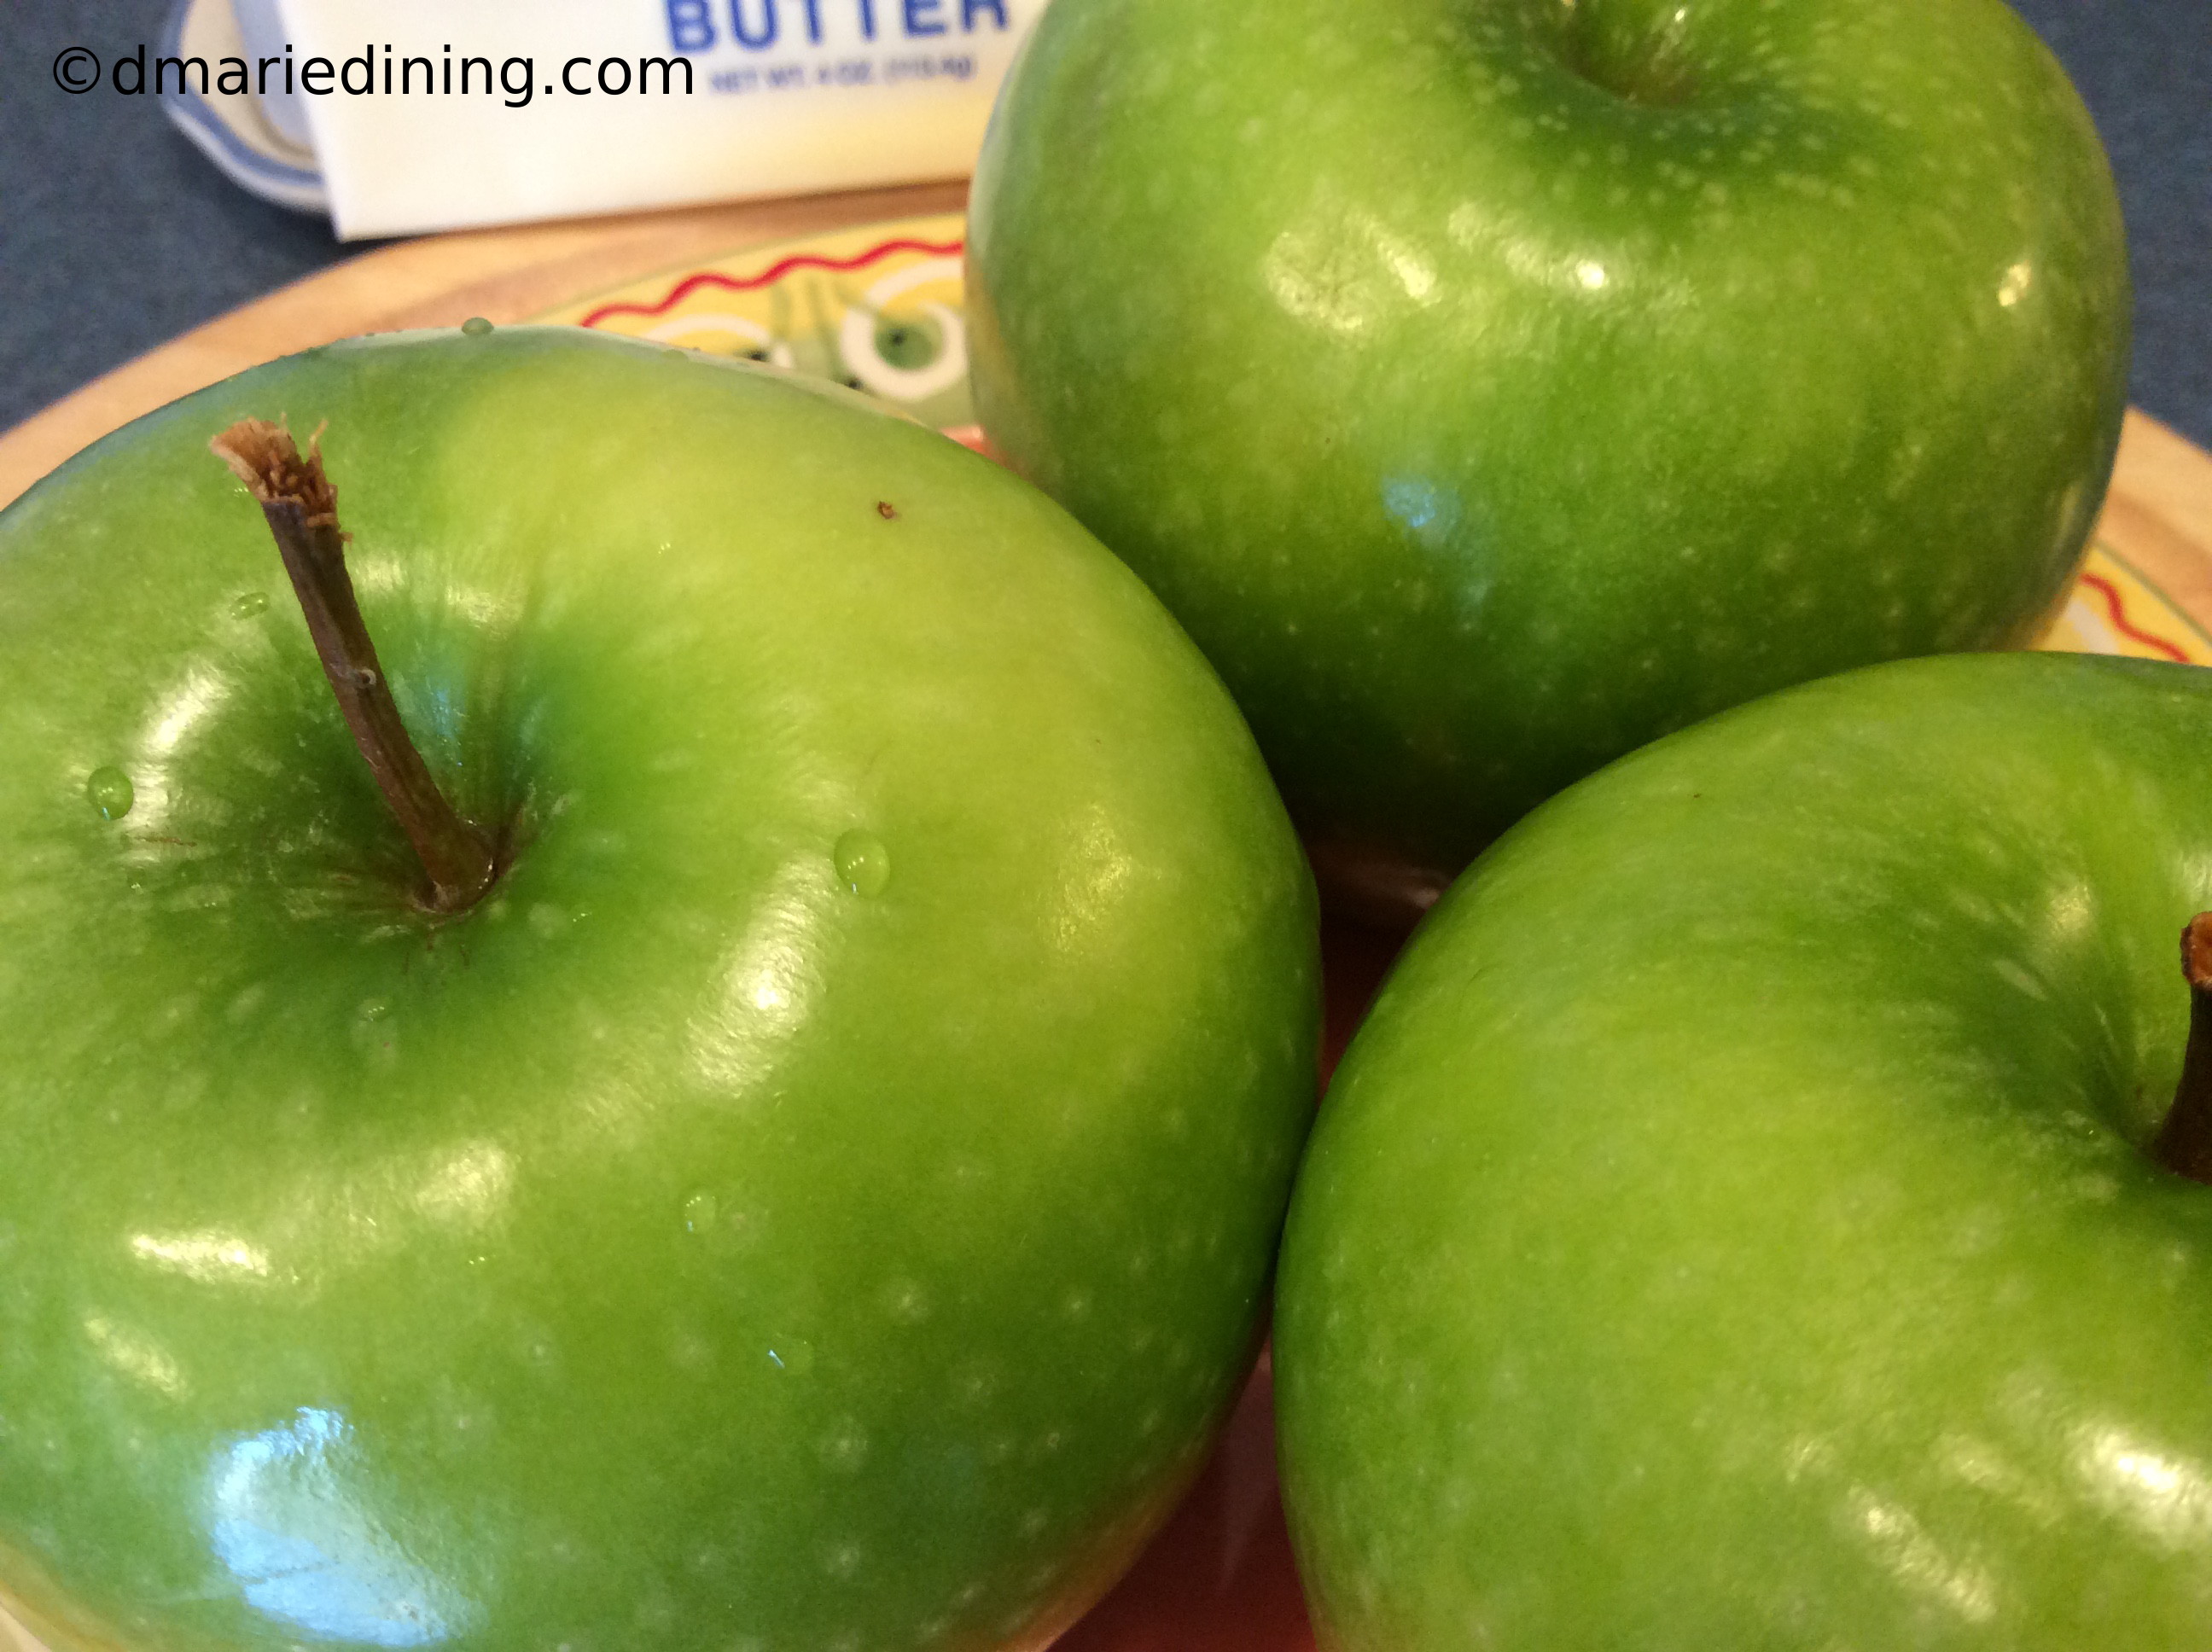
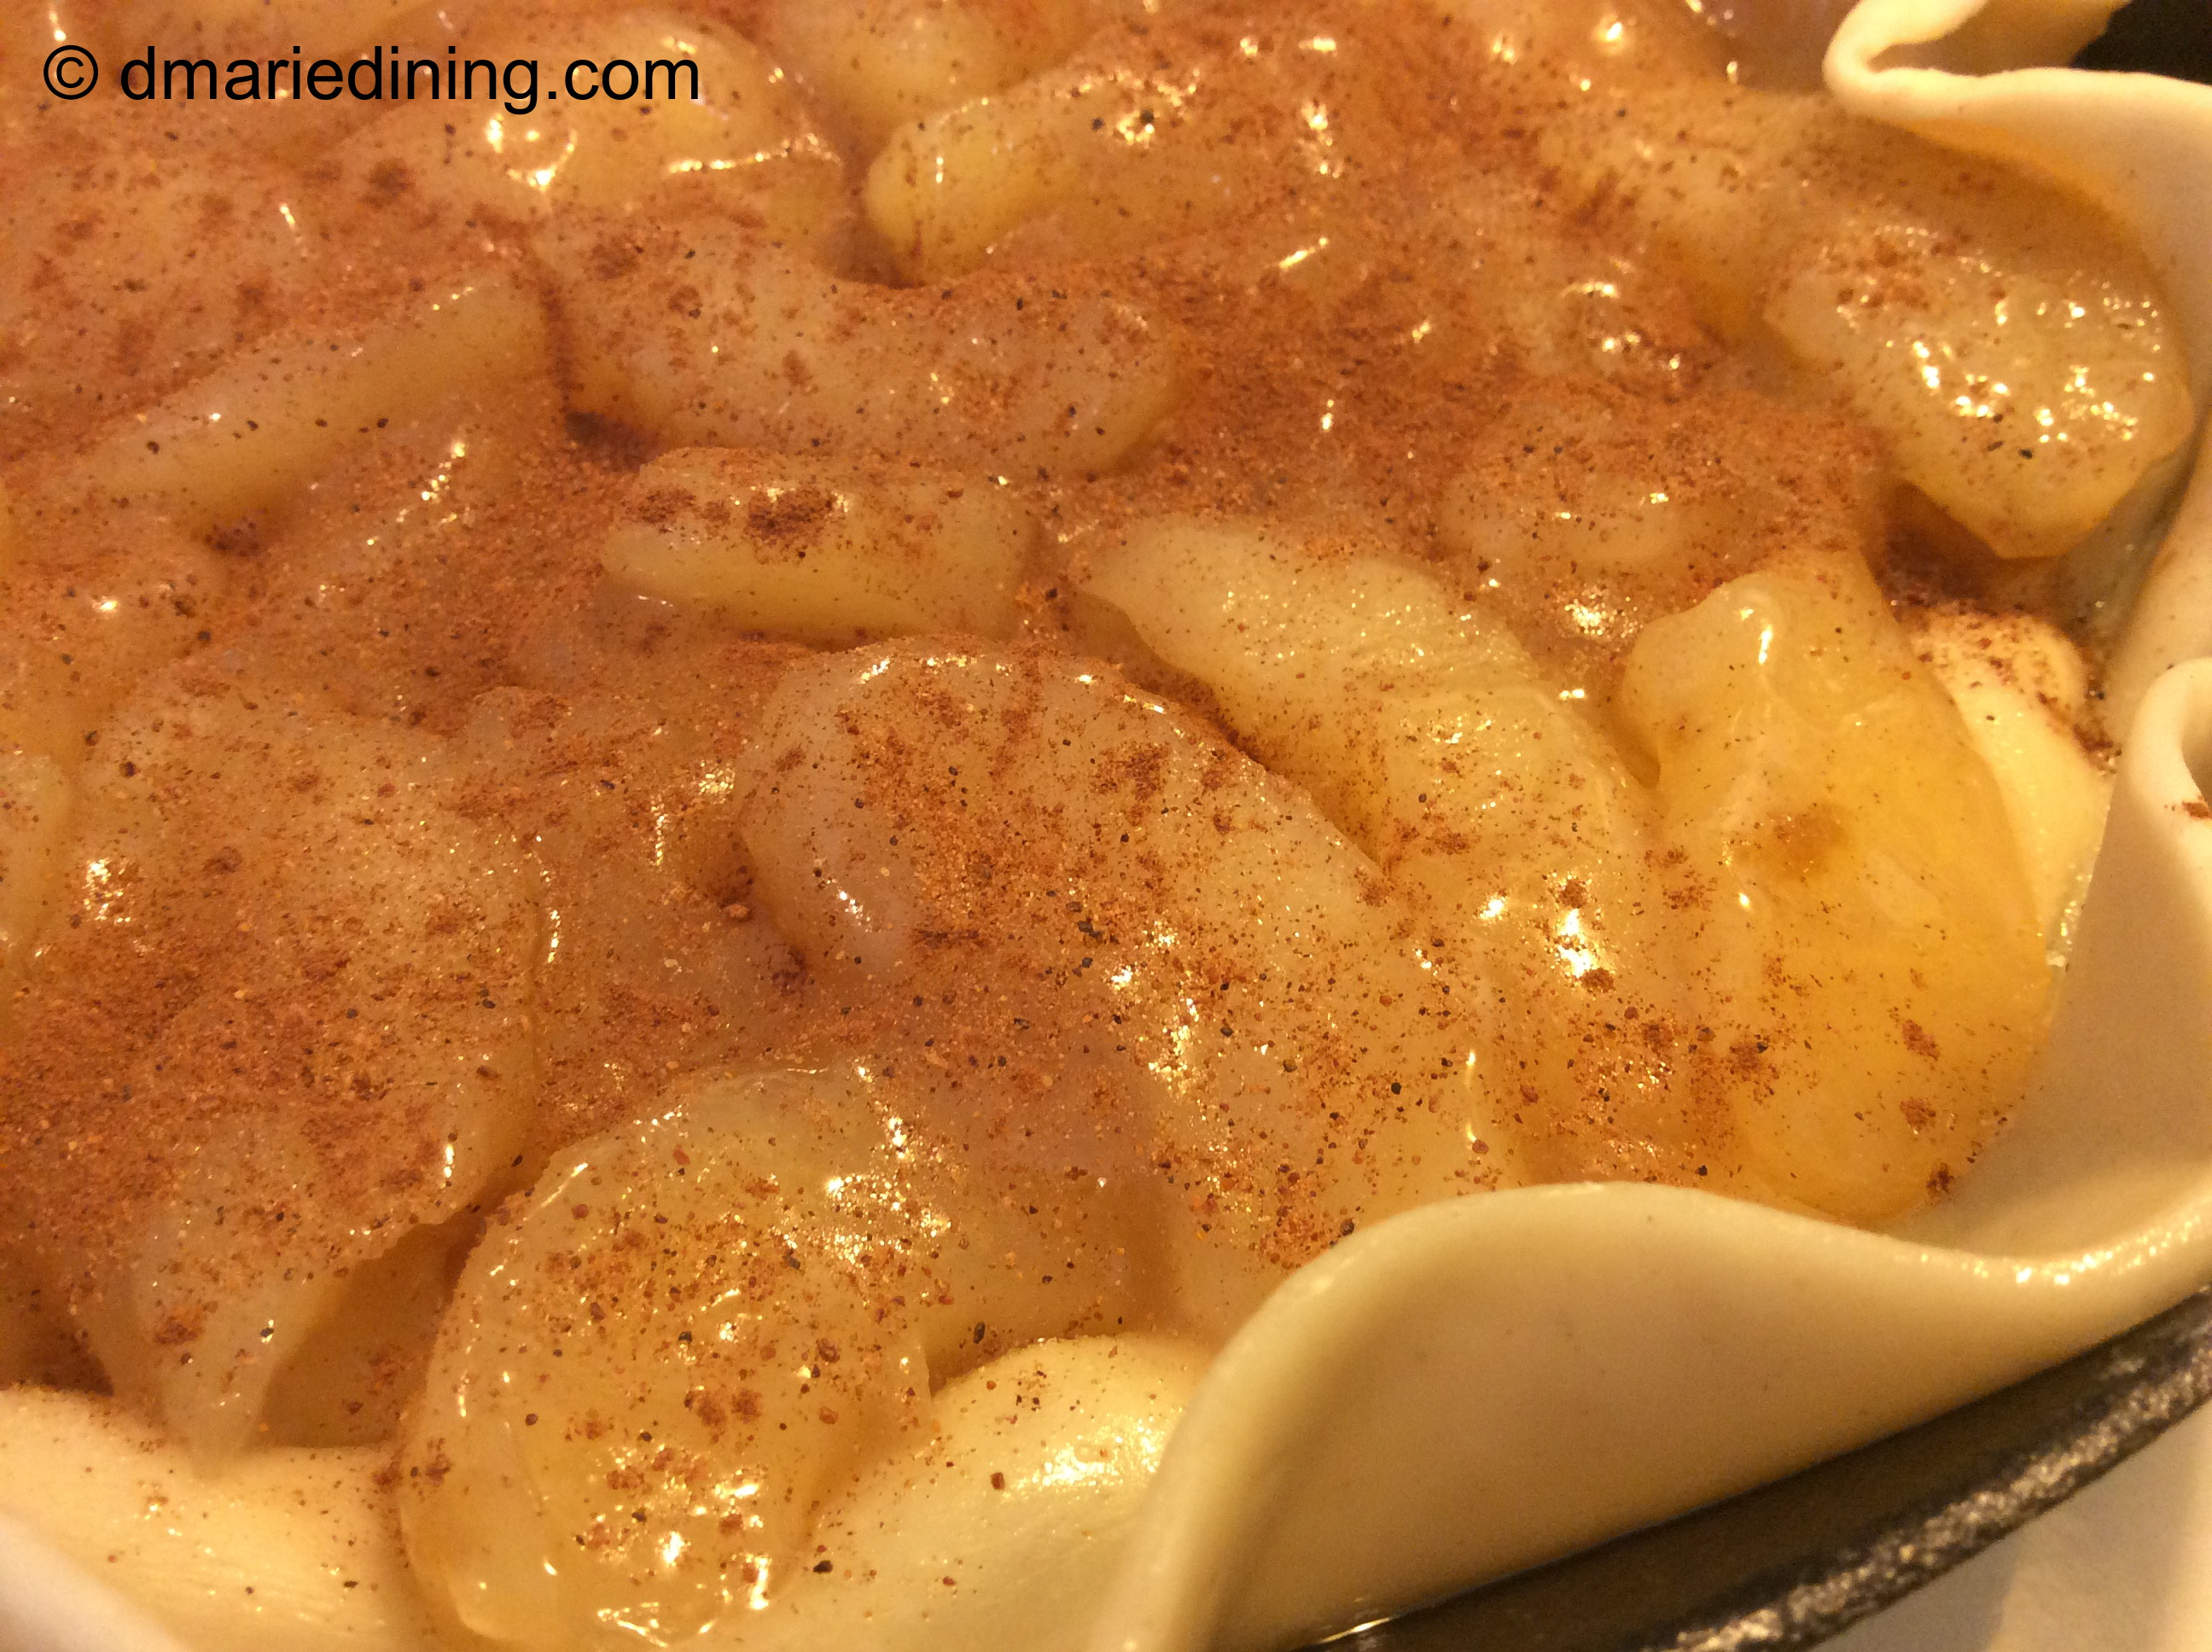
My apple of choice for this recipe was a granny smith apple. We did not have time to pick any so I had to settle for apples from the grocer. Still, the apples were juicy and delicious. Anyway, I used granny smith apples because I wanted a contrast of flavors between the Apples, Brie and Prosciutto.
Hubby thought the Apple, Brie and Prosciutto Appetizer was sweet and rich but not too rich. Sour, salty and sweet is how I would describe the flavors. Sour, because of the granny smith apples. Salty, because of the slightly salty prosciutto and sweet because of the nice creamy brie. Adding a few crackers to the mix made my hubby and I agree this was an appetizer our family, friends and my blog followers would enjoy. This recipe will definitely be on my menu for the holidays. To make it look festive during the holidays I think I will use both red and green apples. Maybe I should make an apricot fruit dip to go along with the apples. Hmmm….. stay tuned for that one.

Apple, Brie and Prosciutto Appetizer
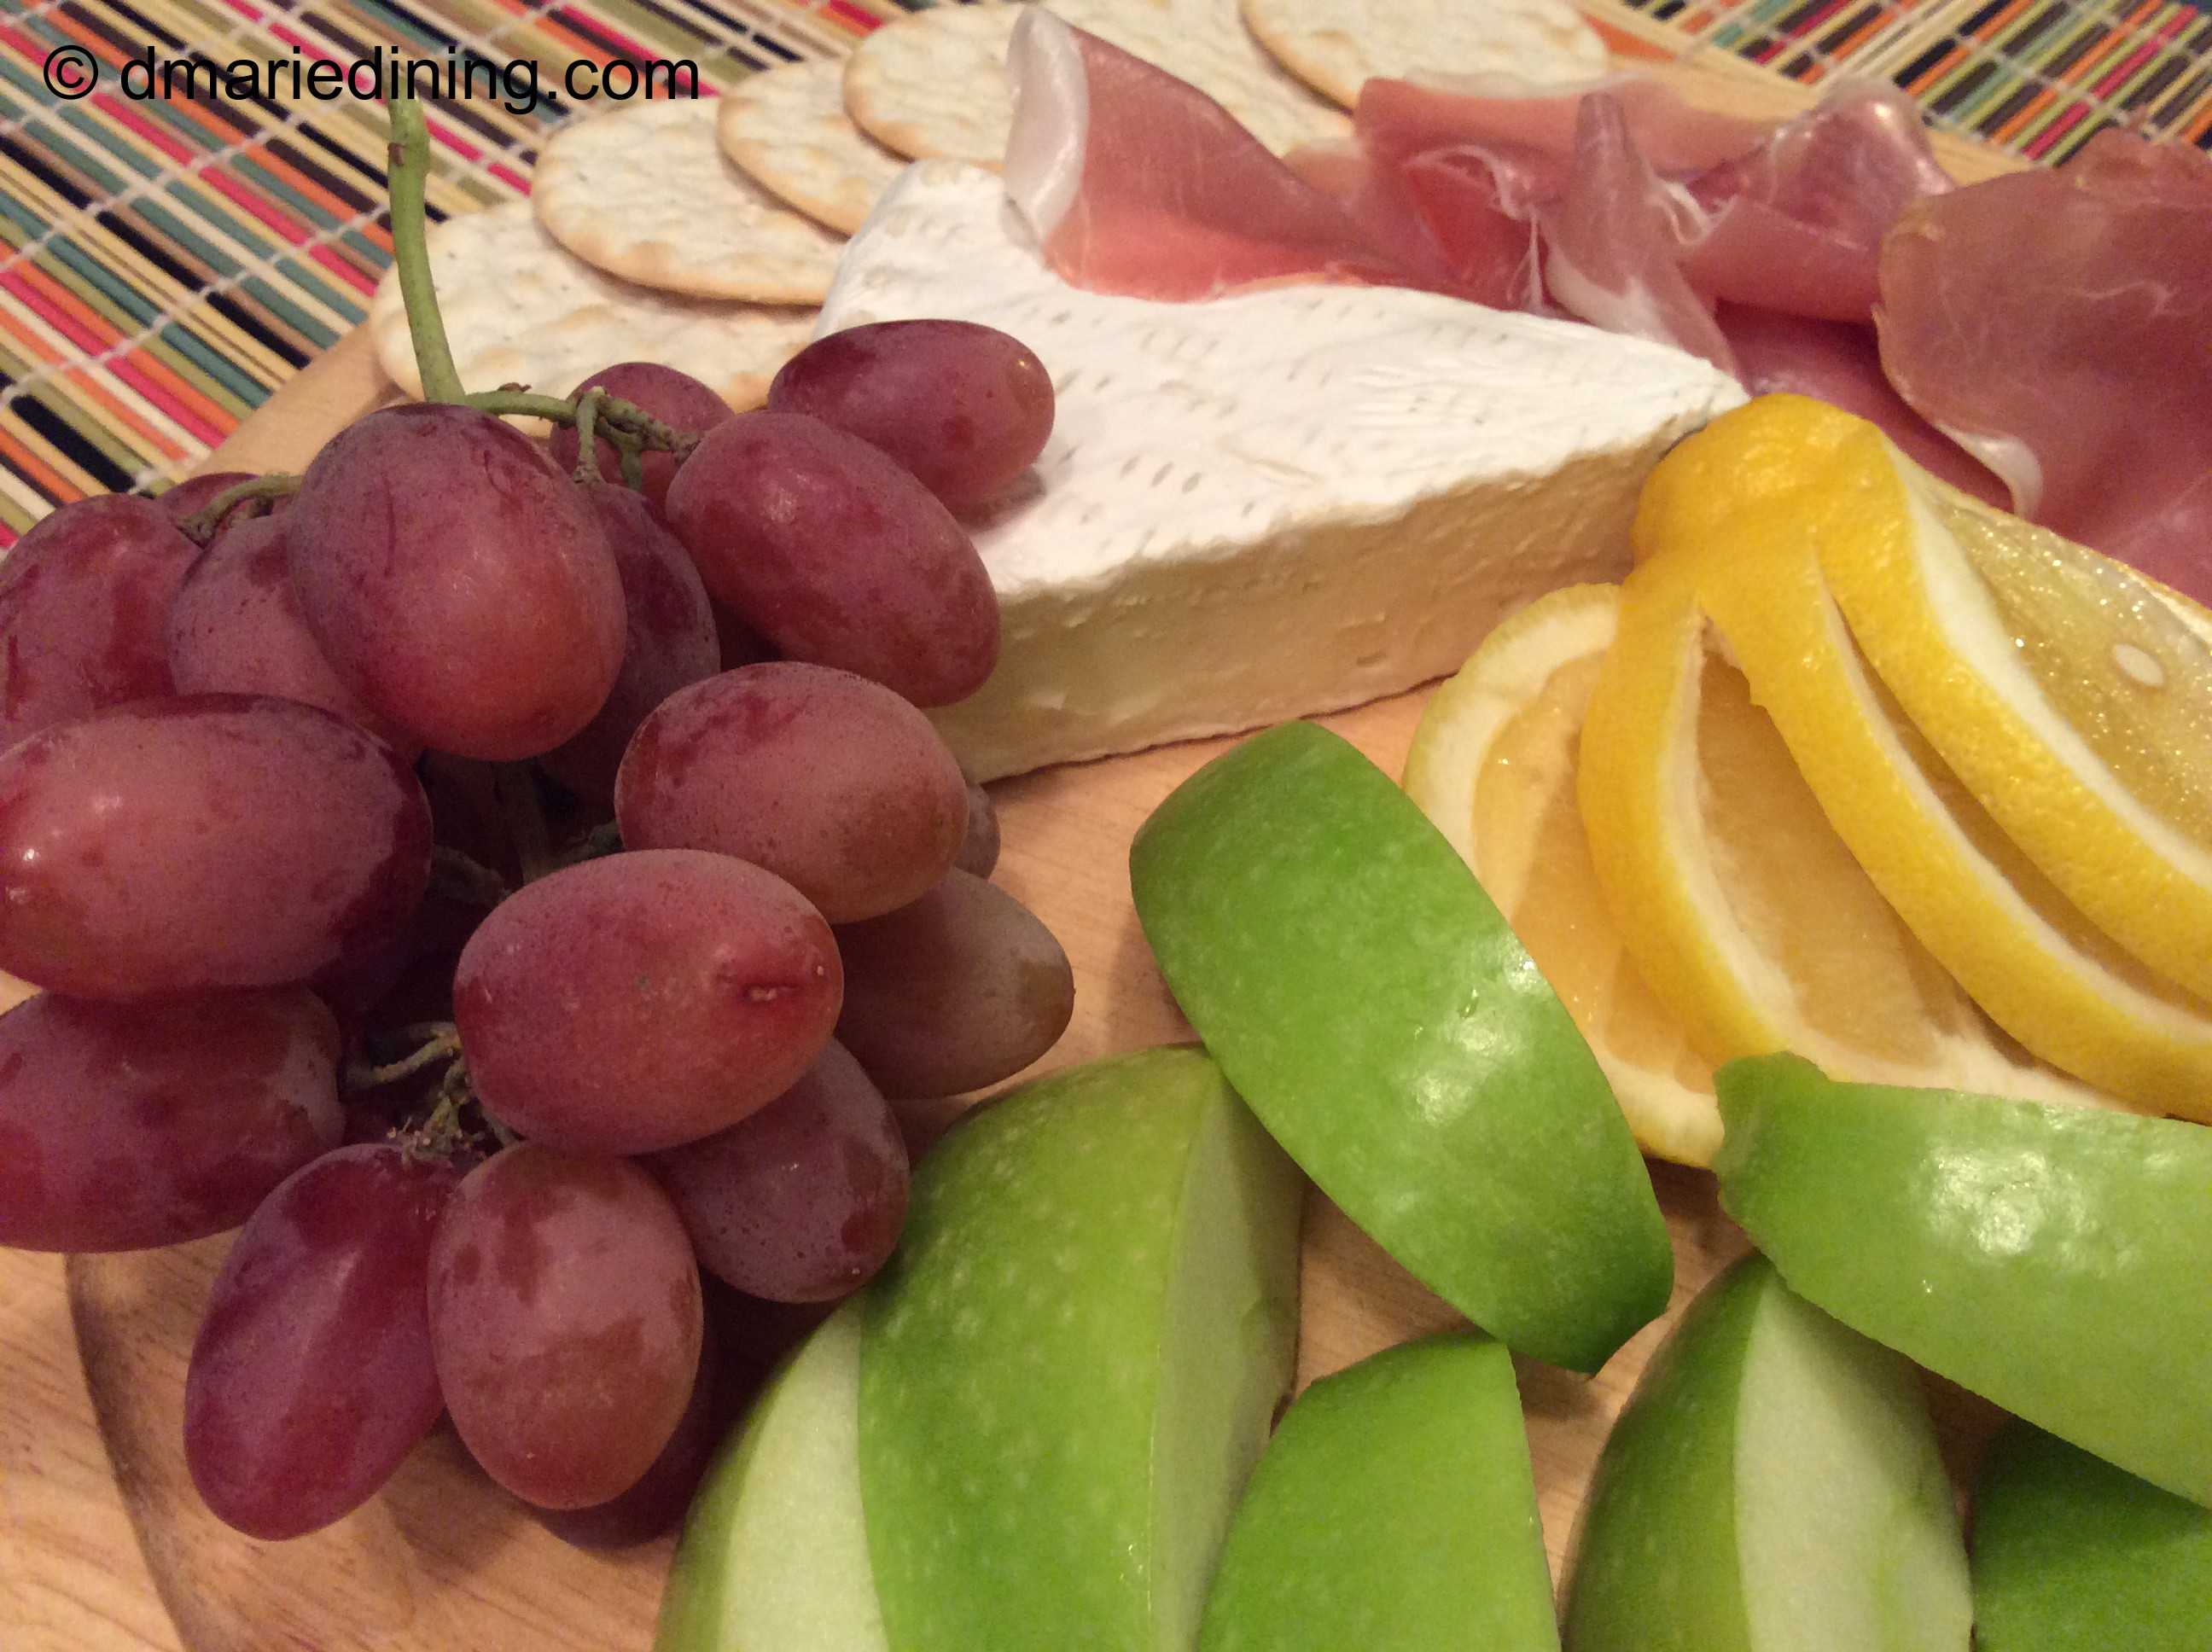
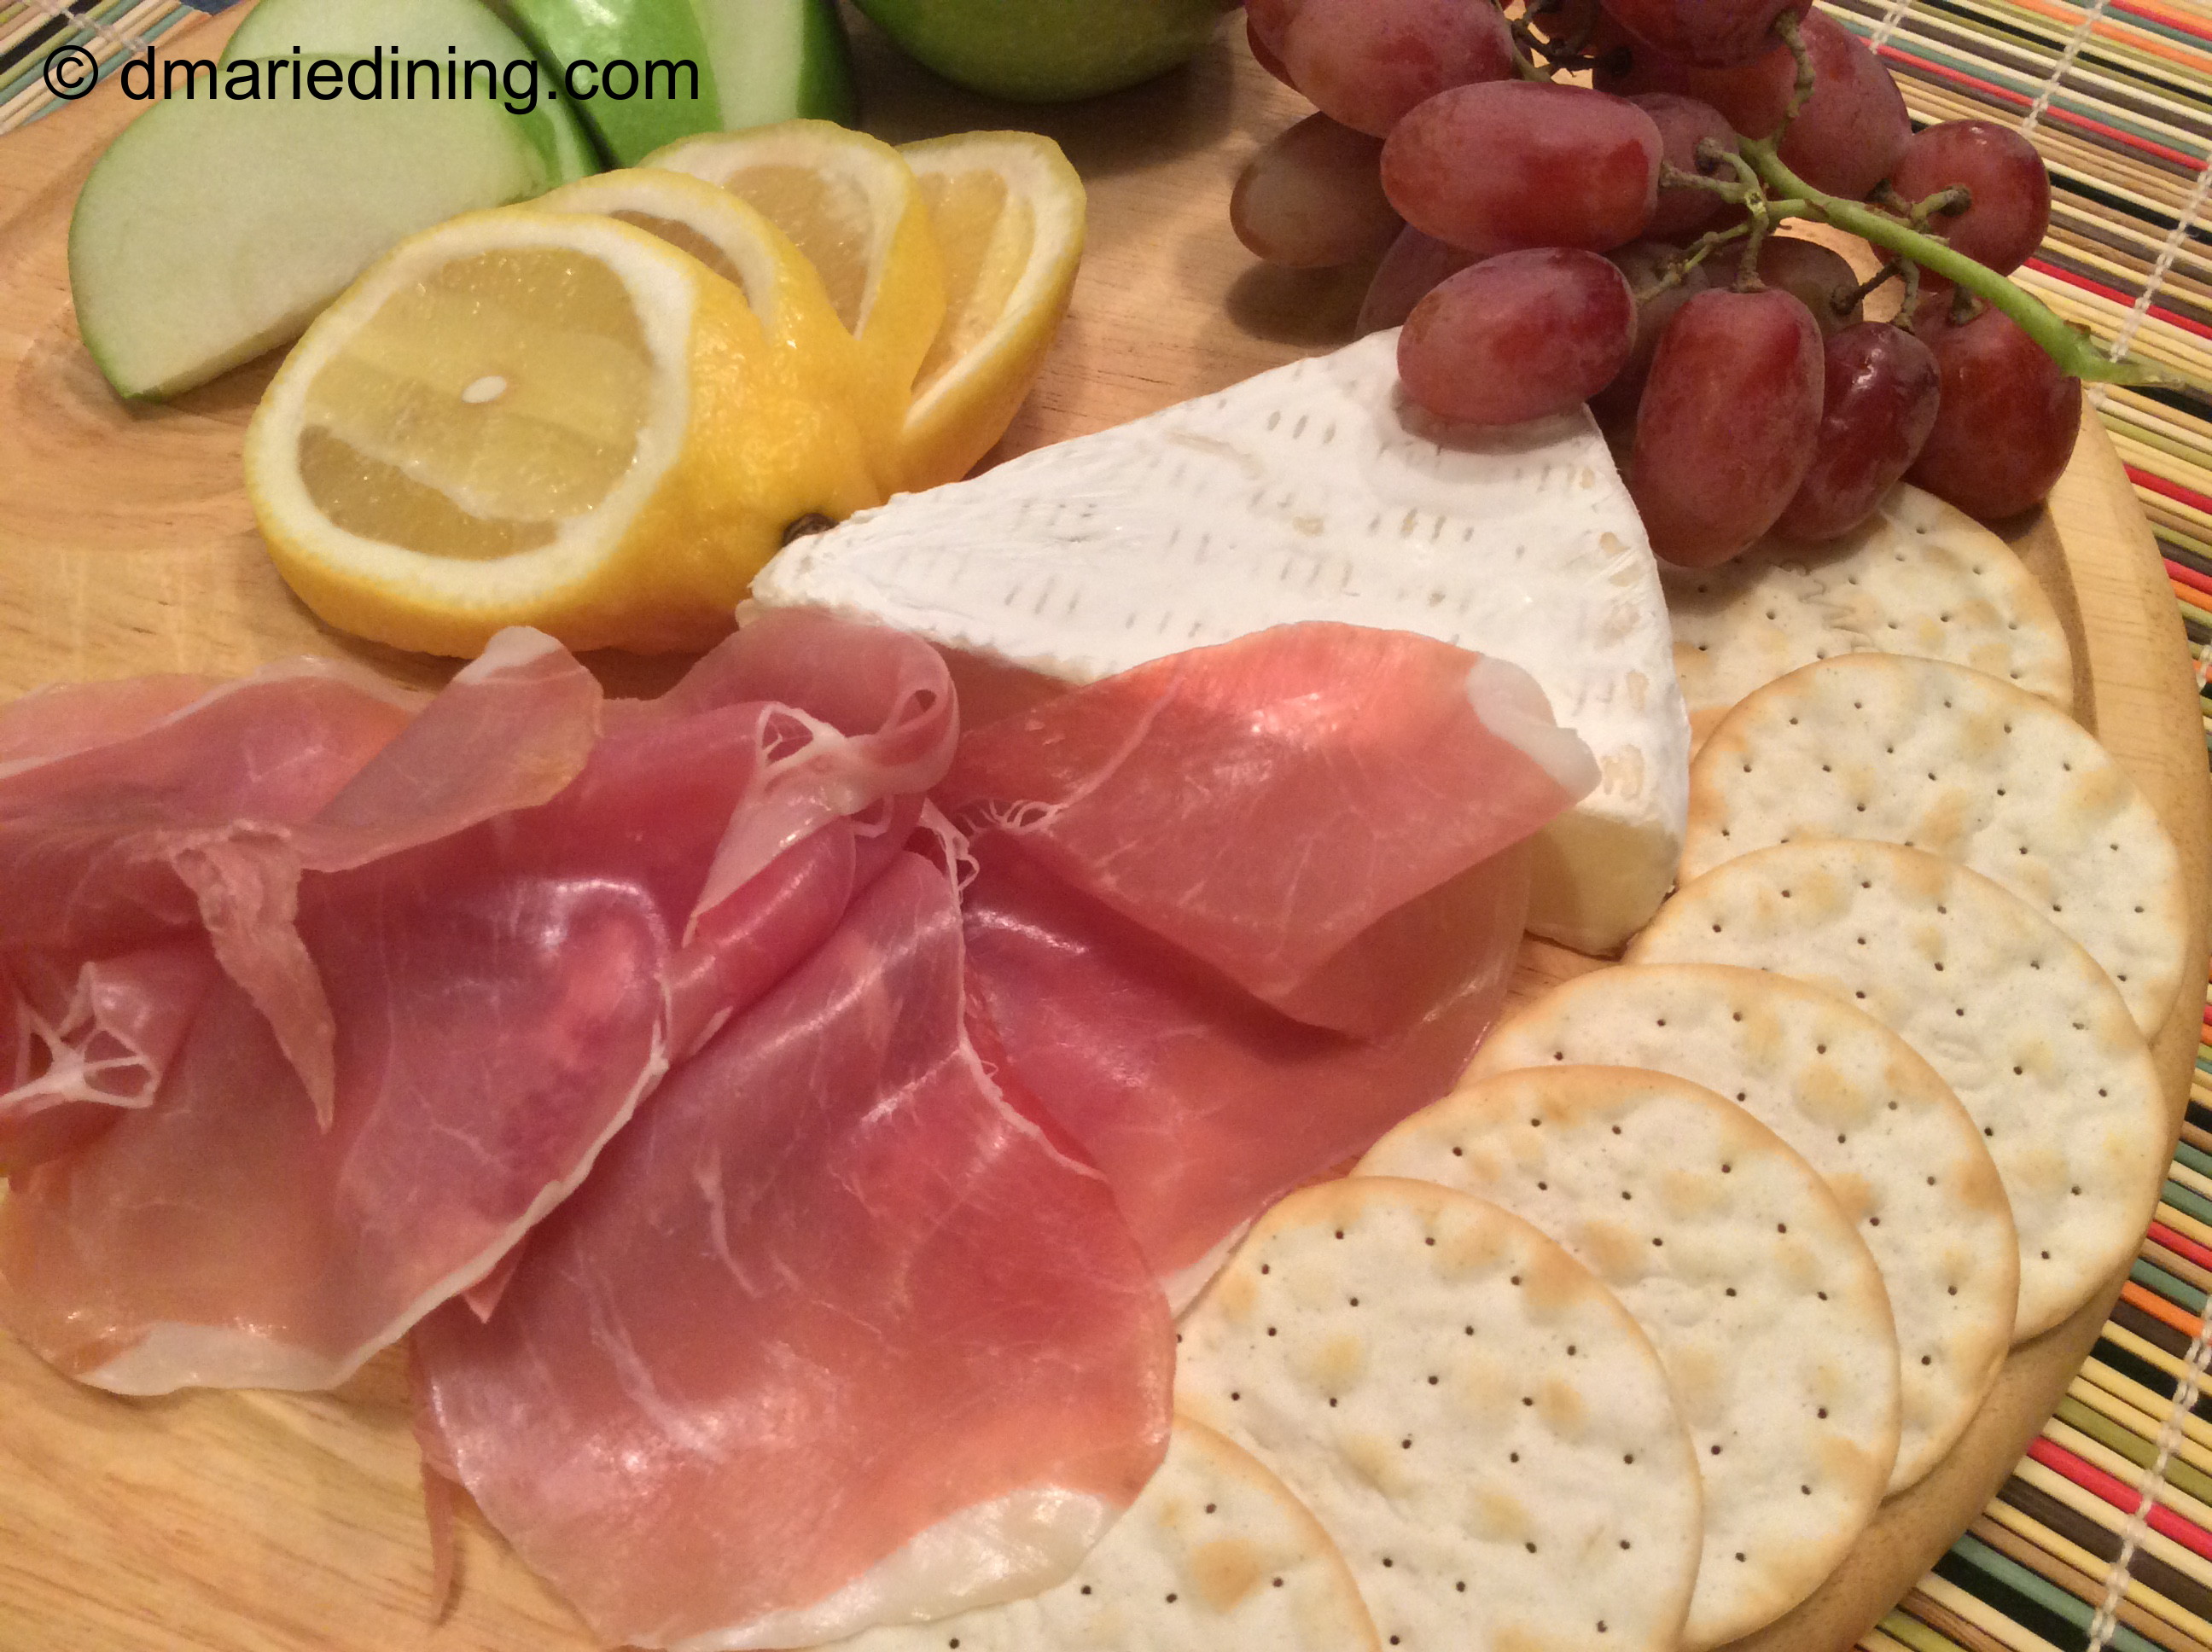
Ingredients:
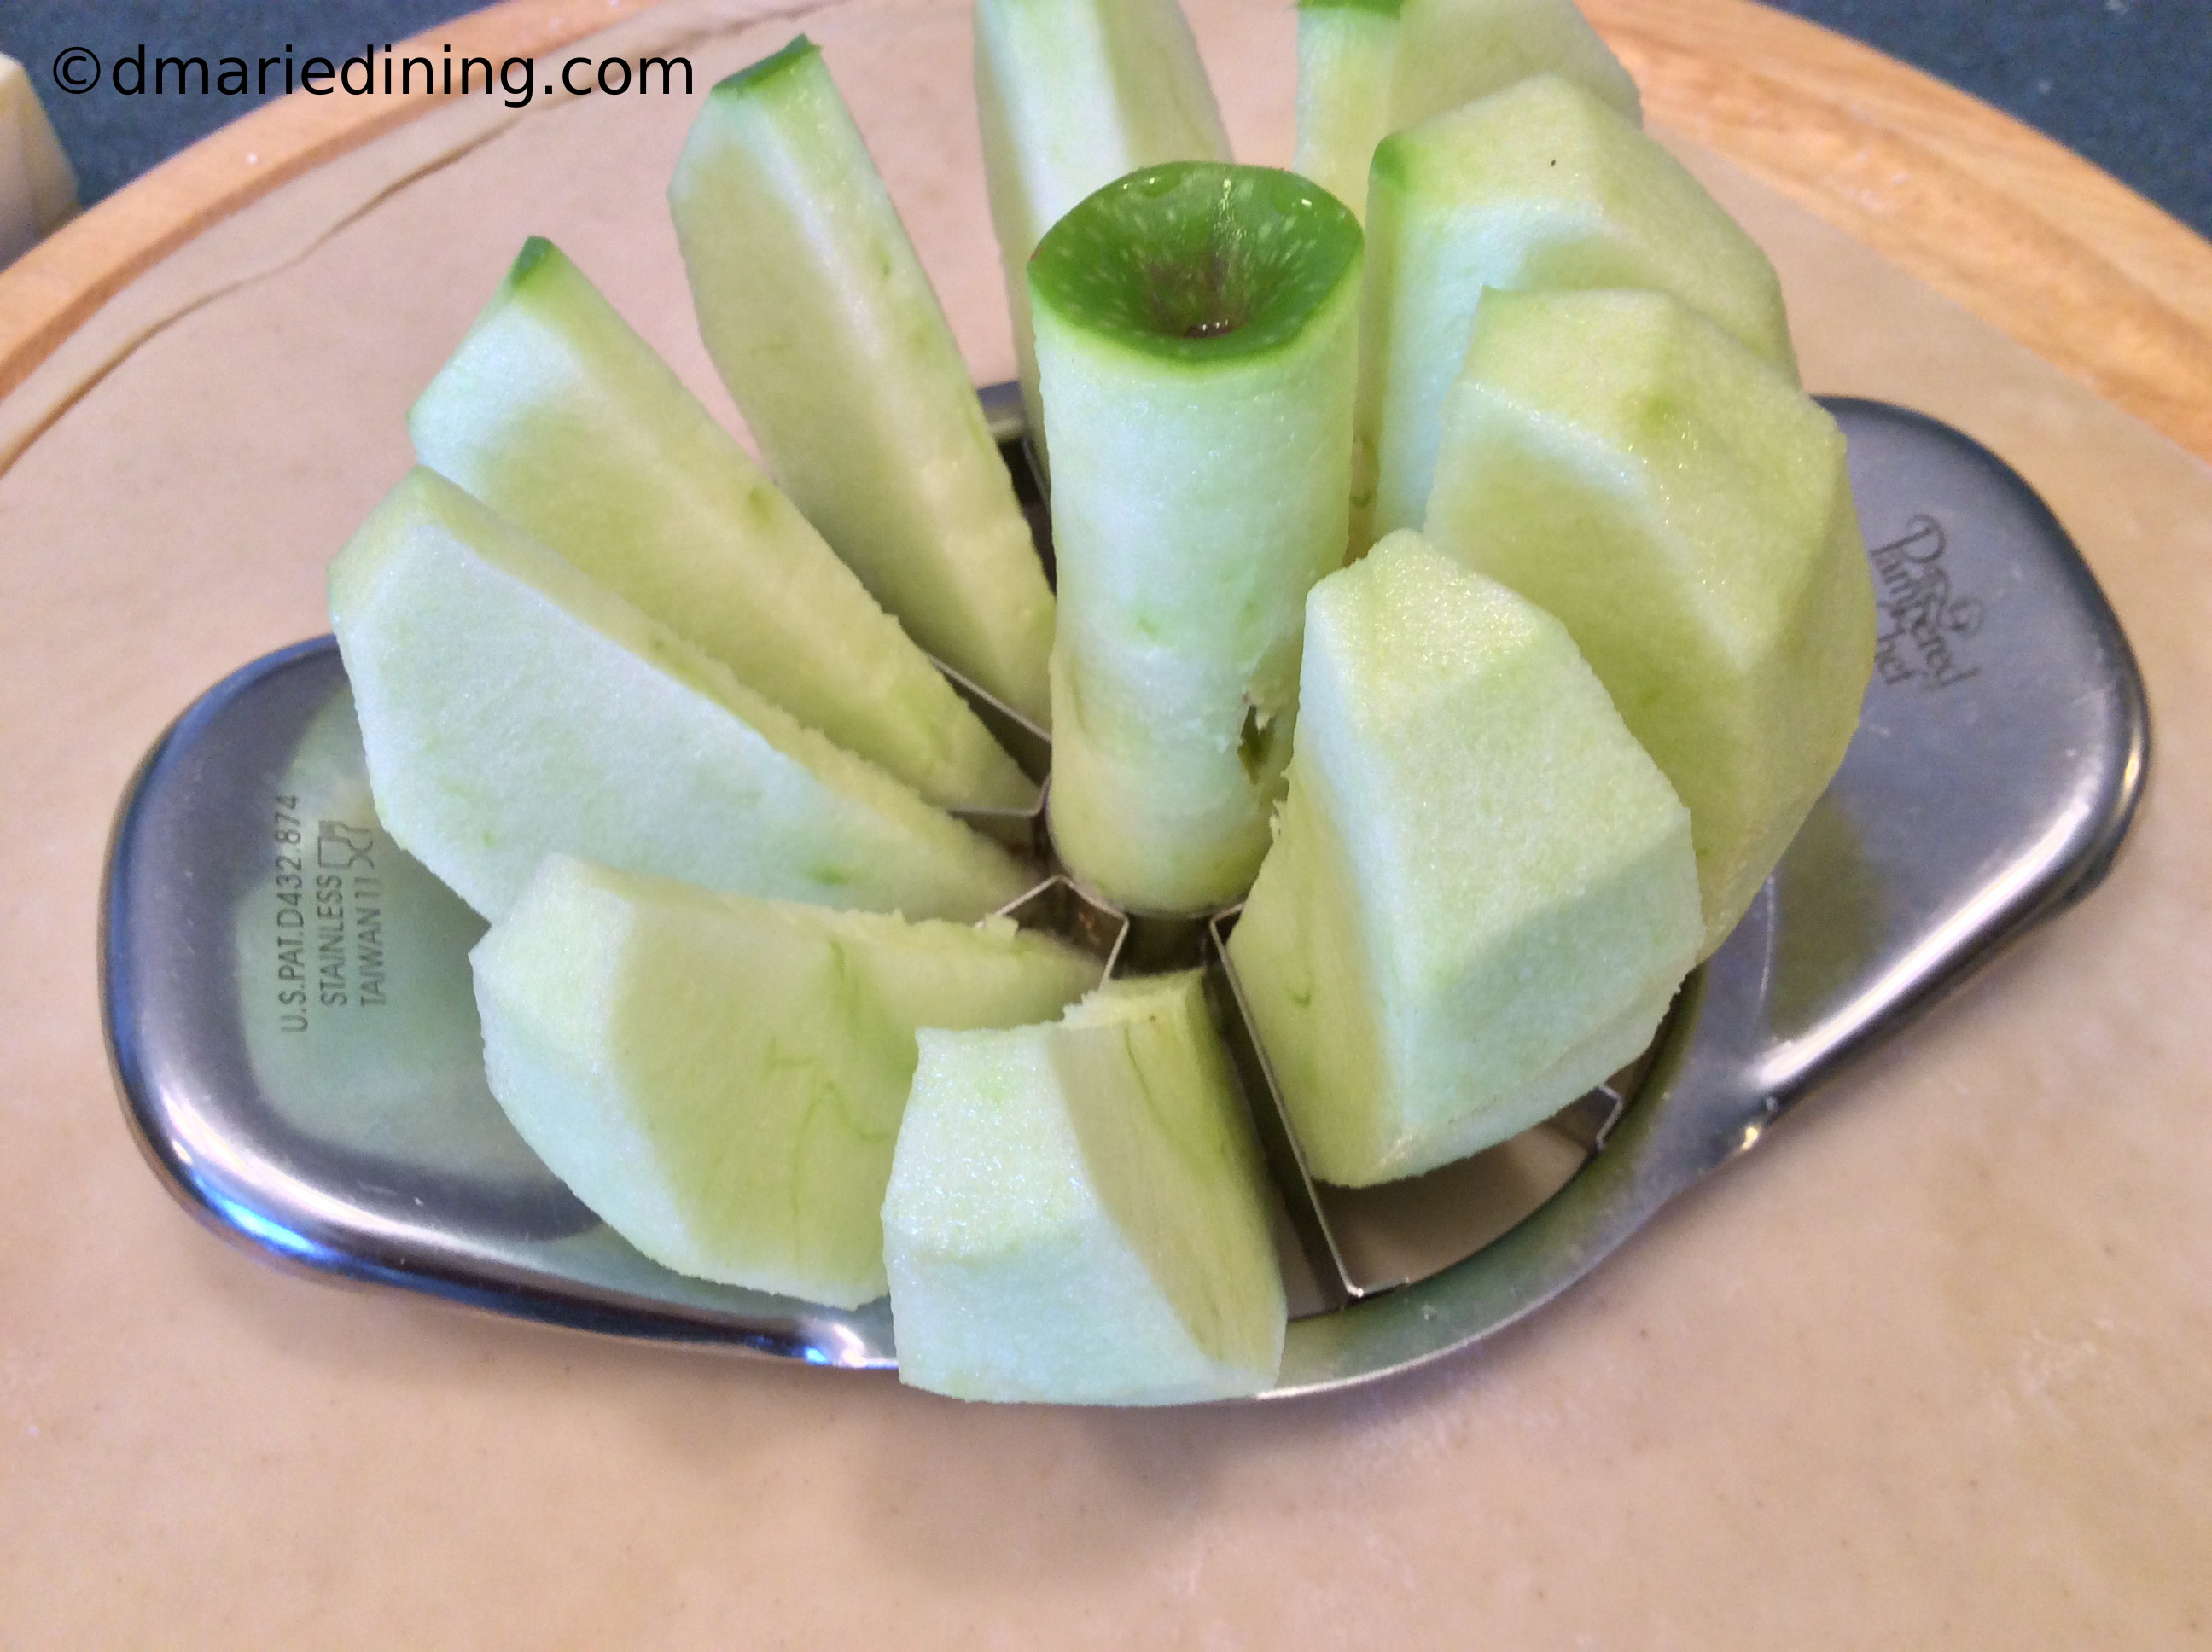
1 – 2 granny smith apples sliced into wedges
1 – 2 pkgs prosciutto sliced in half lengthwise
8 oz brie sliced cut into bite sized pieces
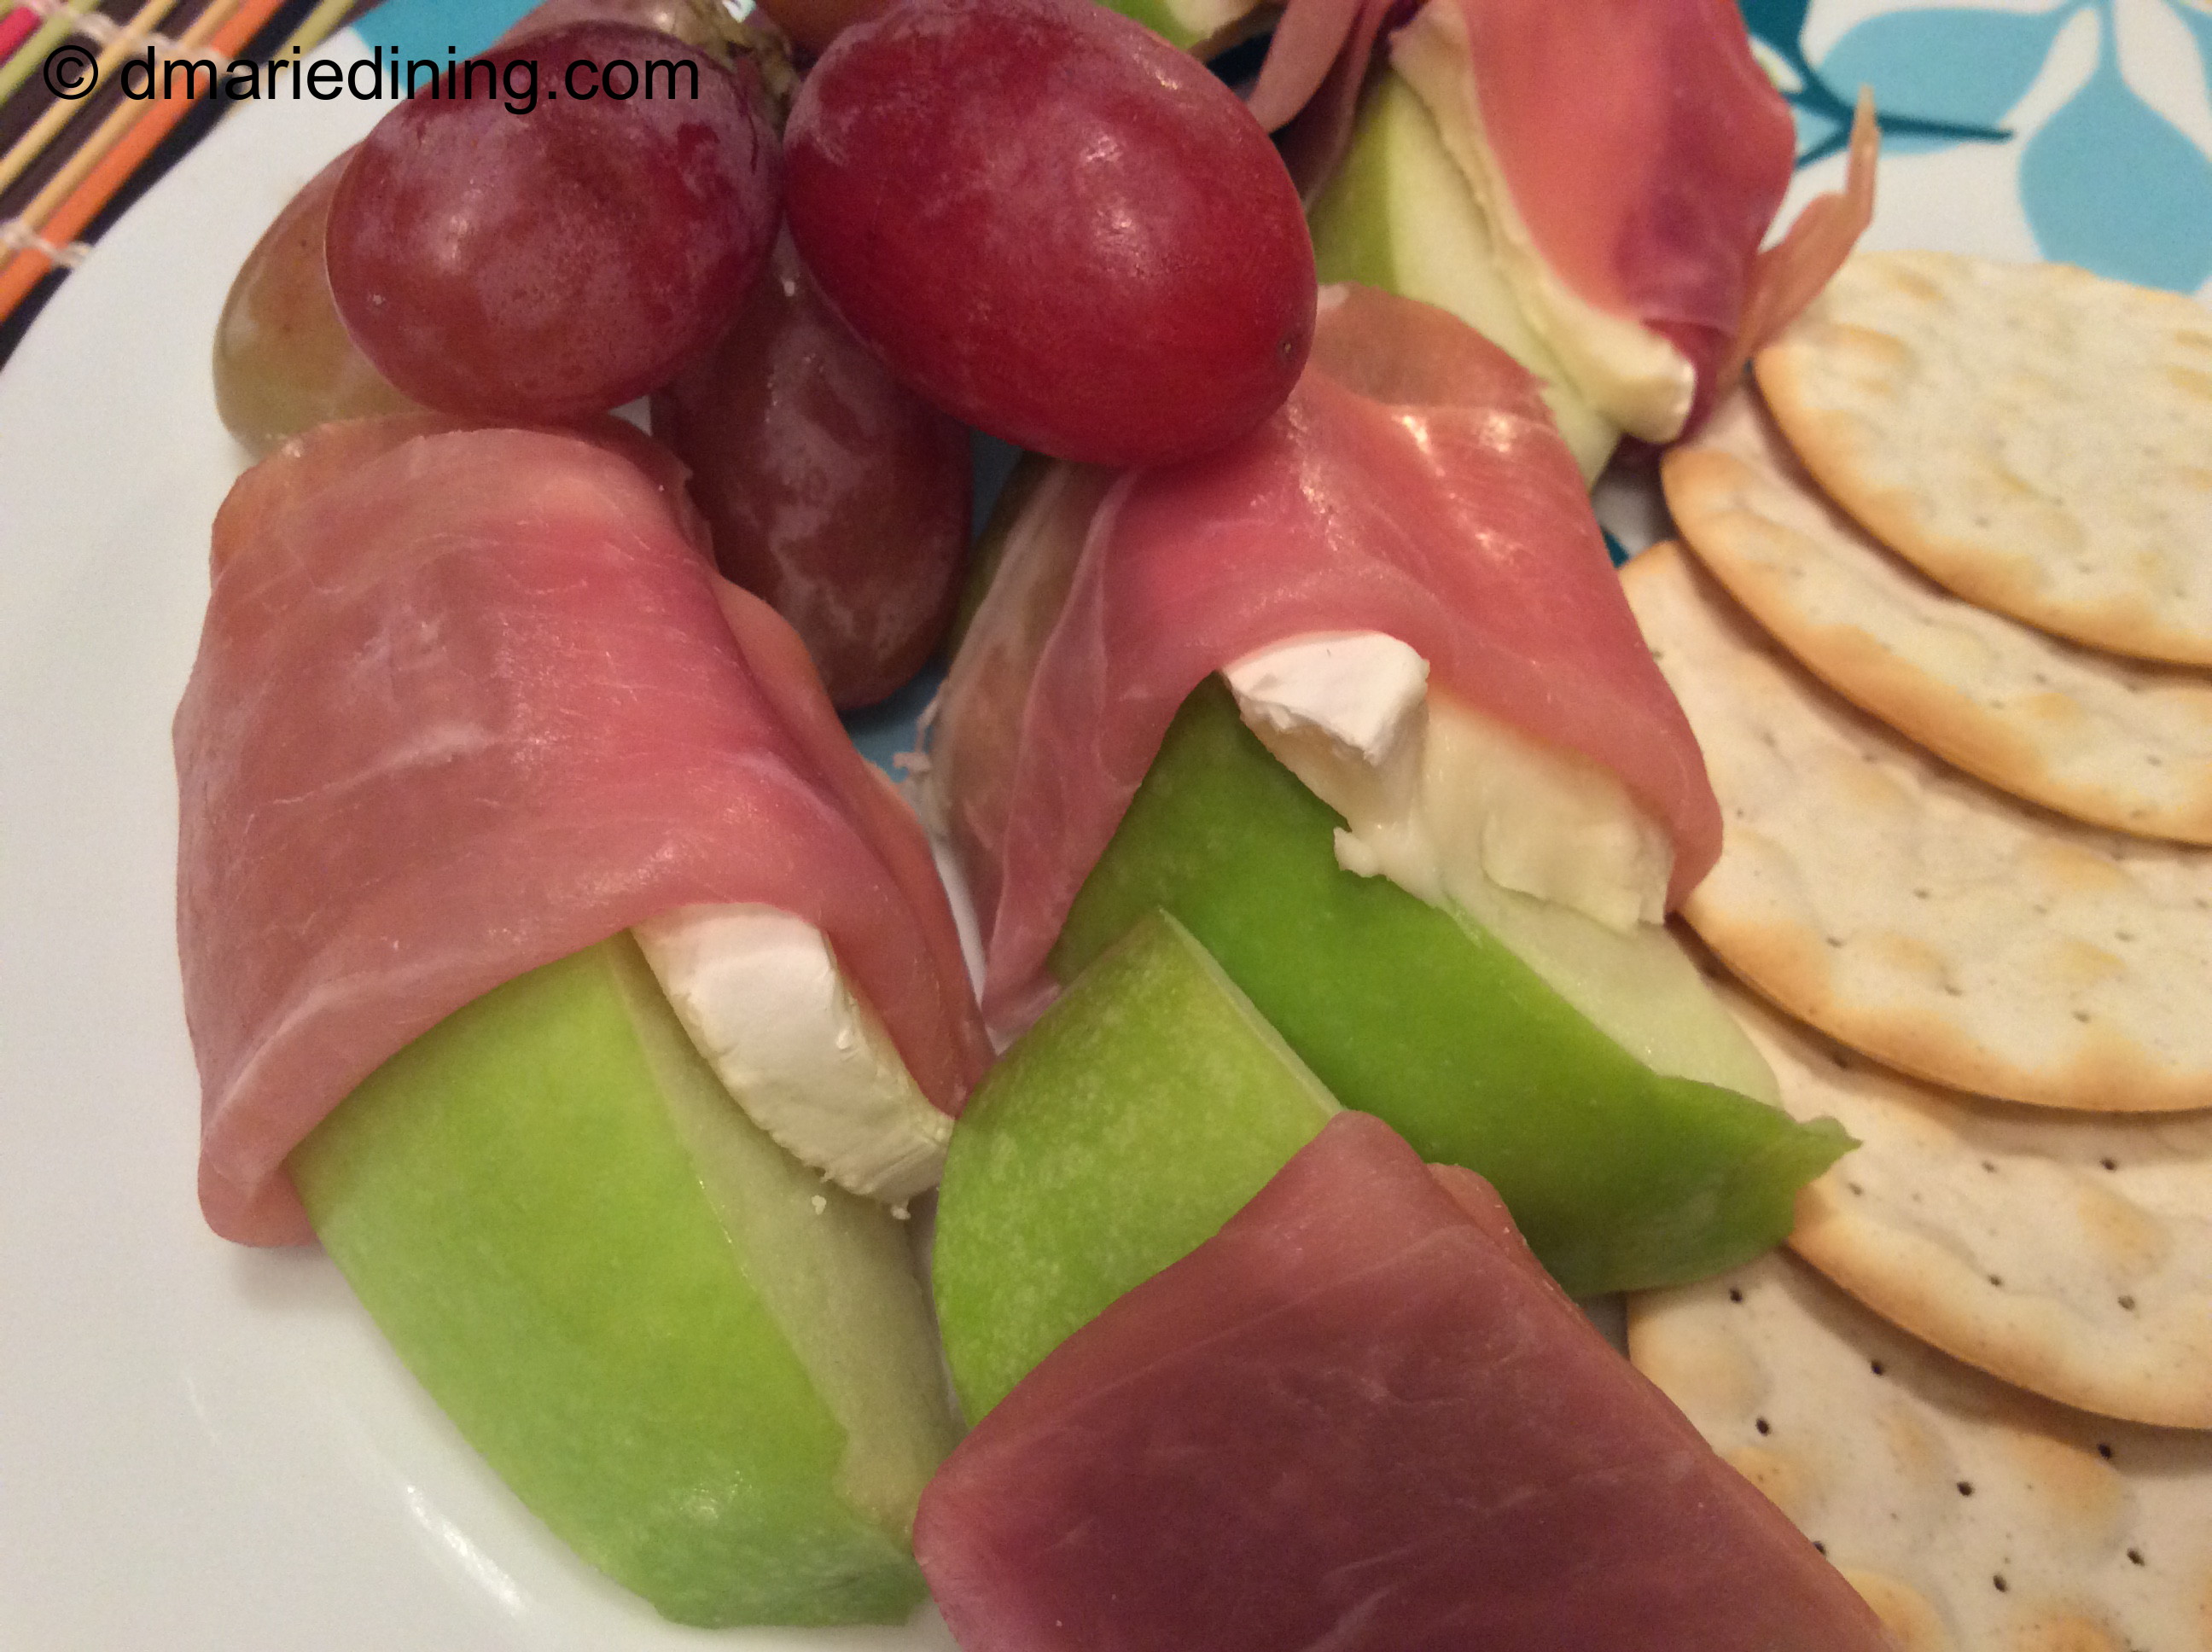
Place a piece of brie on each apple slice then wrap with prosciutto. Serve with crackers.