All posts by dmariebates

Corn Pudding

IMG_8438_1

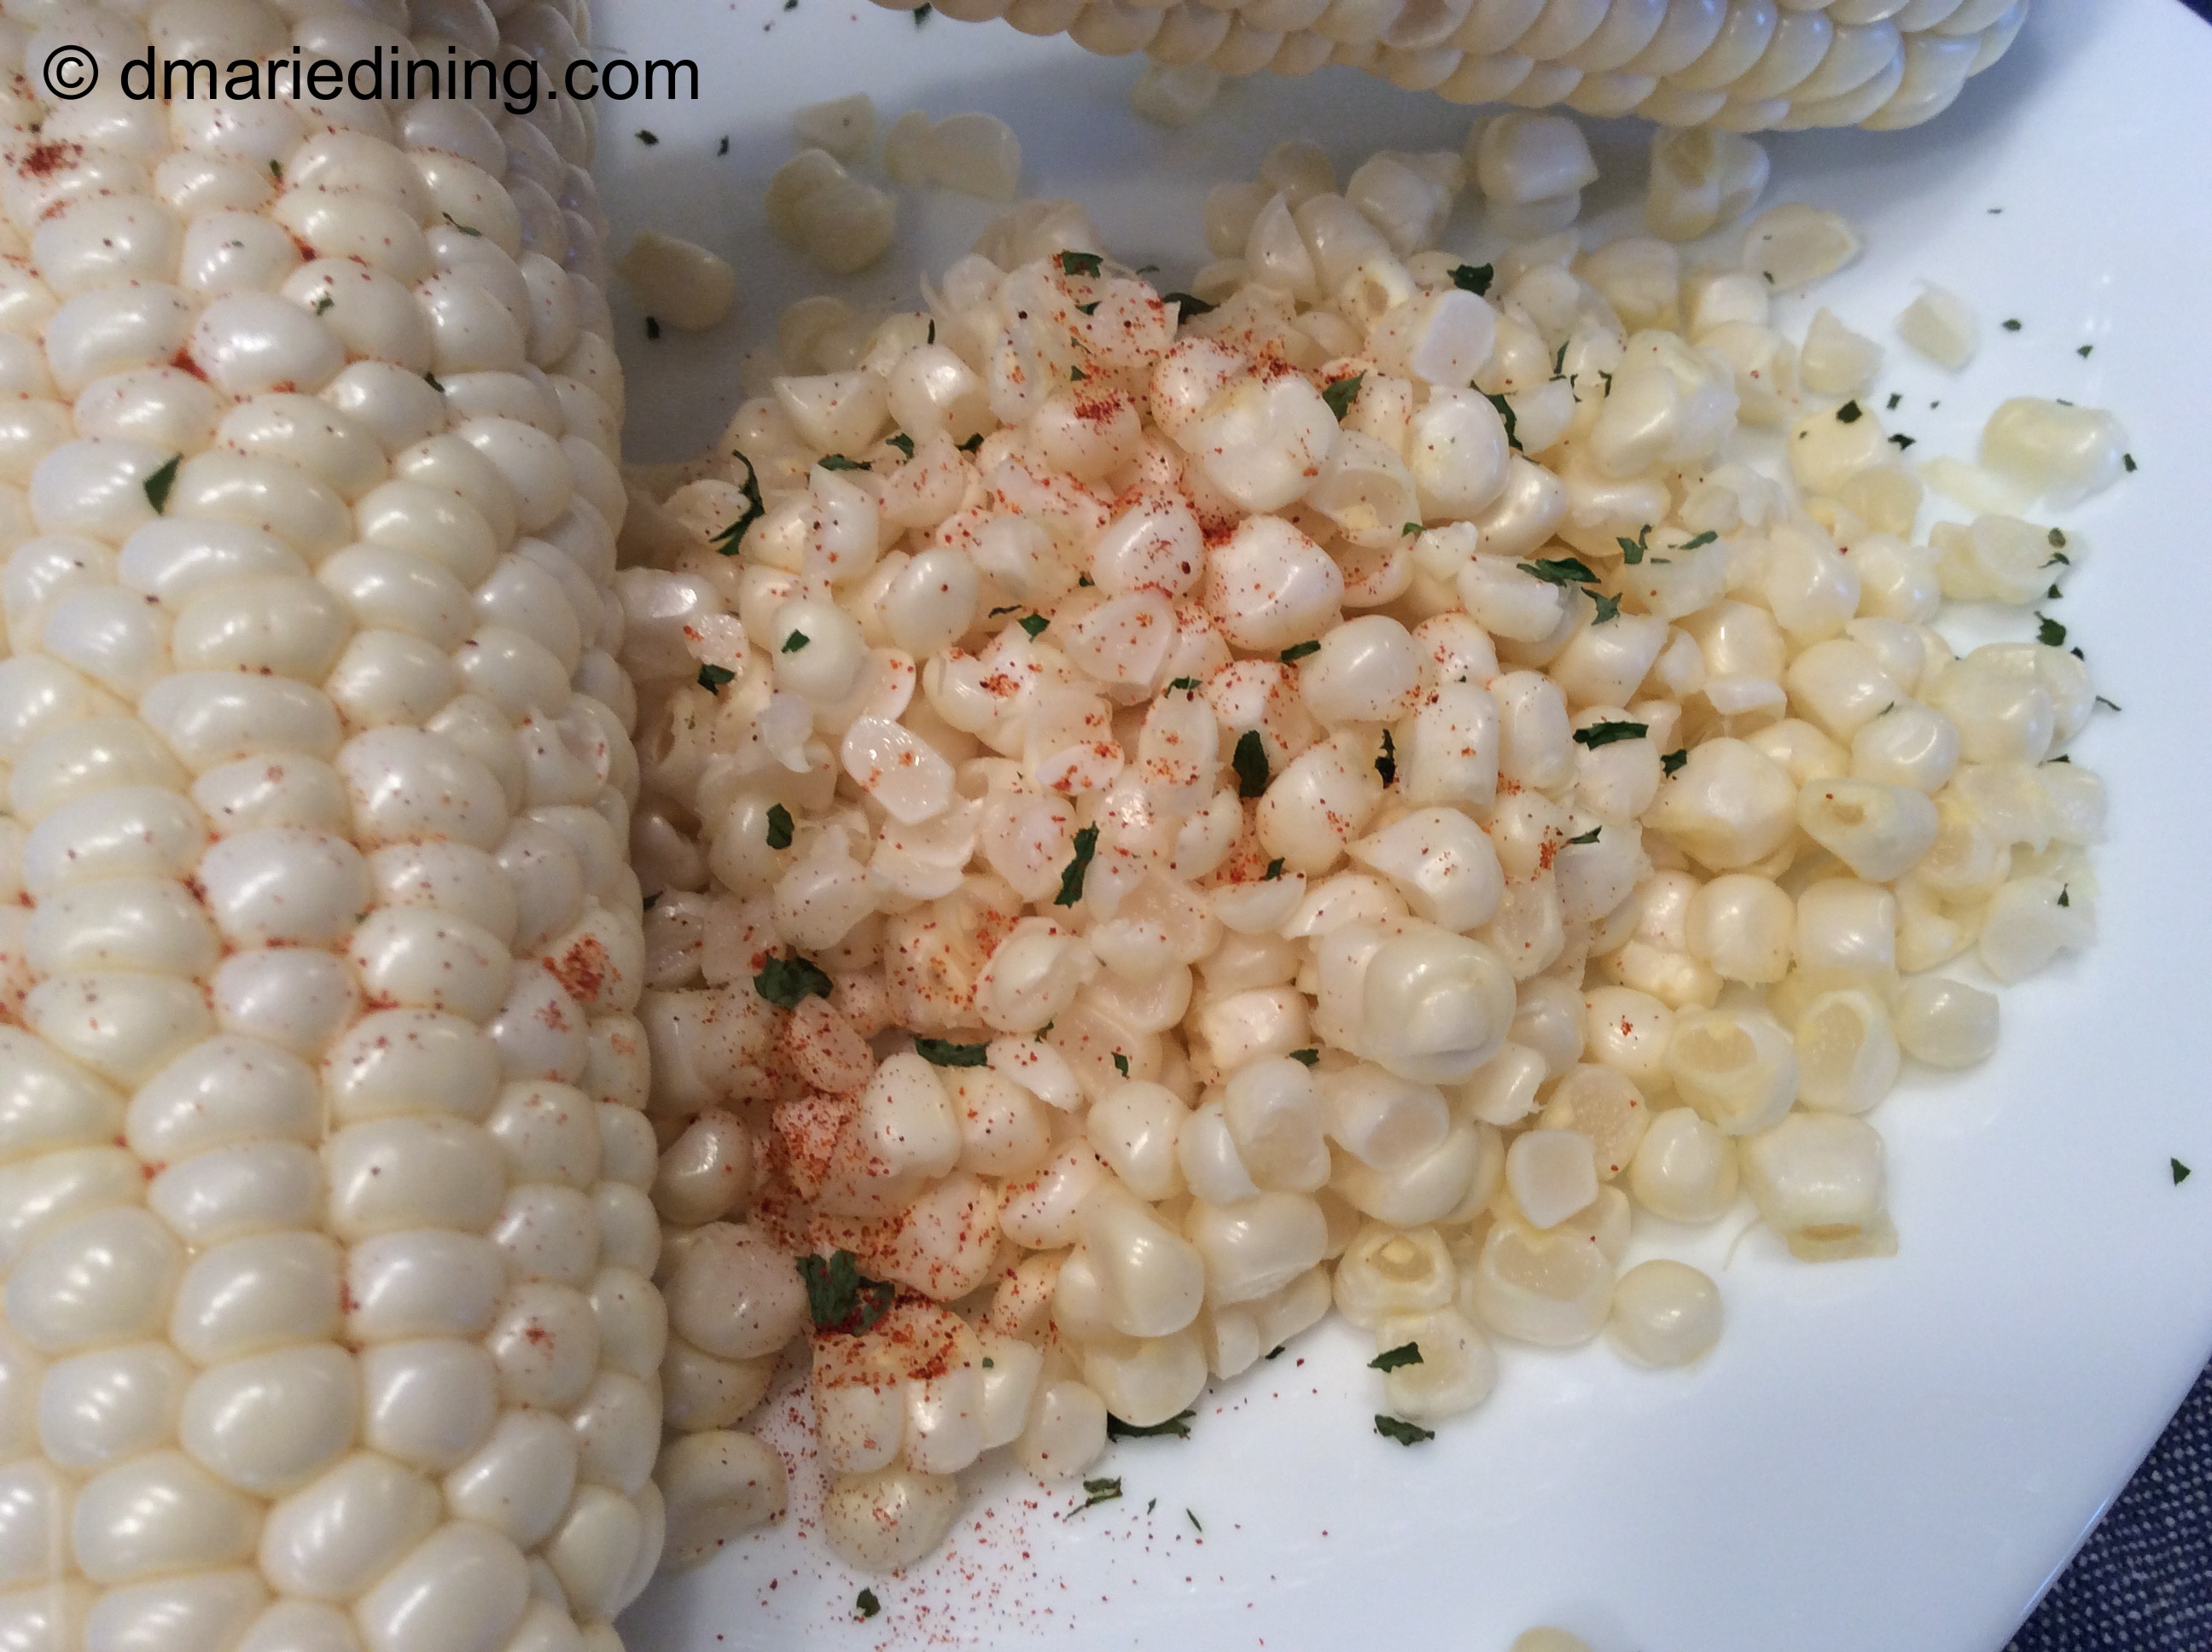
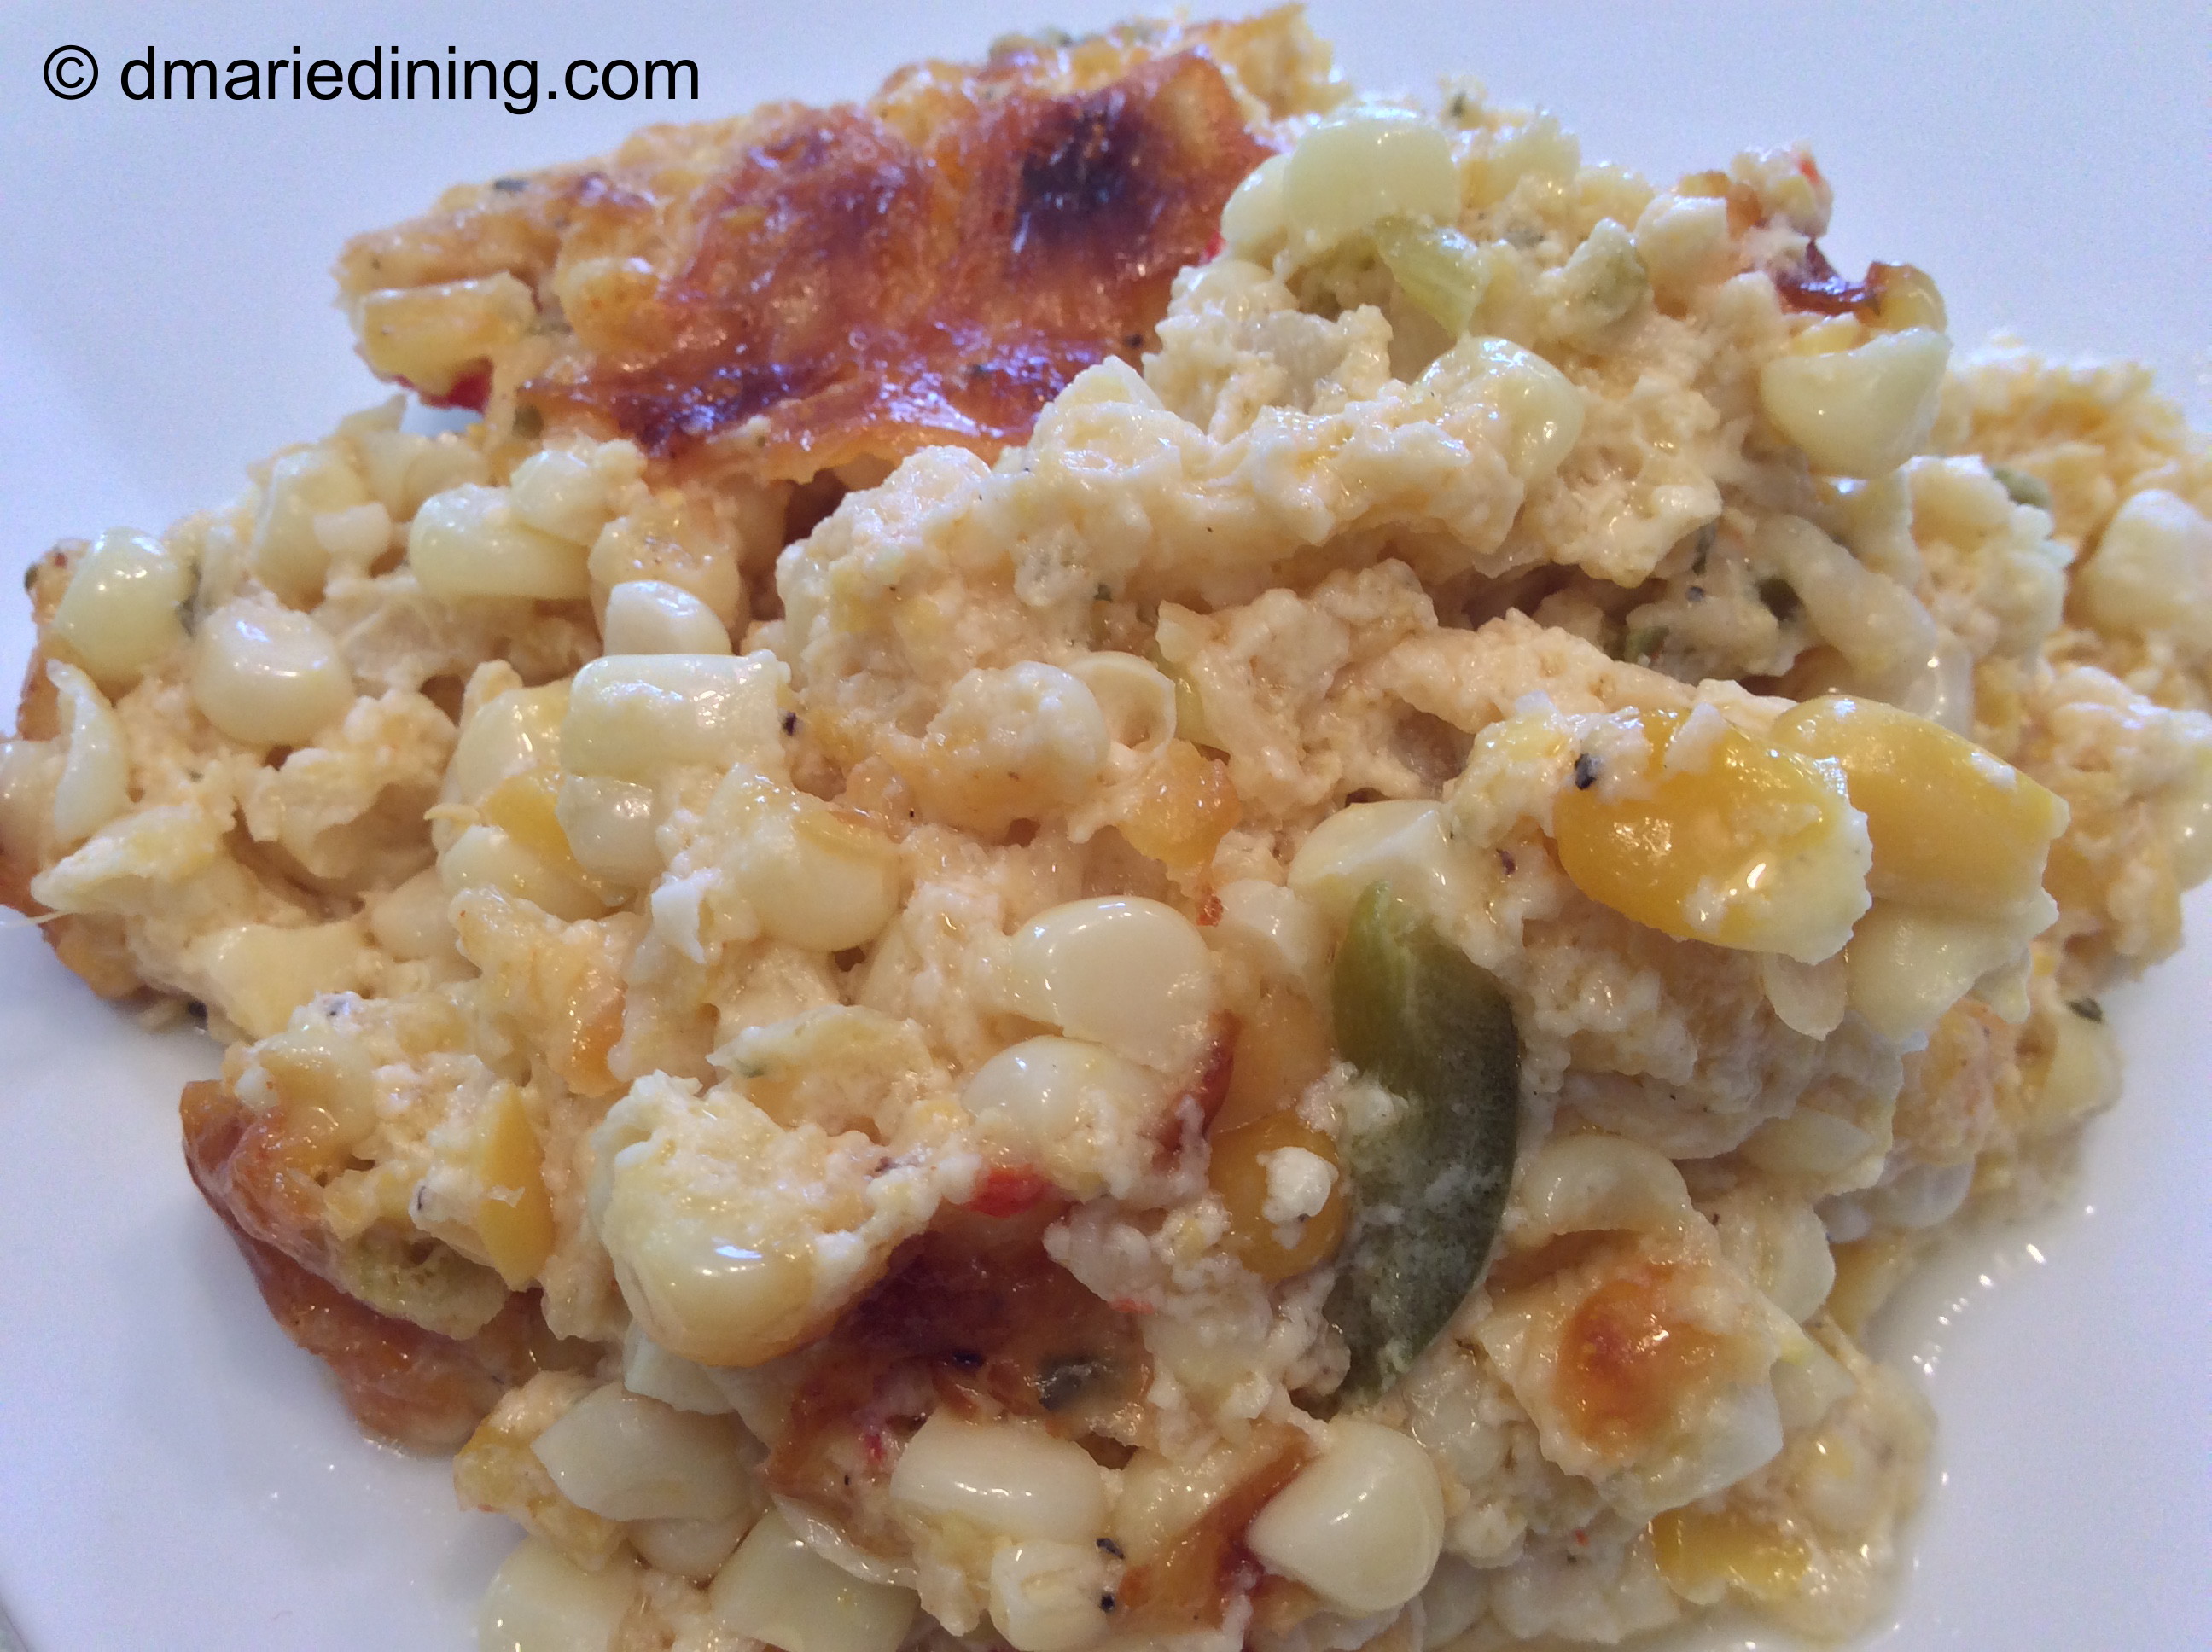
Corn pudding reminds me of macaroni and cheese without the pasta. Instead of shells surrounded by a rich creamy cheese sauce you have nice sweet corn surrounded by cheese, a light sauce and other veggies. Fresh corn is always best if making this dish in the summer. I love scrapping all of the juices off of cobs to get that added level of sweetness you can only find on a corn cob.

IMG_8451_1

When I was a kid one of my “special” jobs was scrapping corn off the cob. My mom would cut off the kernels and let me do the scrapping. At first I did not understand why we would want to use what looked to me like leftover mush. But, once I compared my Mom’s fried corn and other dishes made with fresh corn scrapped off the cob to the same dishes I experienced at other places I knew why the mush mattered.

IMG_8459_1

Although fresh corn is best, canned corn can still make a tasty corn pudding. I have made corn pudding with both fresh and canned corn and must say each time my family and friends enjoyed it. The secret is all in adding the right ingredients to compliment the corn.

IMG_8467_1

So if you are looking for an alternative to a pasta side dish, try creating a corn pudding. I doubt you will be disappointed.

IMG_8469_1

Corn Pudding

Ingredients:
6 ears sweet corn cut from the cob and scrapped or 2 cups canned corn drained
1 14 oz can creamed corn
2 eggs beaten
1 tbsp butter
½ cup milk
½ cup heavy cream
½ cup sour cream
½ cup shredded white cheddar cheese
¼ cup pepper jack cheese
¼ cup red pepper diced
¼ cup green pepper diced
½ tsp cayenne pepper
½ tsp ground black pepper
½ tsp smoked paprika
1 tsp salt

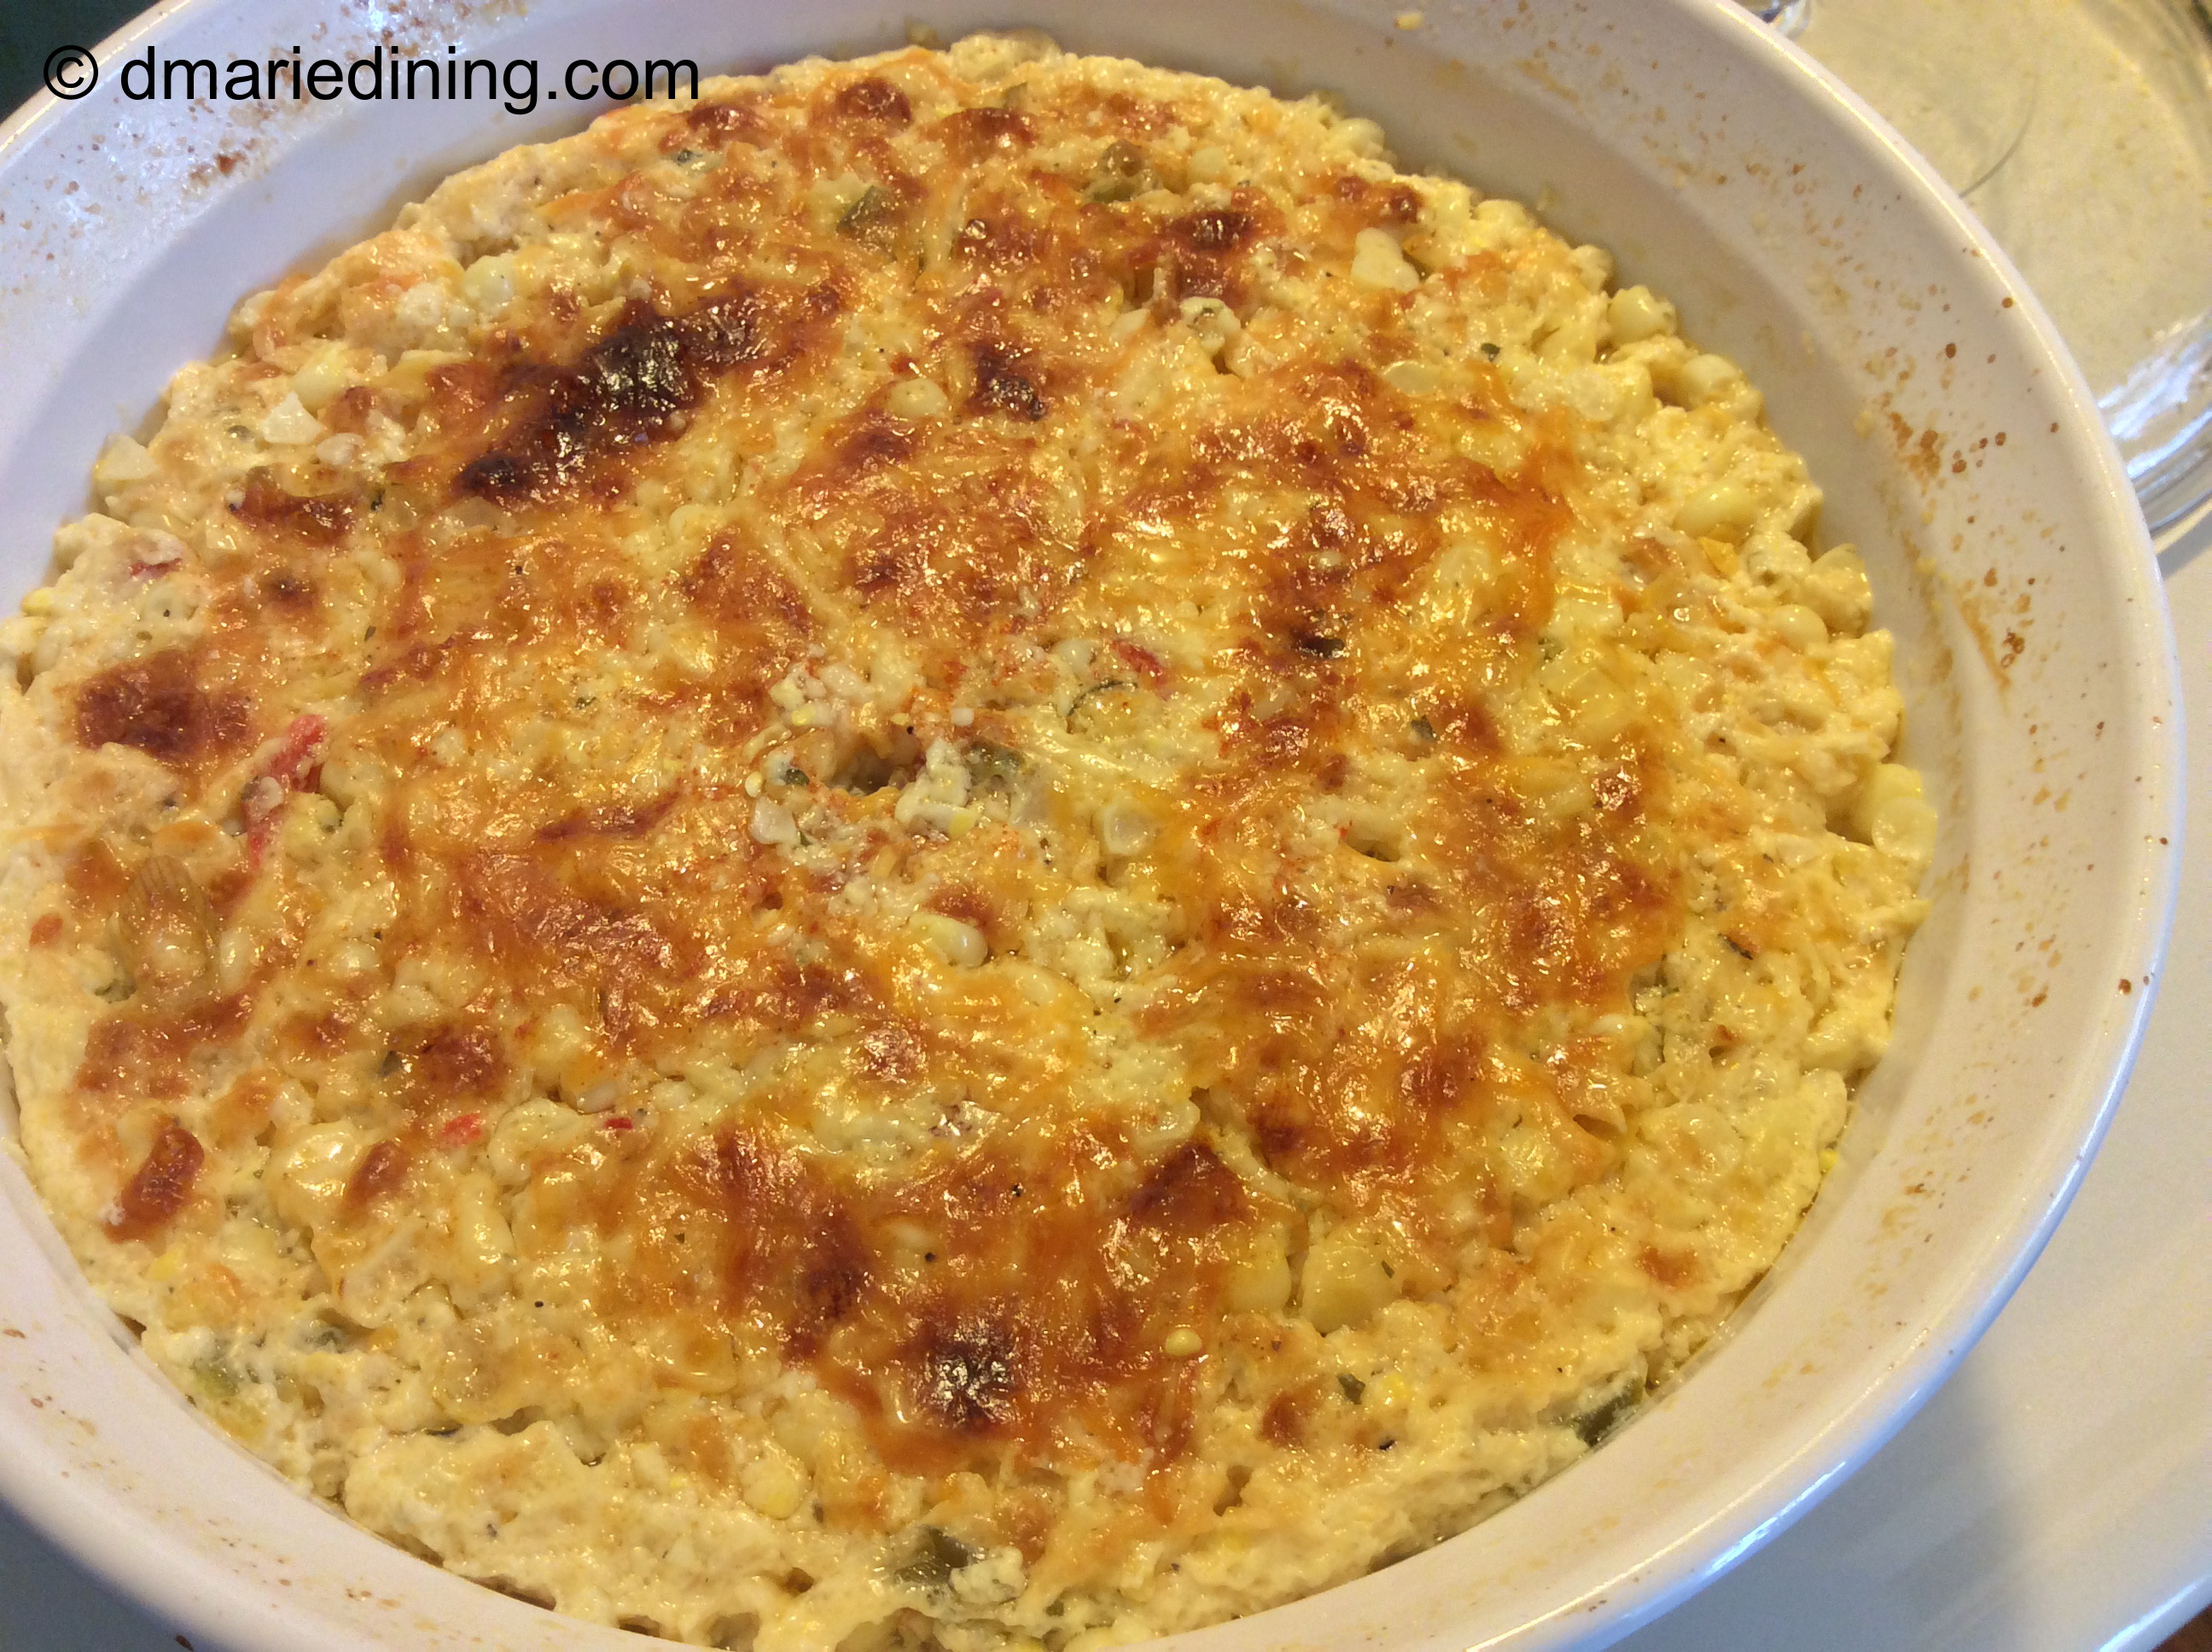
Preheat oven to 350 degrees. Spray a casserole dish with cooking spray.

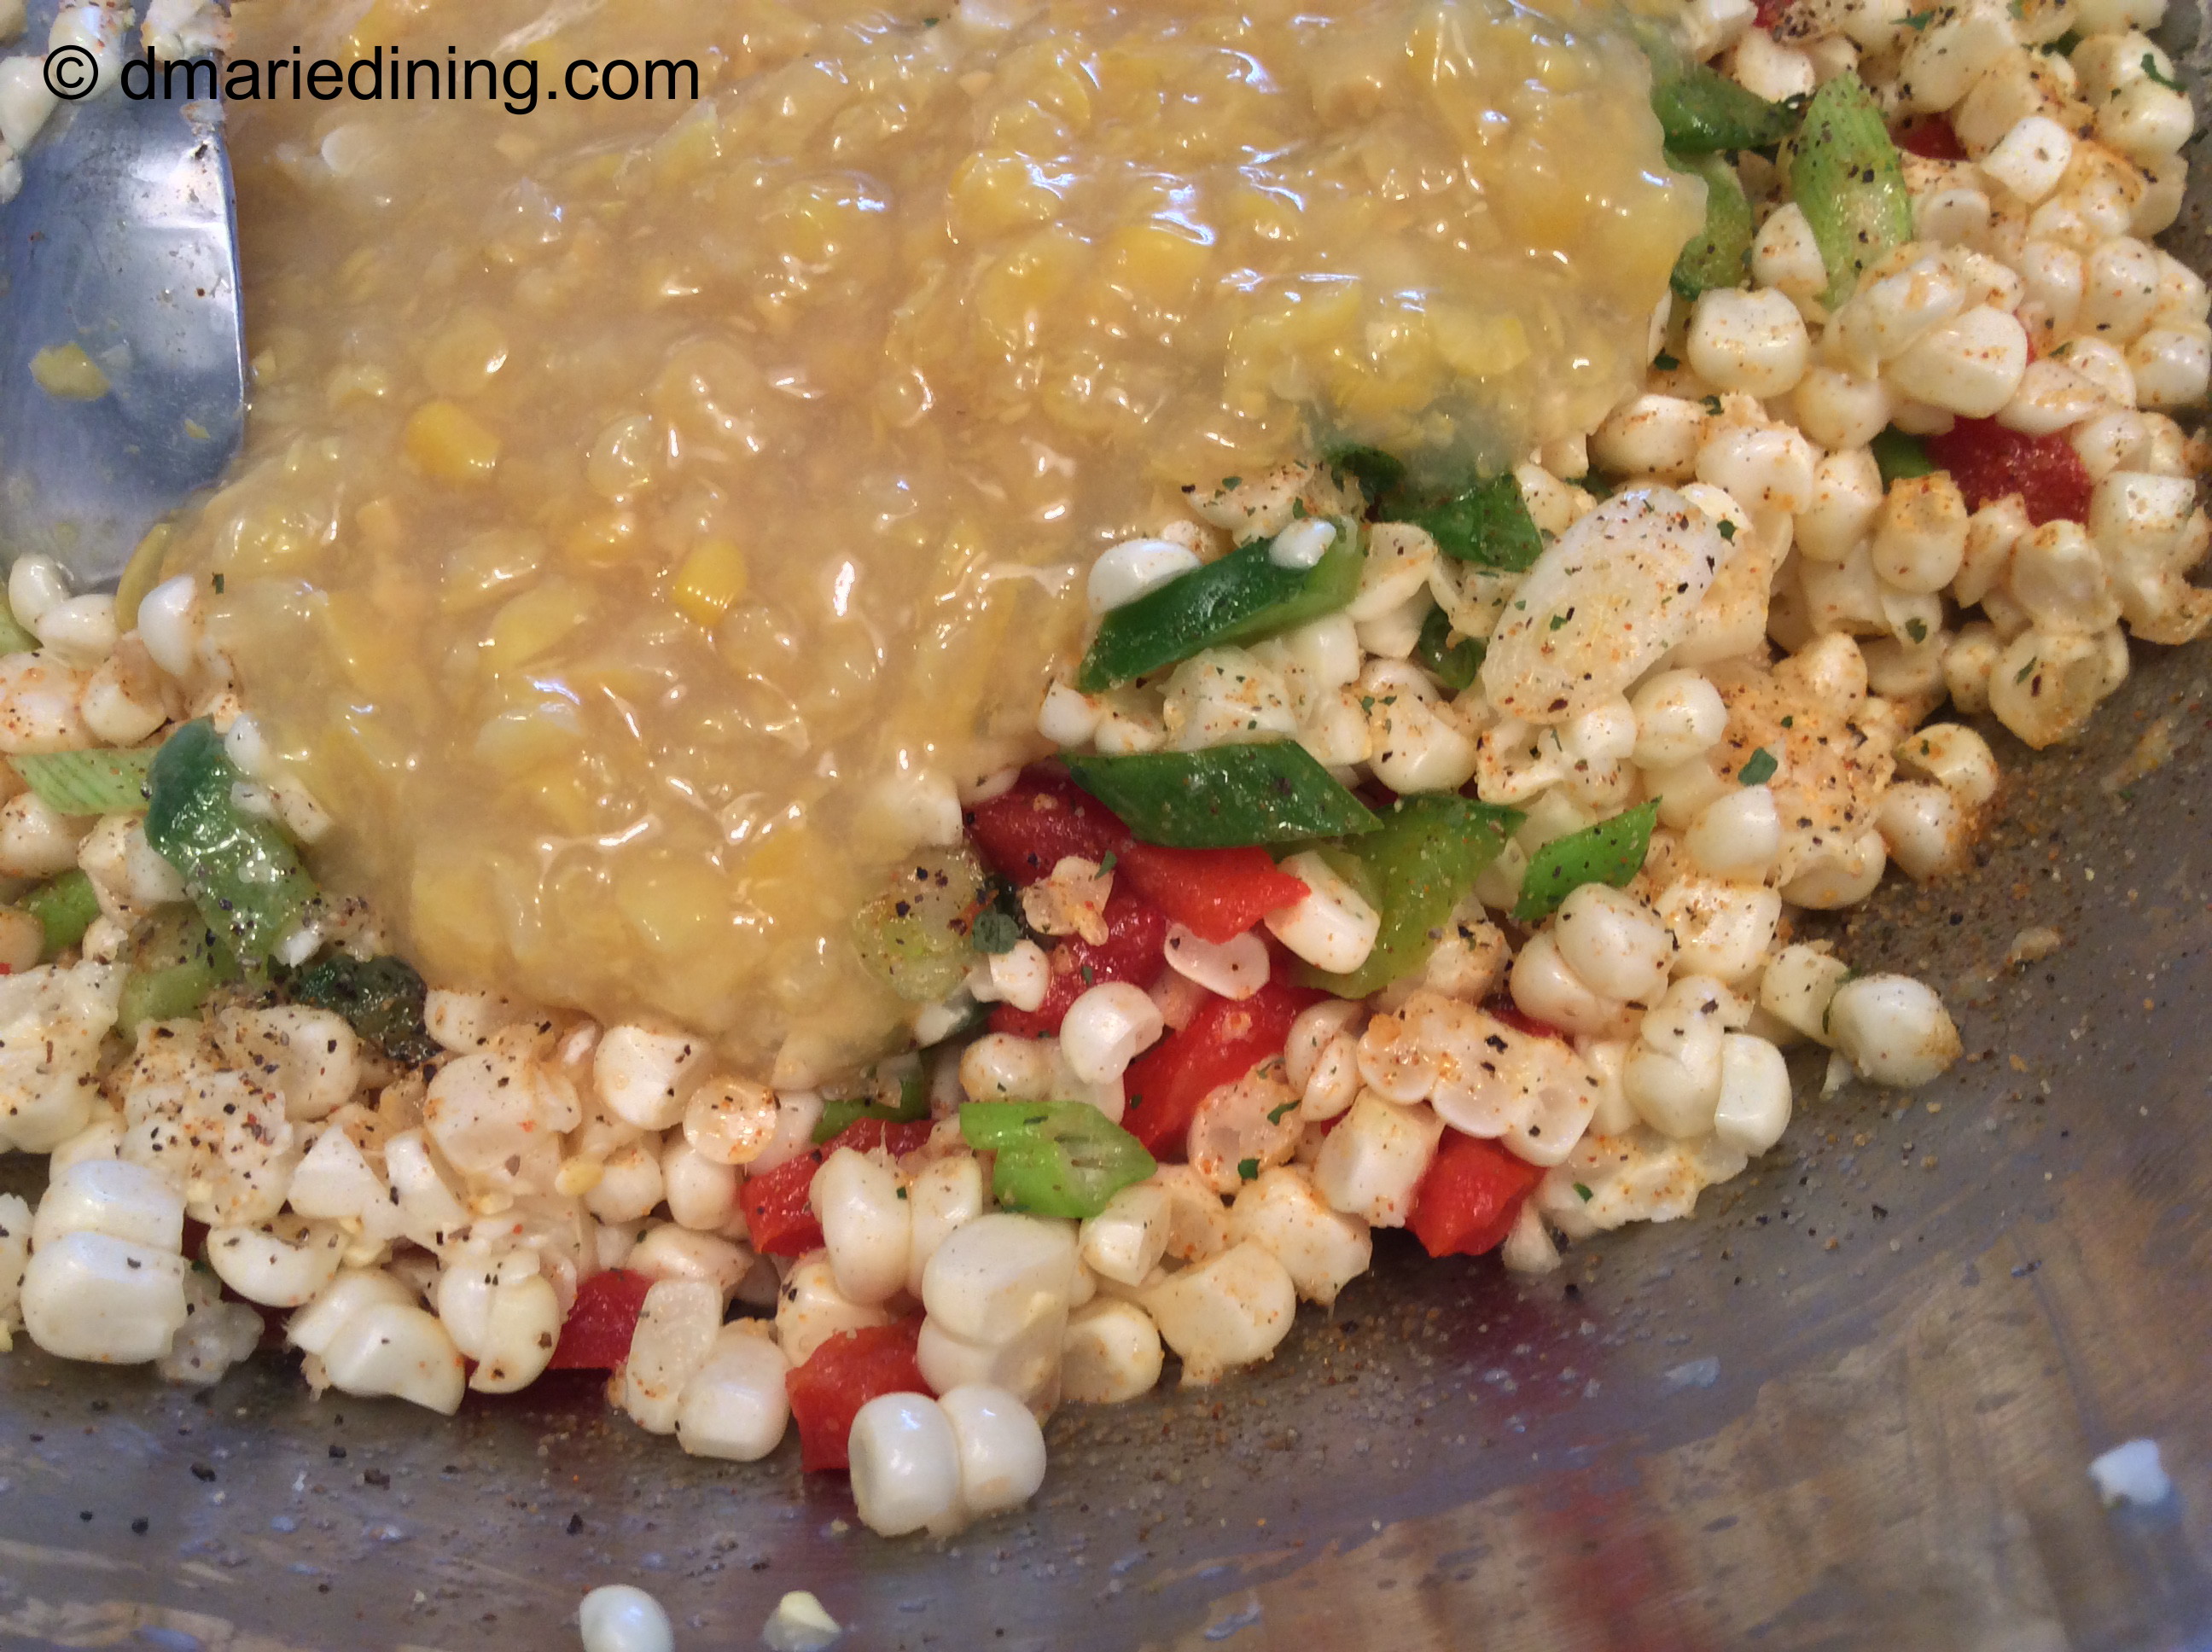
Saute corn kernels in a non-stick frying pan for 5 – 10 minutes over medium heat to release some of the juice. Strain the corn prior to adding to the other ingredients. Otherwise casserole may be a little watery when done.

In a large bowl whisk together milk, cream, eggs, sour cream, cheese and cayenne pepper. Add corn,creamed corn, butter, salt and pepper. Stir to mix well. Pour into casserole dish and top with a little cheese then sprinkle with paprika. Bake for 35 to 40 minutes until set. Remove from oven and let rest for 5 minutes.

Follow my blog with Bloglovin

Banana Nut Muffins

IMG_8592_1

For our first AAU game this season, I and another parent (C.T.) volunteered to provide snacks for the guys to have in between games. CT brought bananas, grapes and clementines while I supplied the Gatorade and granola bars. Although our intentions were good, we found out we could not bring food into the arena. Since it was a cold snowy day we could not organize the guys to go outside and partake of the goodies. Needless to say there was a lot of Gatorade and fruit leftover. CT suggested I keep the fruit and put it to good use so I left the games with a good helping of bananas.

IMG_8613_1

I thought about making some type of fruit salad but I ate quite a few grapes on our long journey home. My hubby ate most of the clementines which meant I only had bananas to worry about. I wasn’t in the mood for banana pudding and wanted to make something I had never tried before. As you know, I am still working on my baking skills and thought I could try out a banana nut muffin recipe.

IMG_8625_1

I found an old recipe in my recipe box for banana bread that I decided to turn into a muffin recipe. I just tweaked the banana bread recipe a little by adding golden raisins and nuts to the mix. Yummy… The muffins came out really moist and flavorful with a subtle crunch from the pecans. Plus, the golden raisins plumped up and added another layer of sweetness along with the ripe bananas. In the end, I was happy with my updated recipe and felt confident I could share this recipe.

IMG_8627_1

Thanks CT for providing the bananas and for helping me to stretch my baking wings once again to create a lovely banana nut muffin.

IMG_8635_1

Banana Nut Muffins

Ingredients:
4 ripe bananas peeled and mashed
2 eggs slightly beaten
2 cups flour
½ cup sugar
½ cup butter softened
¼ cup golden raisins
¼ cup chopped walnuts
1 tsp baking soda
½ tsp baking powder
½ tsp salt
½ tsp vanilla extract
½ tsp lemon or orange zest
cooking spray

Preheat oven to 350 degrees.

Place all ingredients in a large mixing bowl. Spray muffin tin with cooking spray then fill each cup a little more than half way. Bake for 15 to 20 minutes until center is set. Place a tooth pick in the center of the muffin and if it comes out clean muffin should be done. If necessary, cook a few more minutes. Let rest for 5 minutes. Run a butter knife around the edge of the muffin to loosen then gently lift out of the muffin tin. Dust with powdered sugar.

Follow my blog with Bloglovin

Chili Nachos

IMG_8377_1

Get ready to get messy and grab a fork! I just made chili nachos and they were wonderful. I first made Tex-Mex chili using ground turkey instead of beef but feel free to use any meat you prefer to make chili. I liked the idea of a Tex-Mex chili because the flavors are bolder (in my opinion) than regular chili. Because I planned to use the chili as a topping for nachos I did not add all of the veggies I sometimes use in my chili. I kept this one simple by using only onions instead of adding various peppers and shredded carrots.

IMG_8381_1

Long ago I made all kinds of nacho dishes for the family usually when I was fixed for time to get dinner on the table. I would search the refrigerator for leftovers I could use as a topping for nachos that would not make my hubby and kids look at me like I had two heads.

IMG_8391_1

The idea of combining chili and nachos came to mind while watching a food show about restaurants and their specialties. There was one restaurant that served chili nachos but piled so much stuff on the nachos that you forgot there were nachos some where in the giant mound of food sitting on the table. I liked the concept but not all of the stuff!

IMG_8403_1

Chili Nachos are made to be messy as I said in the beginning. So, if nobody is looking, you can eat them with your fingers. Just let the juices and cheese drip down your fingers. If you aren’t into flavorful fingers, grab a fork and scoop up the chili and nachos without missing a drop. I personally like eating chili and nachos using both my fingers and a fork to make sure I don’t miss anything on my plate … or fingers!

IMG_8399_1

Chili Nachos

Ingredients:

Chili:
2 lbs ground turkey
1 15 oz can black beans (undrained)
1 15 oz can small white beans (undrained)
1 15 oz can small kidney beans (undrained)
1 15 oz can fire roasted tomatoes
1 small can tomato paste
1 pkg Tex Mex chili seasoning
½ onion diced
½ cup water
1 tbsp worcestershire sauce
½ tbsp salt
½ tbsp black pepper
½ tbsp Adobo seasoning
½ tbsp cilantro
½ tsp nutmeg
10 dashes hot sauce

Nachos/ Toppings:
1 bag Tostitos Nacho Chips
2 plum tomatoes seeded and sliced into strips
1 small pkg Velveeta cheese cubed1 small jar salsa (hot or mild)
1 small jar sliced jalapeno peppers
1 avocado sliced
½ cup shredded cheddar or Monterey Jack cheese
¼ cup sliced olives

Preheat oven to 300 degrees.

Season turkey with salt, pepper and worcestershire sauce over medium high heat and drain. Add beans, remaining seasonings, hot sauce, fired roasted tomatoes and water to a large pot. Let simmer over medium heat for 10 minutes. Add browned turkey to the pot and stir. Simmer and additional 15 minutes.

Add cubed Velveeta cheese and ½ cup of salsa to a microwave safe bowl. Place in microwave for 2 minutes then stir to mix salsa and cheese. Microwave for an additional 1 ½ minutes until bubbly.

Layer an aluminum pie tin or an oven safe plate with nacho chips. Using a slotted spoon scoop chili over nachos then layer with Velveeta mixture. Add a little more chili, jalapeno peppers, fresh tomatoes, olives and shredded cheese. Place in oven until cheese melts. Top with sliced avocados.


Follow my blog with Bloglovin

Eggplant, Tomatoes and Onions with Pea Shoots on Flatbread

IMG_8776_1

Working with flatbreads is one of my new adventures. I came up with a few recipes that I am trying out on my lovely taste testers. The first one I pulled together was eggplant, tomatoes and onions with pea shoots. I know. Who ever heard of pea shoots. I had never heard of them until I was perusing the fresh vegetables at Trader Joe’s. I am always interested in trying out new veggies and figuring out how I can use them in a recipe. I originally thought I would use spinach or even watercress but the pea shoots caught my eye and I had a second thought. Why not use them on the flatbread!

IMG_8782_1

Because roasting veggies makes them soft I wanted to have another level of texture on the flatbreads. The pea shoots added just the right amount of crunch to go with the roasted eggplant, tomatoes and onions. Plus, the pea shoots have a nice flavor too. They have the subtle “sweet taste of spring peas” just like it says on the package. I will definitely be adding pea shoots to some other recipe in the future.

IMG_8798_1

Getting back to flatbreads, I find it is really just a fancy way of saying pizza. Although when I was researching information about flatbreads, there really is a difference between the two. Flatbreads are thin and made from unleavened dough and pizzas can be be thin or thick and are made with yeast so it rises. What is confusing is that I have seen on restaurant menus the description of flatbread pizzas which means they are just thin flat pizzas with yeast somewhere in the mix.

IMG_8808_1

I am keeping it simple and calling this a flatbread dish based on what it said on the package I purchased. No matter what you call it the taste will be delicious. If your creation works out the way mine did you may have to make two because the family will keep coming back for more.

IMG_8818_1

IMG_8824_1

Eggplant, Tomatoes and Onions with Pea Shoots on Flatbread

Ingredients:
1 14oz flatbread (Trader Joe’s Rustic Ciabatta Flatbread)
1 medium eggplant sliced (skin on)
1 medium onion sliced thin
2 Kumata tomatoes sliced
2 Roma tomatoes sliced
1 1/2 cups shredded mozzarella cheese
1 cup organic pea shoots
1 tbsp lemon juice
2 tbsp balsamic vinegar
4 tbsp olive oil
1 tsp salt
1 tsp black pepper
½ tsp red pepper flakes
½ tsp basil
½ tsp oregano
cooking spray

Preheat oven to 400 degrees.

Toss together pea shoots, a pinch of salt, balsamic vinegar and lemon juice in a bowl and set aside.

Spray a rimmed baking sheet with cooking spray. Layer eggplant, tomatoes and onions on a the baking sheet. Drizzle olive oil over veggies then sprinkle with salt and black pepper. Roast until veggies are soft and browned for approximately 25 – 30 minutes. Toss the veggies mid-way through cooking to make sure all of the veggies brown.

Place flatbread on a cookie sheet and brush with olive oil then sprinkle with ½ cup of mozzarella. Spread eggplant, tomato and onions over the flatbread then sprinkle with red pepper flakes. Top with remaining cheese then sprinkle oregano and basil over cheese. Bake for 12 – 15 minutes until cheese melts and turns slightly brown. Let cool for a few minutes then cut with a pizza slicer. Top with pea shoots and enjoy.

Follow my blog with Bloglovin

Beets with Arugula and Feta Cheese

IMG_8509_1

Beets are one of those vegetables people usually forget about because they are not considered “popular” at least not right now. Foods like fashion are featured as the “in” thing at different cycles in time. Remember when it was said that pork was not good for you then a while later it became the “other white meat” and was the popular thing to eat.

IMG_8515_1

I really do like beets but I also  forget about beets until summer comes and I am in salad mode. I love to have salads with dinner in the summer because there are so many beautiful fresh veggies available. I have thought about growing beets but I have not had the courage to do it yet. I have tried growing cabbage, squash and eggplant without much success so I stick to the veggies I can easily grow. Tomatoes and all kinds of peppers grow in abundance on our porch. I also grow a lot different herbs. Maybe next summer I will plant a few beets and see what happens.

IMG_8512_1

Anyway, beets have their own unique flavor and sweetness. Depending on what we are having for dinner I will pair the beets with some other veggie or lightly season the beets and eat them all by themselves. I have two favorite beet recipes. My old trusty beet salad which is similar to a basic potato salad recipe but substitutes beets for potatoes. Then there is my more recent recipe of Beets with Arugula and Feta Cheese. I have been working on more salad recipes to help shake off the winter blues and get ready for summer. In the winter I focus on hearty meals and soup but spring and summer call for lighter meals with lots of fresh veggies.

IMG_8527_1

Arugula is one of my favorite dark salad greens so I often combine it with several other ingredients to create unique dishes like my Chicken and Pasta with Lemon Cream Sauce. In my Beets with Arugula and Feta Cheese recipe I mix beets, green apples and arugula which all seem to compliment each other. The sweet beets, sour granny smith apples, salty feta cheese and nutty flavored arugula satisfy all of my taste buds.

IMG_8540_1

I am getting ready for summer. How about you?

IMG_8557_1

Beets with Arugula and Feta Cheese

Ingredients:
1 bag arugula
2 cups cooked beets cut into wedges
½ cup thinly sliced green apples
½ cup feta cheese
½ cup mandarin oranges (optional)
¼ cup pecan or walnuts
¼ cup vinaigrette

Vinaigrette:
½ cup olive oil
3 tbsp white wine vinegar
1 tsp Dijon mustard
1 tsp salt
1 tsp ground black pepper
1 tsp minced garlic (optional)
pinch of red pepper flakes (optional)

In a medium bowl mix together white wine vinegar, seasonings Dijon mustard and garlic. Slowly whisk in olive oil.

In a large bowl place arugula, beets, pecans, apples and feta cheese. Drizzle vinaigrette over salad then gently toss to coat with dressing. Taste and add more seasonings or dressing if needed.

Follow my blog with Bloglovin

HAPPY ONE YEAR ANNIVERSARY TO DMARIEDINING.COM

Banner 6

Today’s post is a little different from my usual posts.  Today is all about thanking everyone that has shown an interest in dmariedining.com over the past year.  Can you believe it?  Yes, dmariedining.com has been going strong for one solid year so Happy Anniversary to me.

I want to say a special thank you to my family for supporting me and for being my wonderful taste testers.  They have been honest with me whether my recipes were good, great or didn’t quite hit the mark.  I love them for that and more.

I also want to thank the folks that feel my blog is worthy enough to “follow” and for those that take the time to check out my recipes and “Like” them from time to time.  You inspire me to keep cooking and to keep sharing my ideas for healthy, quick and easy meals.  Thank you from the bottom of my heart!

When I started this journey I was not sure how it would end.  I still don’t.  But I do know there is more to come and I hope you will continue along this journey with me.

Faith and Doubt

Doubt sees the obstacles,

Faith sees the way

Doubt sees the blackest night,

Faith sees the day

Doubt dreads to take a step,

Faith soars on high

Doubt questions, “who believes”,

Faith answers “I”

                                                                                                                    D. Marie


Crab Cakes

IMG_8149_1

Whenever we go to Baltimore, Maryland I try to have at least one meal that includes Maryland Crab Cakes. Maryland blue crabs are big, meaty and the crab meat is sweet. It’s not always easy to find Maryland blue crab meat but you can still find delicious lump crab meat at your local grocer or Costco. I usually go to Costco because the price for lump crab meat is less than at my grocery store and there are less shells to pick out. Because lump crab meat can be a little pricy I don’t prepare a lot of crab dishes. But when I am in the mood for a nice seafood dinner and can’t get to Maryland I will splurge and make crab cakes or crab imperial.

IMG_8176_1

It has taken me a few years to create a crab cake recipe I found worthy enough to post. Most of my previous recipes just didn’t have the right balance of seasonings. The recipes were so bad (yes, I can admit they were bad) that I was the only one forced to eat the crab cakes. I say forced because the family didn’t like them and I could not bring myself to toss out all of the crab meat I had destroyed.

IMG_8197_1

As I have said many times in the past, simple is usually the best way to go. Instead, of adding too many ingredients and seasonings I kept this crab cake recipe low key. The result was a good tasting crab cake without a lot of filler. The simple seasonings allowed the natural sweetness of the crab meat to shine through. Now, when I decide to make crab cakes I’m not forced to eat them. I can just enjoy eating them and so does my family.

IMG_8231_1

Crab Cakes

Ingredients:
1 lb lump crab meat pick out shells
1 egg lightly beaten
1 stalk celery diced
1 scallion diced
1 tbsp red onion diced
1 tbsp parsley
1 tbsp Dijon mustard
1 tbsp worcestershire
2 tbsp mayonnaise
1 tsp Old Bay seasoning
½ tsp salt
½ tsp black pepper
½ tsp lemon zest
½ cup panko bread crumbs
4 – 5 dashes of hot sauce
juice from ½ lemon
paprika
olive oil

Preheat oven to 350 degrees.

Add ingredients (except the paprika and olive oil) to a large bowl and gently mix until well blended. Try not to break up lump crab meat. Form crab mixture into a round patty. Drizzle a little olive oil over each patty then sprinkle with paprika.  Spray a rimmed baking sheet  with cooking spray.  Drizzle a little olive oil onto the baking sheet then add crab cakes.  Bake for 25 to 30 minutes until the crab cakes are golden in color. Can also fry the crab cakes in 2 tbsp of vegetable oil over medium high heat. Brown on each side for 3 – 5 minutes. Drain on paper towels.


Follow my blog with Bloglovin

DMarie’s Jambalaya

IMG_7403_1

Jambalaya is a combination of sausage, seafood and chicken. At least in my recipe. Although Jambalaya is similar to Gumbo there is a slight difference. Gumbo is considered a thick soup or stew you can serve with rice. Jambalaya on the other hand is really a rice dish. Both are delicious with incredible flavors. I like to make Gumbo strictly with seafood not sausage or chicken. However, my Jambalaya is a little bit of everything.

IMG_7398_1

Although the mantra of dmariedining.com is Healthy, Quick and Easy, this recipe takes some time to make but you won’t be disappointed at the time well spent. Most folks will want to come back for a second helping and the leftovers will be few.

IMG_7452_1

Good down home cooking is not easy to get in parts of the northeast. I have been fortunate to discover a couple of restaurants along the east coast that have fantastic southern dishes and occasionally Cajun dishes that truly remind me of the South and Cajun country. Unfortunately, I have to travel too far to enjoy those wonderful dishes on a regular basis. So, I am left to create my own versions of those delectable meals. DMarie’s Jambalaya comes close to what I experienced in Louisiana but even I know nothing will ever beat the real deal.

IMG_7485_1

Still, I haven’t had any complaints so I must be doing something right. Enjoy!

IMG_7470_1

DMarie’s Jambalaya

Ingredients:
1 14 oz pkg smoked kielbasa sliced
1 14 oz pkg andouille sausage sliced
1 lb boneless skinless chicken thighs
1 lb ex-large shrimp peeled and deveined
1 large onion diced
1 large green pepper diced
3 cloves garlic minced
2 stalks of celery chopped
1 10 oz can of tomato puree
1 14 oz can fire roasted tomatoes
1 cup chicken broth
¼ cup vegetable oil
1 12 oz bottle “good” beer (Dogfish Head India Pale Ale)

Seasonings:
1 tbsp salt
1 tbsp onion powder
1 tbsp Adobo seasoning
2 tbsp flour
½ tbsp chopped fresh or dried parsley
½ tbsp gumbo file seasoning (if available)
½ tbsp black pepper
½ tbsp basil
½ tbsp thyme
1 tsp old bay seasoning
2 tsp worcestershire sauce
½ tsp cumin
¼ tsp cayenne
¼ tsp red pepper flakes
Boil chicken thighs in 1 quart of water, ¼ cup of diced onions, 1 stalk diced celery, salt and pepper until cooked all the way through. Remove chicken then drain broth from vegetables. Shred the chicken thighs and set aside. Reserve 1 cup of chicken broth and freeze the rest to use later for soup or another recipe creation.

Brown andouille and kielbasa in 1 tbsp of oil. Drain on paper towels and set aside.

Place oil in a large pot and heat over medium heat. Whisk flour into oil and continue stirring until mixture turns to a rich brown color to create a roux. Be careful not to let the roux burn. If necessary, turn down the heat a little to prevent burning. Gradually whisk in chicken broth and beer to the roux. Add seasonings, tomatoes, tomato puree, green pepper and onion. Simmer for 20 minutes then add chicken and sausage. Let simmer for 20 minutes stirring occasionally. Add raw shrimp and stir into mixture once they turn pink.

Serve with corn muffins.

Follow my blog with Bloglovin

Mixed Wild Mushrooms with Goat Cheese

IMG_6743_1

Not everyone is a fan of mushrooms in any way, shape or form whether they are button, shiitake, portabella or something else. Fortunately, that is not true in my household so I have room to experiment when it comes to preparing mushrooms. The day I came up with my Mixed Wild Mushrooms with Goat Cheese recipe I wanted to make a quick appetizer that would be healthy and tasty.

IMG_6757

Goat cheese is not one of my go to cheeses when I am cooking. I like goat cheese in salads but I did not know if I could actually cook with it so I had to do a little research to see if what I wanted to do would work. I was surprised to learn goat cheese has a lot less sodium and has about 40 fewer calories than than cheddar cheese. I thought goat cheese would have more calories since it is so creamy. Besides the nice health benefits of goat cheese it softens easily when heated and blends well into other foods.

IMG_6816_1

Hubby was my taste tester for this recipe only because he wandered into the kitchen while I was setting up the dish for pictures. Fortunately, I was able to snap a couple of pictures before he gobbled up most of mushrooms. Always a good sign for a recipe when the taste testers clean their plates and leave with a smile on their face.

IMG_6806_1

Mixed Wild Mushrooms with Goat Cheese

Ingredients:
2 pkgs mixed wild mushrooms
3 oz crumbled goat cheese
1 tbsp butter
1 tbsp olive oil
2 tbsp water
½ tsp salt
½ tsp cracked black pepper
½ tsp cilantro
½ tsp oregano
½ tsp parsley
5 dashes hot sauce
1 dozen crostini slices

Place butter and olive oil in a medium non-stick frying pan. Allow butter to melt then add mushrooms. Saute mushrooms until they brown slightly. Add seasonings, water and goat cheese. Stir constantly until goat cheese blends into the mushrooms. Serve on toasted crostini slices.

Follow my blog with Bloglovin

Chocolate Cake Parfait with Lemon Sauce

IMG_6316_1

Whenever I have leftover cake but I don’t have the heart to toss it out I change it into a new dessert. The other day I had leftover chocolate cake and decided I could cut up the cake and make a parfait. For me, a parfait has to have something creamy in the middle. Checking out what I had in the frig I came up with a light cream sauce. I also found some cherry pie filling I had recently used to try out another dessert.

IMG_6336_1

Viola! I had all I needed to create a chocolate cake parfait with lemon cream sauce topped with cherries. The blending of the sweet chocolate with the tart cherries and lemon sauce worked very well together. Who knew leftovers could be made new all over again.IMG_6343_1


Chocolate Cake Parfait with Lemon Sauce

 Ingredients:
1 cup cubed chocolate cake
½ cup Greek yogurt
½ cup cherry pie filling
2 tbsp lemon curd
whipped cream for topping (optional)

Mix together Greek yogurt and lemon curd in a small bowl. Place a small amount of lemon sauce in the bottom of a parfait glass. Add 4 -5 cubes of cake to the glass. Drizzle lemon sauce over the cake. Add a few more cubes of cake to the glass then drizzle more sauce over the cake. Spoon cherry pie filling over the lemon sauce and top with whipped cream if you desire.

Follow my blog with Bloglovin