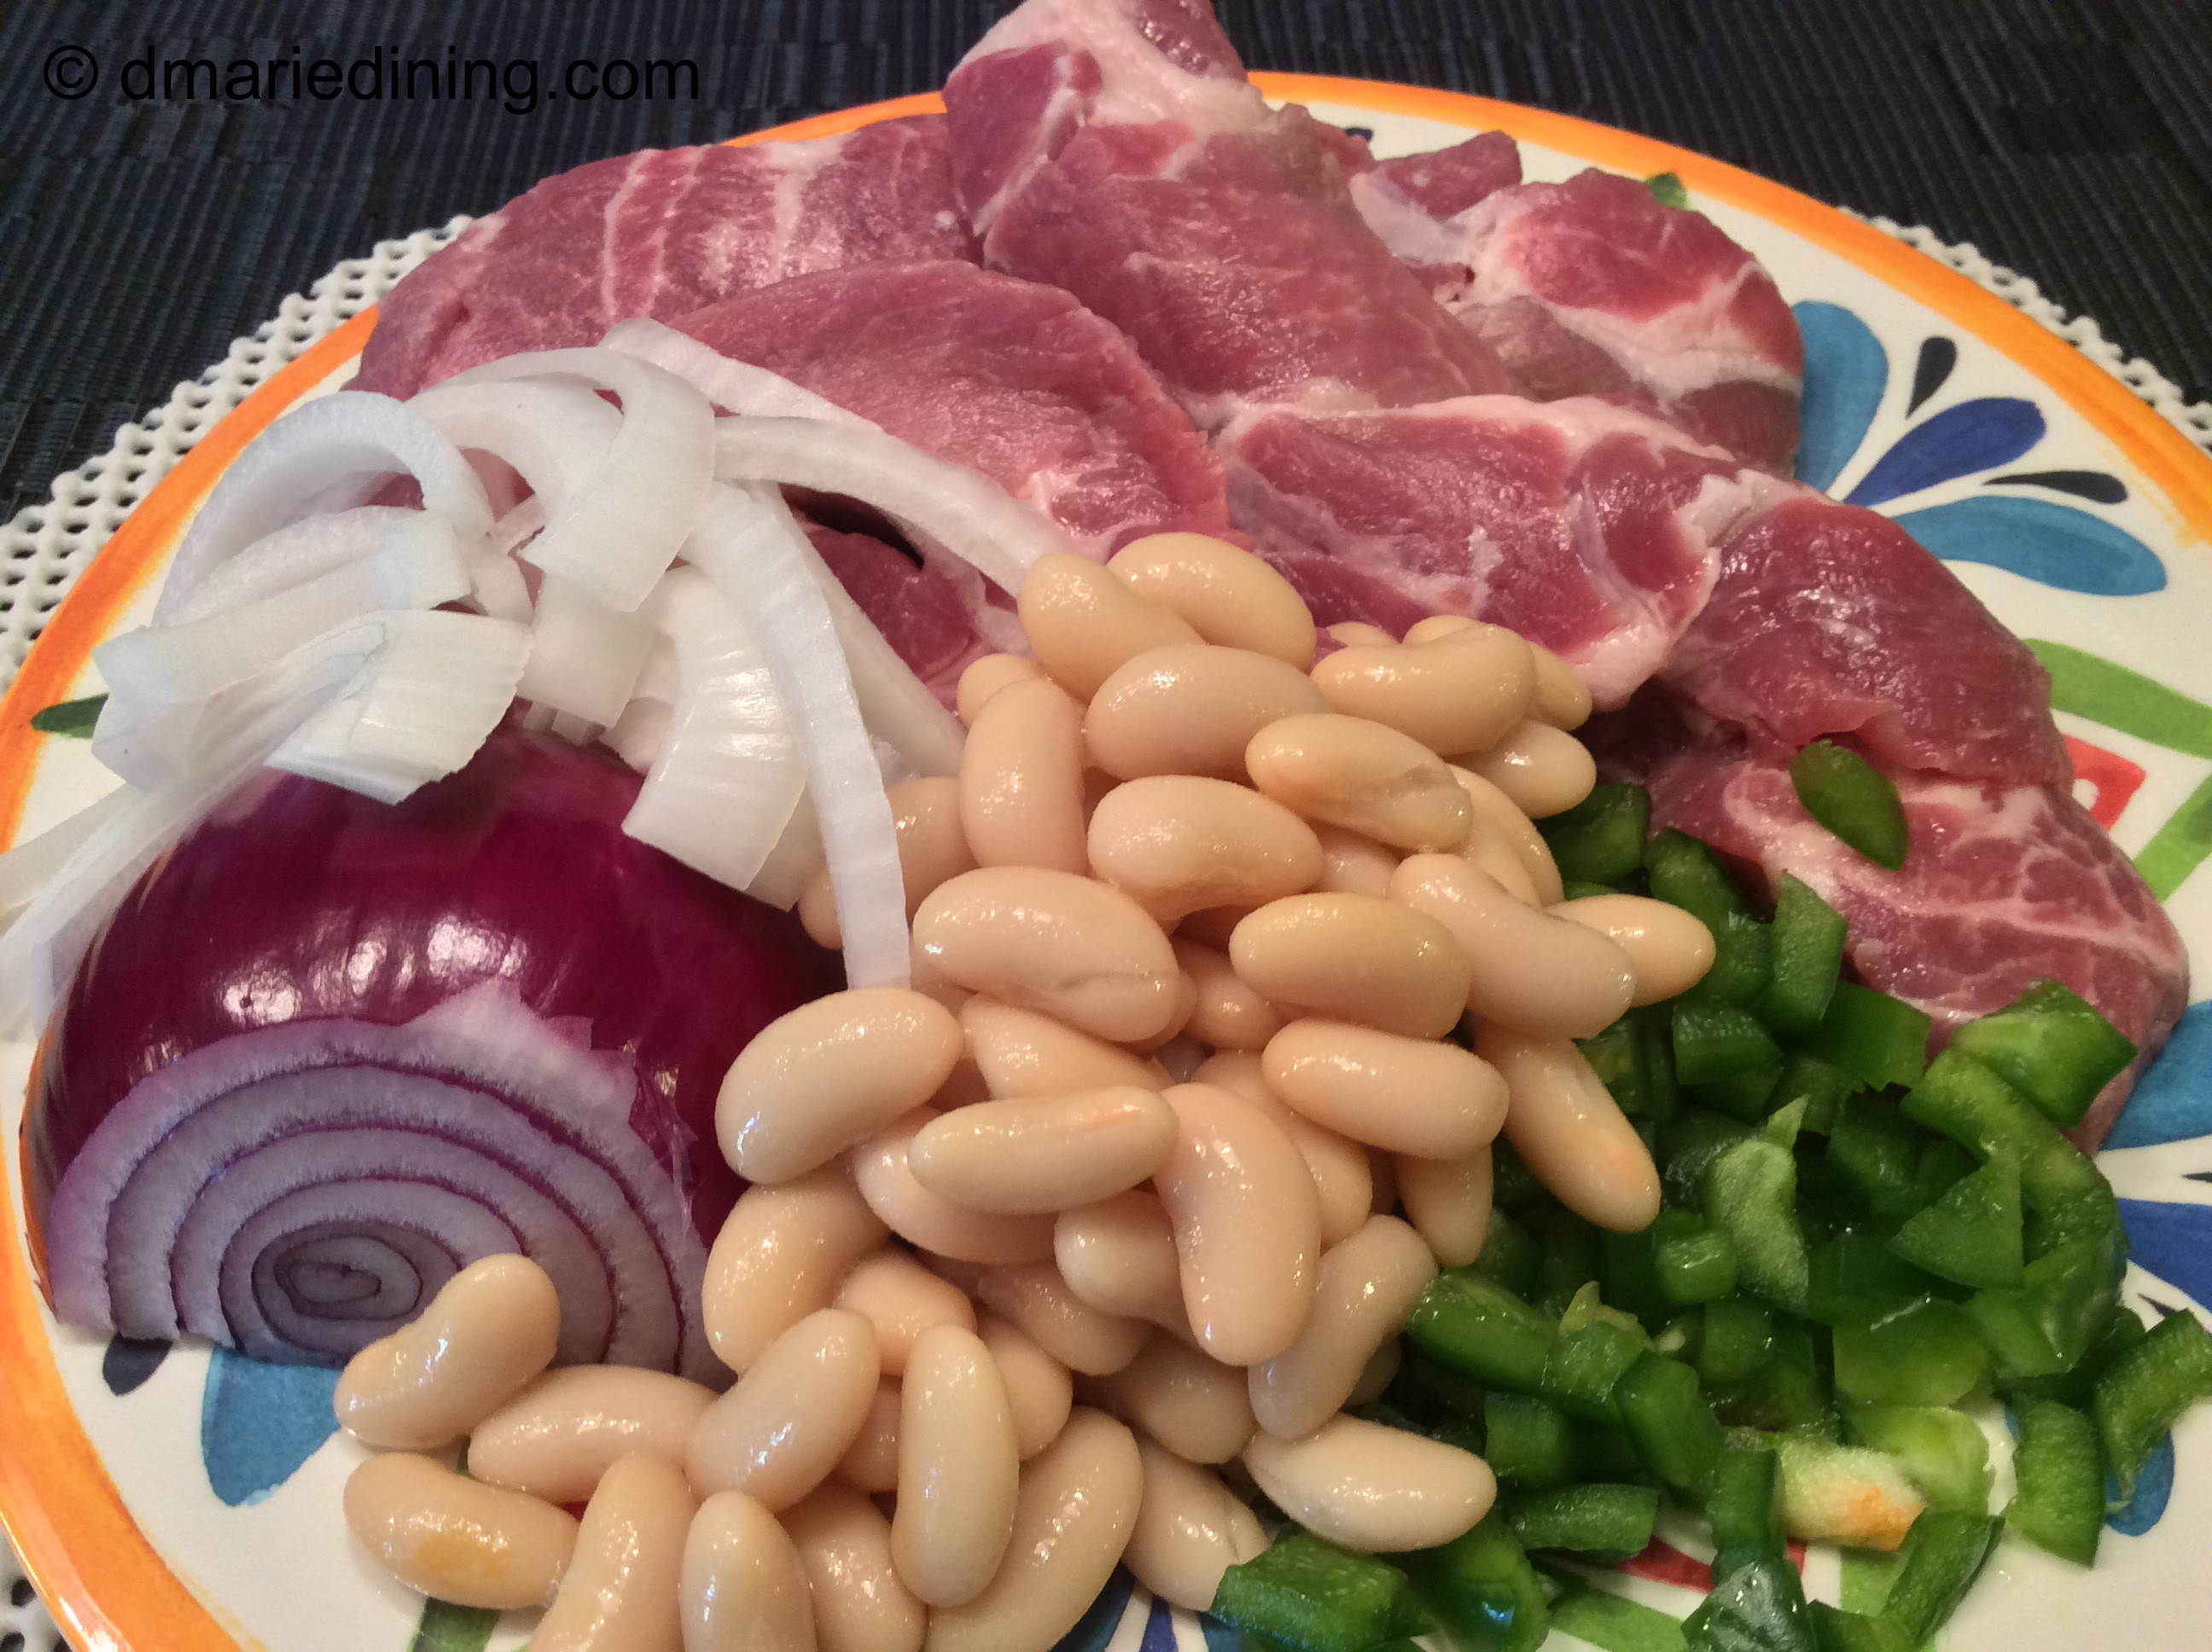
I spotted some nice country style ribs at the grocer while shopping this week. They looked so good and were on sale so I couldn’t pass them up. I was sure I could come up with a new recipe to include the country style ribs so they landed in my cart.
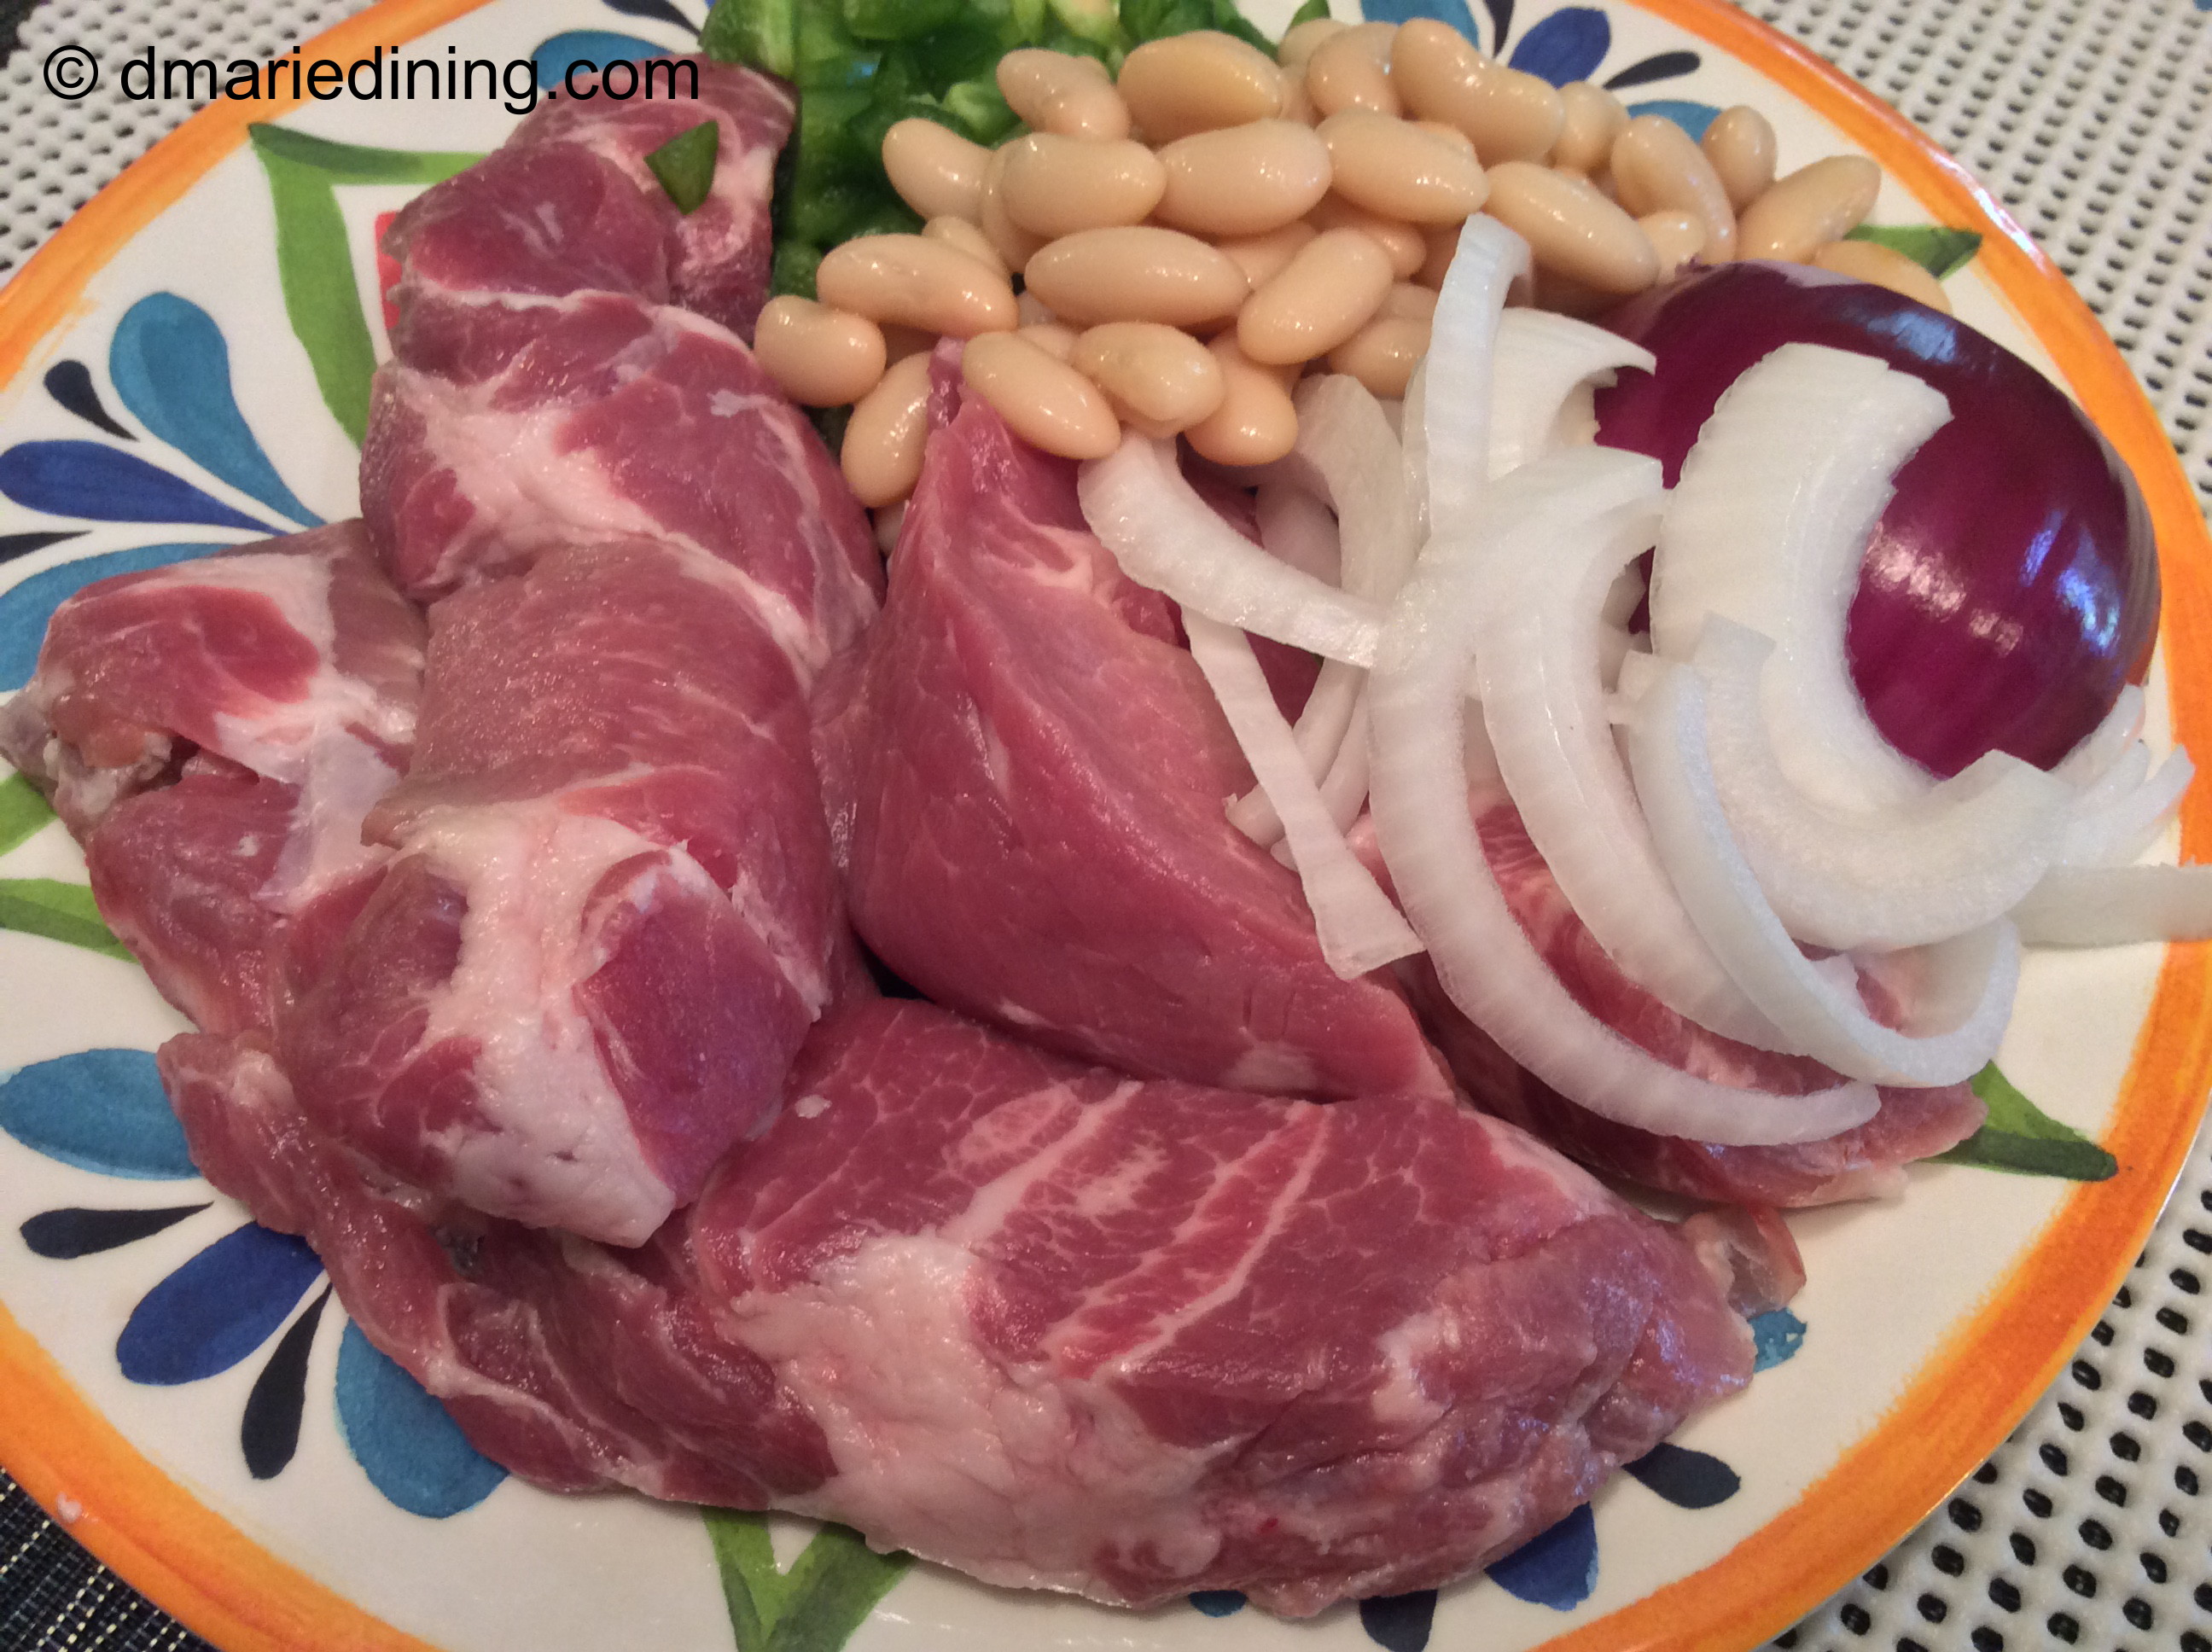
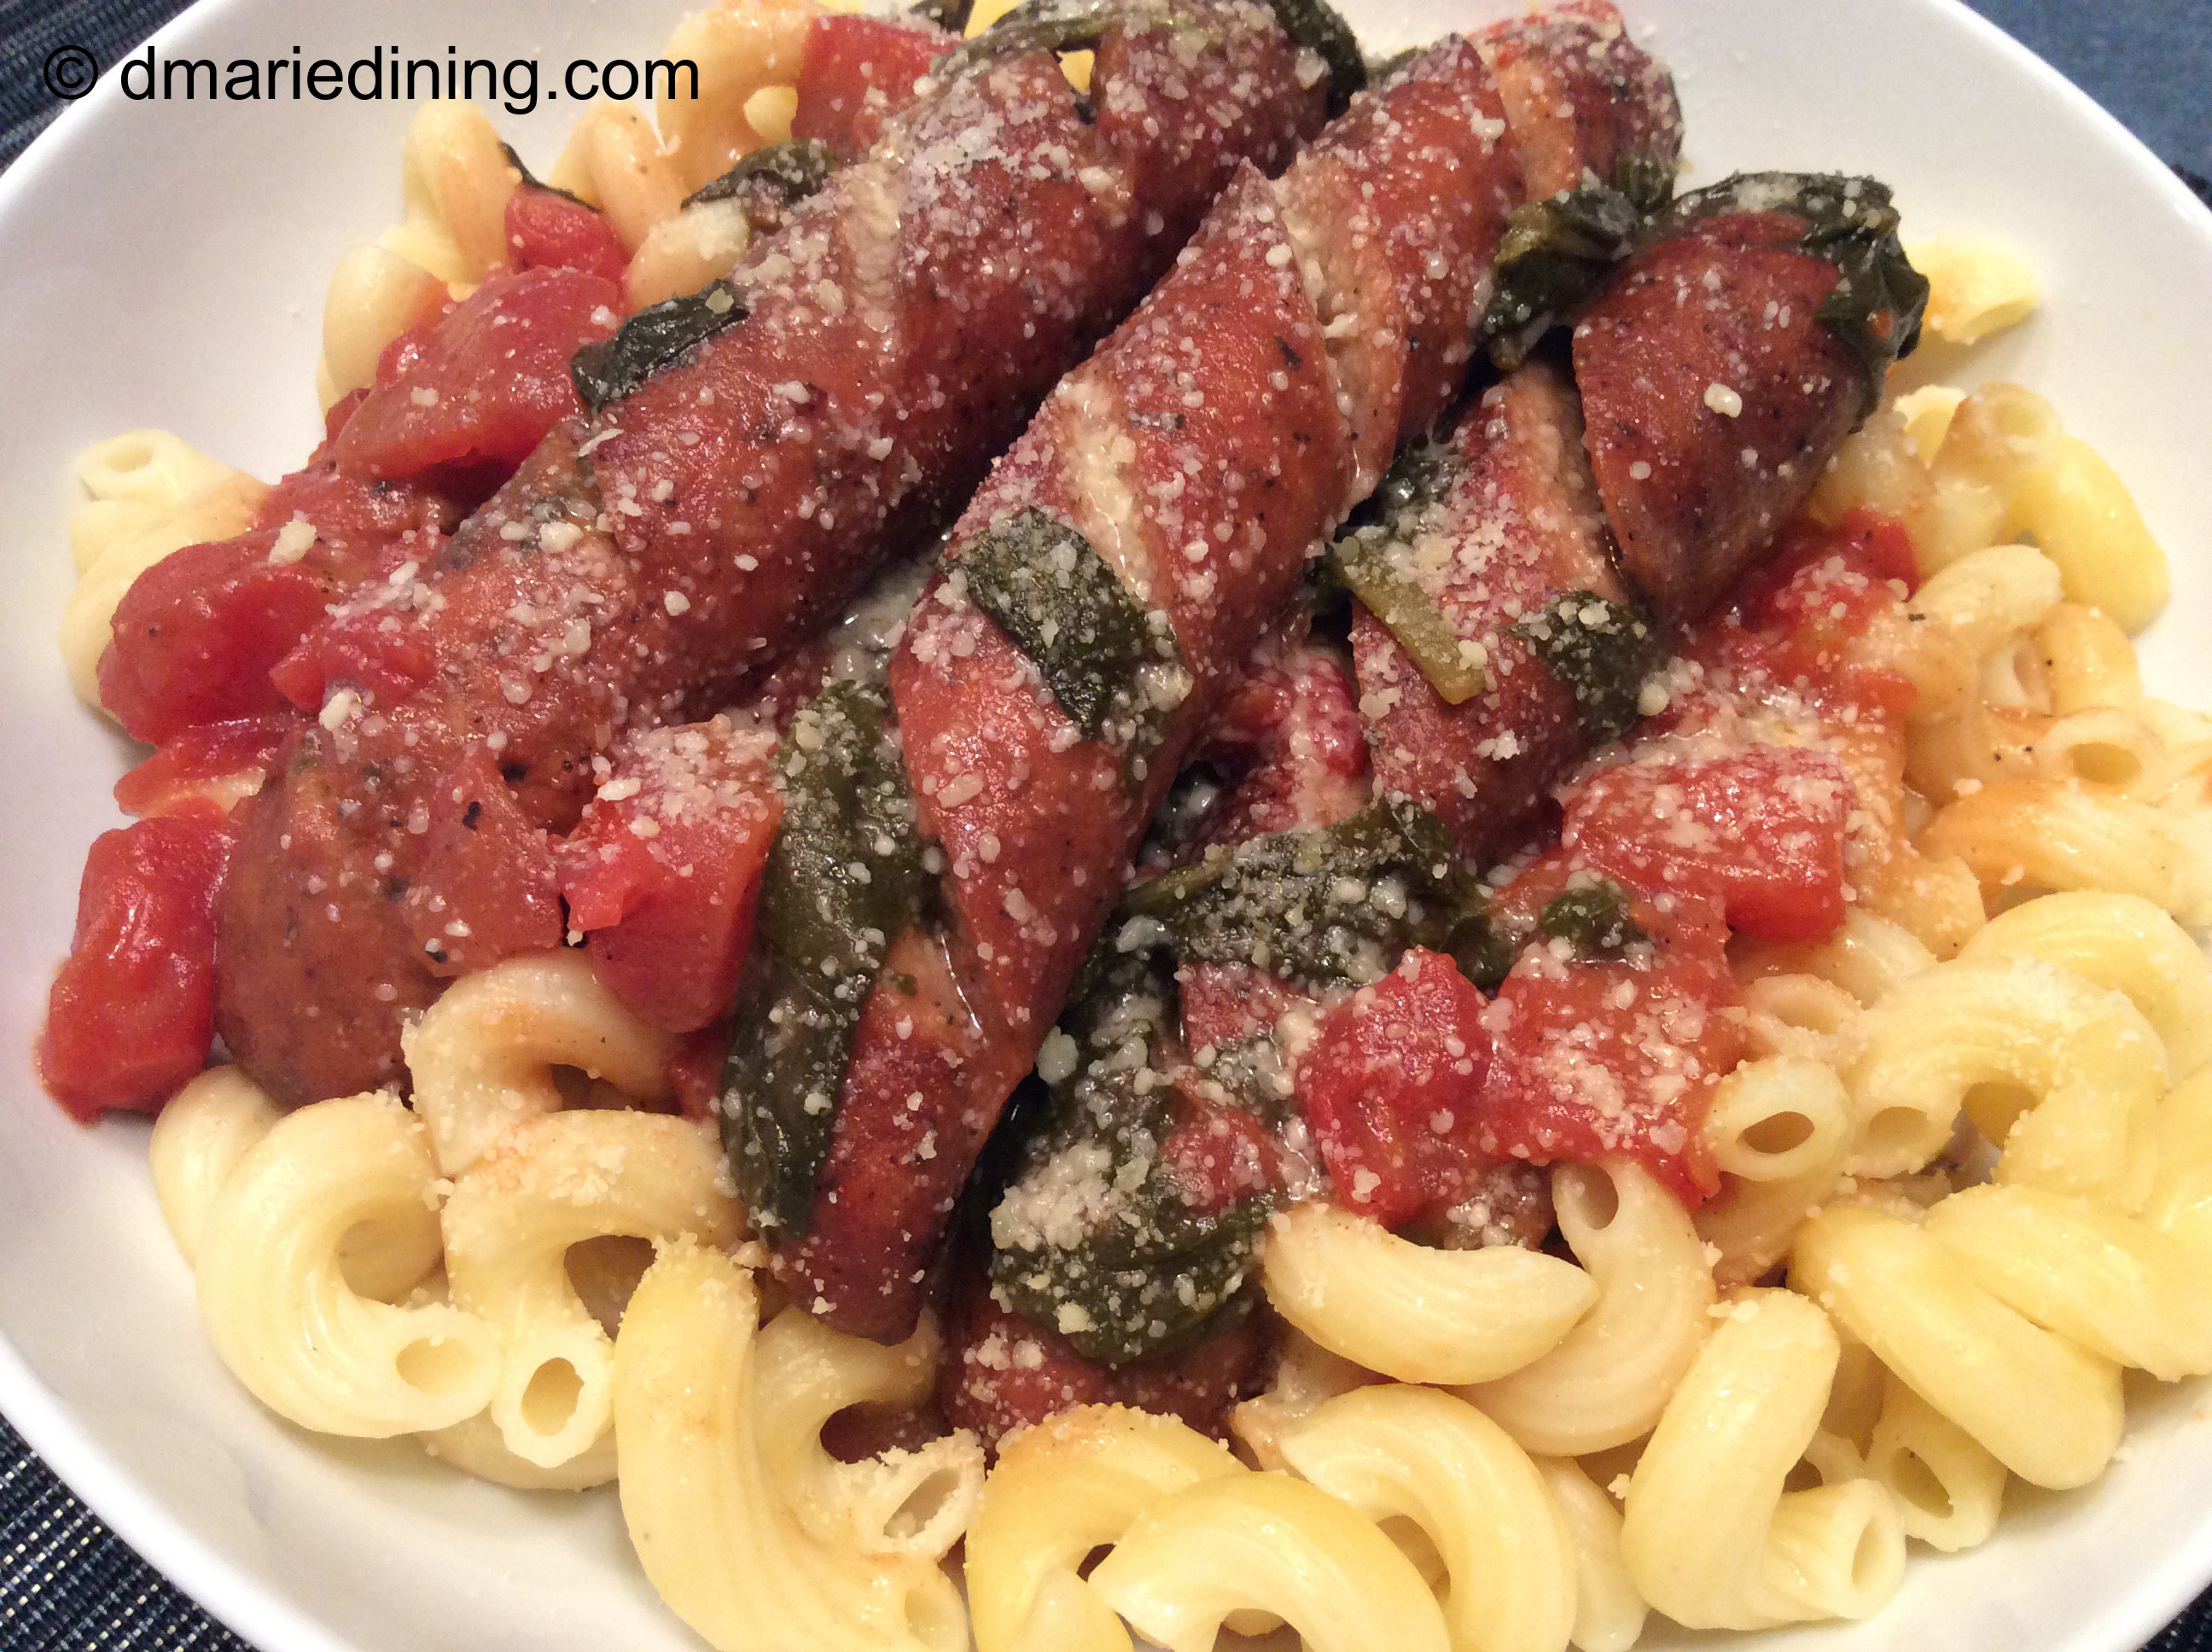
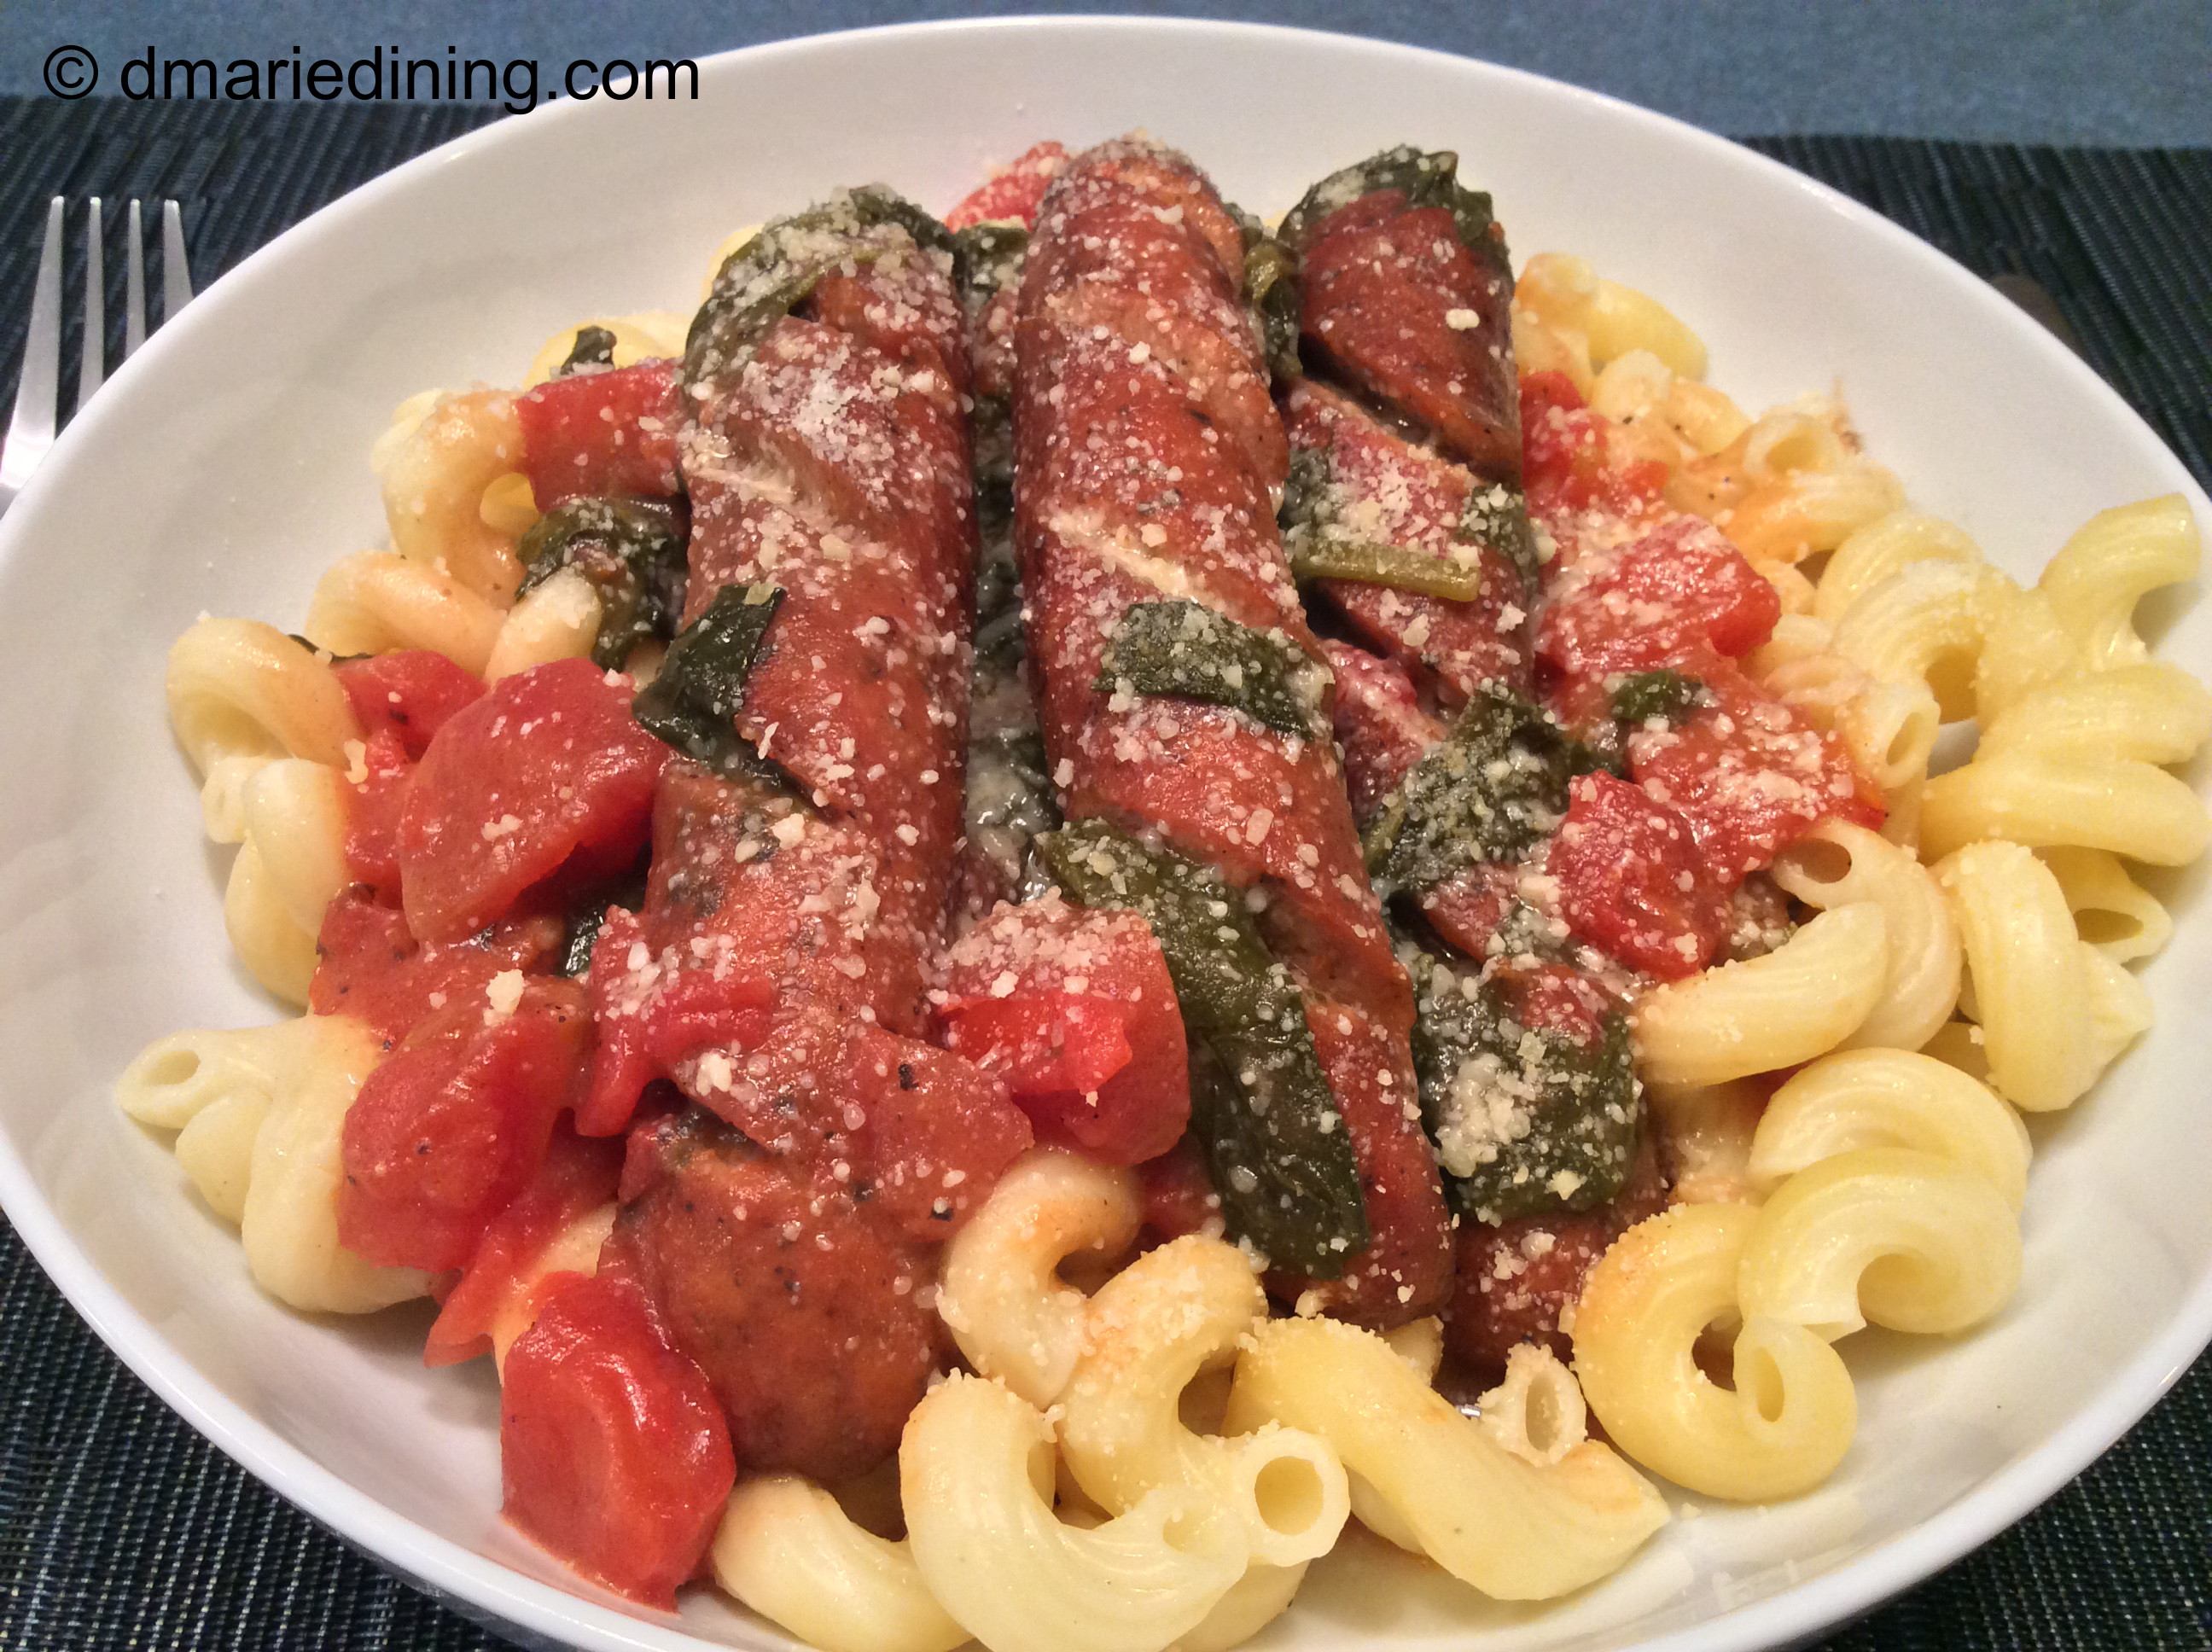
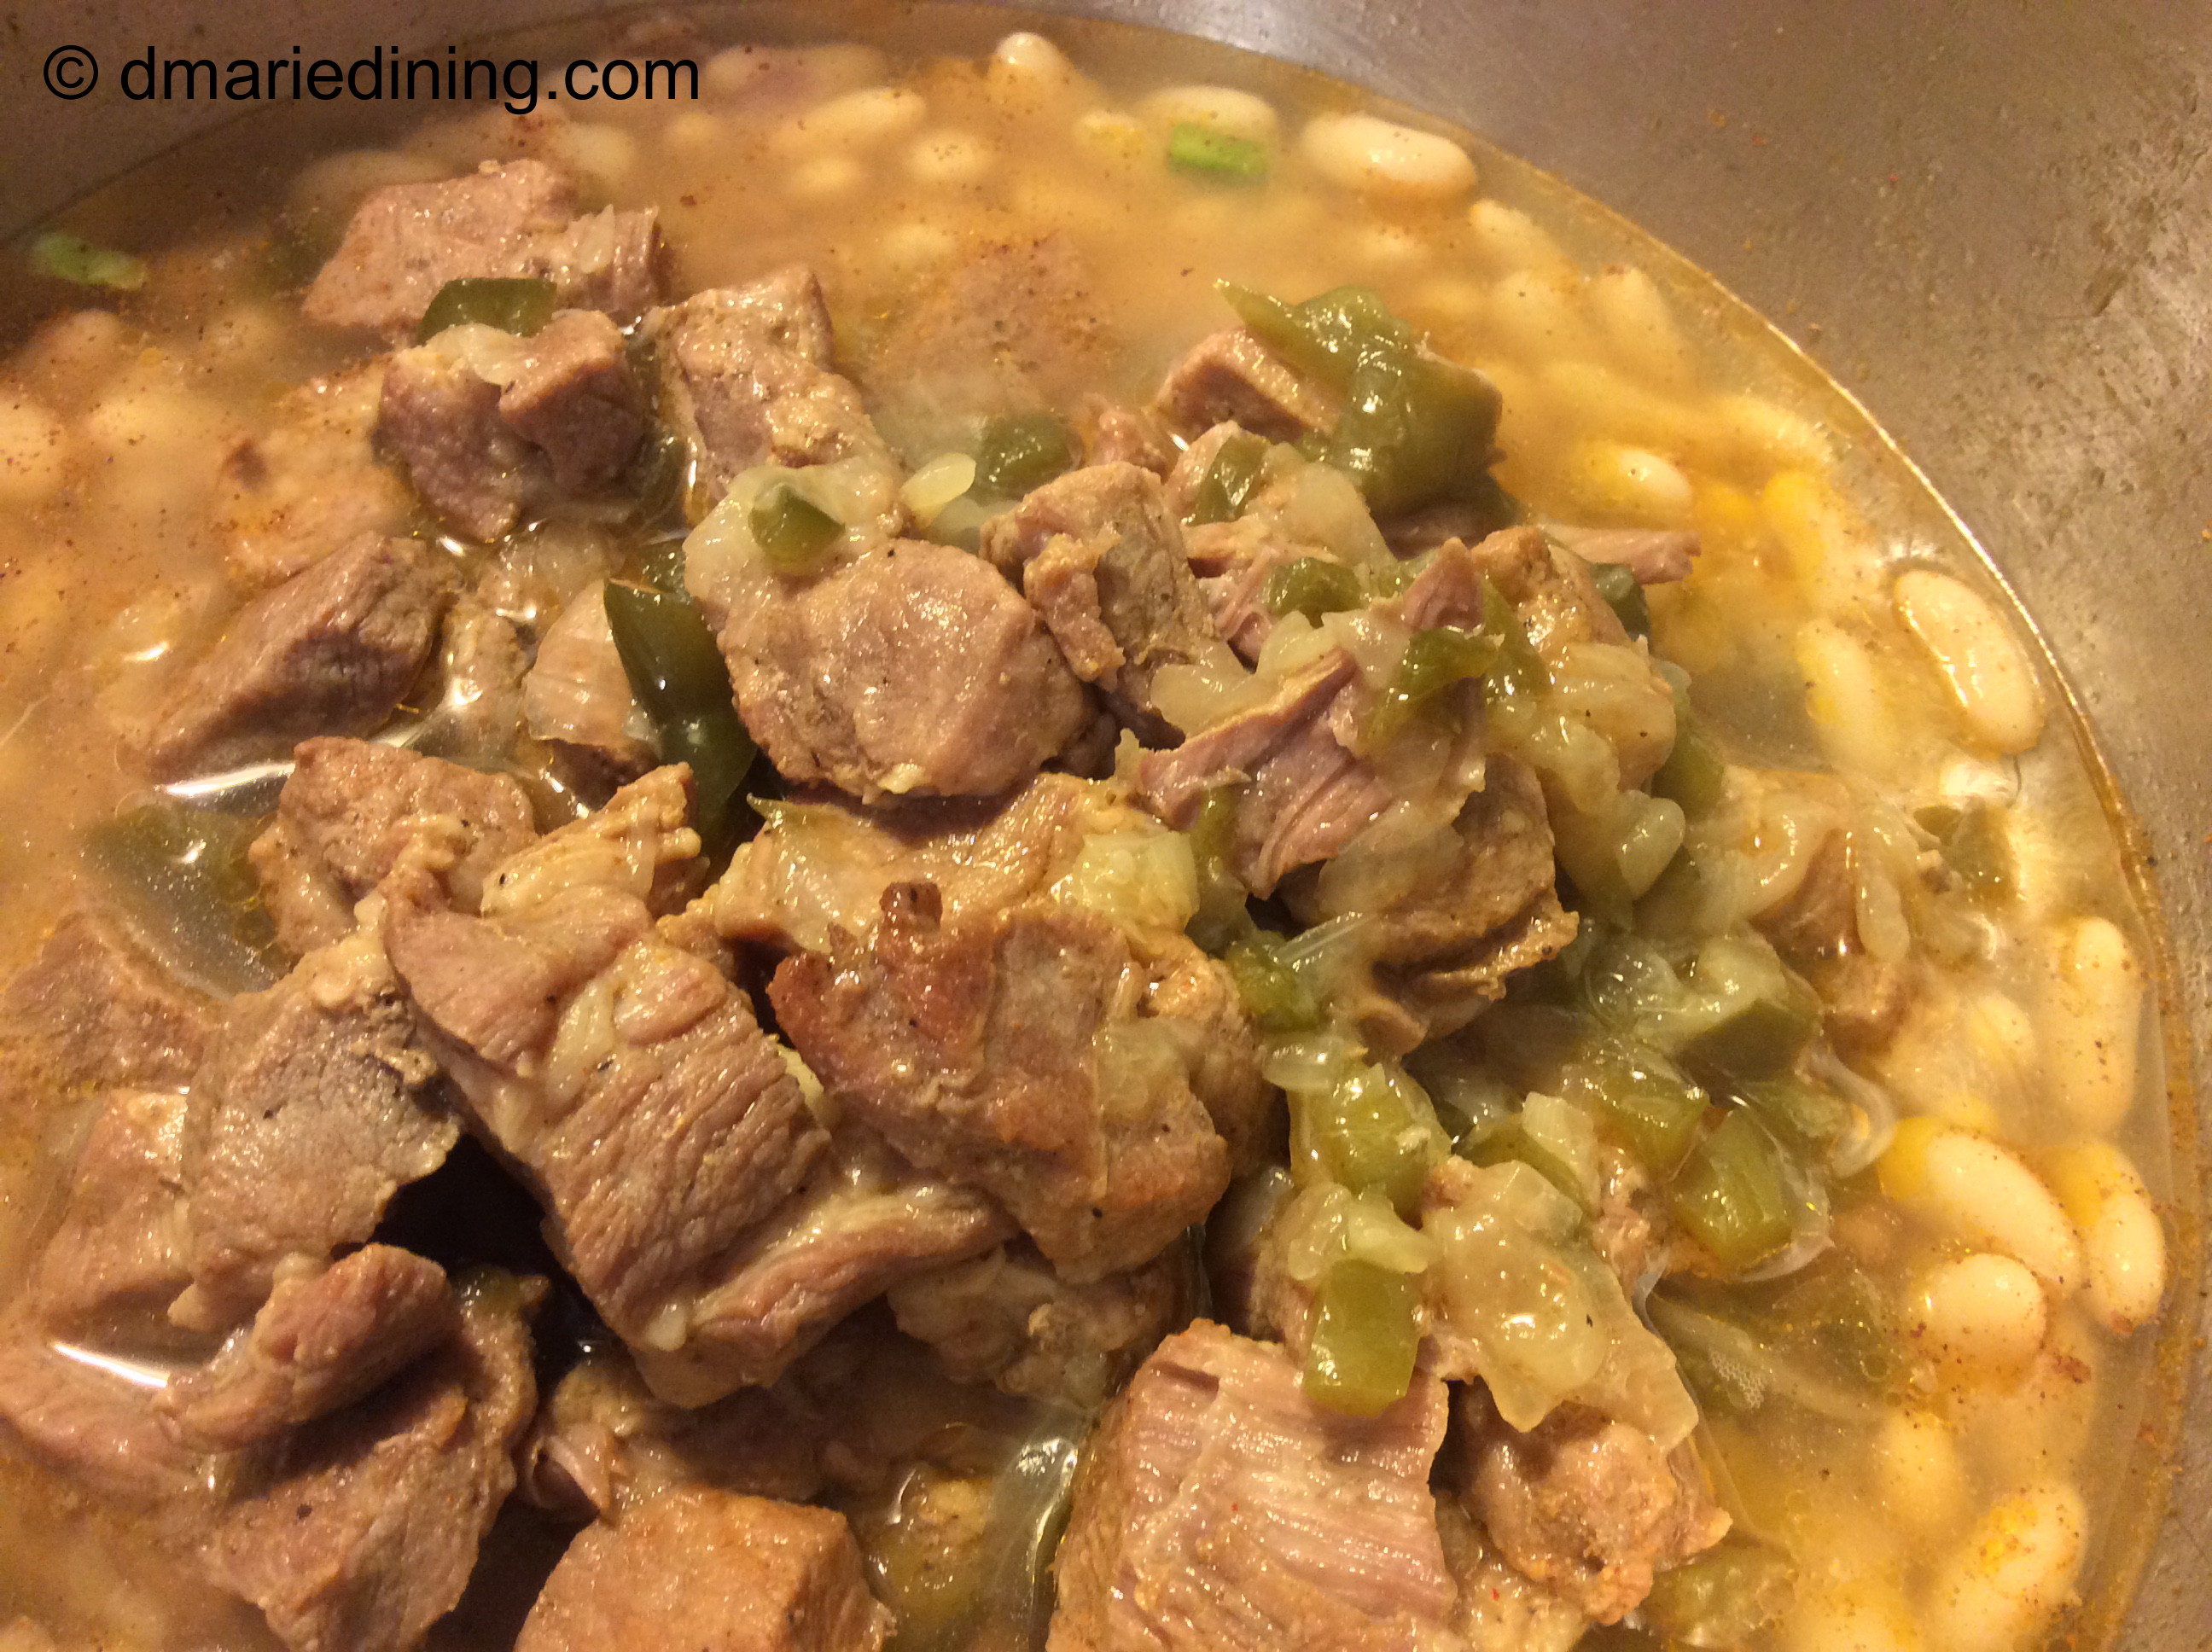
Country style ribs are thick and meaty and are great in chili, stew or all by themselves. I am not sure if I should classify my Pork and White Bean Stew as a stew or a chili dish. I will leave that up to others. For now I will call it a stew. I just liked the idea of the pork with white beans and a few fresh veggies. Plus, one pot dishes are at the top of my list when it comes to cooking. Who wants to clean a lot of pots and pans when you can toss everything into one pot? Definitely, not me. In the case of my Pork and White Bean Stew I did use two pots. I used a pressure cooker to speed up the process of making the pork nice and tender. If you are not comfortable using a pressure cooker I would stick to cooking the pork a little longer to make sure it is tender. Just don’t over cook the meat or it will be dry and chewy.
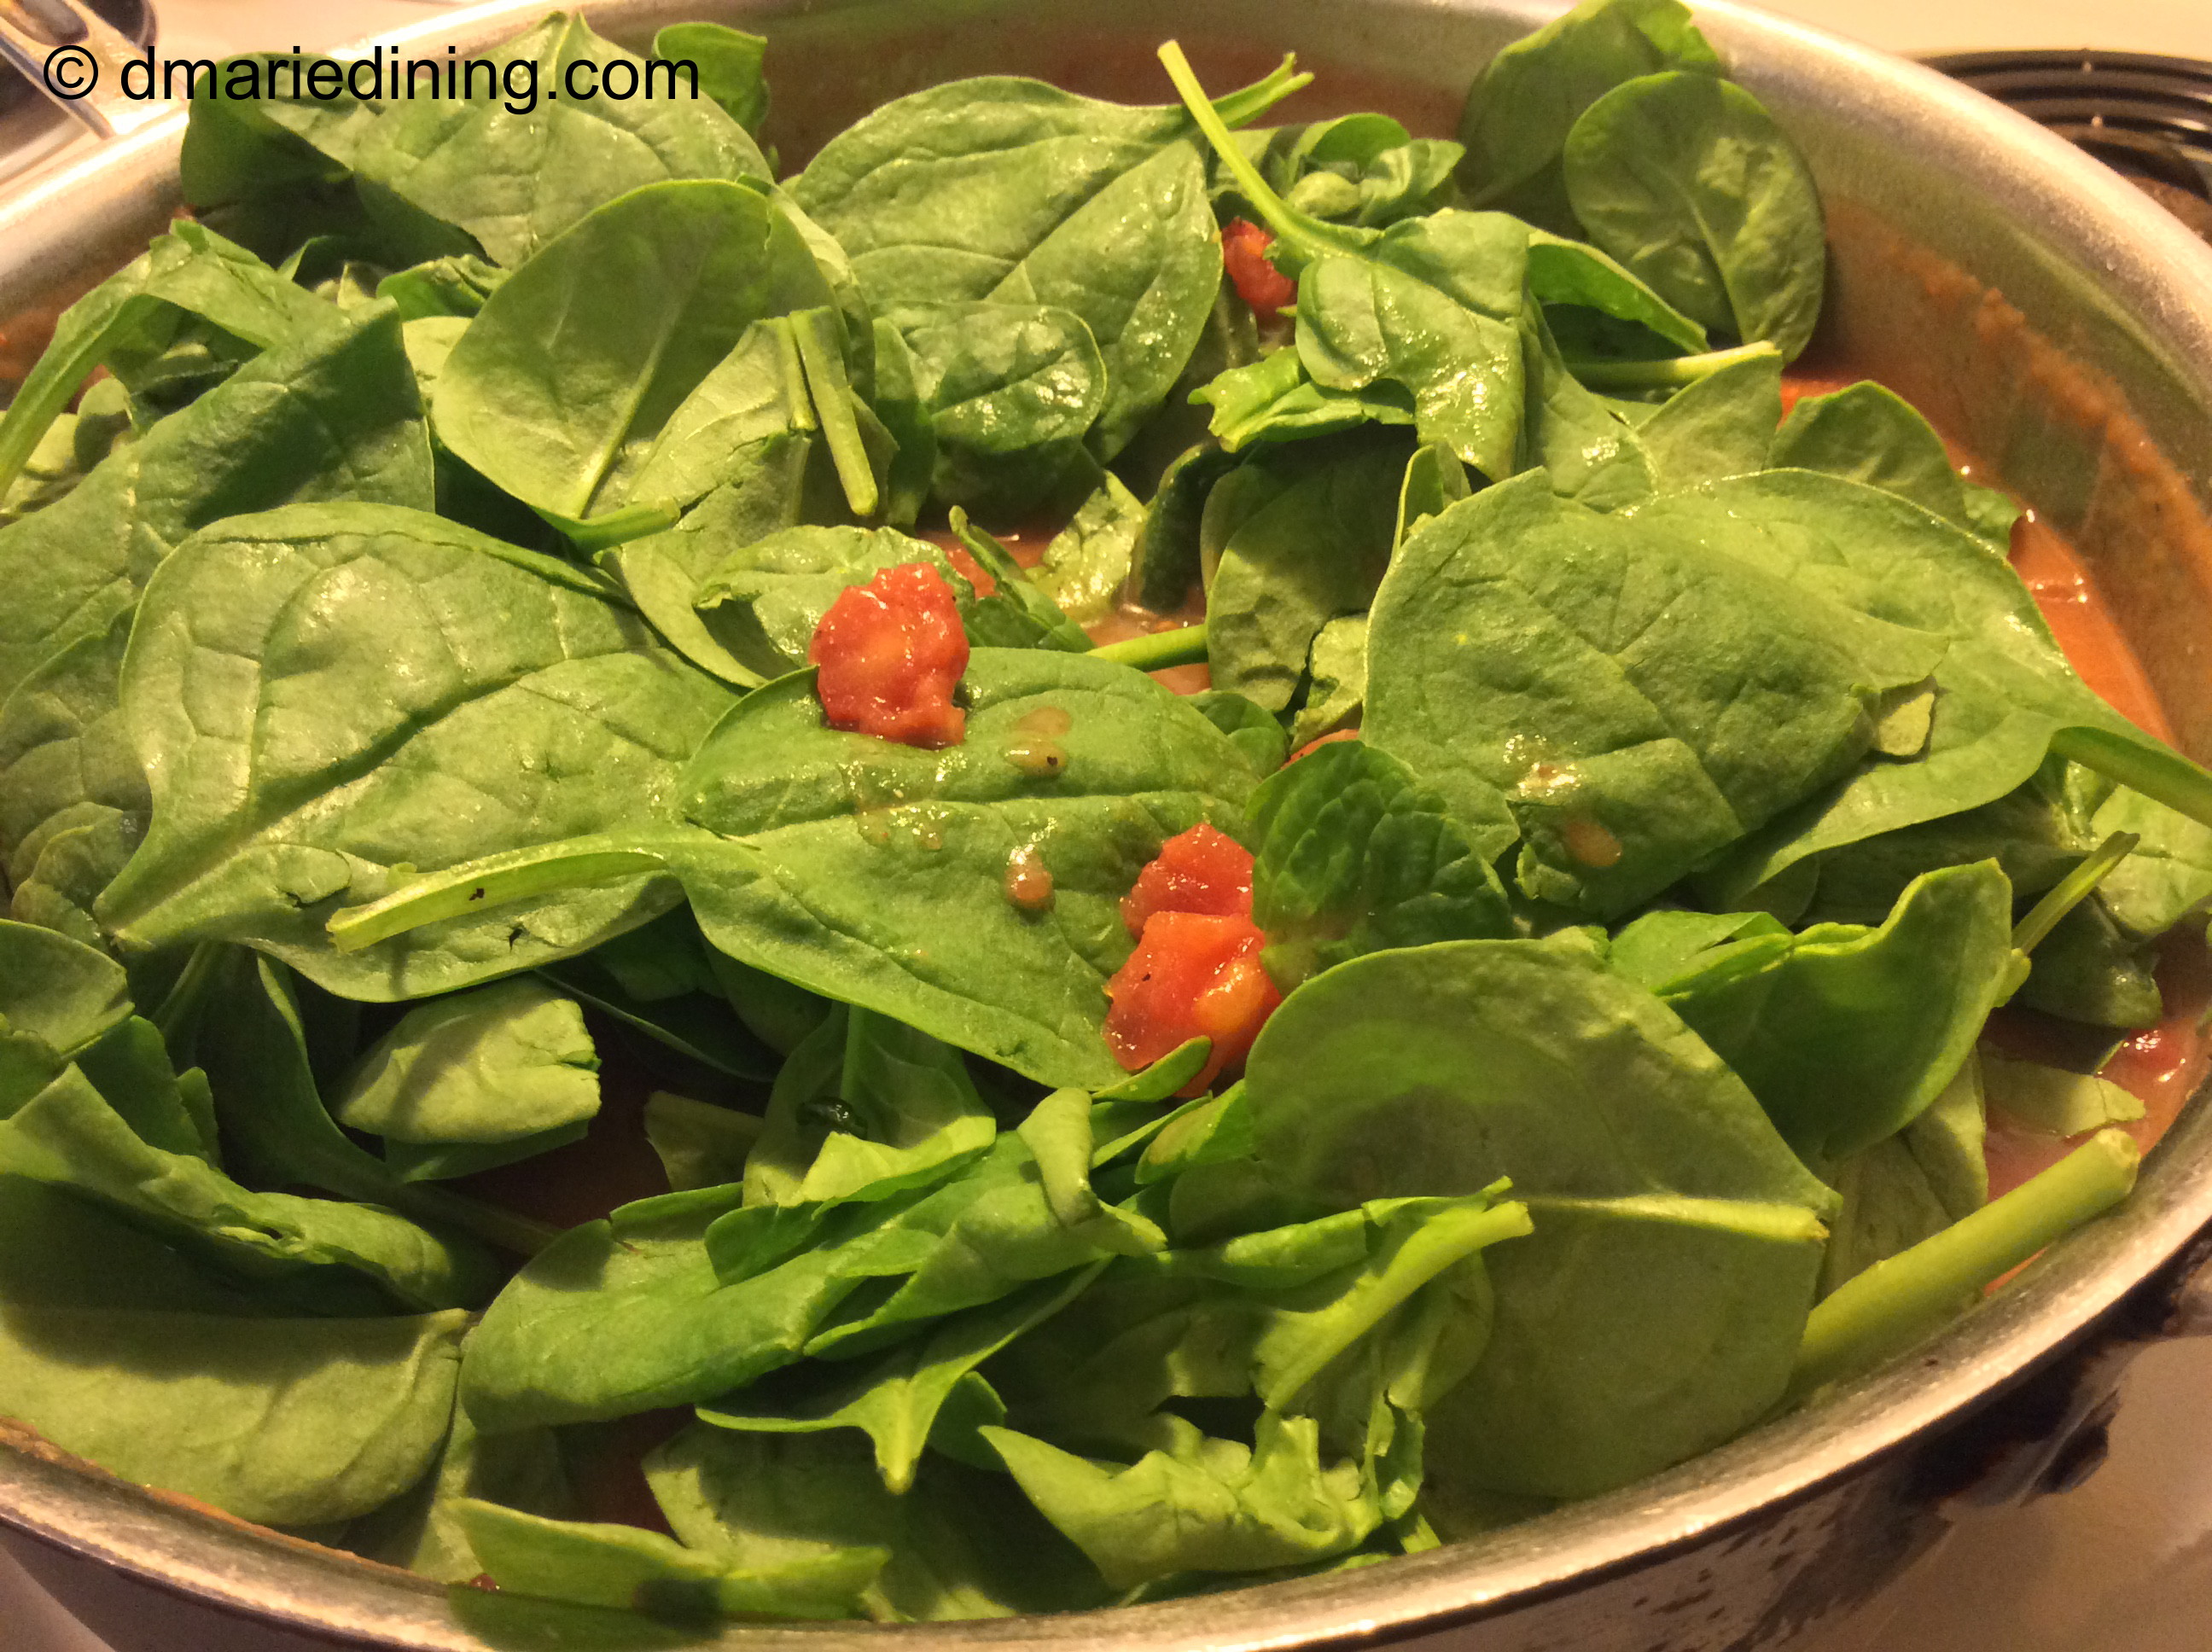
The flavors of the pork were amazing with the white beans. At the last minute, I decided to throw some fresh chopped tomatoes from our garden into the pot to give the dish a pop of color. The smell of the home grown tomatoes hit my nose before I could even take a bite of the stew. Wow, what a difference between home grown tomatoes and hot house tomatoes. Home grown beats out store bought tomatoes every time.
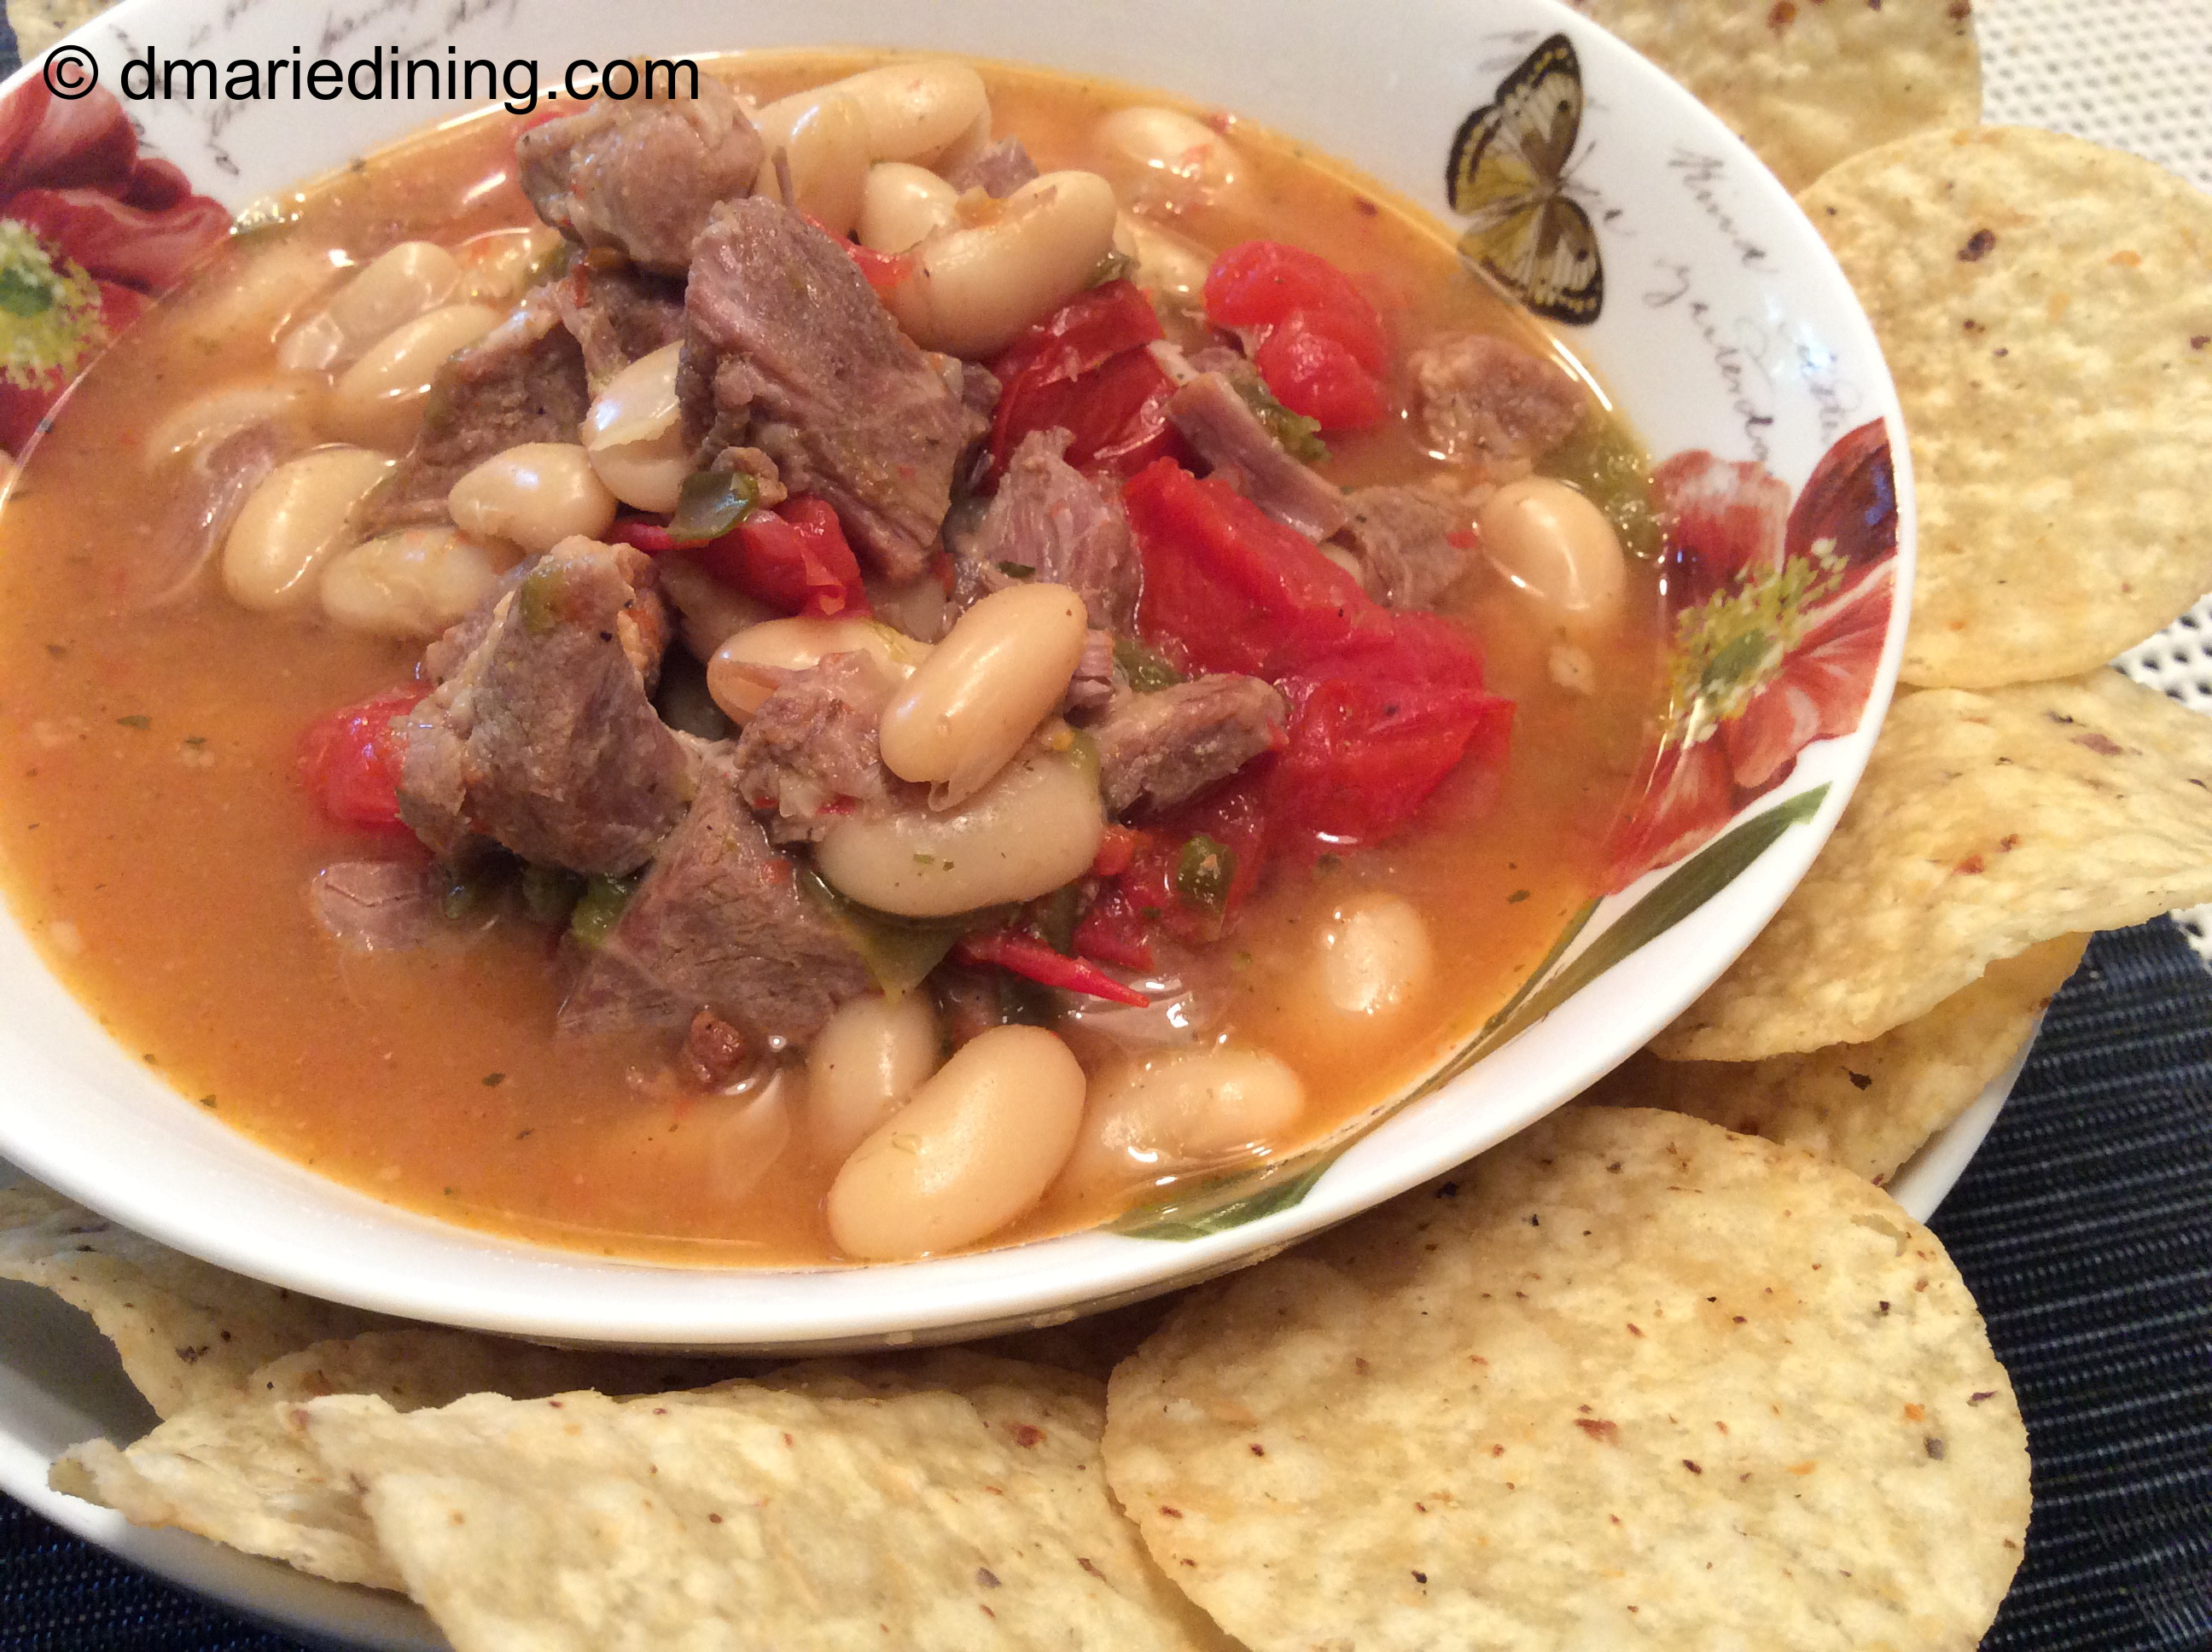
Stew or chili? I am still not sure which one describes this dish the best. Whatever you decide to call it, I know you will like it.
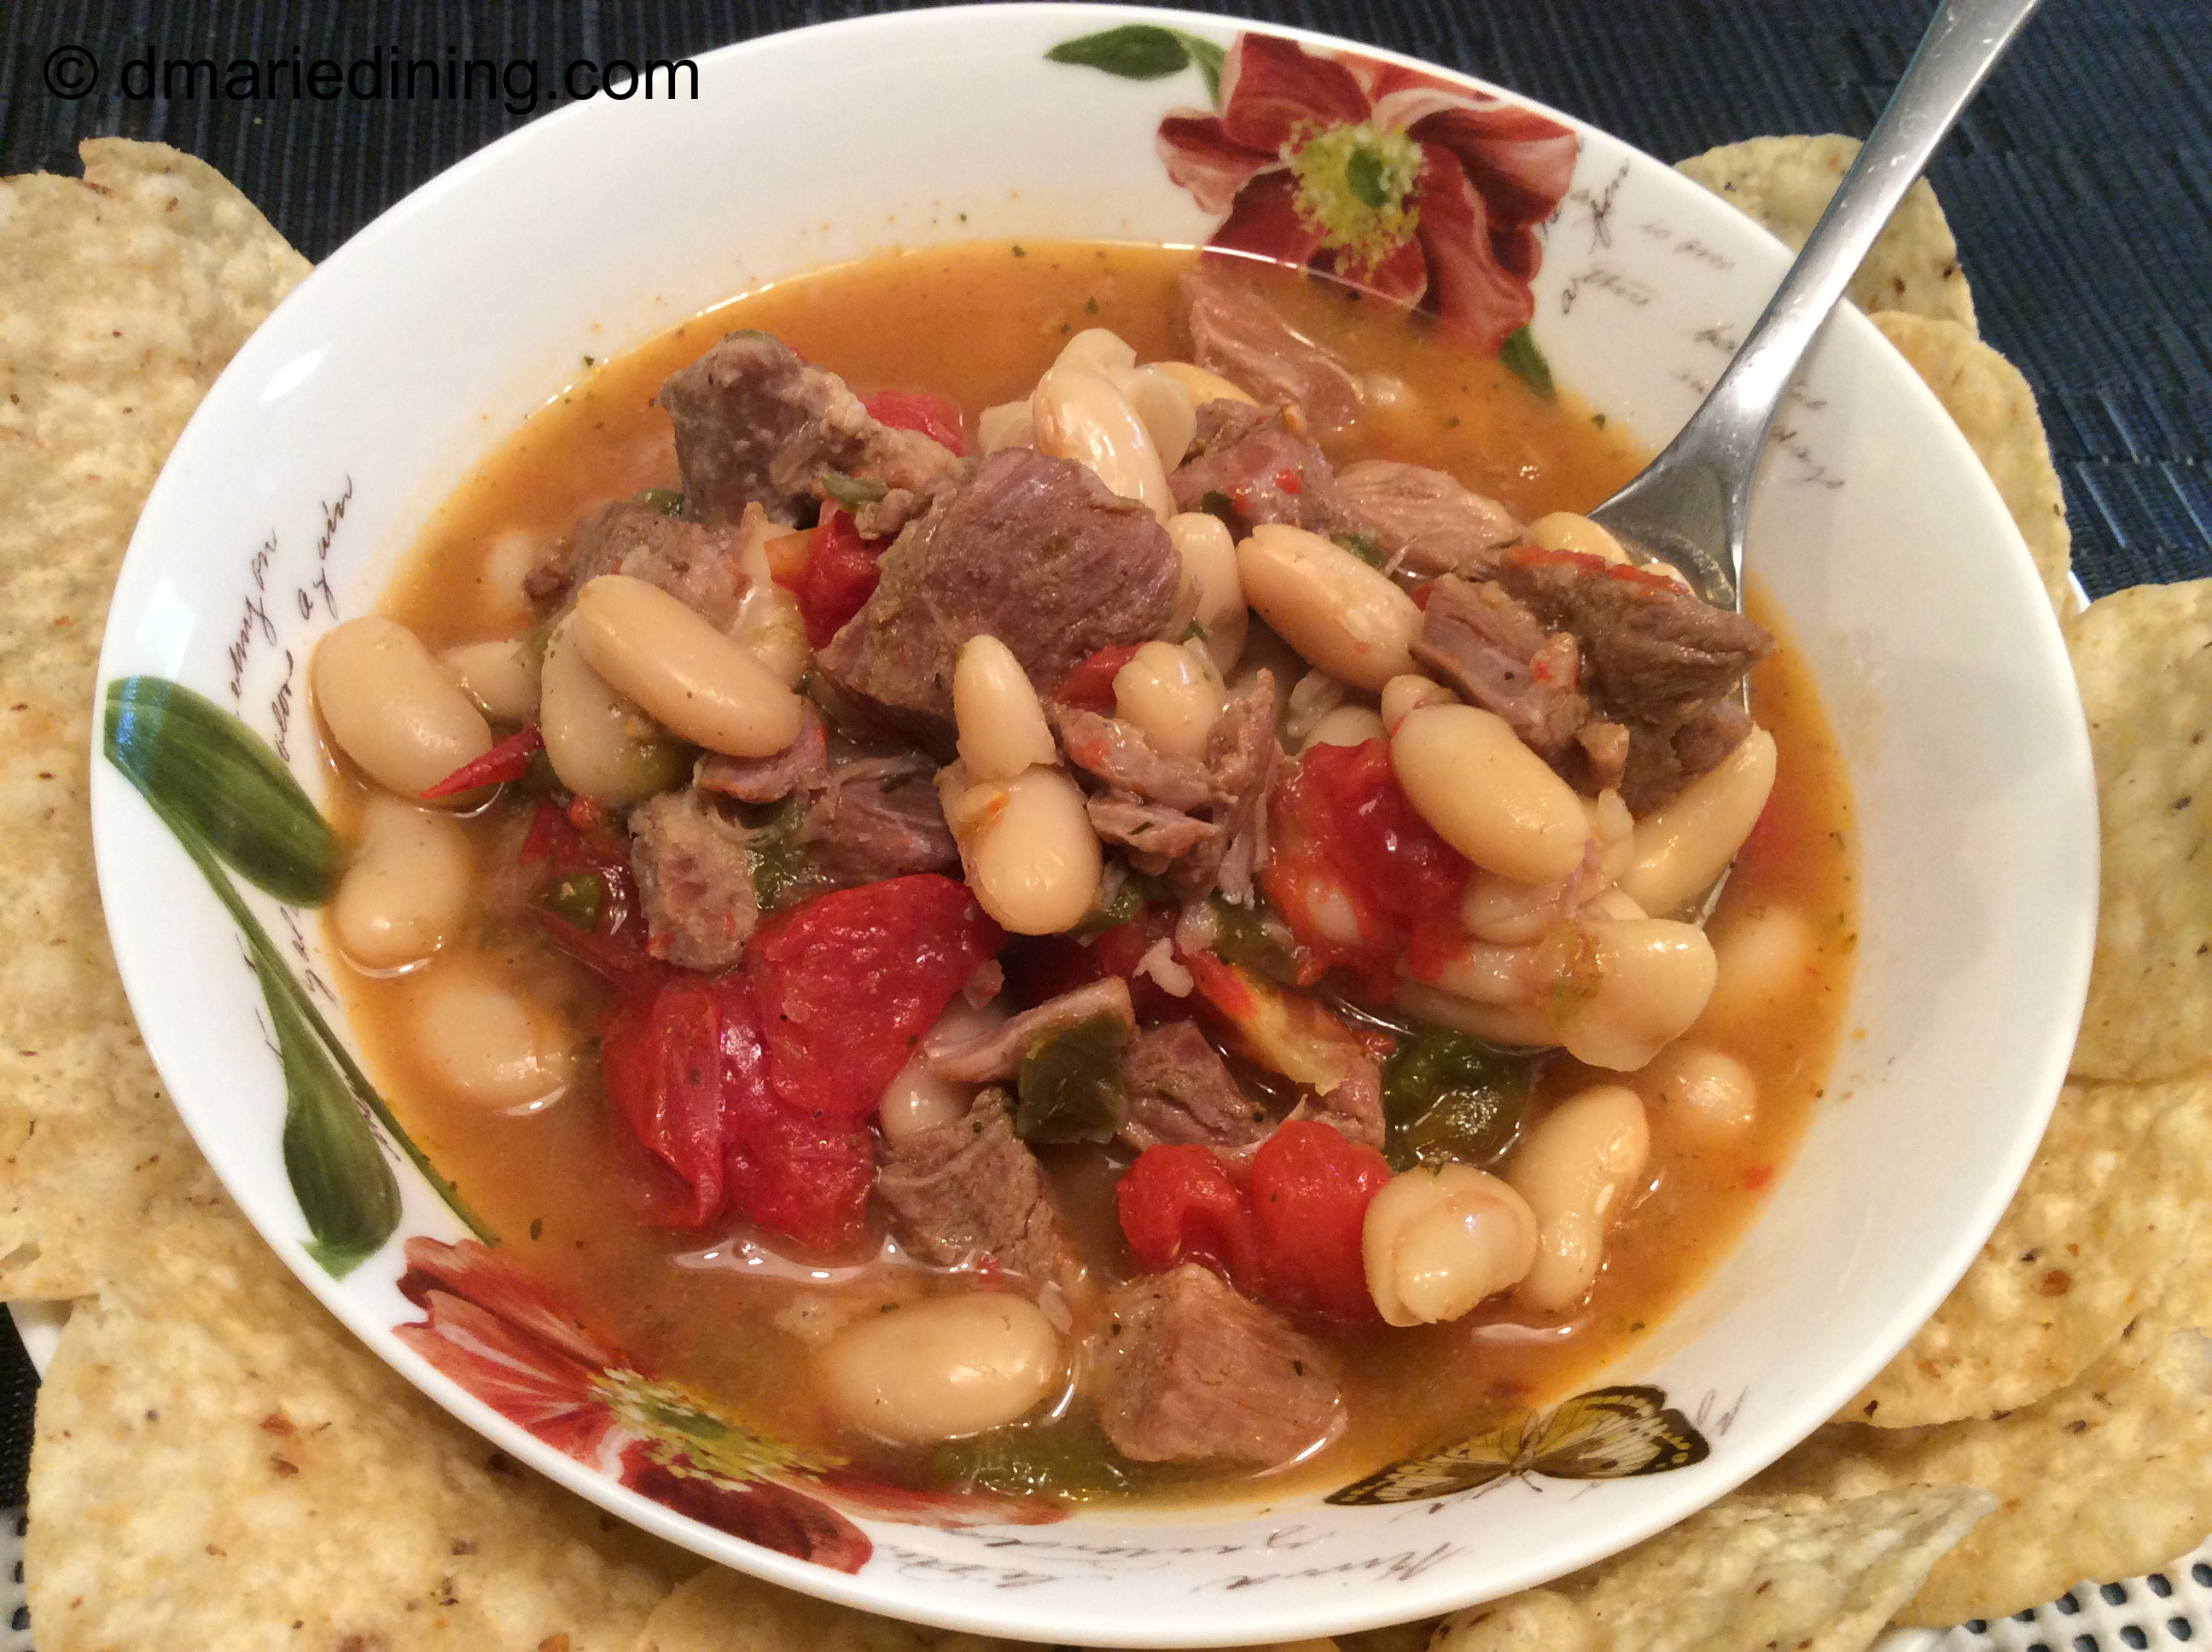
Pork and White Bean Stew
Ingredients:
4 – 6 thick country style ribs cubed
2 15oz cans cannellini beans (do not rinse/drain)
1 can green chiles
2 small tomatoes large dice
1 small onion diced
1 small green pepper diced
1 clove garlic minced
3 cups chicken broth
2 cups water
1tbsp cilantro
1 tbsp salt
1 tbsp ground black pepper
1 tsp cumin
1 tsp nutmeg
1 tsp parsley chopped
½ tsp cayenne (optional)
1 pkg whit chicken chili dry mix
Place pork in a large bowl and sprinkle with salt, pepper and cayenne. Toss until well coated. If comfortable with using a pressure cooker, place pork in pressure cooker with water and cook for 30 minutes to tenderize meat. Then place pork and remaining ingredients in a large pot along with 1 cup of juice from pressure cooker. Skim off grease. Cook for 1 hour. If not comfortable with using a pressure cooker, place all ingredients in a large pot and cook for 2 hours over medium high heat until meat is tender.