I recently went on a cucumber buying spree because my local grocer had so many beautiful cucumbers on sale. In the summer months the store features produce from local area farmers. I try to support farmers as much as I can because when you get produce direct from a farm you know it was grown with tender loving care. Plus, the fruit and veggies are usually huge!

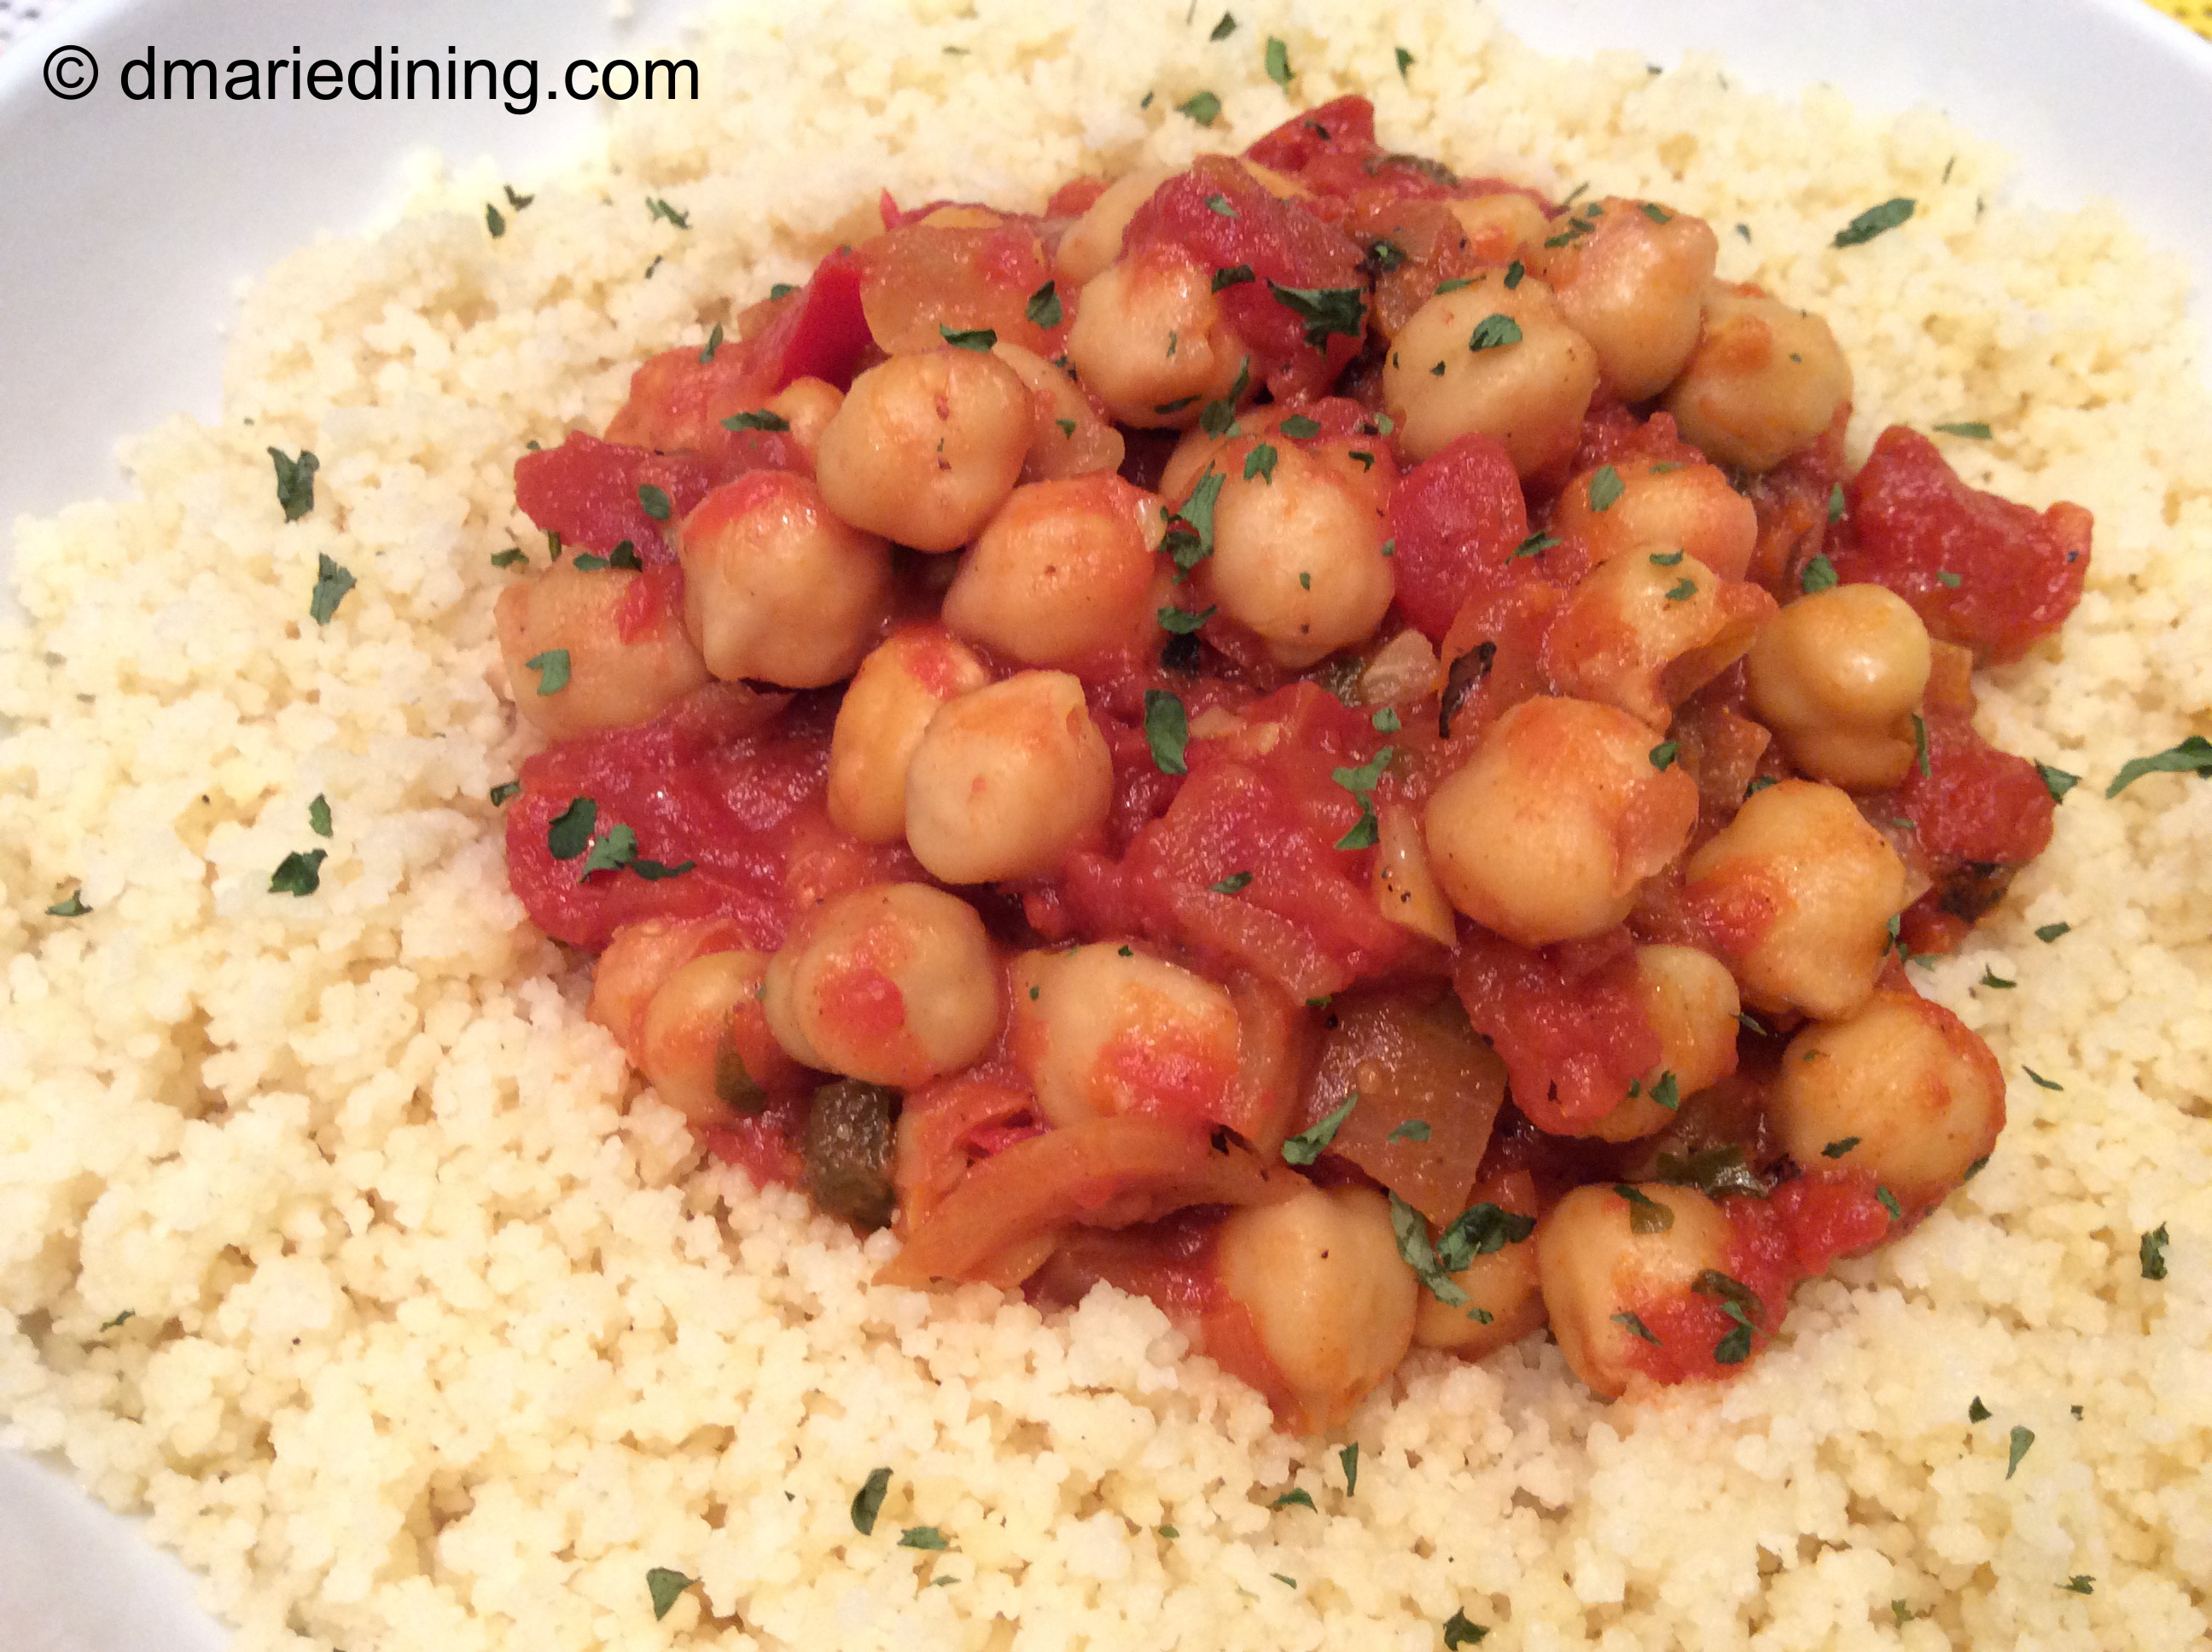
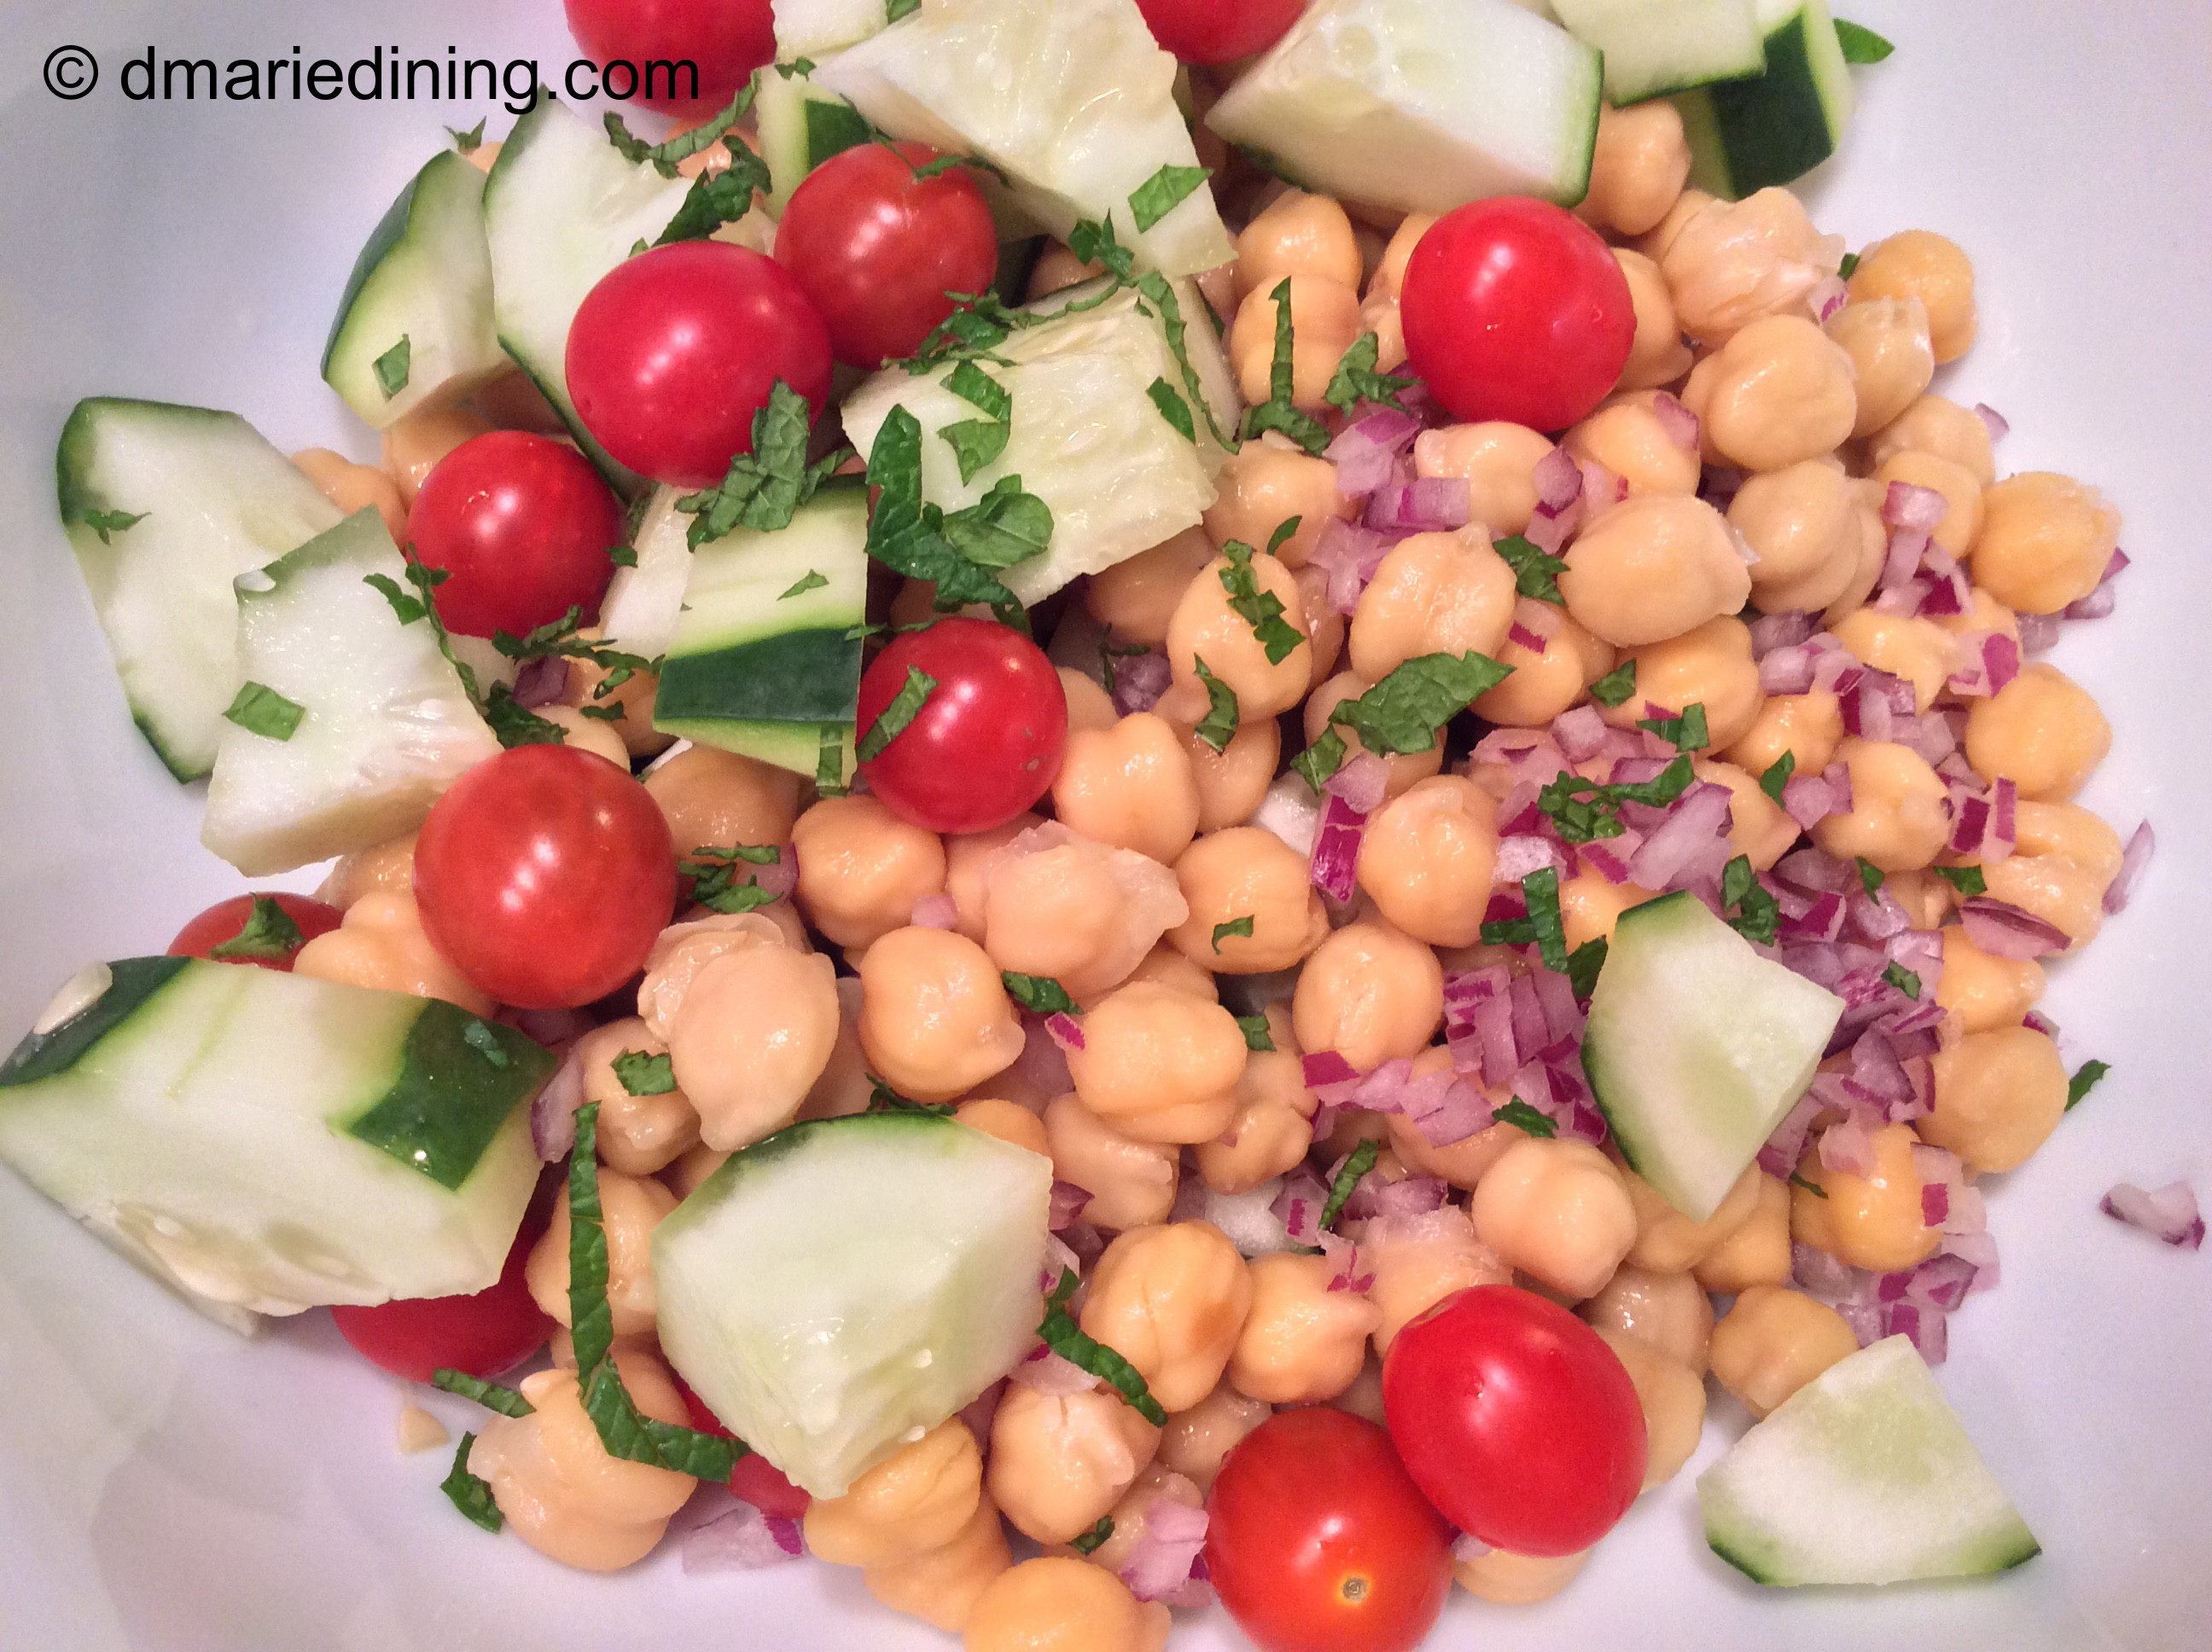
Anyway, my grocer had some really nice cucumbers and after eating a bunch of them all week I needed to find one more way of serving them besides with lettuce. I decided to keep it simple and incorporated a few items from my little garden like small cherry tomatoes and mint. In the end, I made a Chickpea and Cucumber Mint Salad.
The cucumbers were crisp. The tomatoes were sweet. And the chick peas were light but filling. To top it all off, the mint made the dish taste refreshing. If you like cucumbers and want a light refreshing salad, try making this Chickpea and Cucumber Mint Salad. I doubt you will be disappointed.
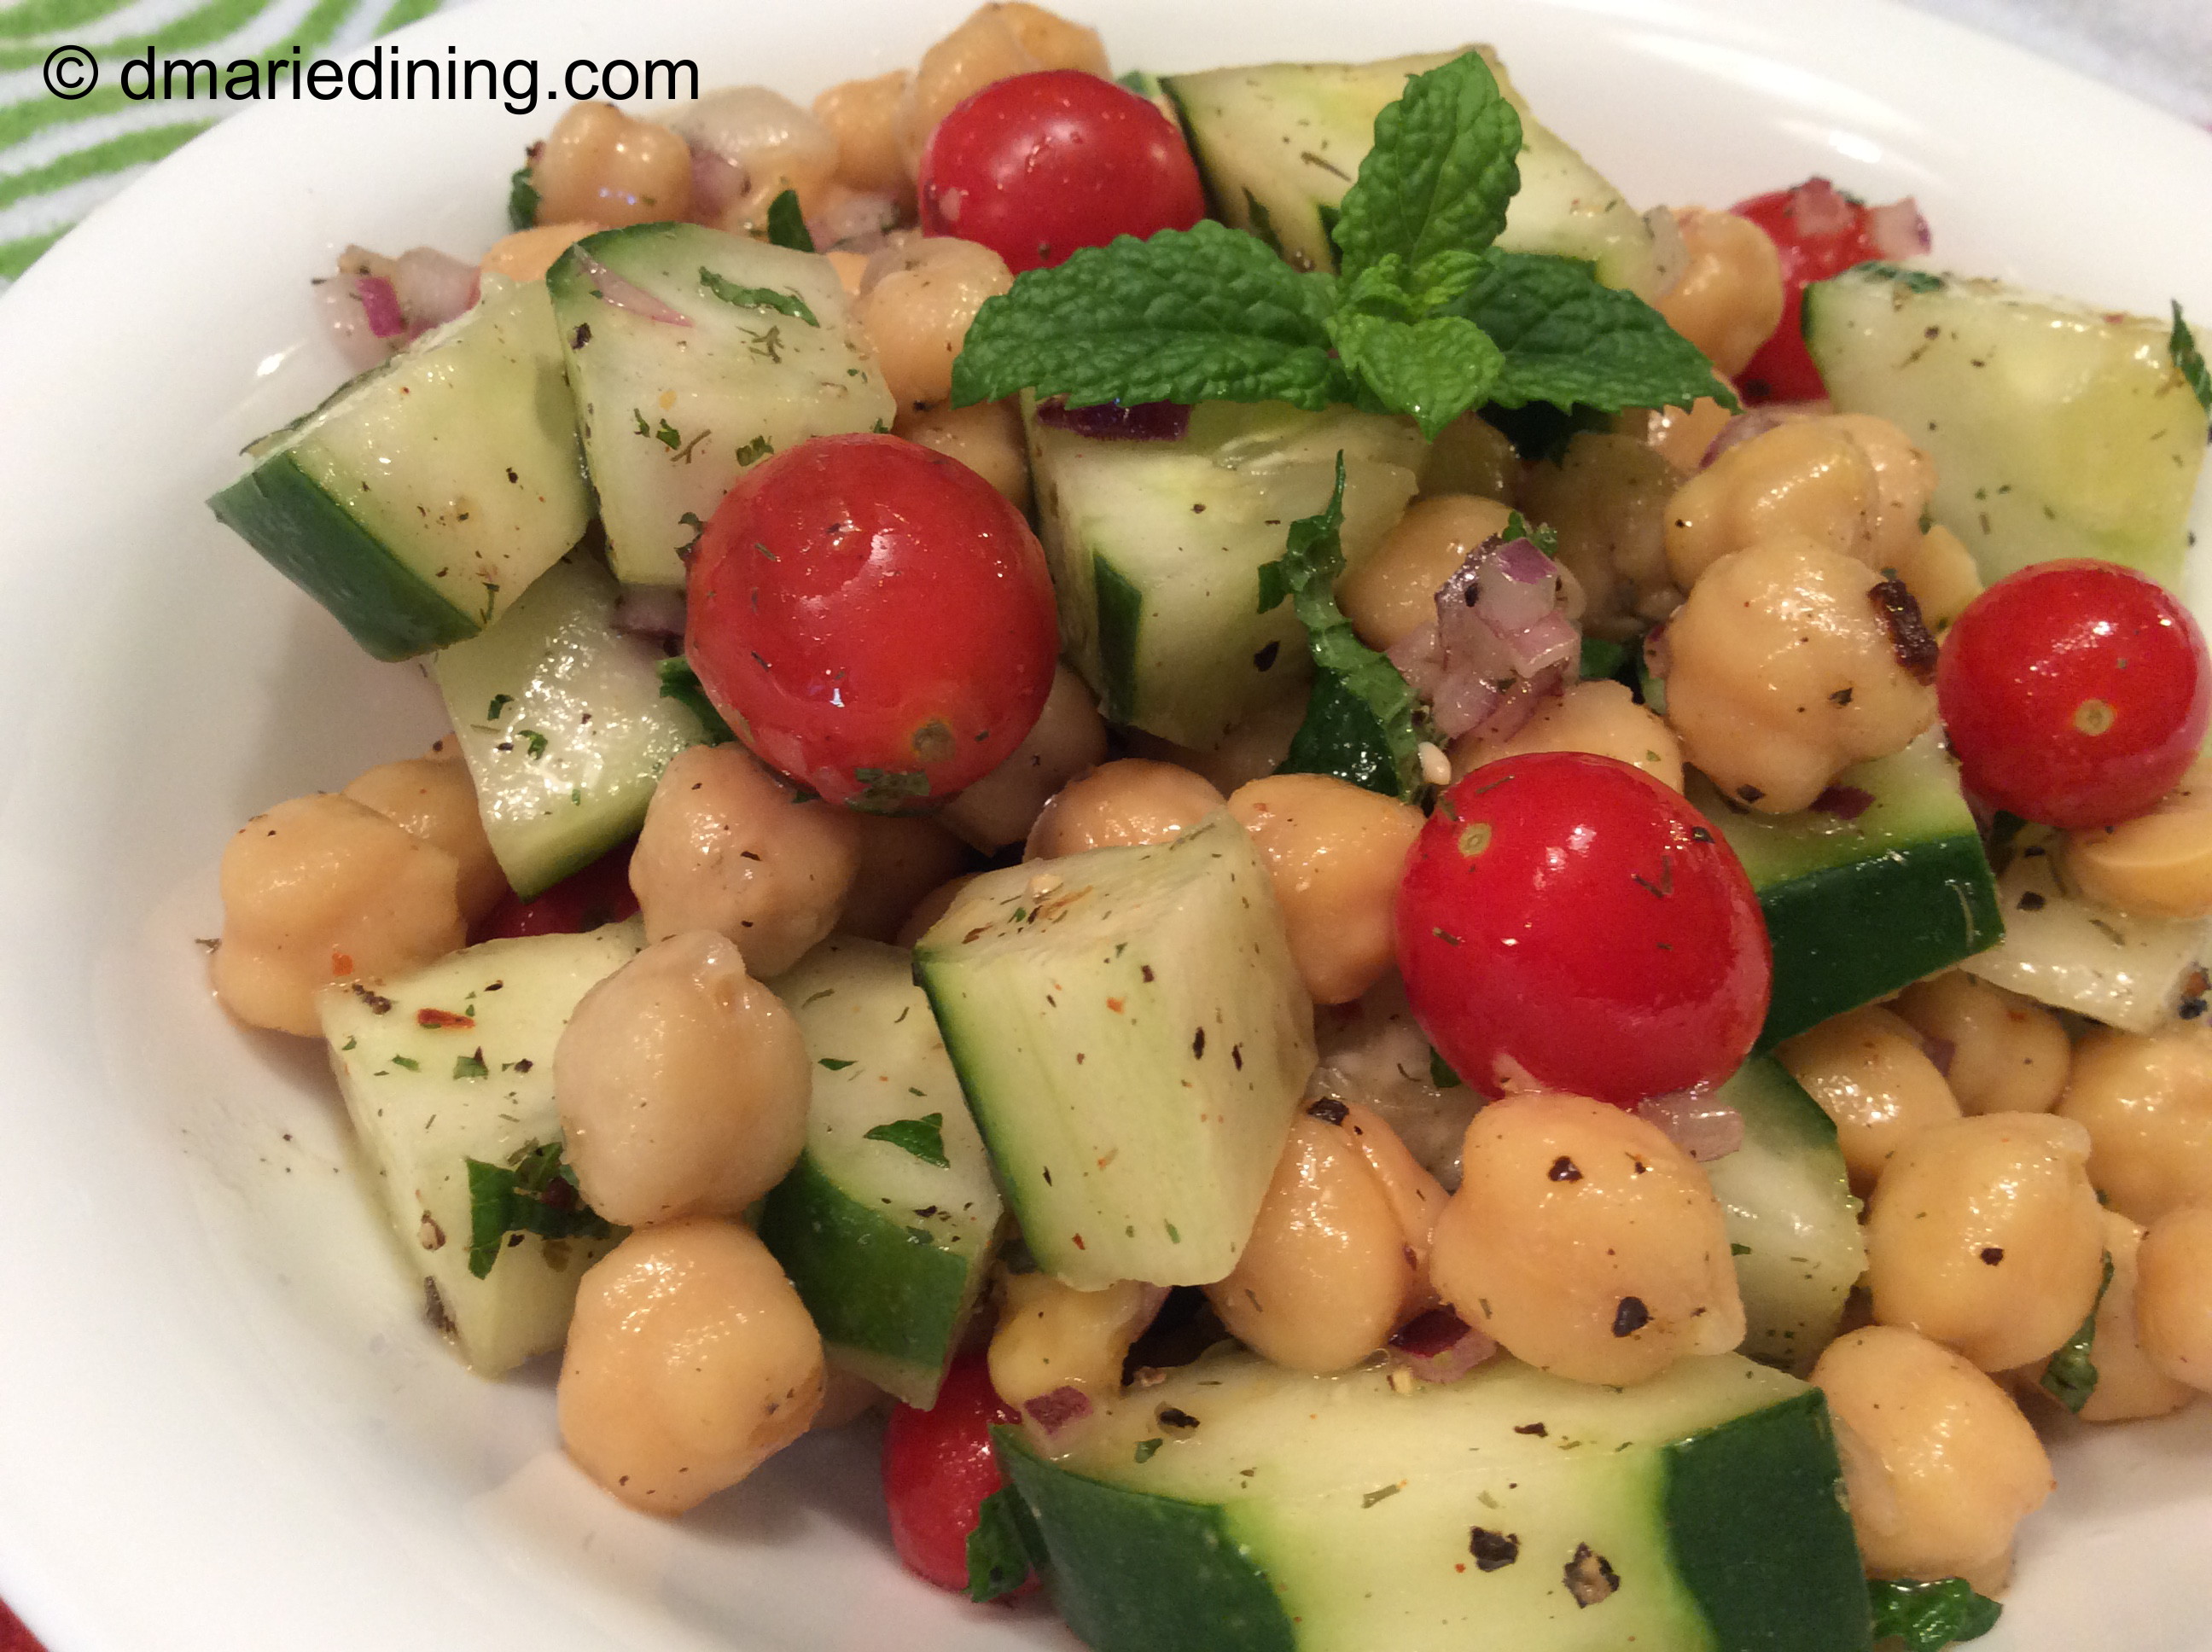
Chickpea and Cucumber Mint Salad
Ingredients:
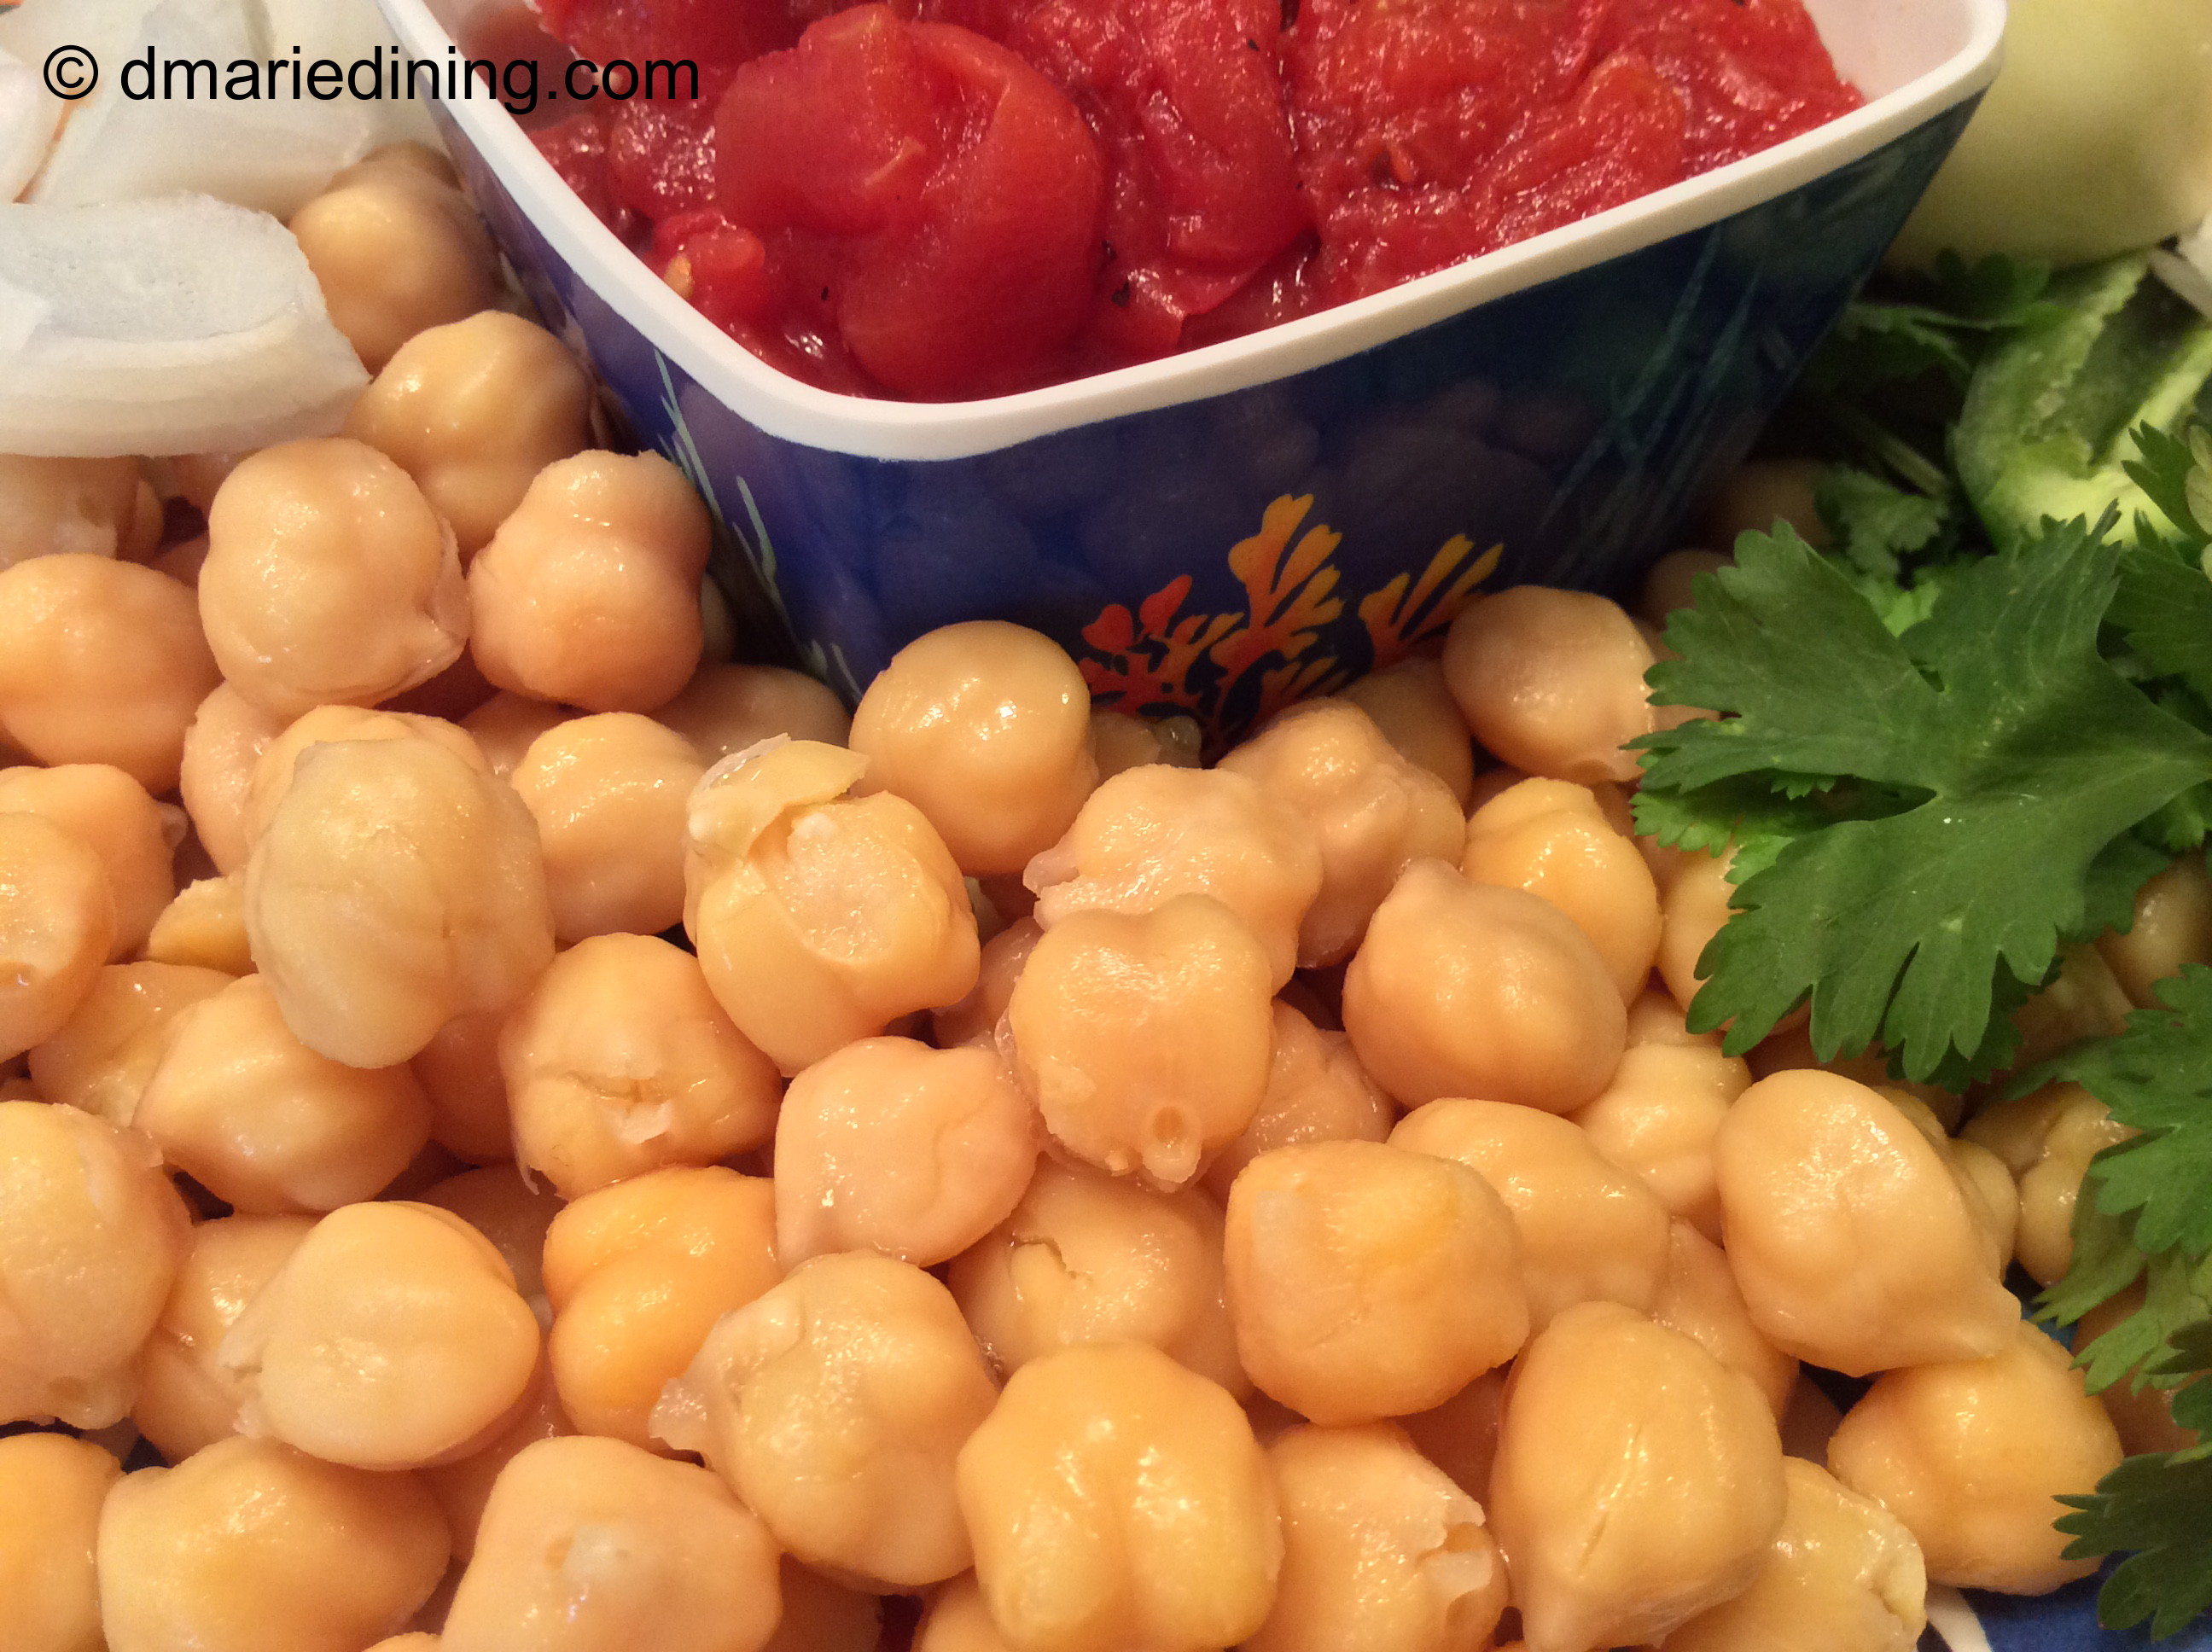
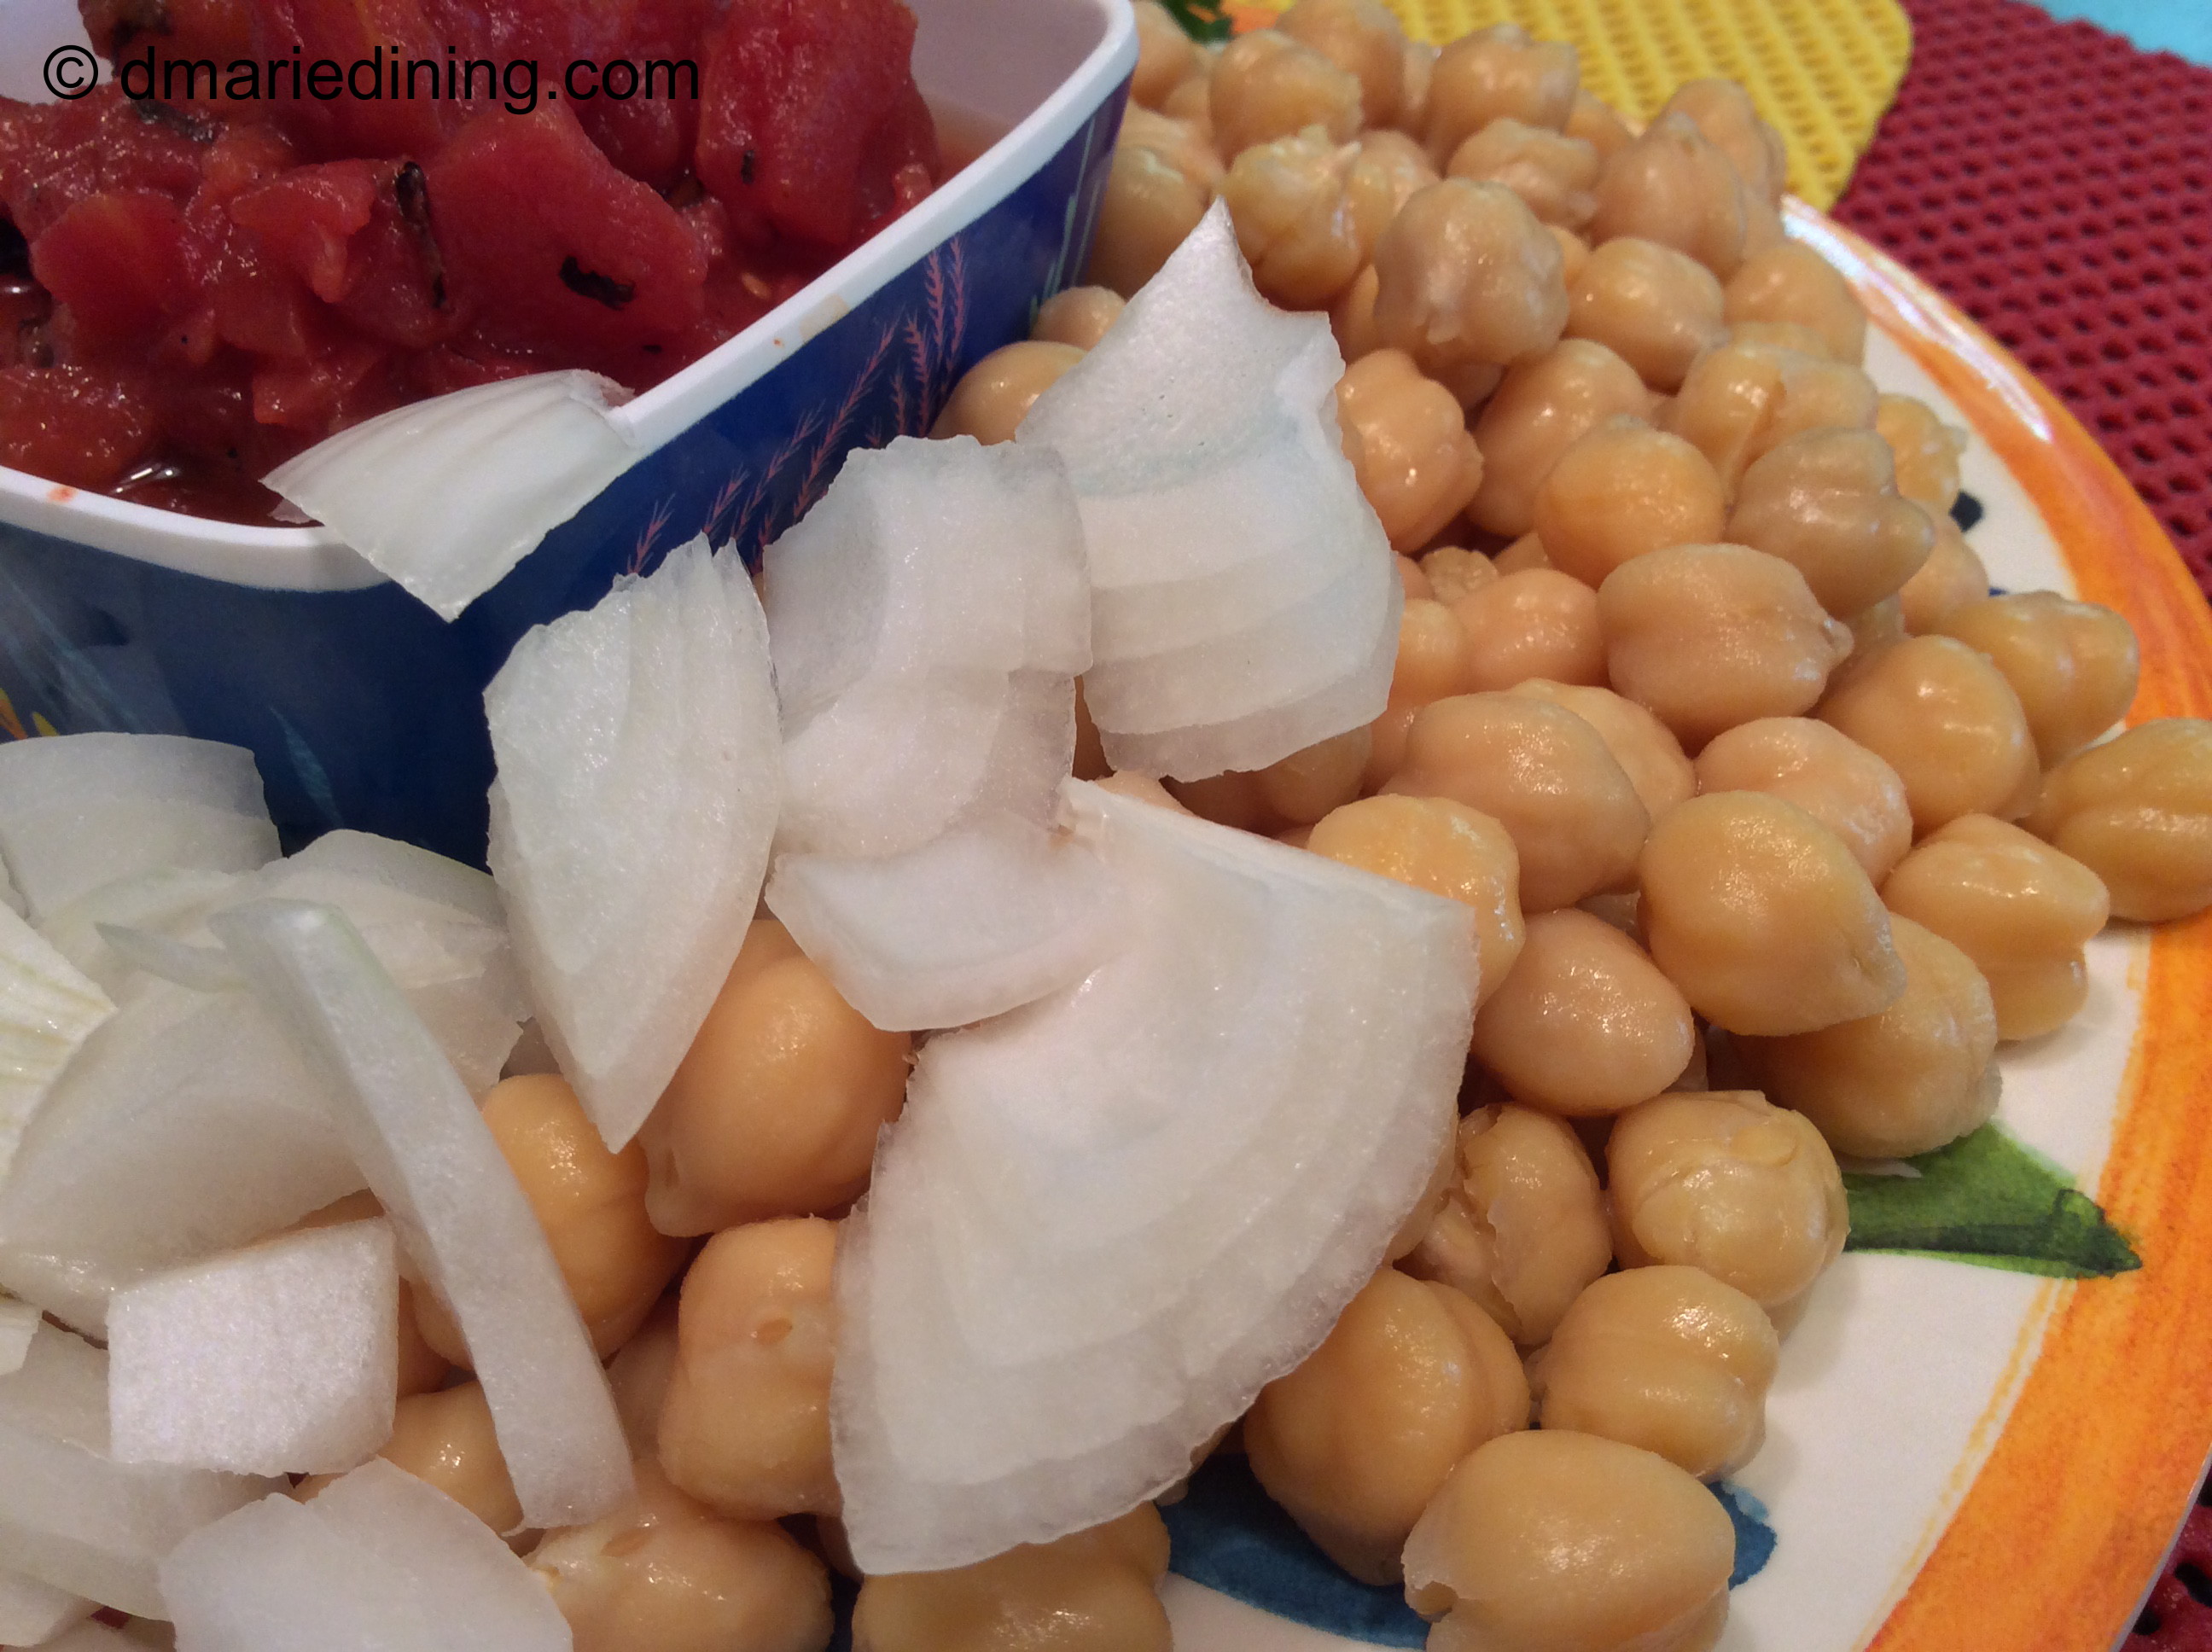
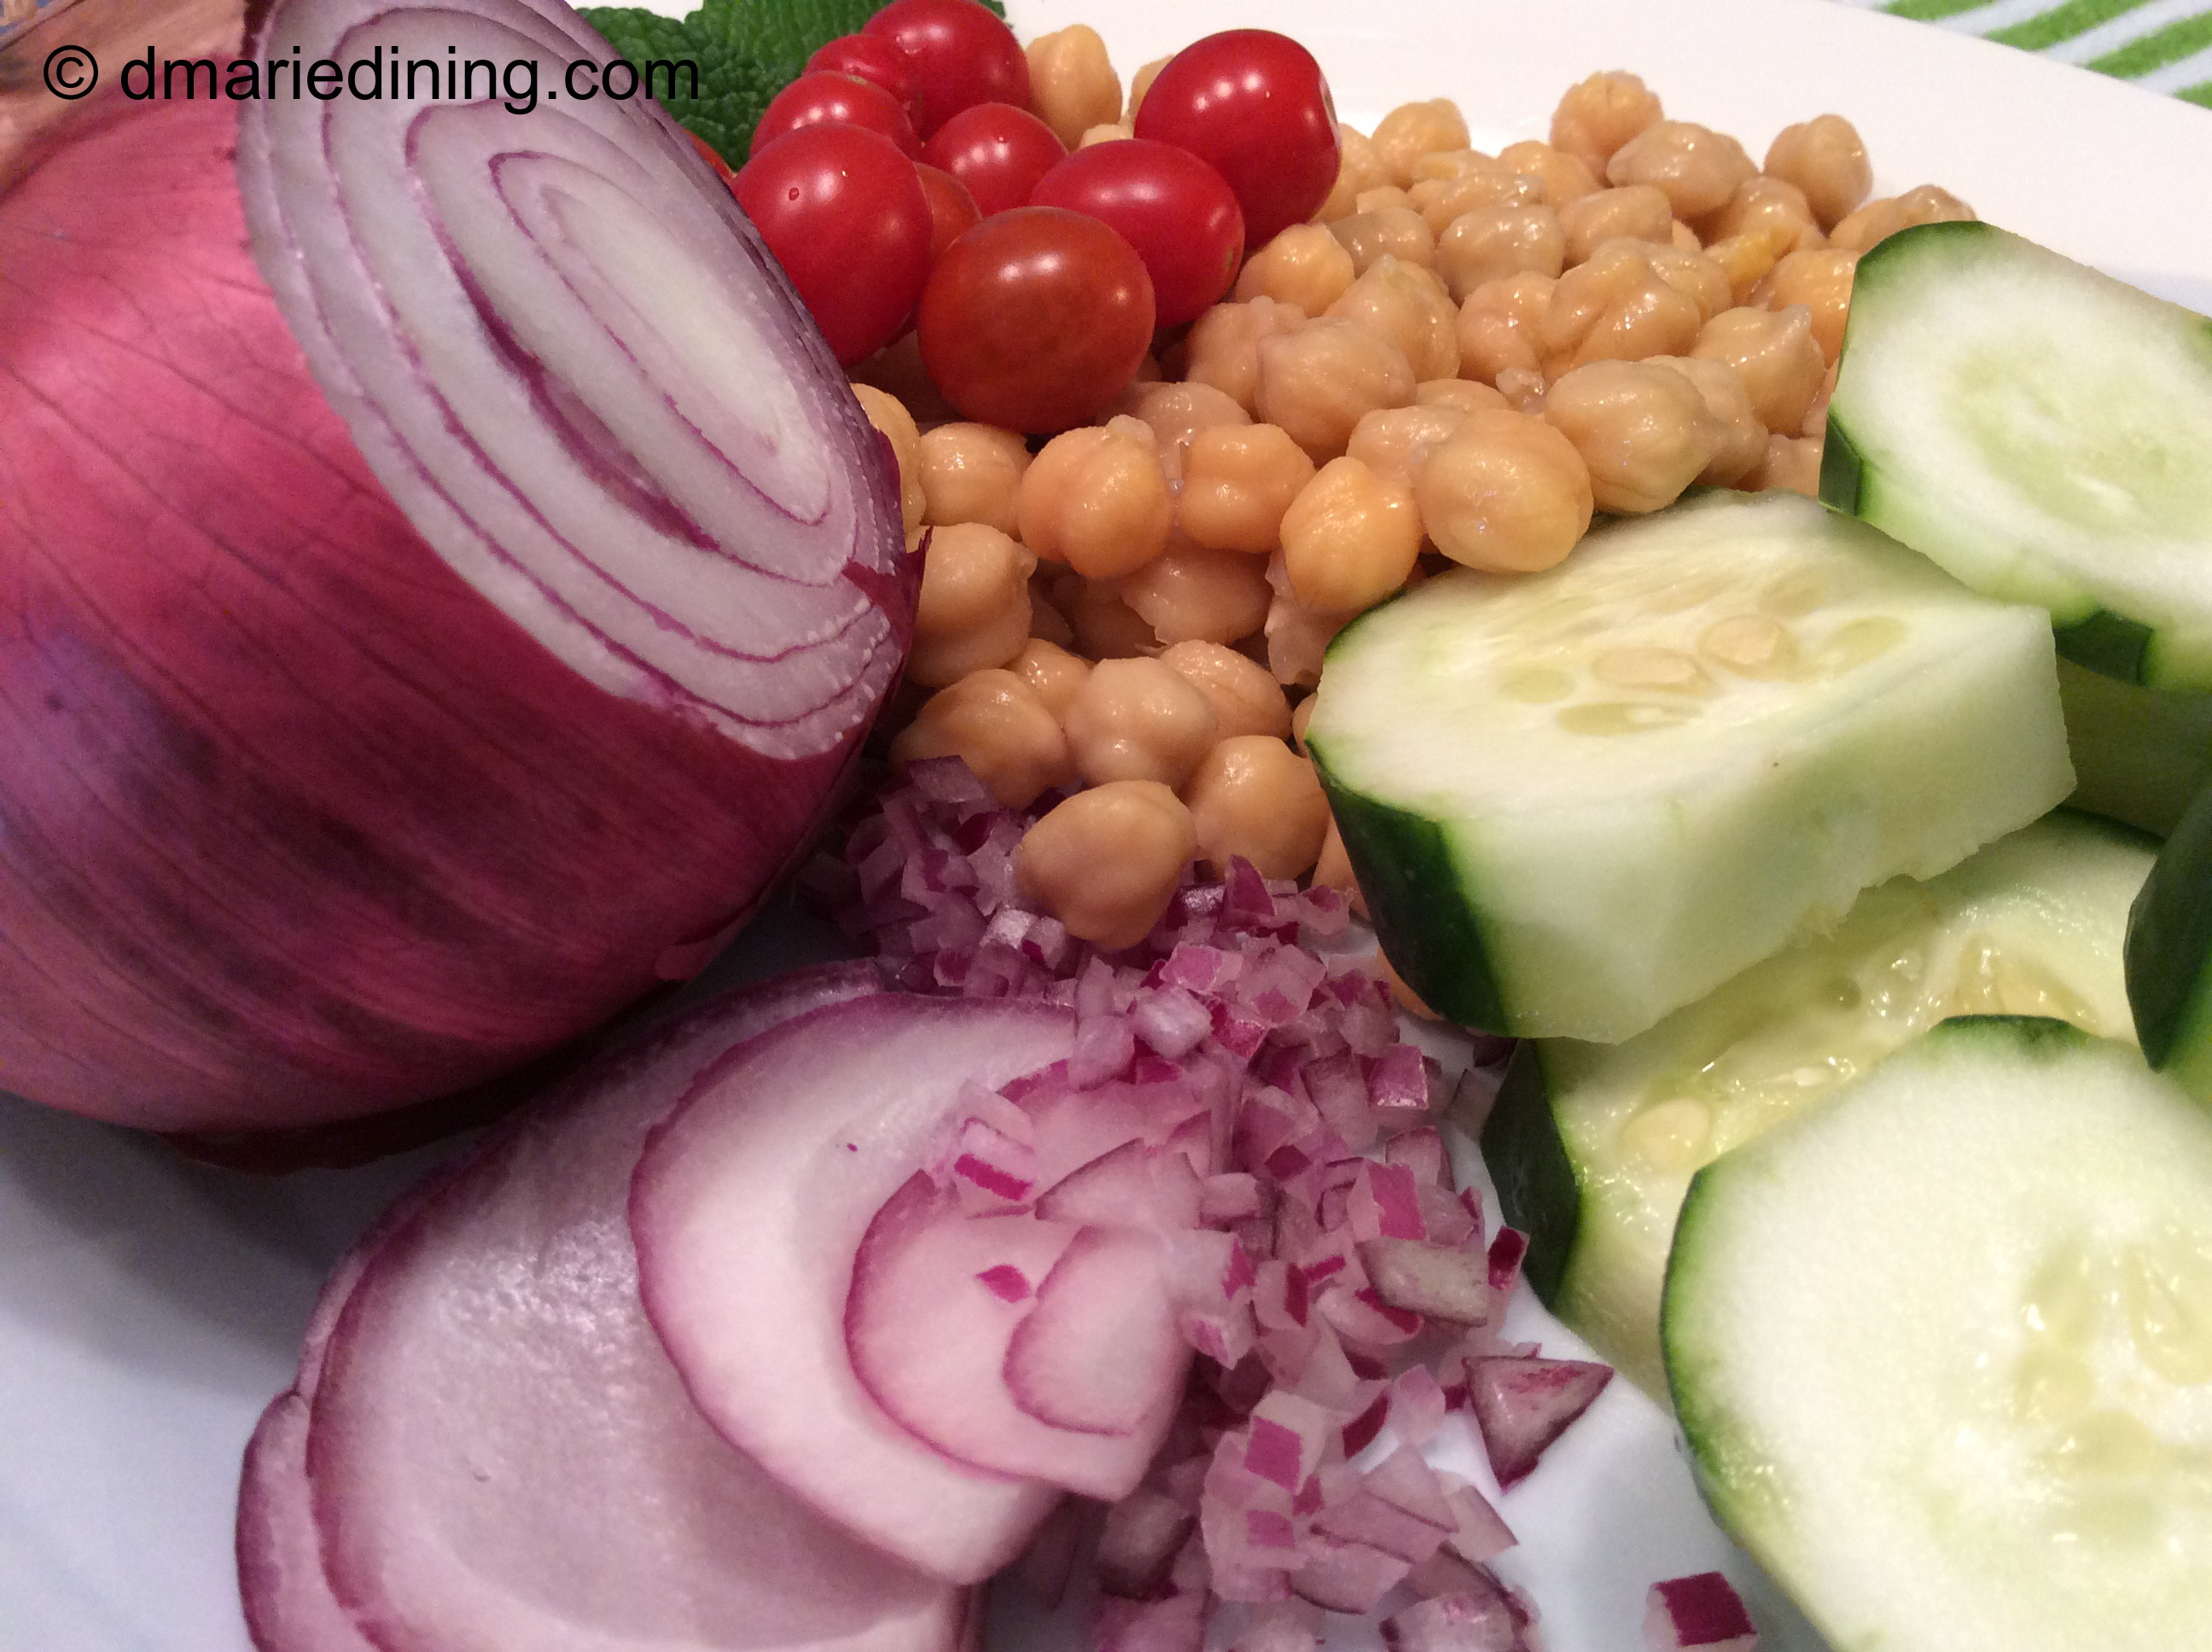
1 15oz can of chickpeas drained and rinsed
1 large cucumber peeled in into stripes and cubed
12 small cherry tomatoes
4 – 5 mint leaves chopped
4 tbsp Gazebo Room Greek Salad Dressing and Marinade
1 tsp salt
1 tsp black pepper
juice from ½ lemon
pinch of sugar
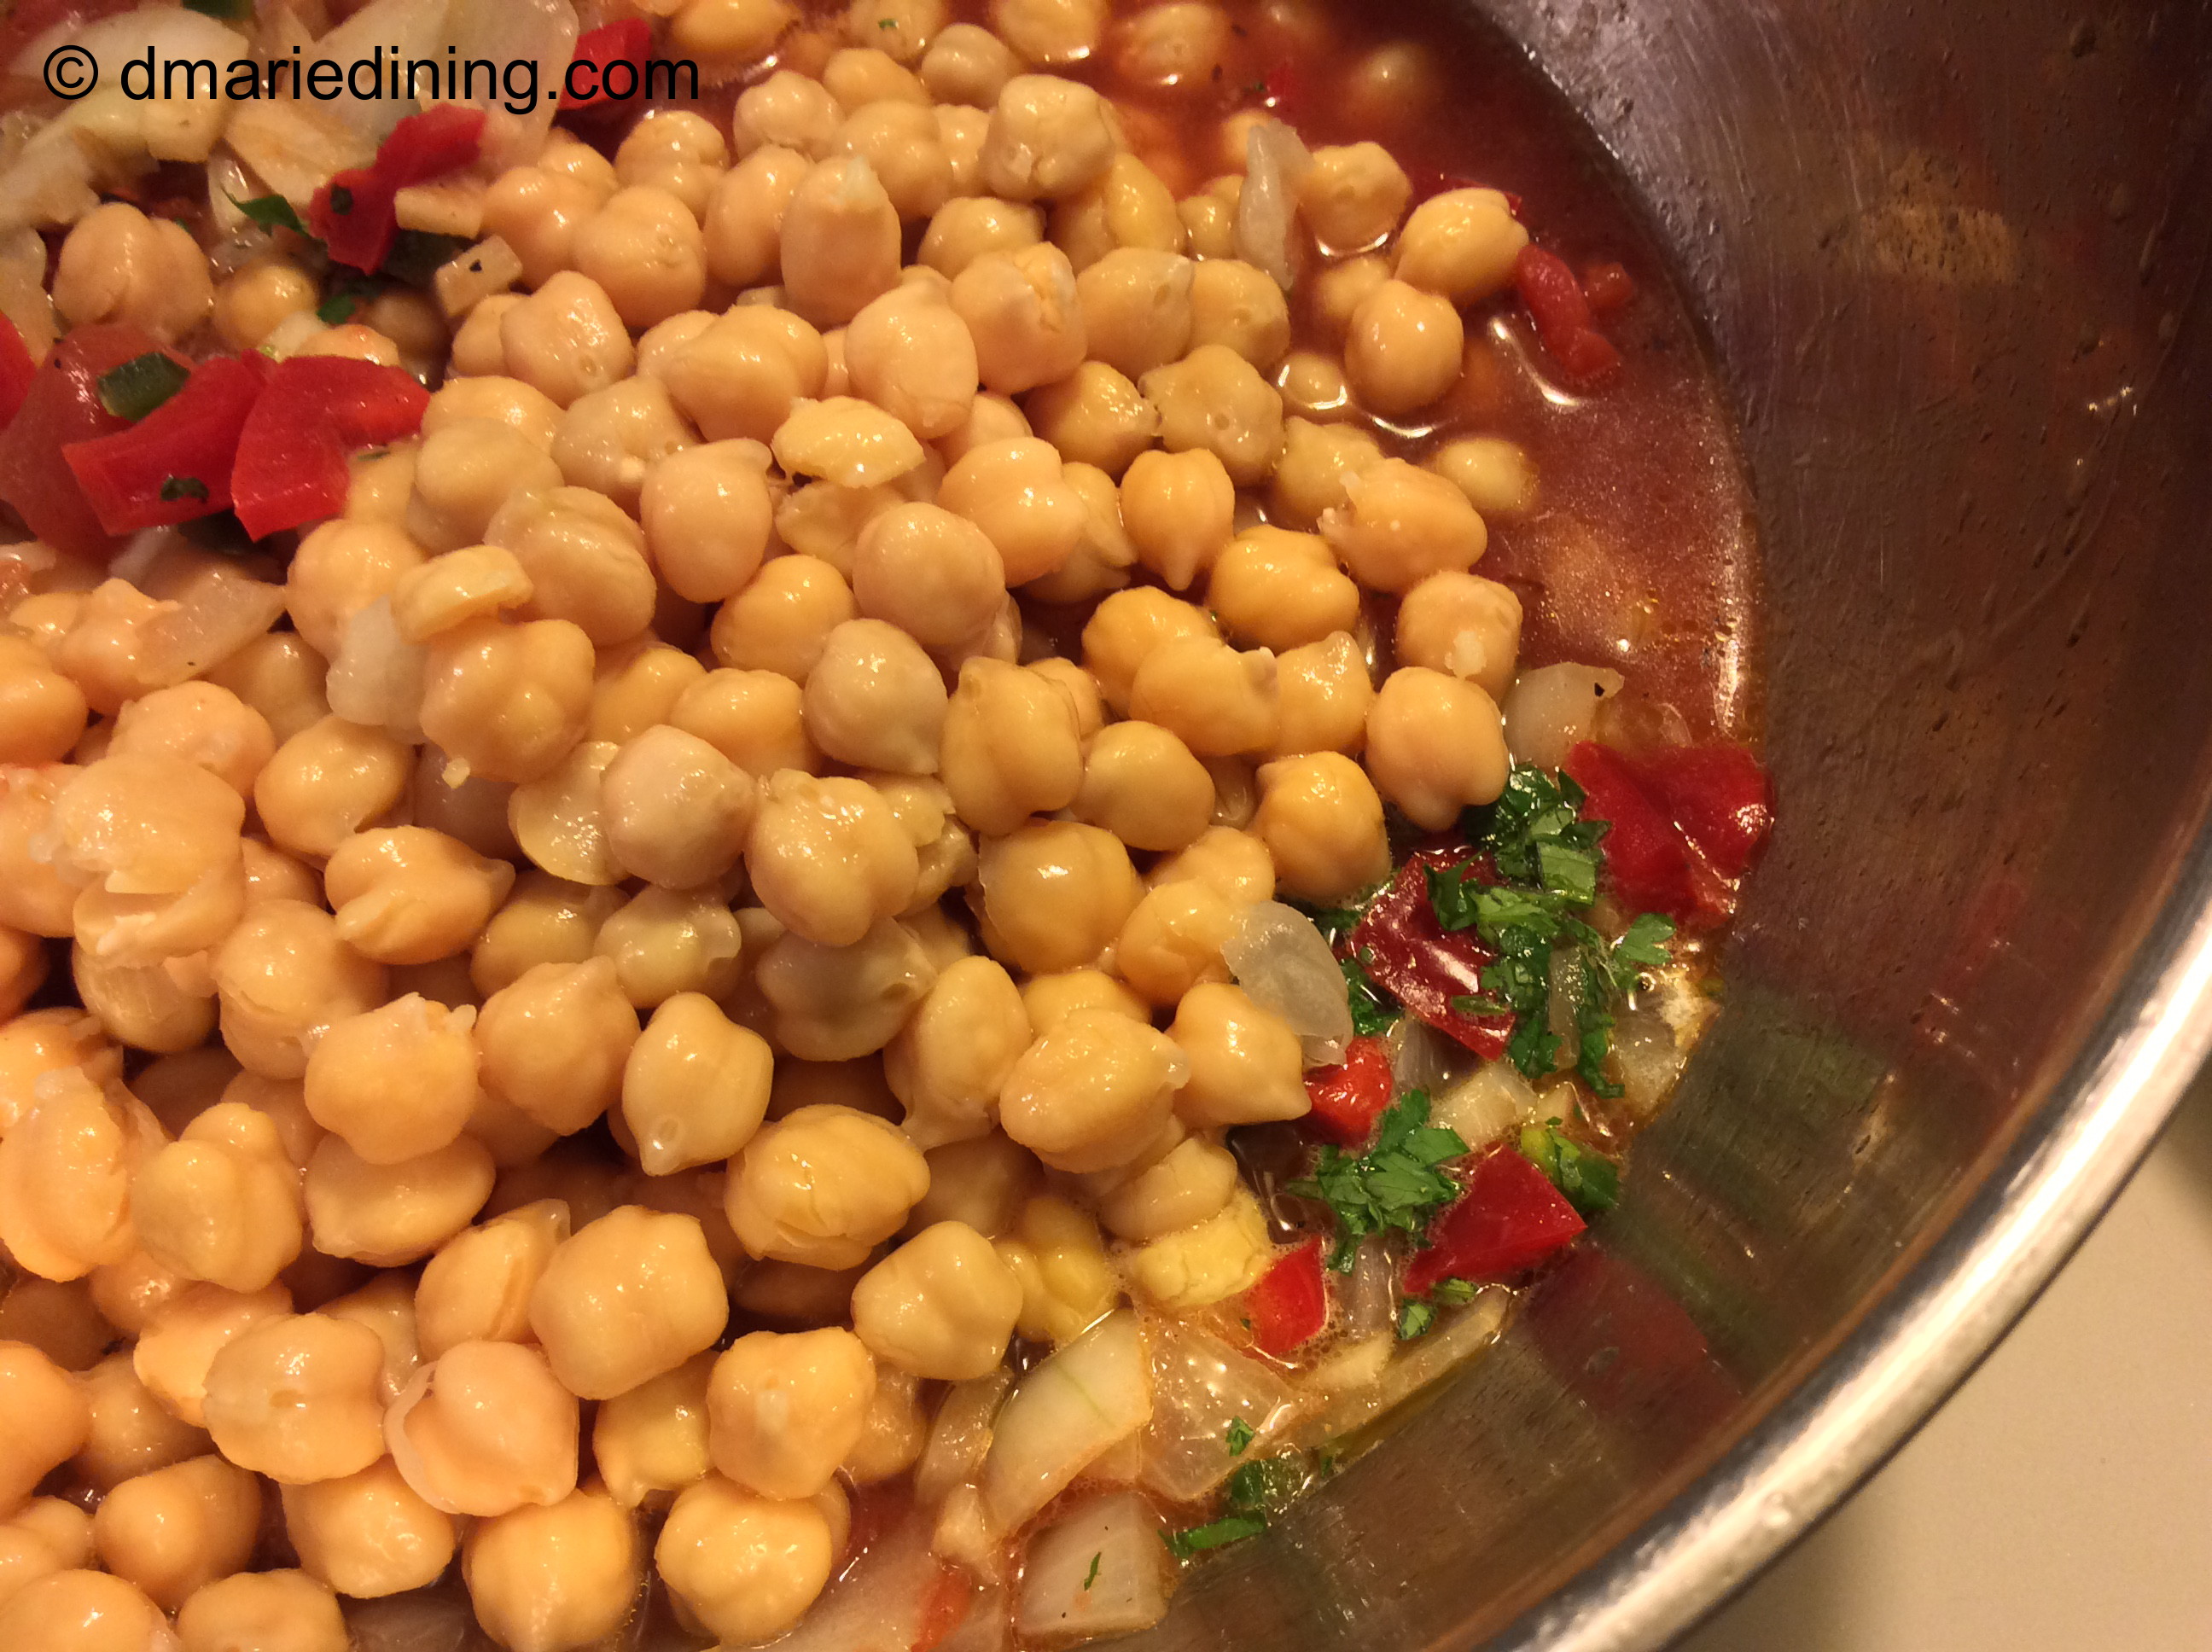
Combine all ingredients in a bowl and stir until well mixed. Chill for at least 30 minutes to let the flavors blend together.