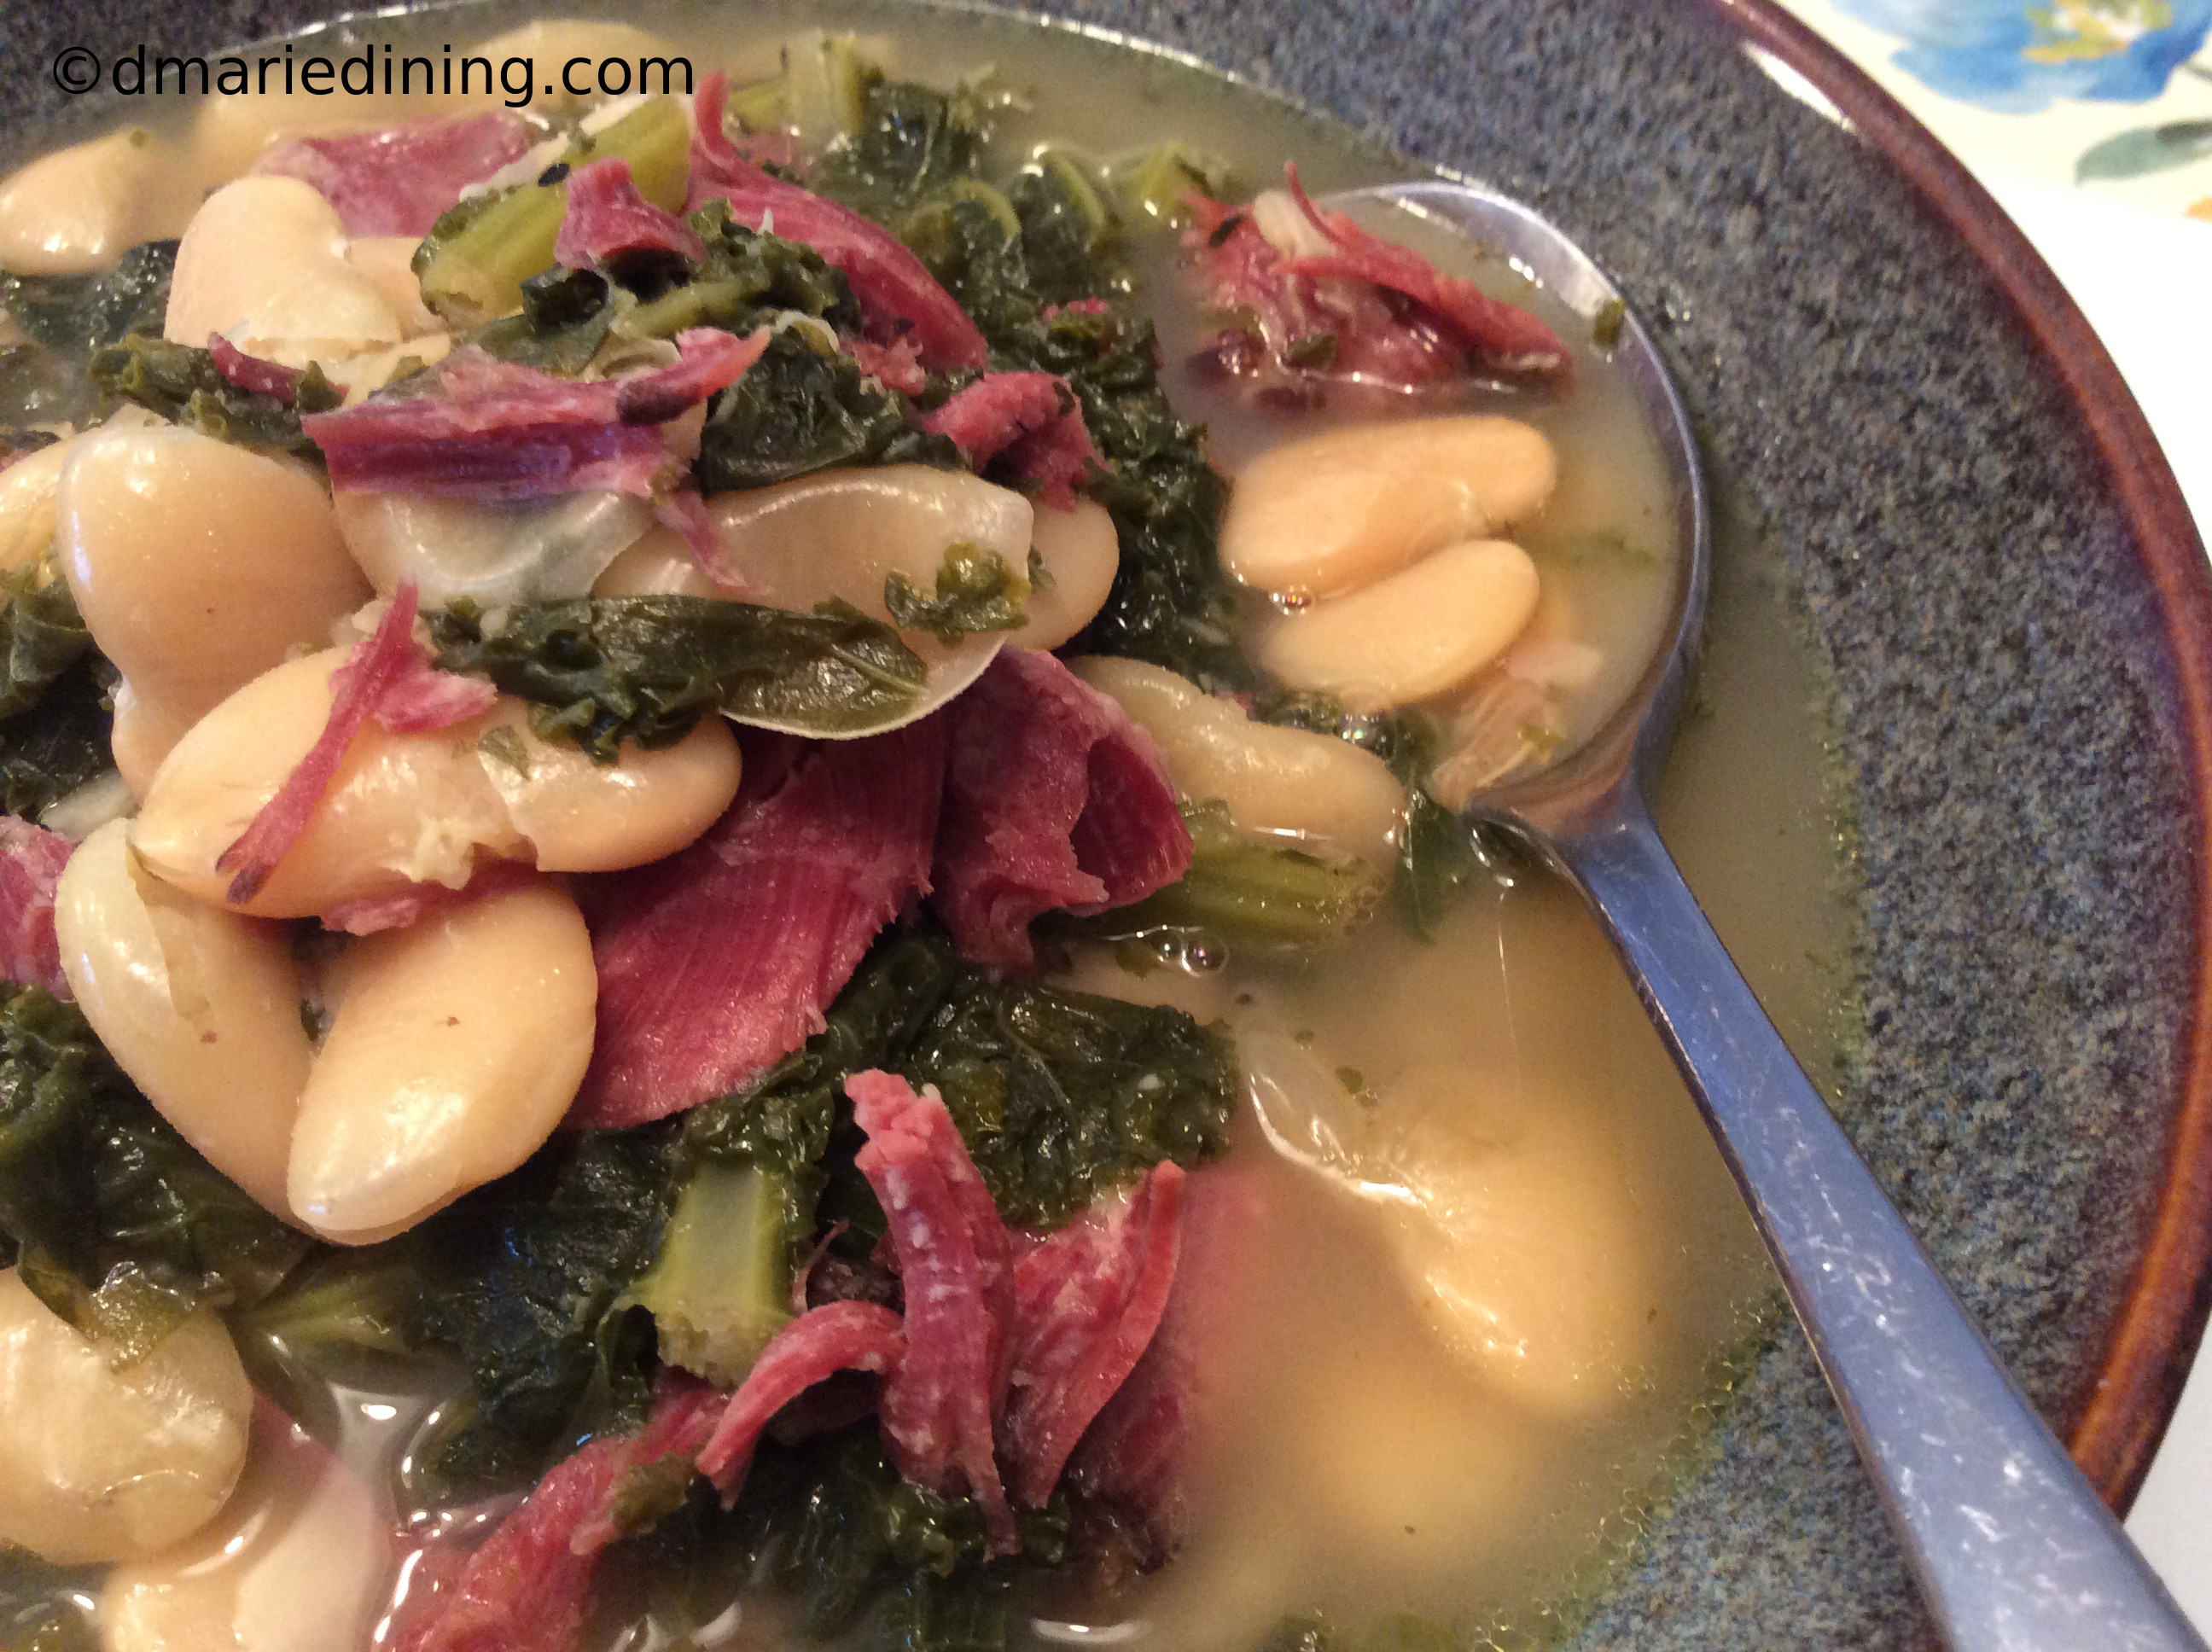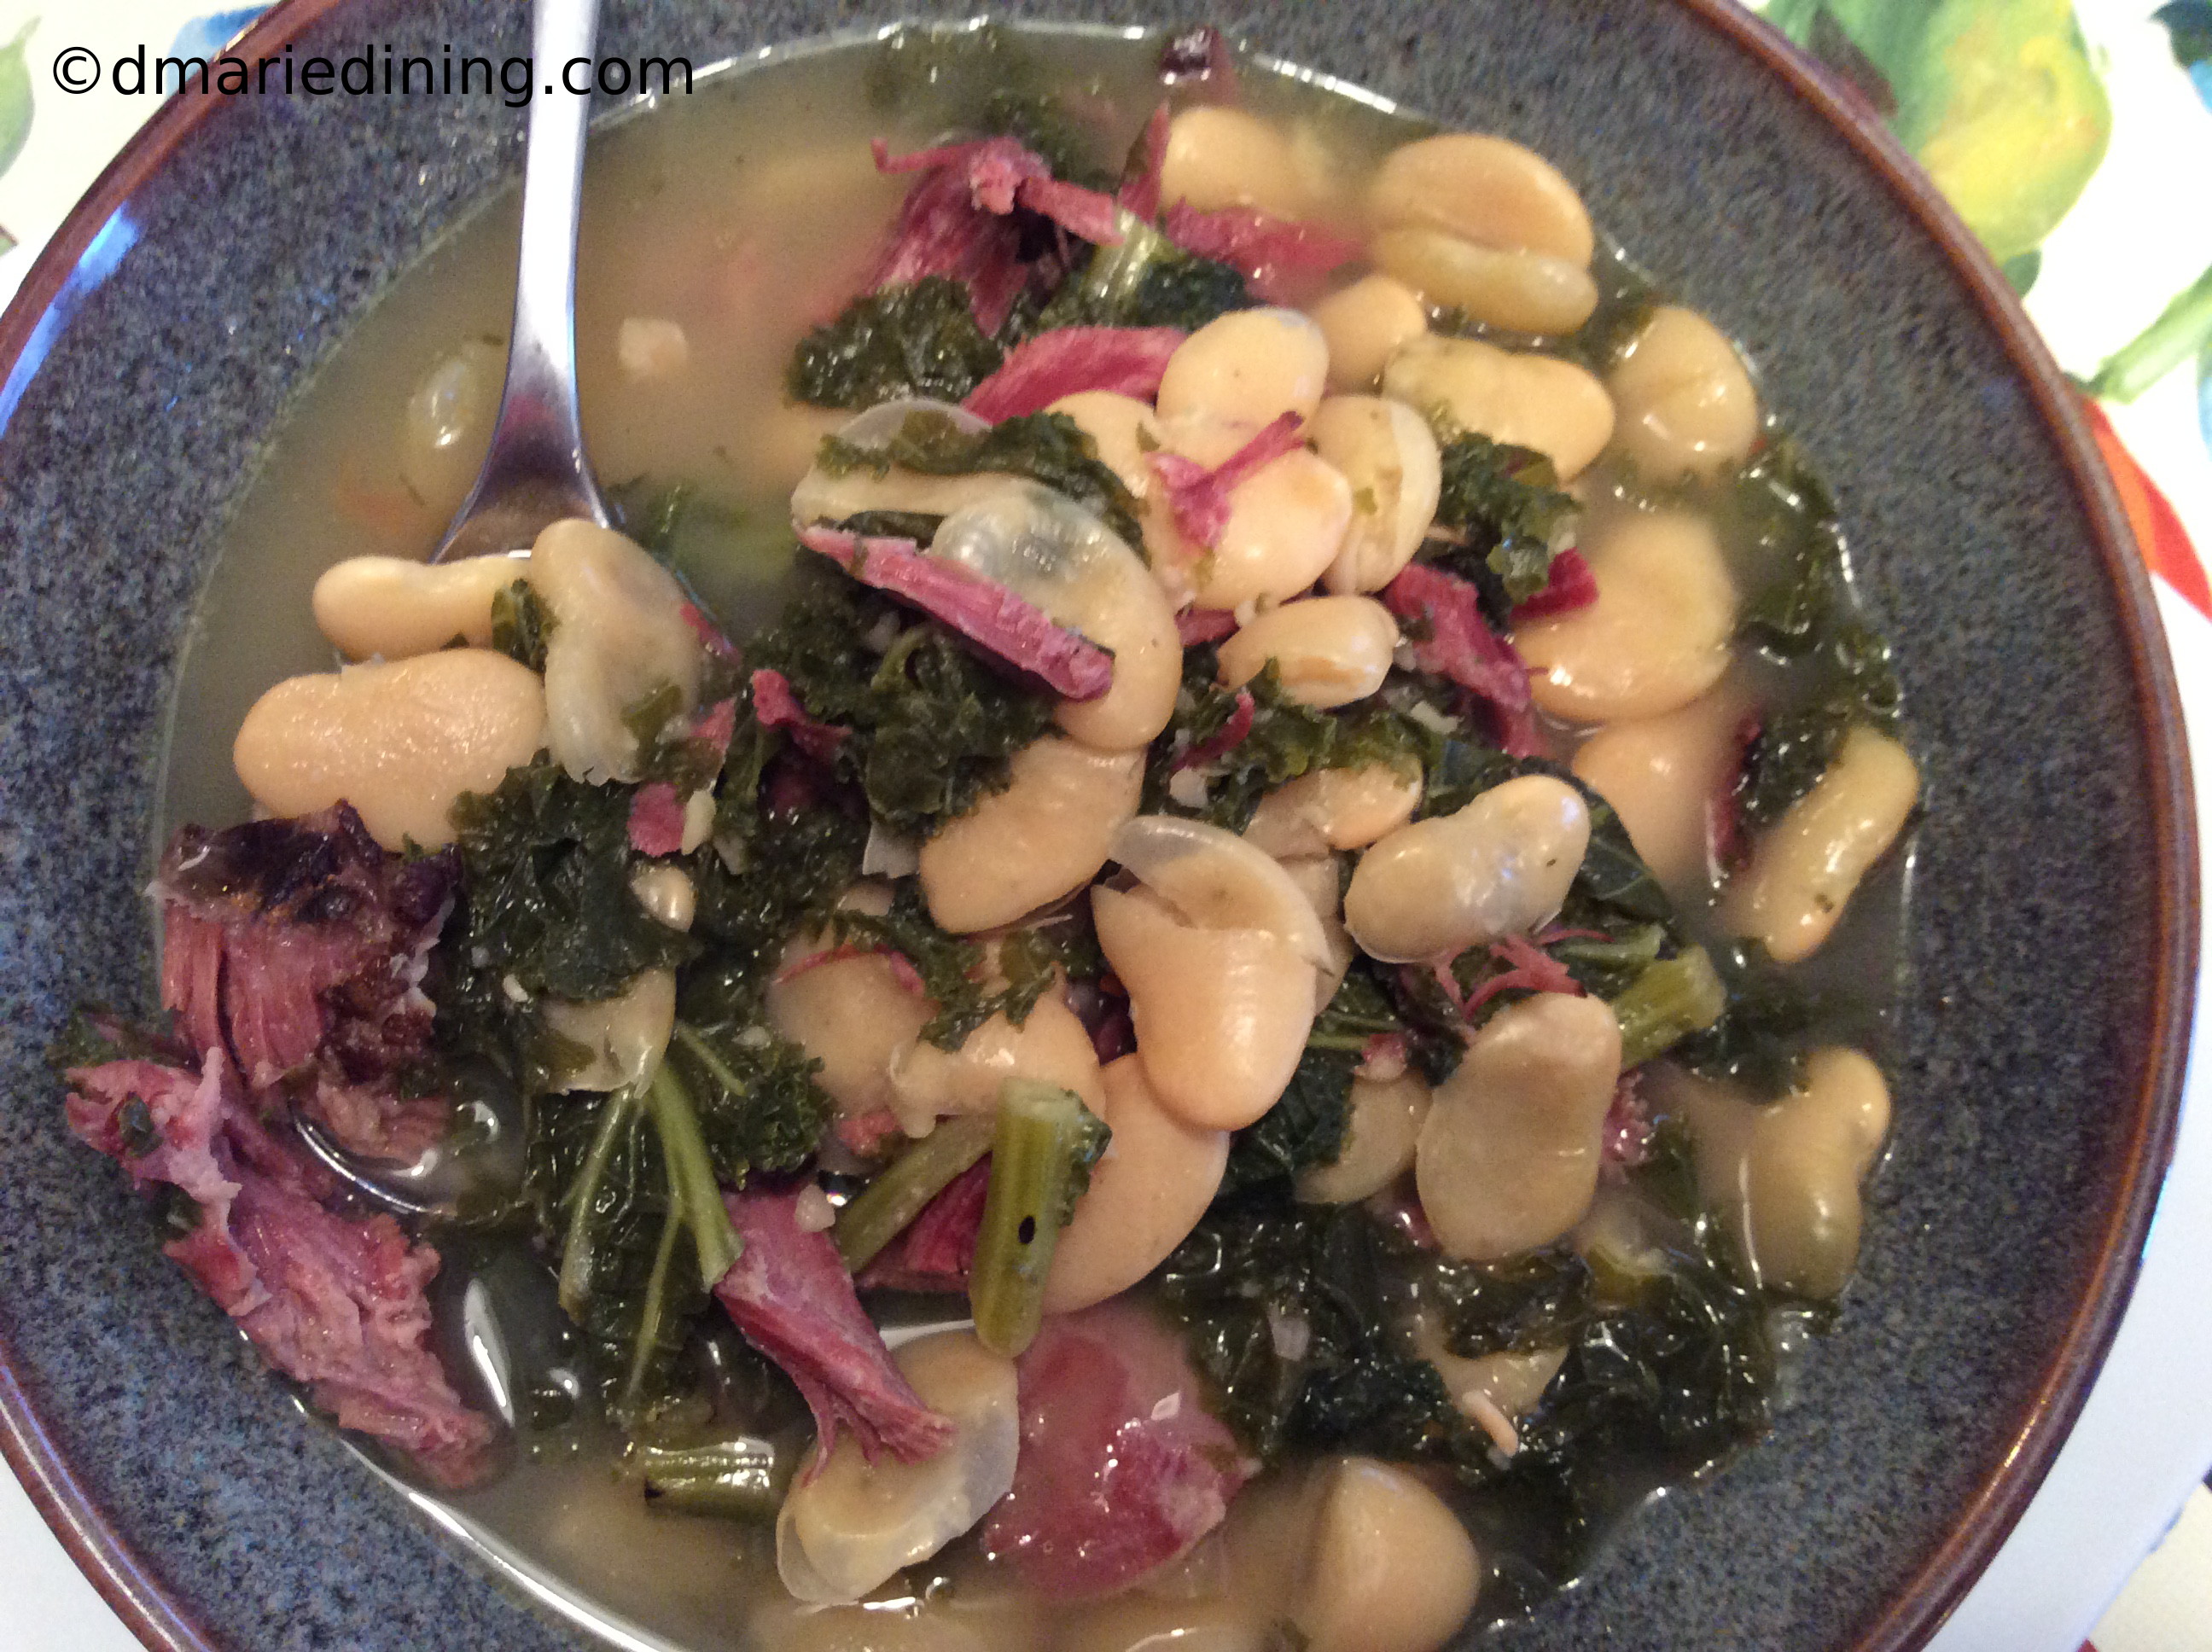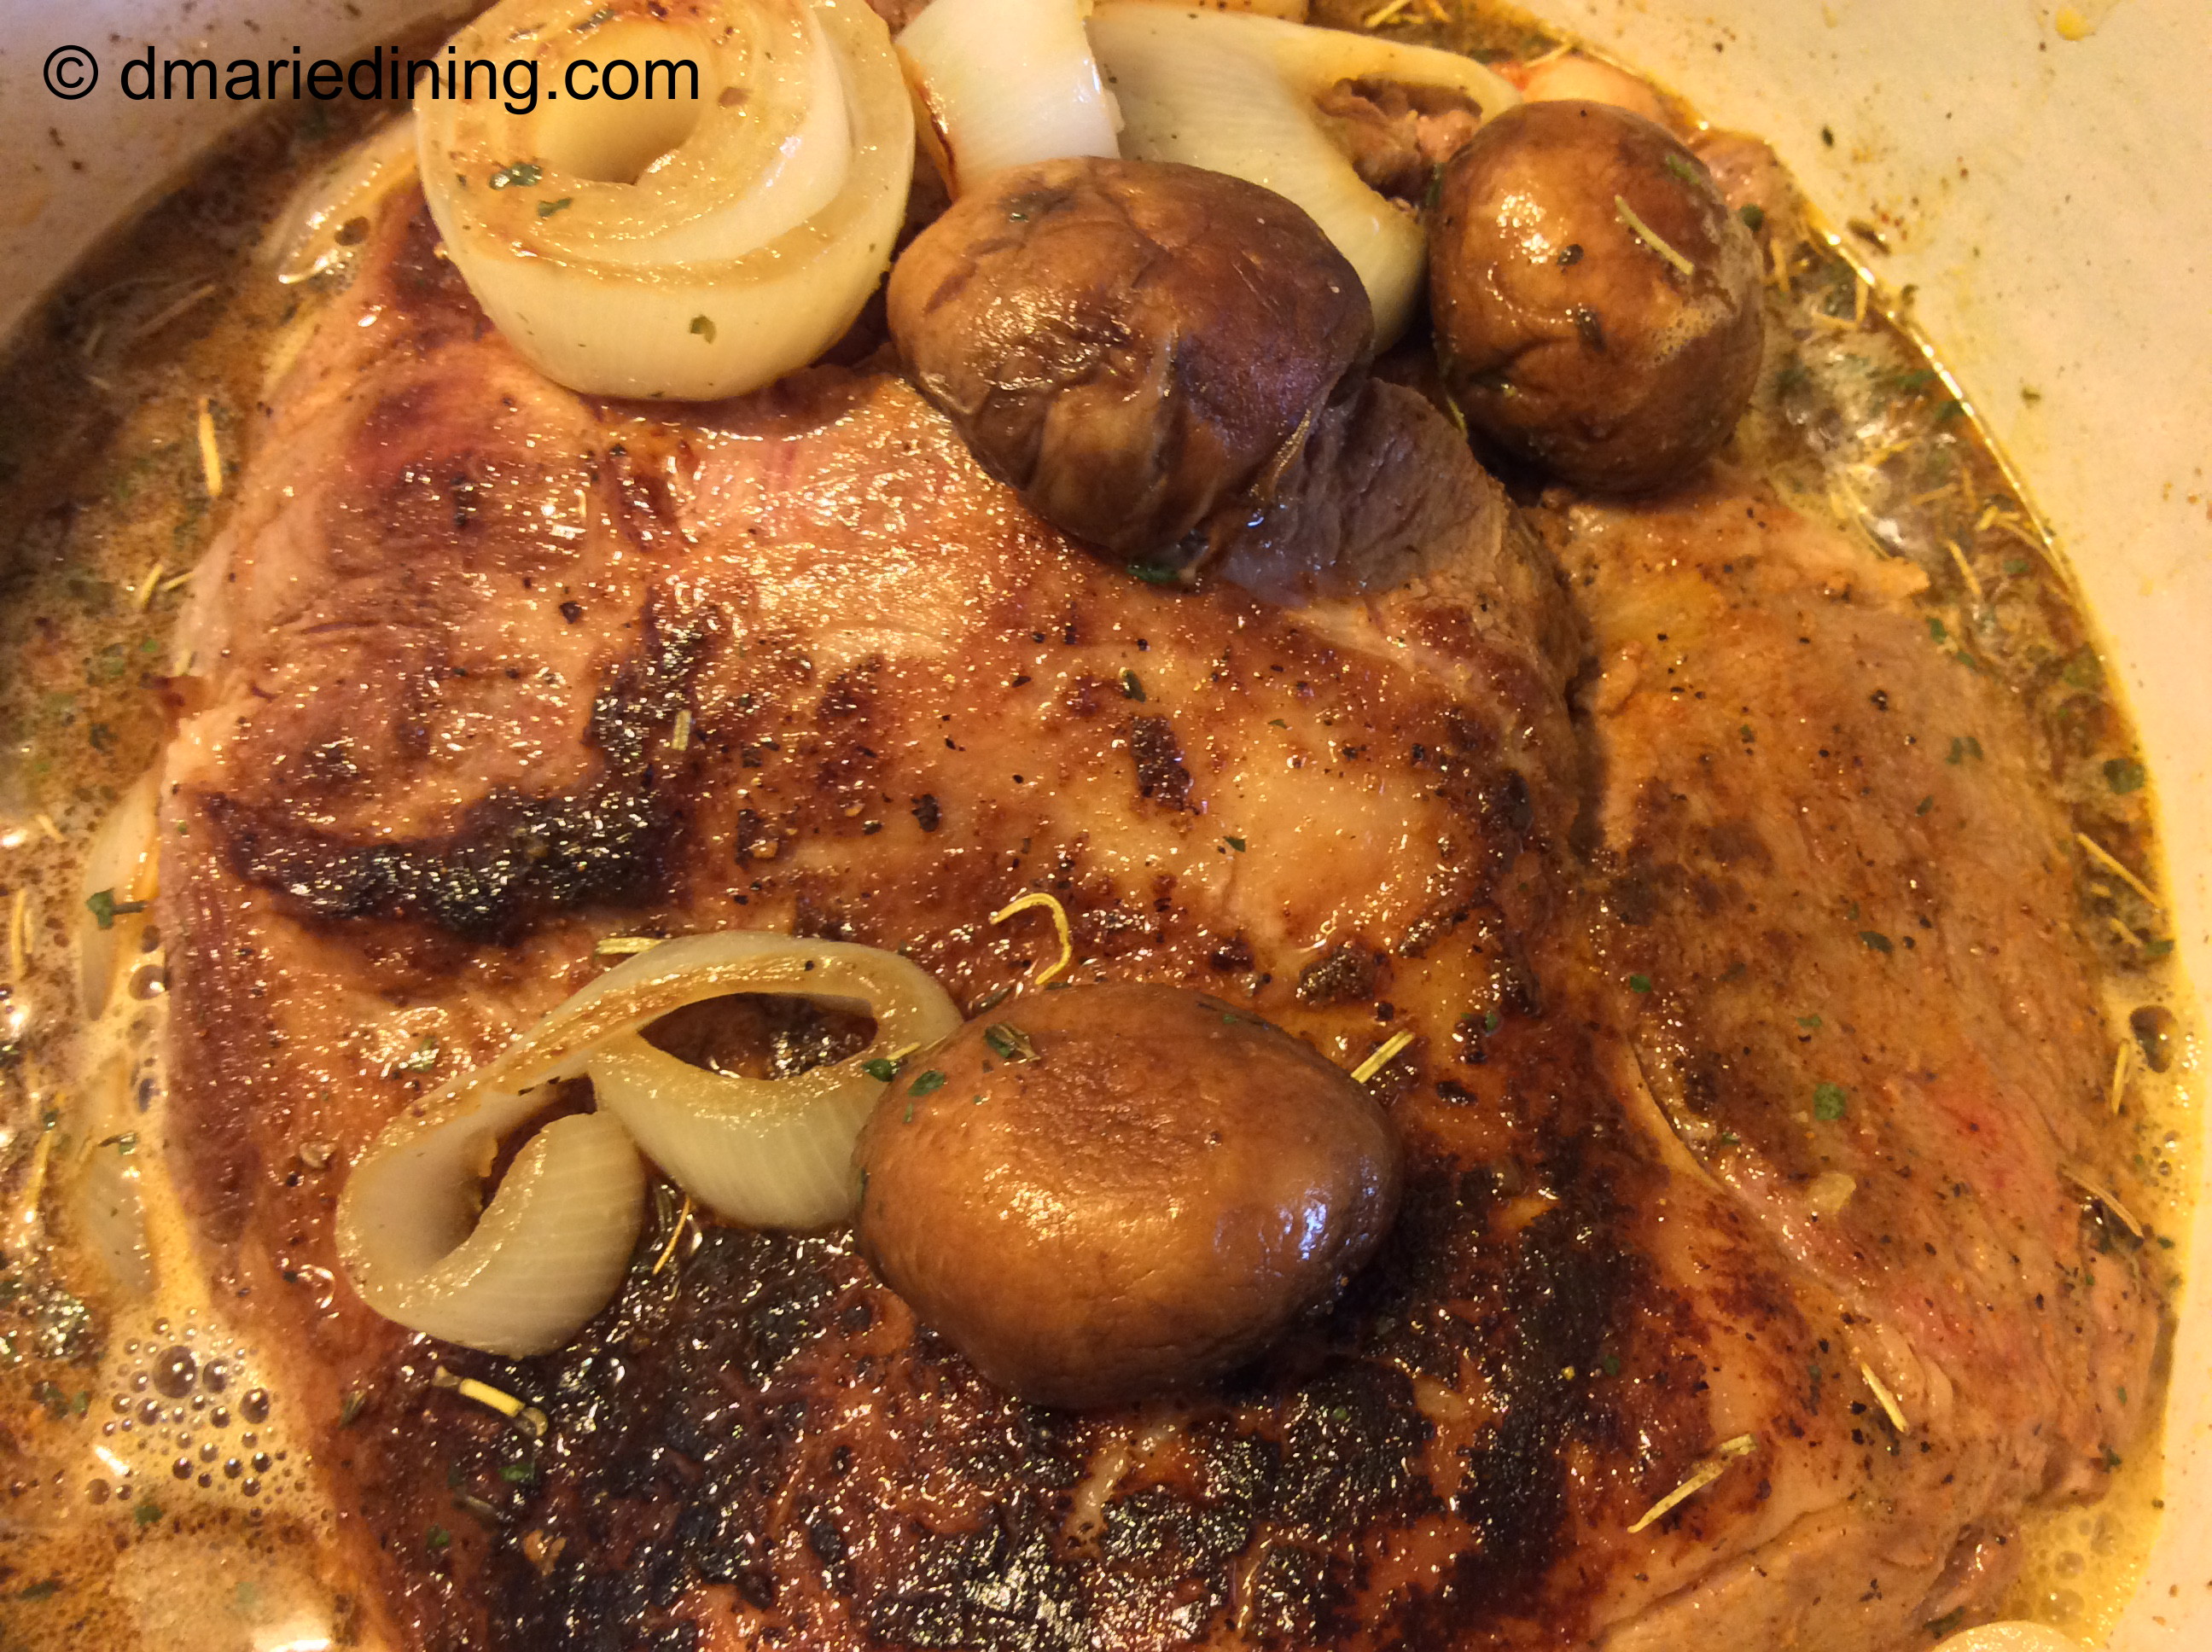
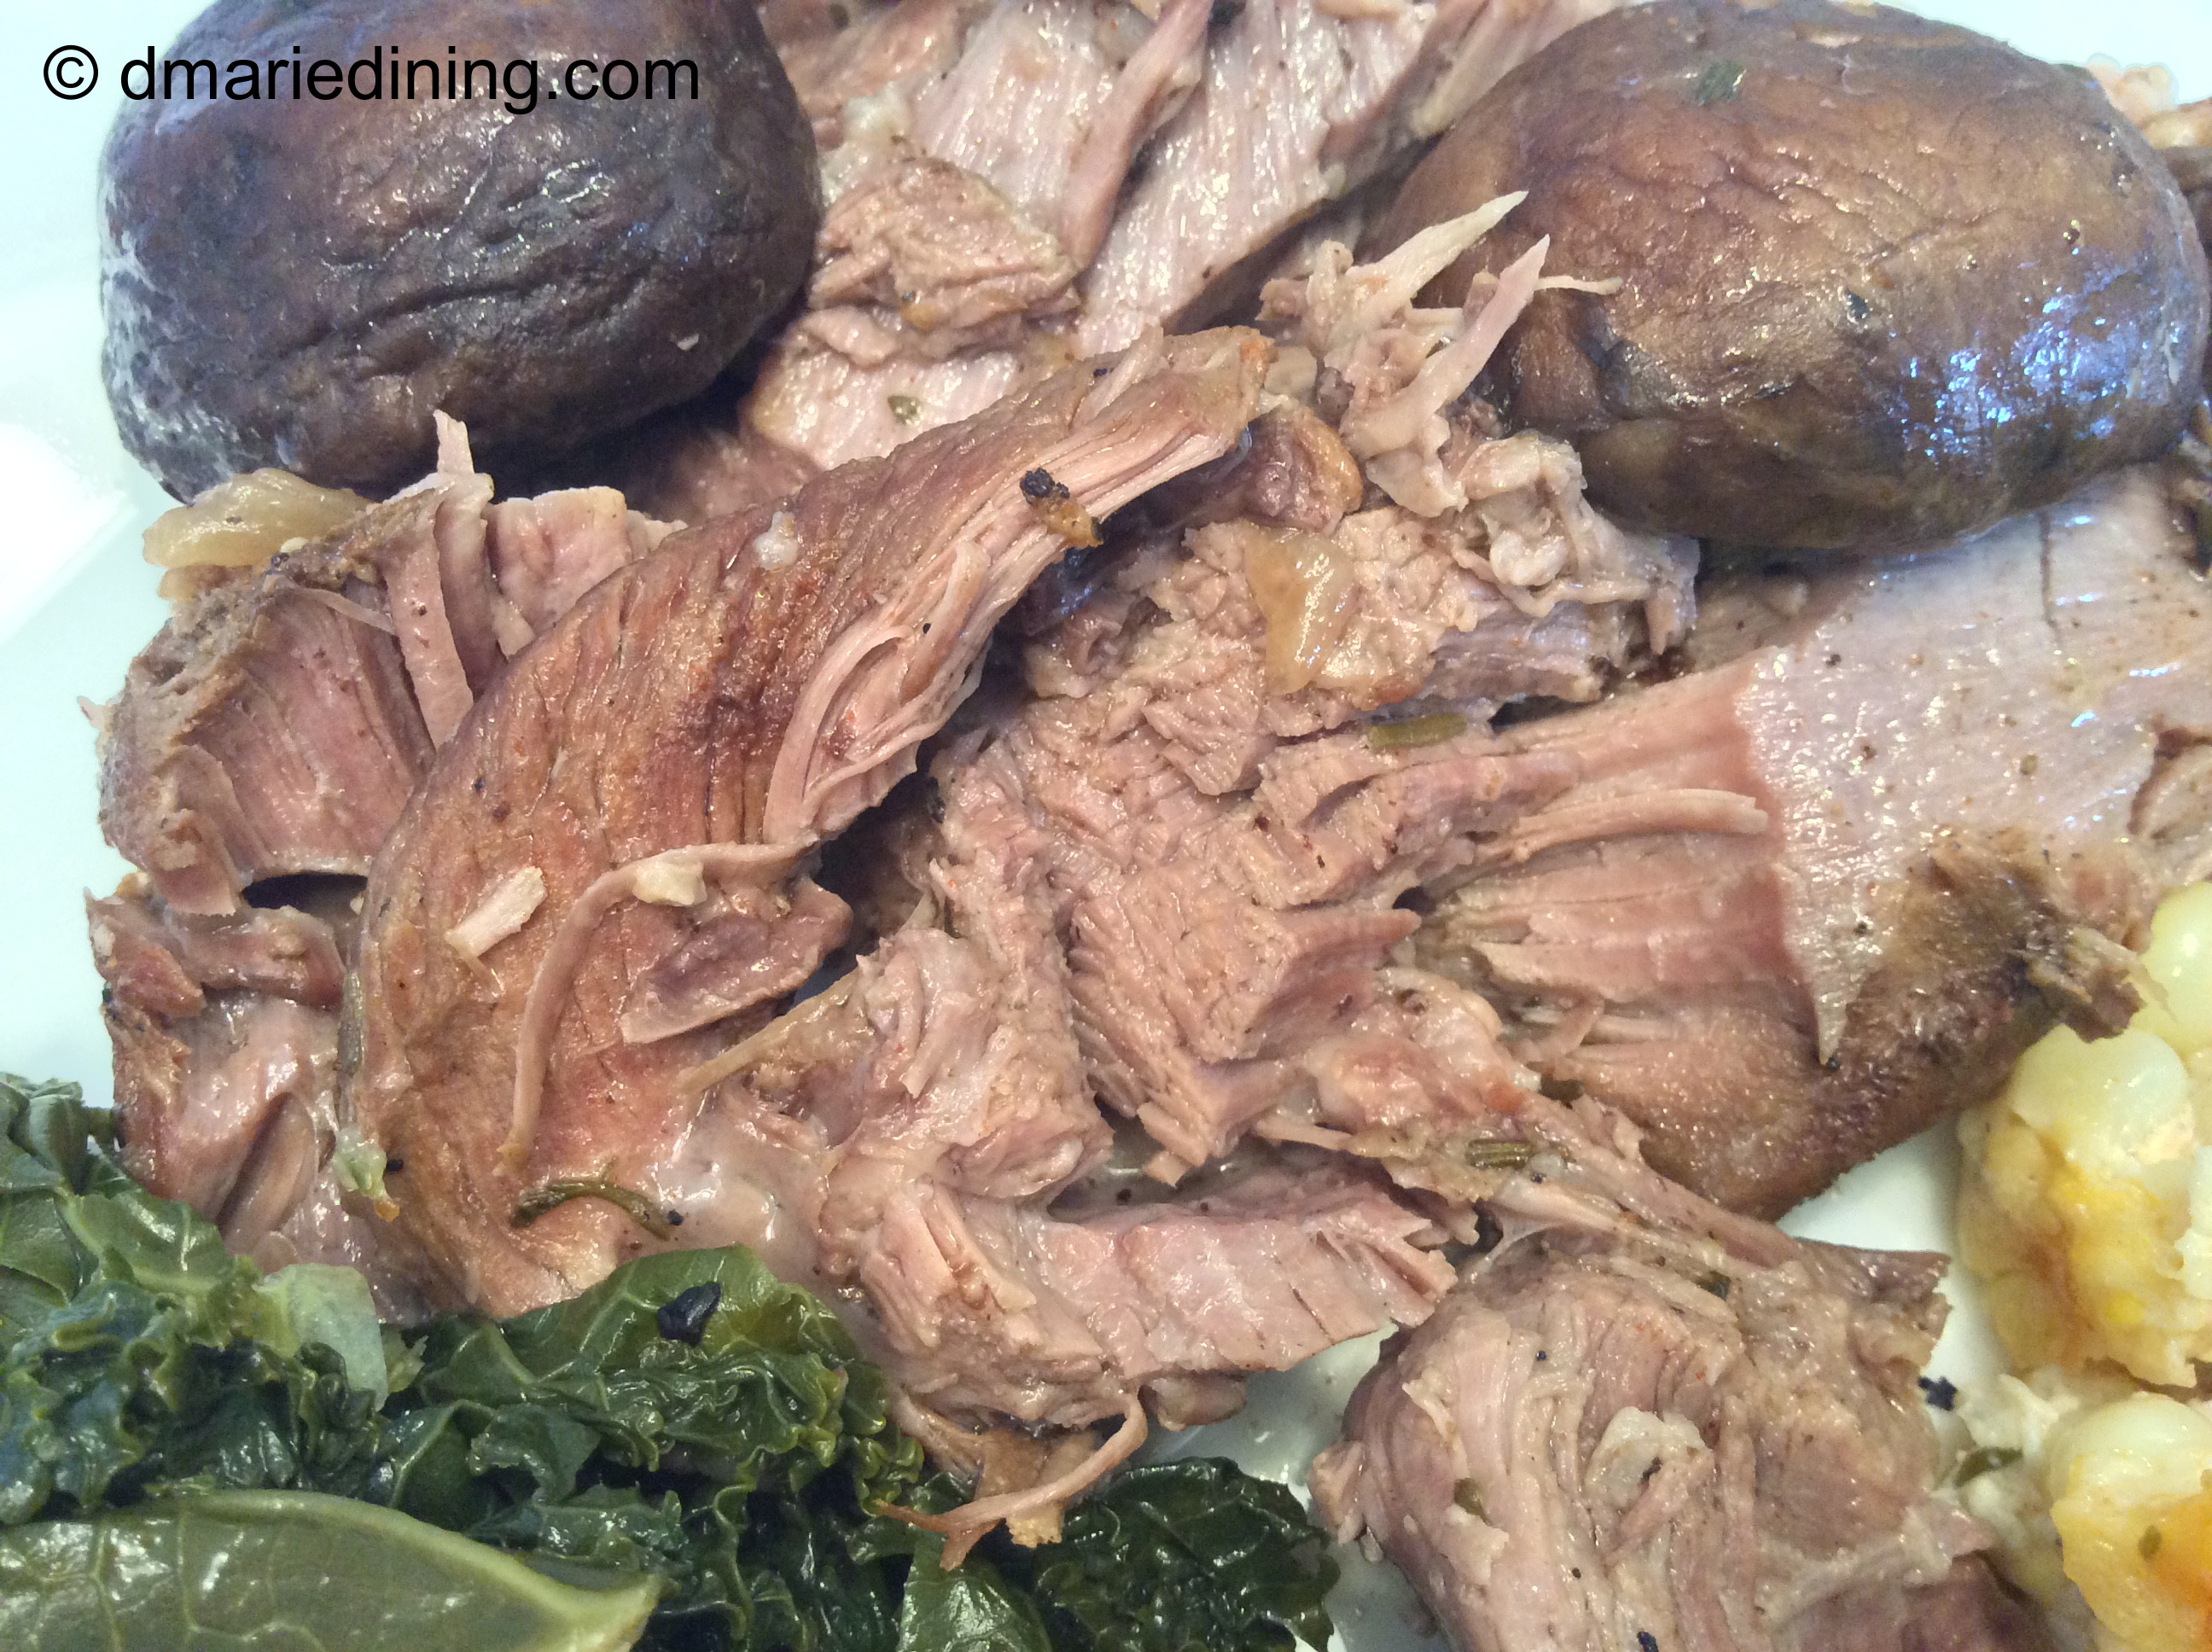
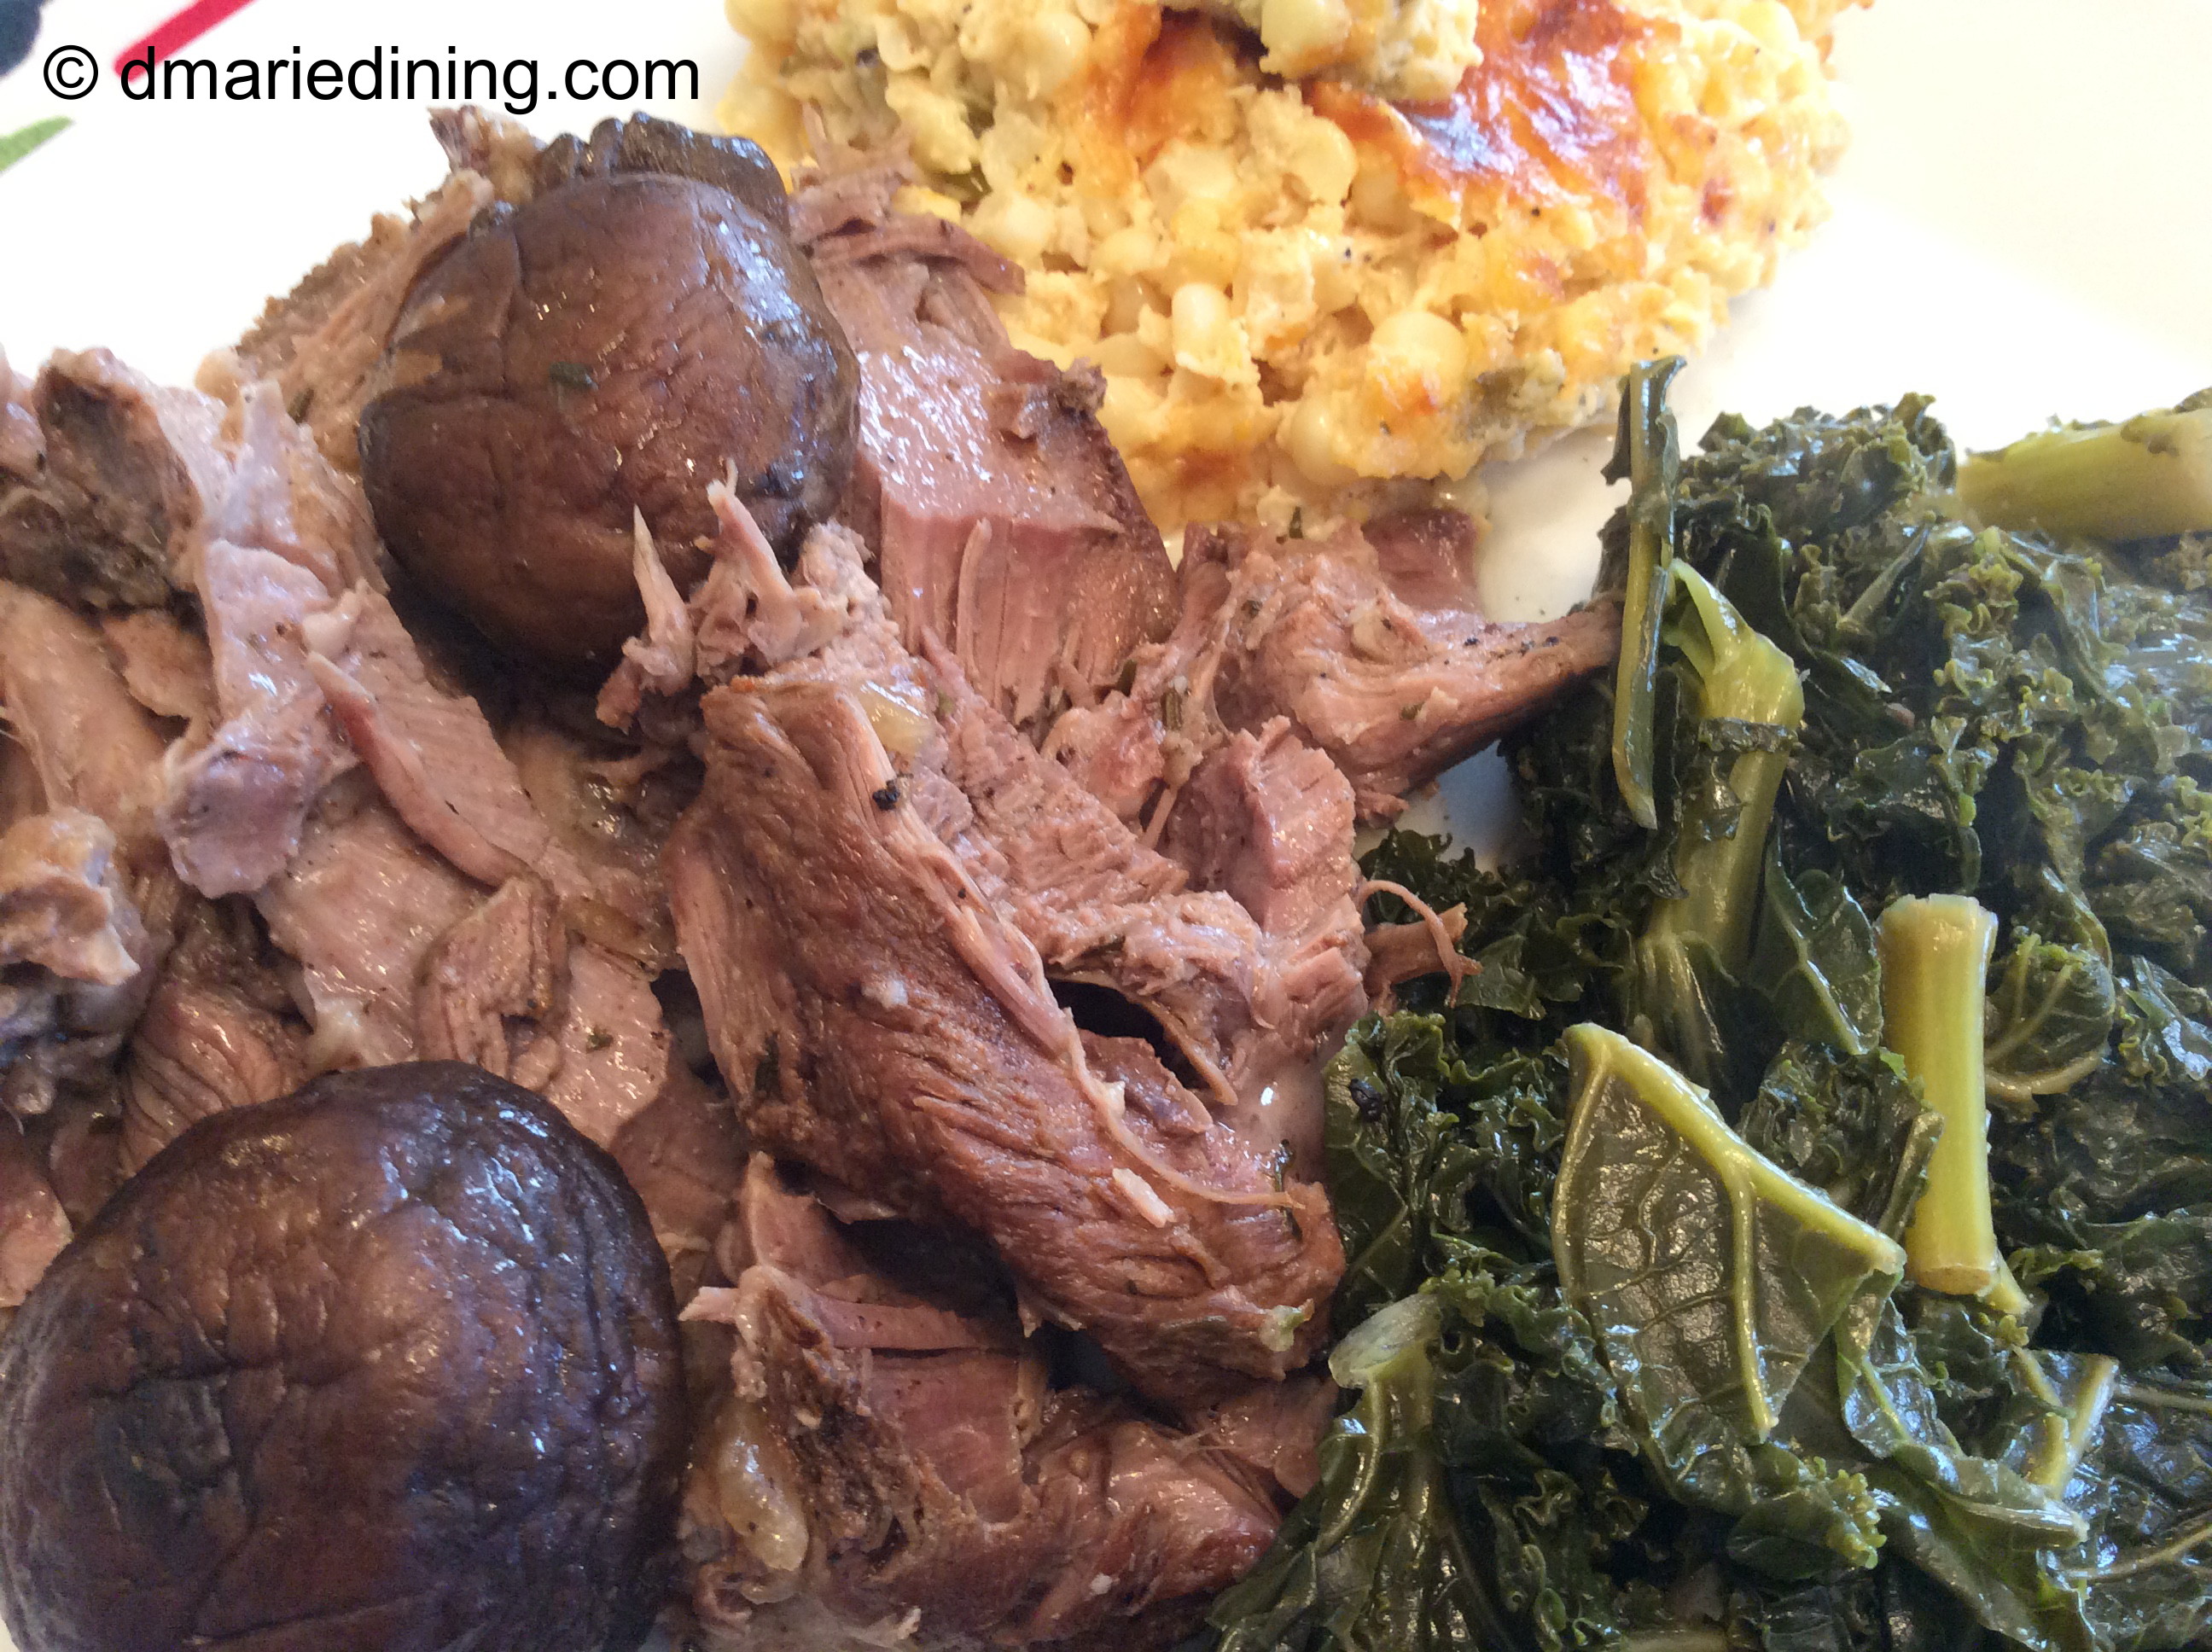
Boneless Leg of Lamb is one of those “special” meals I make when I find lamb on sale and I have a little extra time to prepare dinner. I like to cook the lamb low and slow which means on relatively low heat and slow in the oven to ensure the lamb gets nice and tender.
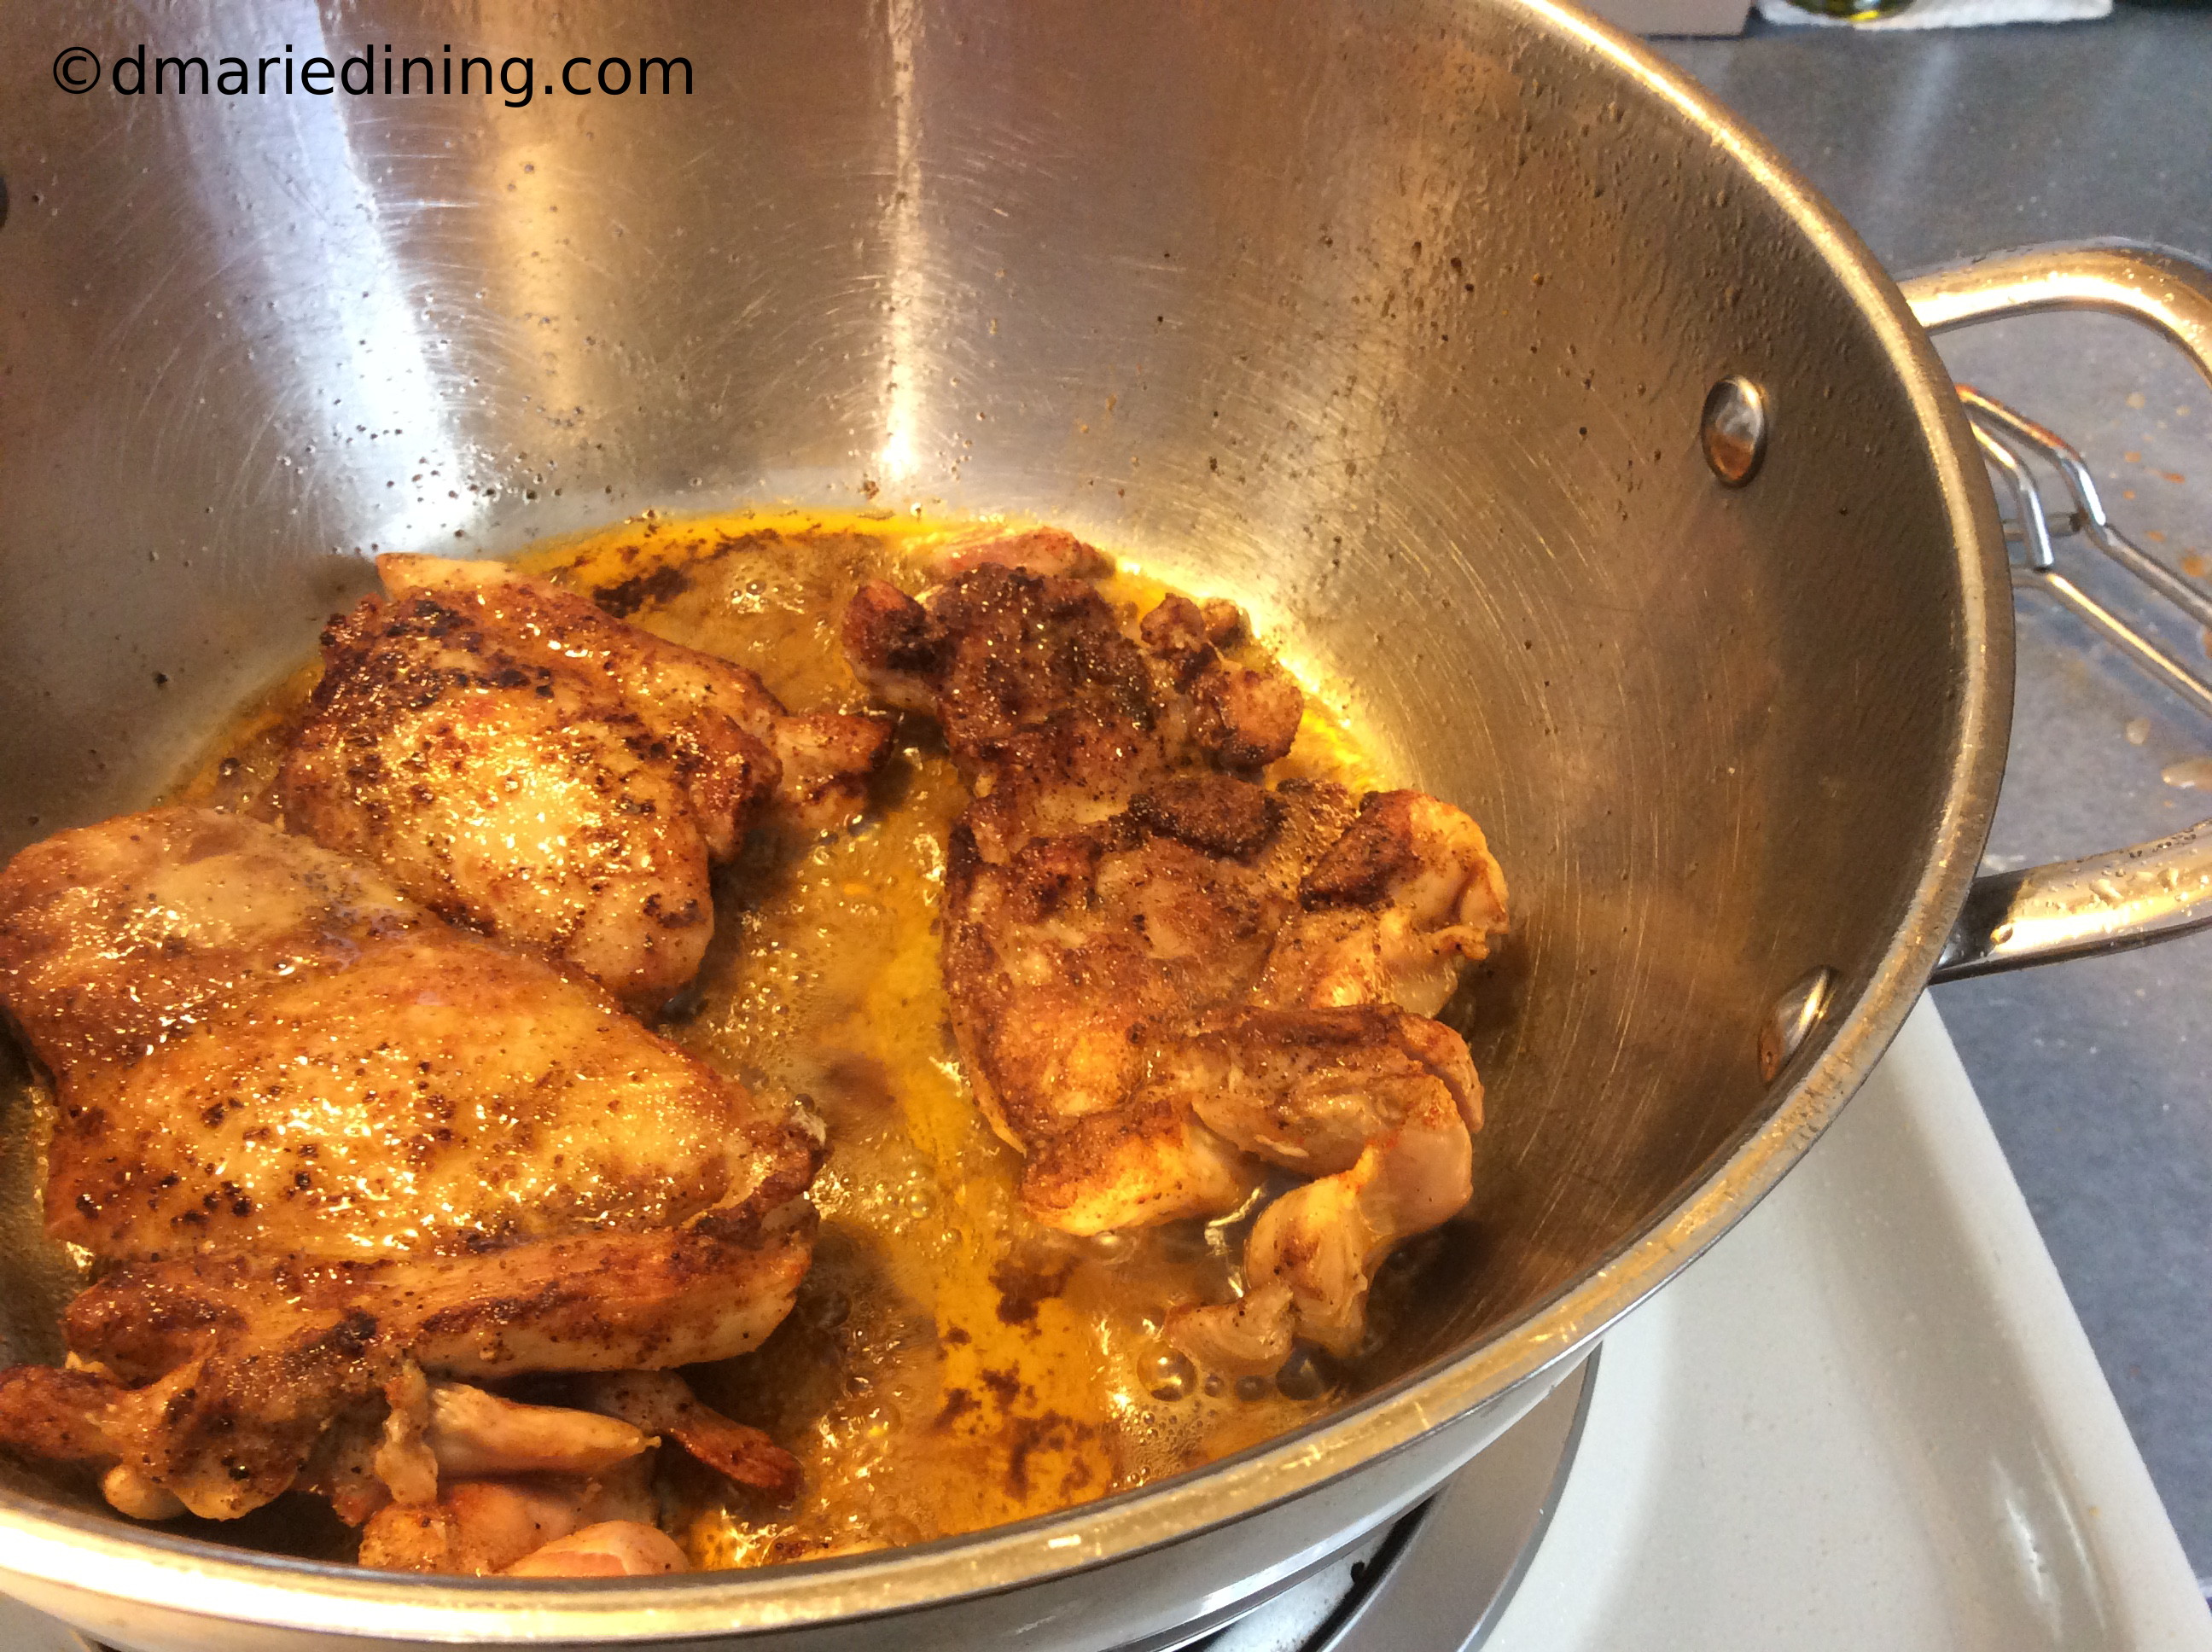
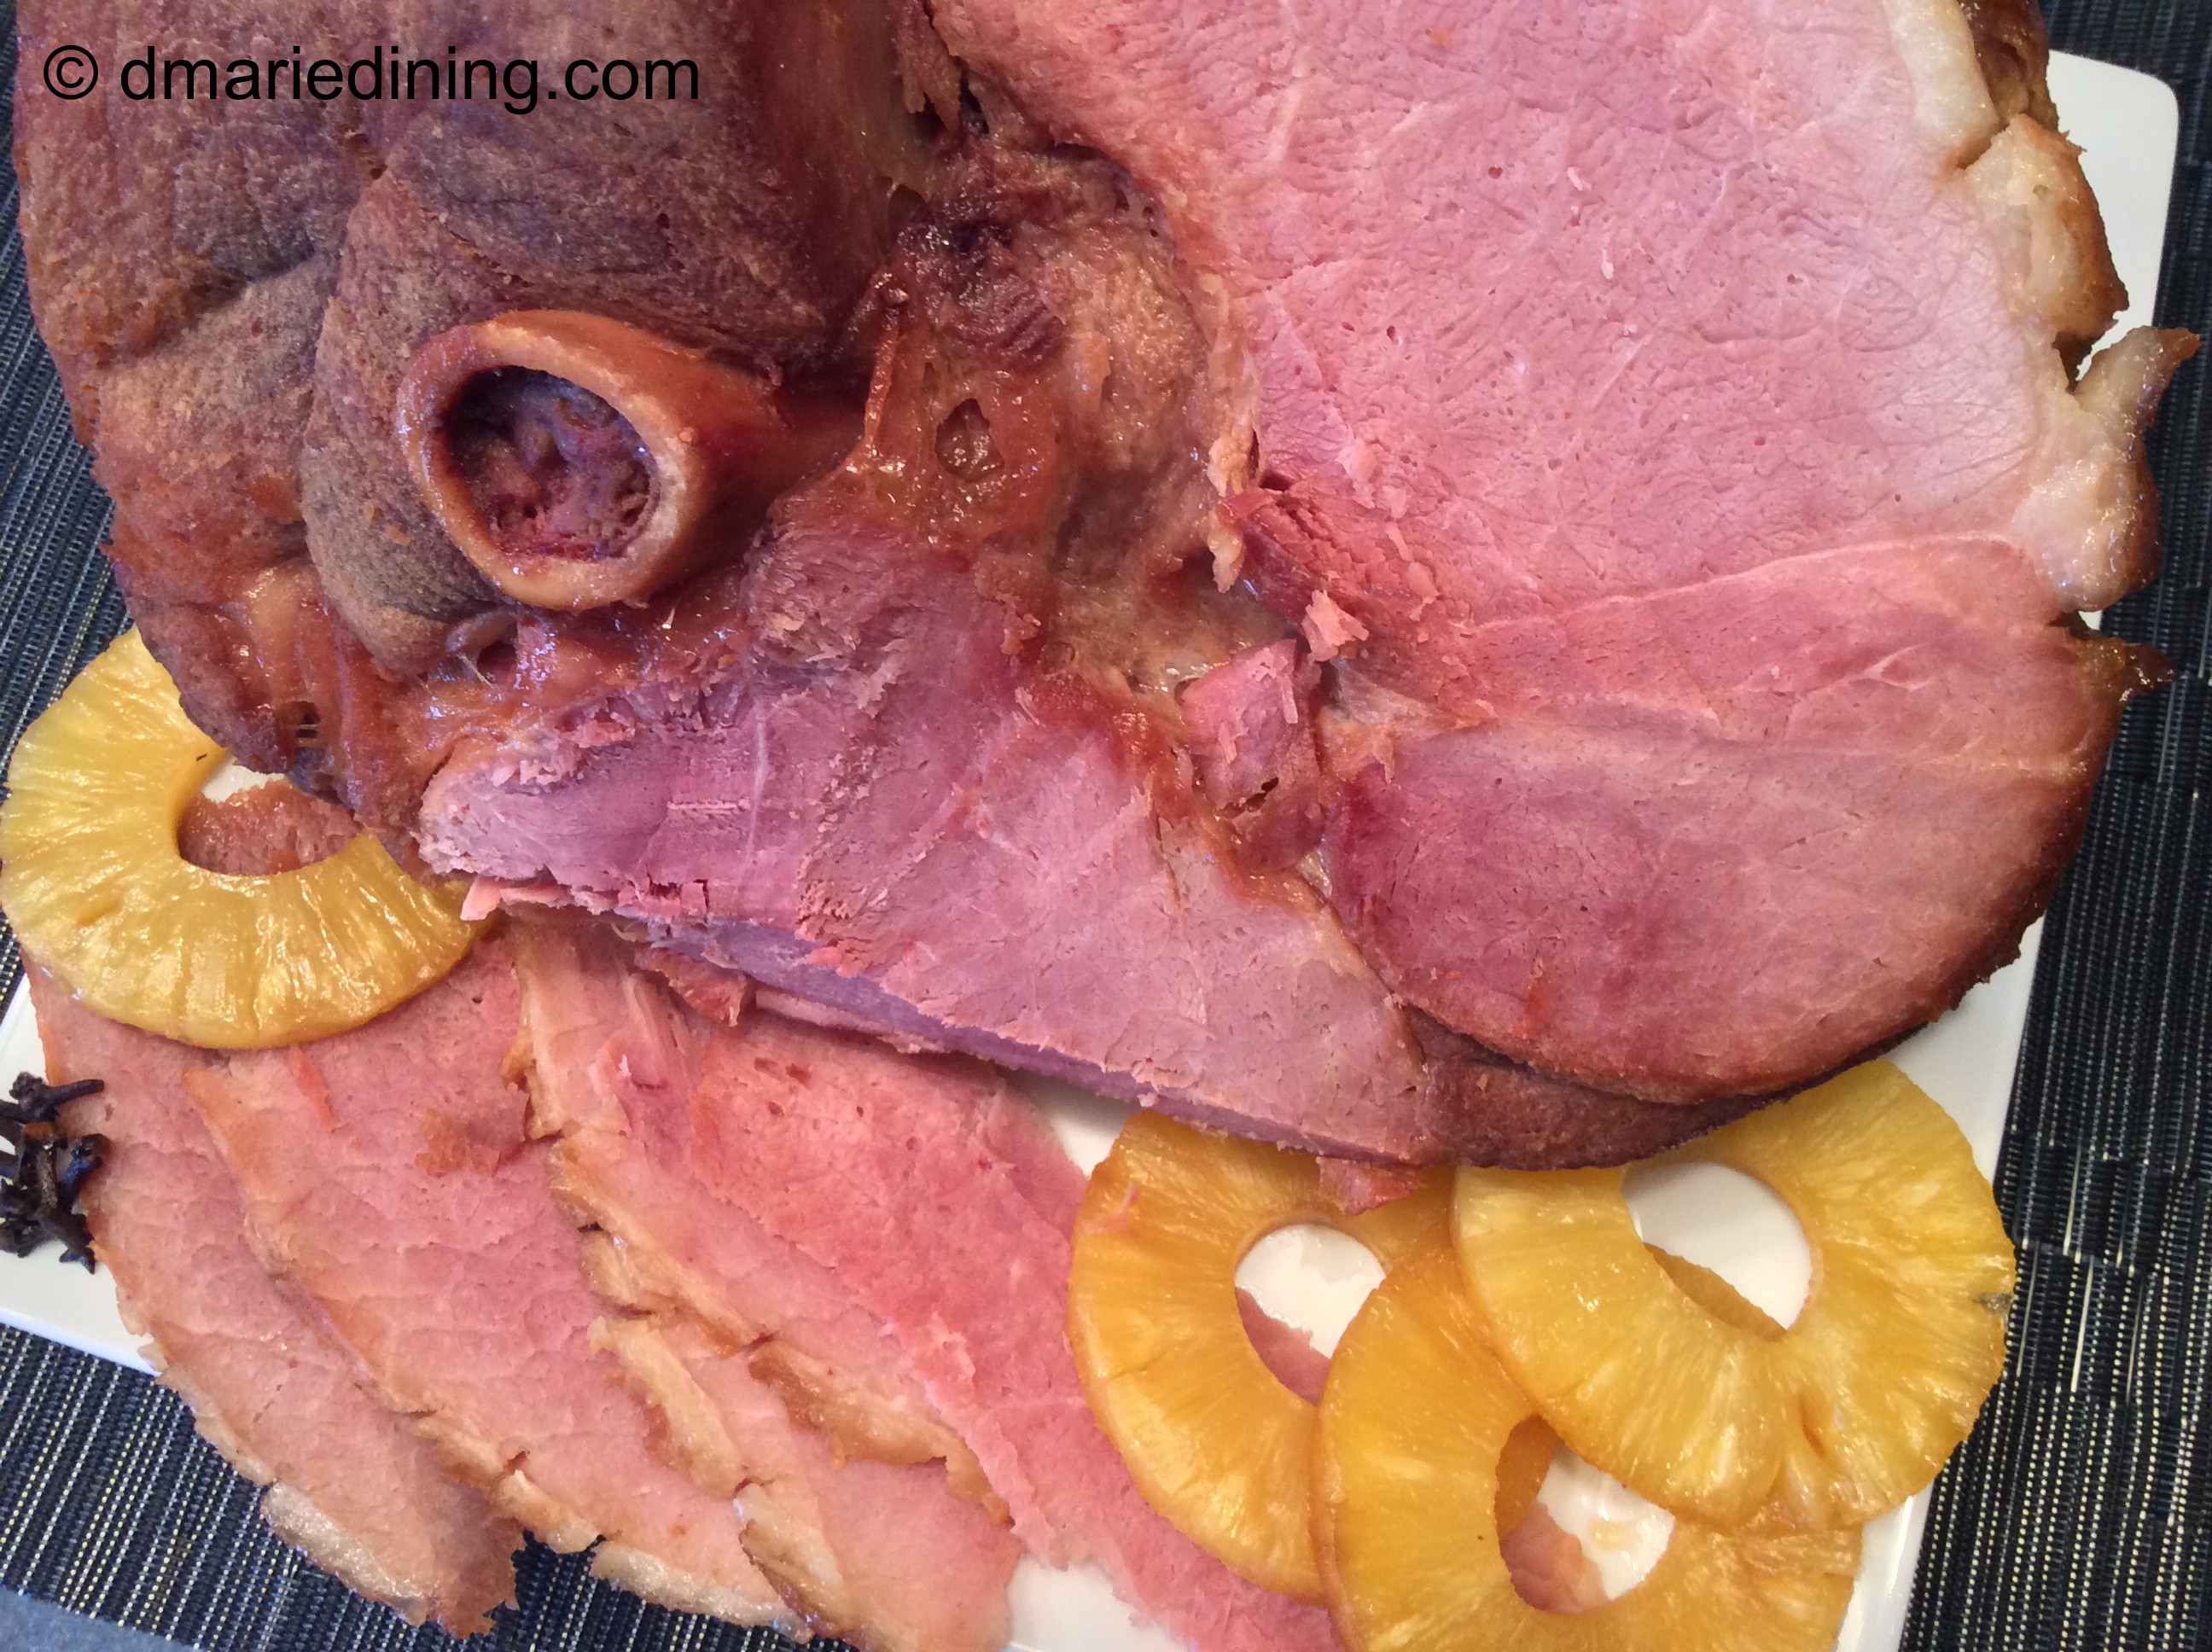
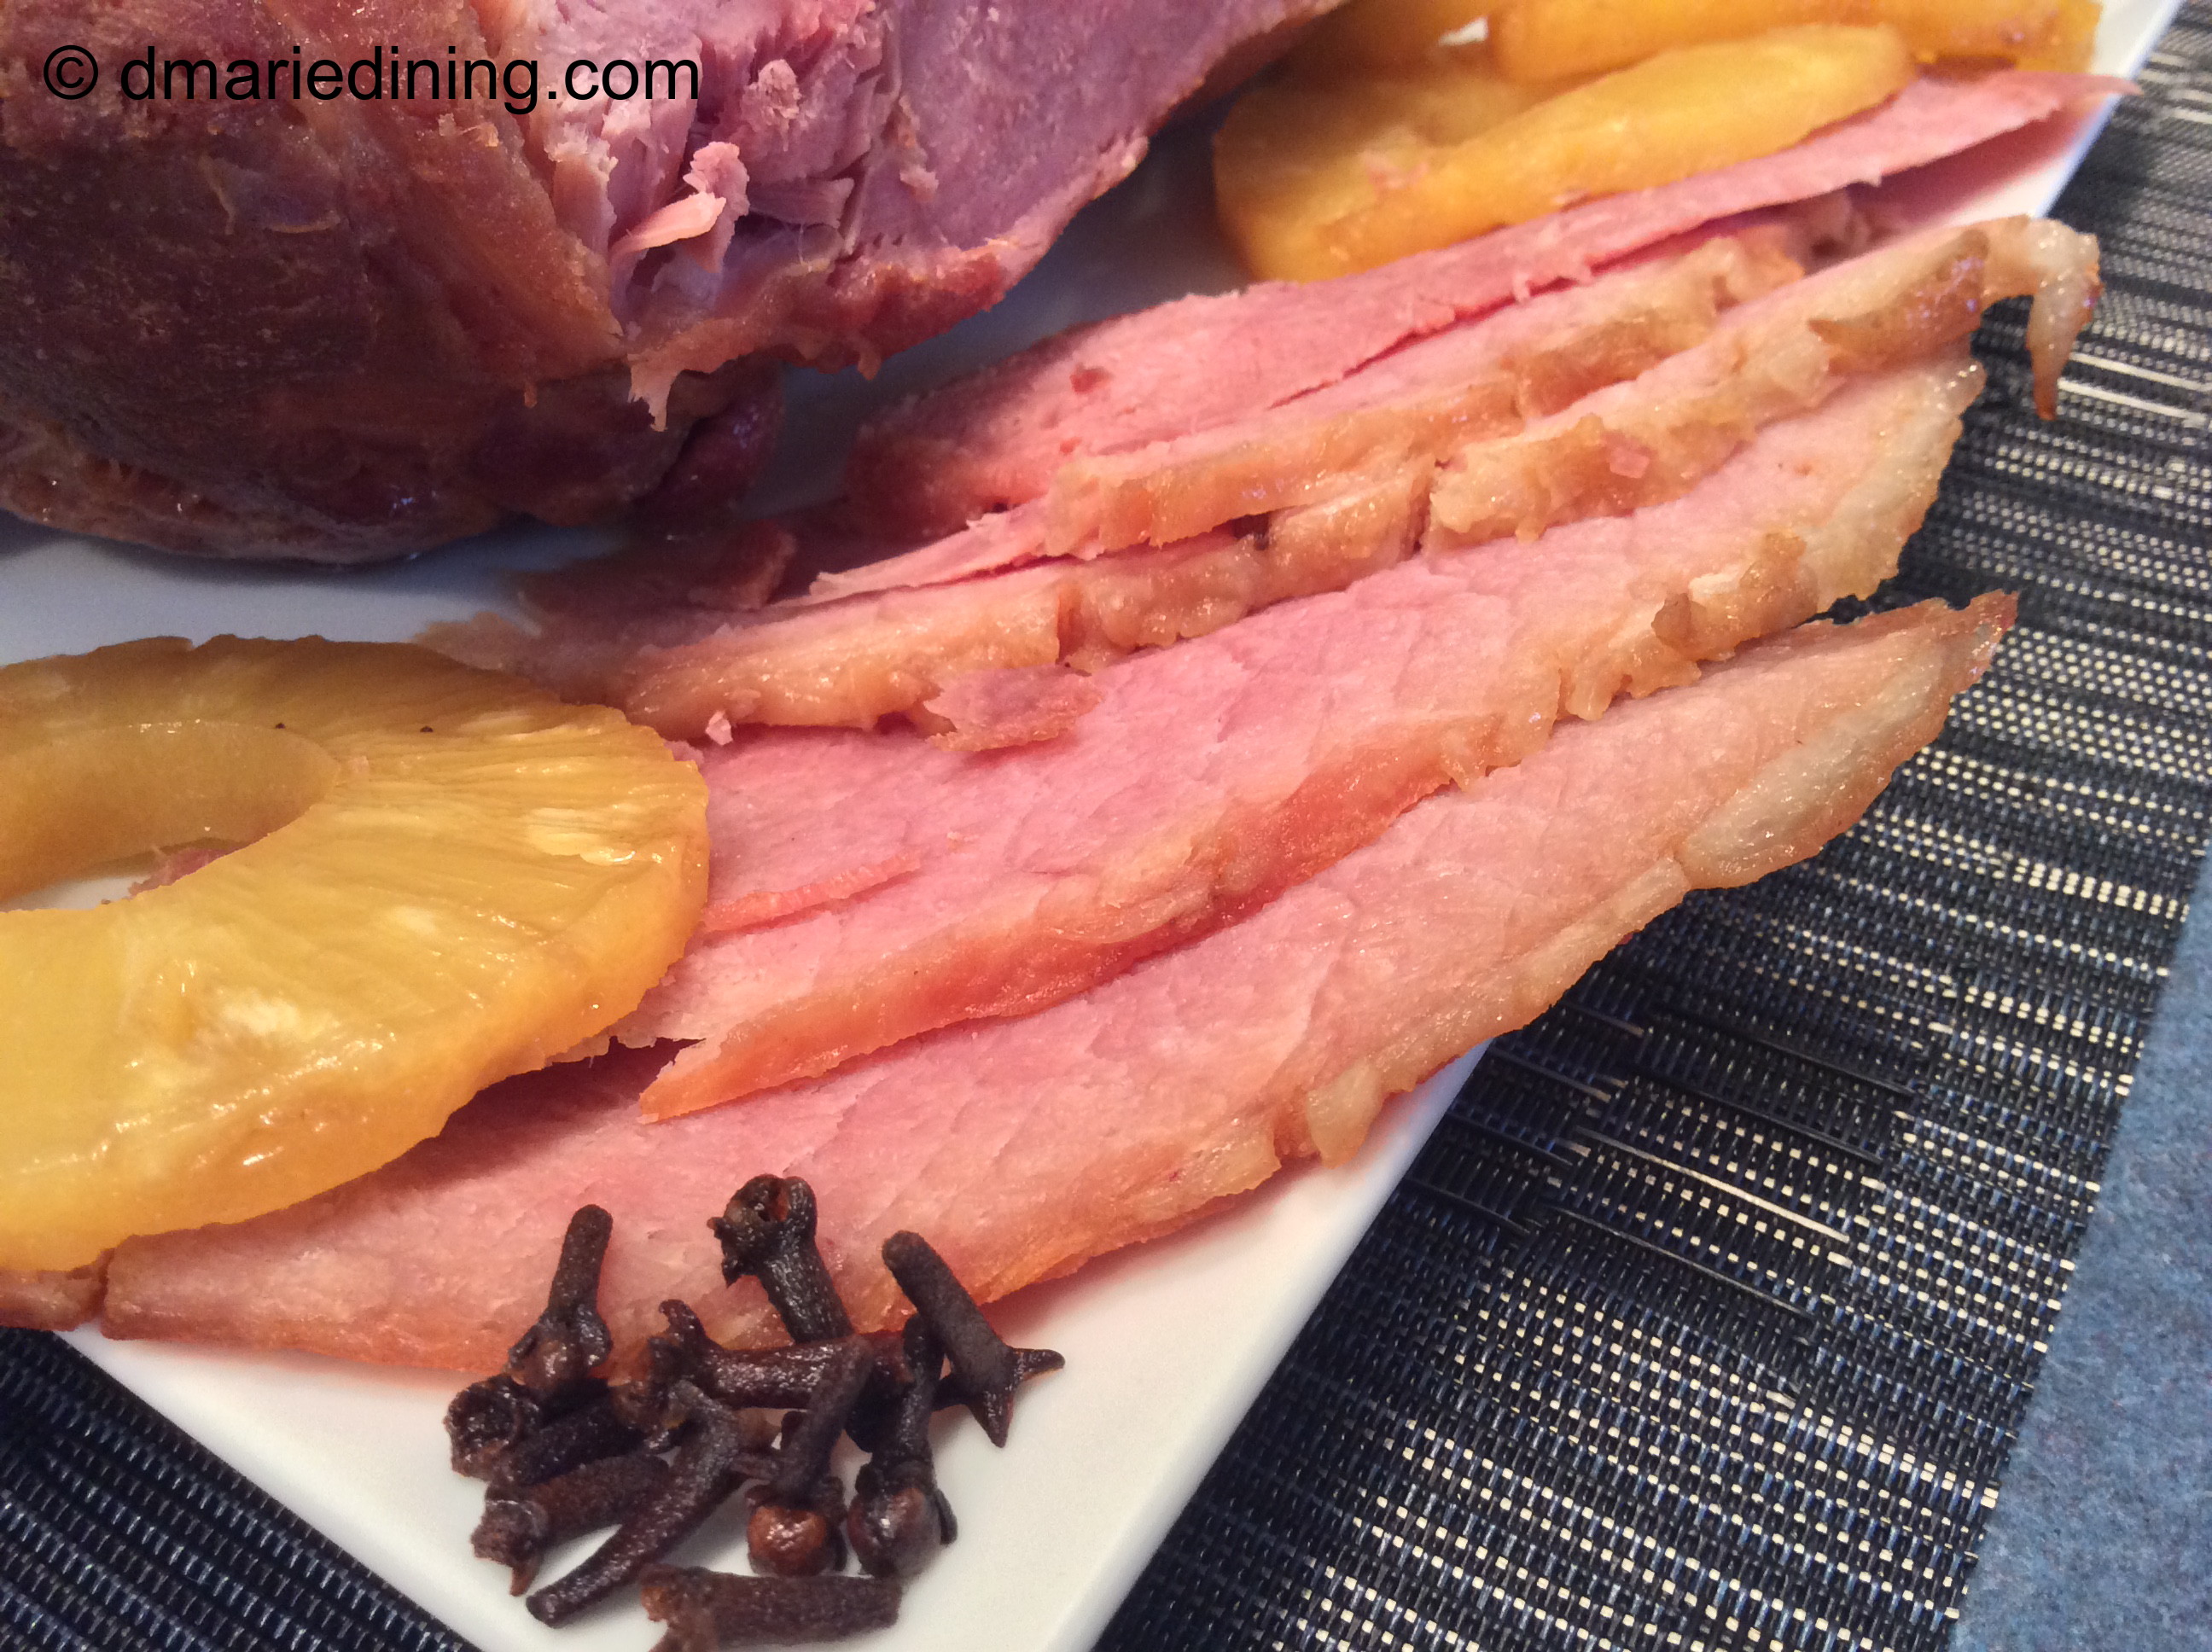
The last time I made boneless leg of lamb was for Easter. I wanted something other than the traditional ham we usually have each year and everyone seemed on board for a change of menu. That was my first hurdle. The second hurdle turned out to be browning the lamb. I idea was for me to brown the lamb in my dutch oven then saute the veggies in the same pot to infuse the flavor of the lamb into the veggies. Well, when I placed the lamb in the dutch oven the hot oil sloshed up onto my wrist and burned me. No worries. After I finished screaming and running cool water over the burn I finished browning the lamb and kept on cooking.

Needless to say I was determined that my boneless leg of lamb would be a success since I had suffered for the “art” of cooking. I was not disappointed and neither was the family. Everyone enjoyed the meal and the celebration of renewed life as dictated by the day. I even added to our old family tradition by preparing lamb instead of ham. Next year I think we will have both!
Boneless Leg of Lamb
Ingredients:
1 boneless leg of lamb
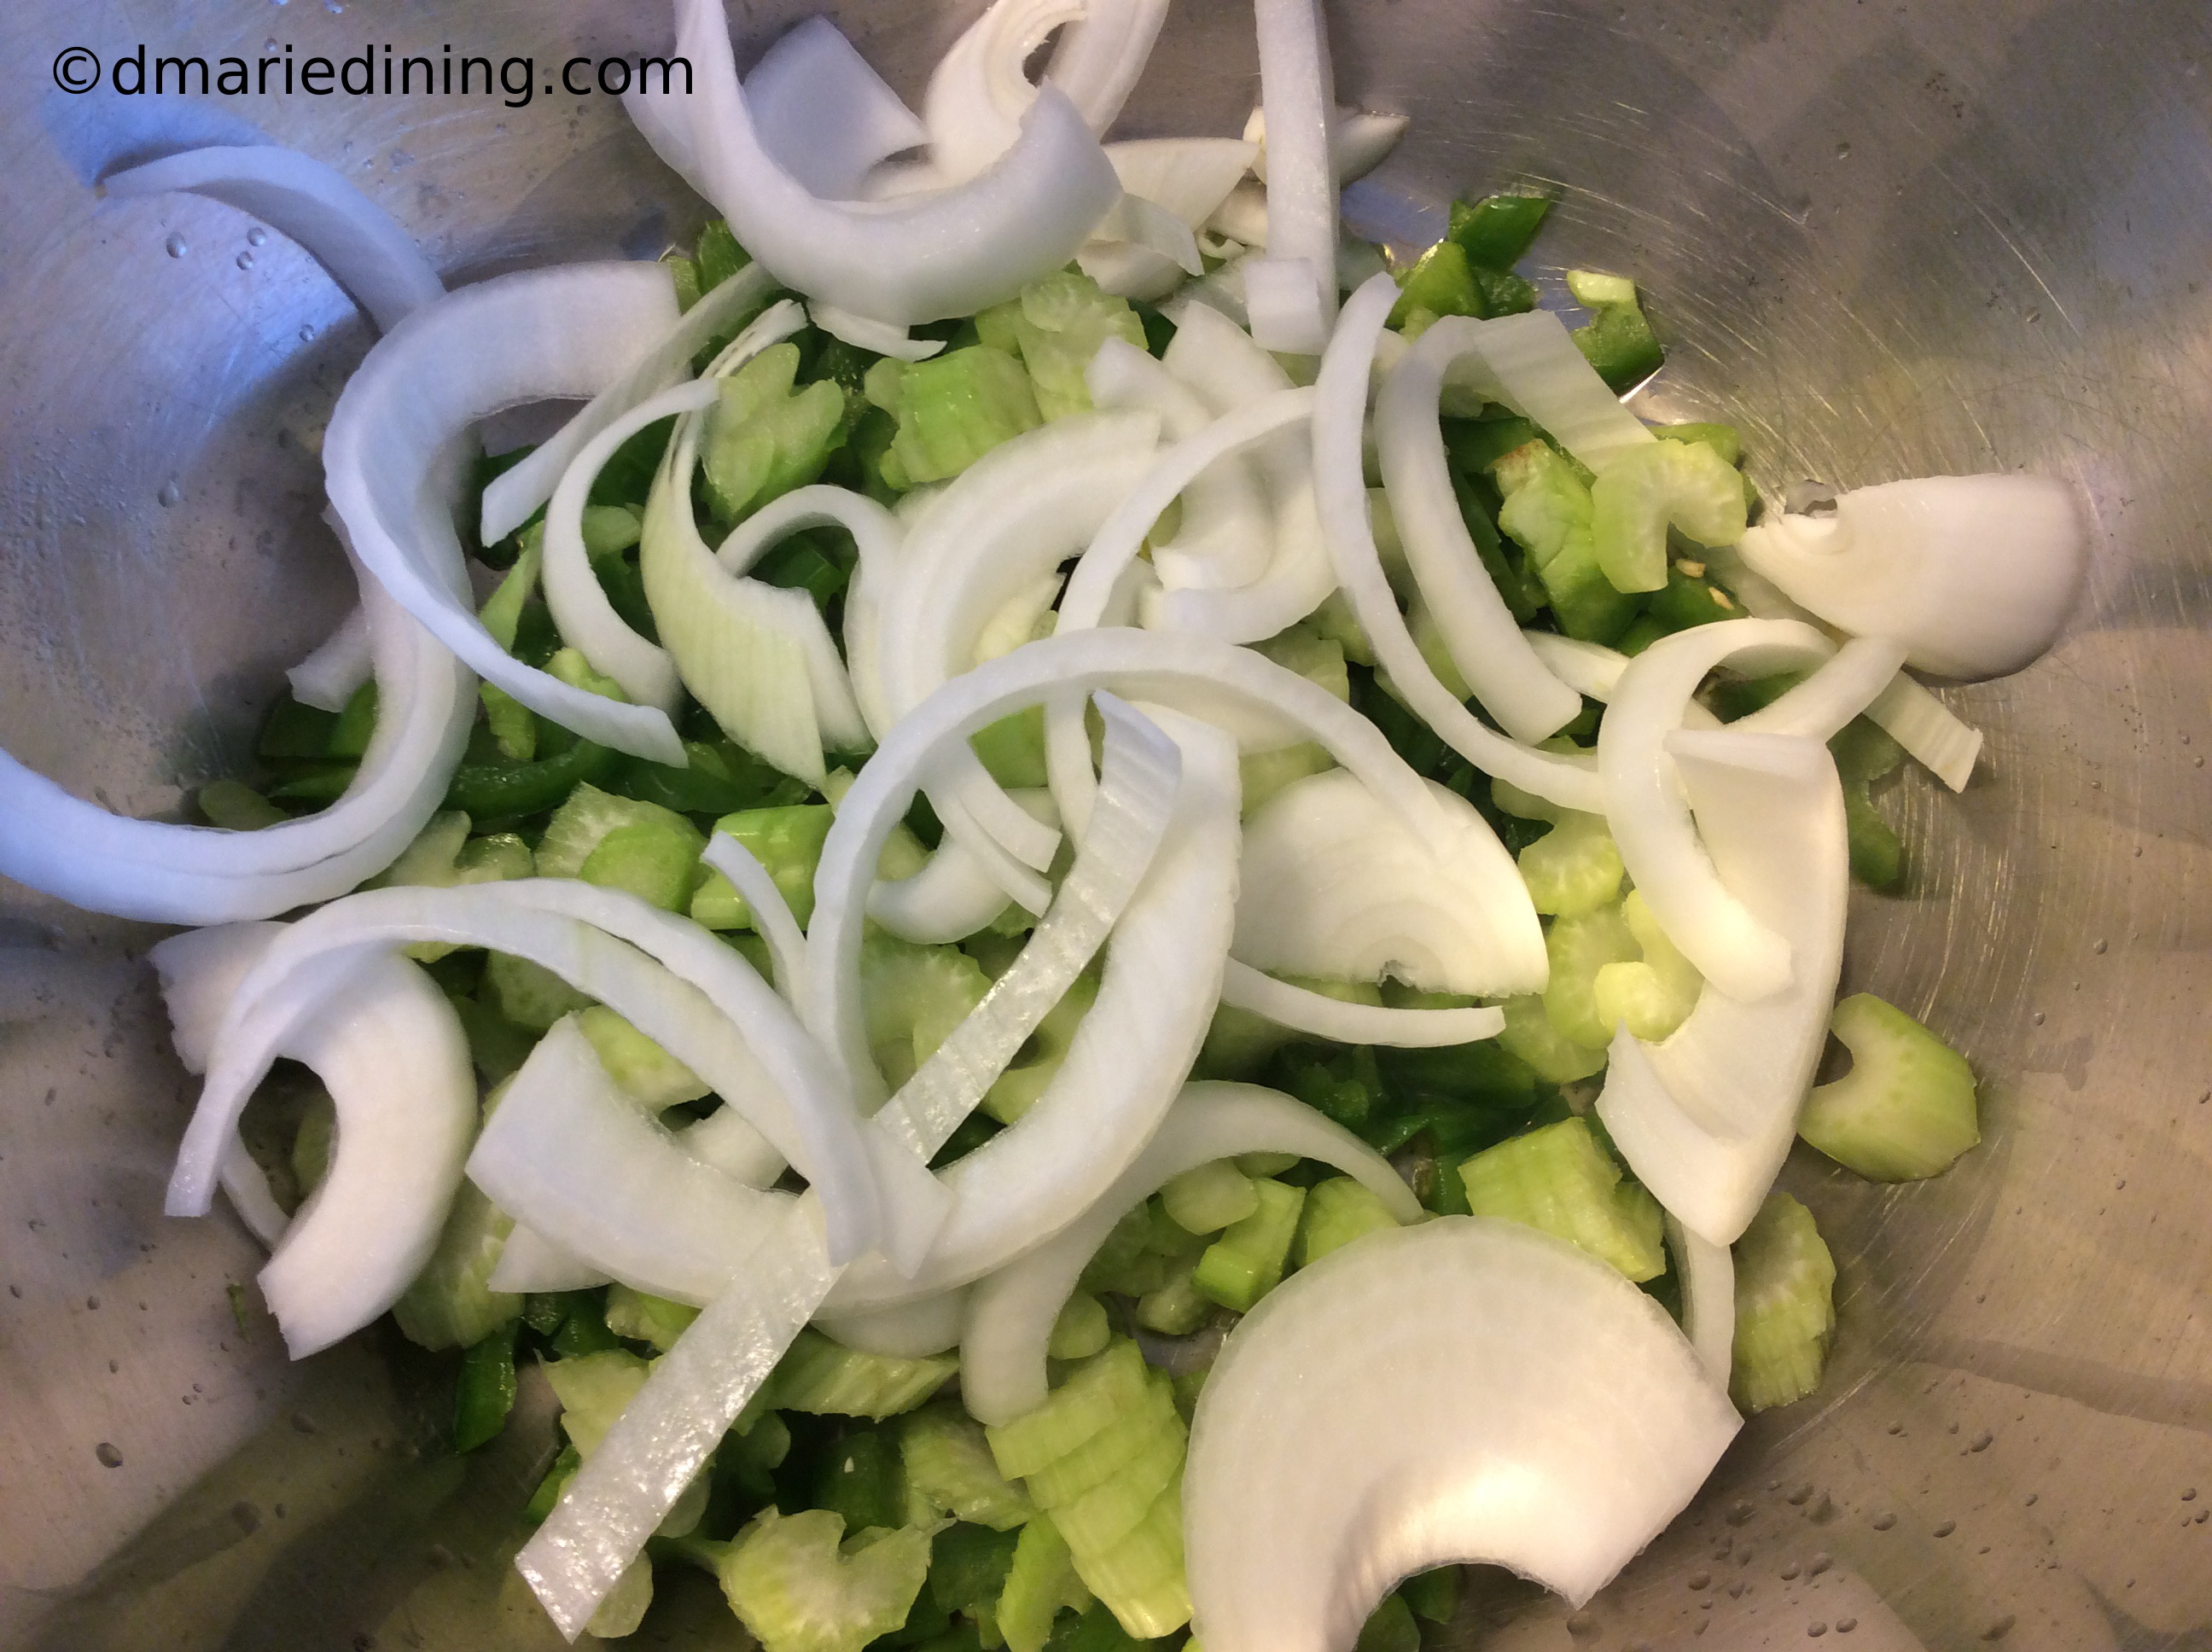
1 large onion sliced
1 pint mushrooms whole or sliced
1 bottle good beer
1 cup water
¼ cup vegetable oil
1 tbsp salt
1 tbsp black pepper
1 tbsp garlic powder
1 tsp ground ginger
1 tsp thyme
smoked paprika
Preheat oven to 350 degrees.
Heat oil in a dutch oven over medium high heat until slightly smoky.
Season lamb with all seasonings then gently place in hot oil. Brown leg of lamb on both sides. Remove from dutch oven and set aside. Add onions and mushrooms to dutch oven and sprinkle with a little salt and pepper. Stir veggies and let them brown a little. Add beer and water to deglaze the pot. Return leg of lamb to the pot and place in the oven. Baste the lamb every 15 minutes for the first hour then every 30 minutes the next hour. Remove lamb the oven and dutch oven. Let rest for 10 minutes. Slice or shred lamb and enjoy.
Optional:
Make a light gravy with the broth from the lamb or use a jar of beef bistro jus.